I was asked how I install AR trigger guards to minimize scratching up the receiver or even risking snapping an “ear” off. On one hand, you can use a solid backing block to support the ear and then use a roll pin punch to drive in the pin. That’s what I used to do but it’s a headache to be honest. As some of you may know, I have a tremor that makes fine motor stuff a headache so finding methods that are simpler really helps me get work done.

A few years ago I started using the Wheeler trigger guard tool and it works great. Click here to see it on Amazon.
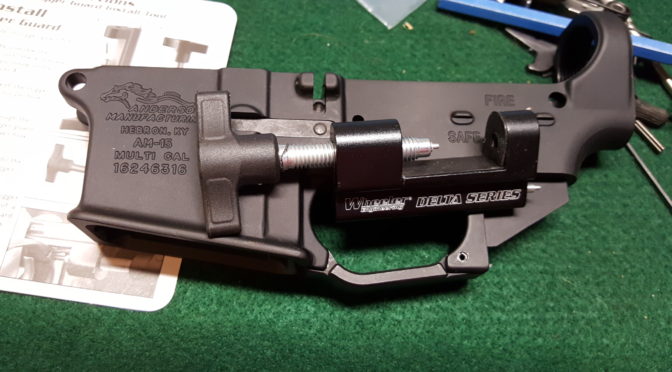
This is how I use it:
- Install the end of the triggerguard that uses the set screw. That’s the end with the blind hole – the roll pin goes in the end where a hole goes all the way through.
- I lightly oil the pin to make things easy and tap it with a small hammer just to get it started.
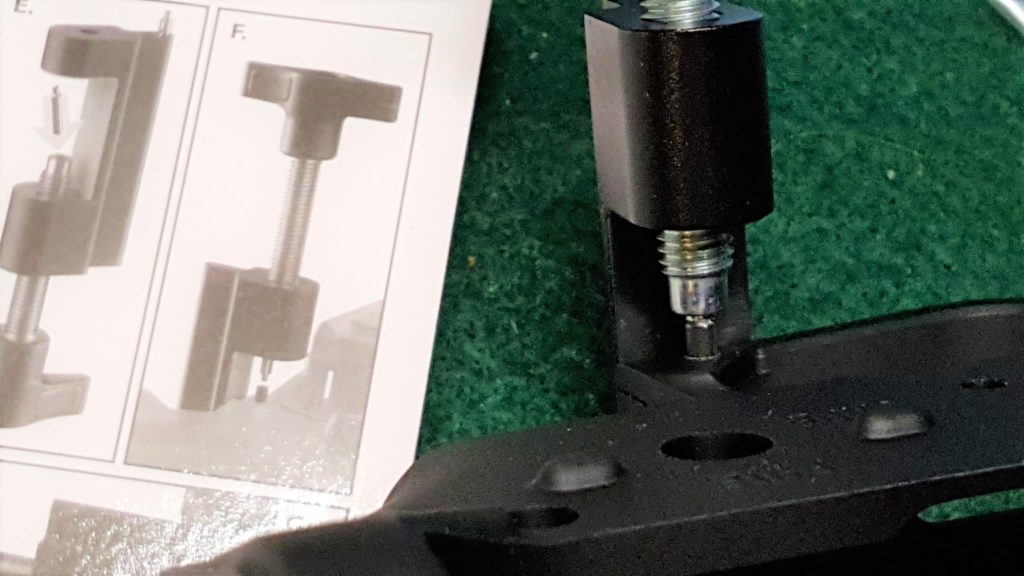
- I then use the Wheeler tool with the shorter starter pin. The starter pin has a nipple that centers it on the roll pin.
- Keep the parts aligned and turn the knob to drive the pin in.
- Stop when you have inserted the pin – it’s that easy.
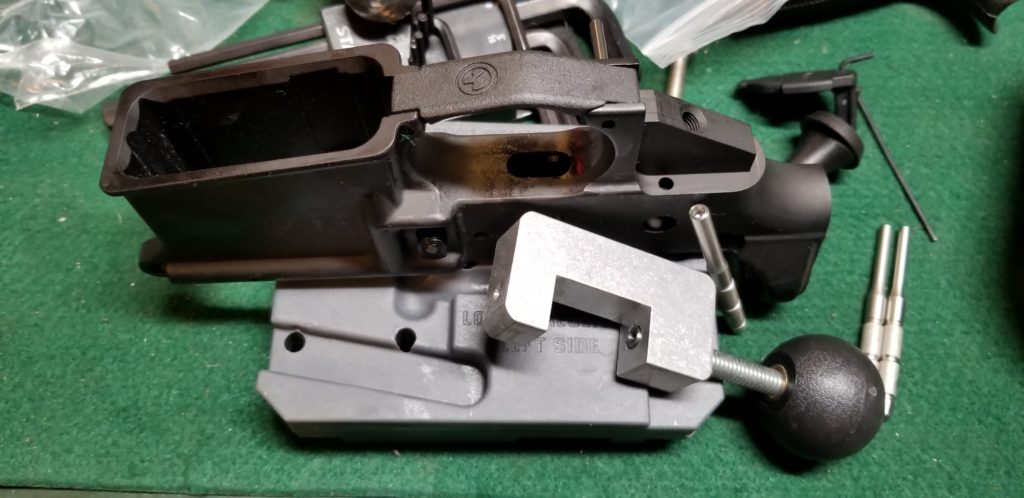
Note, Scott Igert of Modern Antique Firearms recommends you put a business card or something between the frame and your receiver to protect it from scratching.

Note, I actually have one from another maker also. I’m holding it in my hand. It does the same conceptually but is heavier made. I’ve built probably 4-6 ARs with the Wheeler unit and it seems to be holding up fine. The other is a Little Crow unit from Brownells for about $39.99 + S&H and its built like a tank but you do pay more for it.
I hope this helps you out.
Please share the link on Facebook, Forums, with colleagues, etc. Your support is much appreciated and if you have any feedback, please email us in**@*********ps.com. If you’d like to request a report or order a reprint, please click here for the corresponding page to open in new tab.