I was asked how I install AR trigger guards to minimize scratching up the receiver or even risking snapping an “ear” off. On one hand, you can use a solid backing block to support the ear and then use a roll pin punch to drive in the pin. That’s what I used to do but it’s a headache to be honest. As some of you may know, I have a tremor that makes fine motor stuff a headache so finding methods that are simpler really helps me get work done.
This is a Brownells Billet 7075 aluminum trigger guard (078-101-164) and it has a bulge to accomodate gloves. The set screw goes in the end with a blind hole. The roll pin goes through the end that is drilled all the way through.
Install the end of the triggerguard that uses the set screw. That’s the end with the blind hole – the roll pin goes in the end where a hole goes all the way through.
I lightly oil the pin to make things easy and tap it with a small hammer just to get it started.
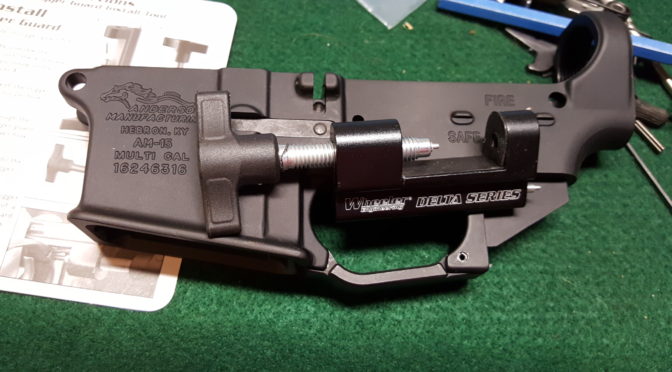
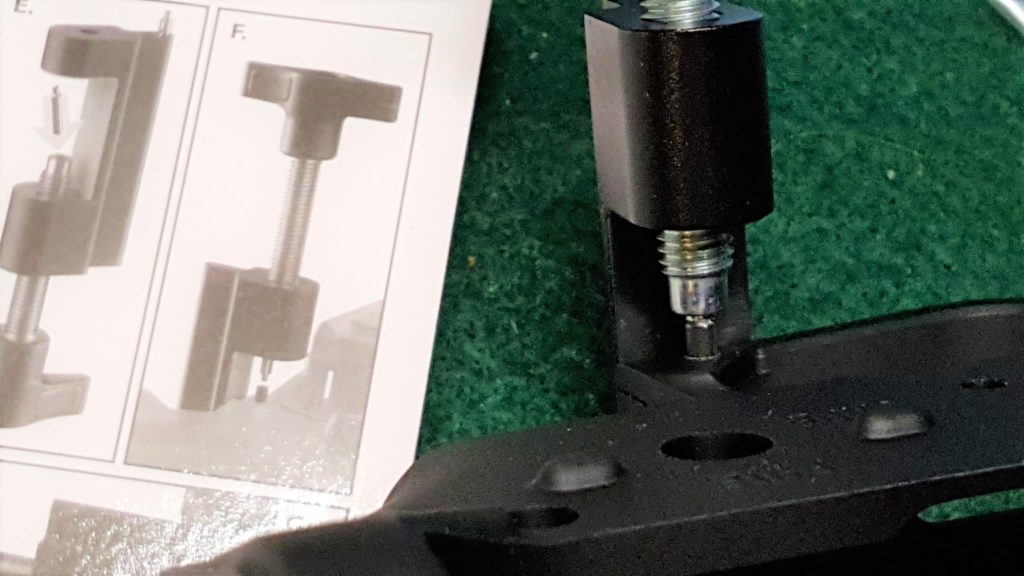
I then use the Wheeler tool with the shorter starter pin. The starter pin has a nipple that centers it on the roll pin.
Keep the parts aligned and turn the knob to drive the pin in.
Stop when you have inserted the pin – it’s that easy.
Note, Scott Igert of Modern Antique Firearms recommends you put a business card or something between the frame and your receiver to protect it from scratching.
It has two tips – here you can see one installed and one stored in the frame of the tool. The short one is for installing and the long one is for pushing a roll pin out.Simply stop once the pin is flush.
Note, I actually have one from another maker also. I’m holding it in my hand. It does the same conceptually but is heavier made. I’ve built probably 4-6 ARs with the Wheeler unit and it seems to be holding up fine. The other is a Little Crow unit from Brownells for about $39.99 + S&H and its built like a tank but you do pay more for it.
The second step is to install the trigger guard. Now I do not use the kind with a detent that allows you to open the trigger guard. I prefer aluminum trigger guards from either Magpul or Brownells. The one you see here is from Brownells and is made from billet 7075 aluminum. I like how it is slightly oversized for gloves and Brownells prices it quite reasonably at $8.47. The front is threaded with a set screw and the rear has a roll pin – they include both in the package. A polymer Magpul unit came with the lower build kit and I just put it in my box of spare parts.
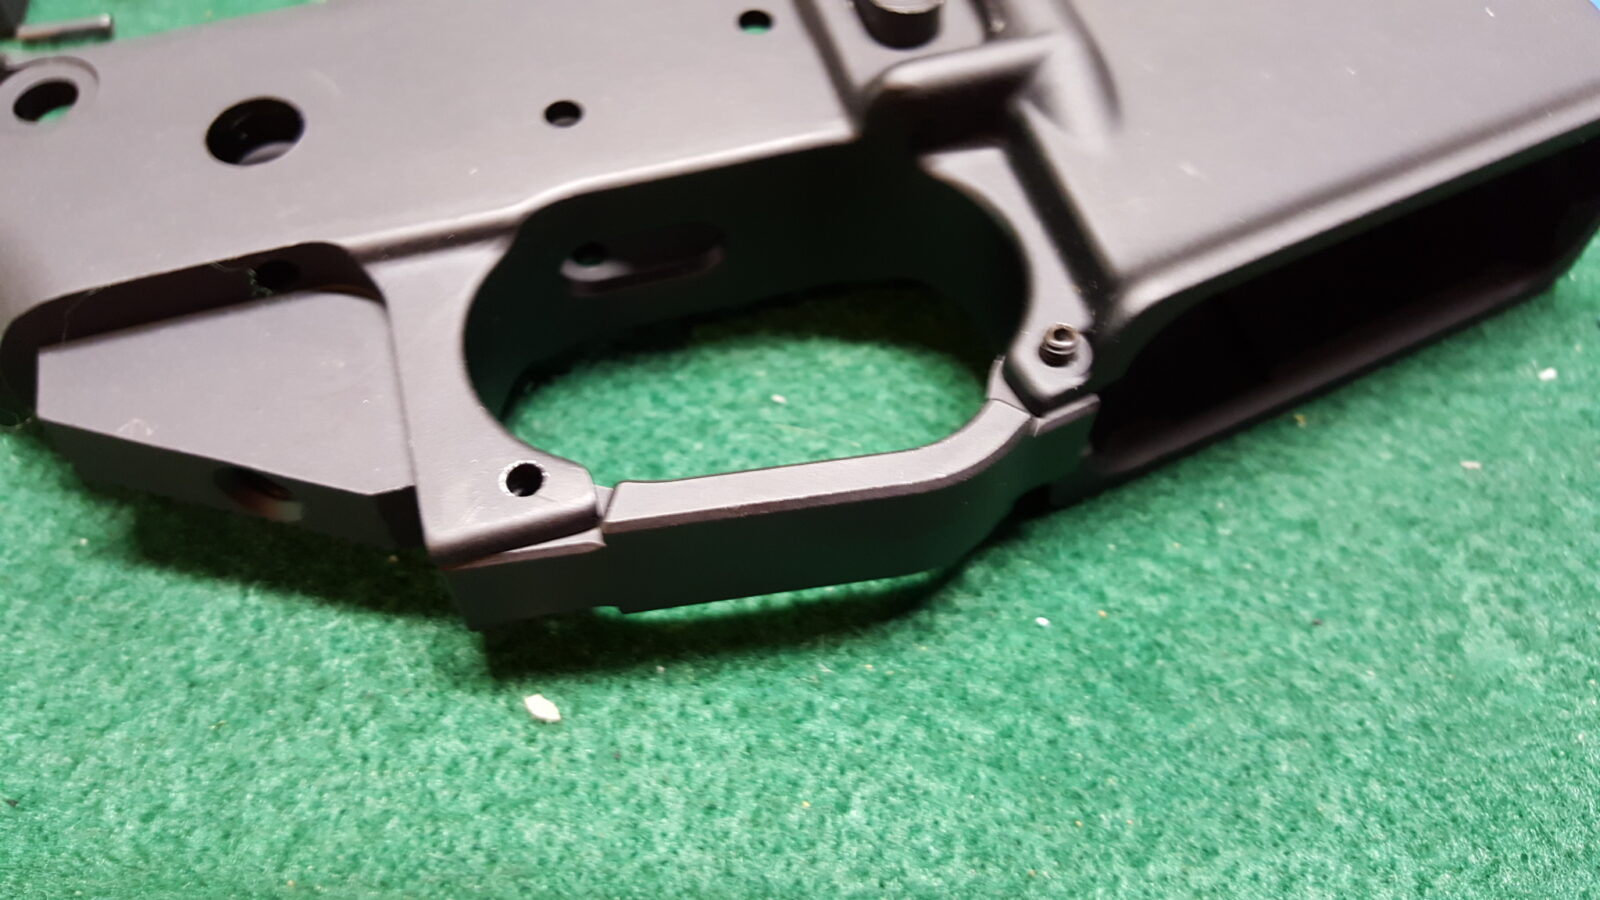
Take a minute and check the fit. The threaded part goes forward and the hole that goes all the way through to the rear. Just ensure it is going to line up appropriately.
I like to first install the front set screw to help line everything up. Just use a quality allen wrench – I have been burned with cheap allen wrenches that round the socket so now I pretty much stick with Bondhus and Eklind though there are probably many other good enough brands out there. I snug the set screw down but do not go crazy torquing it in. Bear in mind you are threading a small screw into aluminum and that allen key is giving you quite a bit of leverage.
Once that front screw is in and the trigger guard is better held in position, it is time to install the rear roll pin. Now you have a number of options to install the rear pin and I am going to tell you about the two I use:
Option one, use a starter and roll pin punch to drive in the roll pin. Now there is a real important thing you need to do – be sure you use a block to support the lower “ear” of the receiver or you may snap it off. If it breaks off, you just ruined the receiver – game over. I use a Wheeler block to support the receiver and you can use just about anything – over the years I have used generic gunsmithing blocks and even pieces of wood. For the last 2-3 years I’ve used the Wheeler block and like it.
Don’t try to use a generic punch. I like to use a Squirrel Daddy roll pin starter to get the first part of the pin installed and then an Astro Pneumatics 1/8″ roll pin punch to hammer it in the rest of the way. Of course you can use whatever brands you want but the bottom line is that you need to line the pin up vertically to drive it straight in and you must be careful not to slip and mar your receiver. This is why using the correct punches matter. The starter punch gives you a lot of control and by using the roll pin punch, you can keep your punch on the pin. Because of my tremor, I am not very good with hammers and punches but can do this provided I use the two types of punches mentioned.
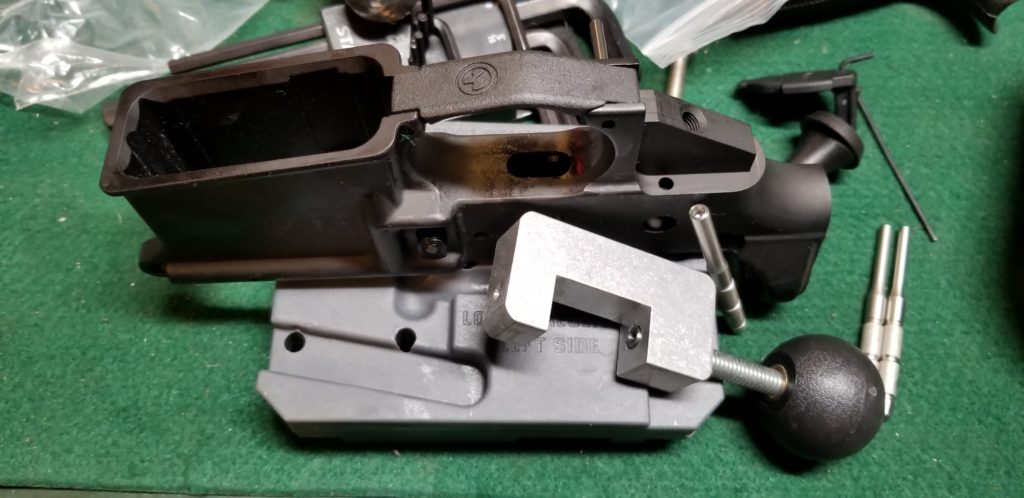
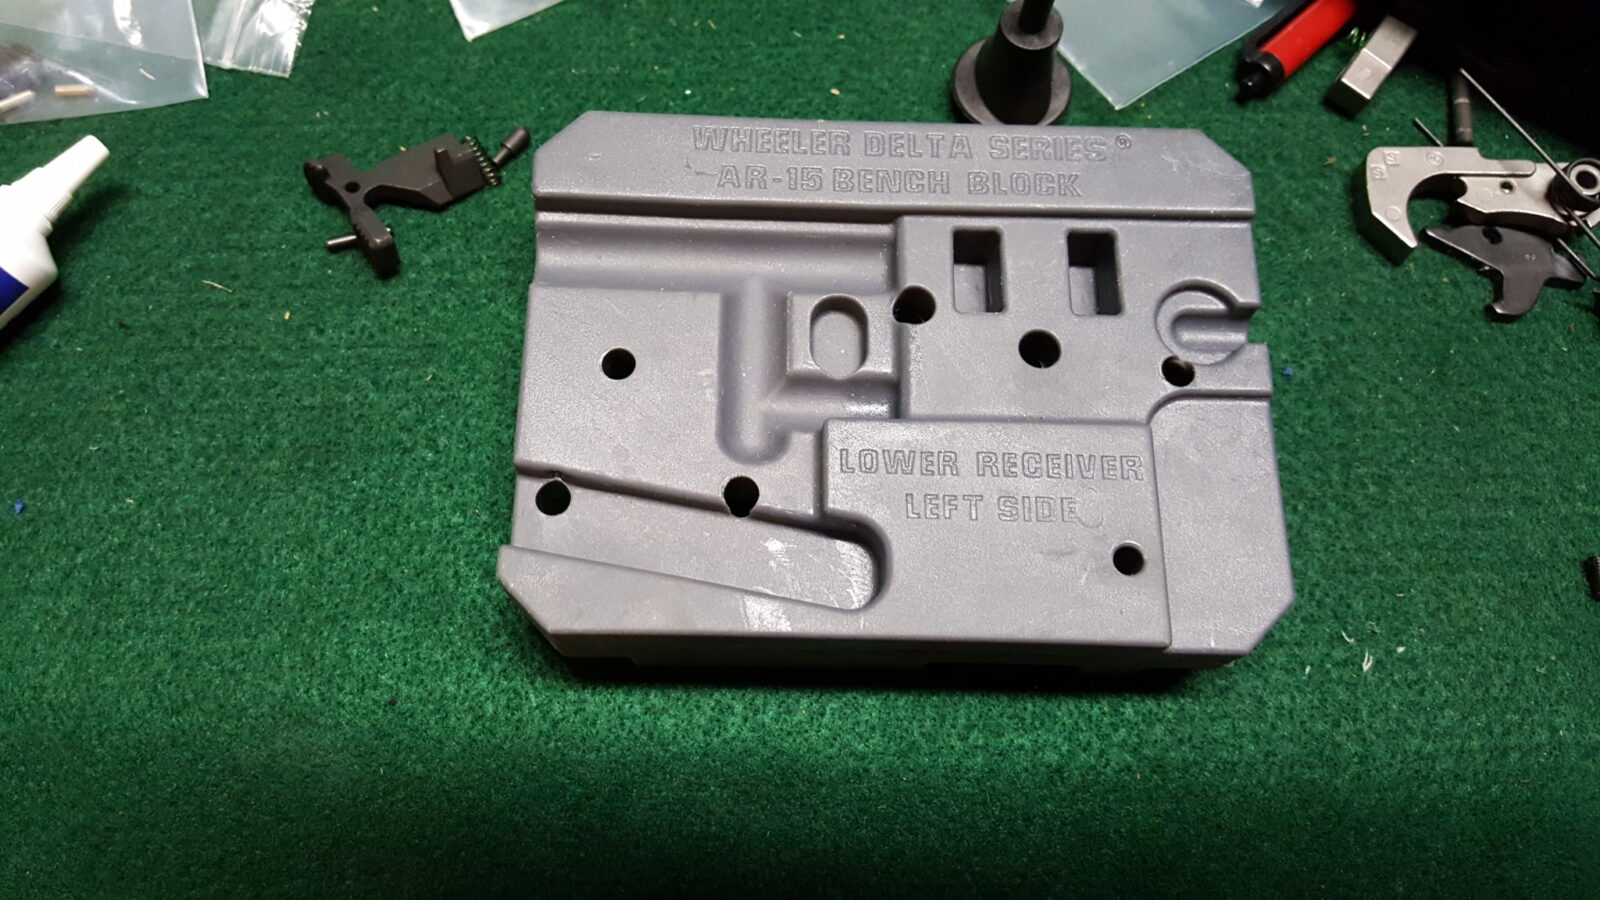
The Wheeler 156945 bench block does a good job helping you both hold and support work. You want the “ears” on the receiver to be supported. There are plenty of stories of guys not supporting the ears, trying to tap in the roll pin that holds the trigger guard in place and then breaking off an ear. Whether you use the Wheeler block or even a piece of wood – be sure to support the ears.
Note how nicely the Wheeler 156945 bench block supports the AR lower.This is a roll pin starter punch. This one is made by Squirrel Daddy.
Option two: Wheeler Engineering makes a nice simple tool to install or remove that roll pin. Boy does it make it easy and this is my preferred method. The little tool is super simple – it has two pins that fit into the end of the screw. A long one for removing the pin and a short one for installing the roll pin. You just line things up and then tighten the screw. The pin goes into the hole in a very controlled manner and your finish is protected. Stop once your pin is flush with the receiver.
Other options: I have seen guys use pliers with the jaws wrapped in tape, modified C-clamps, and more. You can Google around or search on Youtube to see a variety of approaches.
There are a lot of reputable AR parts vendors online but beware of eBay and bargain basement dealers that sell airsoft parts and tell you they will stand up to firearm use – they will not. At any rate, here are my top sources of AR parts: