So, let’s review how to remove a riveted AK trigger guard assembly. For those of you building from virgin kits or complete demilled (“demilitarized”) kits, you don’t need to do this but for many folks they do. In my case, I needed to remove the trigger guard from a beat to heck donor rifle that someone had butchered.
You have three options to remove the trigger guard rivets:
- Drill them out by center punching each rivet or using a rivet drill jig and remove them.
- Mill the heads off, drill a hole and punch out the remainer of the bodies.
- Grind the heads off, drill a hole and punch out the remainder
All of the above methods work. It really comes down to what you are most comfortable with. As for myself, I use option three. The reason I just don’t drill them out is that rivet head shapes can vary considerably. The AK-Builder drilling jig is fantastic but it can’t guarantee you are centered on every rivet.
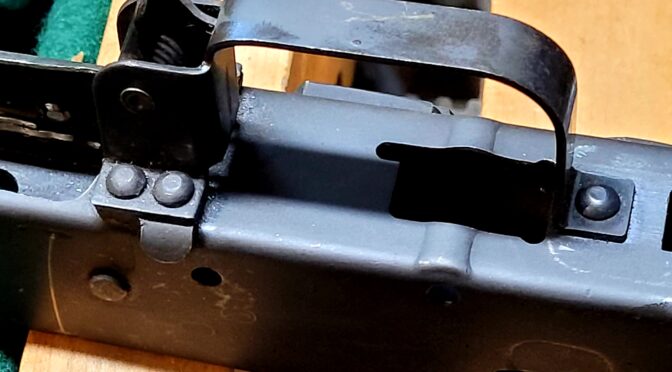
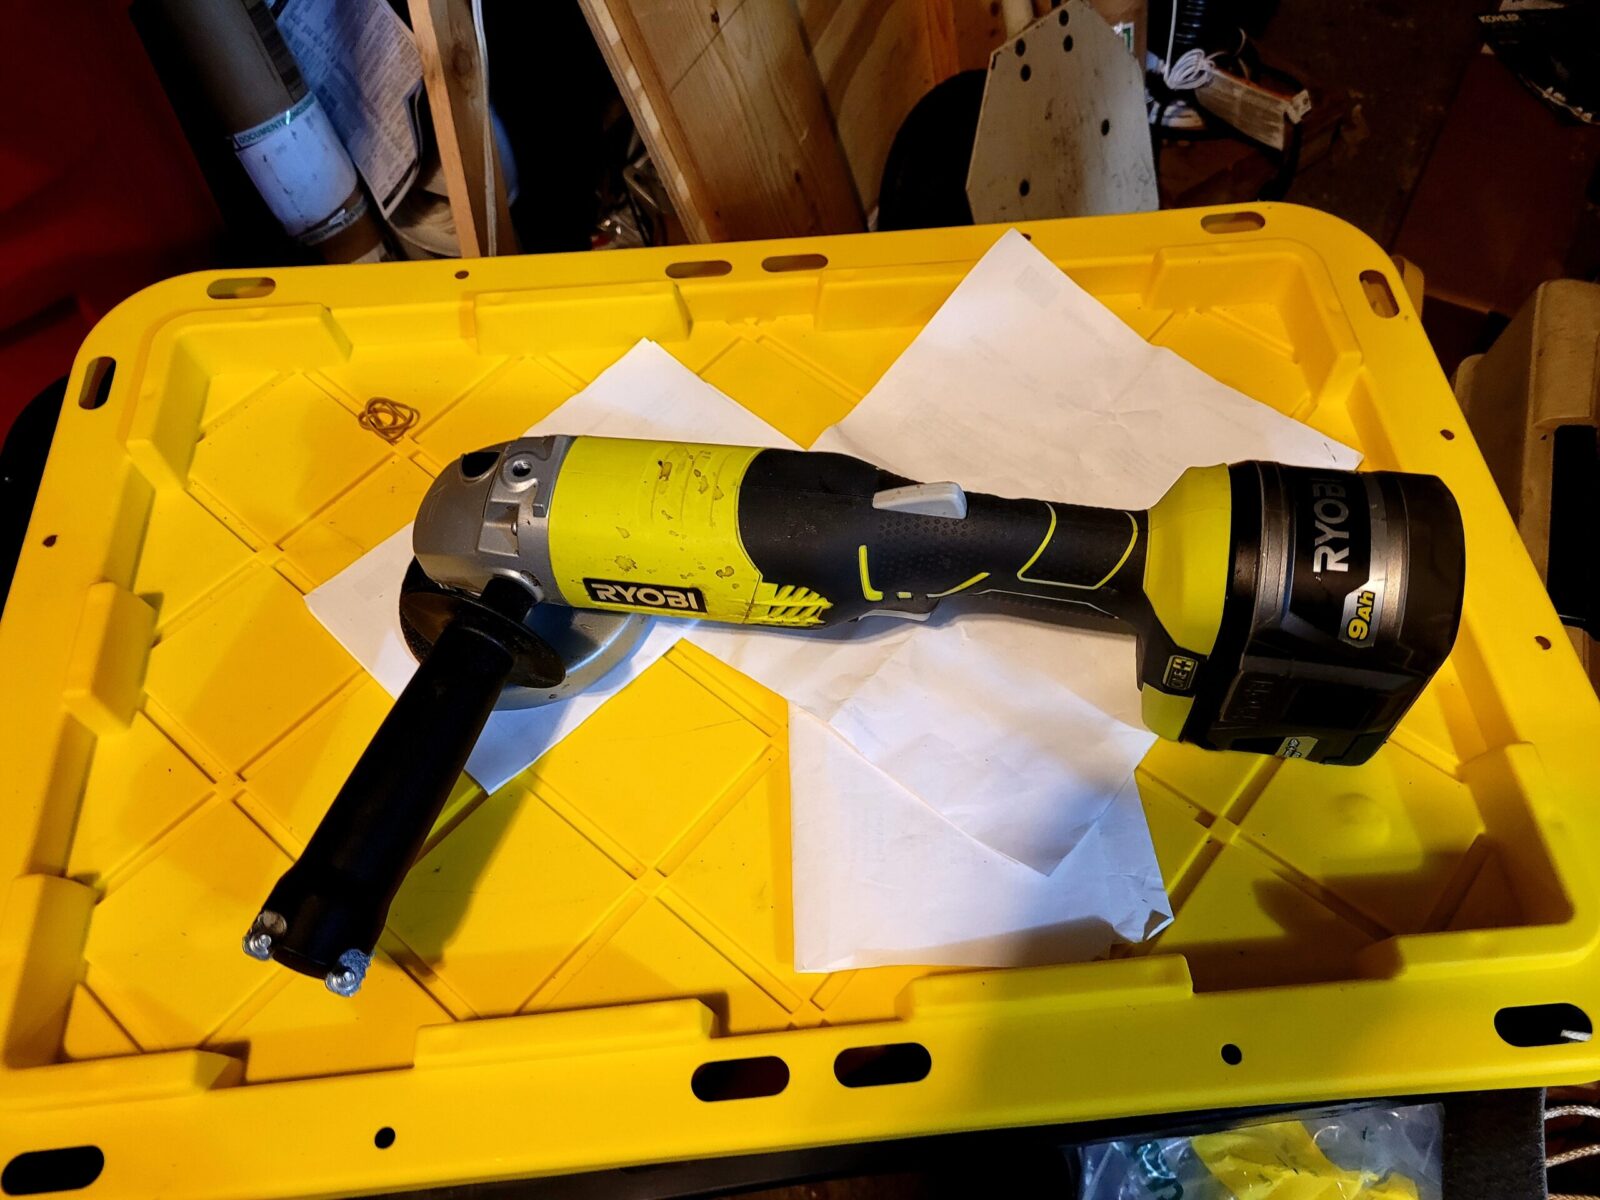
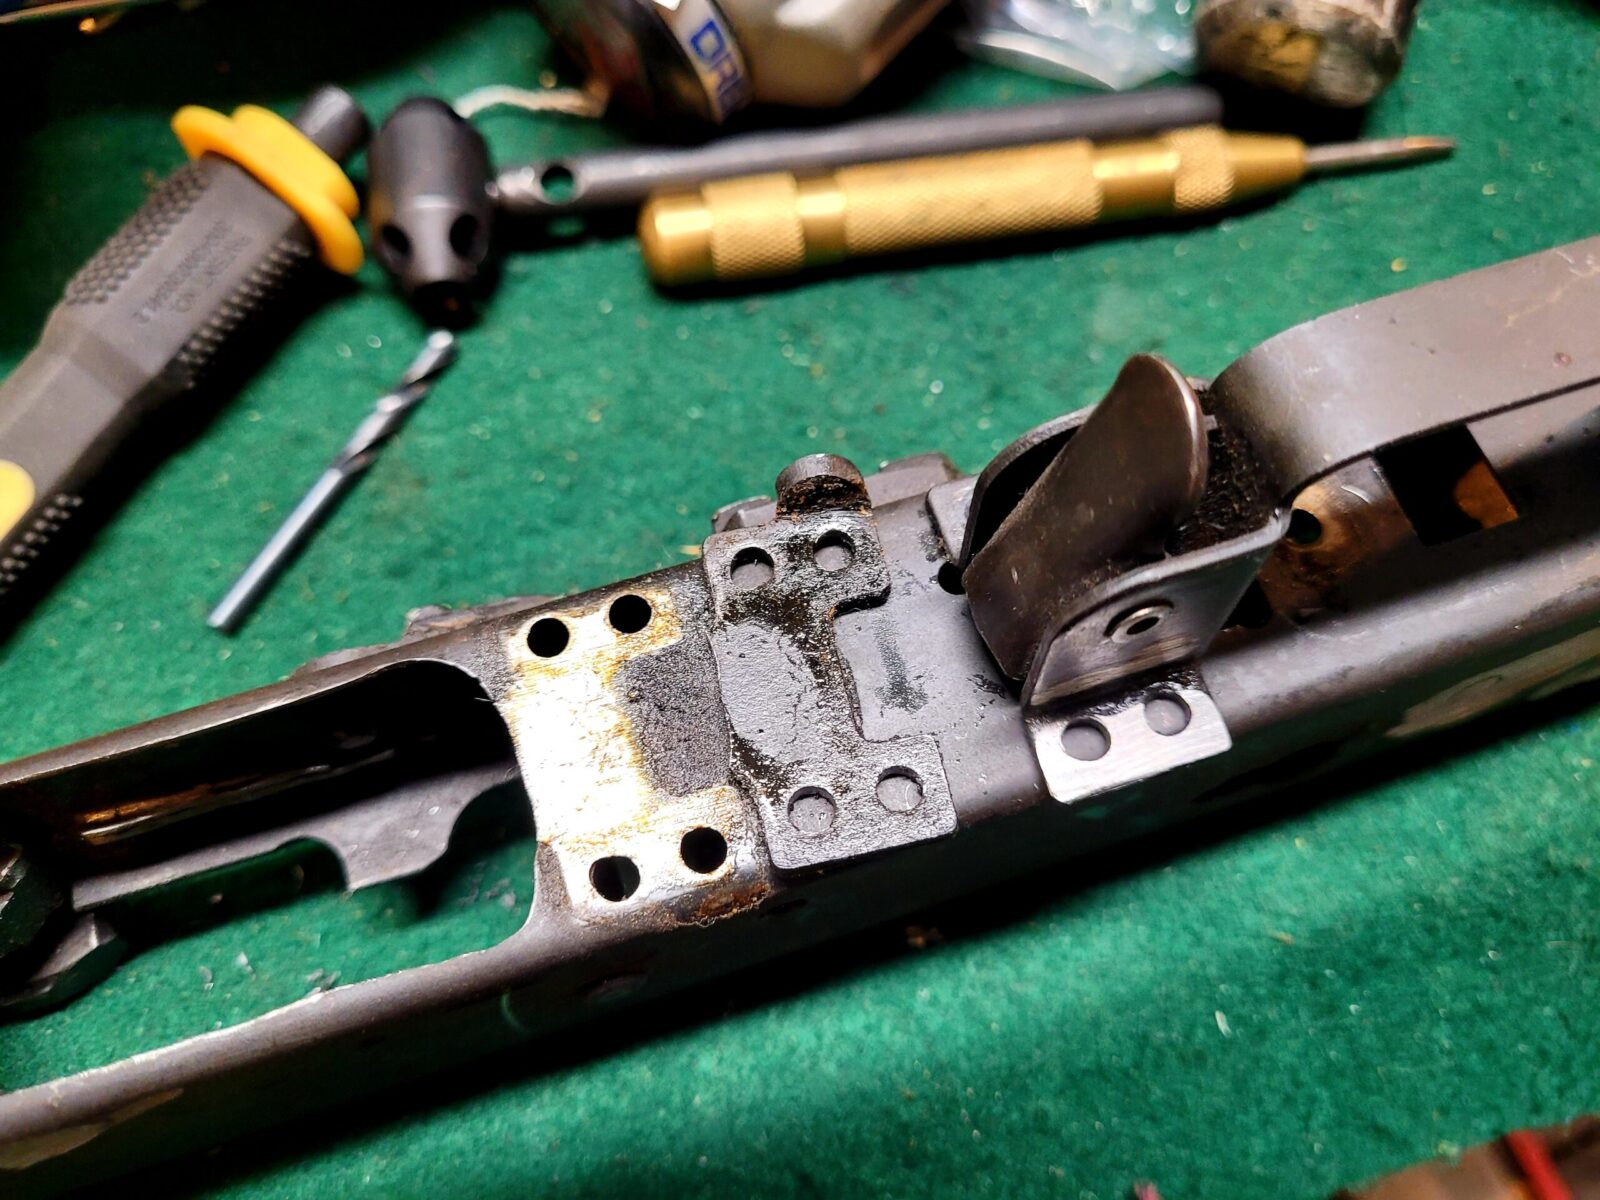
With this in mind, I simply take a 4″ grinder and take off the rivet heads flush to the surface of the trigger guard itself. This lets me see the outline of the rivet bodies so I can then drill and 1/8″ hole and I’ll explain why after a couple of photos.
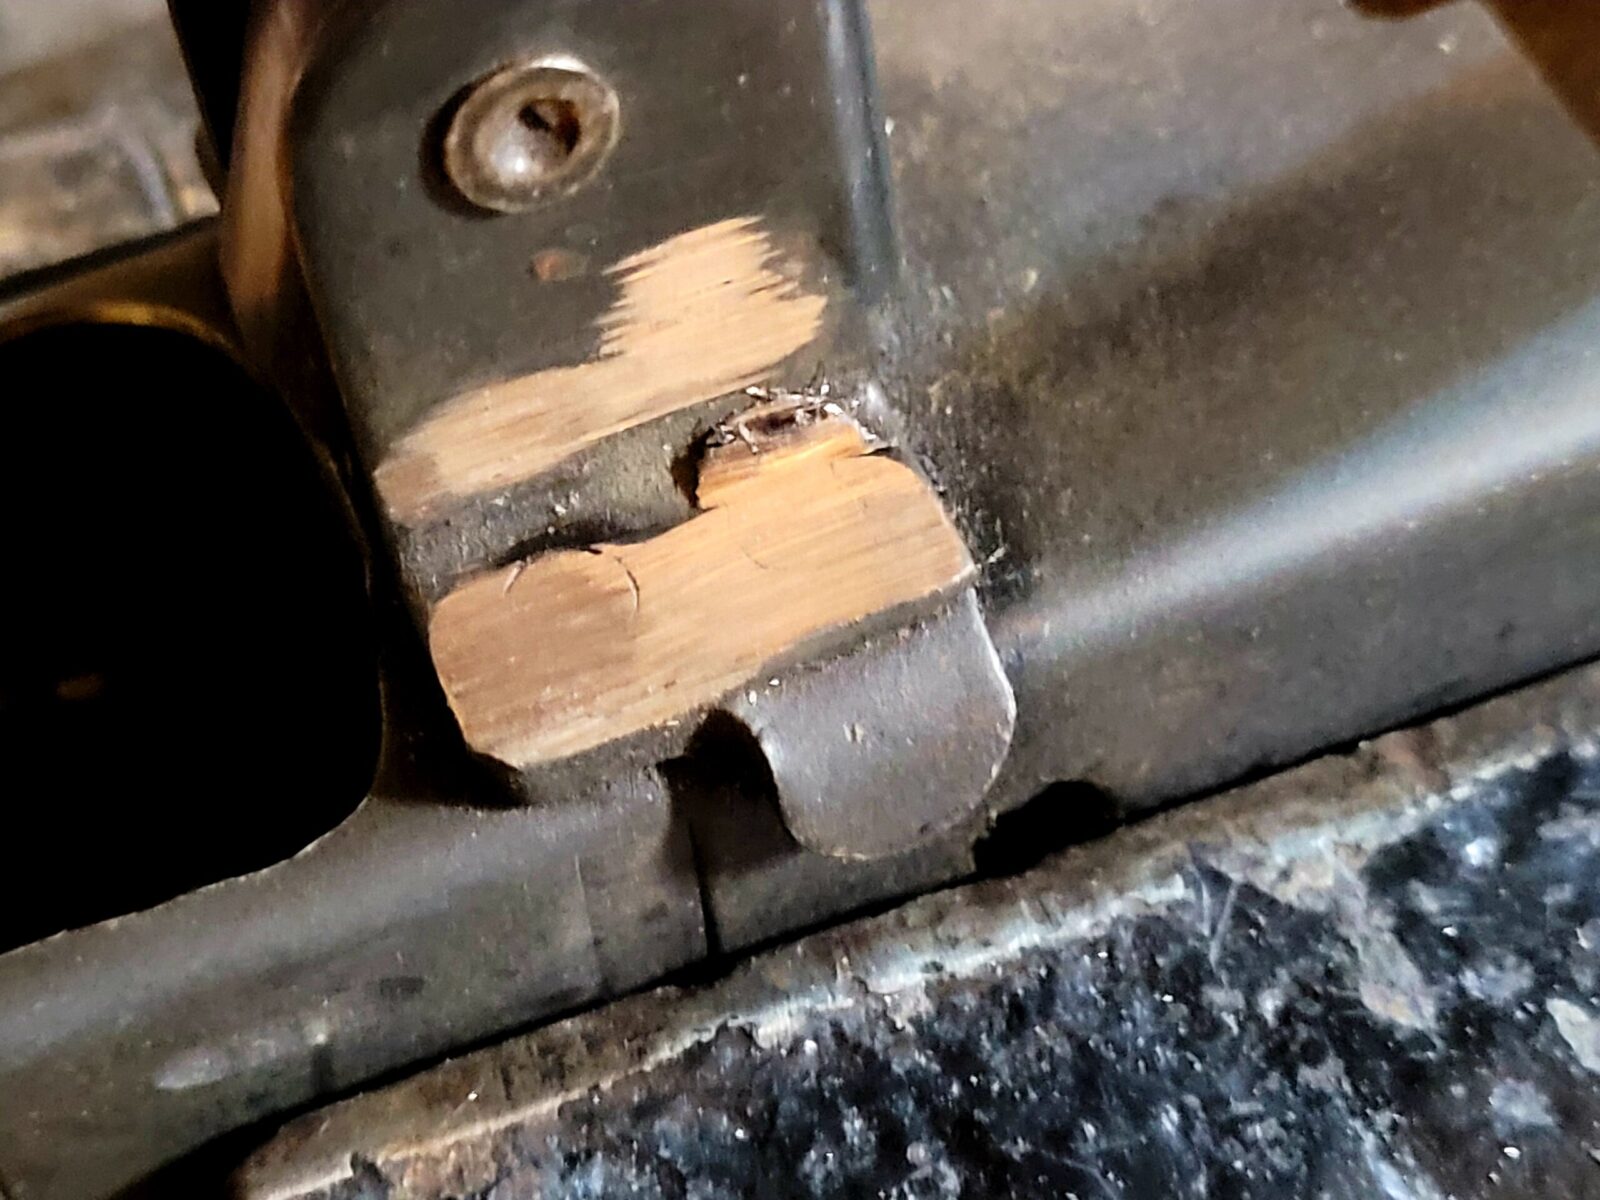
The next steps you will do are to center punch each rivet, drill an 1/8″ hole through the rivet and then use a roll pin punch to knock the rivet out. This was a bit of an epiphany for me one day – I was trying to keep the punch on the rivet and I thought to myself – “Man, what if I drill a hole and use the right sized roll pin punch? The little ball on the end of the roll pin punch ought to keep it centered.” I tried it and it worked great. No more punches slipping around.
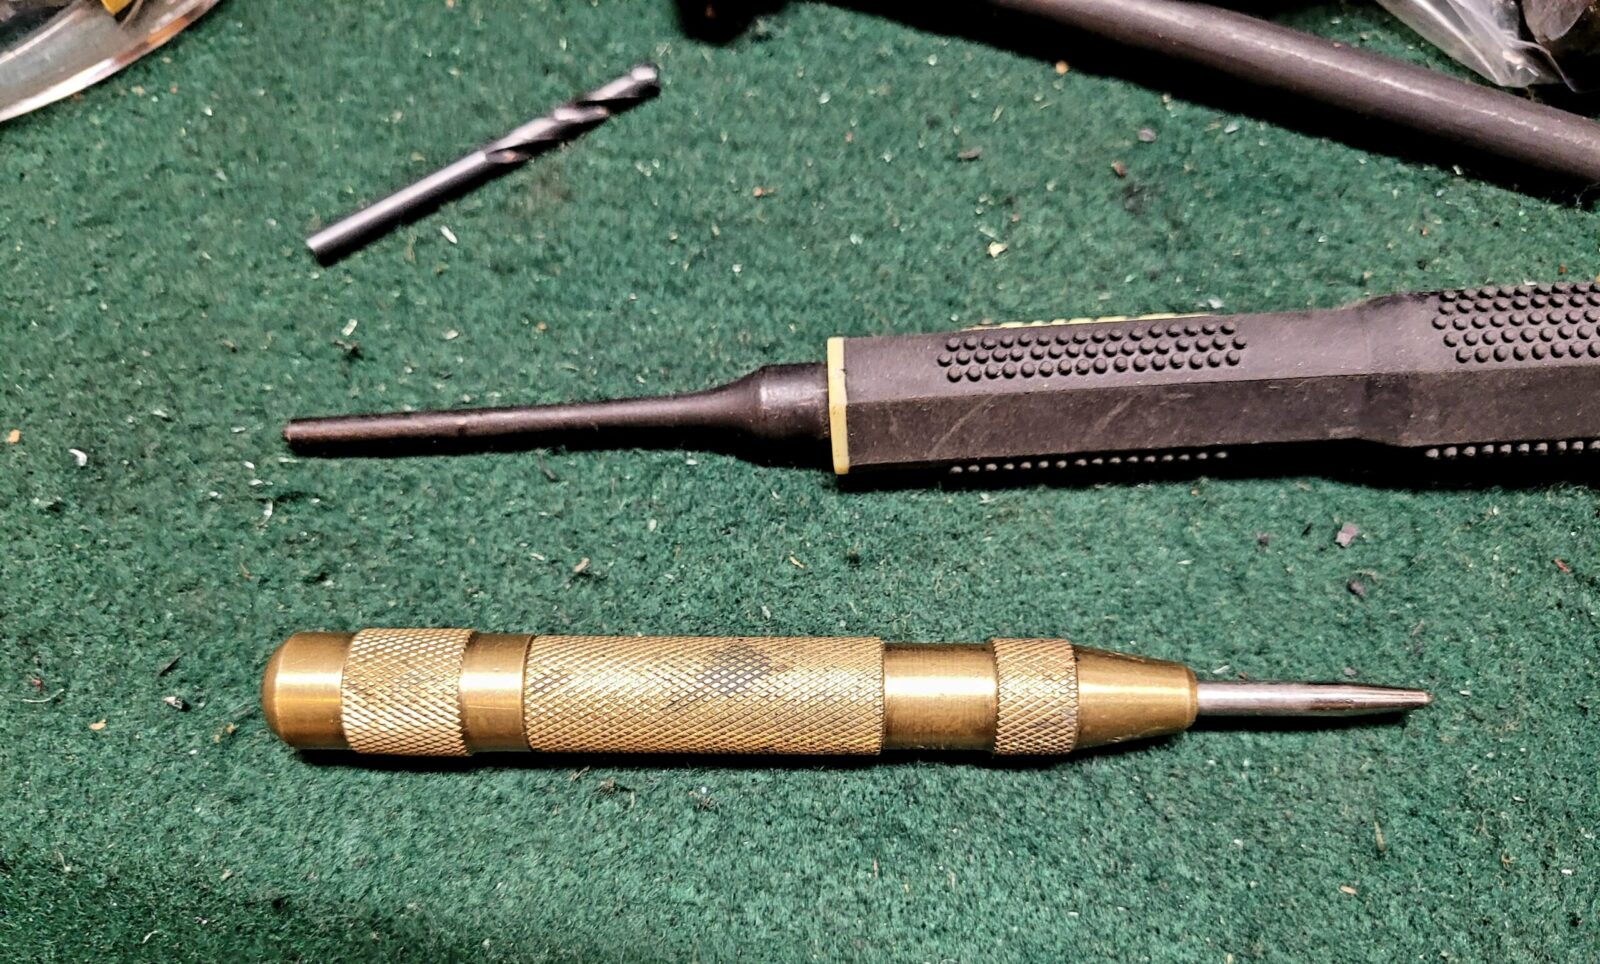
One perk of only using an 1/8″ drill bit is that you have some margin for not being exactly centered on the rivet. 1/8″ is 3.127mm and a 5/32″ drill bit comes in at 3.969mm so real close to the actual 4mm holes drilled in the parts and if you are off a tad then you wind up with an “egged” or misshapen holes. Of course you can use other size drill bits – just figure out what you like.
Even though rivets are relatively soft steel, I still recommend you use cutting fluid. I keep some Tap Magic in a little squeeze bottle with a needle tip and it makes it super easy to add it when working.
Summary
Removing the trigger guard is all about getting rid of the five rivets that hold it in place. Whether you drill, sand, mill, grind or otherwise cut off the tops, then drill out the remainder – using a roll pin punch really makes it easy to punch them out the rest of the way.
Note, I have to buy all of my parts – nothing here was paid for by sponsors, etc. I do make a small amount if you click on an ad and buy something but that is it. You’re getting my real opinion on stuff.
Please share the link on Facebook, Forums, with colleagues, etc. Your support is much appreciated and if you have any feedback, please email us in**@*********ps.com. If you’d like to request a report or order a reprint, please click here for the corresponding page to open in new tab.