Okay, some guys hate AR gear on AKs and if it’s not your cup of tea, that’s fine. I do like AR stocks and have no problems putting whatever stock on whatever family of firearms. I’m more into pragmatism and making a firearms do what I want than arguing over AR vs. AK or whatever. This is also why I have commenting turned off on the blog.
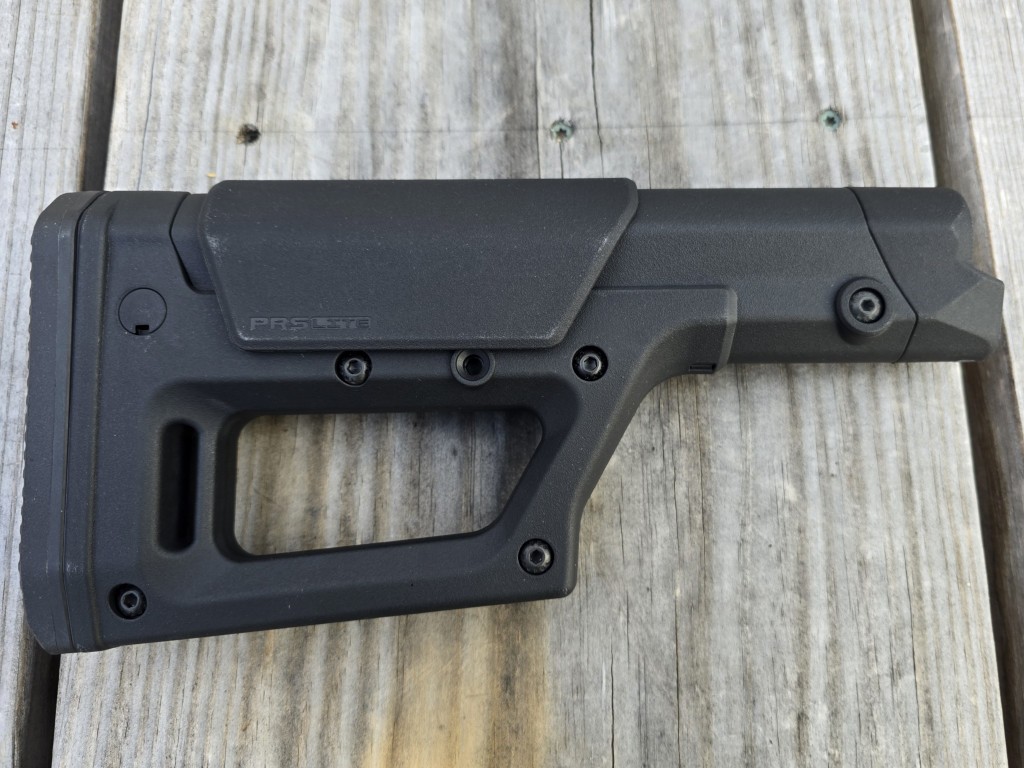
At any rate, even before I bought the M77, I knew I was going to trick it out for my purposes and I wanted to put one of the Magpul PRS Lite stocks on it for a few reasons:
- I like adjustable stocks like the PRS but don’t need to constantly change the length of pull or the comb (where your cheek sets) thus I didn’t need to spend the money on a full blown PRS Gen 3. By the way, in case you are wondering PRS stands for “Precision Rifle/Sniper”.
- The M77 will never be mistaken for a carbine given its length nor do I need to collapse the stock so the fixed postion PRS Lite was fine by me.
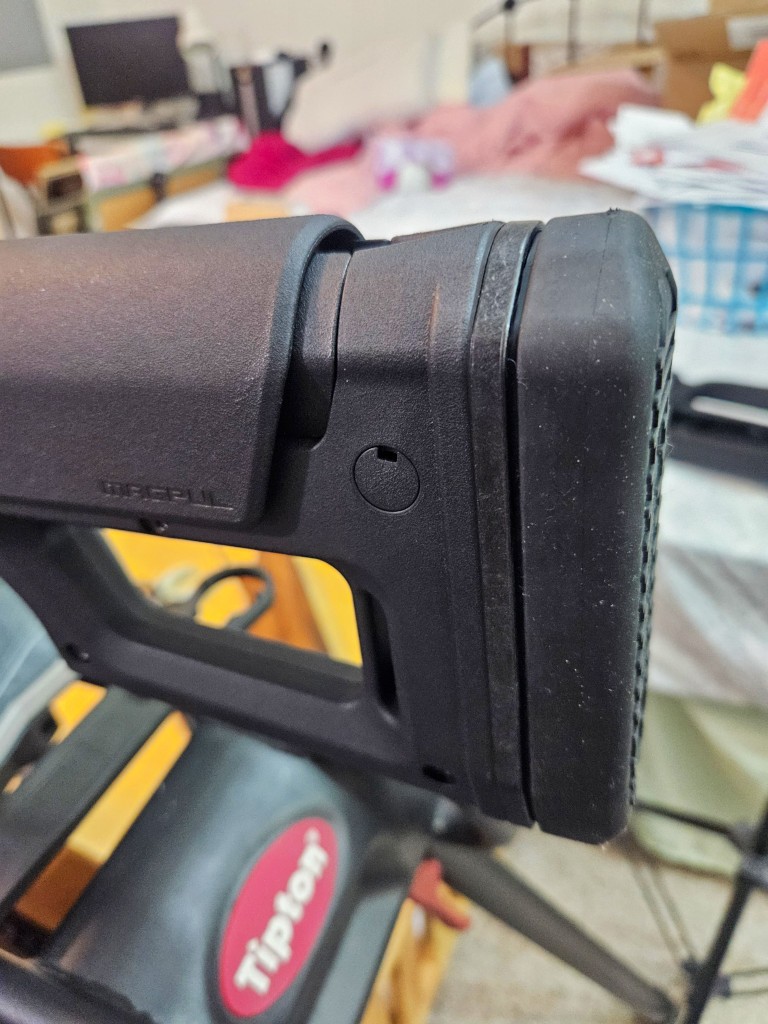
- There are aftermarket thick recoil pads you can put on a PRS to absorb recoil.
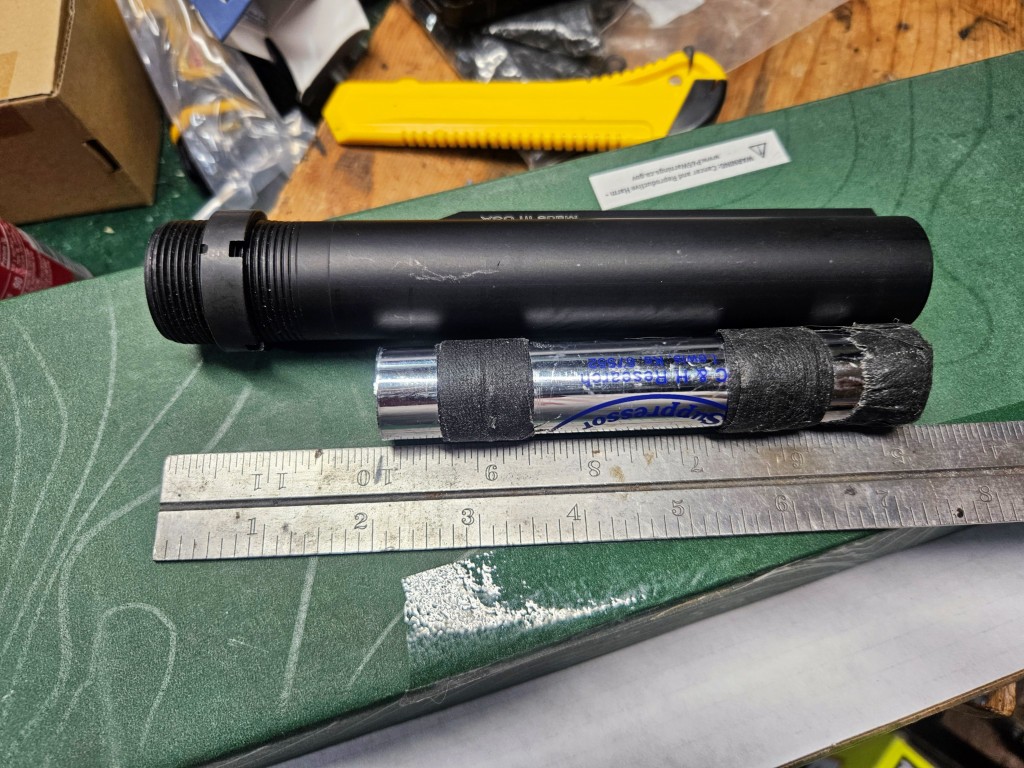
- By using a buffer tube, I can slide in a mercury recoil suppressor to add weight, absorb some of the recoil and balance the rifle out a bit more to compensate for a long barrel and relatively heavy front end.
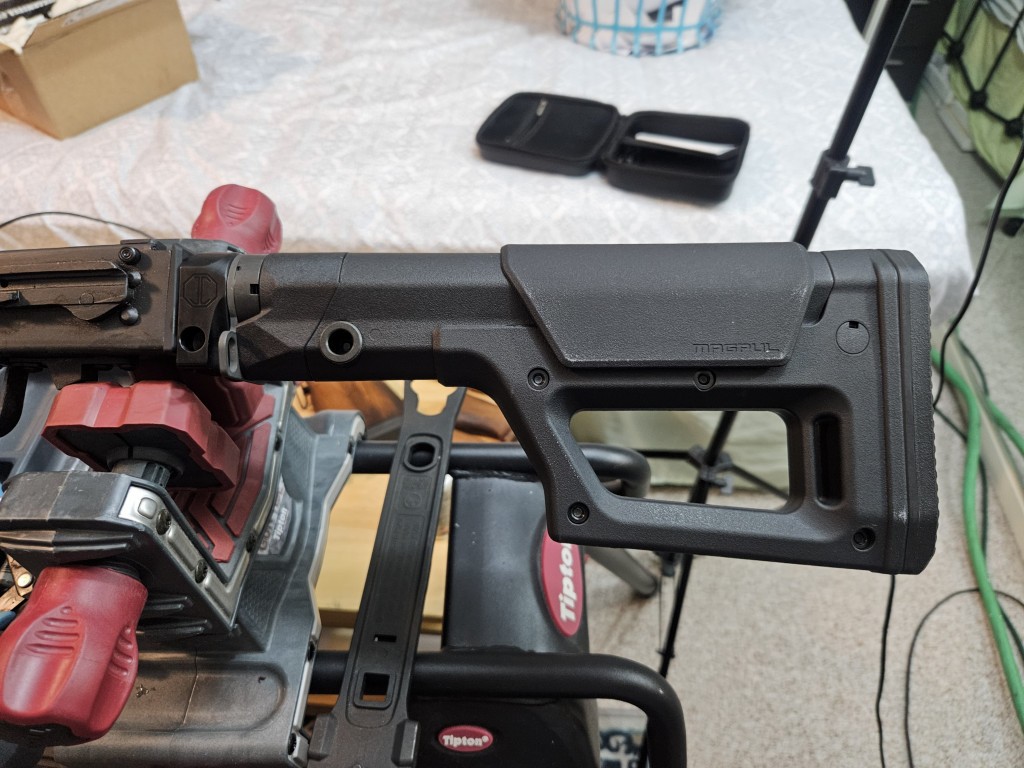
- Last but not least, the PRS Lite reminds me a bit of a PKM stock due to the skeletonized opening. (I’m sure someone just spit their drink out reading that). I had a new mint Romanian PKM stock many years ago that I sold at some point and still wish I hadn’t. In short, I like the looks.
- Also, the PRS Lite is a bit cheaper than a PRS Gen 3 but that wasn’t a big factor for me – the PKM look is actually what tipped me in the direction of the Lite model.
Parts you will need
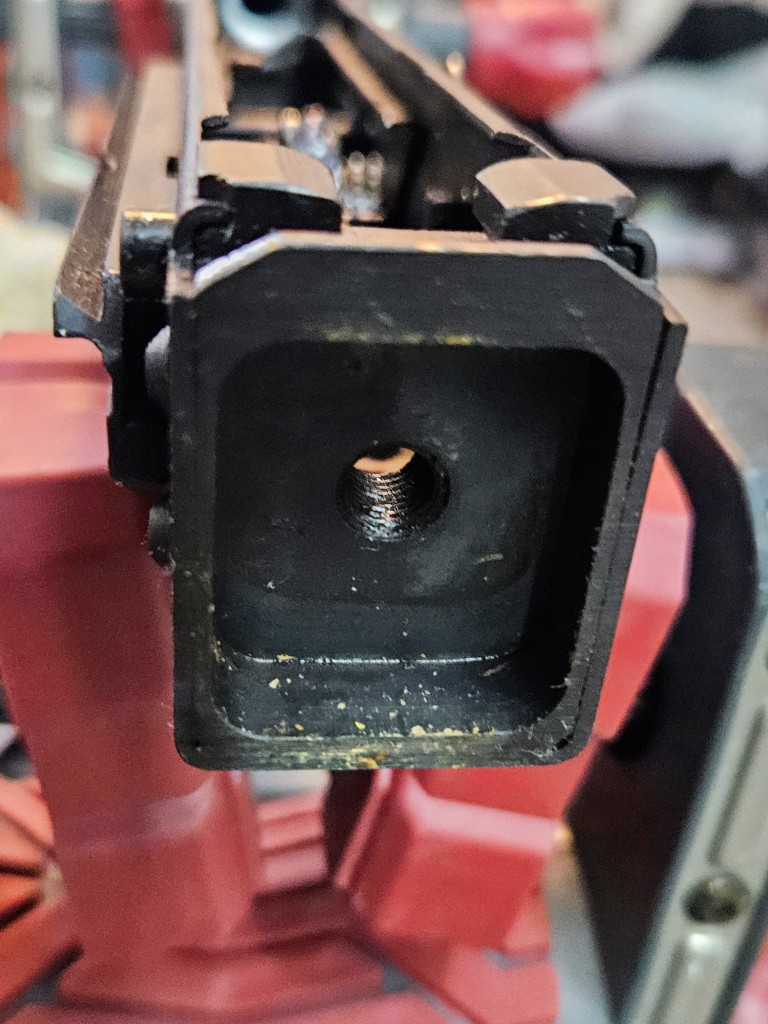
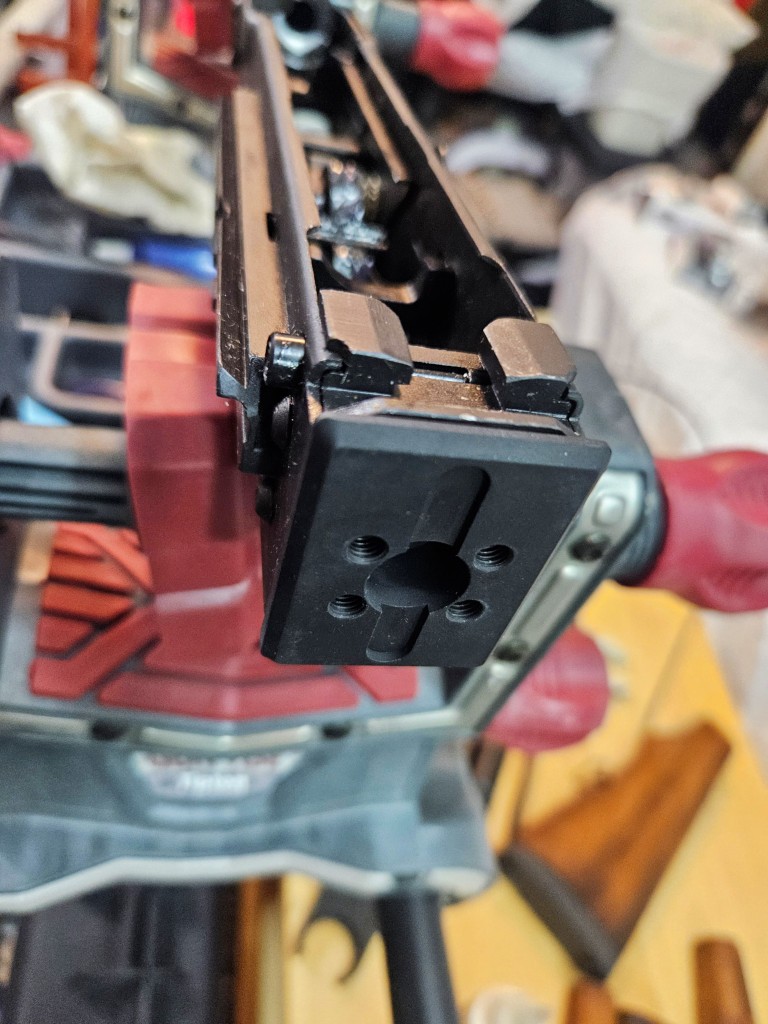
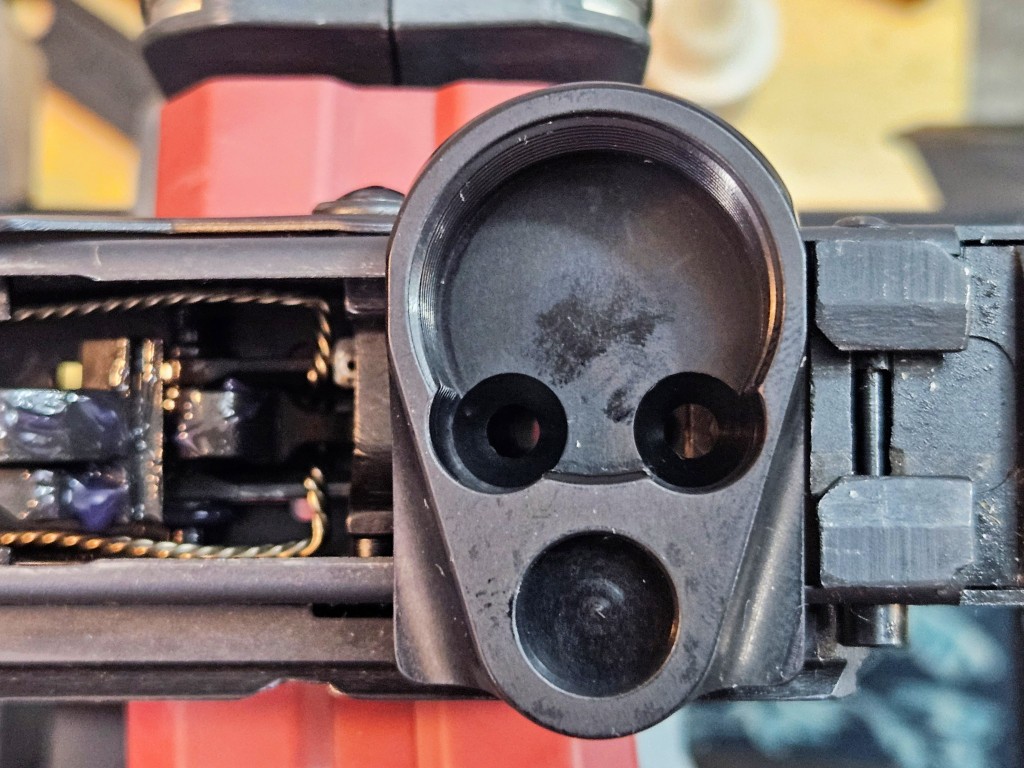
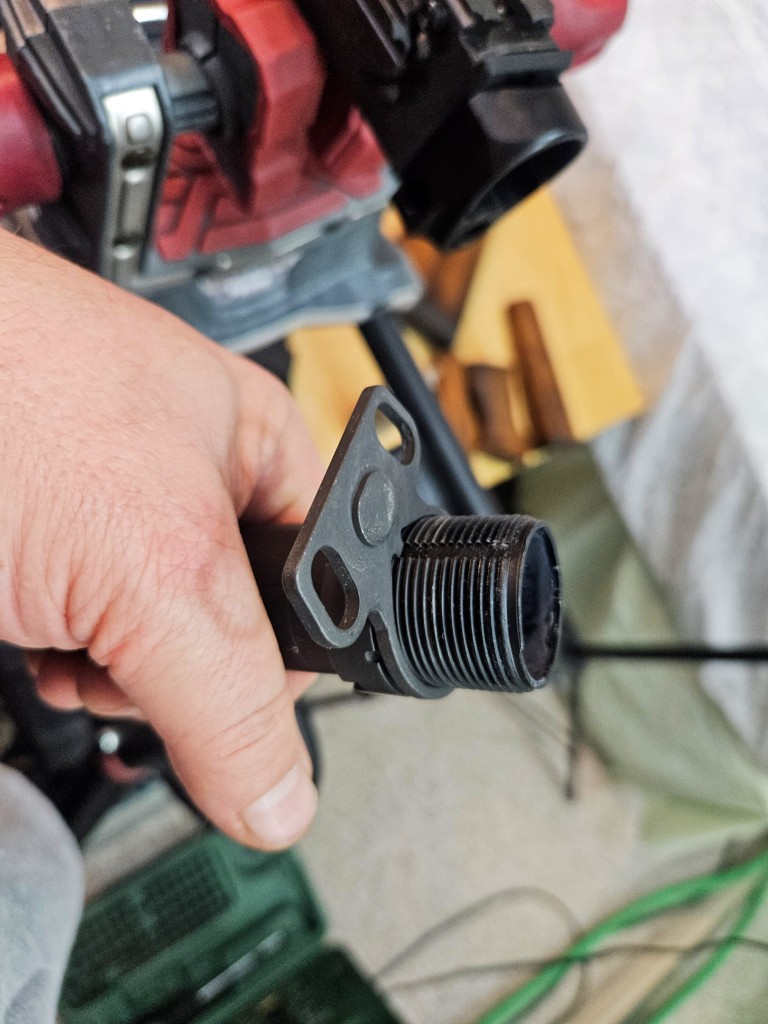
- Zastava/Yugo to M4 adapter – this screws into the square hole in the rear trunnion and then presents the hole the buffer tube screws into and the end plate. Go with an aluminum model from a reputable vendor like Ace, JMac Customs, Desert Fox, etc. Note, JMac went a very different route with their pioneering 1913 Picatinny rail interface for the stocks and I provide more details down during installation.
- A buffer tube – I’d recommend a M4 six position Mil-Spec carbine buffer tube for the greatest flexibility. Rifle length tubes are rarely used on new firearms now as people want the adjustable stocks. Commercial sized buffer tubes were due to some things Colt did many years ago and thus on the way out so go with Mil-Spec which refers to the outer diameter of the tube.
- An AR end plate – on an AR, this plate keeps the selector spring captured and also aligns the buffer tube via vertical key that sticks up and keeps the carbine buffer tube from rotating – it does help to have it for that reason and you have tons of options out there ranging from the basic to ones with sling hooks and even QD sling sockets. Not all adapter support an end plate so this might not be needed,
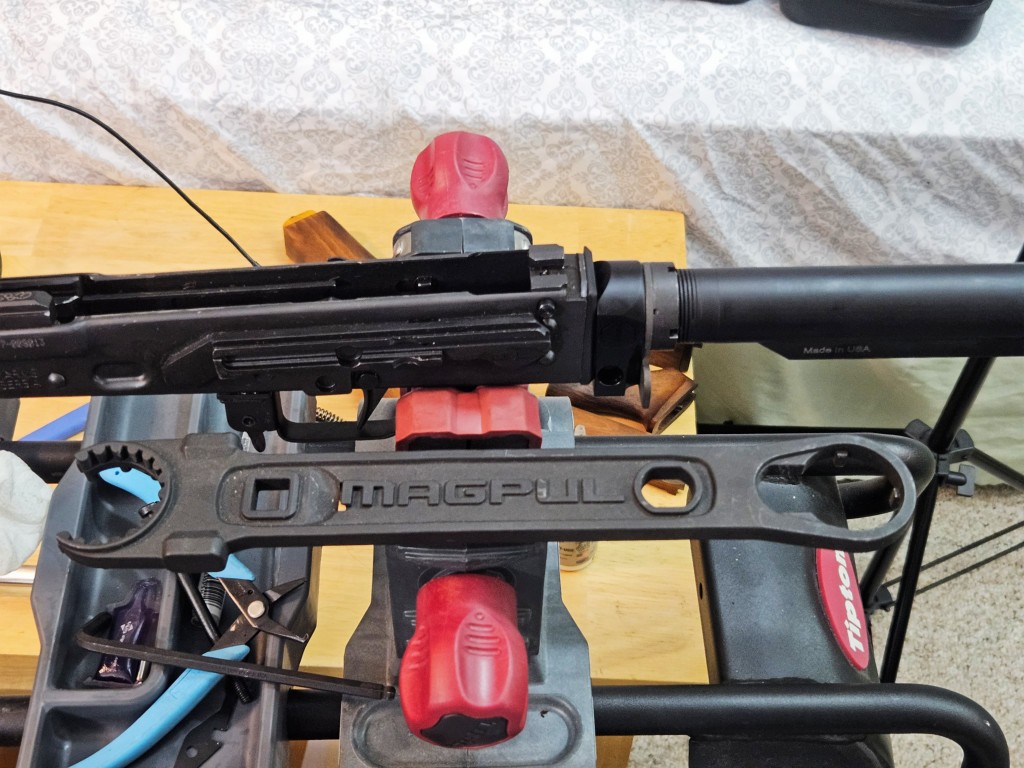
- A castle nut – this nut is threaded on the buffer tube and then tightened down against the end plate to secure the buffer tube in place. Note, you will need a spanner wrench or specialized castle nut wrench of install or remove a castle nut without tearing it up – I recommend the Magpul wrench. By the way, the castle nut gets its name from looking like a medevial castle’s crennelated tower. Crenels are the parts that stick up like teeth to give defenders some protection.
- Finally, whatever stock you want. Just remember to match the buffer tube to the stock. If you get a rifle stock and it needs a rifle buffer tube then get a rifle buffer tube, etc. The PRS and PRS lite have an adapter and can work with either tube type but most stocks designed for a carbine can only work with a carbine buffer tube (just make sure you match on either the Mil-Spec or commercial diameter).
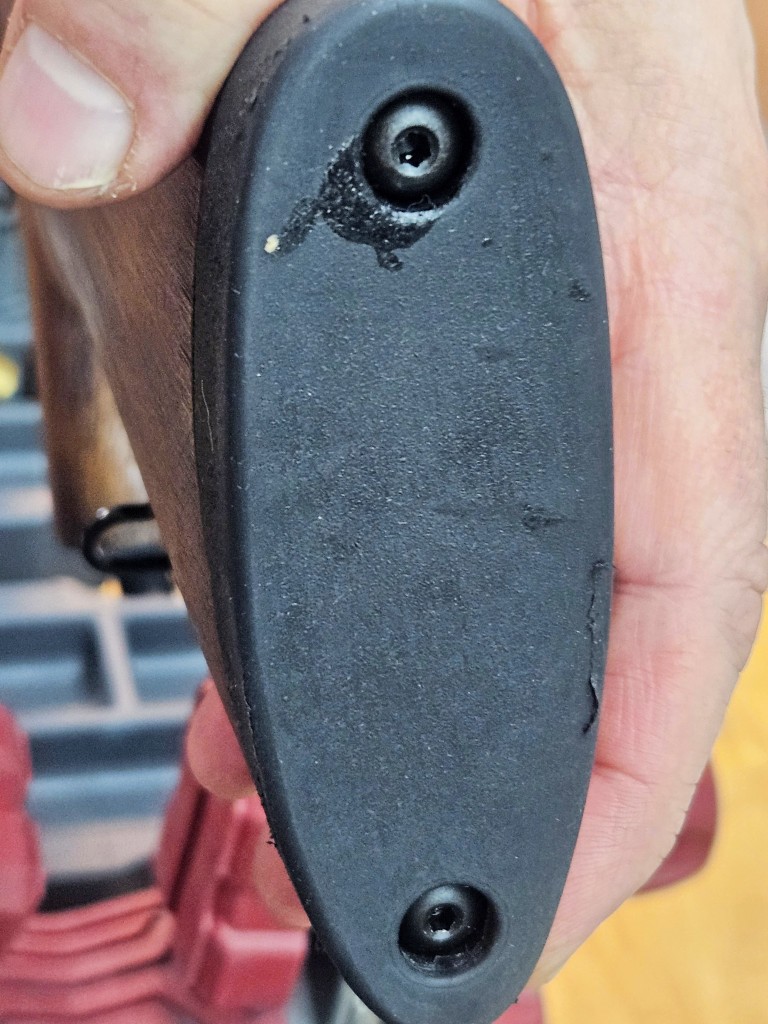
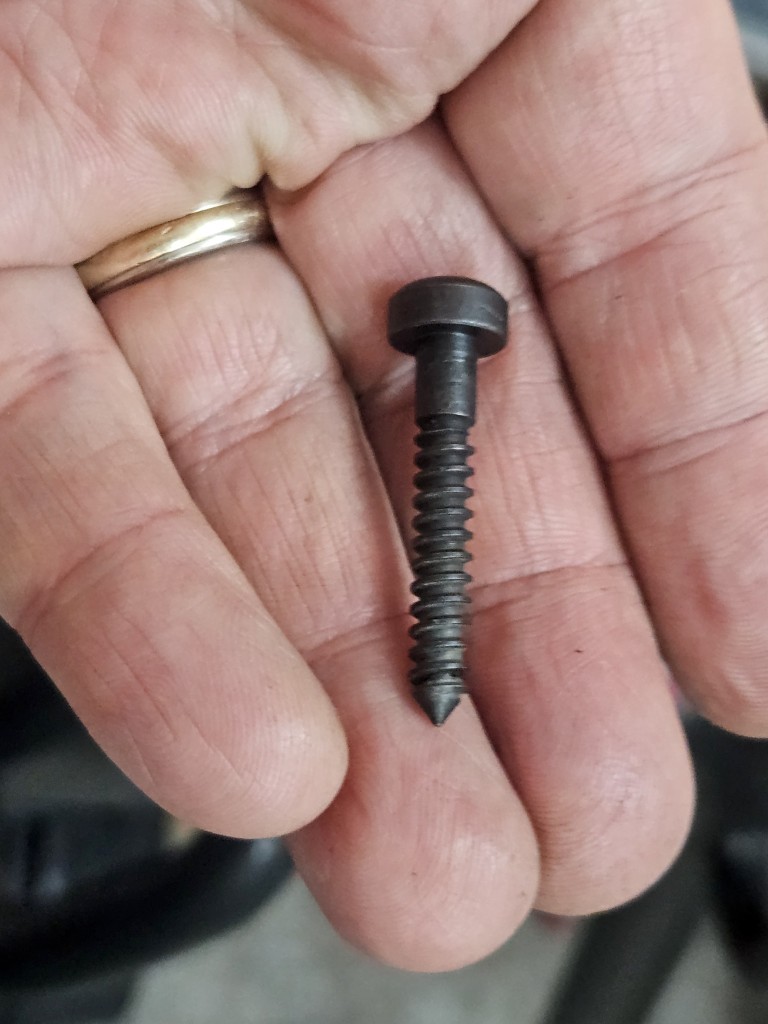
Removing the old stock
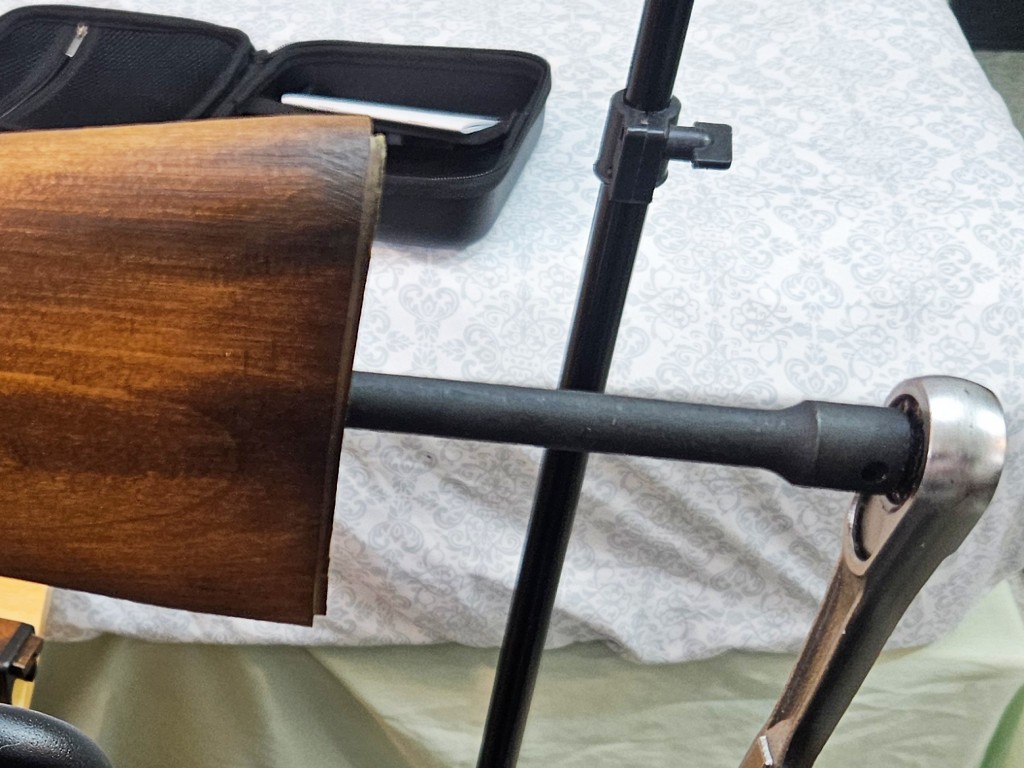
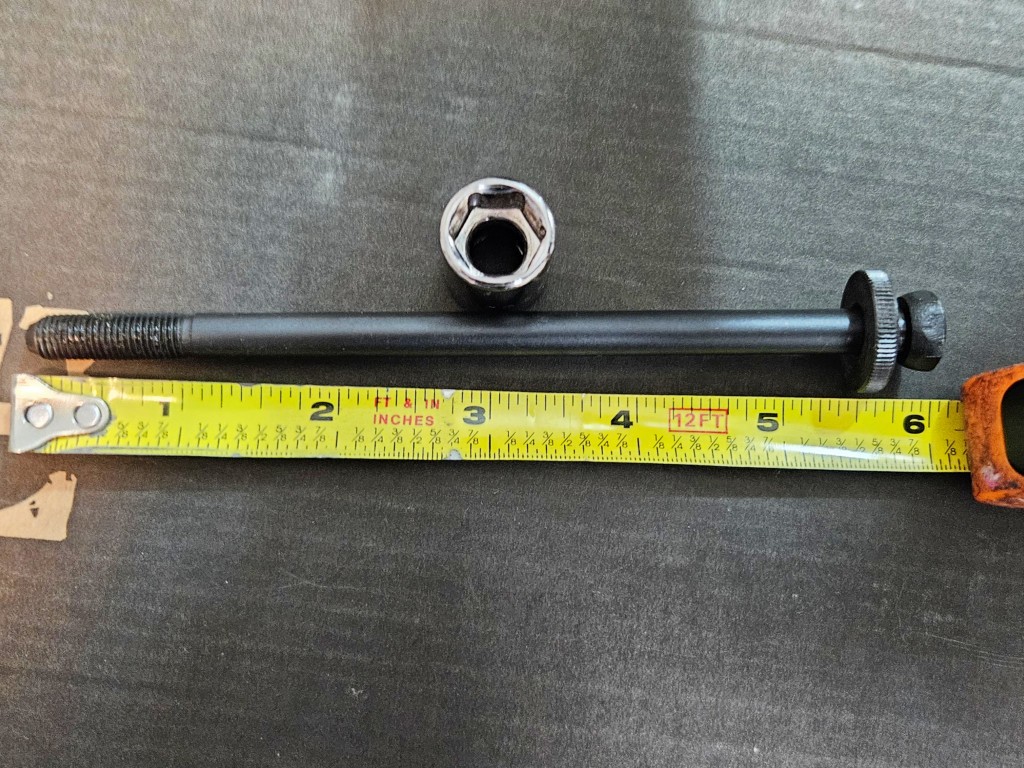
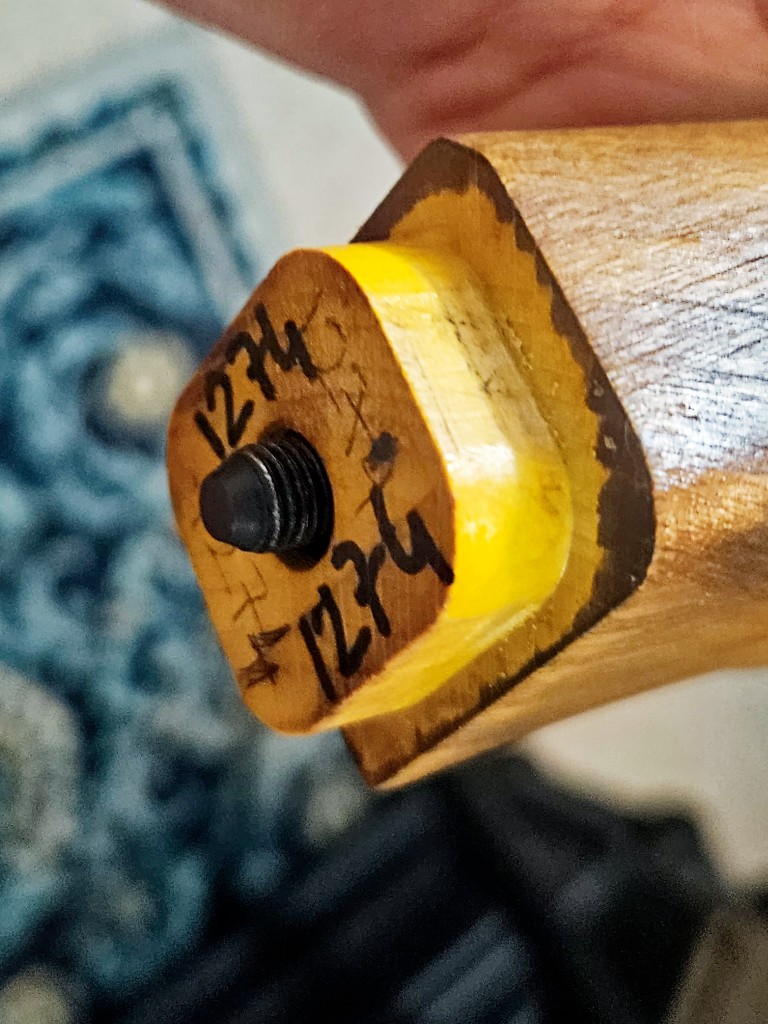
The first step is to remove the recoil pad which is held in place by two beefy wood screws with allen/hex wrench sockets in them. Remove them and then the recoil pad will pull off. You then remove the buttstock bolt and the stock pulls out of the end of the rifle.
Adding the new stock
To add the buffer tube, I decided to use two parts that I happened to have in stock. I used an Ace modular adapter (“AKRBY-AR15” is the exact model) and then a JMAC modular stock to M4 adapter that has sadly been discontinued – I bought mine a few years ago so it’s not surprising things have changed.
JMac went a different route some years back and pioneered adapters that expose a 1913 Picatinny rail at the rear to which you can mount a ton of different stocks. That’s another option for you – click here. Once you have that, you add a folding mechanism, then a skeletonized tube (ST) for a cool “I’m not a normal AR look” and then your AR stock if you go that route.
Many, many years ago, Ace Riflestocks was its own company and alos quite a few years back they were acquired by Doublestar Corp – a large AR manufacturer. Same products and quality but you now see a Doublestar logo. Note, there is an Ace to M4 adapter that I have used many times but does not support the end plate. Not the end of the world but a different approach.
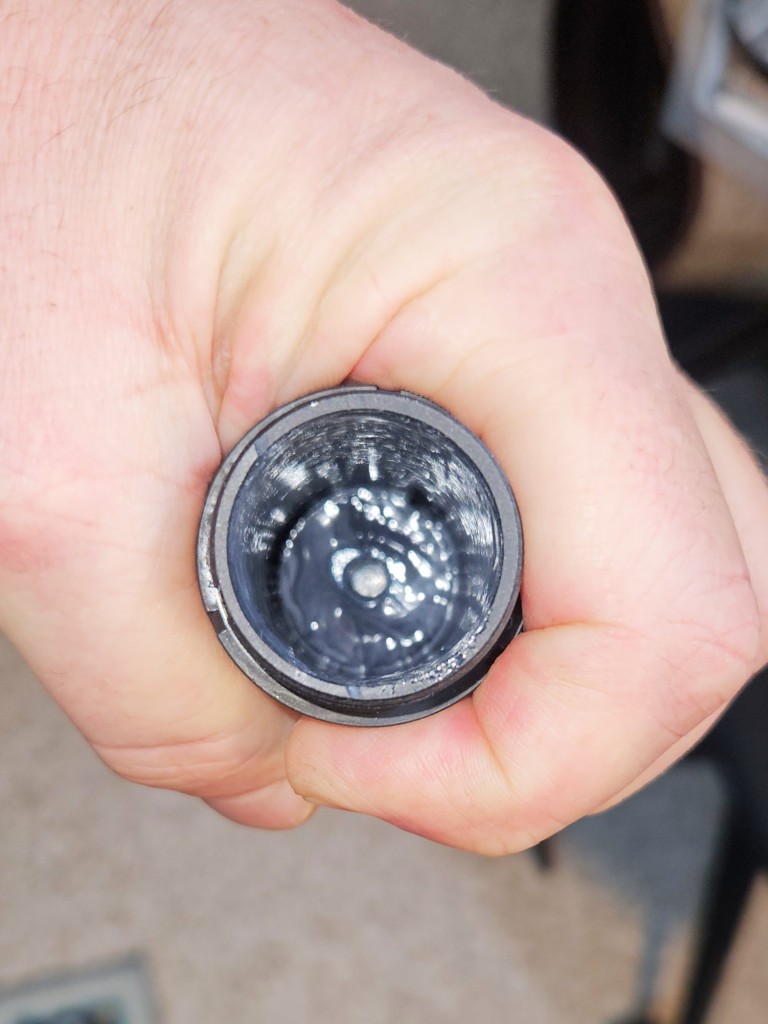
If you do not want the modular approach, Zastava also sells a direct adapter. It screws into the rear trunnion and gives you the mount for the M4 buffer tube.
If you want to insert a mercury recoil reducer
This next step is entirely optional – I installed a C&H mercury reducer to add weight to the rear and absorb a bit of recoil. The completely sealed 7/8″x5″ C&H tube weighs 16oz. The liquid mercury inside sloshes inside and absorbs some of the recoil. Does it do a ton on it’s own – no. Does it and the weight help mitigate some of the recoil? The short answer is yes.
Let’s continue with installing the buffer tube
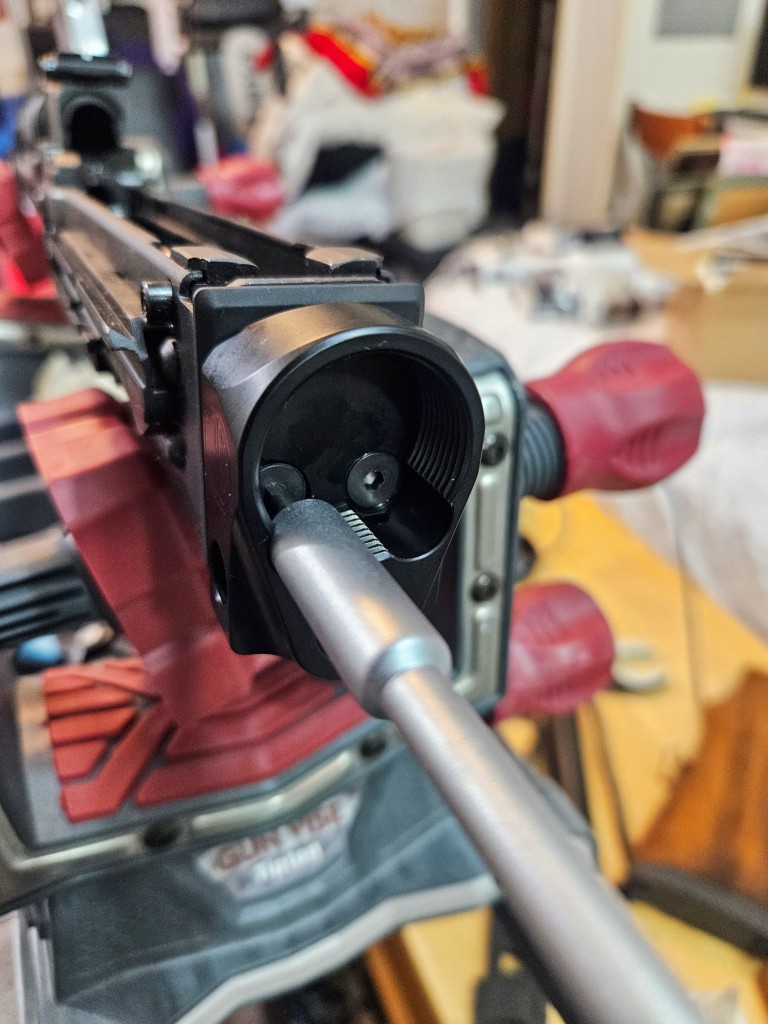
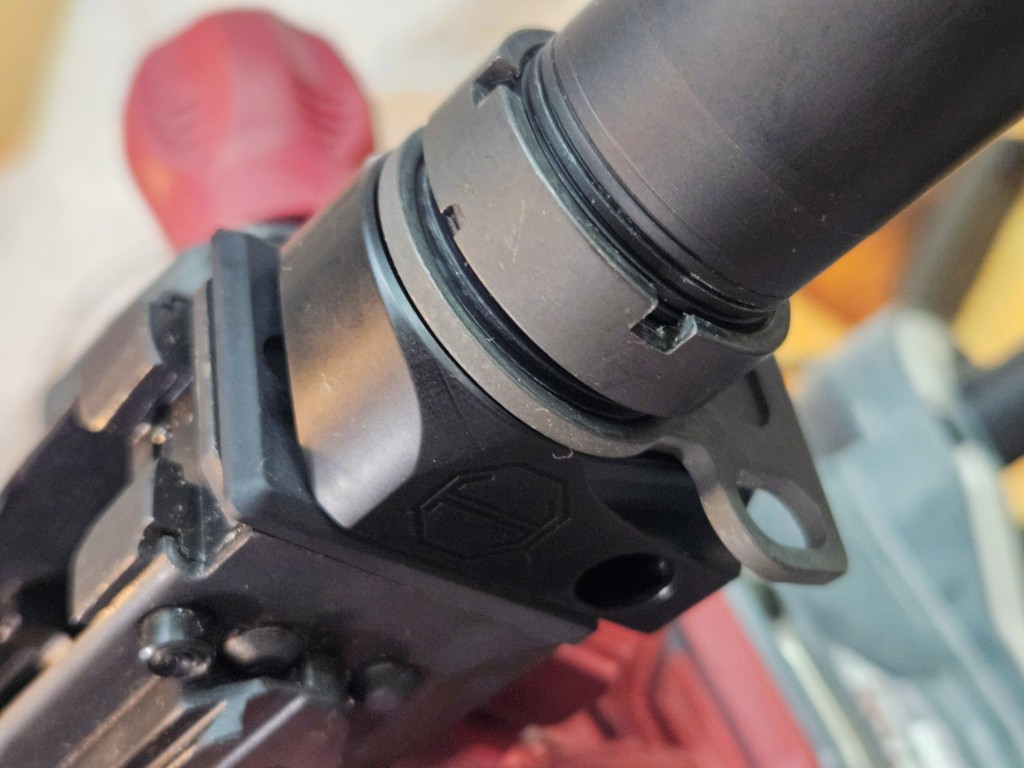
Put the castle nut on the buffer tubes with the largest slots facing backwards and thread it all the way to the bak, Then install the end plate with the “boss” (raised oval) facing forwards to it will go into the end of the AR adapter. You then insert the buffer tube into the adapter and start screwing it in place. When you can’t screw it in any further because of the plate, back it off a turn, push the plate into the adapter, tighten the castle nut with your fingers. Finally, tighten it down with the caste nut wrench – the torque spec is 38-39 ft pounds (you’ll sometimes ready 40 ft pounds but 38-39 is per USMC TM 05538/10012-IN). If you want to do farmer tight, that is up to you. I’d also recommend staking the nut – putting a divot in the nut in one of the small holes between the end nut and the castle nut so the castle nut can no longer turn without a wrench. Again, up to you.
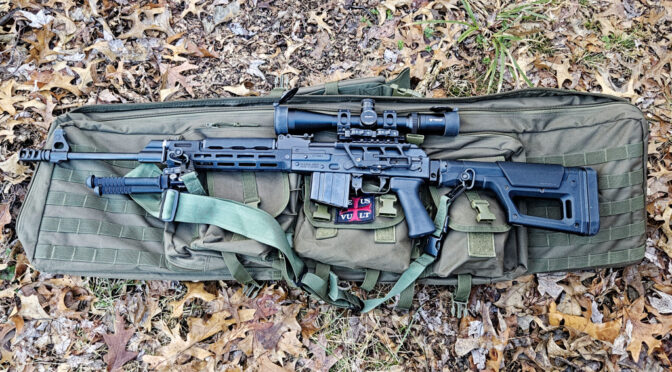
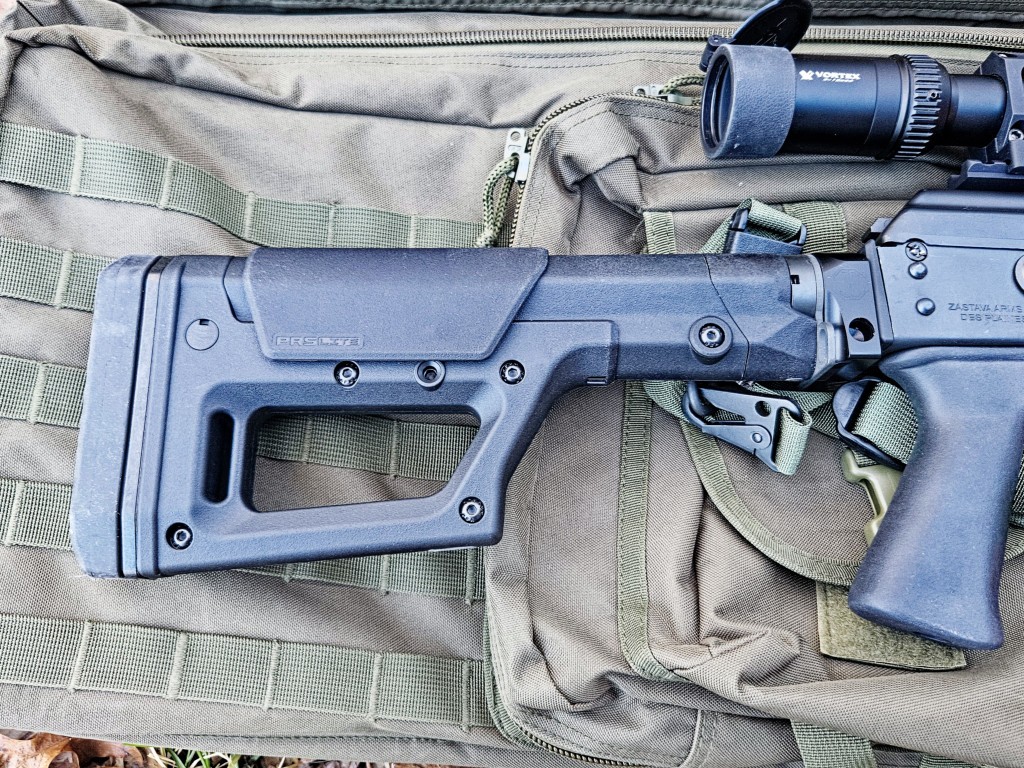
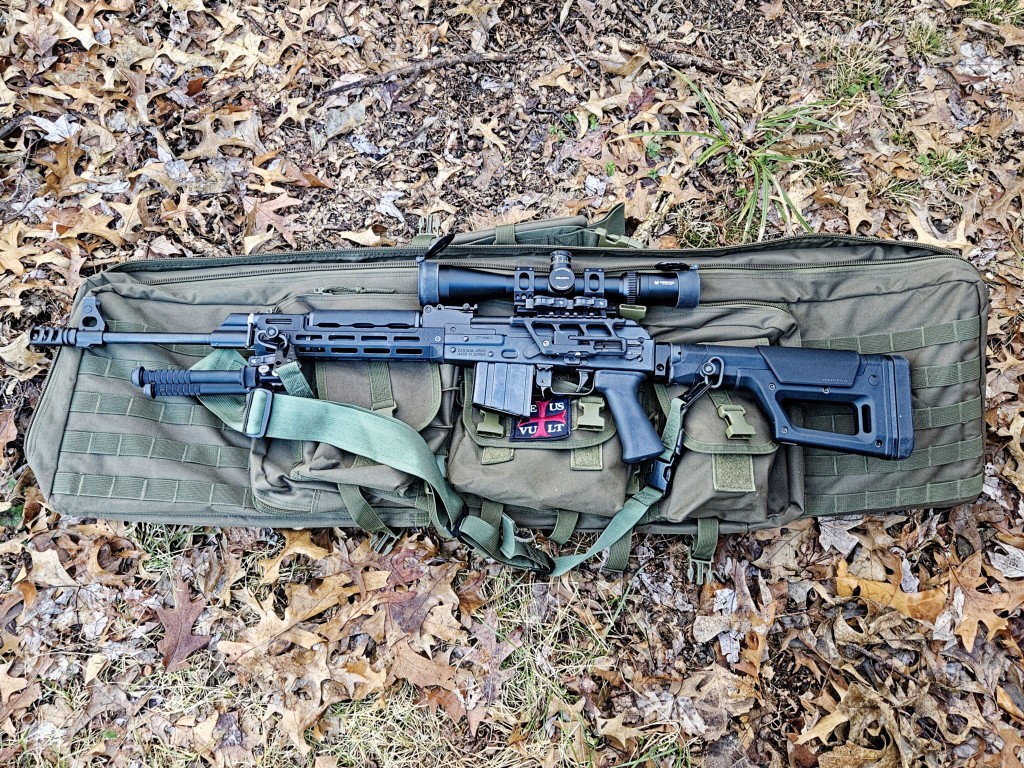
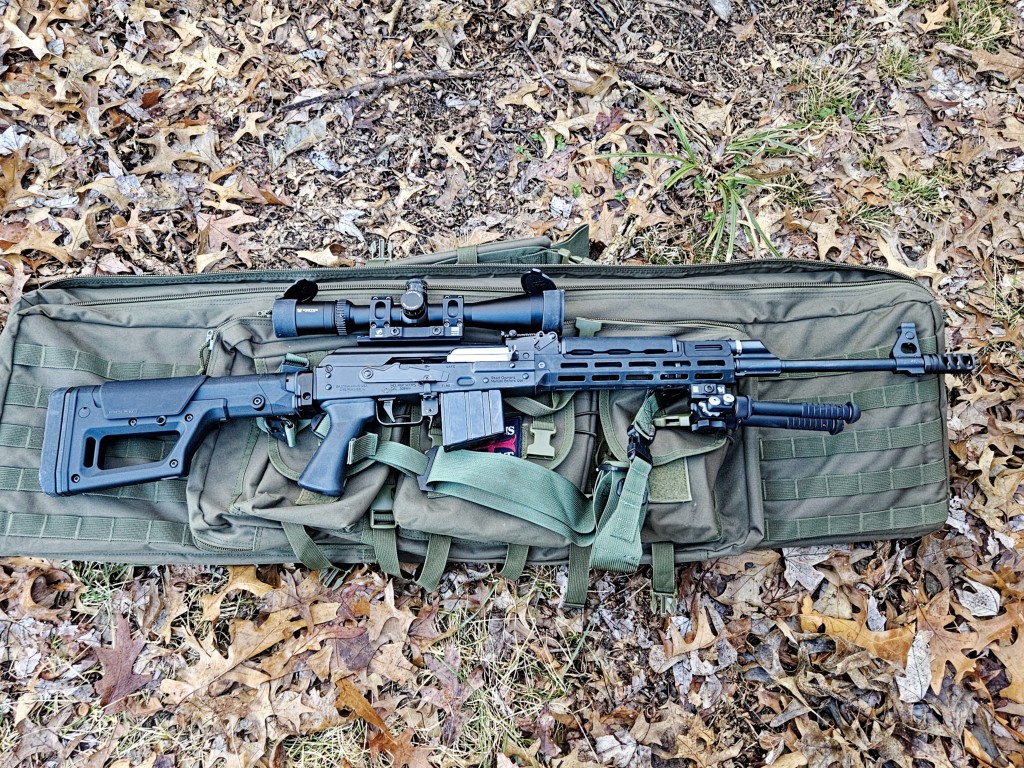
End Result
The rifle feels really good and handles well. I think it looks great also!
Summary
Once you know the parts you need, it’s a pretty easy swap to make. Once you get the M4 buffer tube installed you have tons and tons of options out there .
I hope this helps you out.
Note, I have to buy all of my parts – nothing here was paid for by sponsors, etc. I do make a small amount if you click on an ad and buy something but that is it. You’re getting my real opinion on stuff.
Please share the link on Facebook, Forums, with colleagues, etc. Your support is much appreciated and if you have any feedback, please email us in**@*********ps.com. If you’d like to request a report or order a reprint, please click here for the corresponding page to open in new tab.