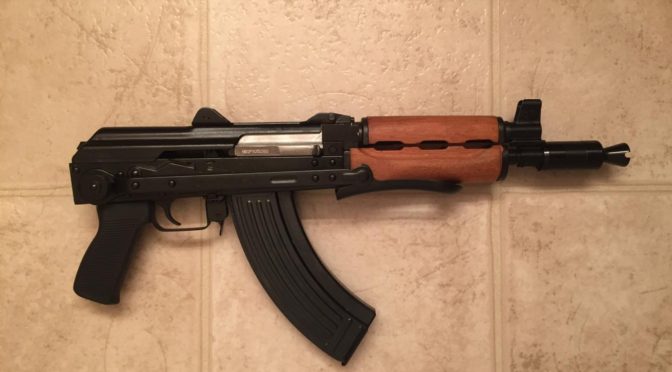
This is John’s Zastava O-PAP. You can tell because it notably does not have the flip up grenade sign on the gas block. It definitely has clean lines and you can see the bulged trunnion that is another clear indicator that this is the heavier duty O-PAP and not the N-PAP.
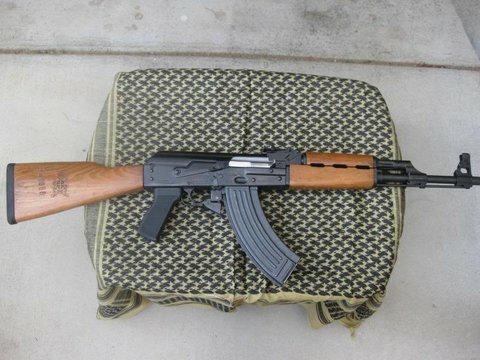
John’s rifle has one of our Yugo M70 grips on it. The Yugoslavians and Zastava saved money by using this unique ergonomic grip on a number of their models including the various favors of the M70, M72, M85, and M92.
John’s grip is colored black and has our matte/blasted finish for a sure “hold” even when wet.
Click here for our order page.
Please share the link on Facebook, Forums, with colleagues, etc. Your support is much appreciated and if you have any feedback, please email us in**@*********ps.com. If you’d like to request a report or order a reprint, please click here for the corresponding page to open in new tab.