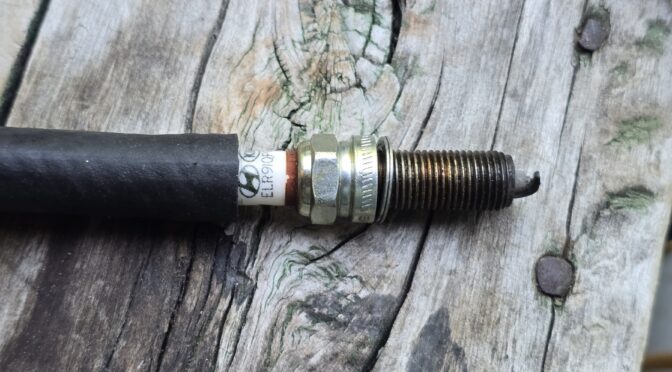
I was helping my brother in law do some basics on his 2020 Hyundai Kona – oil change, etc. One thing he wanted to do was to put new plugs in. So, we used a Craftsman 5/8″) spark plug socket to remove the plugs and lost the rubber insert along the way. Thus, he had a chance to see a few old school ways to insert a plug down into hole through the valve cover.
You can use just about any socket to remove a plug – assuming it fits – again the Kona used a 5/8″ socket. With the rubber fitting in the stocket missing, there was nothing to hold the plug position as you lower it down into the opening through the valve cover. (By the way, old guy tip, if you have those rubber fittings, clean it, your socket and then glue it in place so it stays put – silicone glue, rubberized super glue, etc.)
The teaching question for him was “how do you get the socket down there without hurting the ceramic insulator?” Well, let me tell you two ways and show you a third with a tool you can make.
Option 1 – hold the plug in the socket and chase the plug down with the socket so it doesn’t have time to fall out. Pro – it works and all you need is the right size deep socket. Con – if you don’t know how to do it you will break the insulator. Not a great option for a newbee.
Option 2 – use a magnetic pick up tool to start the plug. You literally dangle the plug off the top of one of the plugs by sticking it to one of the rare earth magnet pick up tools. I have done a ton of plugs this way. You lower it down, feel it squarely engage and turn the plug. You can usually just get the thread to start so you can then pull off the tool and use a deep well socket to do the test. Definitely start the plug with your hand and feel the fit to make sure it’s not cross threaded. Pro – a lot of folks have a pick up tool at home. They have saved my bacon many times over the years and want to say I have 3-4 different sized ones. Cons – you need enough experience to feel it is sitting square and start it. I showed my brother in law twice and he got it the second time.
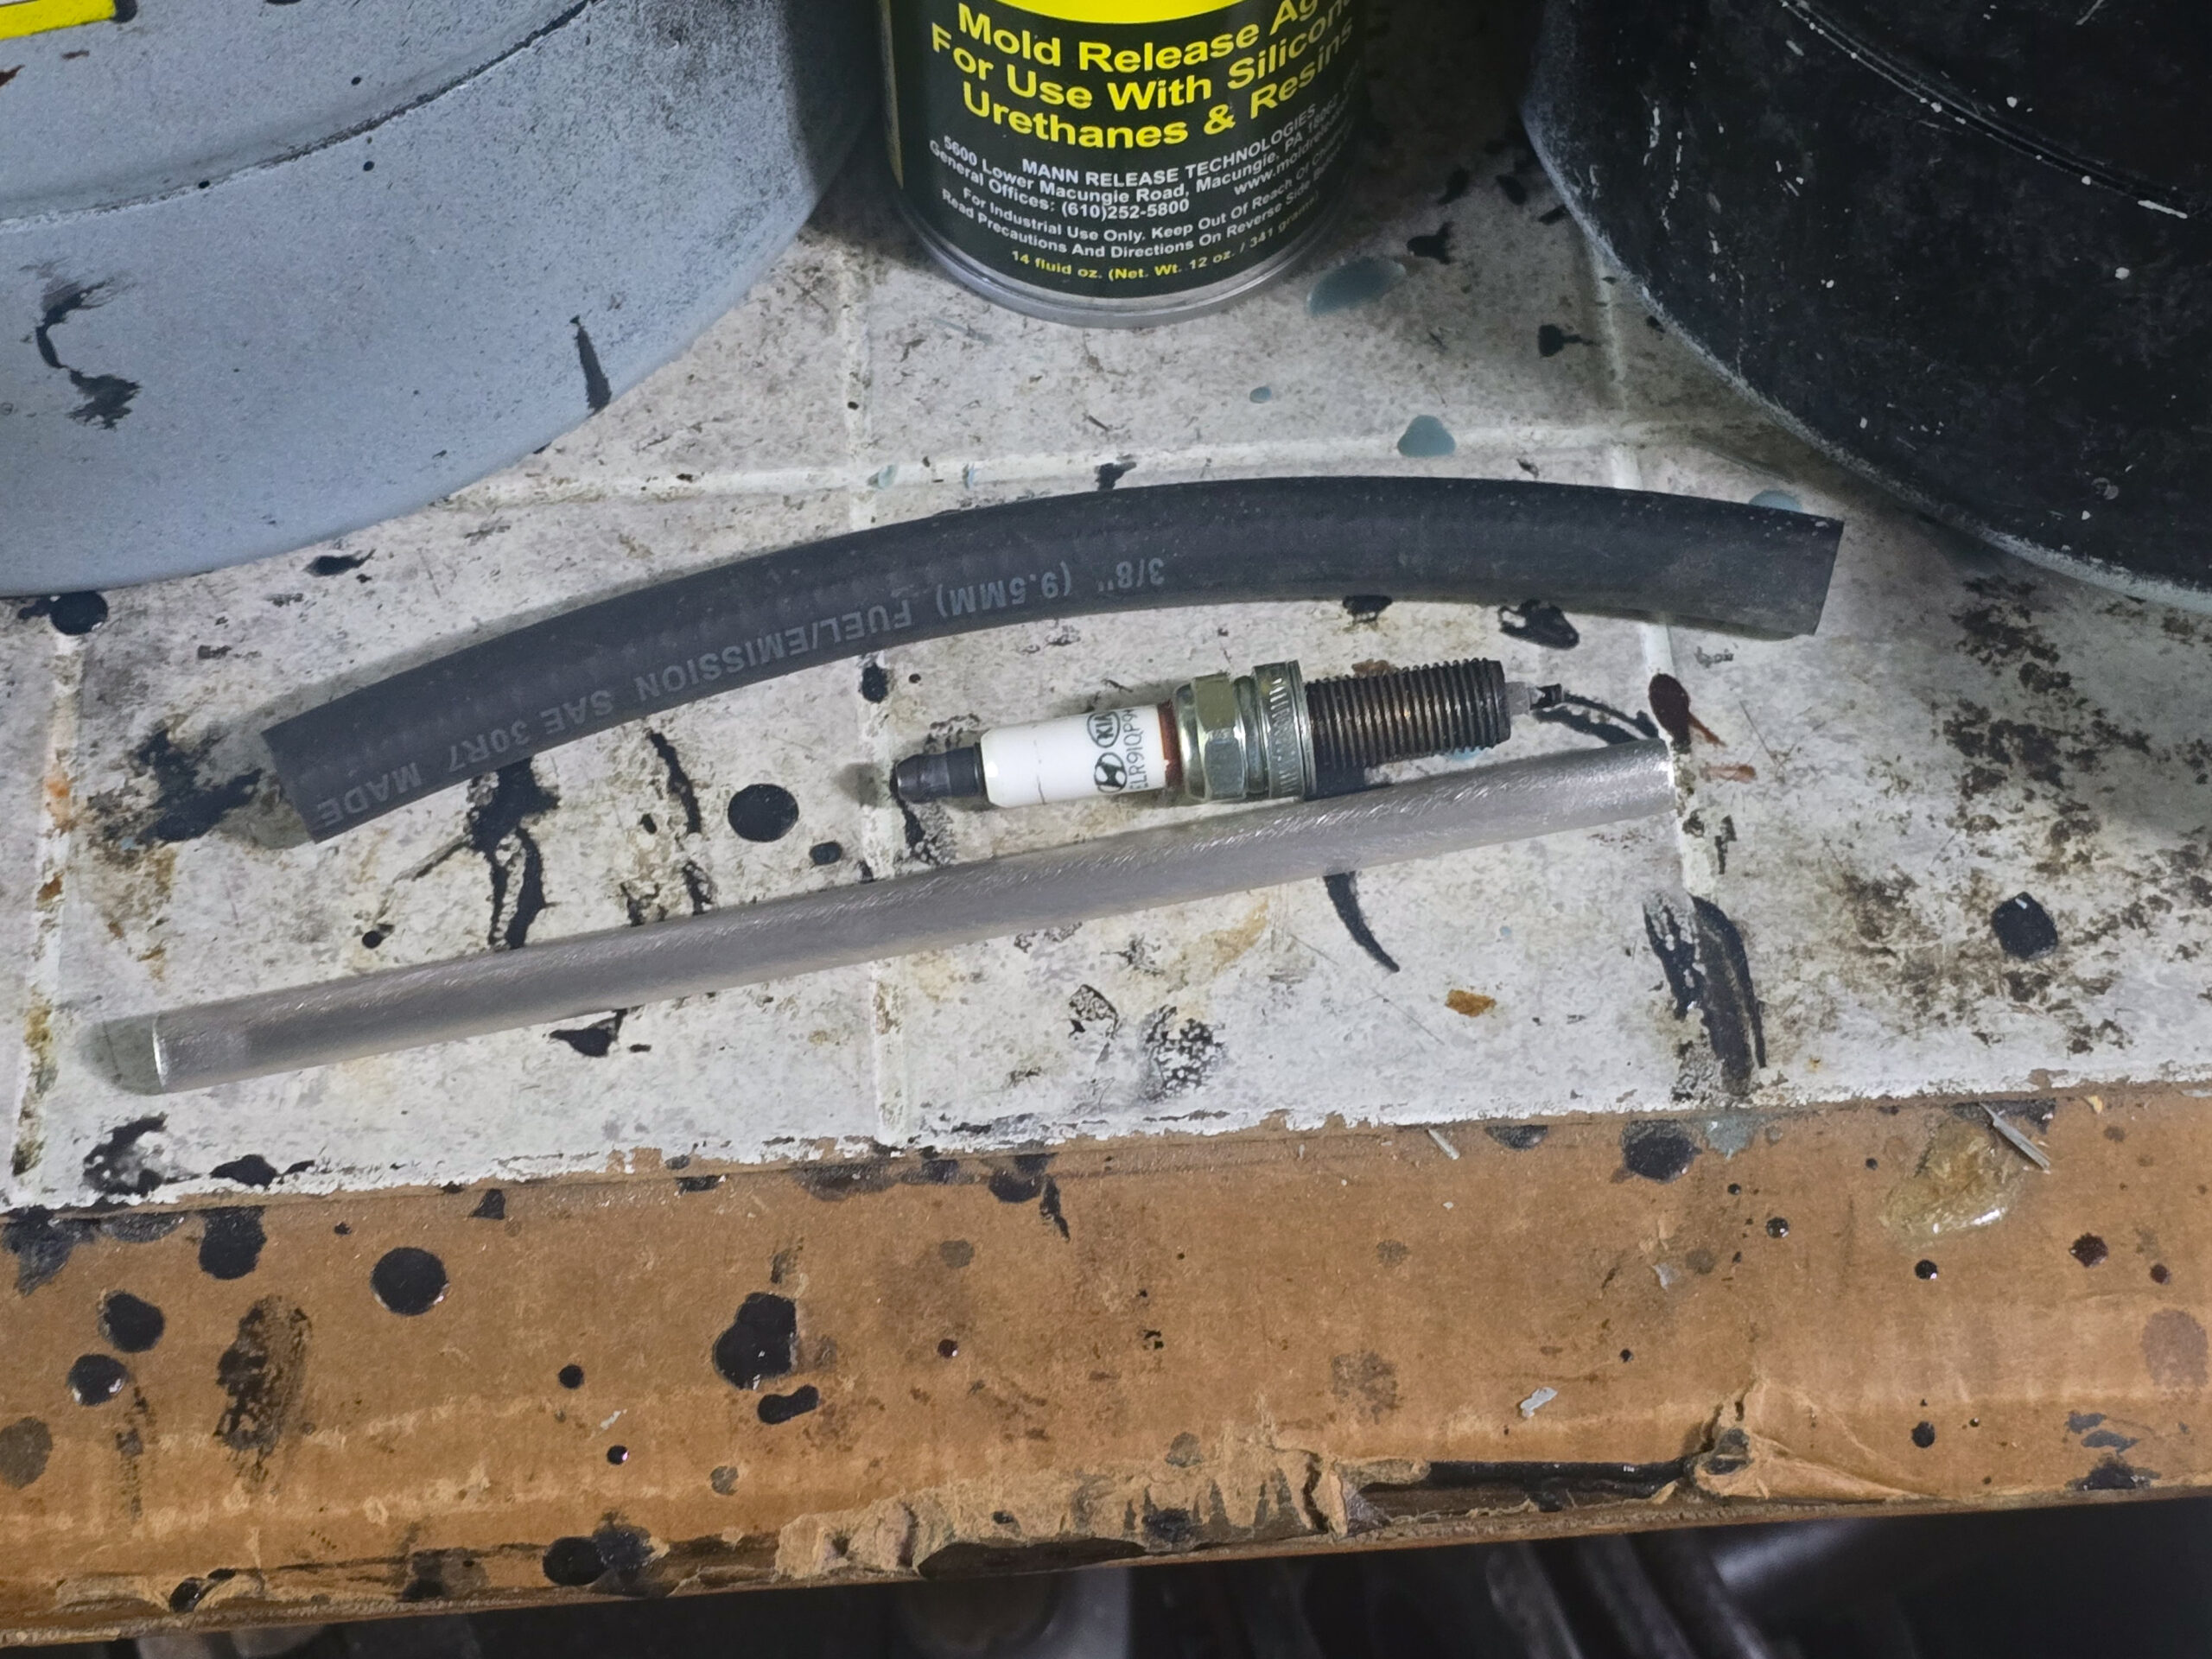
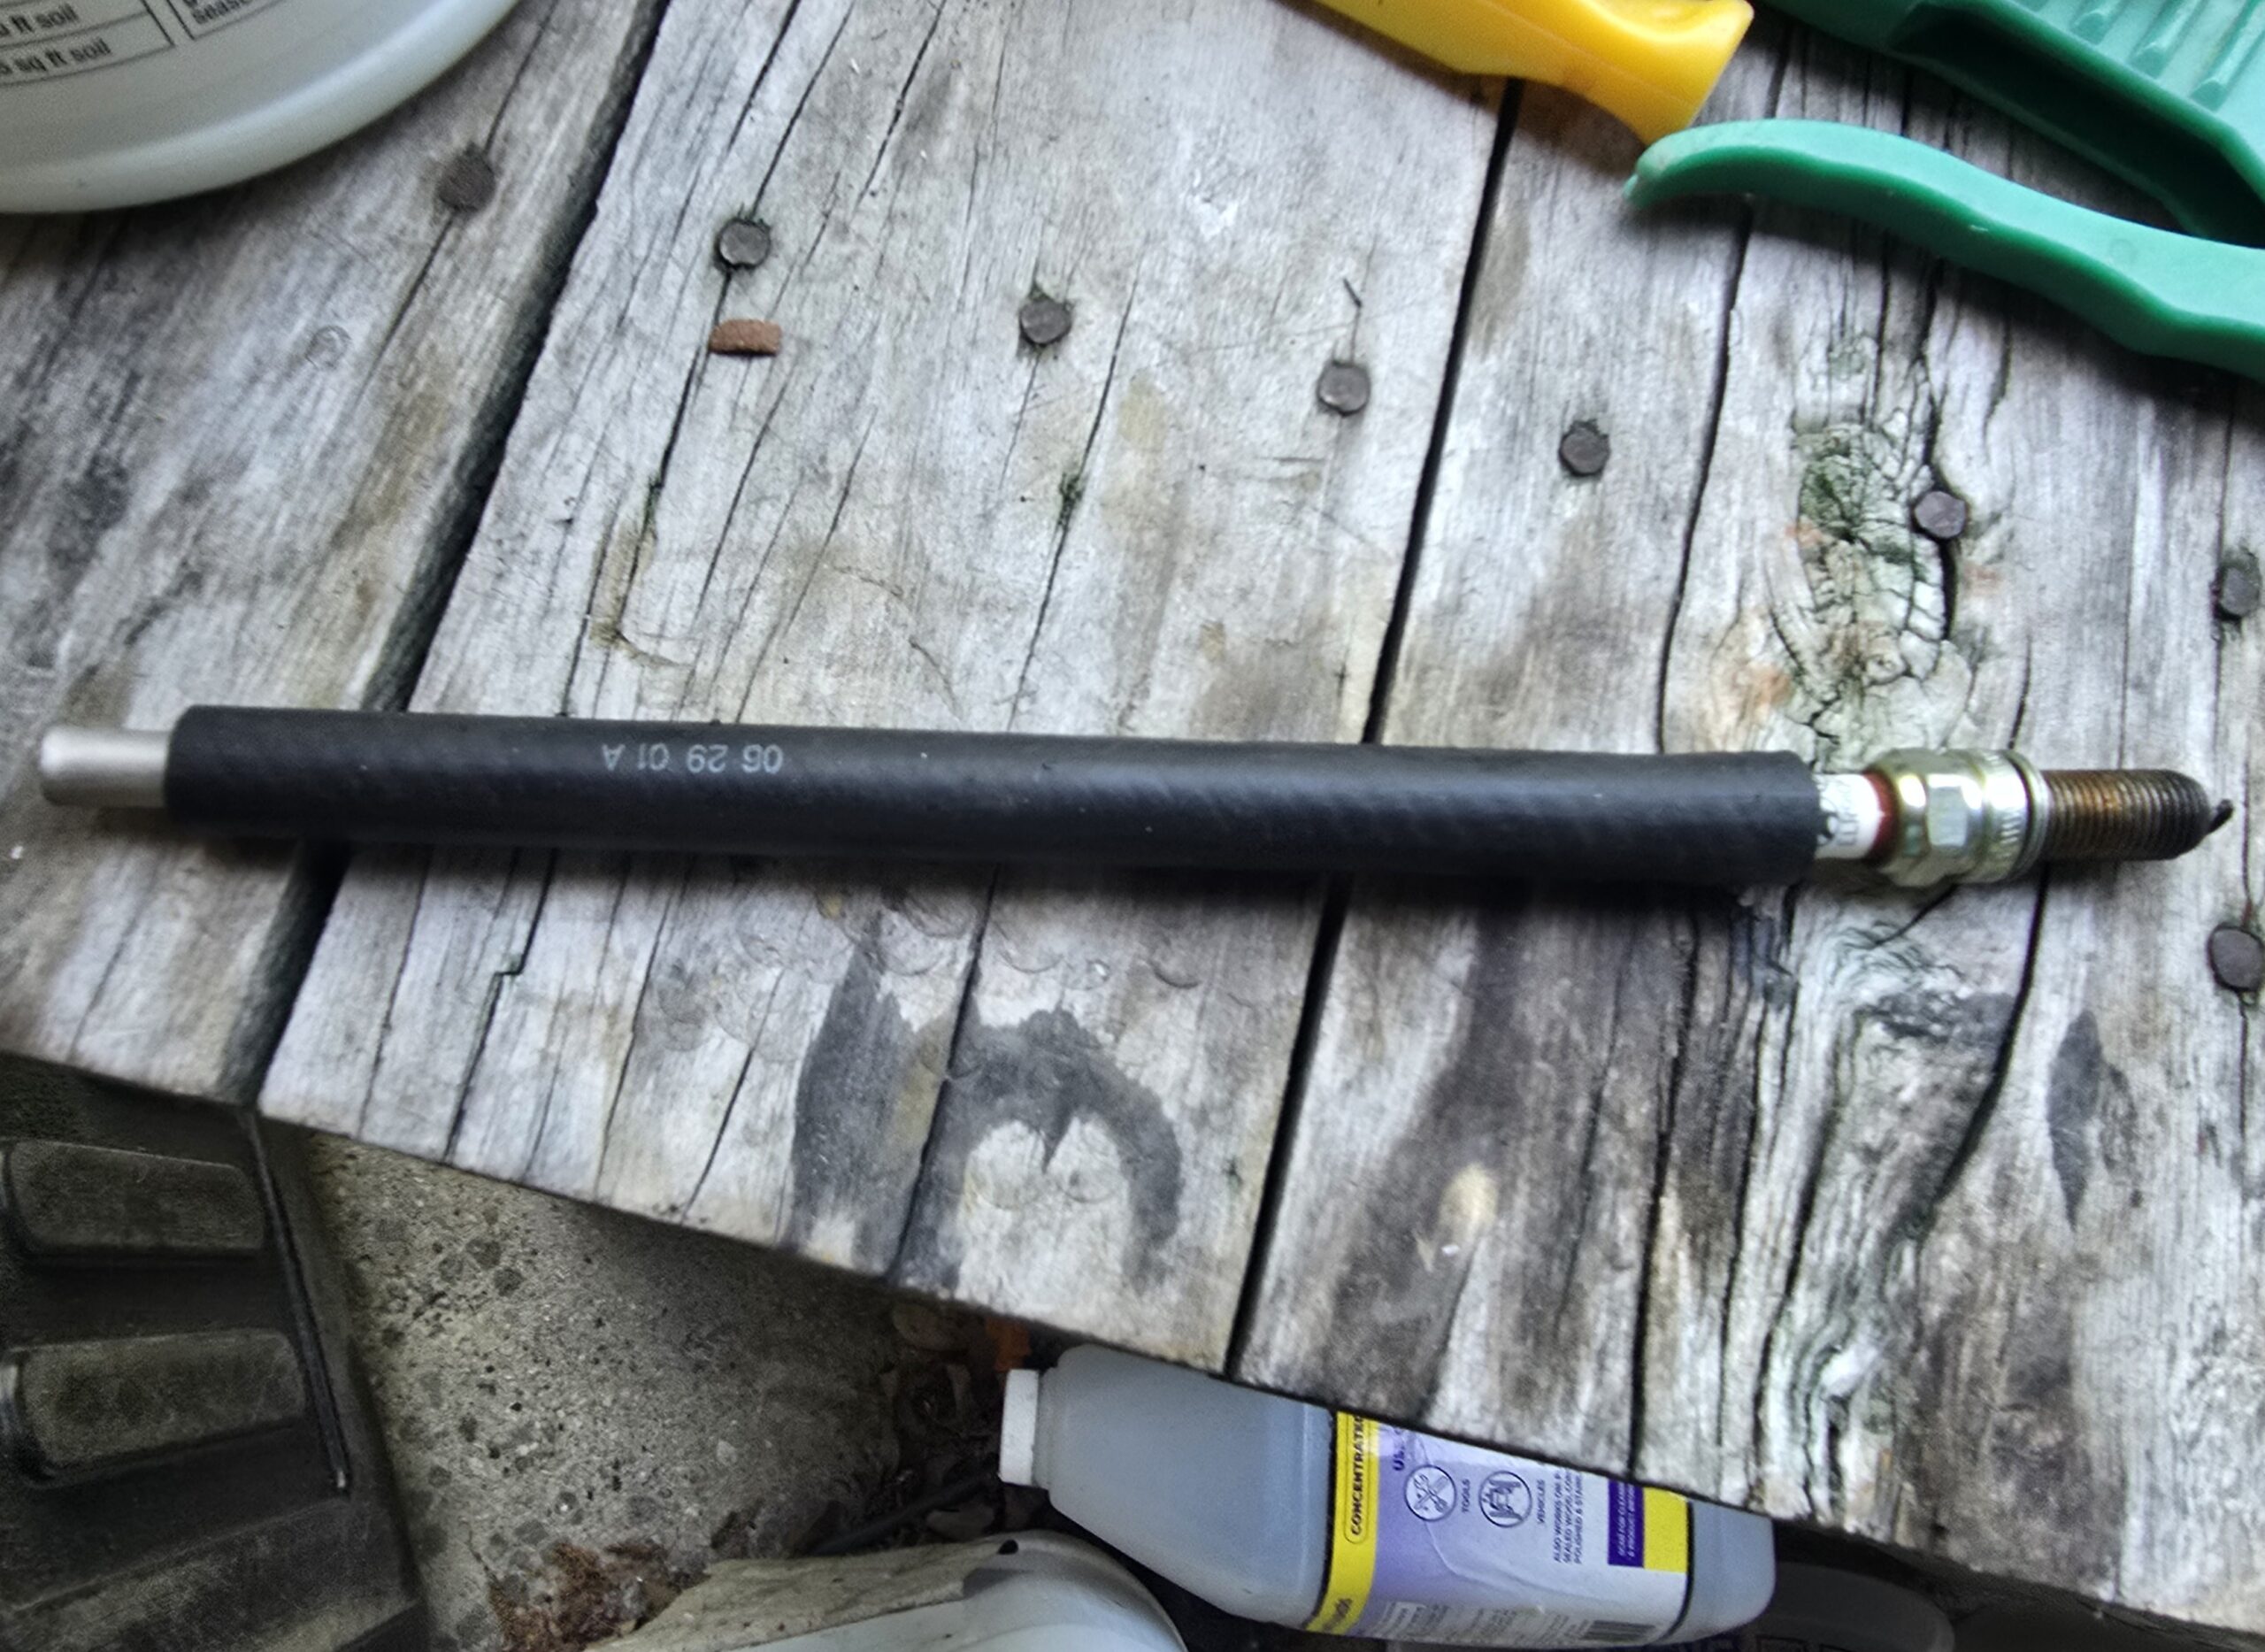
Option 3 – make an improvised out of fuel line to hold the spark plug and lower it into position. This is an old school trick. 3/8″ fuel line will slide over the insulator and hold the plug. You can then do what you need to do. I take it step further and slide metal shaft part way down to make it a little straighter.
In all cases, I would recommend you start the plugs by hand – literally use your fingers on the end of the extension shift from the socket to start the plug and make sure it isn’t cross-threaded. Then torque it down with a torque wrench to the published torque spec.
Summary
If you need to insert plugs and lack a true spark plug socket, I hope this gives you some options. There are some really nice magnetic sockets for plugs and I bought one later. I bought a Workpro and really like it.
Please share the link on Facebook, Forums, with colleagues, etc. Your support is much appreciated and if you have any feedback, please email us in**@*********ps.com. If you’d like to request a report or order a reprint, please click here for the corresponding page to open in new tab.
Want a really nice socket with a magnetic spark plug holder built in? I have a few sizes of WorkPro sockets and also Lexivon sockets that have worked great, I bought short and longer ones for those fun hard to reach places.