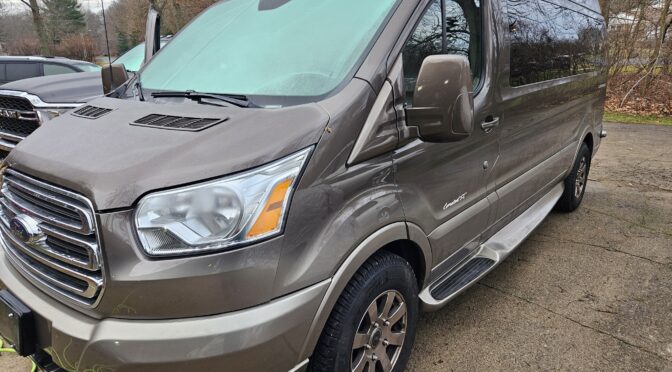
Okay, I’ve done a lot of brakes over the years – mainly on Toyotas and a smattering of other makes. We bought our 2016 Ford F150 Transit with an Explorer conversion new at the end of 2016 and the original brakes were really starting to squeek in November of 2023 so I knew it was time for them to change. It had four wheel disc brakes so I figured it would be easy. I didn’t even look up the details … oh yes, that caught up with me but let me run with my story and share you the lessons learned.
I ordered in new Motorcraft pads figuring I might as well just use OEM since O-Reilly Auto Parts could get them in quick and at a good price. I planned to flush the brake fluid too and had a good Bosch synthetic blend that I like to use.
I jacked up the van using my pillow jacks and put 6 ton jack stands underneath, pulled the tires because I planned to rotate them and dove in. I popped the master cylinder cap off and checked the brake fluid level so it wouldn’t overflow as I compressed the caliper pistons.
Oh man, I started with the passenger rear and could not it to go in. Okay, it was time to check the web. I realized there was something here new to me.
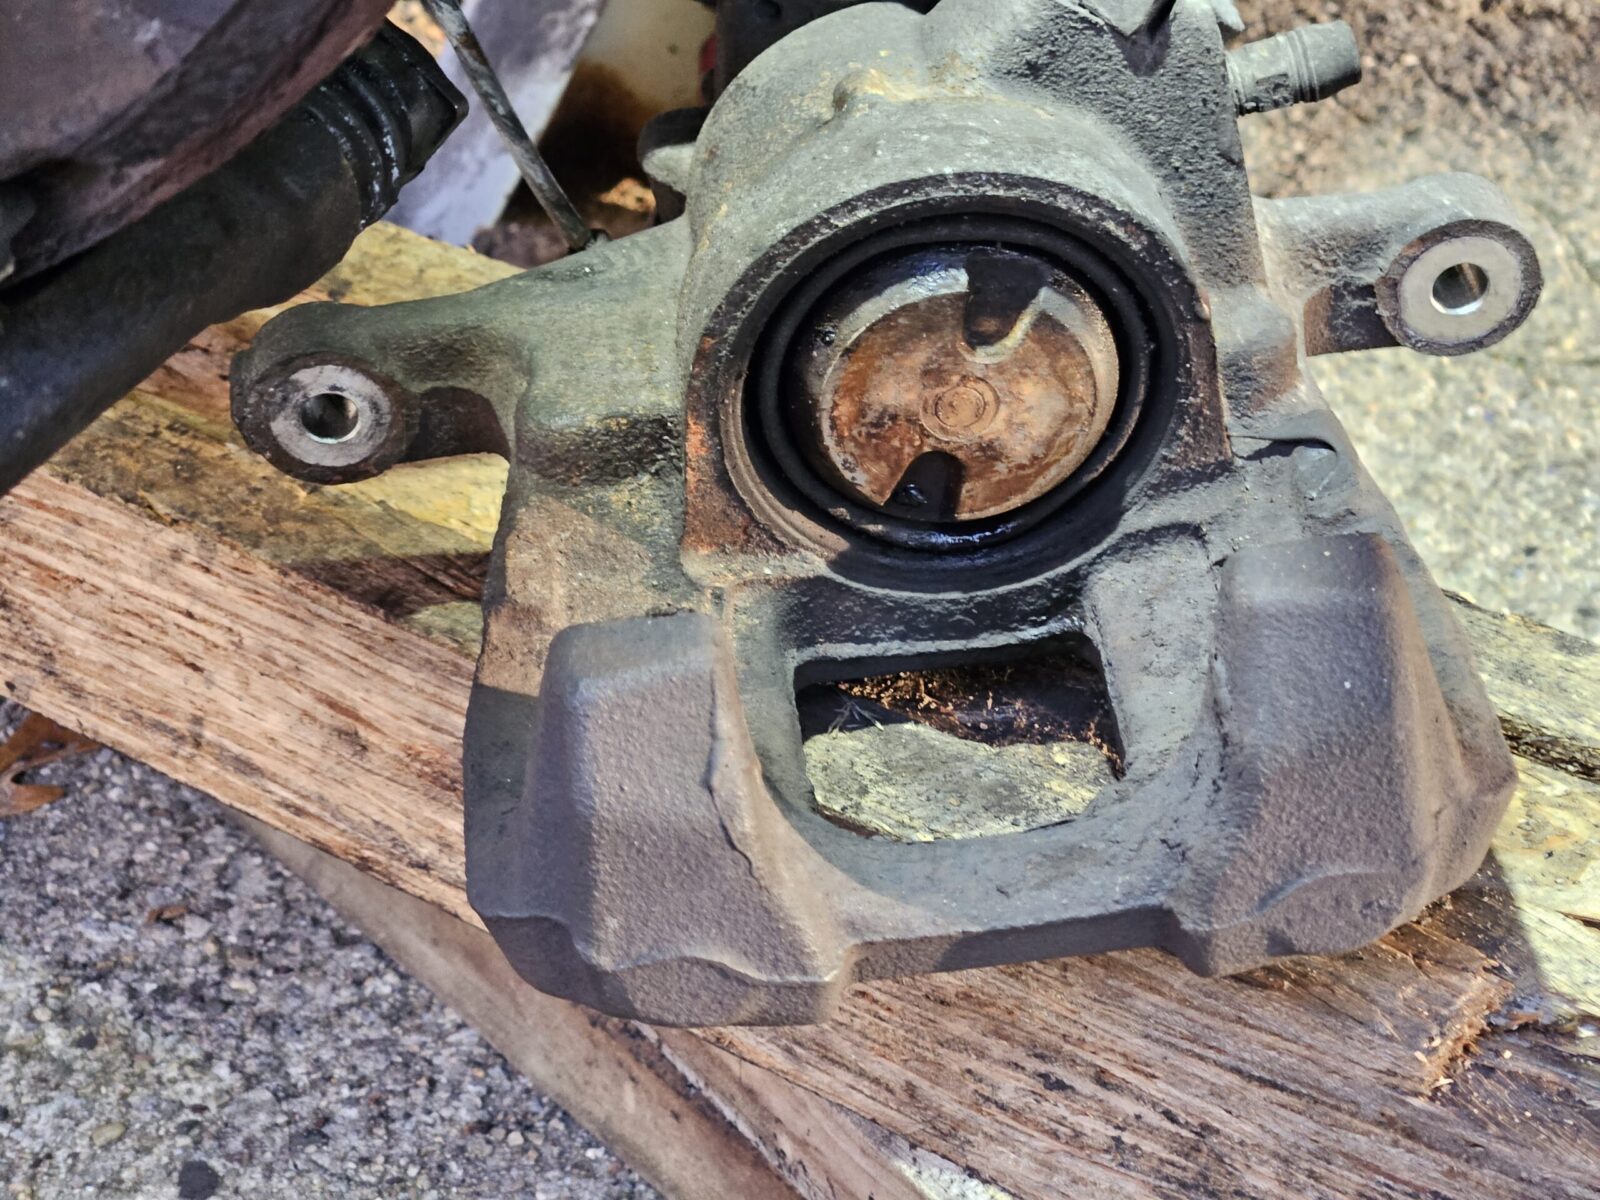
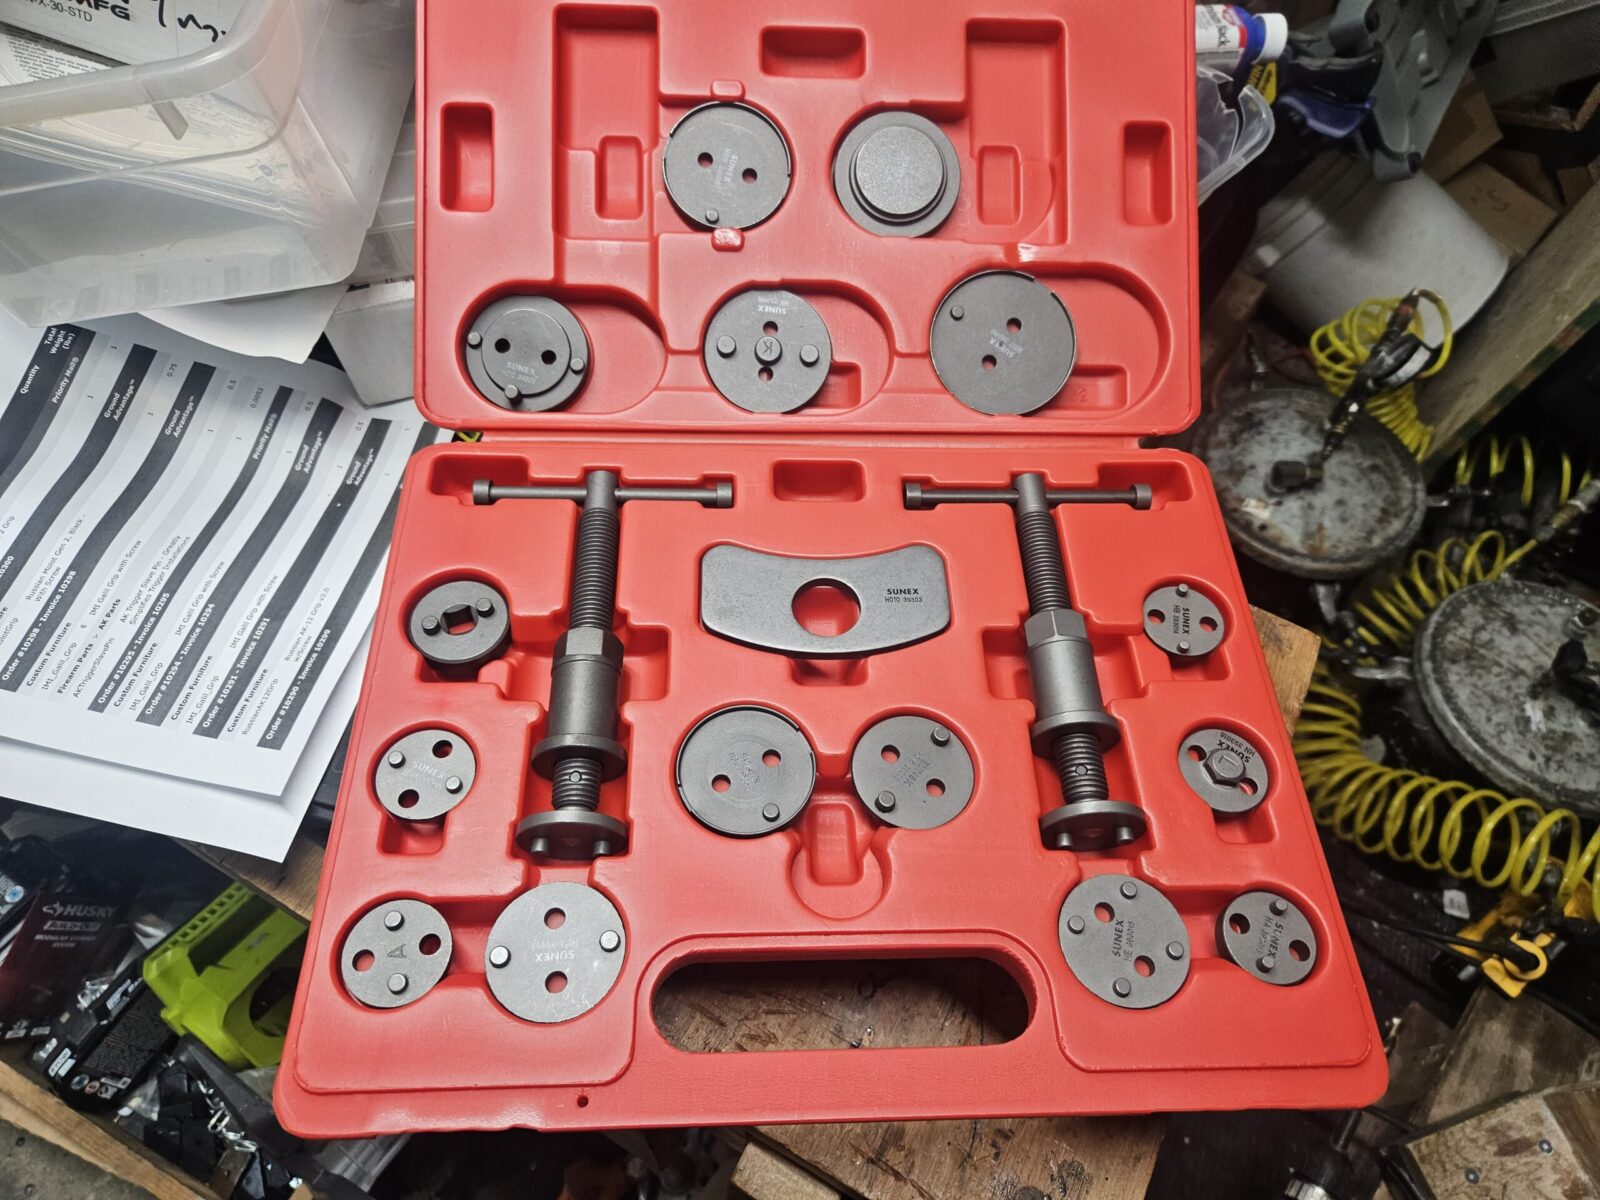
So the F150 Ford Transit is an example of vehicle where the piston screws in due to the integrated emergency brake. Okay, no problem but I could not get it to twist in. More reading and surfing … the rear passenger brake twists in counter-clockwise – not clockwise. Man, I did not have any caliper piston compressors that went counter-clockwise and neither did O-Reilly or Autozone. On, the other hand, my best friend John, who is a mechanic, did have one as part of his big Sunex 3930 caliper tool set and he loaned me the set.
So armed with the knowledge and the counter-clockwise tool for only the passenger side (driver side is clockwise), I went to work. Thanks to my Carpal tunnel and other stupid things I have done to my body over the years, I didn’t have the strength to rotate the piston – I made a 12″ cheater bar from a piece of pipe and then it went smooth. I found if I turned a bit, and then let it sit for the fluid to work its way back in the system seemed the easiest.
The front pads were easy – just standard straight in pistons. After fighting the rear calipers, it was nice to have something easy. I was so impressed by the Sunex caliper set that I bought one for furture use.
The following is a pretty good video on doing the rear brake pads. My van’s brakes did not have the dampener he shows in it so I did not add one plus I used the really good Permatex ceramic brake grease on the back of the pads and contact points.
And here is a video for the front brakes:
Flushing the Brake Fluid
The importance of changing brake fluid every couple of years is something John convinced me of and the van was due for a change. Brake fluid degrades from heat and also by absorbing moisture from the air. All of this changes the chemistry of the fluid and negatively impacts the fluid’s ability to actuate the brakes. I like using Bosch’s ESI6-32N brake fluid and had plenty on hand to flush the brakes.
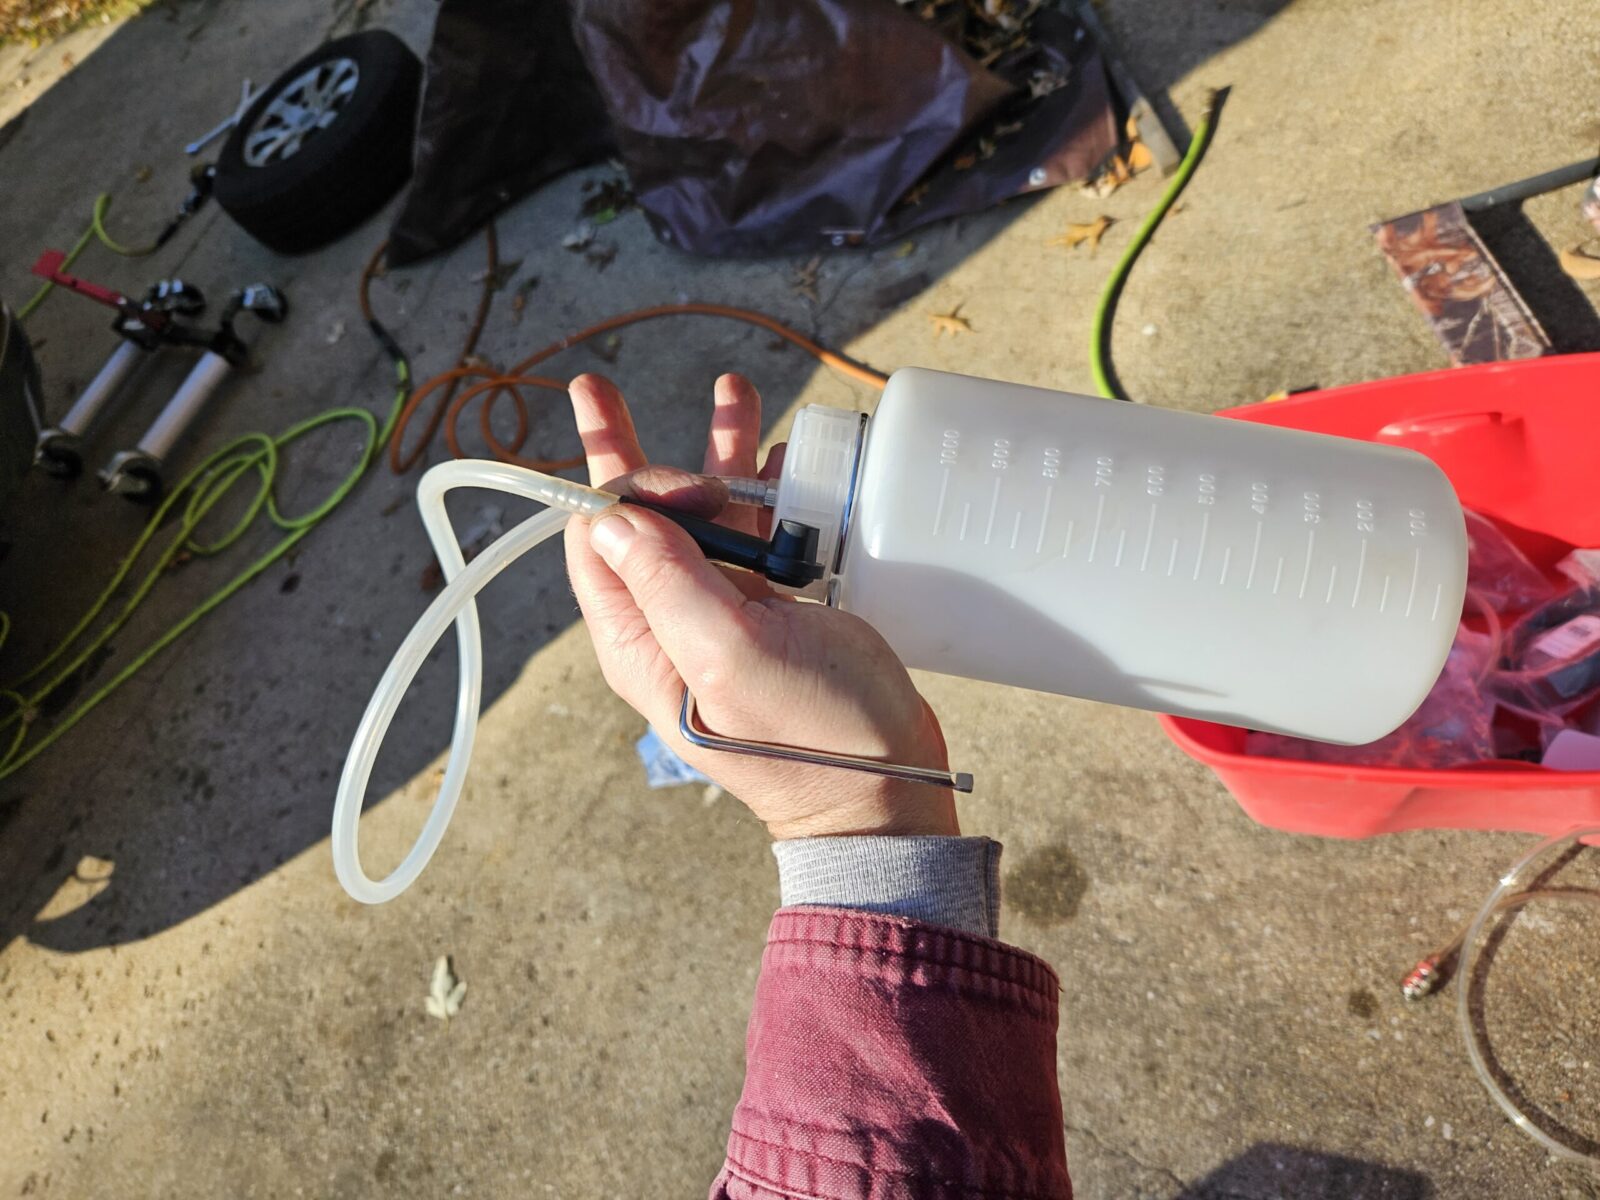
in preparation, I used my Mighyvac MV6835 vacuum bleeder to empty the master cylinder reservoir. The goal is to just empty the extra fluid in the master cylinder – nothing else. You then fill it with fresh brake flud. This way you are pushing fresh brake fluid through the system from the start.
When I first started out, I would use a vacuum bleeder to pull new brake fluid through the lines. A faster and more effective method that has lower odds of introducing air into the brake lines is the use of a pressurized bleeder.
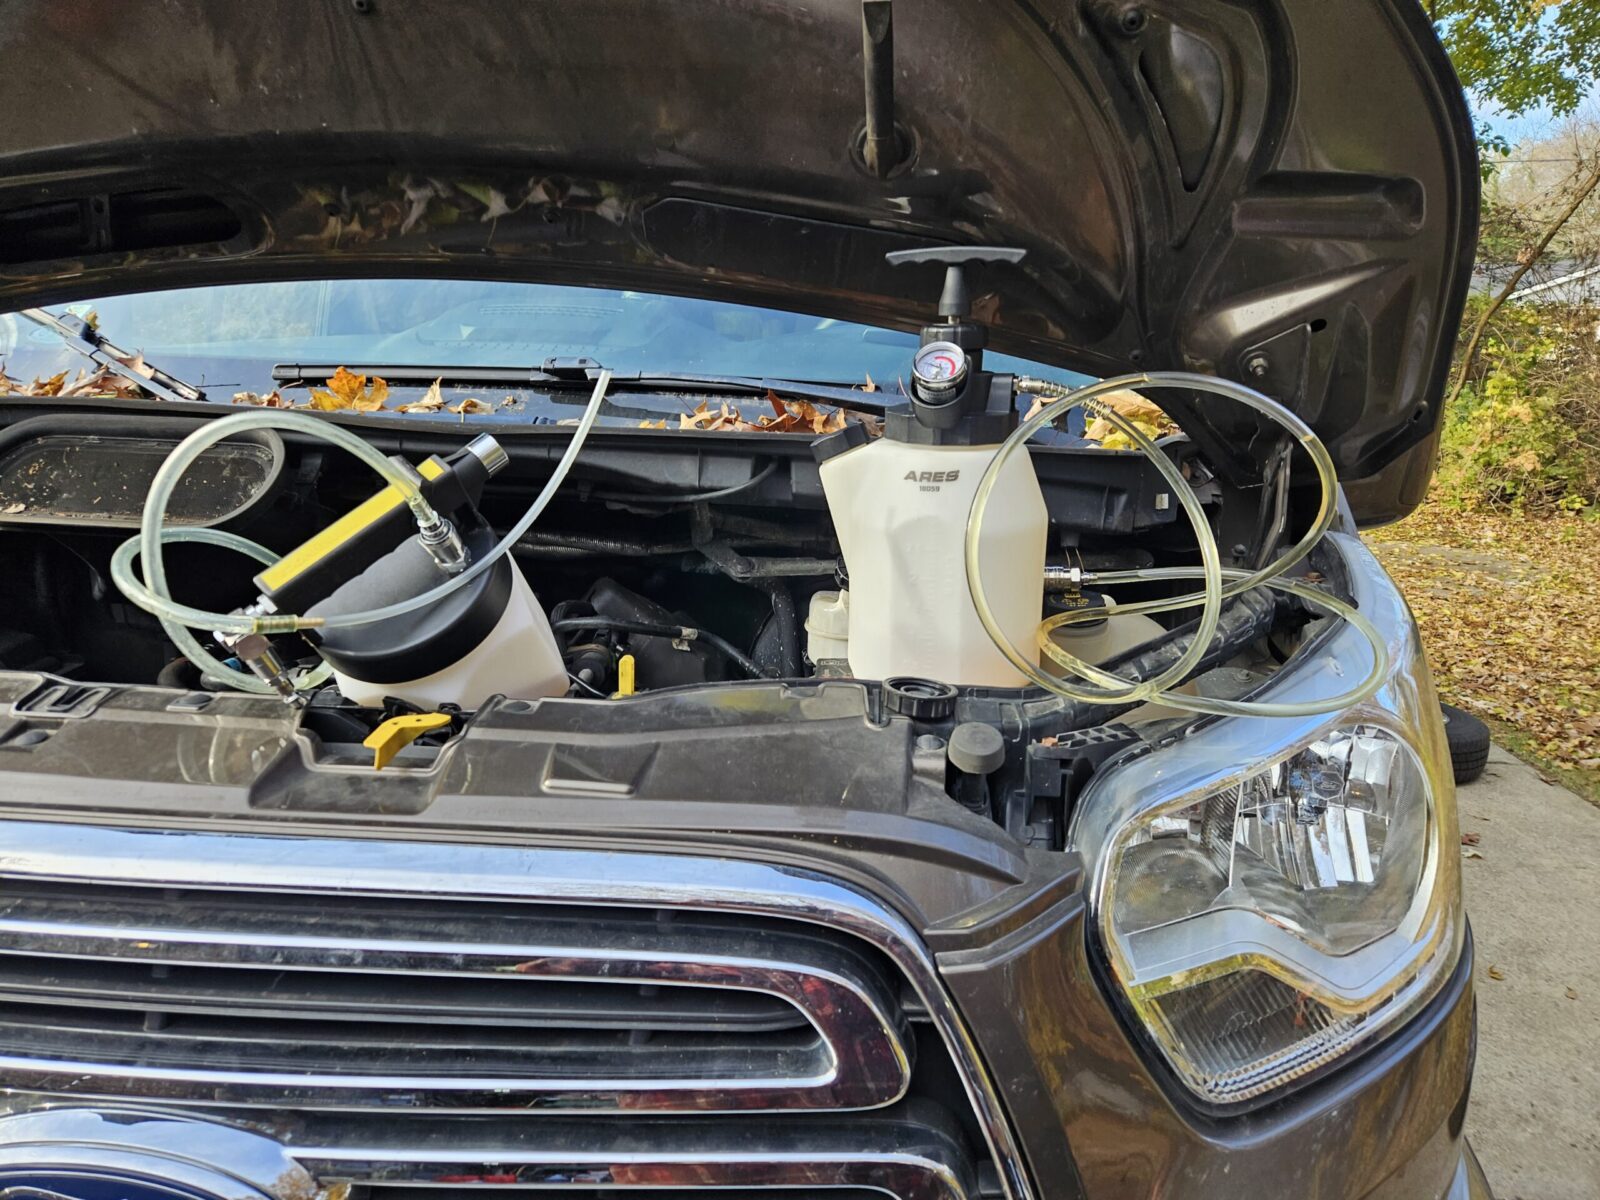
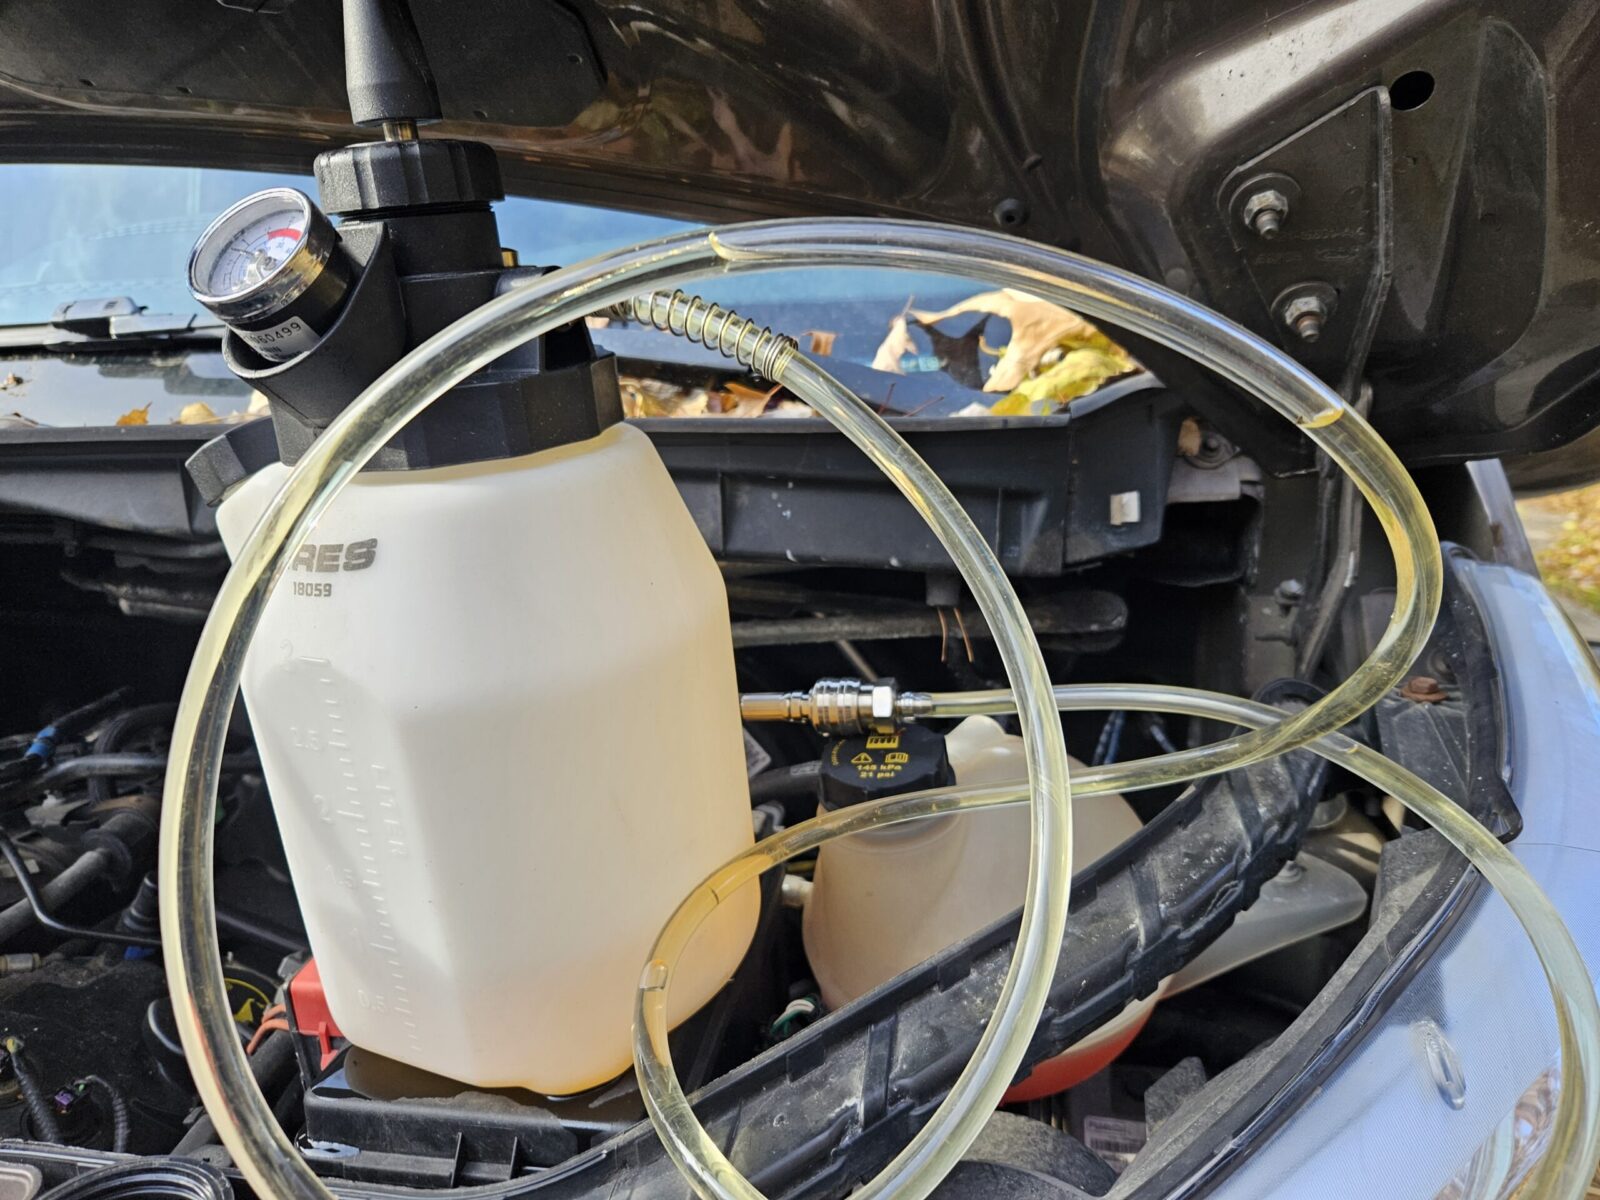
A few years ago, I bought an ARES 18036 3-liter pressurized bleeder that makes changing brake fluid or bleeding brake lines really far easier. Basically it has a hand pump, like a garden sprayer, that enables you to pressurize its tank that holds the new brake fluid. When you open a blleder nipple, brake fluid is pushed through the lines, out of the nipple and into a 1 liter catch tank.

In Closing
The biggest think I learned and wanted to share was that you need that counter-clockwise tool if you want to do the passenger side rear brake pads. I recommend the brake fluid flushing at the same time – you ought to change the brake fluid every two years really – using the pressure bleeder – they are optional but I think they really help and I use my Ares on all of our vehicles.
Please share the link on Facebook, Forums, with colleagues, etc. Your support is much appreciated and if you have any feedback, please email us in**@*********ps.com. If you’d like to request a report or order a reprint, please click here for the corresponding page to open in new tab.