Tag Archives: headlight

LASFIT LED Headlights – An Example of Excellent Customer Service

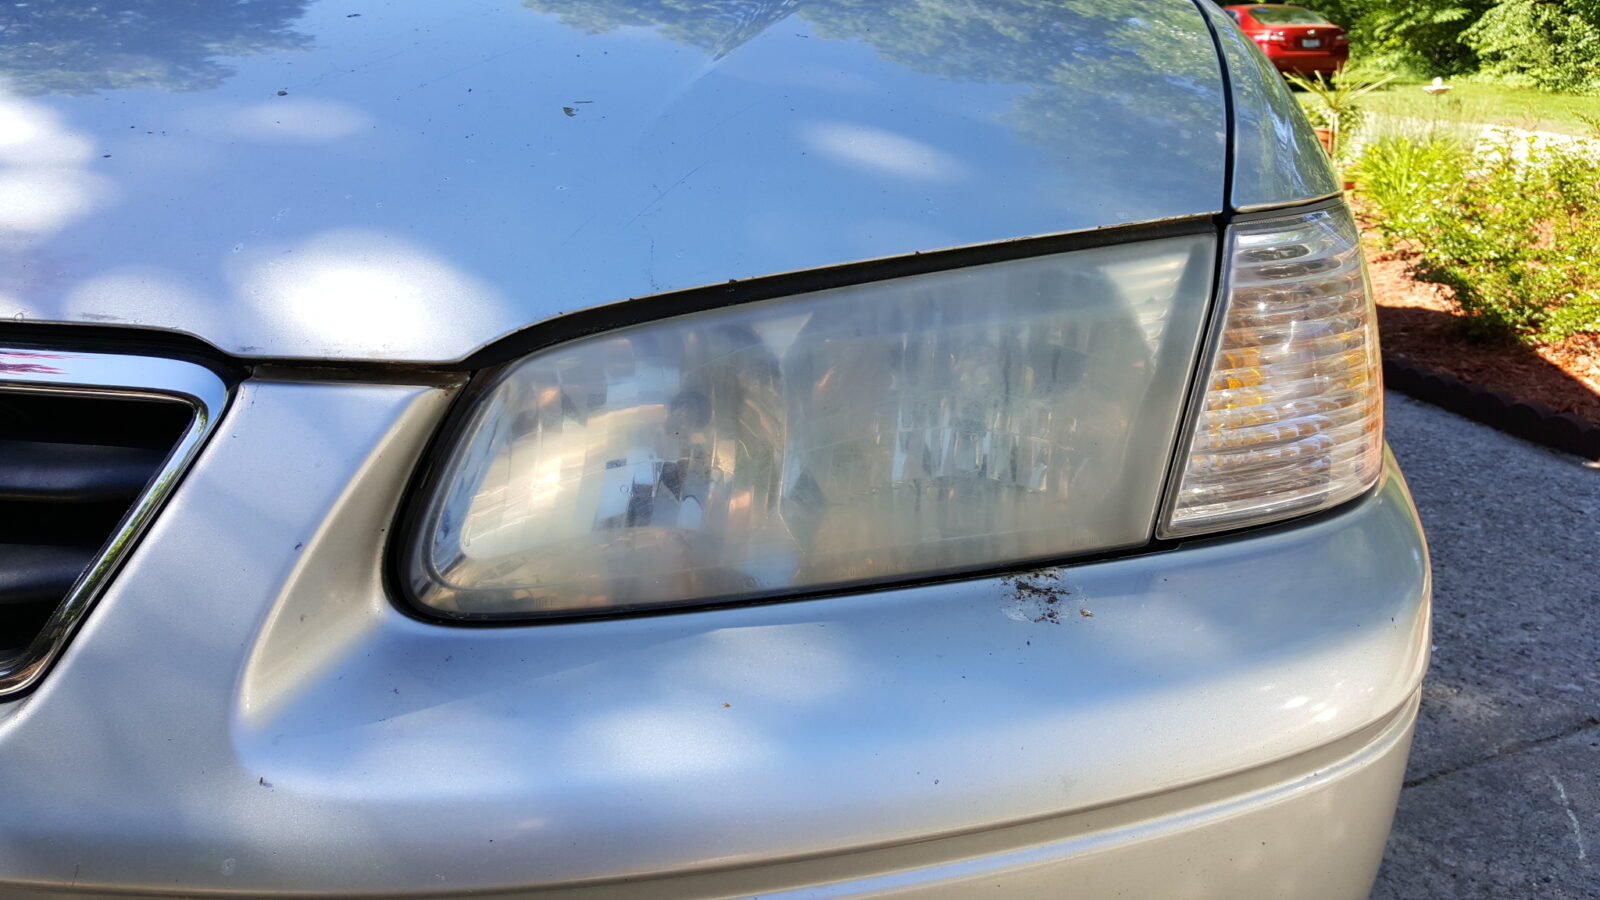
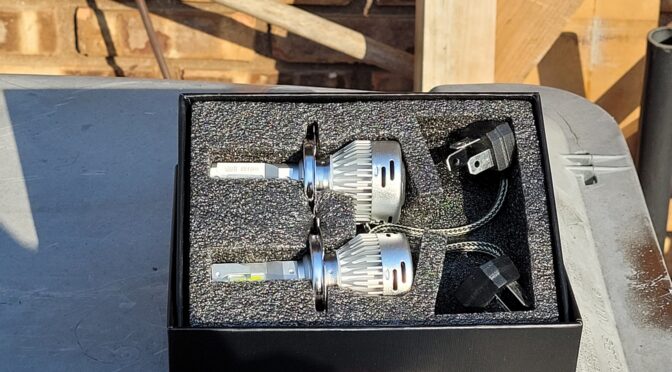
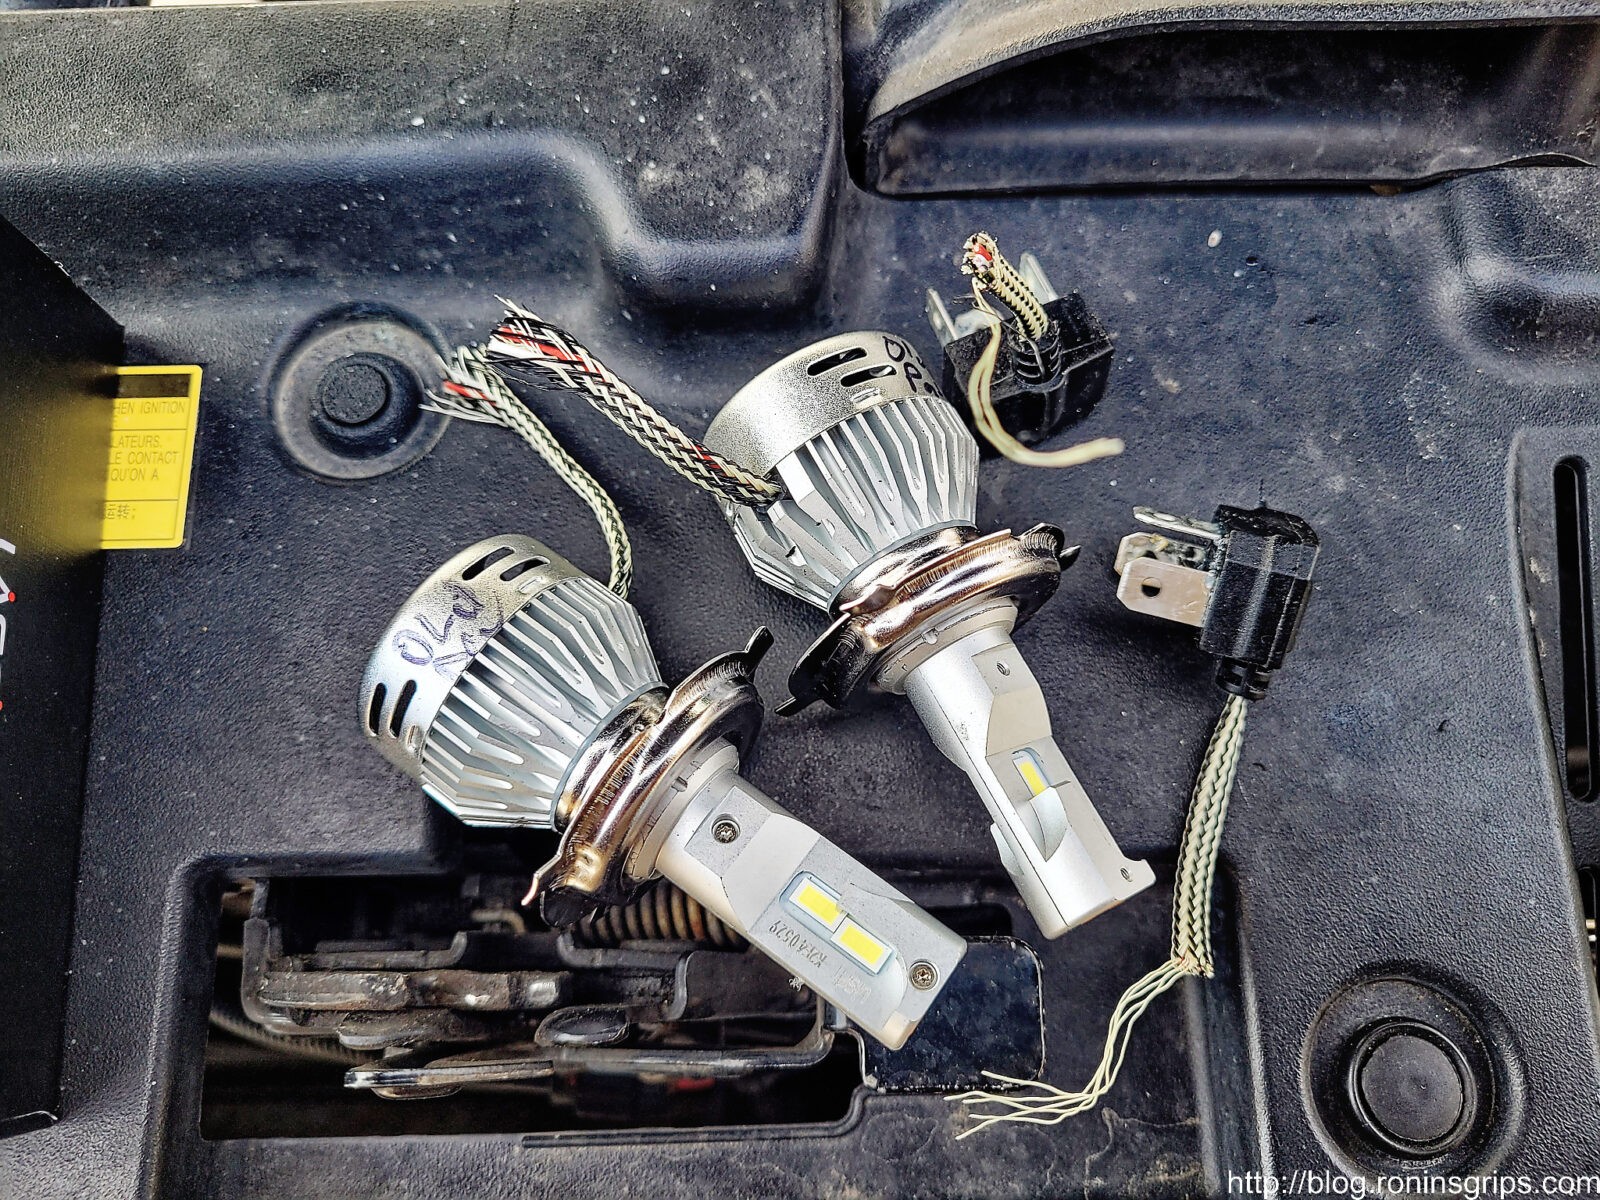
I used LASFIT LED emitters to replace the rather lame high-beams bulbs on my 2021 Ram 2500 Tradesman and have been very happy with them. Our 2008 Highlander’s lights were starting to get dim so I ordered a replacement set of emitters for it – “LASFIT H4 HB2 9003 60W 6000LM LED Bulbs Conversion Kit, 6000K Xenon White, Super Bright” to be specific.

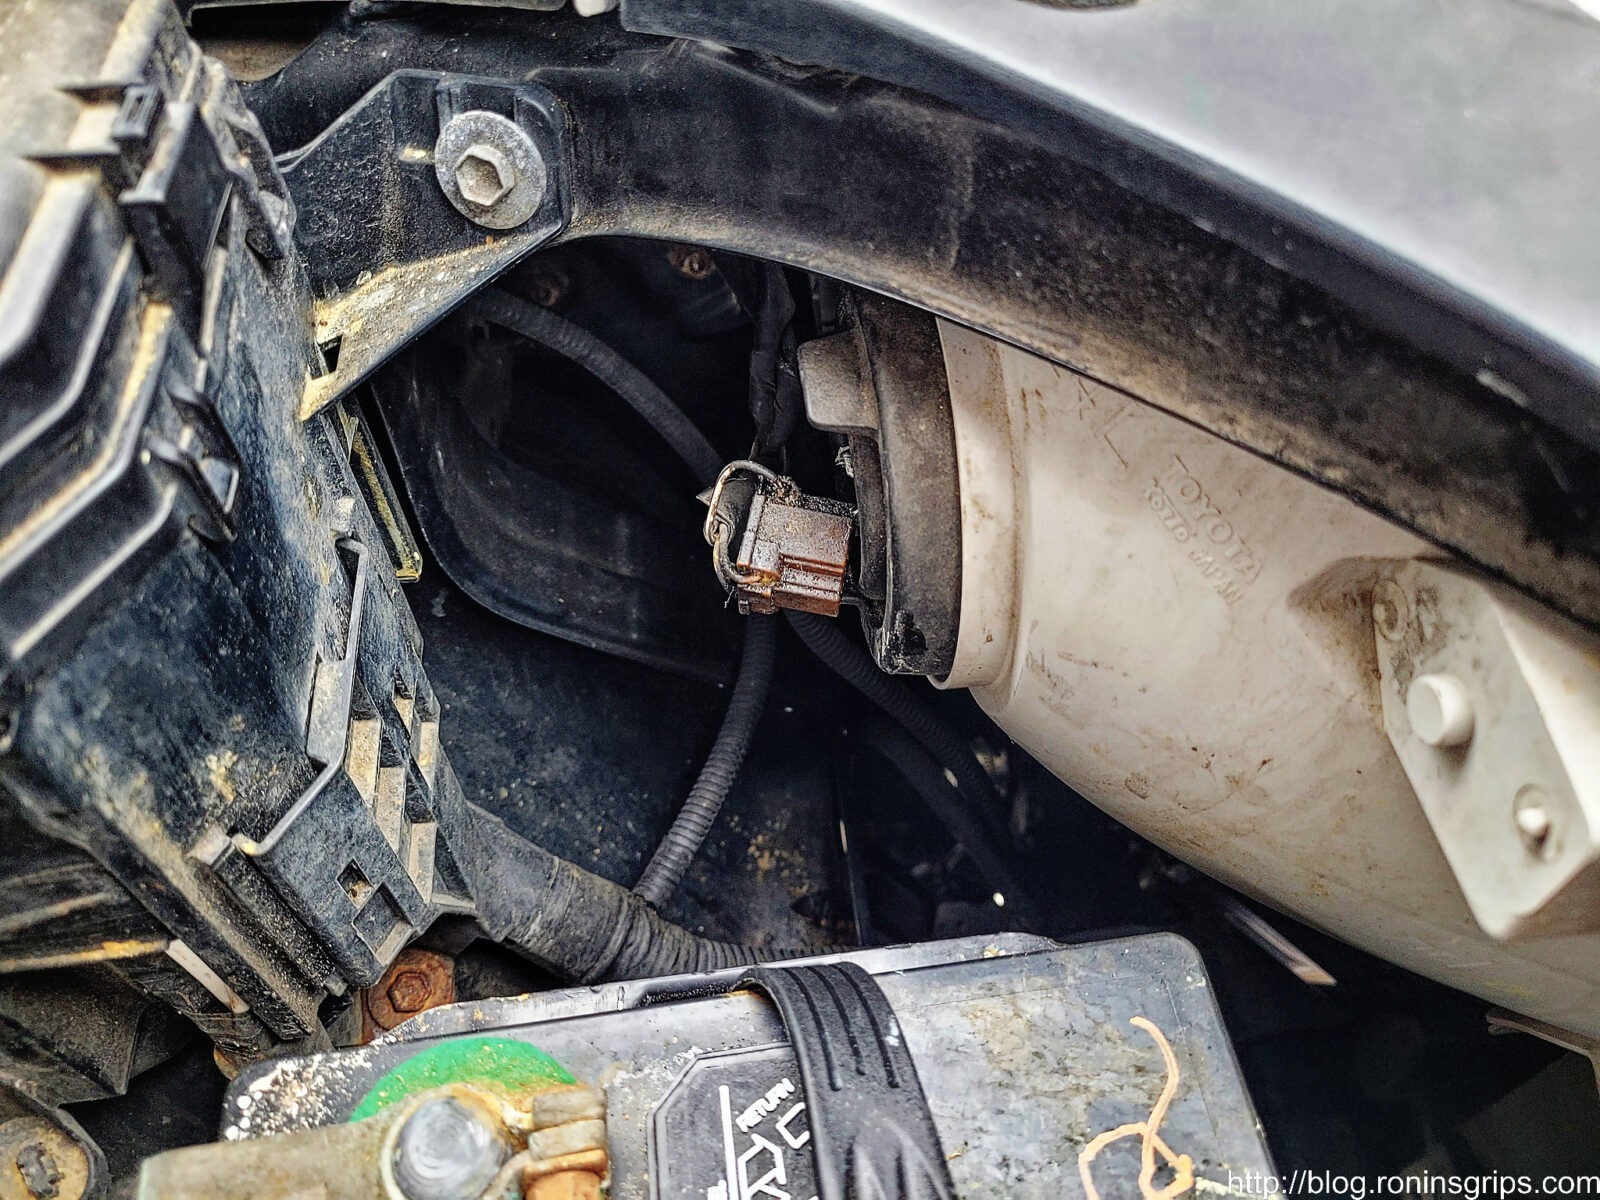
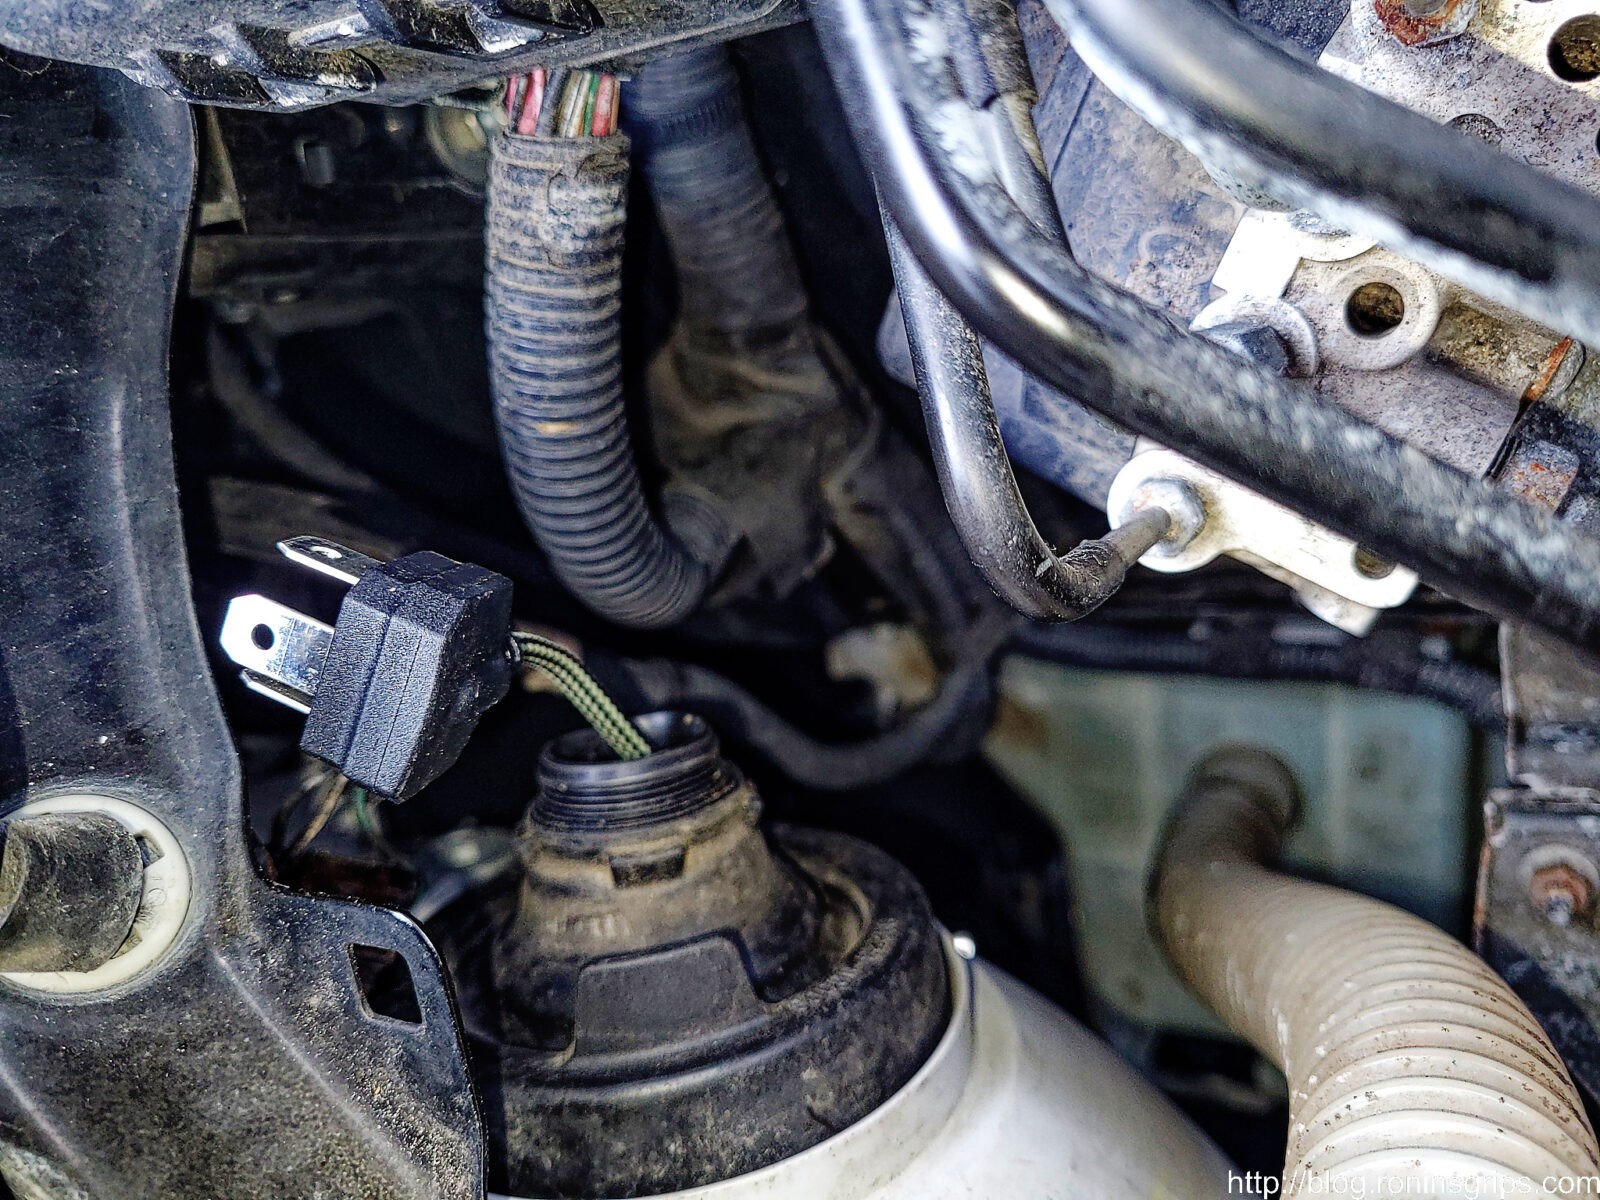
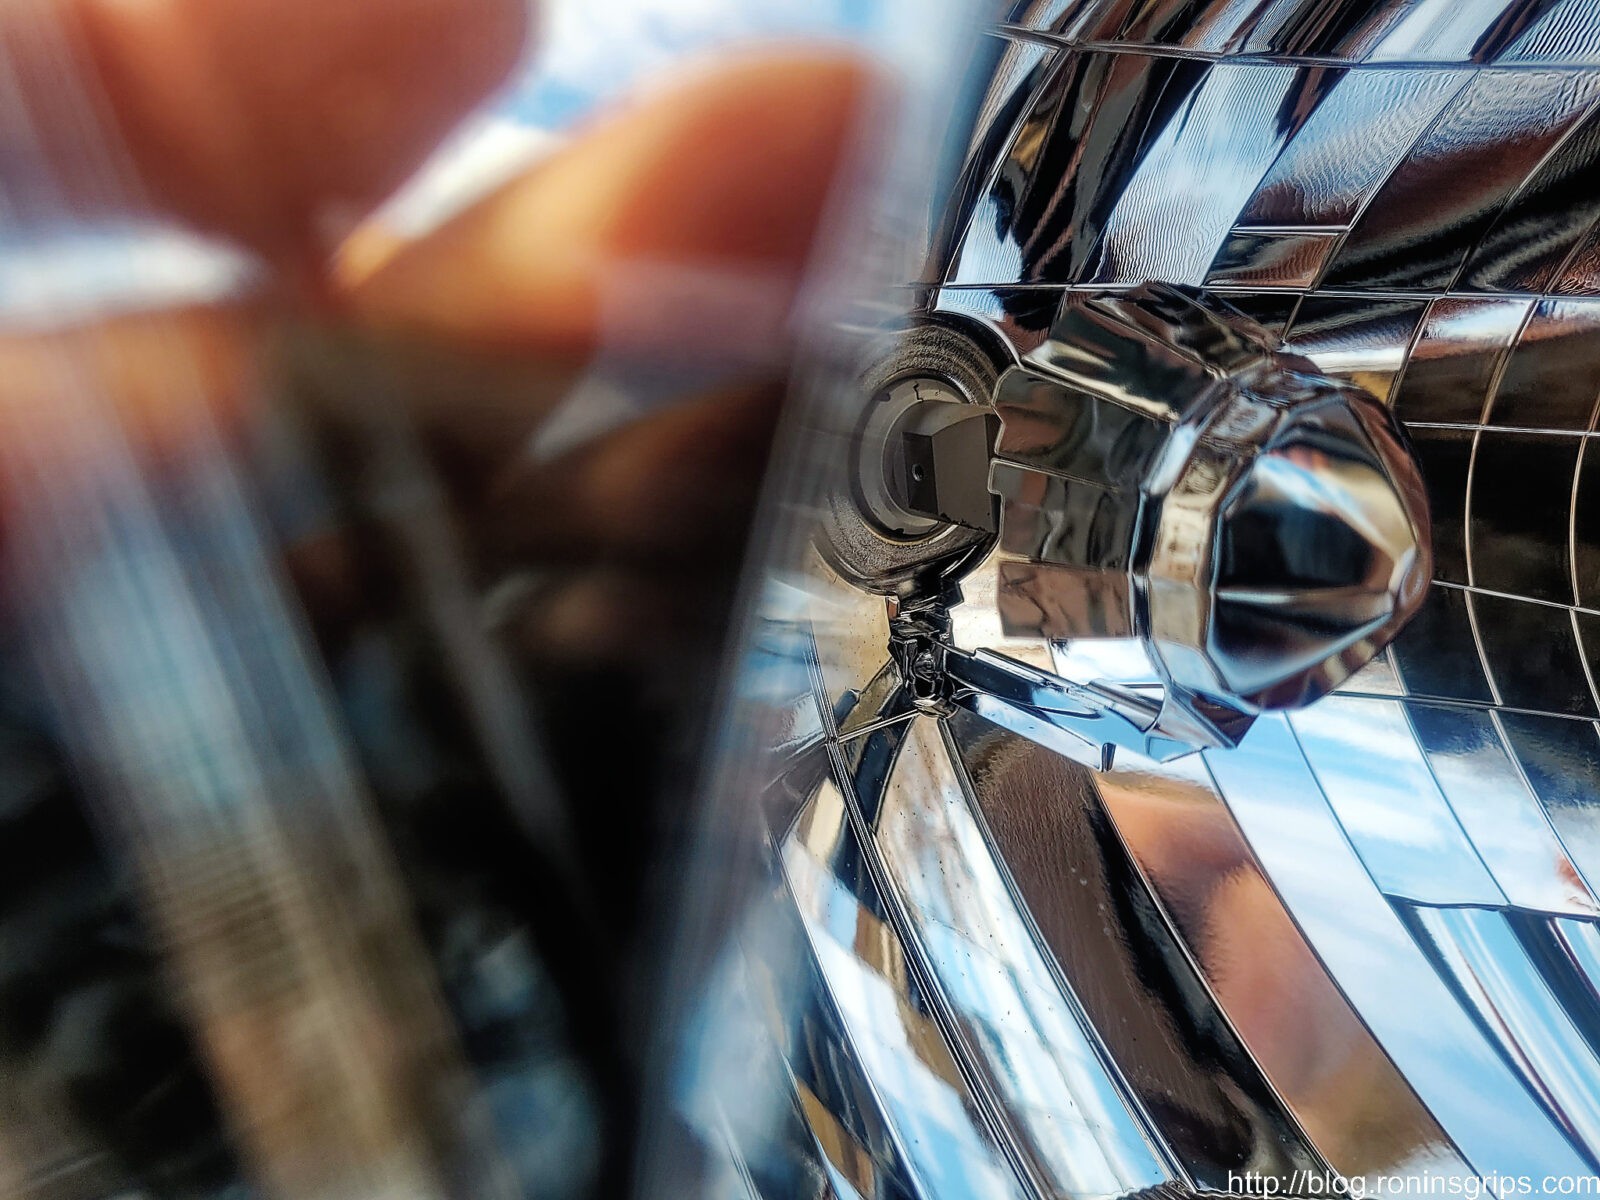
Installation was pretty straight forward: Disconnect the wiring harness, remove the rubber dust boot on the rear of the light housing, unclip the bulb retainer, put the LED in, clip the retaining wire back in, clock it so the thin edge of the emitter was straight up and down, pull the wire pigtail from the light out the end of the dustboot, reinstall the boot, put silicone grease on the fitting and test. Done, right? Not quite.

The old light was showing its age. Now sometimes when you see yellow it is because the plastic lens needs to be polished but in this case I had already done that. What you are seeing is an old halogen bulb.
Unplug the wiring and then remove the rubber dust boot.
A 2008 Highlander has one bulb for both low and high beam. To do this there are three wires – power for low, for high and the ground. The engine compartment fuse block has four 15 amp fuses – one for each power – left low and high and then right low and high. You can see the silver wire retaining clip/spring. You can see it is held in place by a small screw and the part you need to free is that farthest tab on the right. It is sitting under a little plastic protrusion. If you push the “U” shape piece of wire inwards and lift the end of the wire clip will clear that nub and swing free.
I don’t have a photo before this but you insert the LED so the metal tabs of the plate go into the slots and snap the wire clip back into place. Rotate the LED so it it straight up and down. Pull the wire pigtail from the LED unit through the dust boot, I then applied silicone grease to the connectors before I plugged the LED’s pigtail into the car’s wiring harness.
The LED itself can be rotated and I did it so it is standing with the thin part vertical. I tried to get a photo of it installed.

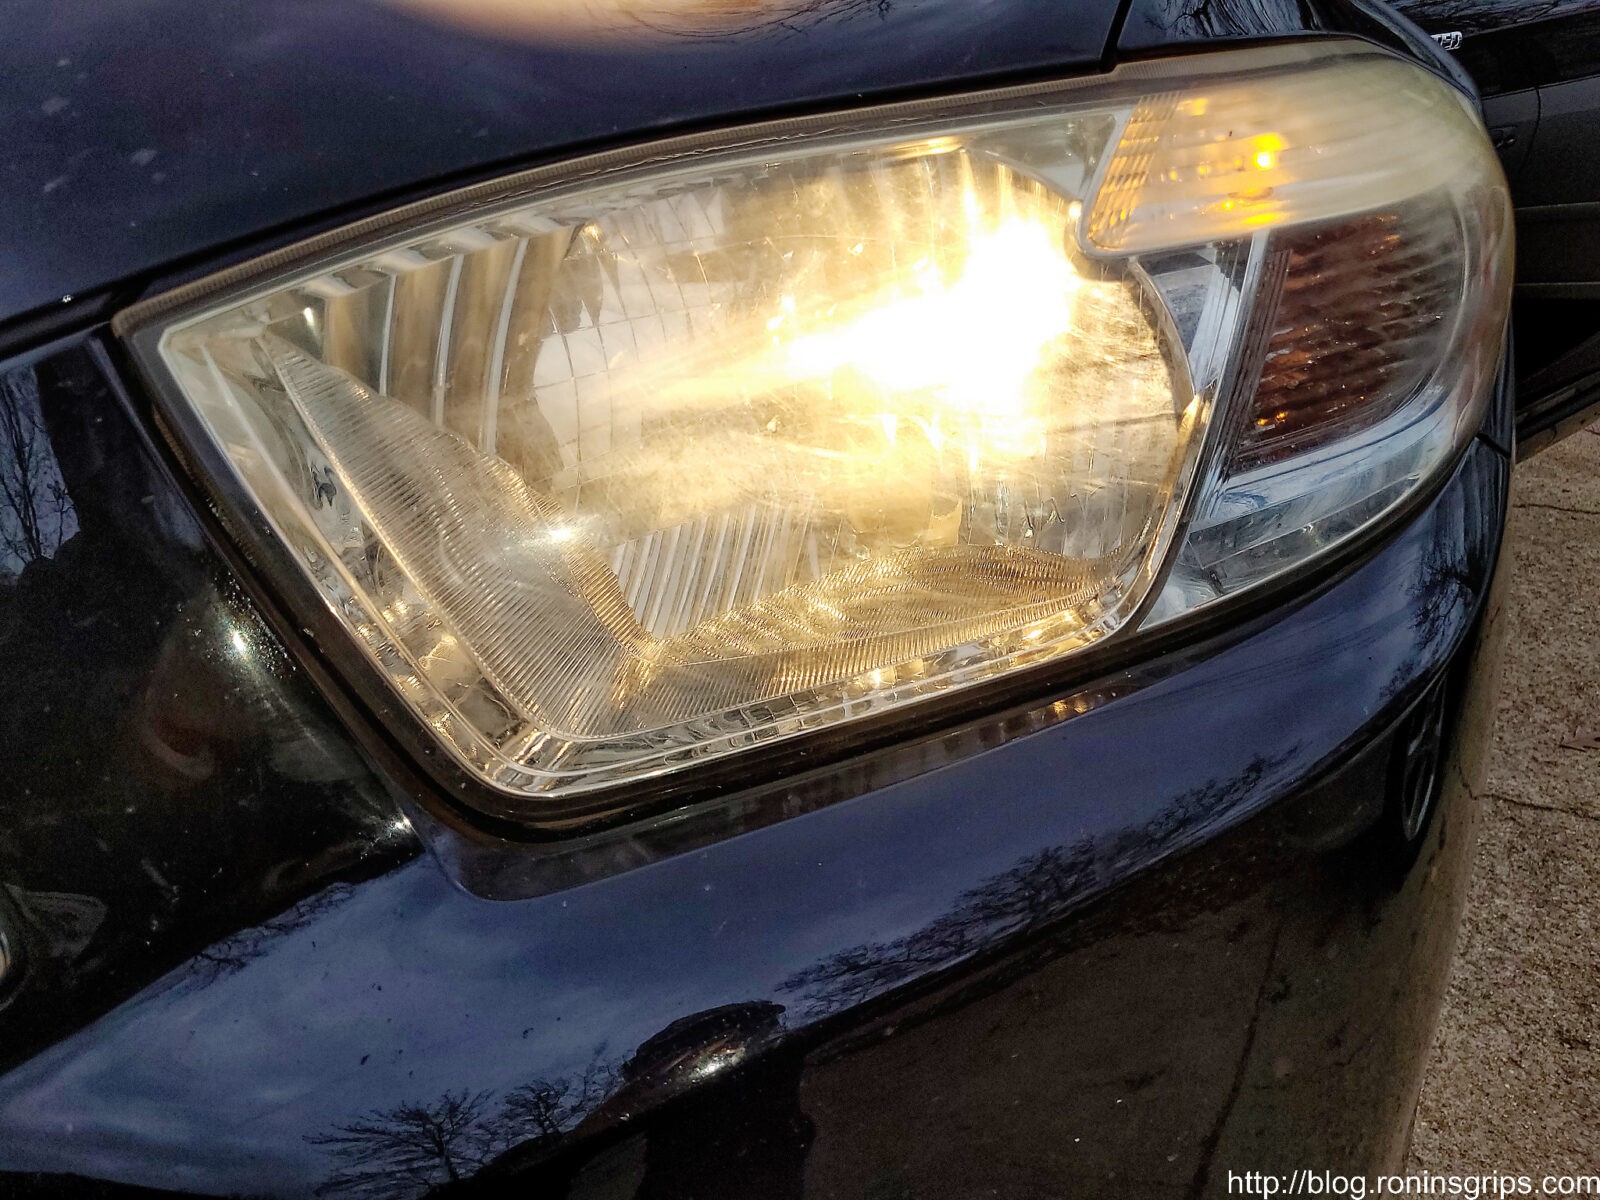
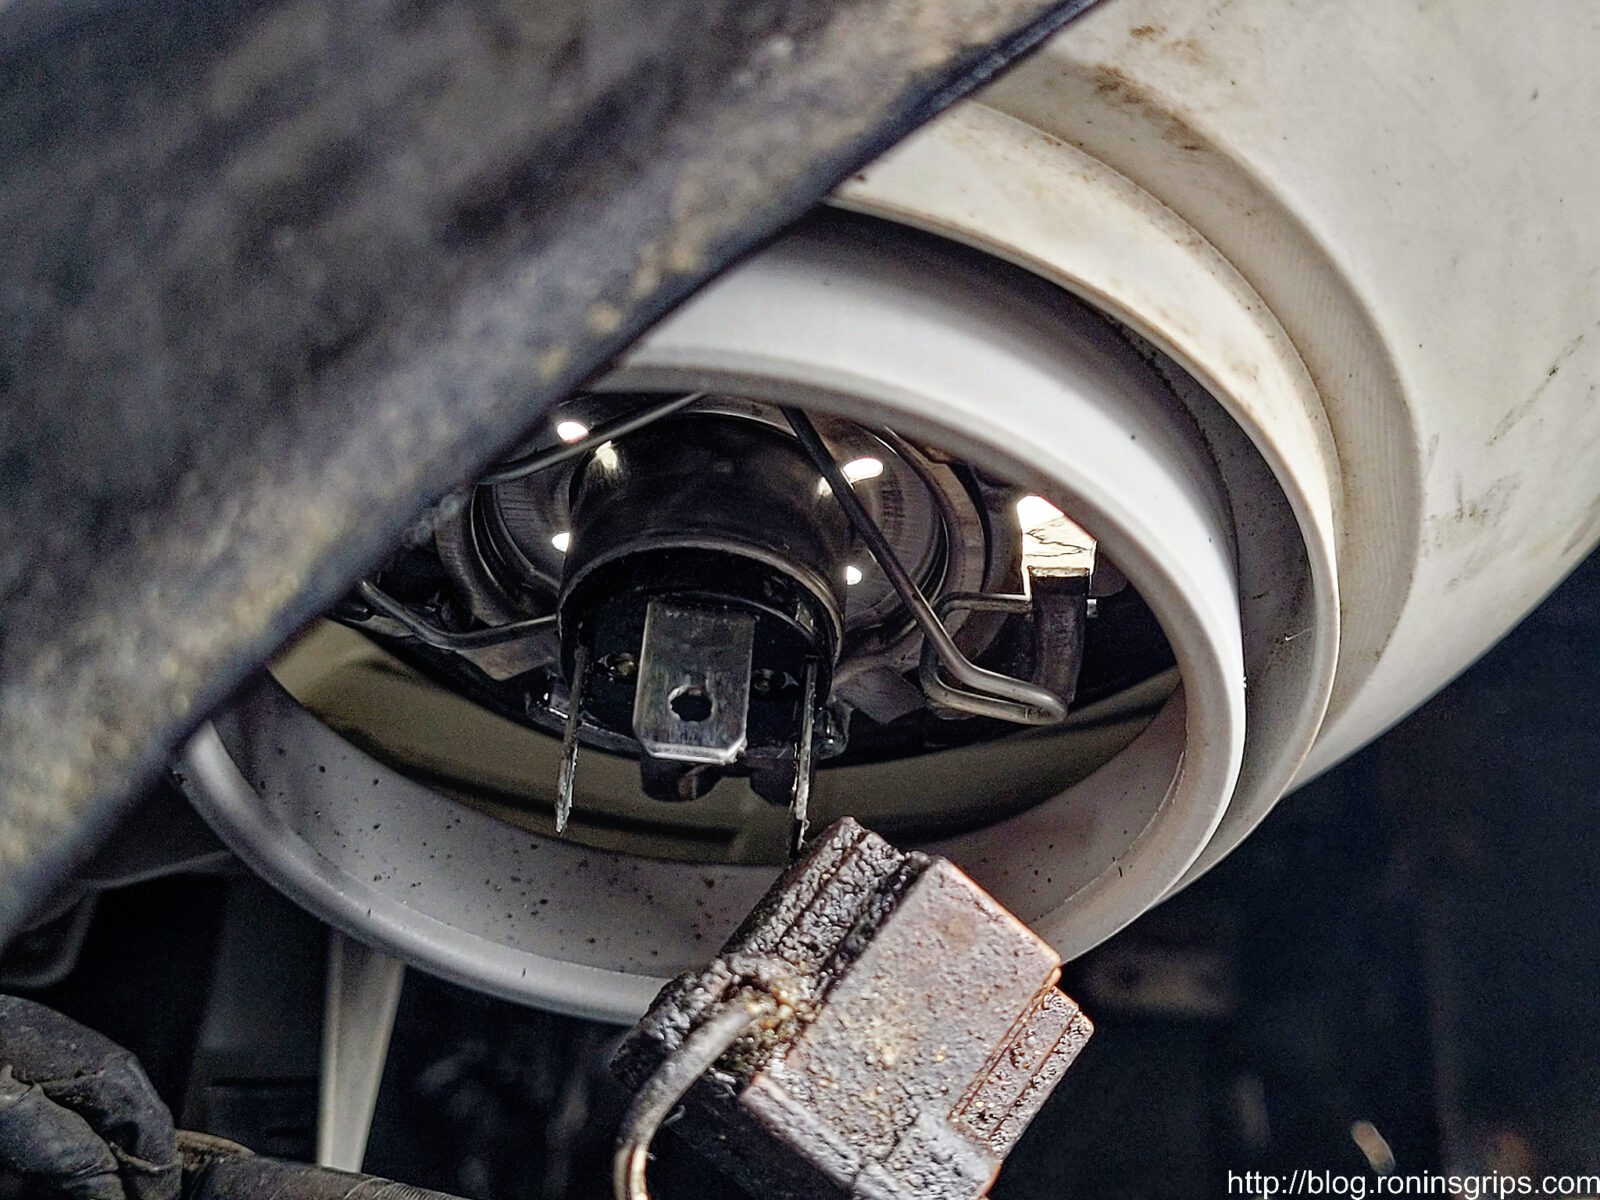
Maybe a week or so after the install the light pattern was really screwy on low and no high-beam. In a Highlander, there is one “bulb” and is designed to emit both low beam and then high beam – to do this it has three wires – low beam, high beam and ground. In looking at the fuses in the engine compartment, one of the 15 amp headlight fuses blew. The H-LP LH fuse to be exact – that letter code corresponds with “Left-hand headlight (high beam)”.

I was bumming and went to the LASFIT website. I’d read somewhere that they had good customer service and you know what? They really do. They have a page where you can enter a warranty request and I filled it out.

I imagine their customer service center is in Asia, China maybe, but I had a nice email from Claire offering to send me a replacement set and she asked was that I send her a photo of the originals with their wires cut. I told her no problem – I just needed to wait for Michigan to warm up a bit as the temperature was in the teens and I would do it in the driveway.

Just a few days later the package arrived via first class mail, I installed the new LEDs and everything works great now.

I emailed this photo to Claire at LASFIT per her request.
This is the low beam setting and the light is far whiter than the old halogens. The bushes are about The tree trunk that looks like it is straight in front of the driver’s side LED is 41 feet away. I measured it so you could get an idea.
This is the high beam setting. There is a fairly nice broad distribution of light going off to the sides as well.

Summary

I wanted to take a moment to share this. I always think it is worth recognizing a firm that stands behind their product – it was truly a zero hassle warranty exchange. I’m figuring that whatever bug was in the first LED isn’t in this new one as it is still working just fine.

I’m very happy how this worked out. Next time I need LED headlights, I’m buying LASFIT again. FYI – They make a ton of LED models so click here to go to their Amazon store if you want to see what else they have.


Note, I have to buy all of my parts – nothing here was paid for by sponsors, etc. I do make a small amount if you click on an ad and buy something but that is it. You’re getting my real opinion on stuff.

If you find this post useful, please share the link on Facebook, with your friends, etc. Your support is much appreciated and if you have any feedback, please email me at in**@ro*********.com. Please note that for links to other websites, I may be paid via an affiliate program such as Avantlink, Impact, Amazon and eBay.


How to restore cloudy headlights using toothpaste – This really works!

When car companies moved to plastic headlight lenses they opened the door to them oxidizing over and majorly reducing the transmitted light.  I’m surprised they haven’t been sued yet actually.  I really do not like the fact that light is reduced and people are driving with less and less visibility at night – that seems wrong to me.  However, if they don’t correct this problem we can at least fix it with annual polishing of the lenses.

For badly deteriorated lenses, I use Meguiar’s Heavy Duty Headlight restoration kit. It comes with sandpaper and polish to really let you get through the yellow oxidized plastic.  I have sworn by that kit for several years now and you can do a number of vehicles with each package.  It was also a pretty good price considering you could avoid having to buy new lenses for at least 3-4 cars.

I just learned a trick from my son who was home for a visit.  He uses toothpaste to fix lightly oxidized headlights.  Yes, plan old Crest toothpaste.  Now this isn’t some odd chemical fix that disappears in a few hours.  Toothpaste has a very mild abrasive in it for cleaning your teeth.  Apparently it does an awesome job on car headlight lenses also.  The following is my wife’s Camry that has gone about a year since I last polished it:


Basically he would pour water on the headlight, get the toothbrush wet, added the toothpaste to the old tooth brush and then vigorously rubbed all over the lens.   He’d then pour water, wipe it off, look at the results and repeated it about three times per light until he got it just the way he wanted it.  I’m impressed.

He really didn’t use much toothpaste either.  This is real cheap and effective on light oxidation.  I’m doing this for now on and saving the Meguiar’s HD kit for lenses that are badly damaged.


If you find this post useful, please share the link on Facebook, with your friends, etc. Your support is much appreciated and if you have any feedback, please email me at in**@ro*********.com. Please note that for links to other websites, I may be paid via an affiliate program such as Avantlink, Impact, Amazon and eBay.