Guys, I must confess that I have a coffee addiction 🙂 As most of you know, I am into AK rifles as well. As part of that interest, I have read every biography I could find of Mikhail Timofeyevich Kalashnikov to try and better understand what led to the creation of the AK-47 and the eventual family of Kalashnikov designs.
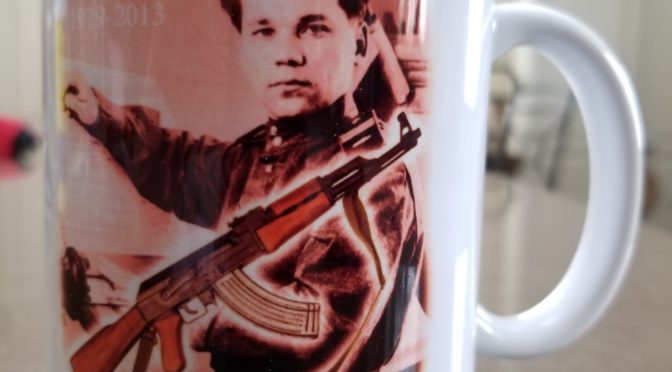
Recently I was searching on Amazon and surprisingly found a coffee cup with a great photo of a young Kalashnikov that was tastefully done and, of courcase, had to order it. I had to wait a few weeks as it shipped from Germany.
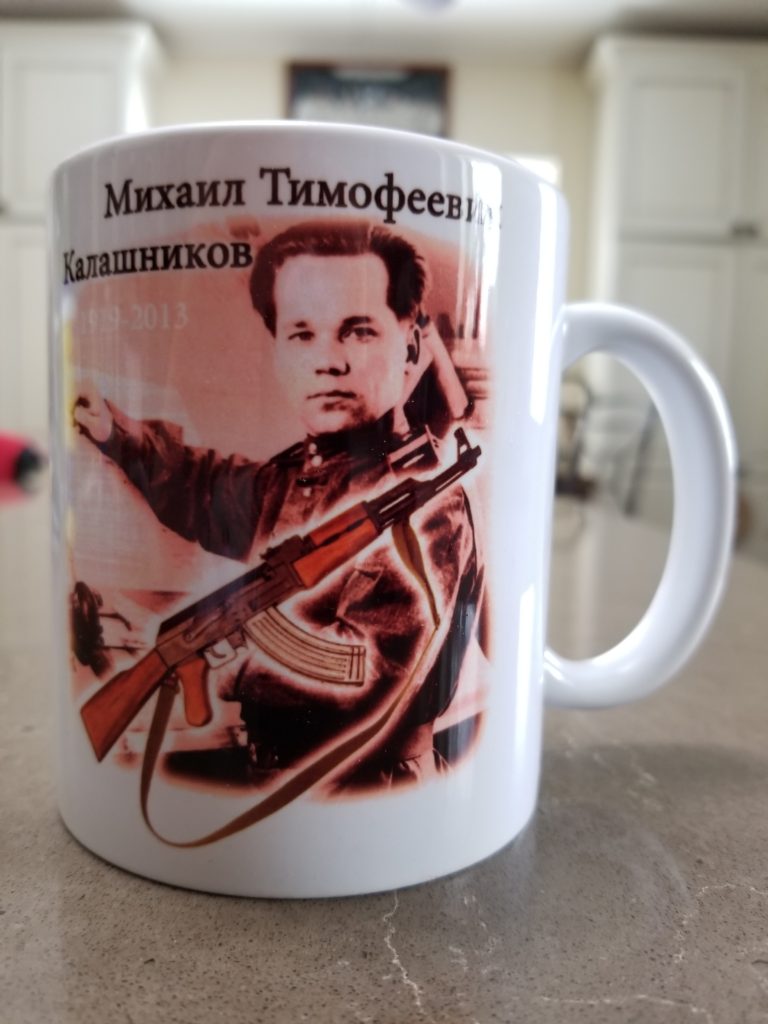
When it arrived, I was surprised that the graphic was a different color than what the Amazon ad depicted. I thought about returning it but I do like the cup. The following shows you the cup that arrived – it is pretty cool and the color has grown on me.
My wife’s reaction was “Why did you buy another coffee cup?” To which I answered “But honey, this is Kalashnikov” at which she just turned around while shaking her head 🙂
In case you are looking for a conversation piece, check out this cup. Here’s the listing on Amazon.
7/3/2019 Update: It’s holding up just fine. It does make for a cool conversation piece when people use it. “Who is this guy?” is usually how it starts 🙂
I wish I had better news but Youtube cancelled the channel for the Kalashnikov Concern so the video is no longer available. I am leaving the post up so at least you can see the screen shots.
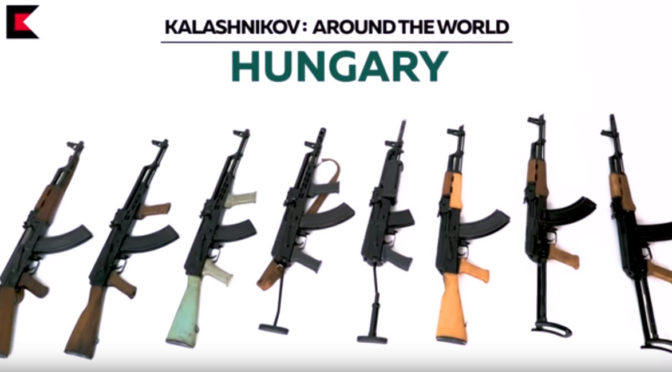
I am really enjoying these videos that Kalashnikov Concern in Russia is producing. In this video, Vladimir Onokoy, a technical consultant with the Kalashnikov and experienced AK armorer, discusses the Hungarian AK evolution with Pavel Pticin, founder of the AK-info.ru web portal, who has extensive AK knowledge.
I’ve always liked Hungarian AKs and found them to be high quality. Over the years I’ve built several AMD-65s and an AMMS. The kits all had original barrels and I was impressed by the fit and finish of the parts plus the rifles just ran and ran with no problems. They are definitely unique AK variants and I was actually really interested to watch this video and learned quite a bit.
Vladimir actually showed photos of a modified AK-63D that he encountered in Somalia. He mentioned how very impressed he was that it was still running with very little maintenance for close to 20 years.
This is one of Vladimir’s photos of the Somalian AK. Pavel noted it was likely an AK-63D with a cut down barrel, modified gas block and an AMD-65 muzzle break. One can’t help but wonder who did the work and why.
The video is just over 12 minutes and they discuss the early AK-55 rifle that is very similar to the Type 2 AK-47 with a milled receiver. They then move to a discussion of the AKM-63 (I’ve always heard it referred to as the AMD-63 in the US) with its distinctive handguard and grips plus other design differences.
As you may know, I own Ronin’s Grips and we make replica AMD grips. In one of the funniest gun video lines ever, Vladimir noted that the designer who decided to put an identical pistol grip at the front but simply reverse it deserved a medal! The Hungarians wanted to add it to improve accuracy and control under full auto fire.
Both Vladimir and Pavel noted that the front grip made reloading problematic and Vladimir pointed out that he had encountered rifles with the front grip cut down to reduce interference with loading magazines.
I finally got the best explanation ever as to why they used that bluish colored plastic. When the Hungarians decided to experiment with and move to polymer stocks, they lacked the ability to manufacture the base plastic. Because they were a Socialist country aligned with the USSR, the only plastic they could find that they could buy and import was a bluish plastic intended for dish making! You know what, that makes sense to me and what I will explain going forward.
The blue color is because the only plastic they could buy abroad was intended for dish making!
Lastly, they brought up some great examples of unique features you will see in the AKM/AMD rifles:
Distinctive pistol grip design
Metal lower handguard with no gas tube cover
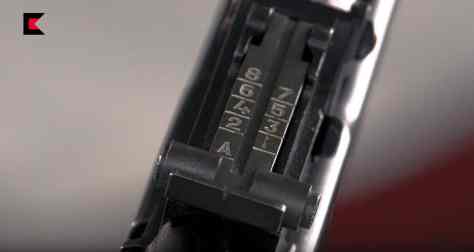
The selector notches are labeled with an infinity diagram for full auto and a “1” for semi-auto.
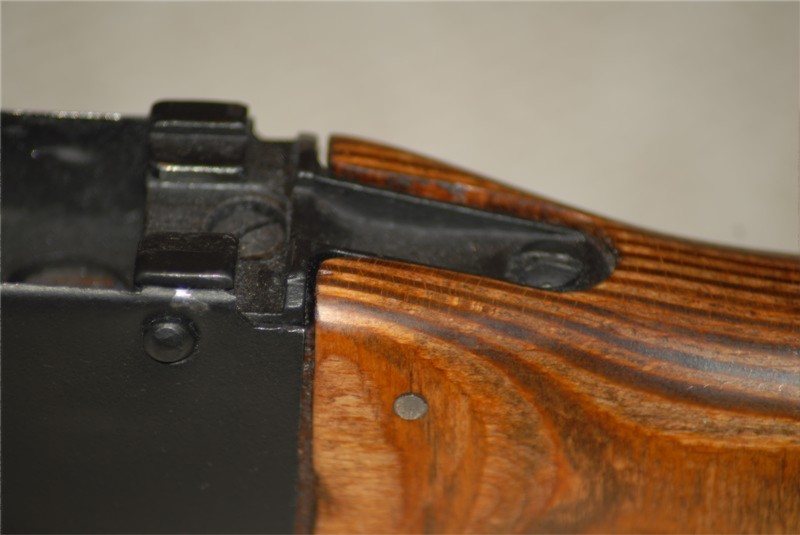
The rear sight leaf has an “A” on it
The Hungarians used unique selector markings – the infinity loop is for full auto and the “1” is for semi-auto.The rear sight leaf has an “A” on it.
This is where the video would have been. Too bad Youtube had to cancel the channel.
I will do a more In-Depth series of posts about building this rifle later. It is a Polish WBP kit l at the heart from arms of America with a Polish cold hammer-forged Barrel. The internals are installed in a Childers Guns receiver. The trigger is from ALG and I absolutely love it. I kid you not, this is now the only trigger I will use because it is so good.
The muzzle brake is a JMAC RRD-4C and boy does it eliminate muzzle climb. It made the rifle very controllable even during rapid fire.
The optic is a vortex Crossfire. The furniture is original polish Beryl with one of our US made 922r Beryl grips.
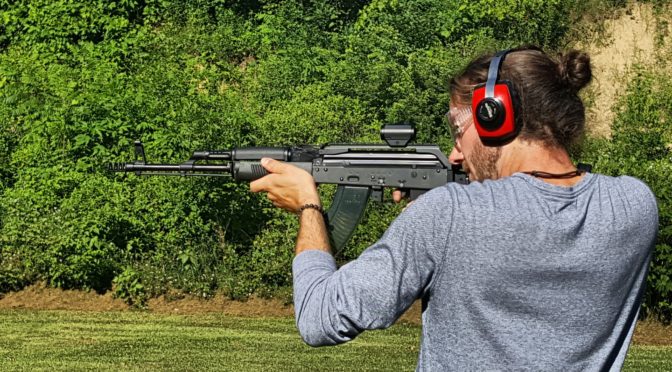
In the following video, this is my buddy Niko doing the shooting and while he is tall and wiry you can tell that the full-power Golden Eagle hundred and twenty four grain FMJ 7.62 x39 round is not moving him much at all.
The build turned out to be extremely reliable and accurate. Like I said I will post more details later but I’m thrilled with the results and had to jump the gun and share this!
You know folks, I miss the old Romanian Garda kits. I literally built about a dozen of them trying different variations on rivets, screws, welding and so forth. You could get them from $79-119 with the barrel and sometimes even a Tapco G2 fire control group (FCG) included. Copes, Centerfire, DPH and others had pallets of them. My wife would give me the eye any time a box showed up from one of them 🙂
That was the good times and then thanks to yet another ridiculous ATF ruling, the kits with barrels were forbidden for import, the well dried up and prices rose. I actually cut most of the completed rifles up and sold them for parts when kit prices went in the $300+ range. I sure had a ton of fun with friends and family at the range. What I personally enjoyed most was making them. Boy, I made a ton of mistakes along the way but learned too and also learned to respect a lot of concepts that Kalashnikov and his designers put into the rifles including pushing for reliability, simplicity, and so forth.
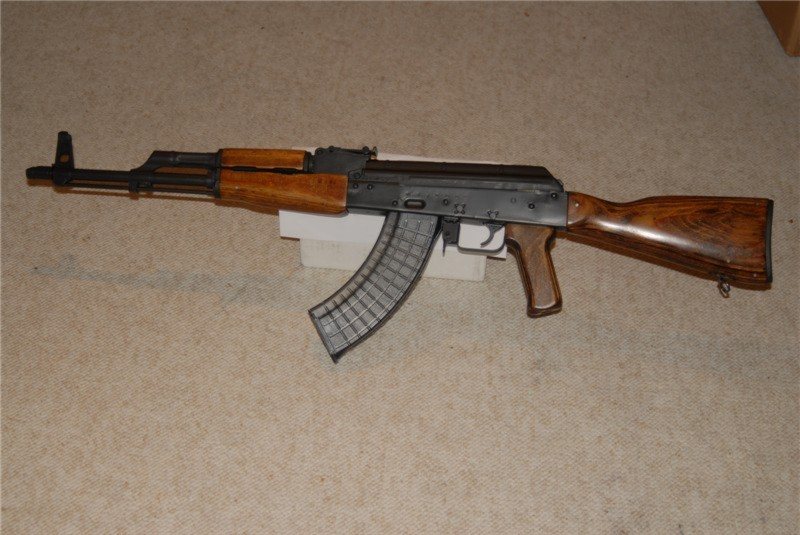
At any rate, I was going through some photos from January 2013 and thought I would share a few pictures of guns that ran like tops. These two rifles work great and I learned a ton making them. The finishes are shades of Minwax stain with hand rubbed urethane stain on top. I eventually moved to boiled linseed oil but that was long after I built these. I always liked seing how the stain would take to the wood. This is also before I started making grips – the wood one is from Ironwood and I don’t recall who made the plastic one. The finish would have been air dried Duracoat on these.
I get one or two emails a year from a purist telling me that what I did was evil, that I am a clueless half-wit, etc. Folks, innovation happens by trying new things. I have built more AKs than most – using rivets mainly because they do work best. There are a ton of reasons why rivets are best for joining forged blocks to sheet metal.
In terms of welds, do I understand the risk of destroying the heat treat in the locking lug area, the risk of causing embrittlement around the plug welds, that the Soviets explored this and dropped the idea due to cracking? Yes, I do and tried it anyway because I wanted to explore how to compensate. So, don’t send me hate mail me because I will not bother responding.
If you want to try and experiment, go for it. Should you do this with an AK build that you want to be historically accurate or plan to use heavily perhaps even under full auto, then the answer is “no – don’t do it”.
Yeah, these things were like $79-99 in June 2006 so I did a lot of playing around including experimenting with weld builds. I still have this one and it runs just fine. The welds were done with a HF 120 Volt MIG welder running an ArC02 shielding gas. Basically I did plug welds in place of rivets but did some extra welding on the back trunnion as I expected more stress there. The lower rails were installed with a 120 Volt Harbor Freight Spot Welder with an AK-Builder tong installed.
My basic conclusion is that welding is fine for casual use rifles but rivets are the way to go with hard use. The tricks are to take your time, do plug welds and watch your heat. Your not trying to weld the heck out everything – just to get a decent plug weld to lock the parts into position in place of a rivet. You’ll notice that for the critical front trunnion, I actually drilled the holes in the receiver and plug welded into the trunnion that had the rivets drilled out.
I use a flap sanding wheel on my angle die grinder to smooth everything down.
A drill bit with the right diameter to line the lower rails up with the front trunnion is used to position the lower rail for spot welding in place.
I went for overkill welding in the rear and put in a few extra beads to take up stress.
Welding in the center support and sanded it down too
This is the rifle ready for testing.
I did Duracoat on this build and two big recommendations I would make to folks who choose to use the air dry Duracoat are to at least abrasive blast the surface and absolutely wait the full amount of time indicated for curing, which is 1-2 weeks or something like that. If you don’t do these two things, when you move the selector lever, it will scratch the finish off right to the bare metal. I only use bake on finishes now. I’ve had great luck with blasting, parking and then applying Molyresin on top but this last step could be whatever finish you want. The parkerizing is a terrific surface for a finish to really grab a hold of. A bake on finish is really the way to go with the top coat.
If I new they were going to go up so much in value, I would have done rivets. Heck, I would have done all the rifles using rivets had I known. I was just having a lot of fun and learning a ton.