Tag Archives: Air

Running Your Garage or Shop Oil Lubricated Air Compressor in Cold Weather – below 32F

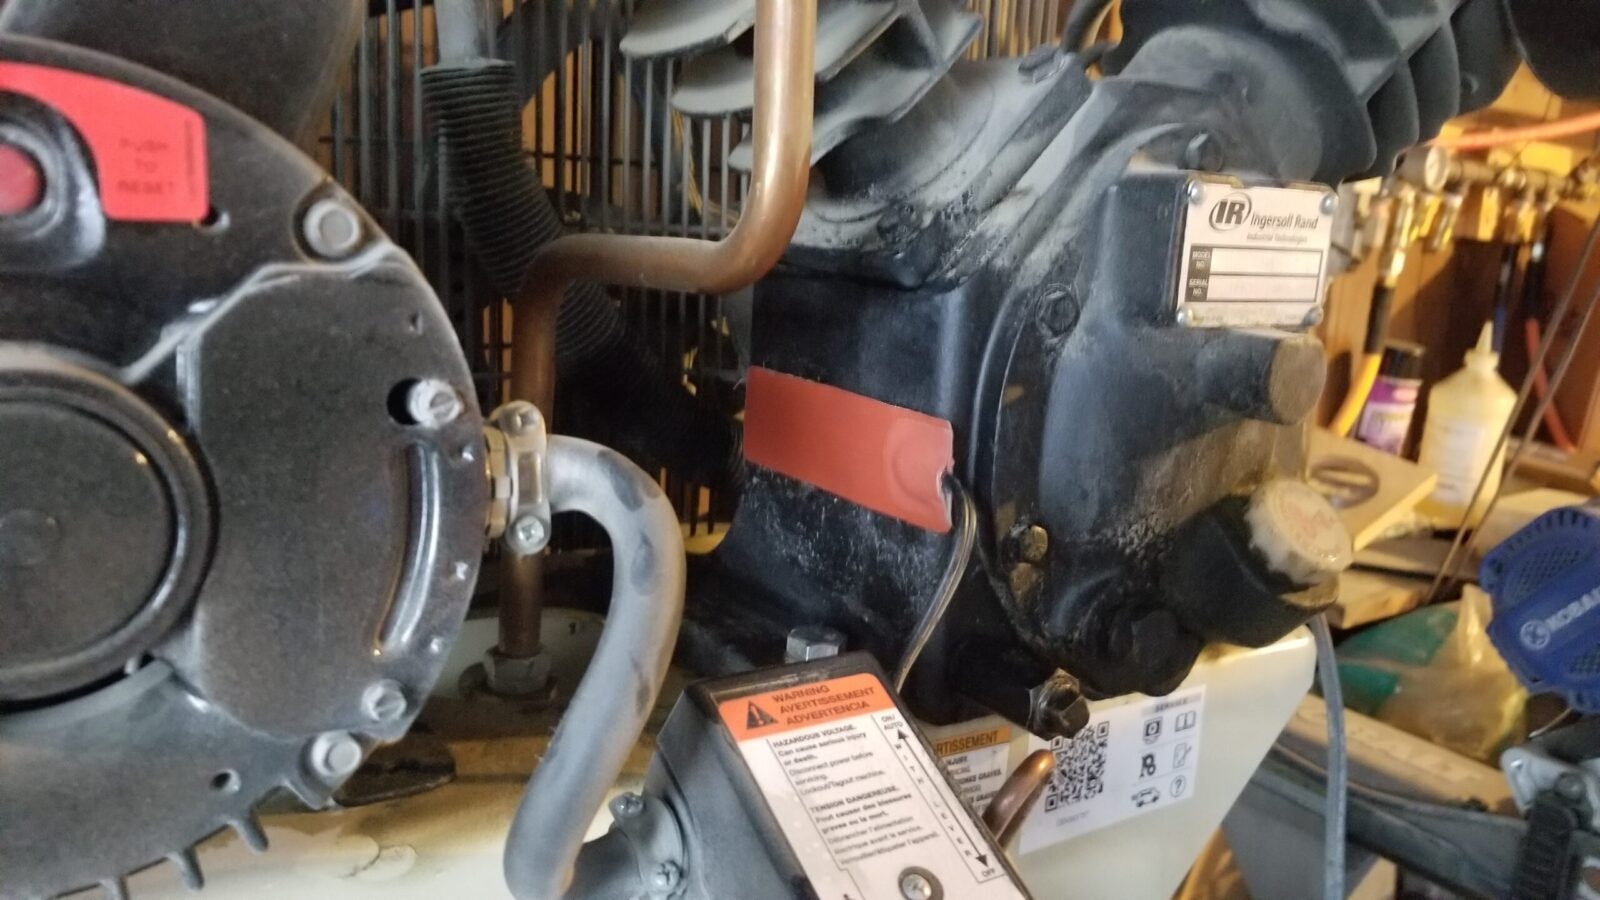
A fellow asked me the other day how I can run my shop Ingersoll Rand (IR) 2340 compressor, which is an oil lubricated 60-gallon compressor, in the winter in my unheated shop. The reason he asked is that as the compressor gets colder and colder, the oil gets thicker and thicker. The end result is that many compressors will not even start below 32F (0C) – the motor tries to spin the air pump, there’s too much resistance, the motor draws too many watts and trips the breaker… or burns out the electric motor. Because of this, many air compressor companies will tell you not to run your compressor when it’s below freezing. I’m going to tell you what I do and you can decide what works for you.

I’m sure you’re wondering why I just said that last part and it’s because I will not be liable for any problems you may have. I’m going to tell you what I do, or have done, and then you need to do some research, conduct some tests and decide what works for you.

Run synthetic oil – not conventional oil

The first thing I will tell you is to run a good synthetic compressor oil and not the basic Petroleum 30 weight oil that probably came with your compressor. I use Ingersoll Rand’s All Season Select Lubricant because I bought it in bulk a few years back. It’s pretty good but you do have other options as well. Note, it does need a crank case heater to not trip the 30A breaker my 2340 is connected to when it gets really cold (down in the teens or lower).

Another option is moving to the thinner 10W30 Mobil 1 Full Synthetic engine oil in your compressor. I did this some years back with a Husky compressor that I eventually replaced with the bigger IR unit I have today. Some guys go even thinner to 5W30 but I have a hard time recommending really thin stuff like 0W-whatever but there are definitely guys out there who do it on smaller compressors – I’m just saying that I would not do so personally. Note, we are talking about full synthetic oils here and not regular engine oil.

Regularly change your oil

If you have never changed your oil or don’t follow the maintenance schedule of your compressor and oil combination, you really need to. Contaminants and what have you can make it harder for the motor to turn the pump over – even in good weather let alone cold weather.

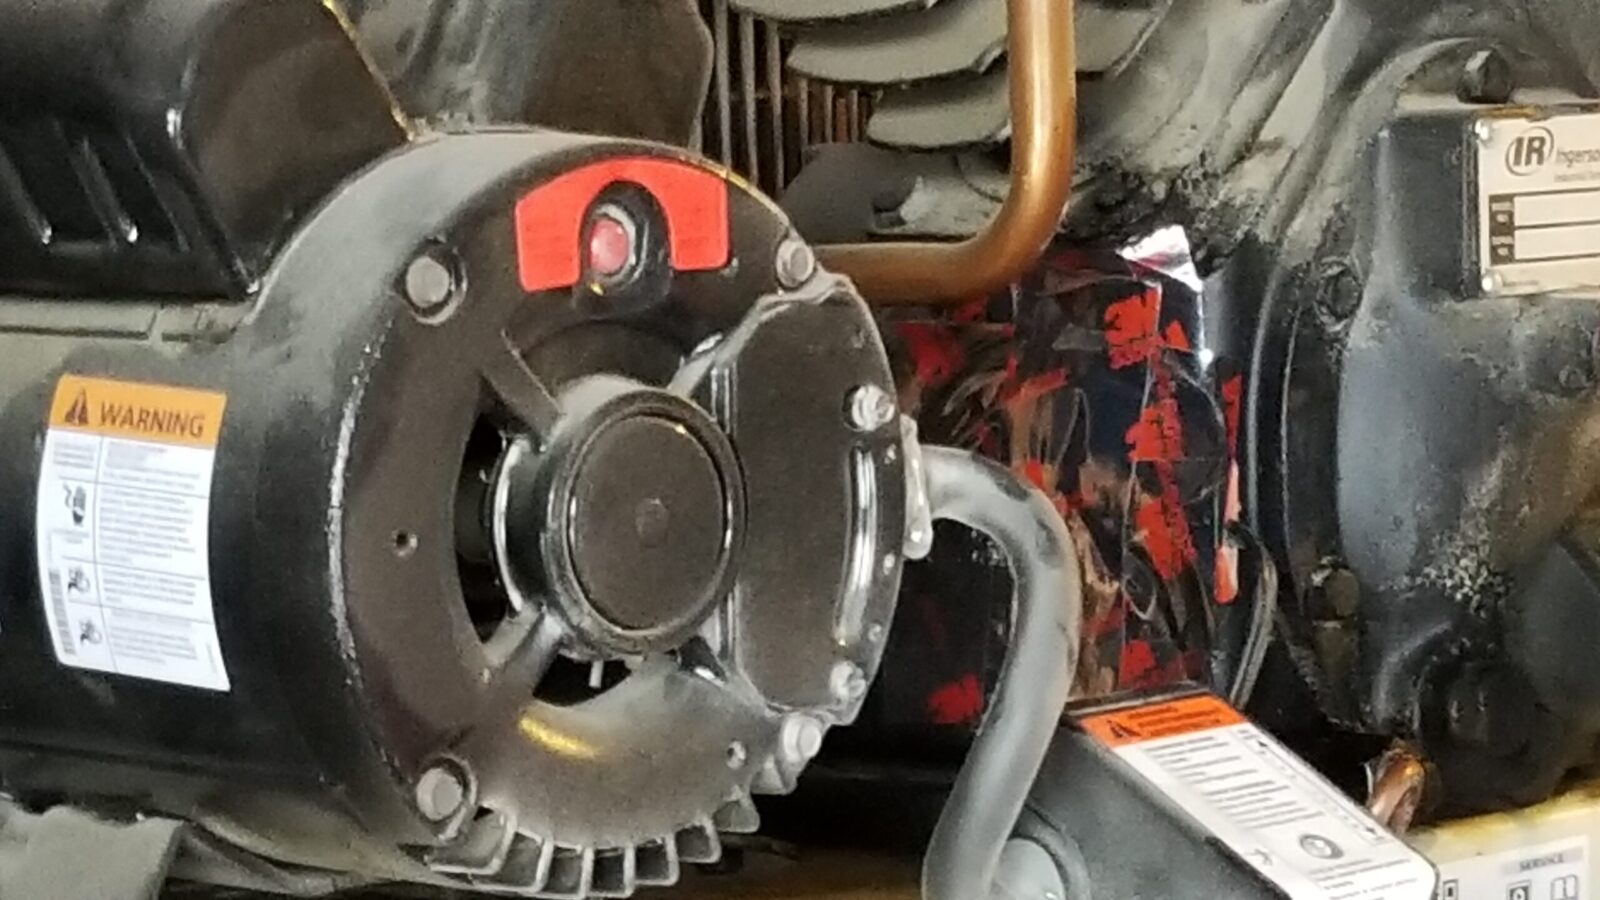
Run heating pads on your pump

A trick I learned some years ago for stationary compressors is to put one or two of the small oil pan heaters on the pump alongside the oil reservoir. I run one Kat’s 24025 25 watt heating elements that measure 1×5″ on each side of my pump. No more tripped breakers for me.

This is a Kat’s 1×5 25 watt heating pad. It has an adhesive backing to help position it. Clean the pump off first with brake cleaner so it will stick. I then add aluminum HVAC tape on top to hold it in place. There’s another one on the opposite side.
It has two layers of 3M 3350 HVAC tape on top to hold it in place and help distribute the heat into the crankcase. I’ve used a number of these aluminum tapes over the years and the 3M seems pretty reliable as long as the surface is clean,

Be sure to keep your tank drained

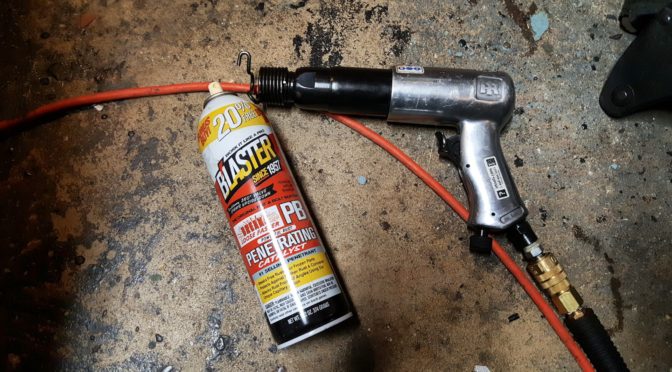
Condensation is more of a problem in the winter. The relatively warm moist air can condense on the walls of your tank and then go through your air lines causing your tools to freeze up. It usually happens when the weather really sucks and you need the tools the worst.

Start With No Load

One trick to try in a bind is to start with little to no load. In other words, empty the tank so the motor isn’t fighting both thicker cold lubricant and pressure in the line as well.

The thought process is that your bleed off valve that empties the line from the pump to the tank and to the pressure switch might be frozen up from moisture or bad/failing. For example, the switch on my IR 2340LF-V is a real cheaply made POS – I’m miffed about the quality and am not going to mince words about it. I’ve replaced it once already and as of this writing it’s starting to fail again about a year later after the last time and I already have a replacement on hand.

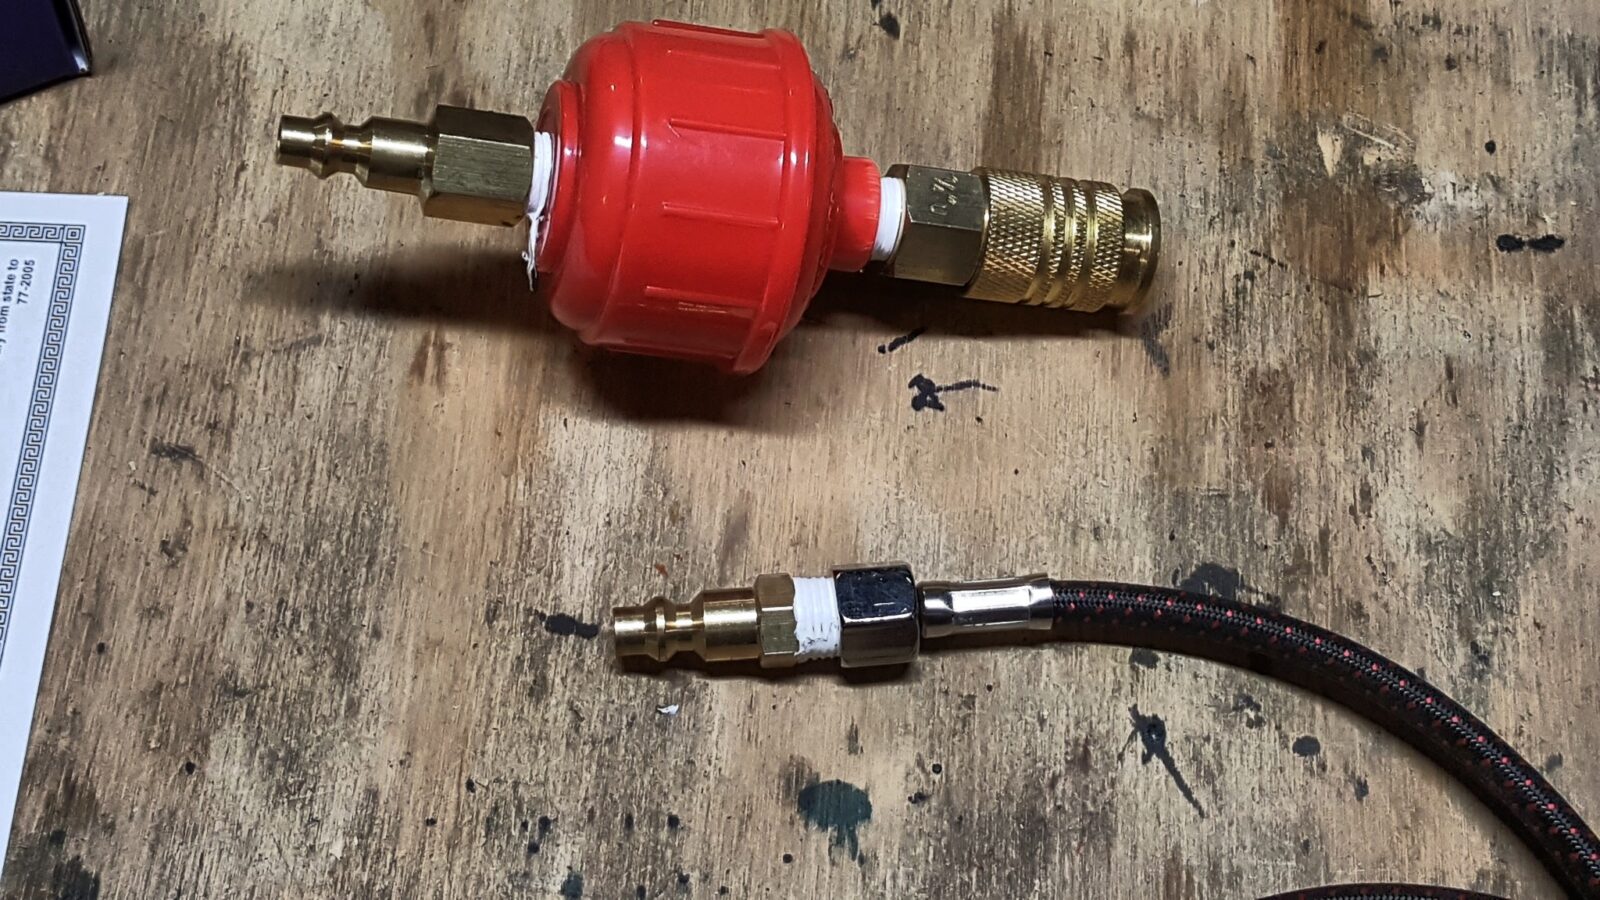
Also, one trick I learned from an old timer is to add more line or a reservoir between the pump and the tank so the motor can get a running start before it encounters resistance. Here’s a post I did some time back about that.

Conclusion

You definitely can run an oil lubricated compressor in the cold weather. It just takes a little planning and preparation is all. It’s my hope that the above gives you some food for thought and you can then research what will work best for you. You’ll notice that if you do some Googling around, you’re in good company with a ton of other folks trying to figure out what to do as well.

I hope this post helps you out.


Note, I have to buy all of my parts – nothing here was paid for by sponsors, etc. I do make a small amount if you click on an ad and buy something but that is it. You’re getting my real opinion on stuff.

If you find this post useful, please share the link on Facebook, with your friends, etc. Your support is much appreciated and if you have any feedback, please email me at in**@ro*********.com. Please note that for links to other websites, I may be paid via an affiliate program such as Avantlink, Impact, Amazon and eBay.


Why The Mophorn Pneumatic Lift Is a Huge Help When Working On Cars and Trucks But Has One Small Issue You Need To Address

Nothing like getting old and realizing that most of your joints hate you. I bring this up because I have two manual pump floor jacks that I have used countless times over the years and the oldest is probably 25 years old – literally. Well, let me put it this way – I had no problem pumping the handle to lift cars and trucks 25 years ago but starting about two years ago, the action really started to cause elbow and shoulder injuries I had to flare up. It got so bad that I had to make a choice either to stop working on vehicles or to find a different approach.

I work on cars and trucks in our driveway so a permanently installed lift was not an option. It had to be something portable. My first thought was to get a low profile air-over-hydraulic jack that is mounted in its own wheeled carrier. They have an incredible lifting capacity (around 22 tons) but they are heavy (around 80 pounds), slow (air over hydraulic is many things but fast is not one of them) and expensive (they start around $200 and just go up from there). What really stopped me was the weight and the cost. I can’t lift or drag as much weight as I used to and the entry-level units were a tad more than I wanted to spend.

So, I kept digging and ran across pneumatic/air jacks. Think of the air suspensions you see under a big rig. Basically one or more air bladders fill with air and lift the top of the jack. They max out in terms of lift height around 18 inches and 3 tons of lift but it depends on the model. Definitely spend some time researching before you buy. I found that I needed to think about:

  • How low I needed the unit to collapse down to fit under our cars to get in position prior to lifting
  • How much weight did I need to lift
  • How high I needed the unit to lift
  • How much did it weigh?
  • What was it going to cost?

I then started reading listings on Amazon plus paying careful attention to review scores. I also talked to a mechanic friend of mine about the safety of the unit and what his thoughts were. He told me to consider two things: 1) always immediately put jack stands in place and 2) don’t lave the unit out in the sun and weather thus harming the rubber. Those suggestions made a lot of sense to me.

On January 8, 2019, I wound up buying a Mophorn Pneumatic Jack, 3 Ton, Triple Air Bag, with a 16″ lift height for about $150 with free shipping. The unit arrived with just little bit of assembly needed. I recall I had to install the handle and the pressure line but that was it.

I get about 15″ of lift at 90 PSI.
Left lever is the exhaust and due to the lever design, you can adjust how slow you want to drain air out. Even if you hit it and have an “oh shit” moment, you typically have a few seconds before the vehicle starts to go down. The middle unit with the pull ring is the safety blow off valve. The far right lever is the air inlet and there is a Milton M-series male plug under the Milton quick connect female fitting. If you want a reliable air system, use Milton fittings – they last.

As you can guess from the sticker above, the lift is made in China and the instruction sheet is pretty terse but it’s really not that hard to figure out. I do want to cover a few specifications with you and convert them from metric to US customary measures – these are from the owner’s manual included in the kit unless otherwise noted:

DescriptionMetricUS
Capacity3,000 kg6,613 lbs
Air Pressure5-10 Kg/cm^271 to 142 PSI
Air pressure from label on handle – presumably the recommended pressure8 kg/cm^2113 PSI
Minimum Height145mm5.71 in
Maximum Height400mm15.75 in
Lifting Time5 seconds5 seconds
Working Temperature-69C to +50C-92F to 122F

What have I lifted with it?

When I say “lift”, I am talking about the front end or the back end – not the whole vehicle.

  • 1994 Toyota Corolla DX
  • 1996 Toyota Land Cruiser
  • 2000 Toyota Camry
  • 2006 Toyota Solara
  • 2008 Toyota Highlander
  • 2016 Ford F150 Transit
  • Others more or less along the lines of a Camry or Highlander

There are a few things I have noticed

First, let me point out that I like this unit and would recommend it but there are a few things I want to point out:

  • The highest my lift will go is 15″ and that may be a function of my only running 90 PSI to the jack
  • I don’t think it actually can lift 3 tons. It bogs down on the front of our old 96 Landcruiser and also our full size F150 Transit. Again, I think it’s my lower air pressure. This summer I might plumb a dedicated 120 PSI line and see what that does. It will depend on time and money.
  • There are stabilizing cones made from steel inside the jack. Maybe 1 in 20 lifts they need a whack to start coming down. I may polish and lube these if I get a chance.
  • The rubber is pretty thick on the bladders. With that said, I do store it indoors away from the sun and the weather. I’m writing this a year later and the bladders show zero signs of wear.

The One Little Thing You Must Do: Blue Loctite Your Screws!!

I have used my jack many times since I bought it. Starting around September I was hearing faint air leak and thought the jack had bent. When I had time I found out that the bottom screws had loosened up and air was simply escaping from between the gasket and the bottom plate. I was surprised and disappointed to note that none of the screws had any thread locker applied to any of them. Many were in varying states of coming lose.

The unit is well made. The air bladders secure to that steel plate you see on them and then that assembly bolt to the dolly.
It’s the screws that attach the bladder to the while disc-shaped plate in the previous photo that came loose. Here are the metal stabilizing cones. I wish I had polished and lubed them when I had it apart and will go back and do that at some point. I did apply air tool oil to the cones after cleaning them of a gritty dust that probably dated back to when they were manufactured.
Before re-assembly I put a thin bead of Permatex Blue RTV gasket seal on the rubber gasket and then applied Blue medium-strength Loctite to each srew and brought them down lightly. I then went criss-cross lightly bringing down each screw to firm and then applied a final torque of 11 NM (about 8 ft-lbs or 97 in-lbs.

I then did the same thing to the top plate as well just to play it safe. No more leaks.

The reassembled bladder assembly then screws back down to the baseplate of the dolly. Note, this photo is actually from when I was taking it apart. The screws were so scuffed up that I just replaced them. Did I mention I use this a lot?

The following is the exact jack on Amazon that I bought and this review is about:

Bottom Line

I would buy this again and recommend it as well – just due the Loctite thing I mentioned. Note there are other Chinese suppliers on Amazon also but they do not get as good of reviews as the Mophorn units so my recommendation is only for that brand.


If you find this post useful, please share the link on Facebook, with your friends, etc. Your support is much appreciated and if you have any feedback, please email me at in**@ro*********.com. Please note that for links to other websites, I may be paid via an affiliate program such as Avantlink, Impact, Amazon and eBay.


Why I Stopped Using Harbor Freight Air Fittings

In short, Harbor Freight quick couplers look like a cheap way to go.  The problem is that they are really soft.  I can’t even guess how many female fittings I have thrown away as they deformed and started to leak air.

The same goes for the soft male fittings.  You will find they abrade easily and leak air plus they bend and break easily.  The latest example is this male plug on my IR 117 air hammer where the smaller nipple is tearing away from the relatively thicker base:

My solution is simple – I only use Milton air fittings now and you can get them from Amazon at an affordable price.  Every time one of my many Harbor Freight units fails, I replace it.  By the way, I’m to the point that I don’t recommend any of the cheap import fittings regardless of maker.  Milton isn’t much more and they will last.

By the way, when you look purely at the purchase cost that doesn’t tell the whole story.  This fitting failed right at the start of the job and set me back about 10-15 minutes while I was rummaging around for my Milton spares, my teflon tape, the wrench, setting the tool in the vise to do the work, etc.   All of a sudden the supposed purchase savings doesn’t seem like a big deal.  By the way, I was swearing the whole time too 🙂


If you find this post useful, please share the link on Facebook, with your friends, etc. Your support is much appreciated and if you have any feedback, please email me at in**@ro*********.com. Please note that for links to other websites, I may be paid via an affiliate program such as Avantlink, Impact, Amazon and eBay.


Resurrecting a Gummed Up Air Tool Without Disassembly

Recently I got out my Ingersoll Rand model 117 air hammer to use and found out its action had gotten all gummed up.  It’s been probably a year since I last used it even then probably didn’t use it a ton.  I always drip air tool oil into a tool before use because my air lines run driers and particulate filters for my plastics work.  Thus, I have to manually apply the oil before I use a tool.

When I went to use 117 the piston would not actuate and when I shook the tool, it didn’t sound like it normally did.  My first thought was to check the air pressure and it was at 90 PSI and the regulator was wide open so my next guess was lubrication.  Adding more air tool oil didn’t make any difference.  I then remembered a tip a guy told me years ago with gummy air tools – spray a ton of PB Blaster down the quick connect fitting and let it sit with the quick connect fitting up in the air trapping the penetrating oil in the tool for 5 minutes and try again.

So, I did that, reconnected the air line and it worked!  The tool worked like a champ and it blew PB Blaster everywhere!  I did it one more time just to make sure stuff was clear and ran the tool for a maybe 30 seconds to blow the PB Blaster out, wiped it down with a rag and then put in four drops of air tool oil.  Problem solved.

This was a huge win because I was in the middle of working on AK and wanted to use this tool plus I didn’t have time to take it all apart,  I’m writing this post a few weeks later after completing the AK build and the IR 117 is still working like a champ.

By the way, PB Blaster can be found at tons of automotive stores.  The packing looks gimmicky but it is actually one of the best penetraing oils that is out there along with Kroil.  If I didn’t have access to either of those, I would have made up some Ed’s Red or at least used some form of transmission fluid.  Tranny fluid works great but take a while to penetrate gunk.


If you find this post useful, please share the link on Facebook, with your friends, etc. Your support is much appreciated and if you have any feedback, please email me at in**@ro*********.com. Please note that for links to other websites, I may be paid via an affiliate program such as Avantlink, Impact, Amazon and eBay.


How to Connect a Paasche H Air Brush to Your Shop’s Compressed Air System

I recently purchased a Paasche H-series kit from Amazon as I wanted to get a quality air brush.  I was surprised at all the confusion around how to hook up the H to a standard shop air system and want to clarify matters.

Now the set comes with the airbrush, tips, bottles and an airline.  The airline is the key – on the end that connects to the airbrush, it is 1/8″.  The other is 1/4″ female.  just take 1/4″ air fitting with male thread, apply several layers of PTFE tape to the thread and then screw on the hose and tighten – done.  That’s it.

The red assembly above the plug is a cheap generic inline disposable filter.  I simply have quick connects to make it easy to move my airbrush around to where I need to work in my shop.  I run a high-end filter system in my shop and still put a screw in filter just before the air brush’s air line just to play it safe.  If you run your air brush off your home compressor, you definitely need to do this and the more contaminated your air is, the faster the filter will foul out.  If you have any questions about the quality of your air, shoot a blast at a test mirror and see what all spatters on it – you’re liable to see a ton of goop if you are not filtering out water and/or have a lubricator in the line.

If you do have a ton of contaminants and plan to airbrush a lot, then invest in a good filtering system.  There are tons of them out there.  At a minimum, considering really good disposable filters such as a Motor Guard M30 for 1/4″ lines (technically it uses disposable cartridges inside a permanent housing).  Worst case, just make sure you have the disposable filters installed and change them regularly.  If you are still getting water and other junk when you spray, then decide how to either filter your lines or buy a dedicated airbrush compressor.  For me, it was a no brainer given the air system I already have and the disposable filter is there “just in case”.

At any rate, this is a great airbrush.  Having trashed numerous Harbor Freight airbrushes over the years, this is a wonderful step up.  I hope this helps.

5/2/19 – I lost the little trigger button and was very happy to find that the Paasche website has every replacement part one would need.  The price was reasonable and they shipped quick.


If you find this post useful, please share the link on Facebook, with your friends, etc. Your support is much appreciated and if you have any feedback, please email me at in**@ro*********.com. Please note that for links to other websites, I may be paid via an affiliate program such as Avantlink, Impact, Amazon and eBay.


Installed a 20 Ton Air Over Hydraulic Bottle On My Shop Press

My shop press is actually rated for 30 tons but I have used a 20 ton bottle for a safety margin.  Until recently, my preference has been a hand pumped 20 ton bottle on my press.  The reason for this is that when pressing barrels, pins, etc. I like to “feel” how much pressure I am applying.  Years back, I bought a 20 ton air over hydraulic bottle from Harbor Freight as guys told me it was faster.  What this means is that an air-operated mechanism pumps a piston and extends the bottle.  For a variety of reasons, it sat by the press and never got installed – mainly I did not have an airline there and I didn’t really have the need – as my grips business increased, free time to build AKs decreased.

At any rate, with the new SWAG shop press, I didn’t want to stand around pumping the bottle so I ran an airline and installed the bottle.

Installing it was a breeze (not including running the air line).  I just screwed in the head of the ram of the old bottle enough to pull it out.  I then slid in the new bottle and adjusted the screw head until it was nice and snug.  Done.  I’m using regular 3/8″ air line with 1/4″ Milton quick connect fittings and it seems to have plenty of air.

Boy is the end result nice — I can use the air system to run the ram down to where I want to then take over by hand and feel what is going on.  What a time saver.

One annoying issue I had to overcome was the pressure relief valve.  The bottle still has one of the little “+” shaped valves that you have to slide the handle onto.  SWAG makes a replacement handle you can slide onto the shaft and reinstall the pin but my budget was spent and then some.  Instead. I found some tubing in my shop and made a little “T” handle and cut a relief into one end with my band saw for the pin to slide into.  It’s way more convenient than using the long pump lever arm.

So the that’s it for the bottle. The next post will talk about the lower bending die and the series is done.


If you find this post useful, please share the link on Facebook, with your friends, etc. Your support is much appreciated and if you have any feedback, please email me at in**@ro*********.com. Please note that for links to other websites, I may be paid via an affiliate program such as Avantlink, Impact, Amazon and eBay.


Review: Chicago Pneumatic CP7200 Mini Orbital Sander is Solid!

Well folks, I bought three Jet small dual action sanders from a closeout tool shop 4-6 years ago and have to replace the little valve on them several times each.  This year when two failed, there were no little valves to be found so I decided to go with a name brand.  I did this for two reasons – solid quality and replacement parts.  These get a ton of use in my shop.   I did some digging around and ran across the CP7200 that has a nice grip, variable throttle, integral regulator to adjust the speed and both a 2″ and 3″ hook and loop pad.

For me, the backer is really important.  I need to sand curved shapes, constantly switch grits of sandpaper and those backing pads do wear out.  I can’t tell you how many I replaced on my Jet sanders and not all of them are good quality.  I made sure this unit used a standard thread (1/4×20) so I could readily find replacement backers.   Note the little tool in the next photo, it slides into a key hole so you can lock the head and screw the backer in securely.  Many of these little sanders are this way.  I have a tool glued into a length of fuel hose to find it easier, I’ve used little philips head screw drivers, etc.  Bottom line is that you need to lock the head in place so you can thread on the backer and tighten it down.

Any air sander uses a lot of air – let’s just be up front about that.    The manual recommends 16.6 CFM @ 90PSI.  That means you’ll want to have a decent compressor and need to figure out how much you want it to run vs. you waiting.  In other words, using this with an air compressor intended for an air nailer is going to suck.  The little compressor will not be able to keep up and it’s tank is way too small.  I have a Ingersoll Rand 2340 with a 60 gallon tank and the pump can deliver 14.3CFM at 90PSI and fills the tank to 175PSI.  This that if I am running the tool wide open non-stop, I will use air faster than the compressor can refill the tank.  However, it is a big tank at an even higher pressure plus I sand and stop, sand and stop over and over.  It really does not tax my compressor at all.

Oh – one last comment about the air supply – use a 3/8″ internal diameter (ID) hose so you can get enough air to the tool.  With a 1/4″ hose you may well starve it because the air will be very restricted until it gets to the tool.  It’s like having too small of a gauge extension cord going to a power tool – you can just get so much air down that small 1/4″ diameter hose.  Quarter inch fittings are fine but do use the 3/8″ hose.  With that said, as usual, the unit did not have a 1/4″ quick connect installed so I took one out of my parts bin, installed some PTFE tape and snugged it down. As you can see, the tools weighs in at 1 pound 9.7oz.  Not too bad and the grip is nice.

Before you put it into production, squeeze in 2-4 drops of air tool oil.  I’ve had good luck with all the oils I have bought and just stick with a name brand such as ATS, Porter-Cable, CH, and even Husky.  Your air tool needs this to run.  If you have an in-line oiler in your air lines then you may be able to skip this step.  I filter the heck out of my air and have to manually oil my tools.  My rule of thumb is to oil them before each day of use.

So I bought the unit on May 14th, 2017, and already have probably 20 hours on it with no hitch.  Not surprisingly the head was a little stiff but everything wore in nicely.  It appears to be working like a champ so I am recommending it to others.

Here it is at Amazon:

Note, CP backers are a fortune.  I’ve had very good luck with this brand of Chinese backing pad with my other sanders so I’m providing the eBay link.  Be very sure the thread is right (I’ve found three so far – 1/4, 5/16 and M6 so be careful) and look for the particular graphic label.  I’ve had other Chinese backers that just disintegrated with very little use.  You figure the tool can spin up to 15,000 RPM so your pad needs to be rated for that as well.  If you can find them elsewhere, great.  I scrounge around on eBay until I find them.

Update 7/7/2017:  The sander is still working great – no problems at all.  I’d estimate the unit has somewhere between 30-40 hours of use on it at least – it gets used a lot.

Also, I swear by Milton air line fittings.  Harbor Freight and Husky female fittings just do not hold up.  I do have a ton of HF and Husky male fittings that I am slowly using up but only buy Milton female quick connects now and will switch to all Milton as soon as I run out of the old plugs.  I’ve been using Milton Type M female couplers for over a year and they are solid.


If you find this post useful, please share the link on Facebook, with your friends, etc. Your support is much appreciated and if you have any feedback, please email me at in**@ro*********.com. Please note that for links to other websites, I may be paid via an affiliate program such as Avantlink, Impact, Amazon and eBay.


Need Drier Shop Compressed Air? – Step 2: Build a Moisture Separation System

When compressed air leaves a compressor, the the temperature drops as it expands, and moisture condenses on the wall of whatever surface is below the dew point of the air and then runs down to the lowest spot where it is collected and dispose of.  Now the cooling part is critical – just putting an air filter immediately outside of a compressor tank will not accomplish much.  Ideally you want the air to travel and cool for a bit in a metal pipe that is at least 20 feet long.  You may wonder why I mention 20 feet – it’s because I was told 20 feet at a minimum – in other words, I have no basis in engineering, just what guys have told me over the years.  I would just use that as a rule of thumb about how far the air needs to travel at a minimum before you do another round of moisture filtering.  The further the better.

I looked at three simple options when I was considering how to remove the bulk of the moisture from my airlines:

Run your hard air lines at an upward angle and install traps

This is as simple as it sounds.  I like to always install a ball valve and then a quick connect on the tank and run a rubber/flexible airline to the hardline to isolate vibrations. Plug into the airline above a moisture trap like so:

Uphill Hard Line Sample

I investigated this approach but it was going to take up too much space.  I needed to start accessing dry air much closer to my compressor so this was discounted right away.  If I were to build this, I would still use the PneumaticPlus drains referenced in more detail in the next section.

Pros of this approach:  Relatively cheap and easy to build

Cons:  Takes a long distance / not very compact.  It was going to be too long or my needs.

Build a compact moisture separator

Now this is what I do in my shop and it works great.  I use a series of vertical 1/2″ pipes with PneumaticPlus SAD402-N04D-MEP water traps with automatic drains at the bottom of each riser.  Now this works very well.   The vertical pieces are 6 feet tall and the cross sections are 6″.  This is occupying an area about 24″ wide and 8 feet tall.  It’s mounted on the shop wall and out of the way.  Most of the condensation happens in the first pipe. A lesser amount in the second and very little in the third.  It cost about $120 for the plumbing, $56 for each of the automatic drains and then maybe $50 for the  short hoses and 1/2″ fittings.  I installed this in August 2016 and am quite happy with it.

For me, one of the big benefits is with the automatic drains in the water traps.  When the float rises to a certain level there is a quick “pffft” sound and the trap blows out the water and closes again.  It’s not something you have to remember to drain, which is something I am not great at.  Also, when I am doing a lot of work, I might hear the first trap drain twice in one day but that is rare.


Sorry I don’t have a photo of the whole system from top to bottom.  I have equipment in front of it now and can’t get a good overall photo.  It’s just too tall for my camera given the limited distance I have to get the photo.

For me, it is really intriguing to see how much condensate is caught in the first trap closest to the compressor.  The second trap has much less and the third is dramatically less than either of the others.  This is not perfect as I still catch moisture in my air filters but it has made a dramatic difference at the end of the line.  When I blow air at a glass or mirror, there isn’t water all over it any more 🙂  I have wondered what would happen if I used 1″ pipe in that first vertical six foot section but have never had the need to spend the money and time to experiment.  In theory, the greater the expansion, the greater the cooling and thus the greater the level of condensation all other things being equal.

By the way, I really like PneumaticPlus.  I actually bought this gear off Amazon with my own money – this is a real review.  Every time I have questions they actually answer their phones and help me.  I had one defective part in one bowl and they immediately sent me a replacement.  In short, not only is the hardware itself good but I like the company behind it too.

You can add 1/8″ tubing to drain the condensate away from the water traps.  I feel it is a good idea to get the water away from the compressor as much as possible:

Pros to this approach:  It actually works, does not need electricity, automatically drains, uses relatively little space

Cons:  The floats could freeze in cold weather so I insulate and heat them in the winter.  I did not have any problems during the 2016/2017 winter with that approach.  It’s a little pricey but it really gets the job done.

By the way, if you can’t afford the automatic drains/traps, then put in ball valves with longer pipes to hold the accumulated condensate and drain them manually.  It definitely works but you must remember to manually drain the traps.

Install a refrigerated air dryer

The last option is the most expensive and that is to install a refrigerated air dryer.  Basically, the warm moist air enters a dryer that is a series of tubes that are refrigerated causing the moisture to condense and then drain out of the unit.  There is a Harbor Freight unit that gets surprisingly good reviews plus many different industrial models to select from.  I have not needed this yet, so I do not have first hand experience.  I’ve read about guys using them to protect their plasma cutters.  I use the above compact moisture separator described above, a two stage air filter system and then a very fine final filter from Hypertherm right before the inlet of my plasma cutter and have not had a problem.

Pros:  You can definitely remove the moisture.  Guys say they really like the low-cost Harbor Freight unit.

Cons:  Expensive and you need electricity for it to work.  It will get pretty dirty in a high dust environment like my shop and need routine cleaning to stay efficient.

If you are interested, here is the link to the HF dryer:  http://www.harborfreight.com/compressed-air-dryer-40211.html

So the first stage of moisture defense in my shop is to keep the tank drained.  Then it is this separator system to get the bulk of the moisture out of the compressed air.  In the last part of the series, I’ll talk about fine air filters.

The three blog posts in the series are:


If you find this post useful, please share the link on Facebook, with your friends, etc. Your support is much appreciated and if you have any feedback, please email me at in**@ro*********.com. Please note that for links to other websites, I may be paid via an affiliate program such as Avantlink, Impact, Amazon and eBay.