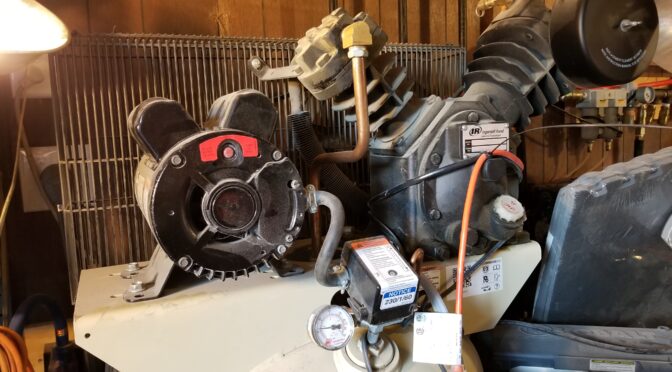
I live in a rural area and wind up doing a lot of my own repairs. About 2-3 years ago I invested in a 60 gallon Ingersoll Rand (IR) 2340L5-V air compressor which is their entry-level “Value Line” of industrial compressors. In hindsight, had I known more about “value” meaning “we made it cheaper”, I would not have made the purchase. Yes, it’s held up way better than my consumer air compressors but a buddy’s big Quincy compressor rocks and that is another story.
At any rate, I use a ton of compressed air for pressurizing my casting tanks and running all kinds of air tools. One of the reasons I went with the 2340L5-V was that I kept burning out the little 30 gallon consumer compressors. Failure is a big deal for me because when a compressor goes down in my shop, almost all work stops.
At any rate, I knew something was going on with my compressor before it stopped running completely. At the end of the air fill cycle that brings the tank back up to pressure, the switch would shut off but then there wasn’t any bleed down to relieve the pressure on the pump. This meant that the compressor may or may not restart without tripping the 30A breaker and it got worse with time. After this got really annoying, I decided it was time to fix it.
I did some reading and it turned out there were two likely culprits – either the check valve was leaking air back or the pressure switch was failing. I had problems with the check valve on other compressors so I jumped to conclusions and replaced that first. It didn’t fix the problem. Argh.

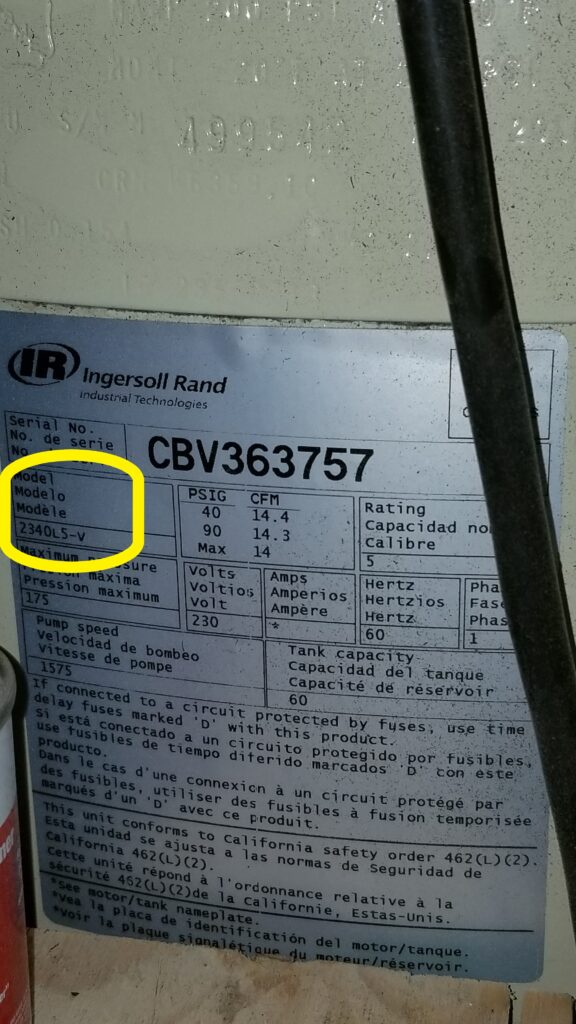
So that left the pressure switch and this is where things just went sideways and I got frustrated. In searching online and calling the parts department, IR’s own parts department sold me the wrong switch and I was down for almost a week. So you don’t go nuts, you must make sure people know if you have the 2340L5 or the 2340L5-V because their pressure switches are different. You can make the better switch from the 2340L5 work but it will take a bit of re-plumbing the lines to do so. I may actually try that some day.
Next comment, do not go with the model number on the pump housing itself. The model number you need is printed on the big silver decal on the tank – not on the pump. The pump will say “2340” but that is not your specific model.

For whatever reason, IR parts sold me the wrong part even though I asked the fellow to confirm it was right. So, frustrated and with my compressor down, more discussions were held and web searches done and the correct part for the 2340L5-V’s pressure switch is a 23474653-R. Interestingly enough, Tractor and Supply Company (TSC) is an IR dealer and the local store had one of these switches on the retail shelf. This gives you an idea that they are viewed as a wear item if a retailer is going to tie up the money and shelf space to stock one. It was $79.99 and they only had one so I called and confirmed with the clerk that they had one before I drove over. I’ve had way too many situations where a website said “X” was in inventory and when I went to the store, it was not so I try and confirm now. Thankfully, I drove to the store and picked it up.

Comments On The Swap
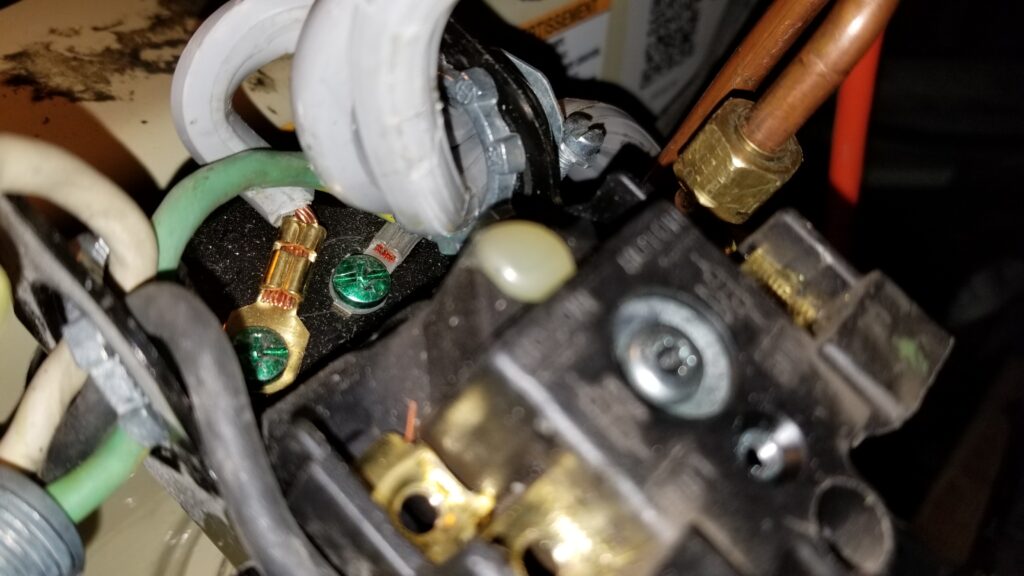
So, when it comes to the repair, it’s a fairly easy swap. I took a few photos from different angles to make sure I didn’t forget anything plus I labeled anything that might get turned around. Gone are the days when I try to keep it all in my head. Between my age and interruptions, I find it way too easy to forget things.
Two real important safety comments. Fully drain the compressor – in other words let all of the air out and open the floor drain. Why open the floor drain? Because it’s your double check that it is empty.
Second, please make sure the power is cut. I use a heavy stove/appliance cord going to a wall outlet. I both cut the breaker and unplug the cord. Why do both? It’s your double-check. If you are in a multiperson environment, follow lock out procedures.


Bottom line is that I installed the new pressure switch and the compressor proper bled off the pressure from the pump after cycling. In talking to IR parts they mentioned to me that this is the most common reason for the bleed down not to happen in my series of compressor – not the check valve. I believe that now. The pressure switch seems cheep and really strikes me as a consumable part now. Lesson learned.
By the way, I found out during the actual swap that IR printed the part number on the inside of the switch cover. Why hidden inside? If they had it on the outside, then this would have all been way simpler.
Also, next time my compressor stops unloading, I am going to order one of these switches vs. waiting for failure and having to scramble. It’s my fault for putting it off but I had a ton of other things going on and eventually it bit me.
I hope this helps you out as well. Bottom line, if you have a 2340L5-V then the correct pressure switch you need to order is the 23474653-R. That way you can avoid the drama I ran into.

If you find this post useful, please share the link on Facebook, with your friends, etc. Your support is much appreciated and if you have any feedback, please email me at in**@*********ps.com. Please note that for links to other websites, I may be paid via an affiliate program such as Avantlink, Impact, Amazon and eBay.
Here are switch listings on eBay. Be careful that it is a real IR part or a quality replacement vs. an inferior knock off that will not hold up.
