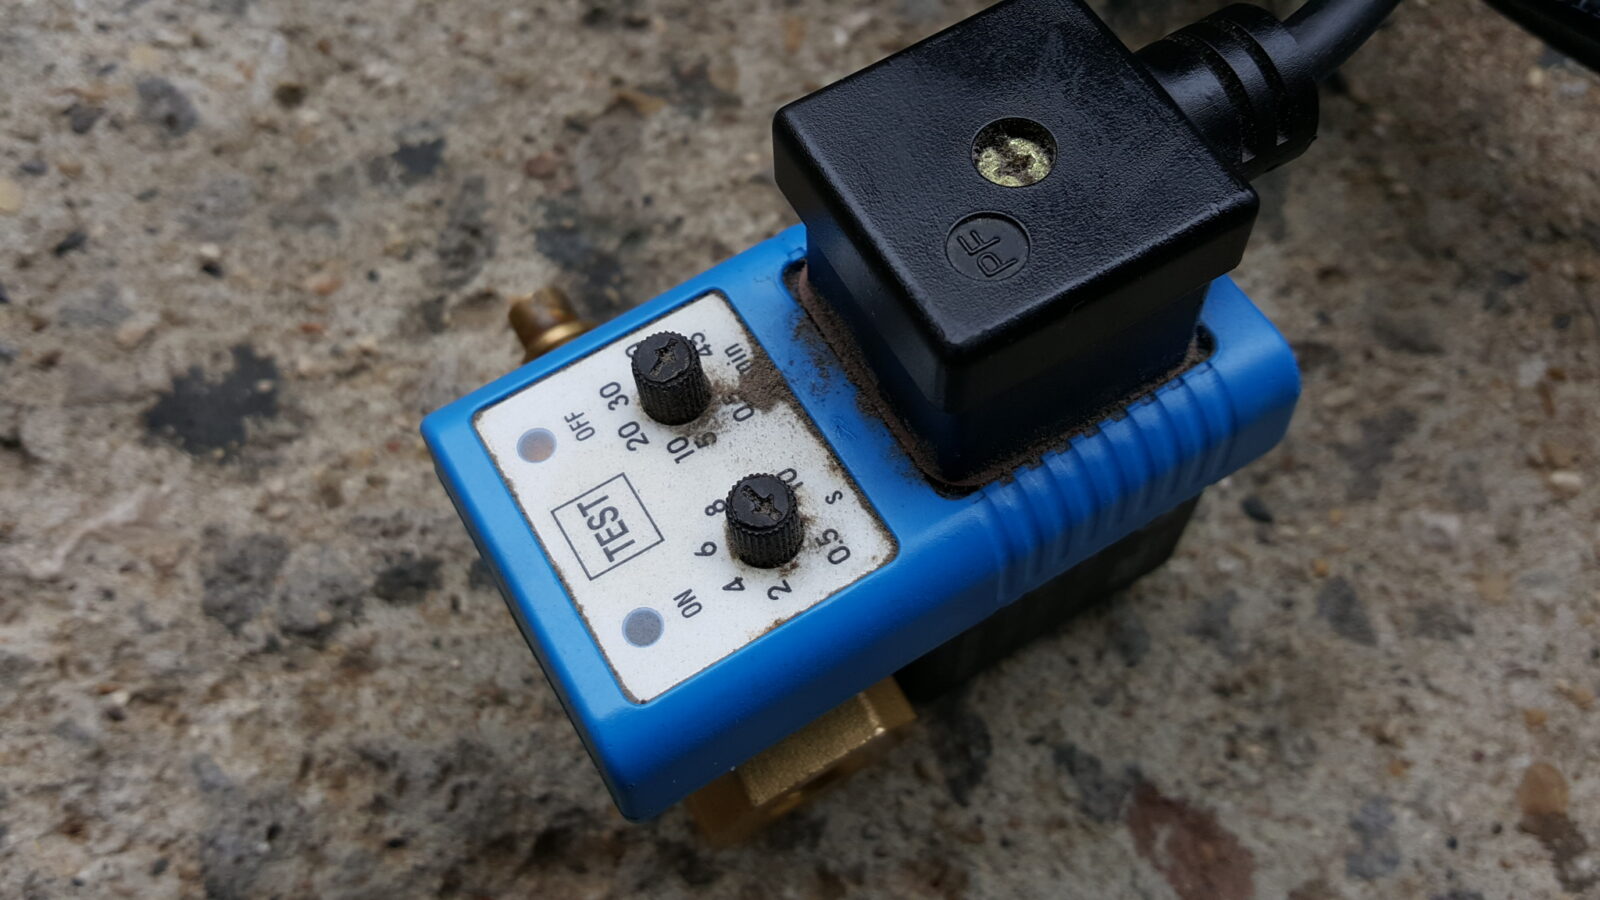
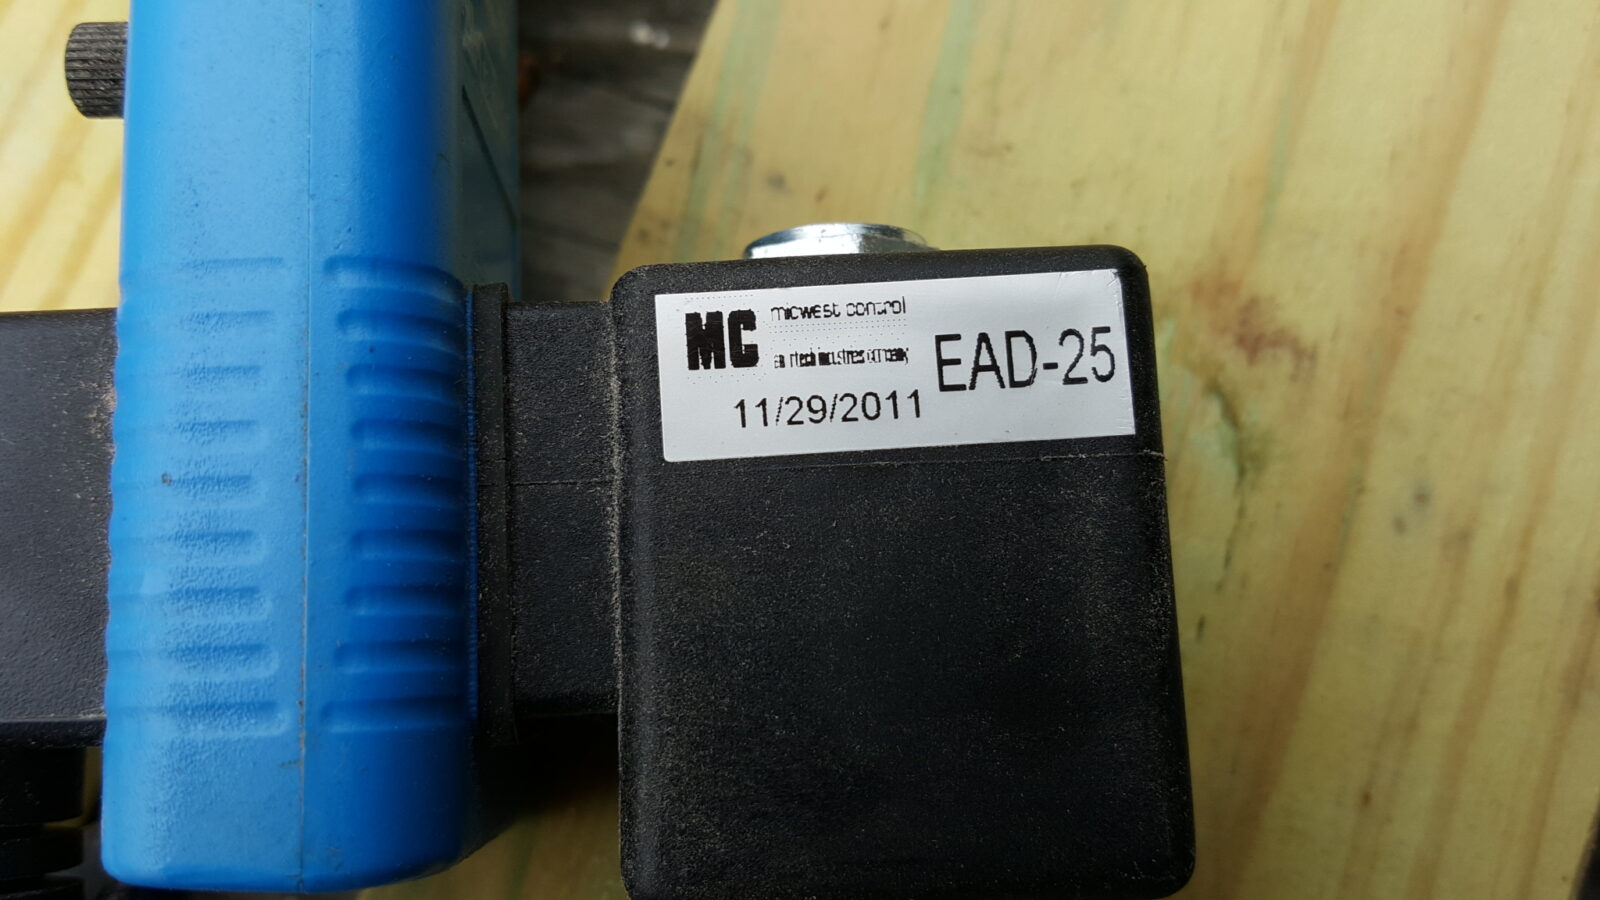
Automatic air compressor drains are fantastic. An automatic drain makes it so easy to keep the condensate to a minimum in tanks that I recommend them to everyone. The only time you can’t rely on one is if it is below freezing and ice may cause the little valve to stick open. For that reason, I switch to a manual ball valve when it gets cold here in Michigan because my shop is unheated. As soon as spring rolls around, I immediately reinstall my trusty Midwest Controls EAD-25 valve made in 2011. There are tons and tons of clones out there that range from $11 upwards.
Now, as reliable and simple as these devices are there are some preventive maintenance and routine troubleshooting that need to be done. Basically, the device has a timer on the top that counts how many minutes until it blows off and then the duration. An electromagnet is tripped, pulls back against a spring and allows air and condensate to flow out the valve. This area can and will get dirty from rust and other debris. This can cause air to leak because of an imperfect seal or even jam the unit open or closed. Fortunately, these are a breeze to work on.
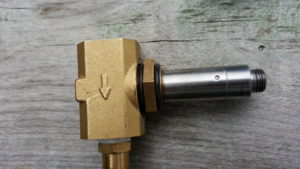
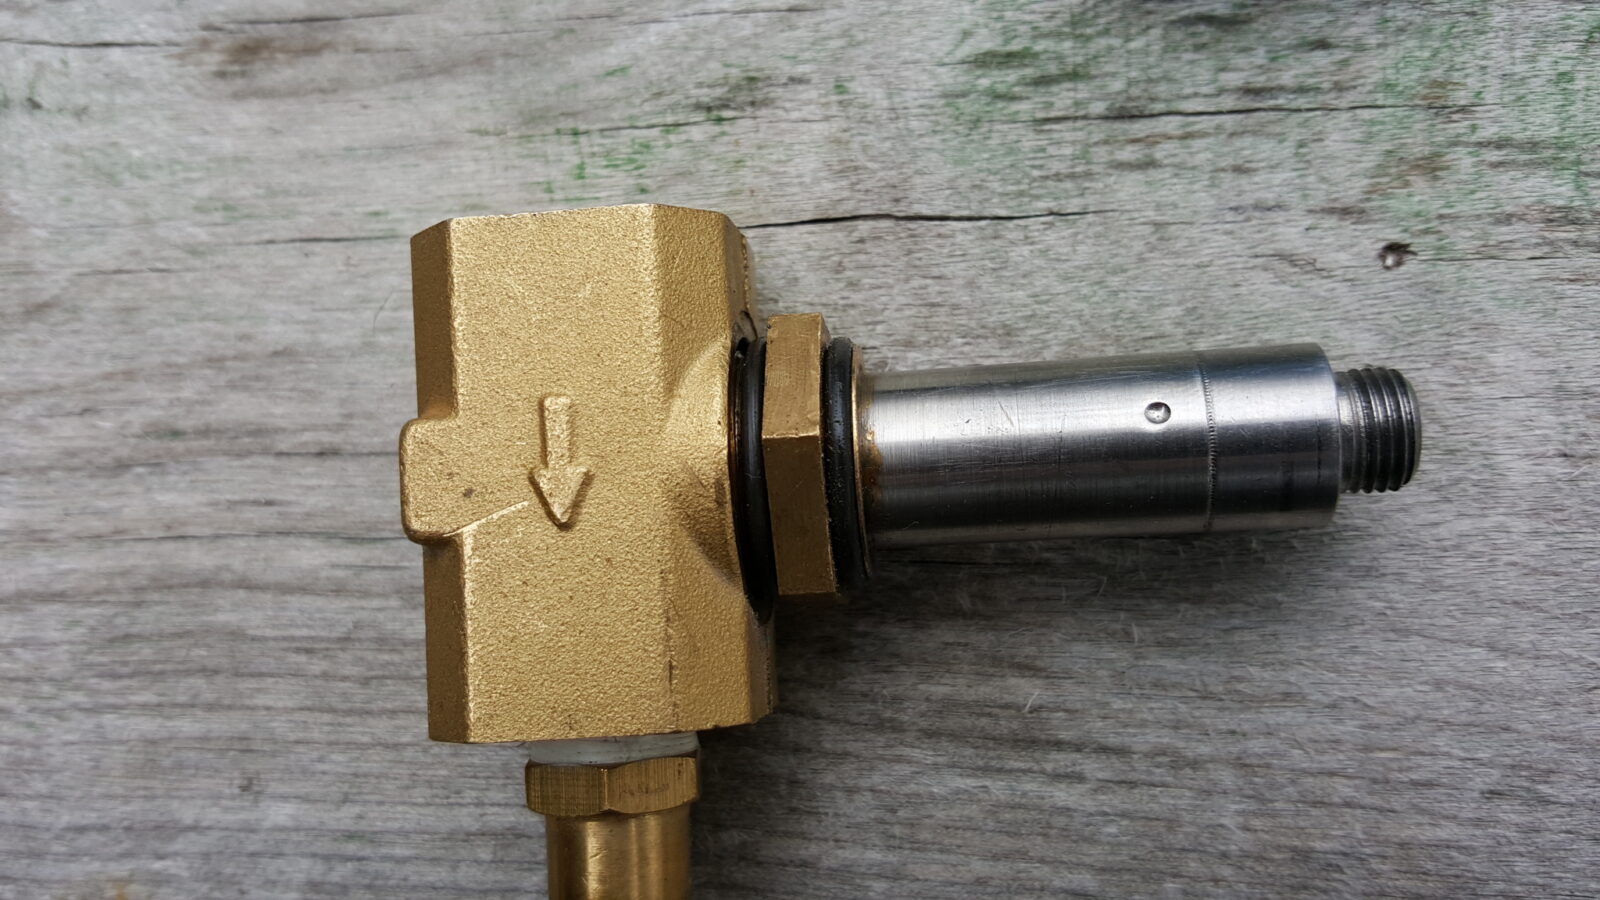
Each spring, before I put the unit back into service, I take it apart and clean it. At the end of the box is a silver hex nut. Simply remove it and the washer. Note how the rubber part of the washer goes to the back. The metal valve assembly will then slide out of the electro-magnet coil.


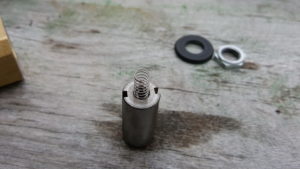
Next, note the hex nut at the base of the valve assembly. Loosen it to remove the valve from the brass body. If you need to, put the body in a vise to hold it while you loosen it. Personally, I never go crazy tightening mine because there in an O-Ring in there that I do not want to crush so mine can come apart by hand. Be careful that the parts do not fall out of the valve assembly. Do this some place where you can keep track of small parts. There is a tiny double stacked spring in there you do NOT want to lose.


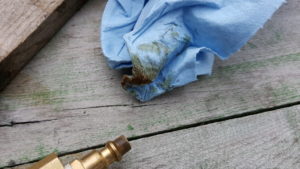
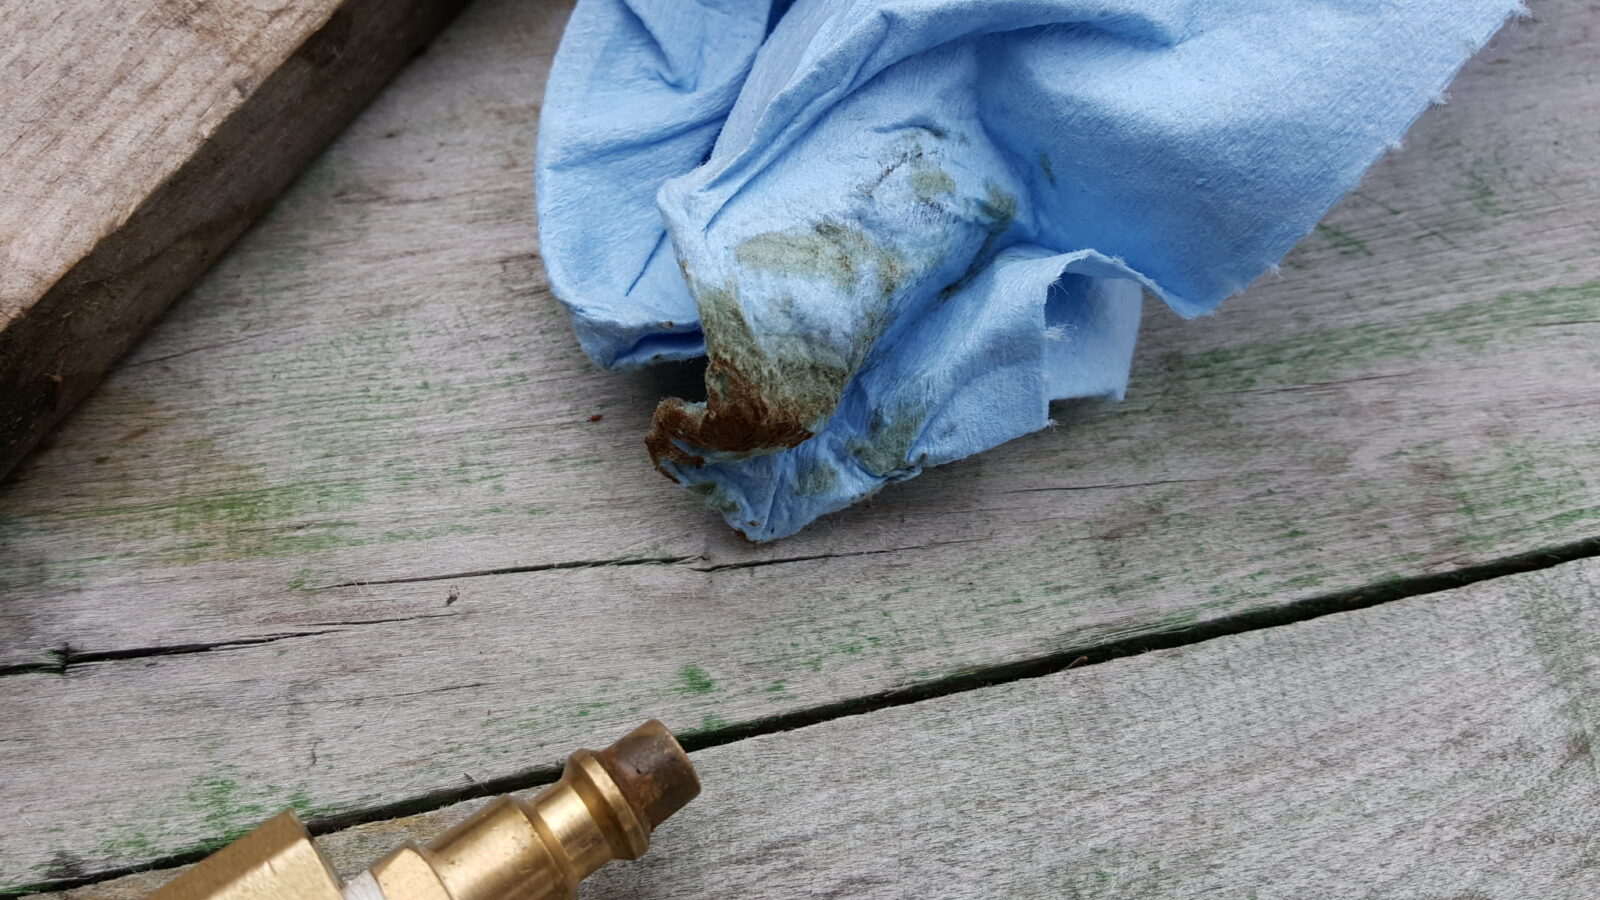
When you turn the valve body upside down, the metal valve itself and the return spring should come out. I clean the parts and wipe everything down with a coat of silicone. Look at all the rust and junk on the towel from inside the tubular body of the valve assembly. Keep track of that little double spring – it is a small spring in a big spring and they will come apart!!


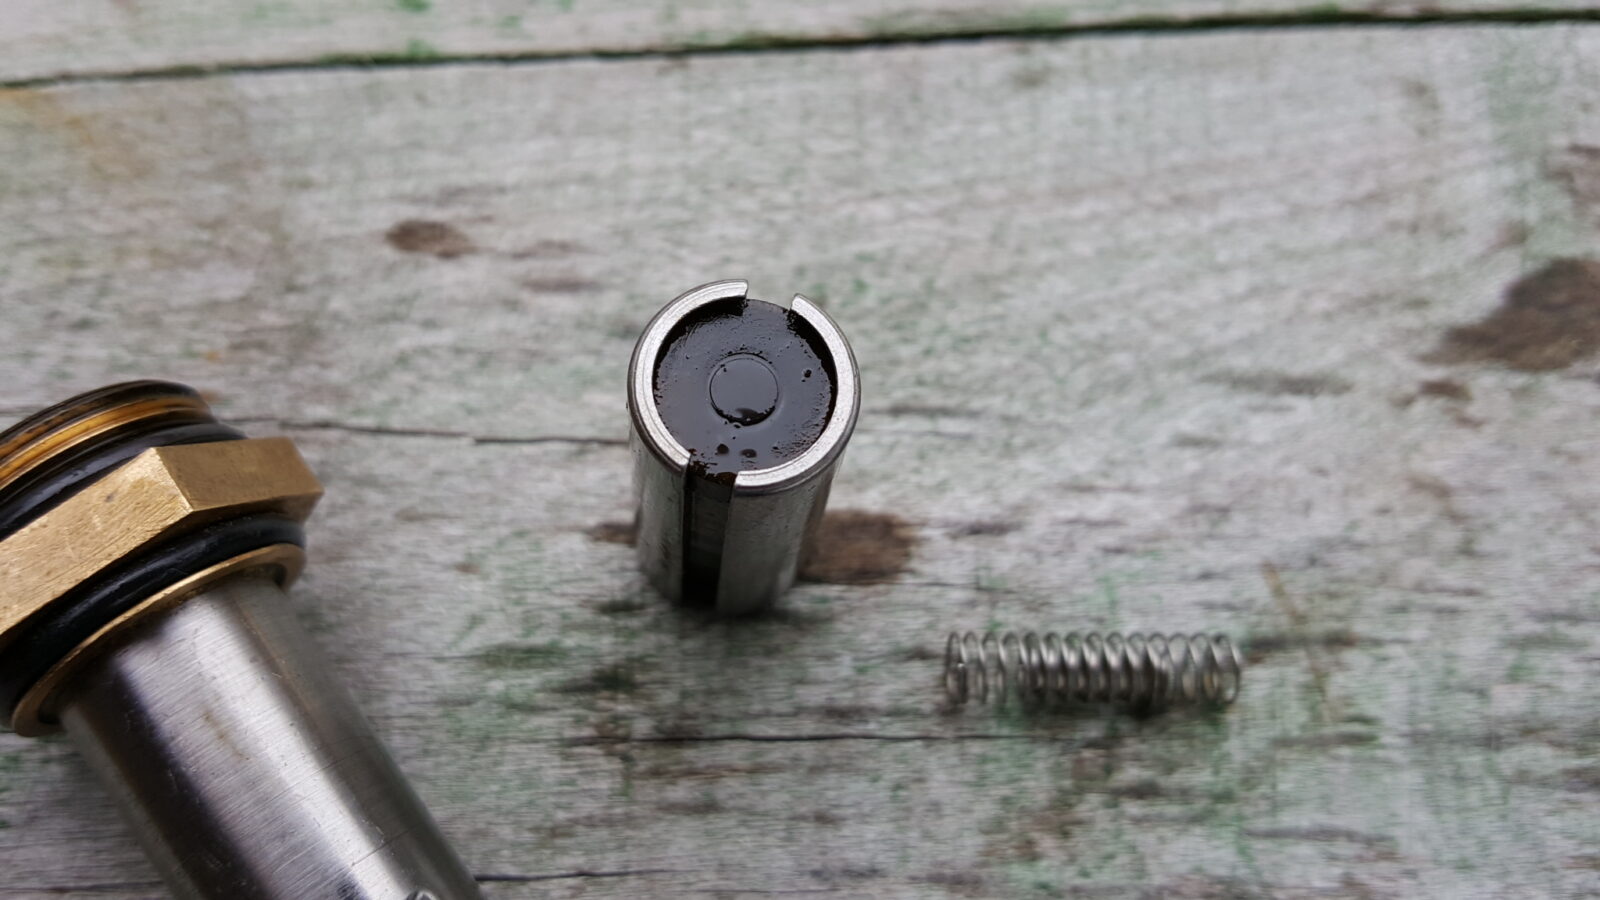
I do the same thing with the brass body as well. You’ll see all the dirt. I blow it out first with compressed air (be sure to wear your safety glasses) and then clean it also. The rubber face of the valve will sit squarely on that elevated nipple you see. Do not oil these parts or use anything that will attract dirt. I tend to use silicone spray myself but use whatever you prefer. Some guys choose not to use anything for fear of causing particles to stick – it’s your call.

Assembly is just the reverse order. One big tip – I install the spring on the valve and keep it horizontal during reassembly. Do not just stick the spring in the valve and drop it all back in the tube vertically. There are good odds the spring will fall out. By keeping it on its side, you can then screw the tube back onto the brass body and everything will then stay together properly because the spring will be held in position. I do not tighten the tube back on very tightly – just firm.

Once it is reassembled, push the Test button. You should hear a very crisp snapping sound as the valve opens and closes. If it does not sound really crisp, or however it normally sounds, then the spring may have fallen out.

Troubleshooting Your Valve
I have really only encountered two types of problems – either there is air leaking out even when the valve should be closed or the valve sticks wide open.
Sometimes you can simply fix this by Pushing the “TEST” button 3-5 times and see if doing so blows the debris free and it closes all the way. If if does not, then disassemble and clean the valve per the above.
If that valve is frozen open due to frozen moisture, you really need to warm it up. You can put a light near by to warm it up, use a pipe heater, etc. My honest recommendation is to switch over to a manual valve. Your risk that your valve may stick open when you are not around and cause the pressure to drop and the compressor turn on over and over causing wear and using electricity for no reason. Some guys will put their valves on lamp timers and only let it run for the time they normally use it – for example from 7am to 7pm. That is what I do but my hours are 6am – 11pm as I have such a crazy schedule but I do turn my compressor off at the breaker box before I leave the shop.
In closing, I really like the automatic air compressor drain valves and I’ve had my Midwest Controls EAD-25 for quite a while now and it is still going strong. The hints above have certainly helped me out over the years and can apply to many of the automatic drains that use the electromagnetic valve approach.
Here are Midwest Controls automatic drains on eBay (may not show any if none are listed):
Here are other brands of automatic drains with very good reviews on Amazon:
Please share the link on Facebook, Forums, with colleagues, etc. Your support is much appreciated and if you have any feedback, please email us in**@*********ps.com. If you’d like to request a report or order a reprint, please click here for the corresponding page to open in new tab.