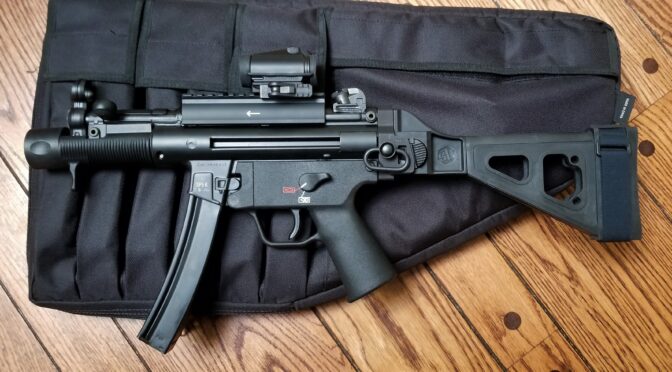
When the ATF reversed the ruling about braces and enabled folks to use them however they saw fit, the demand and supply of pistol braces went into orbit. I have carpal tunnel and a hereditary tremor so for me, using a brace is the only way I can wield a heavy pistol – such as one based on an AR, AK or MP5 type of action.
PSA has come a long way. I’ve used them as my go-to AR parts supplier for years and now they have great deals on parts, kits, receivers, and firearms. They also offer some great deals on braces – by themselves as parts, as part of a kit offering or even on firearms.
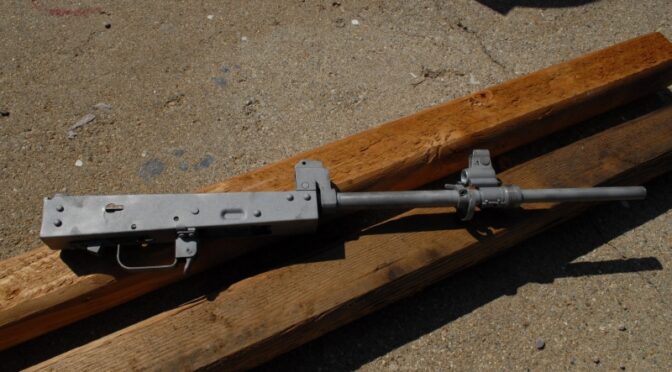
Both of these rifles were finished using Duracoat’s spray on finish. You really needed to blast the surface, make sure it was very clean and then allow the finish to cure for a week for it to be durable.Baking on Molyresin over manganese park. That’s a M92 with a long barrel in the front and a M72B1 in the rear from back in the days when I had free time 🙂
These days, I do a base surface preparation of manganese parkerization and then Norell’s Molyresin on top. The park creates an ideal surface for any sprayed on finish like Alumahyde, GunKote or Molyresin to stick.
The following are some great examples of products they carry:
Let me open with telling you that I am providing the following information for educational purposes only. I find chemistry fascinating as you can tell by my various posts on parkerizing, acid etching (with apple cider vinegar and with ferric chloride), epoxies and more. So, I’ve seen various posts over the years about making your own black powder and usually filed them away for future reference. What changed was that Youtube actually recommended a video on making black powder and then that led to another and another. I took the three videos I liked the most and decided to share them.
Please, if you try anything, do so safely. Research first, pick safe location and be careful. You accept all liability – I am providing these resources for reference purposes only!!
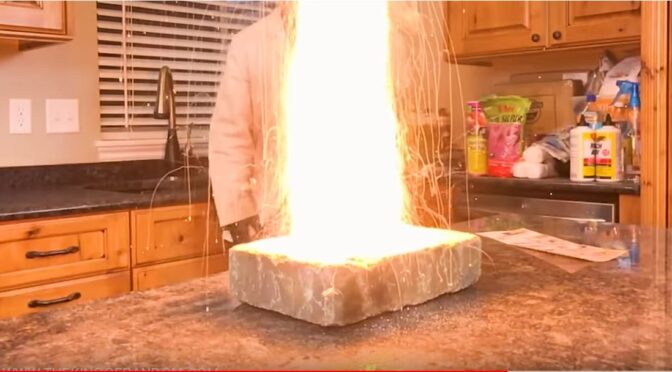
Starting Basic: The King of Random
The back story is that this guy loved experimenting and posted his projects on YouTube. The genuine tragedy is that he recently passed away in a paragliding accident. This is a very interesting video and sets the stage for do-it-yourself black powder.
The three ingredients from left to right: Sulfur from plant fungicide.home made charcoal and potassium nitrate from stump remover.
In this post, the presenter shows you how to make a basic unrefined black powder with charcoal and then powdered potassium nitrate from stump remover and powdered sulfur from plant fungicide. Note, these are all available at your local hardware store – you need powders and not liquids by the way. It’s a basic process and creates a “green” or unrefined black powder.
A More Refined Approach From the Science Pirate
This fellow is a chemist and really good at explaining what is going on and how to do it. He shows how he goes about processing the 75% Potassium Nitrate, 15% charcoal and 10% sulfur into black powder.
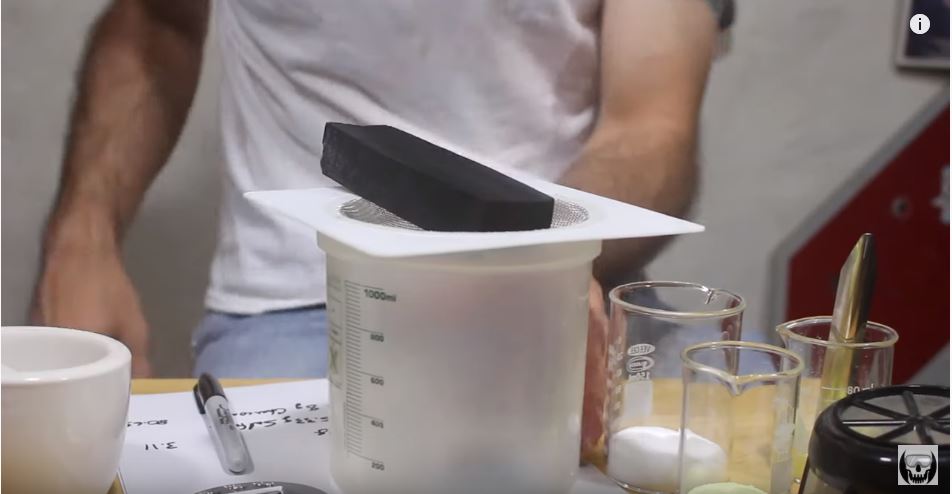
Here he’s screening the charcoal. Instead of expedient materials, he is using lab grade chemicals and supplies as you can see.
The Best Video: GhoolerHunter Covers An Old Military Method
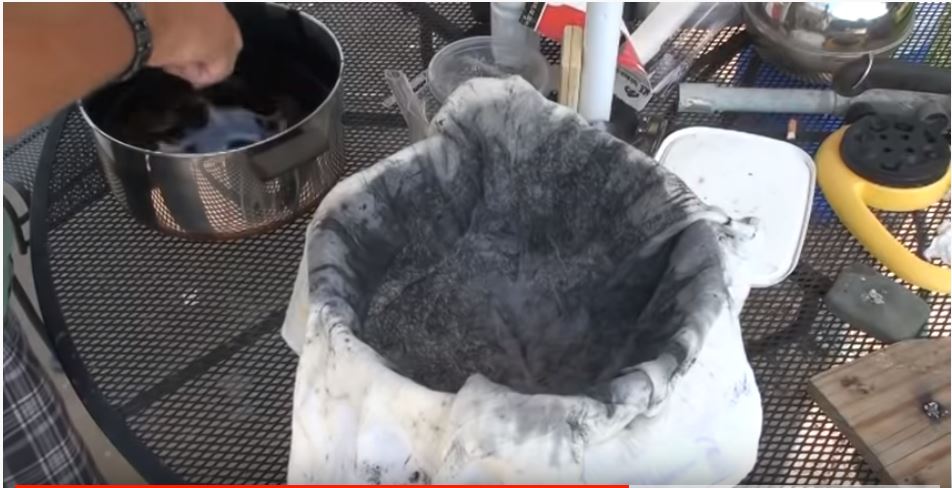
He’s getting ready to strain his solution.
This fellow really goes into detail behind a process for producing a more refined black powder. He does point out to beware of static electricity if you are using metal trays like he is.
Some Charcoals Are Better Than Others
Interesting enough, having the right charcoal is really important. Some woods are way better than others and I think you’ll find that you will either need to make your own charcoal or will need to do some hunting to find very specific charcoal for good results.
For example, woods to use include certain species of Alder, Balsa, Buckthorn (both alder and carolina), Cottonwood (narrow leaf), Dogwood (cornus florida), Maple, Paulownia, Plum (prunus domestica), and Willow (Black, white, weeping and pacific but not Rocky mountain). To learn more, please see:
Again, this is all provided for reference purposes only. If you decide to try anything, please research first and put safety before everything else. Also, be sure to comply with all laws and regulations that apply to you.
Sorry to sound like a lawyer but these days, it needs to be said. I hope the info helps you out.
Please note that all images were extracted from the video and are the property of their respective owner.
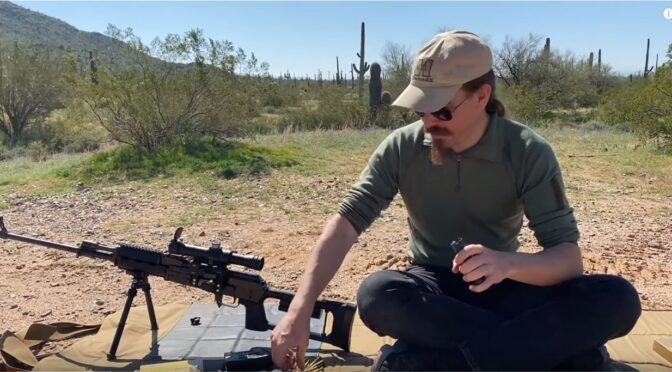
In the previous video, Ian at Forgotten Weapons does his bench top review. In this one, we get to see the rifle perform at the range. Ian was at 100 yards and he’s firing PPU match 182 gr 7.62x54r ammo and the group opened up as the barrel warmed up.
Group one – relatively cool barrelGroup 2 opened up a lot – Ian did not the barrel was hotGroup 3 – disappointing. Ian wonders if the scope had problems.
The Range Video
My Conclusion
It really does come across as a Serb copy of the PSL and not worth the fortune it is selling for unless you are a true collector. Whether it was the rifle or the scope, the results are not impressive. Personally, I thought about buying one and decided to pass. when they first came out and this cements it.
Please note that all images were extracted from the video and are the property of their respective owner.
Ian, over at Forgotten Weapons, did a review of the new Zastava M91. In the end, you do wind up with a over-sized 7.62x54r AK variant filling a designated marksman role (DMR). As always, Ian does a provides a great commentary as he looks at and then disassembles the M91.
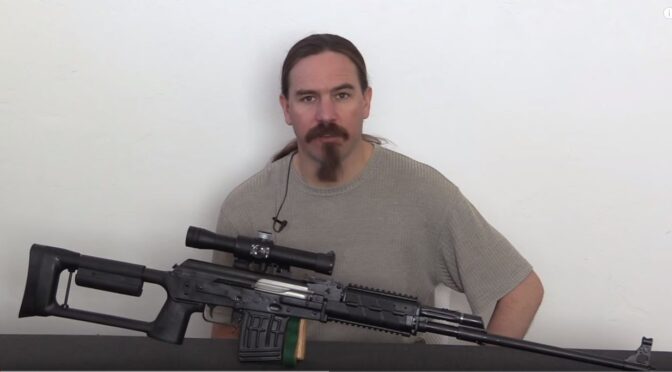
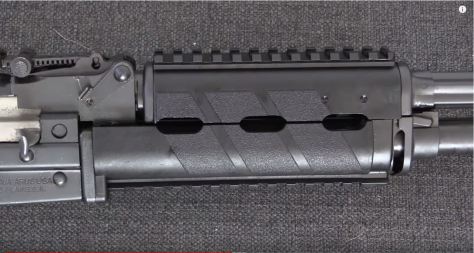
Stamped receiver with a unique extension at the rear to accommodate the longer cartridge. Note the POSP 4×24 optic.The M91’s unique handguardSkeleton stockA quick look down in the receiver – you can see the extension is riveted in place.
I can’t stand Biden and think this is absolutely hilarious – The” Angry Joe-14″ AR-14 Stripped Lower. LMAO!! Complete with a dog face pony soldier logo!
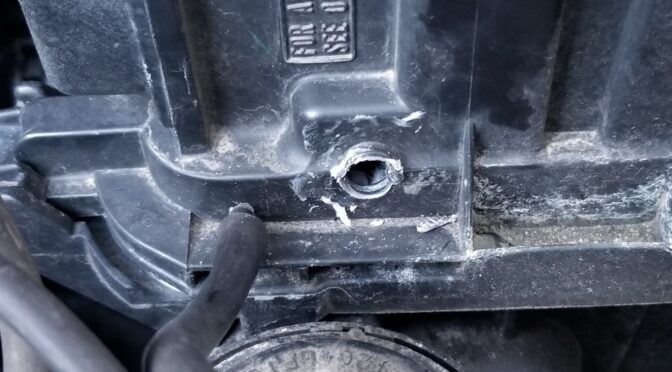
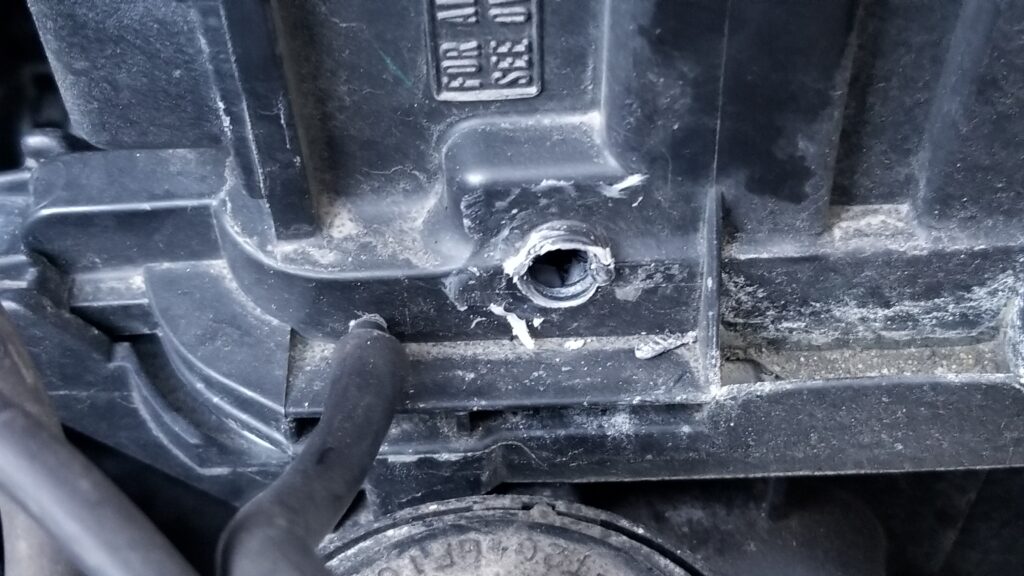
I’m going to leverage my inner Forrest Gump – used cars are like a box of chocolates. You never know what you are going to get. In this case, it was our 2008 Toyota Highlander. I decided to check the air filter just in case and noticed both that the vacuum lines had cracked and that someone had done a “creative” fix on a 4mm vacuum port that had snapped off.
So this vaccum line was just resting in the hole. There’s some white glue – maybe silicone and som odd metal insert.
If there’s one thing I have learned with modern computerized cars – don’t mess with their sensors or vacuum lines. You can get odd random codes thrown, lose performance, fuel efficiency, etc. So, I knew this needed to be fixed. The big problem – the vacuum fitting was cast into the airbox!! By the way, the air box is the car part that holds the air filter in this case – the air filter housing is another way of thinking of the part.
Let me start by telling you the expensive and time consuming way – buy a replacement air box. Yeah, this is going to cost you a bundle. A OEM Toyota air box will run you $275-400, used is about $100-185 and aftermarket tends to be under $60-90 and maybe iffy quality. Then there is the labor to do the actual swap – it’s going to either take your time or you are going to pay a mechanic to do it and the cost is going to go up fast. There is an easier and faster way.
My Recommended Approach
The magic fraction for today is 5/32″. Why? Because 5/32″ is almost exactly 4mm. If we get a small brass, aluminum or stainless barbed 5/32″ hose fitting with a threaded rear, we can easily fix this. I live in a rural area and this isn’t something I can easily walk into a hardware store and find so I did some searching for NPT to 5/32″ hose barb and found both 1/16″ NPT and metric fittings plus some were brass, aluminum and mystery metal. I discounted anything plastic/nylon because I wanted a stronger fitting.
Another reason I went with 1/16″ NPT is that it can fill a pretty big hole all by itself up to about 0.31″ given the taper plus I could then use a 1/16″ to 1/8″ bushing adapter if I needed to go larger.
After much digging around using Google and Amazon, I opted for an Aeromotive #15630 hose fitting made from 6061-T6 aluminum that I did order off Amazon [click here for the Amazon listing]. There was a no-name generic brass one but no spec so I didn’t go with it. By the way, searching for fittings like this really shows the limitations of general search engines to find parts. I spent a ton of time filtering through tons and tons of search results that turned up the wrong products. What a headache.
Aeromotive 15630 fitting that has 1/16″ NPT thread on ne end and a 5/32″ hose barb on the other.
Installation
The first thing to point out is that the molded vacuum fitting is above the air cleaner so you can safely work on the box without removing it from the vehicle! Any debris from drilling or sanding will land on the filter and you can vacuum it out later. If you have a used car, peak inside and make sure the air cleaner is there and intact.
If you have just the old busted remains of the hose fitting to contend with then Dremel or sand the area flat. You want the installed barb to be able to sit flat against the wall of the box.
Next, pick a drill bit that is just the same size as the tapered bottom of the thread. NPT thread is tapered so the bottom has a smaller diameter than the top. If the air box was steel, we would use a letter “C” drill bit to make a 0.242″ hole. Notice how this is slightly smaller than 1/4″ but I am betting most people do not have lettered drill bit sets so you pick a close size and run with it. We do want the hole slightly smaller in order to thread it. Because this is plastic, we are going to push forward with the metal adapter fitting while turning and let the thread on the adapter cut the thread into the plastic. We aren’t going to bother tapping it first. That’s right – don’t buy a tap to do this uness you are a tool junky and perfectionist, which is fine if you are – I get accused of that a lot.
I’d recommend you start with a bit smaller than 1/4″ where the bit is slightly smaller than the bottom of the adapter, drill the hole and see if you can press it in. If not, go to a bigger bit. If you mess up and have a slightly too big hole, all is not lost – read the “Well crap” section below 🙂
Let’s say that everything goes great and you can screw the fitting into the plastic – Once threaded in, it’s done. Just screw it in and quit. Don’t put too much torque or you can strip it. That works just fine unless the previous guy bubba’d it, which takes us to the next part of the story.
Well crap….
In my case, I had a box of chocolates moment. The previous owner or a mechanic had drilled the hole out and installed some small metal bushing that was hidden due to the white silicone on it. I have no idea what it was from. Once I discovered and removed it, the hole in the air box turned out to be just a tad bigger than the entire 1/16″ tapered thread. Argh… not what I wanted to deal with.
Dear bubba, thank you for hiding this under the white silicone. You just made my fix a bit more complex but not impossible.
Okay, I wanted to get this job and had three options, go to the hardware store and try and find a 1/16 to 1/8″ bushing, install a 1/16″ NP threaded nut on the back to hold it in position, which I also did not have, or glue the hell out of it and call it even.
This is what I had on hand at the time and worked great. I could have used any quality black silicone RTV glue/gasket maker and gotten the same results. I tend to either have Permatex or LocTite brand products that I use the most.
First, I scuffed the surface around the hole with 100 grit sand paper so the glue could get a better grab on the surface. The second thing I did was to spray brake cleaner on the area to remove any trace oils that might prevent a good bond.
I was wearing nitrile gloves and also sprayed brake cleaner on the fitting to make sure it was clean. Gloves both keep your hands clean and also prevent you from getting oils from your skin on the parts — assuming the gloves are clean of course. Having a clean surface makes a HUGE difference in terms of how well any glue is going to stick.
Next, I applied a bead around the top of the NPT thread of the fitting and pushed it into the hole. Since I was wearing nitrile gloves, I just took a finger and smoothed the glue out a bit and let it cure for about an hour or so. You want it cured enough to hold the adapter in place – you don’t need it fully cured yet. With warmer weather it will cure faster and in cold weather it my take a long time and need a hot light or something to warm it up above 70F to get things done. Depending on what I am working on, I try to get somewhere between 60-110F. The warmer it is, the faster it will cure but don’t burn it or melt the plastic either!
This is the first pass. It’s not pretty but it will dry strong enough to hold the fitting in place while the second thicker coat is applied.
I then put a second layer of black gasket maker on and fanned it out to get a good grip and to securely hold the fitting. I then let this all cure overnight. I’ve learned long ago not to rush faster than what the adhesive’s manufacturer recommends or you are liable to ruin an otherwise good job.
Here is the second heavier coat this was meant to reinforce the part.
So, once it was fully cured I then needed to change the cracked vacuum lines which are what I noticed in the first place.
4mm Vacuum Lines
What got me started on all this in the first place was noticing that two 4mm vacuum lines were very cracked where they slid onto their respective hose barbs. This happens as rubber ages and gets brittle so finding them wasn’t surprising.
This is one of the ends that was badly split.
Fixing this is easy. You just need either real 4mm vacuum hose or 5/32 vacuum hose. You can either go with one formulated from rubber or more expensive silicone. The advantage to the latter is that it ought to last longer.
You can see the two pieces I replaced because the new silicone hose is shiny black and a thicker diameter.
Conclusion
Going this route saved us a ton hundreds of dollars and has held up just fine. I did this repair last fall and have not had a single problem. Yeah, the glue does make it a big of a bubba fix but it is revsersible and the fitting isn’t going to fall out. The black gasket maker has held the little barb in just fine and the hose is very supple and shows no wear at all. I hope this helps you out as well.
2/12/24 Update: My repair is still just fine. A reader pinged me that none of the Amazon links worked so I went through and updated them.
7/28/2023 Update: Everything is holding up just fine and we’ve put quite a few miles on the car since this was written in March of 2020.
4/9/2021 Update: Still holding just fine. Not one problem to report.