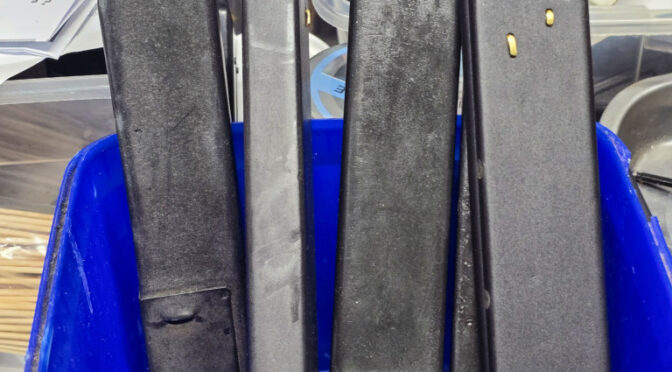
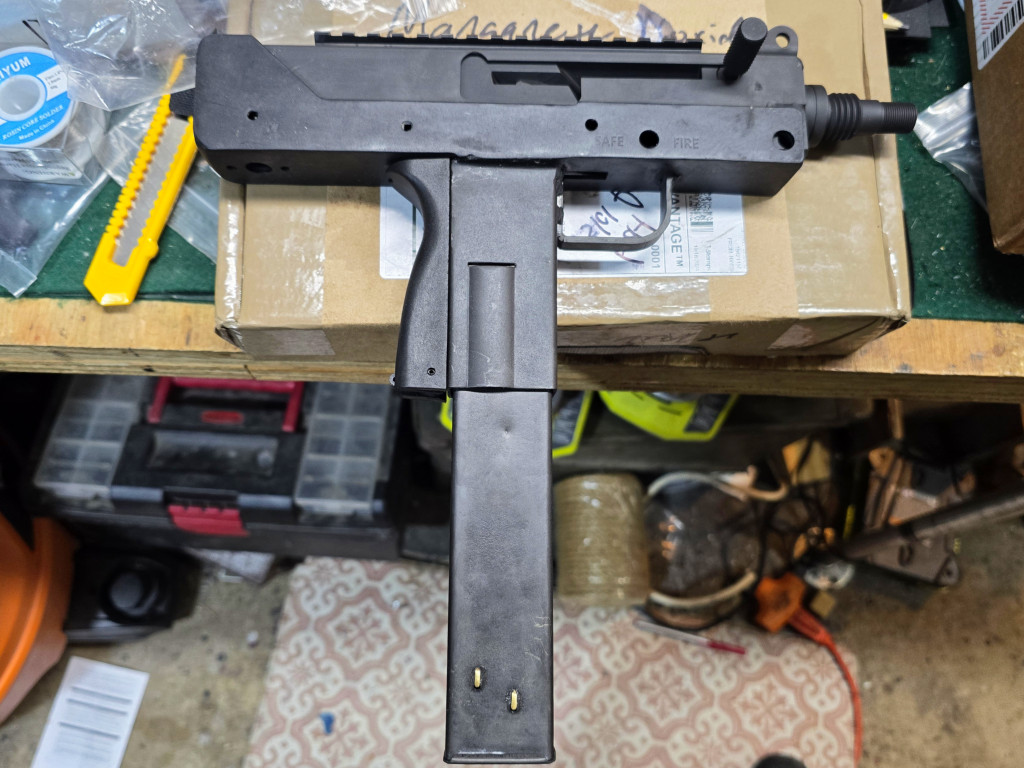
Back in 2017, I planned to build a Sten Mk. V and actually am planning to move forward with it now that I have built some VMAC9s that use Sten magazines. Well, as part of the VMAC builds, I bought some of the new MPA Polymer Sten mags and also decided to refinish some incredibly flithy Israeli modified Sten mags and loaders just caked in ancient cosmoline.
The Magazines
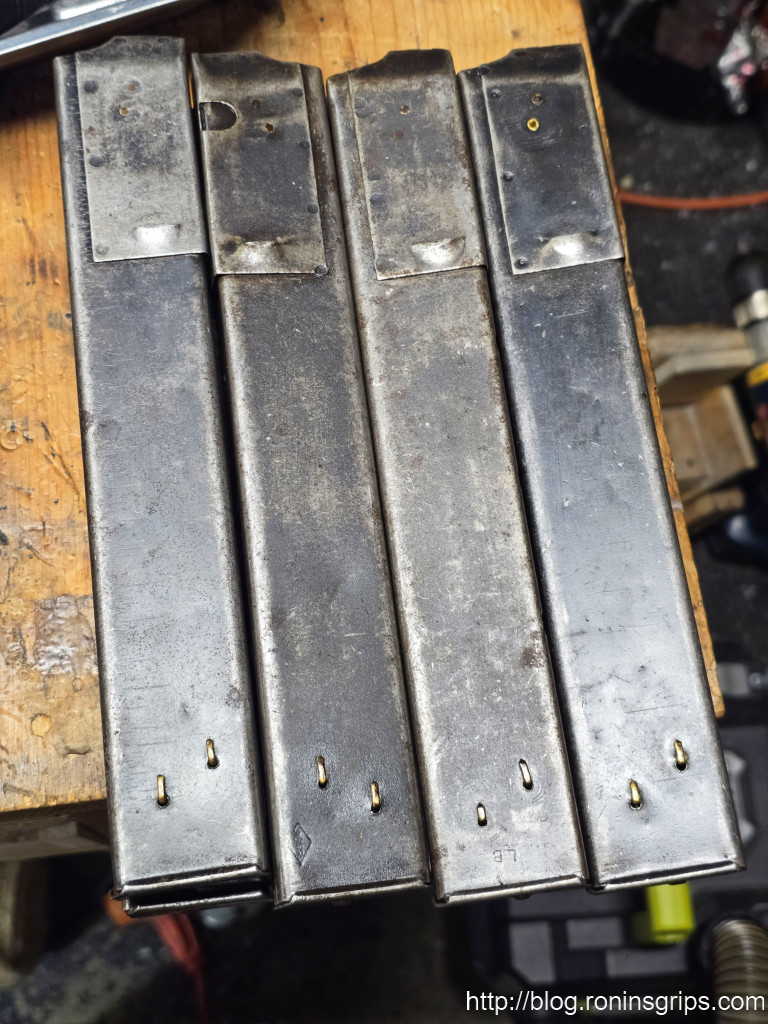
The Israelis had many different weapons in use following WWII including British Sten guns. Somewhere along the way they realized they could improve reliability by limiting the magazinees to 20 rounds via long skirted followers, adding brass wire on the sides to better stabilize the followers and soldering the bullet count peepholes closed.
At some point in the late 1950s, they phased out the Stens put thousands of these modified Sten magazines into long term storage where the preservative dried out, some rusting started and they became just genuinely filthy.
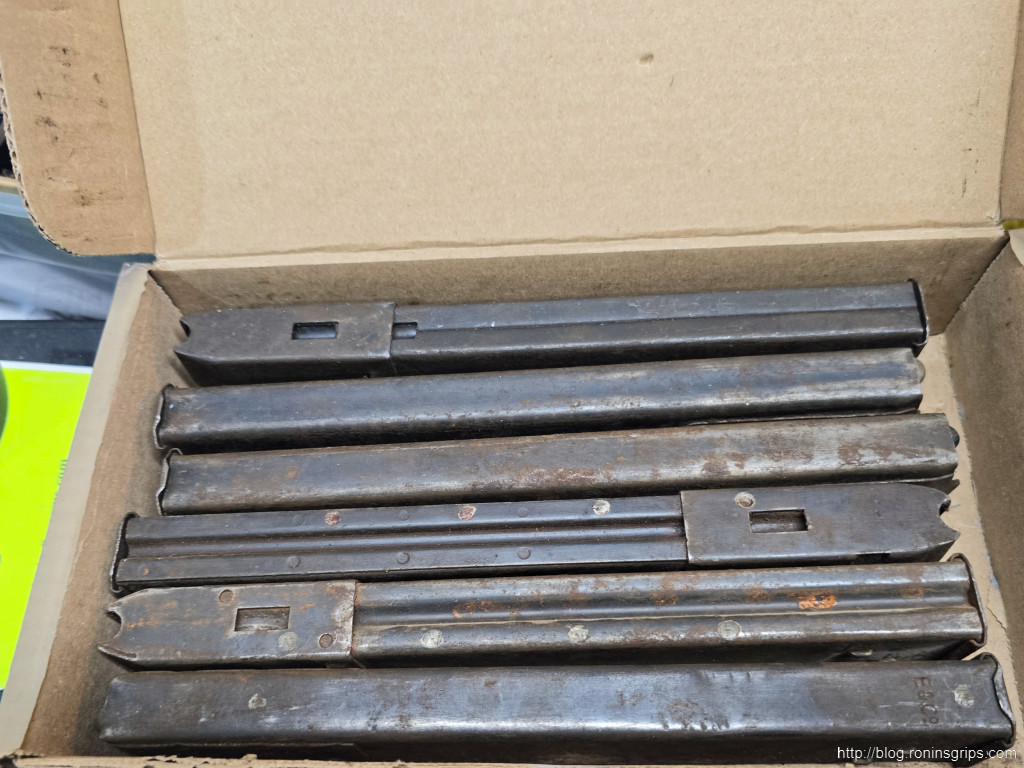
Closer to modern day, a US importer bought them plus we had Sten kits coming from all kinds of places. I bought two ten packs of filthy Sten mags from Centerfire Systems for a song, I have had the kits and these mags sitting in a tub.
Cleaning Them Up
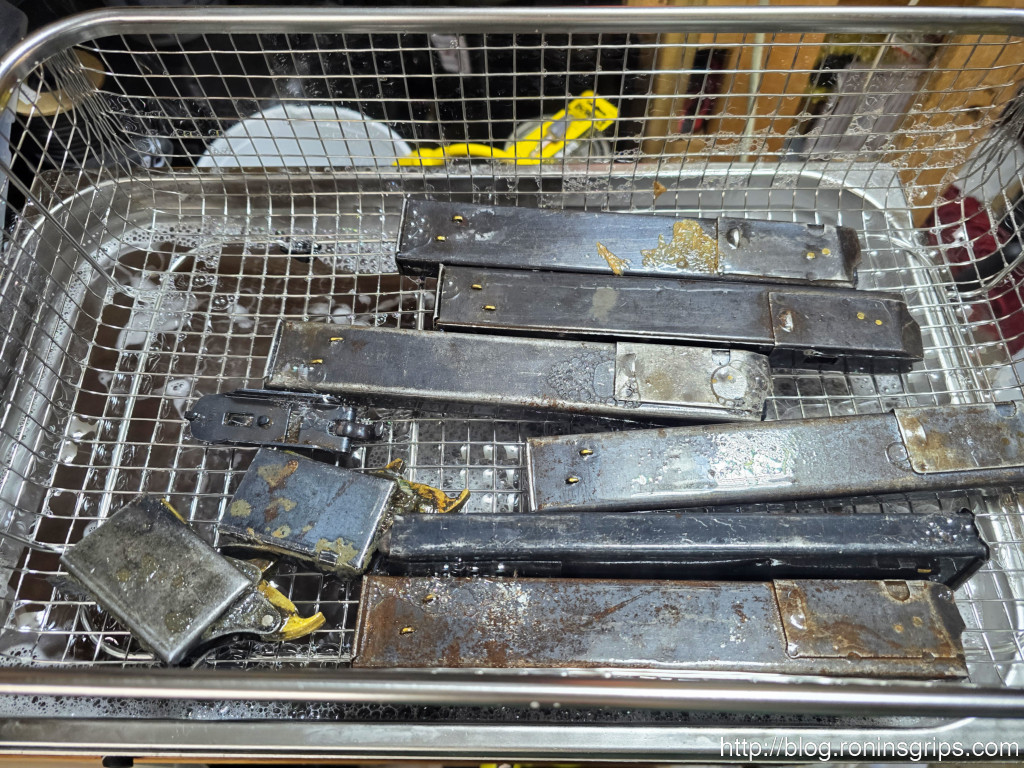
The surplus steel mags are way too filthy to be reliable out of the box plus they look ancient. So, I opened up one the bags of 10 plus an odd box of six and oh man, did they need cleaning. I fired up my Vevor Ultrasonic cleaner that is filled with Simple Green HD, heated it up and then put the mags in there. My fluid was old to begin with but chunks of who knows what were floating up the surface as I ran 3-4 15 minute cycles trying to clean the things up. I’d do one side a couple of times, flip the mags so the other side was then face up and do it again.
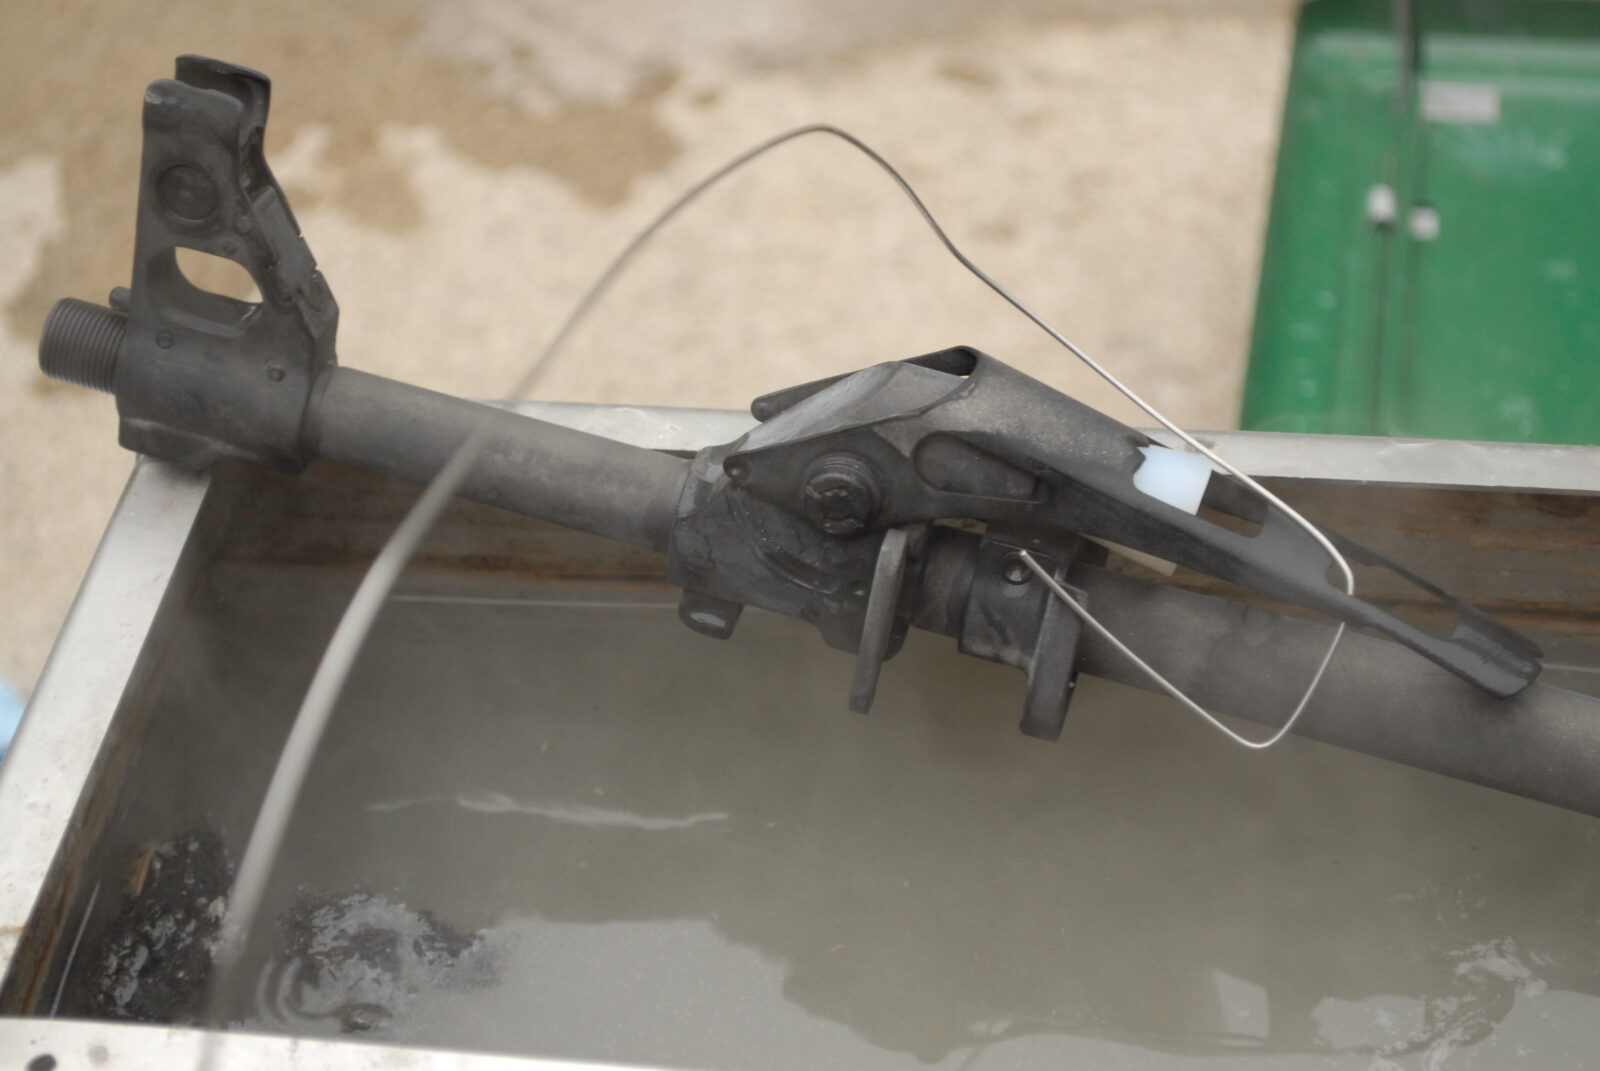
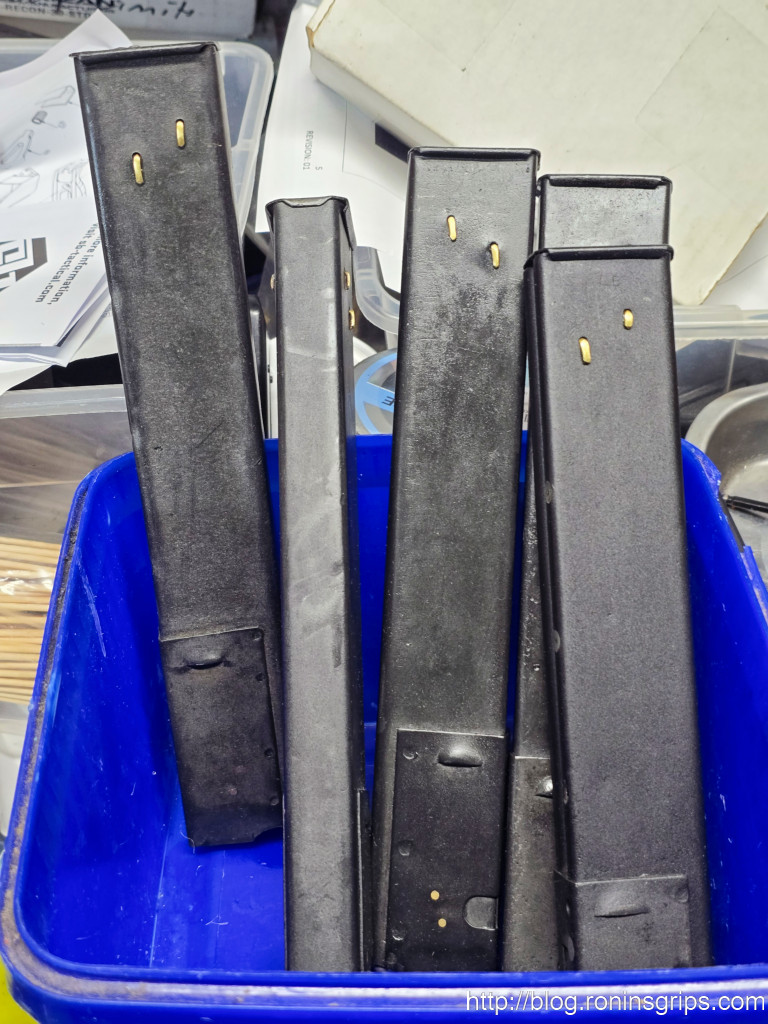
Manganese Parkerizing the Surplus Sten Mags
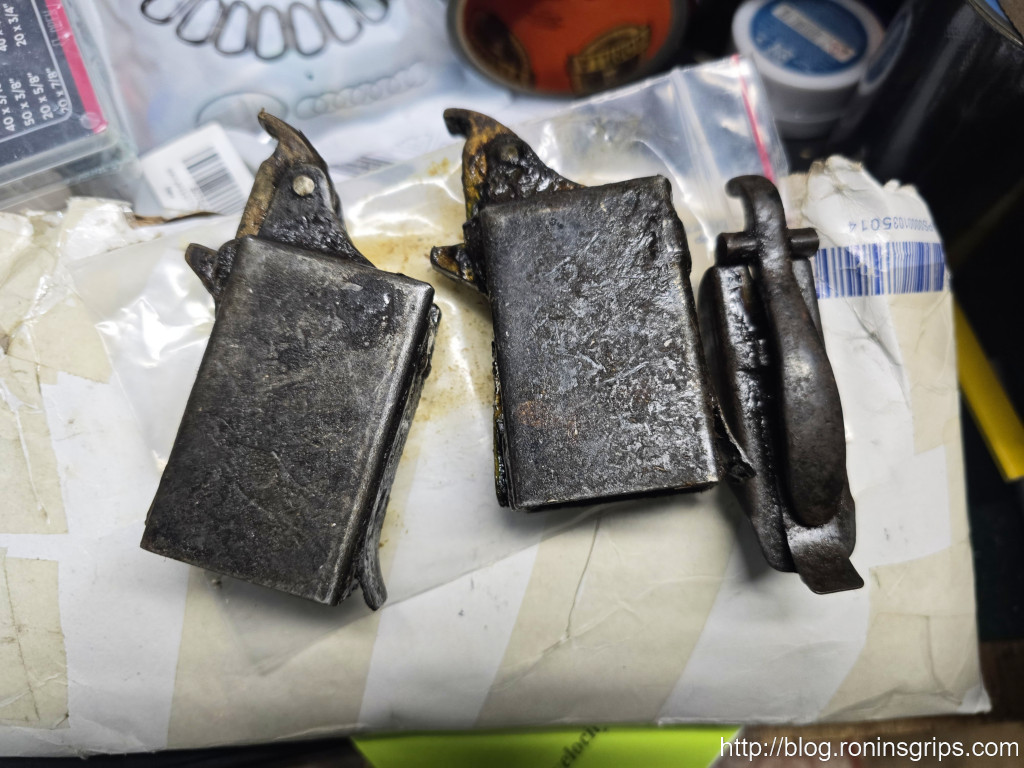
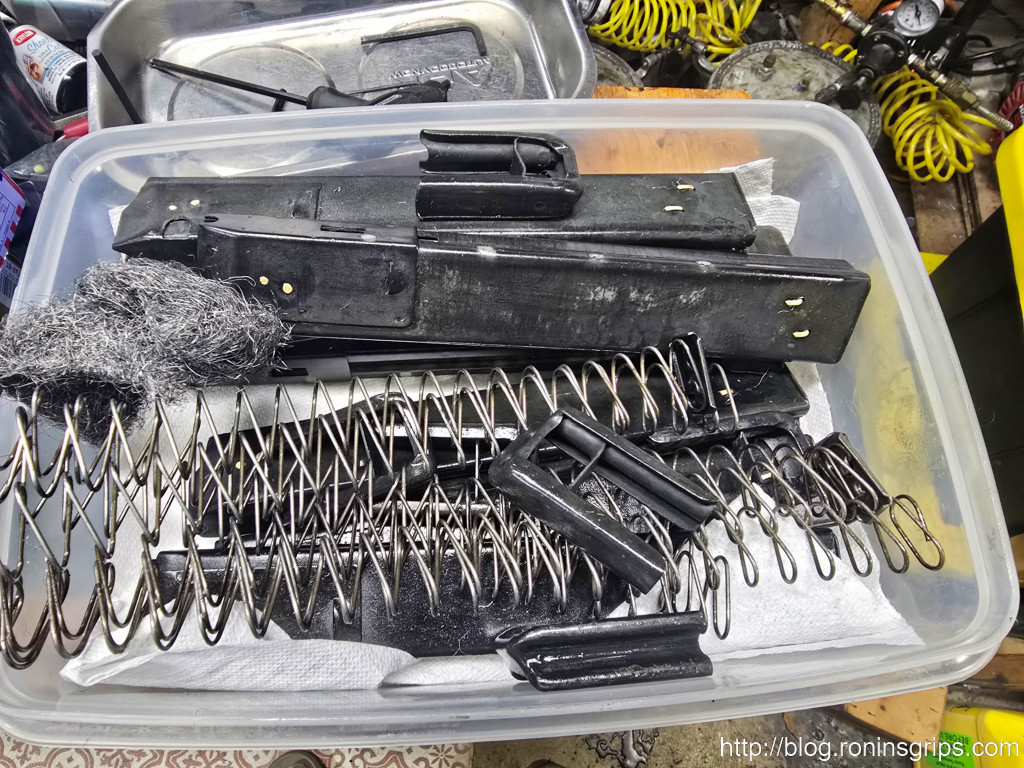
The mags were disassembled and I used a sanding mop to quickly score the surface of the mags. Abrasive blasting would have given a more consistent surface and better results. I hosed them down with brake cleaner, let them dry and put bodies, followers and base plates in my parkerization solution – click here for more info on how to make your own black manganese park solution and process to follow.
Summary
With a VMAC9, you can either use the MPA polymer Sten mags or original steel Sten mags. I actually plan to test both. I like the looks and history of the 20 round Israeli Sten magazines. The steel Sten mags are out there and are affordable if you don’t mind doing a little cleaning.
I hope this helps you out.
Note, I have to buy all of my parts – nothing here was paid for by sponsors, etc. I do make a small amount if you click on an ad and buy something but that is it. You’re getting my real opinion on stuff.
Please share the link on Facebook, Forums, with colleagues, etc. Your support is much appreciated and if you have any feedback, please email us in**@*********ps.com. If you’d like to request a report or order a reprint, please click here for the corresponding page to open in new tab.