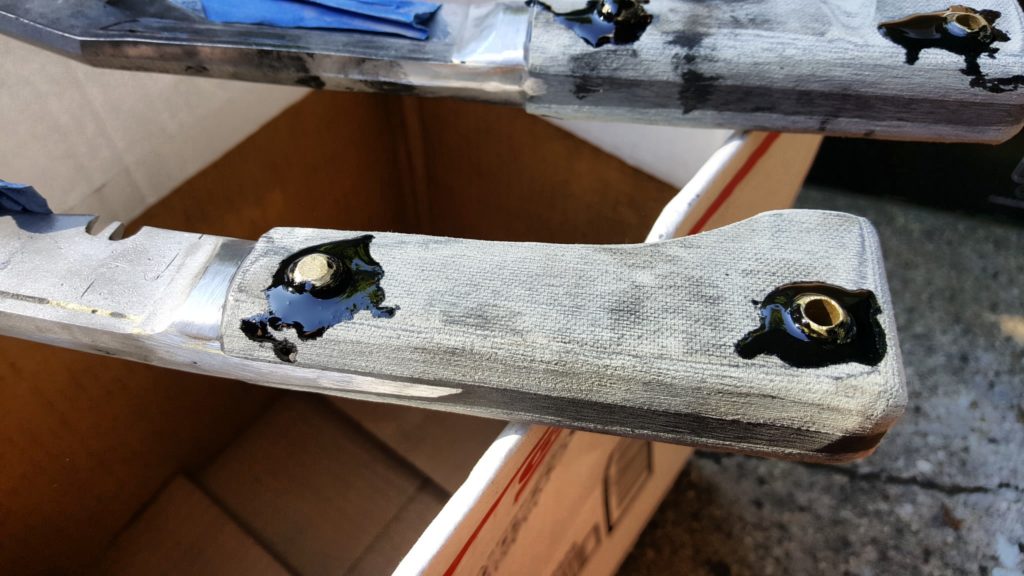
I use a ton of epoxy as part of my work plus fixing all kinds of stuff at home, on cars, guns, knives and more. I’d like to take a few minutes share some lessons learned with you to bear in mind on your next project that involves epoxy:
- Buy quality epoxy – not cheap junk. Epoxy is a generic term and a lot of the no-name blister pack retail stuff is crap. Go for brand names. If they list real specs about the formulation then it is probably legit.
- I recommend industrial epoxies and not the consumer stuff. My hands down favorite epoxy is Brownell’s Acra Glas liquid. It is strong and resists breaking down from repeated impacts very well. It’s one down side is that it takes a long time to set up so it may not be your best bet if you need something to be fixed and back in service quickly.
- Know your application and match the formula to your need – there is no magical formula that does everything. You may need a putty, a fast cure, a short pot life, higher heat resistance, improved impact resistance, shear strength, etc. Figure out what you need and then look for the epoxy that will work best for you. At any given time I probably have 3-4 different formulations on hand.
- The longer it takes an epoxy to cure the stronger it is. All things being equal, an epoxy that cures in 24 hours will be stronger than one that claims to do so in 5, 10 or 30 minutes.
- Read the package – setting up vs. curing and reaching full strength are two very different things.
- If you want to get epoxy to flow into wood or difficult areas, heat it up. The liquid thins as it warms up but note this will also speed up how fast it sets up and cures.
- As epoxy gets colder, it takes longer and longer to cure. If you are working outside, use a space heater, flood light or other heat source to keep the epoxy and the work piece area being repaired at least 70F. I shoot for 80-90F.
- Epoxy can get really thick as it gets cold and not want to come out of the containers. Either keep it inside where it is warm or at least warm it up before you use it,
- Epoxy resin can sugar with age just like honey. What I mean is that will develop a solid mass in the resin bottle – it’s not really sugar! If you heat up a container of water, take the resin container’s lid off and then set it the container in the water, the resin will warm up and the solid will dissolve back into liquid. I buy 28oz or larger bottles of Acra-Glas that I don’t always use right away so when it sugars, I do this.
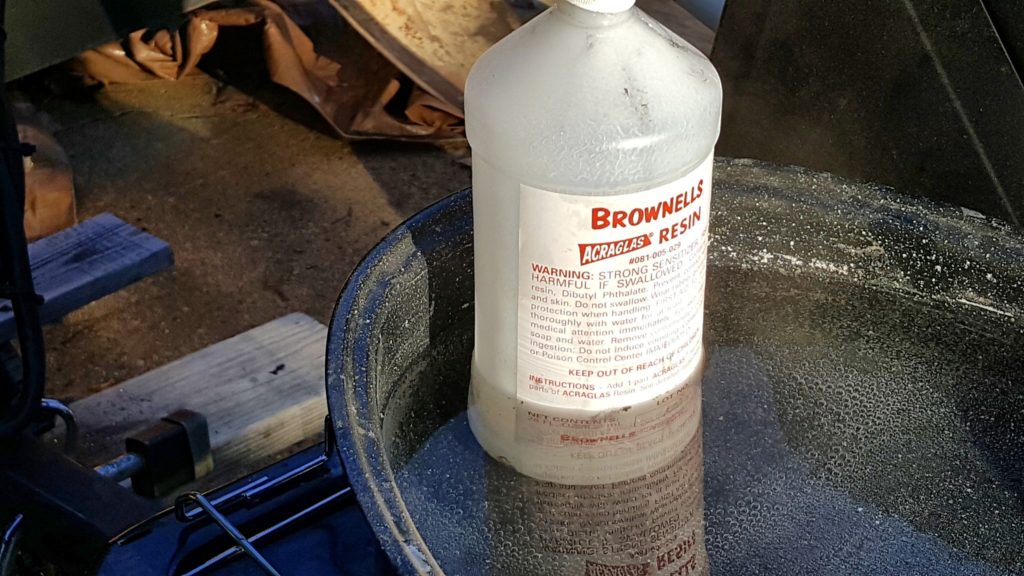
- As mentioned above, I buy my epoxy in bulk. Acra-Glas can be measured by volume and it has a ratio of 1 hardener to 4 resin. The way I deal with this is very simple – I use 10cc syringes without needles. I have on syringe in a cup that I use for hardener and one syringe stored in a cup that I use for hardener. The reason I do this is that the two parts do not react to the air very fast. I may be able to use one syringe for a several weeks/months before it stops working so I set the syringe in its dedicated cup when done to be used again. I do not use fresh syringes every time. A 100 count syringe pack will last me at least a year.
- You can definitely color epoxy. You can buy purpose-made dyes such as So-Strong or add in powdered tempra paint.
- You can add fillers for strength or looks. When filling gaps, I mix 1/32″ milled glass fibers with the epoxy. The ratio depends on the epoxy you are using, how thick/pasty you want the result to be or how much you want it to still flow into place.
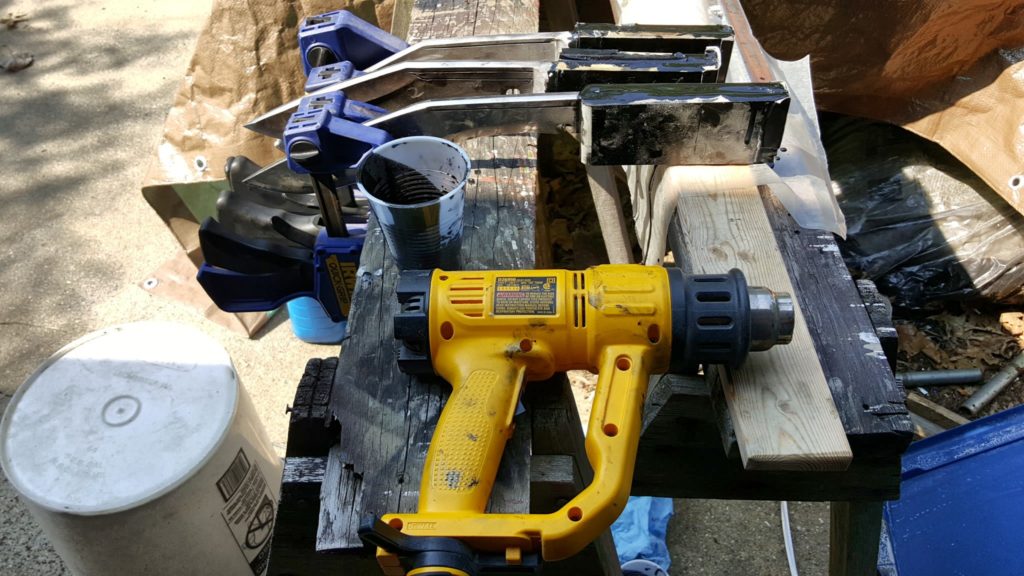
- To get rid of bubbles you either need to draw a vacuum, apply pressure or at least use a heat gun to thin the epoxy once it is applied and this allows the trapped air to escape.
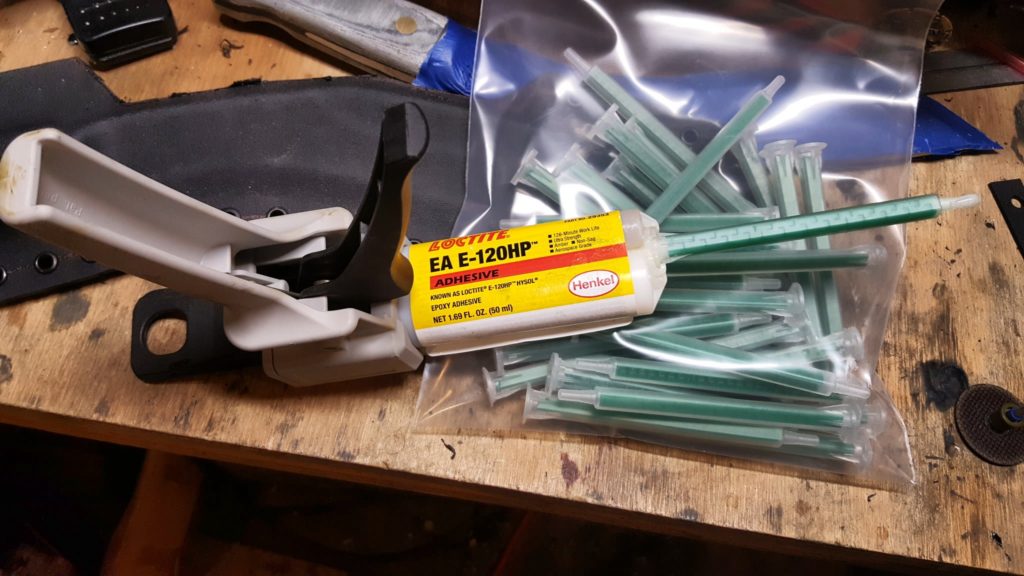
- When I am gluing big objects together, such as wood panels, forms, or other construction I will use a cartridge based epoxy. My favorite is Hysol E-20HP. To use a cartridge, you need the dispensing gun and also the correct mixing tip. This allows you to squeeze the trigger and properly mixed epoxy comes out of the tip. When you are done, you just let the tip harden in place sealing the epoxy. When you are ready to use the gun again, you simply remove the plugged tip with a new one. This allows for you to deploy a bead of epoxy very quickly but the con is that you throw away a tip every time you stop. You also can’t color the epoxy first but it is fast and convenient on larger projects.
- The surface must be clean for epoxy to work best. Remove dust, dirt, oil, etc.
- A rough surface is always better than a smooth surface. I always recommend sanding, brushing or blasting a surface to improve adhesion. Not only do you increase the surface area but you also are creating a texture where the epoxy can get under the base material in thousands of tiny places to really grab hold.
- Wear disposable gloves to avoid making a mess. I buy boxes of the Harbor Freight 5 mil nitrile gloves when they go on sale for $5.99/box of 100. They really are a good value for a medium-light duty disposable glove.
- If you need to clamp parts together, wrap the assemble with wax paper to avoid gluing your clamps to the work piece – yeah, I’ve done that.
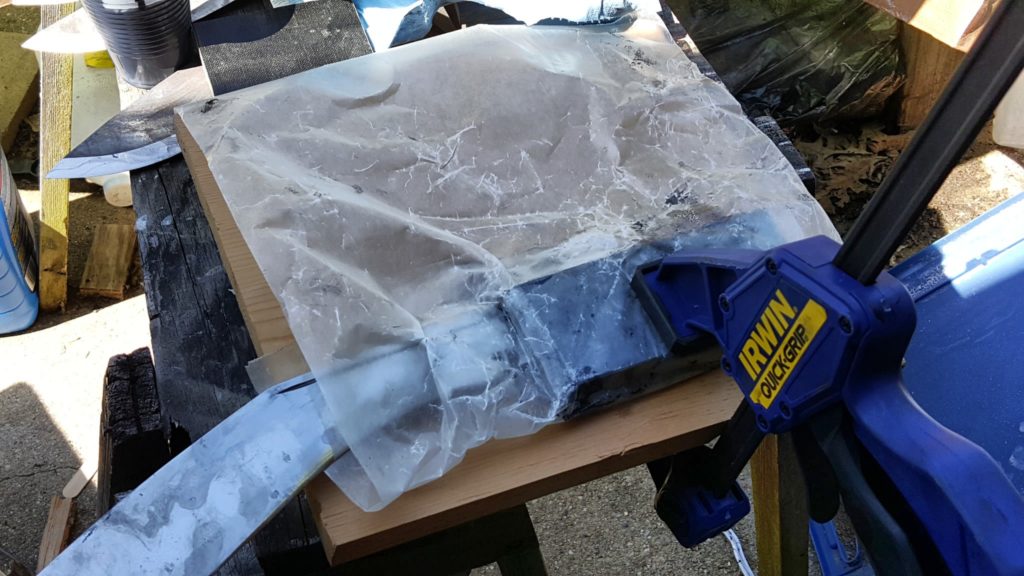
- Whenever possible, I prefer to clamp work together to get this best bond.
- Check, double-check and come back in again later and check your work again to make sure nothing has shifted.
I hope these tips help you with your next project.
If you find this post useful, please share the link on Facebook, with your friends, etc. Your support is much appreciated and if you have any feedback, please email me at in**@*********ps.com. Please note that for links to other websites, we are only paid if there is an affiliate program such as Avantlink, Impact, Amazon and eBay and only if you purchase something. If you’d like to directly contribute towards our continued reporting, please visit our funding page.

