My youngest daughter told me her favorite winter boots were leaking. She’s long since grown and on her own so I told her to bring them the next time she visited and I would see what I could do.
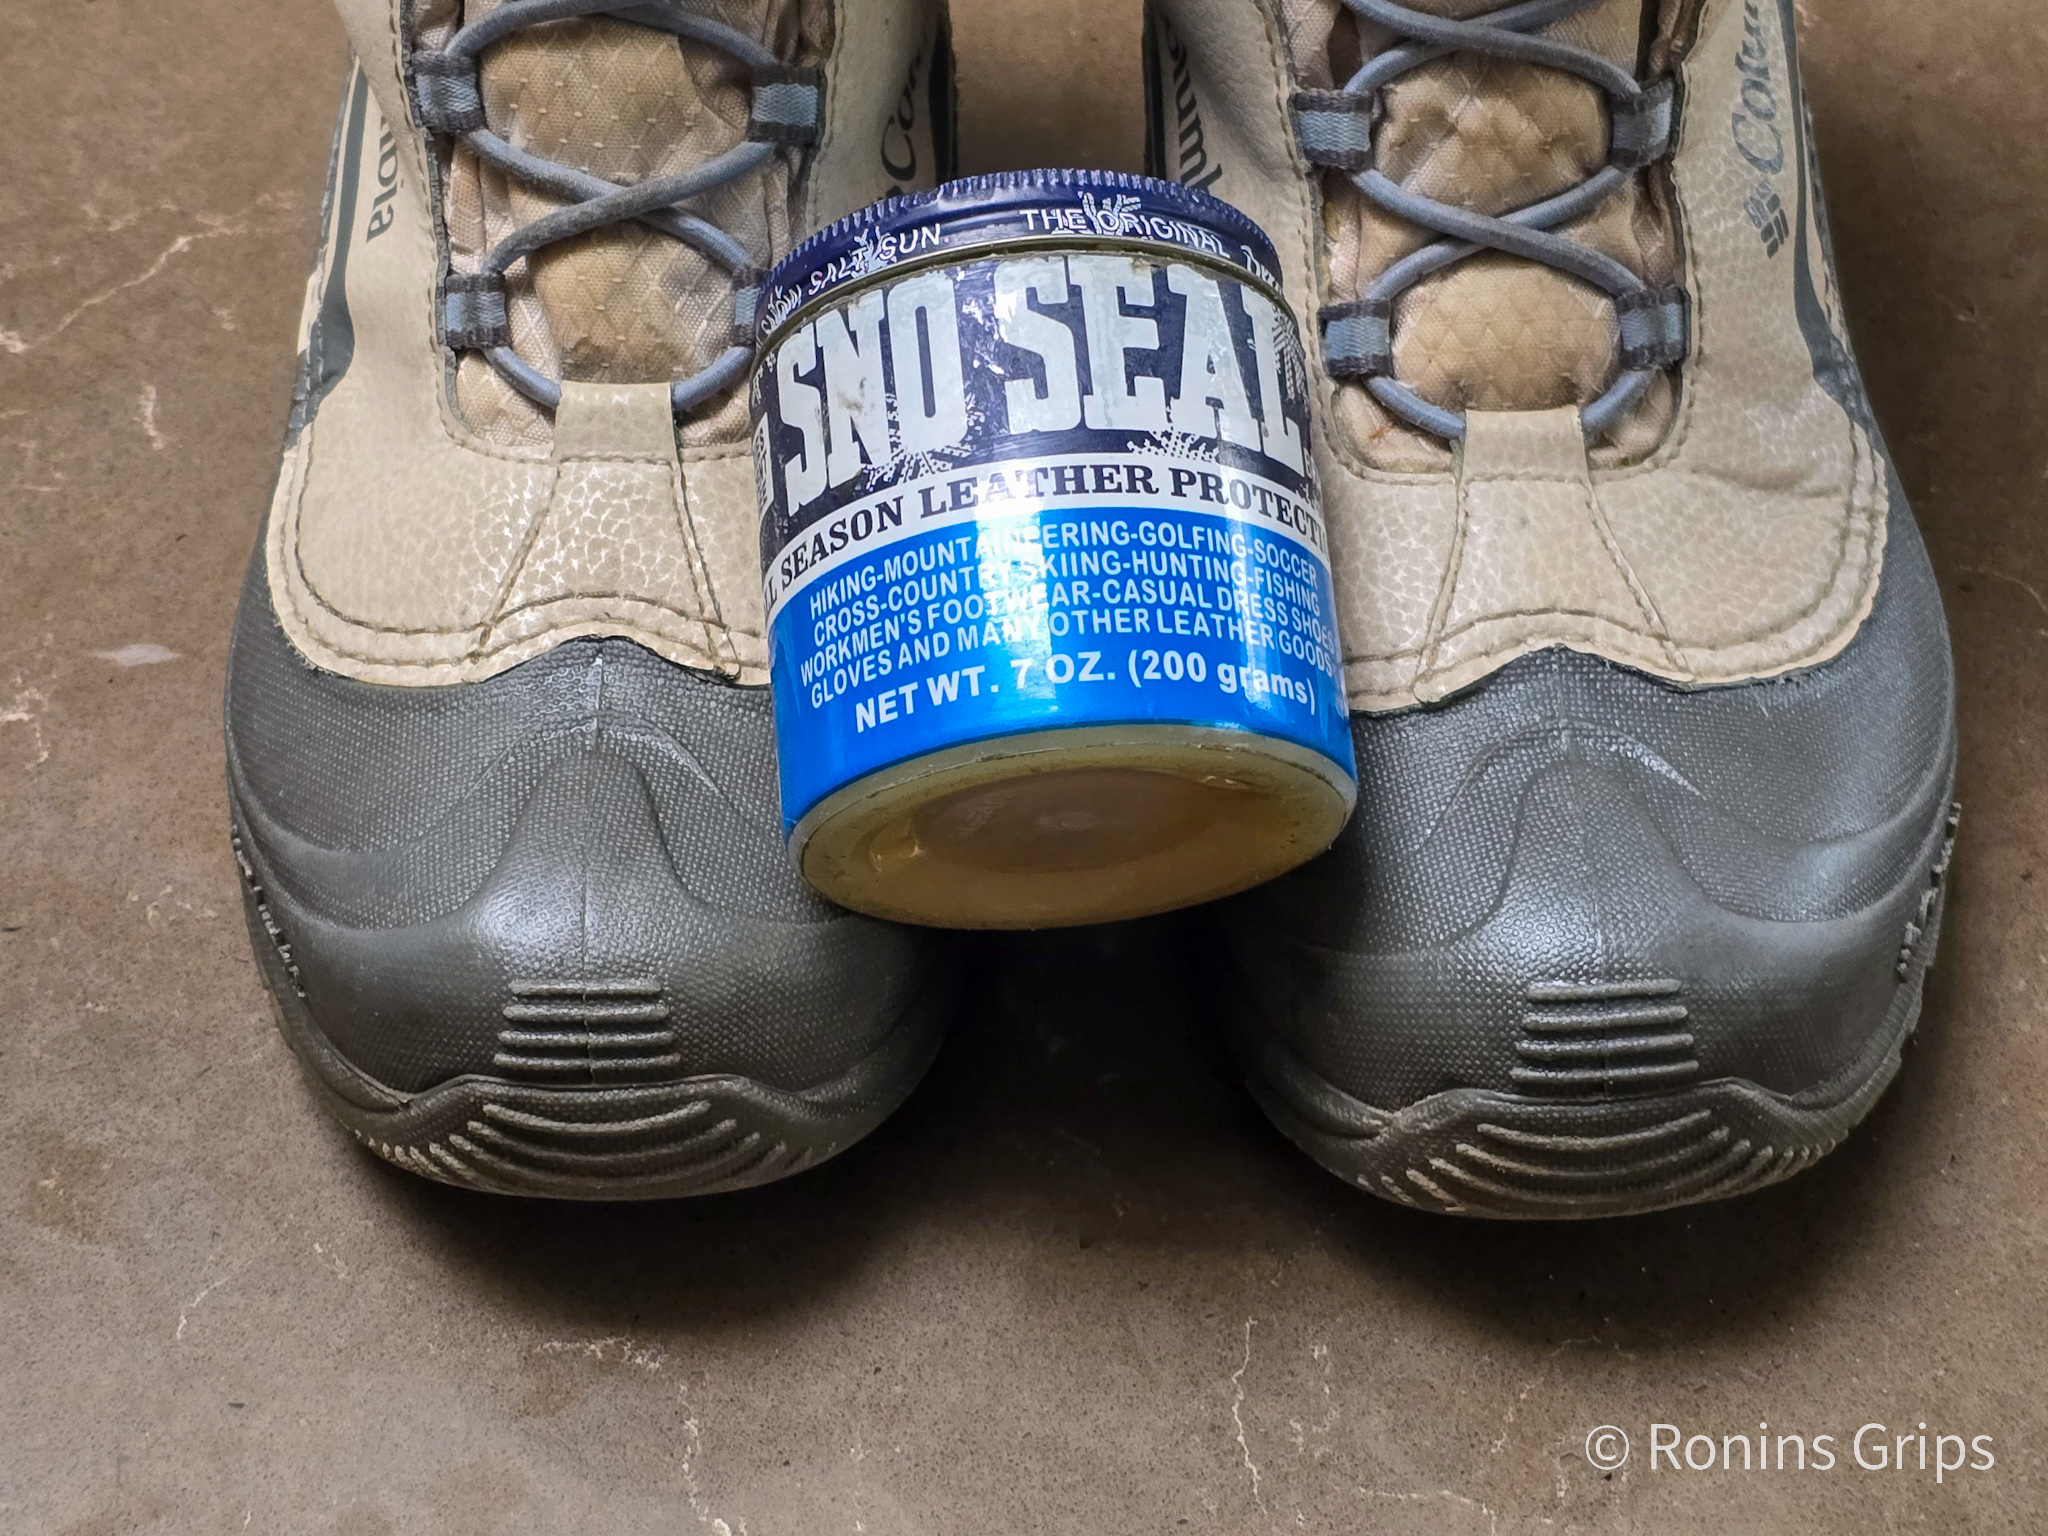
She showed up a few weeks later with some nice winter boots made by Columbia that were a year or two old. As a kid growinmg up in Michigan in the 70s, we’d call this style “snow mobile” boots – but they were a rubber bottom, fabric upper and then had a felt liner that you could pull out that seemed to always wear our first.
These new Columbia boots were far nicer with modern materials but they were leaking. My daughter said the bottoms of her feet would get wet. I took a quick look and the rubber bottoms were in very good shape and so were the uppers. This left the most likely culprit to be the stitching where the uppers are sewed to the rubber lowers.
I actually like working on boots. Don’t ask me why – it’s just one of my thousands of personality quirks. I used to take my dad’s old leather work boots, remove the leather thongs, clean then and then make them soft and water proof using mink oil. For a while we had this cool stuff called “bear grease” that was wax and some oil that worked pretty well. At any rate, rather than drying out and cracking, not to mention leaking real bad, you could really streatch the life of your boots out.
Many years ago, and I do mean “a lot” of years ago and any number would be a guess so maybe 20+ years ago, I heard about Atsko Sno-Seal. It’s basically beeswax and needs heat to really soak in. I’ve used it on more boot, tools and other uses than I can count. [Click here to buy it on Amazon]
To seal my daughter’s boots, I first warmed up the oven to 135F. That is the lowest setting of our oven and I didn’t want to harm her boots my getting the synthetics too hot. Once the oven was warm, I turned it off because otherwise the tops of the boots would be close to the heating elements and risk damage.
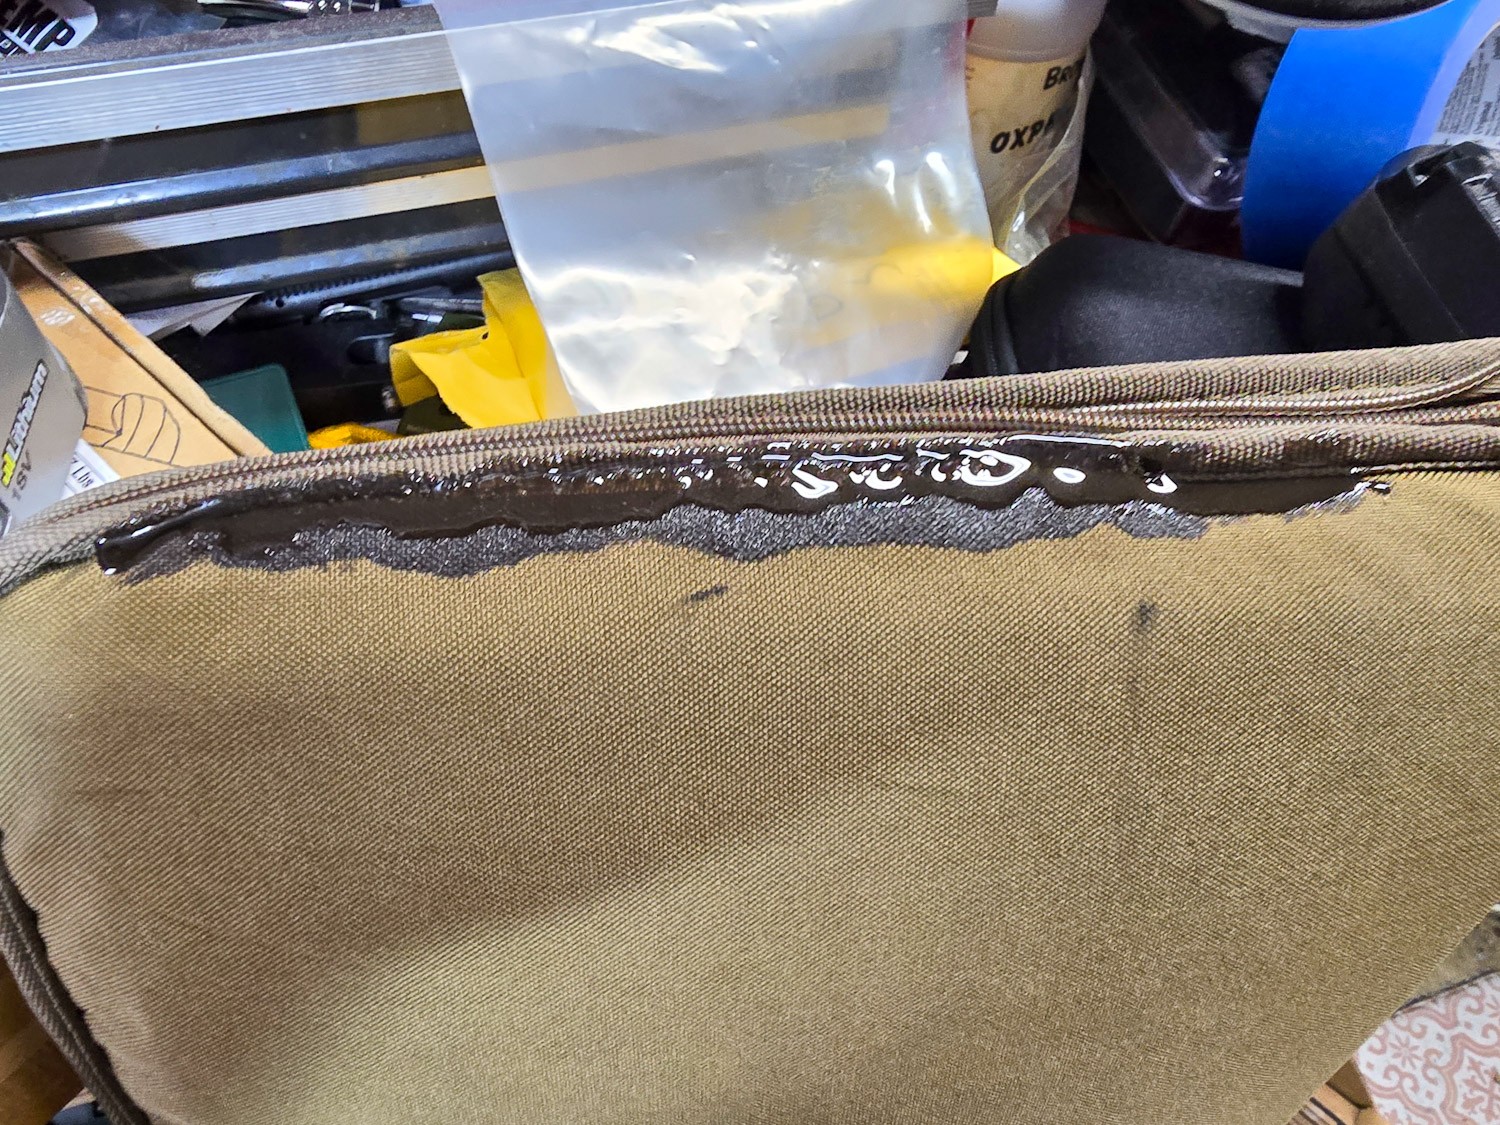
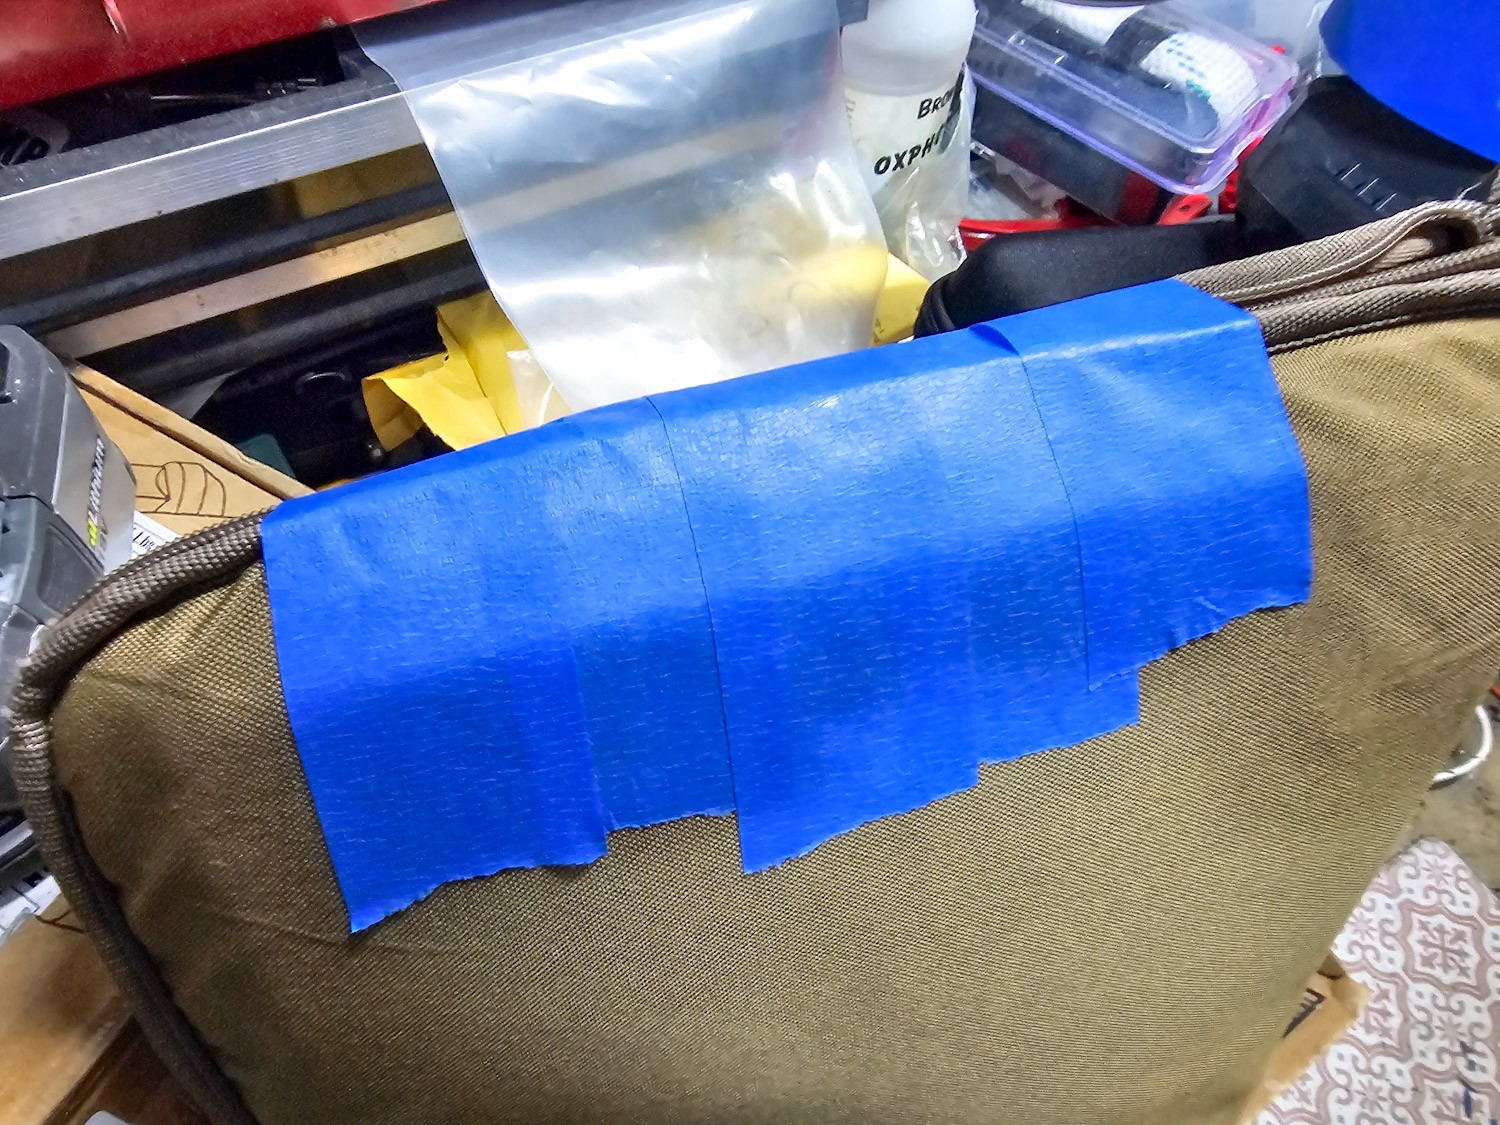
I then inserted her boots for about five minutes so they would get nice and warm. I pulled them out and pushed/rubbed a thick amount of wax into the seams. To be clear, I just did this on the seams – the uppers are synthetic and I didn’t want to risk discoloring them. I then put the boots back in the oven and let the wax melt and I would then rub in another thick batch of wax into the seams.
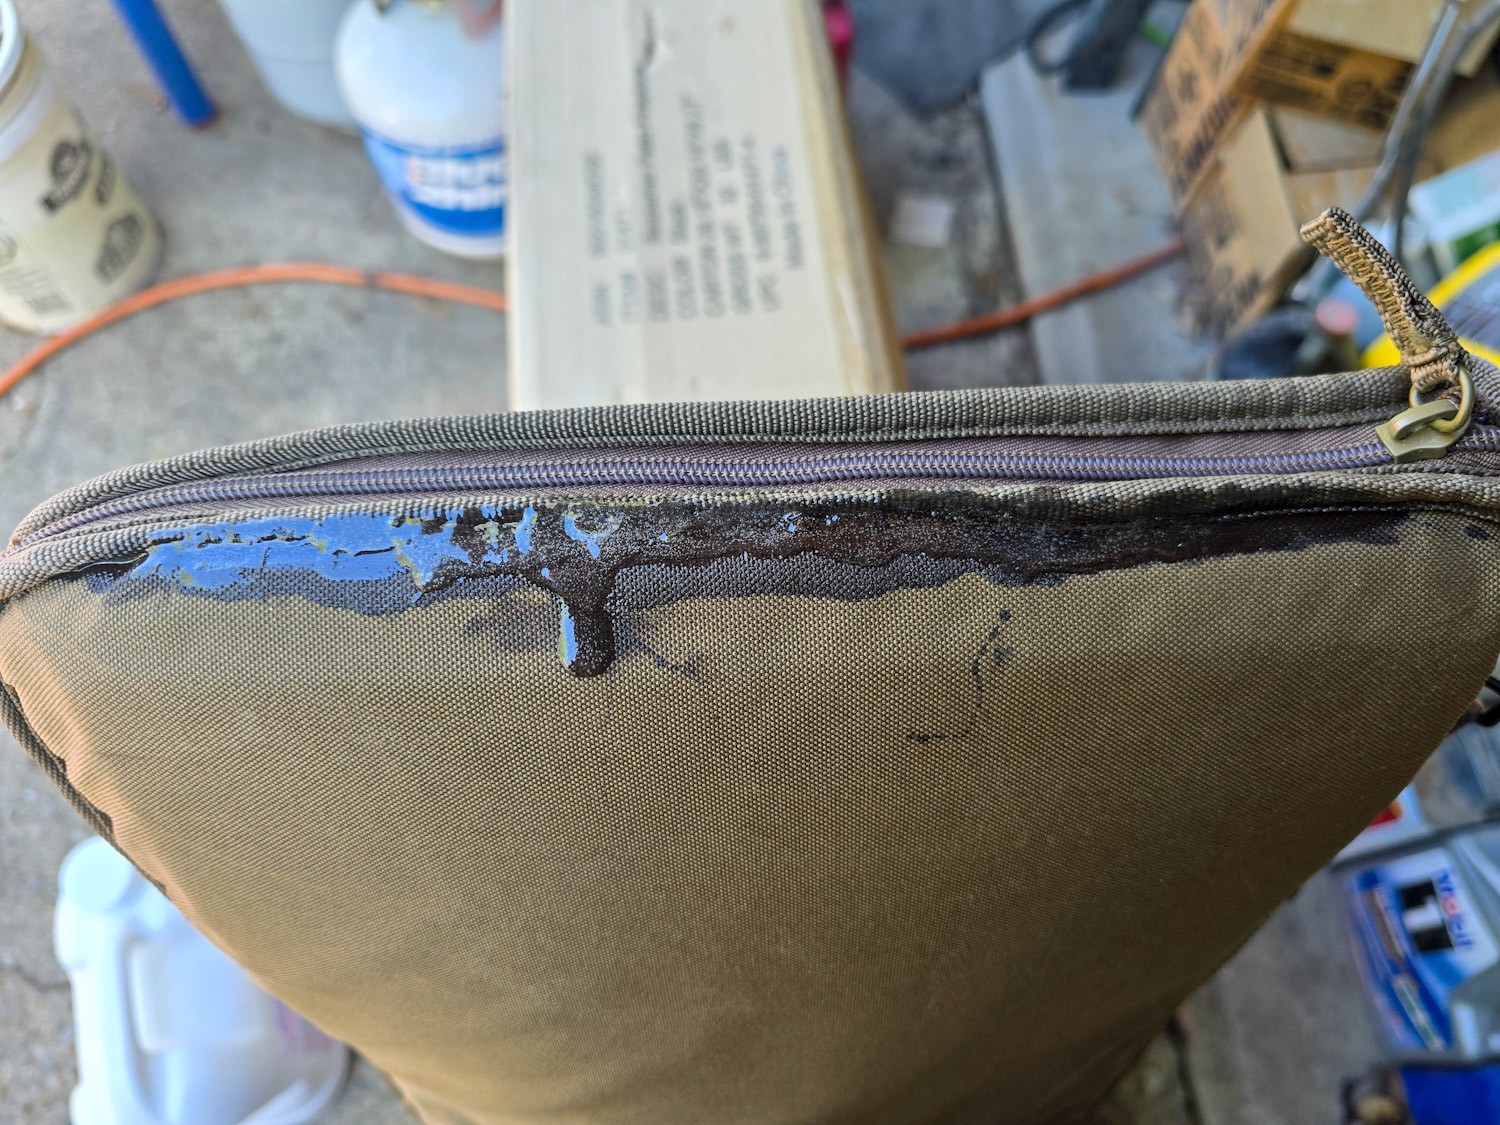
I repeated this three times. I wanted to make sure that any little openings, or “voids” in the seams were packed with wax. After the final heating, I removed the boots and wiped off the extra wax with a paper towel.
For the fabric parts of the upper and the tongue (the part under the laces in the front), I applied two coats of Scotch Guard Outdoor formula spray. I doubted the water was leaking in from these two places because of my daughter’s description that it was the bottom of her feet getting wet. However, since I had the boots, I figured I would do them also.
Note, ScotchGuard is a spray and is really easy to work with. I’d recommend you read their instructions first. I basically spray on a coat and let it dry then I do a second coat and let it dry. My wife hates the smell so I let them dry in my shop – so just bear that in mind if your spouse doesnt like chemical smells.
Applying Sno-seal to the seams took about 30 minutes. The ScotchGuard spray can be applied in less than a minute but the drying time depends on many factors – including temperature and if there is airflow from a fan. I usually let them sit and do other things.
Let me make one last comment – sealing boots isn’t a “do it one time and you’re set forever” activity. You might get a season or two and then you’ll probably need to do it again. Some guys treat it as part of their routine “getting ready for winter work” and some guys like me do it as needed or before some big outting like hunting, hiking, etc. Bottom line is that it works but needs to be maintained sooner or later.
If you do this and ever find yourself in a rush and don’t have Sno-Seal handy, you can try heating the seam up with a hair dryer and seeing if the remaining wax will seal the leak. This is a real gamble though as it depends on the amount of wax left. You could ideally seal the leak temporarily until you have time to do it right but you might also either accomplish nothing or even make the leak worse as the reamining wax moves and enlarges holes. So, it’s iffy and there’s no guarantee it will work.
Summary
The boots were sealed and my daughter was happy. I recommend Atsko Sno-Seal for a great many applications including sealing boot seams. The ScotchGuard Outdoor waterproofer works very well also.
I hope this helps you out.
Note, I have to buy all of my parts – nothing here was paid for by sponsors, etc. I do make a small amount if you click on an ad and buy something but that is it. You’re getting my real opinion on stuff.
Please share the link on Facebook, Forums, with colleagues, etc. Your support is much appreciated and if you have any feedback, please email us in**@*********ps.com. If you’d like to request a report or order a reprint, please click here for the corresponding page to open in new tab.