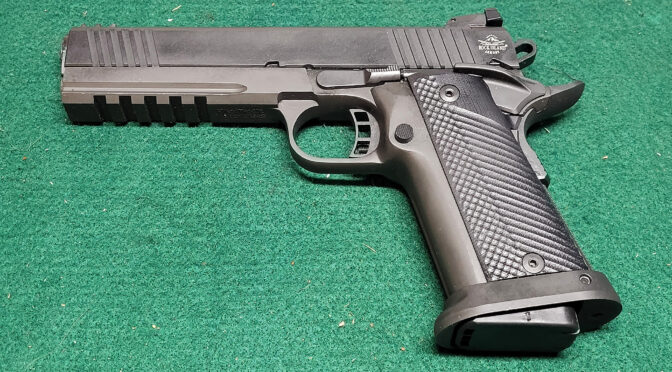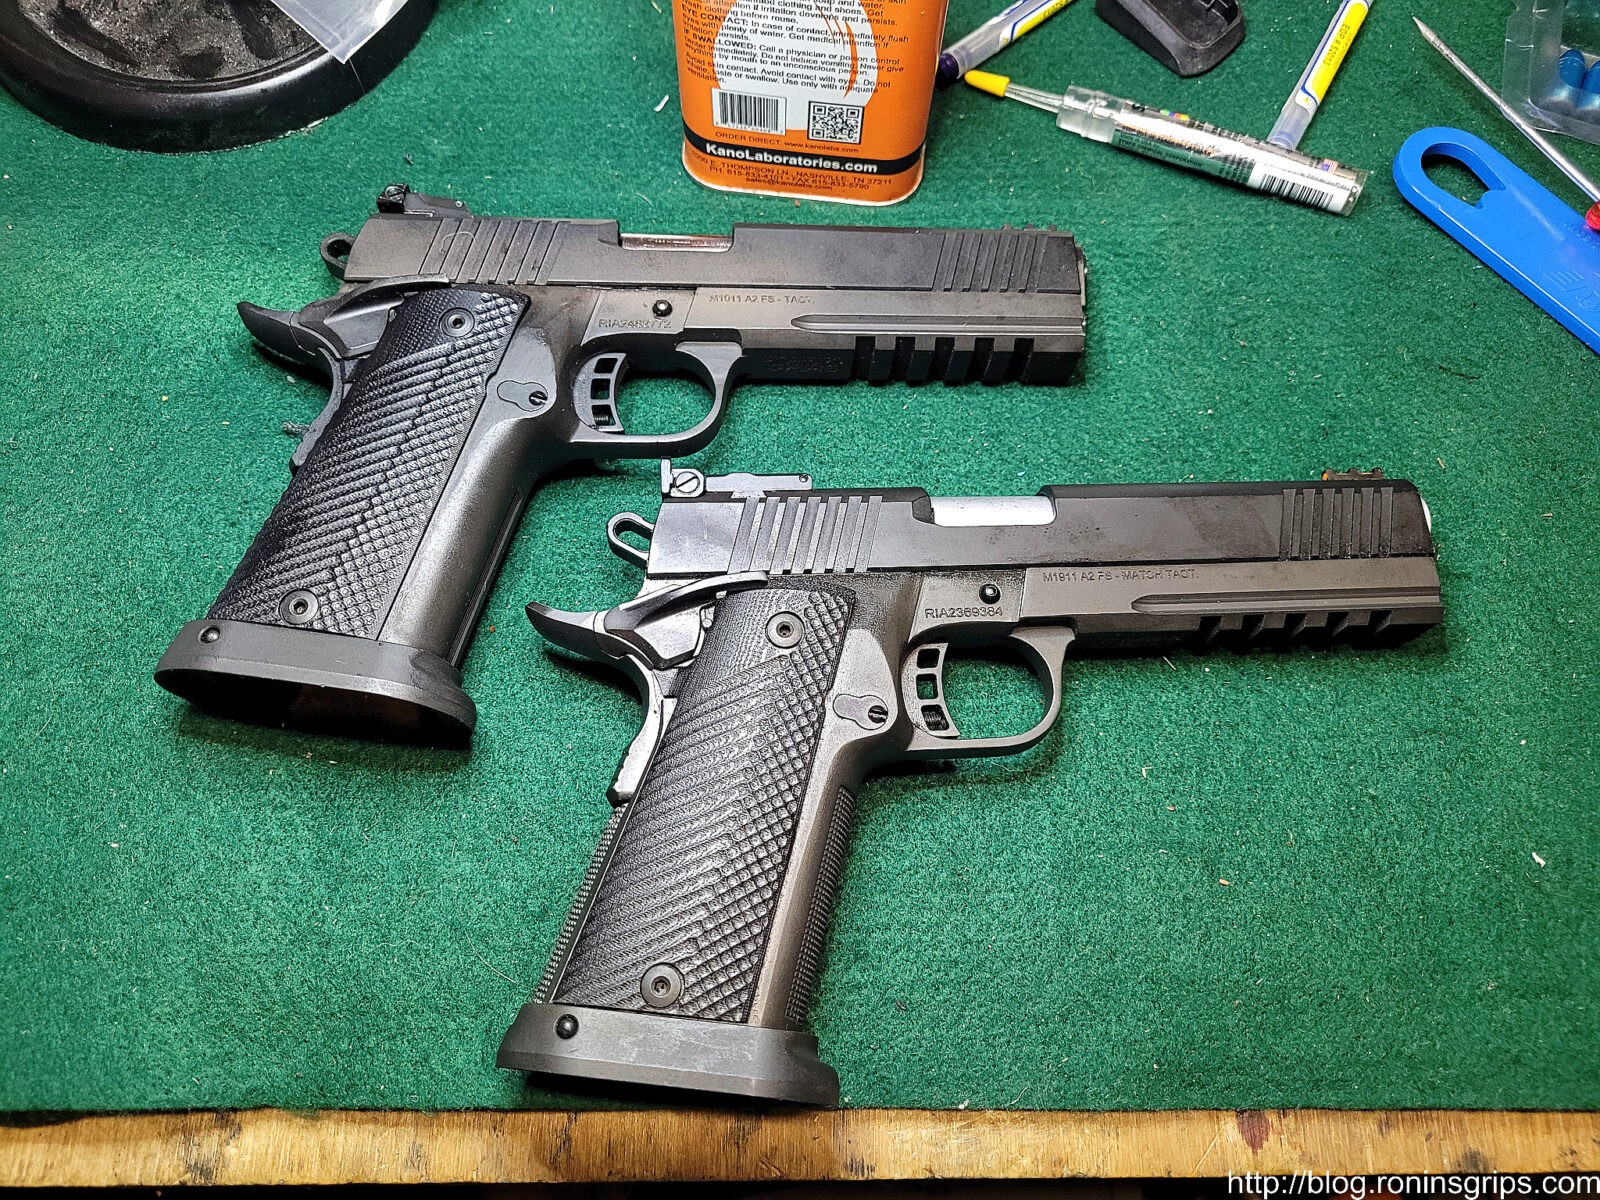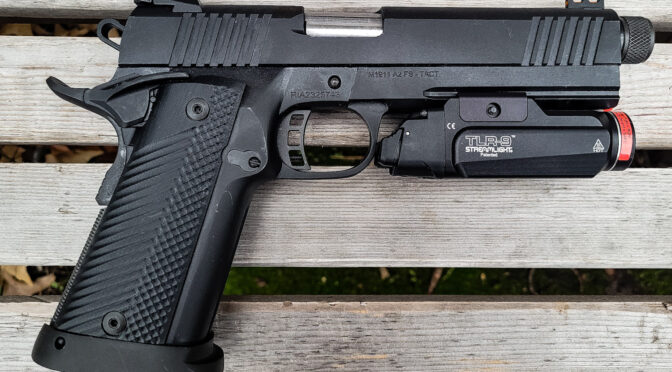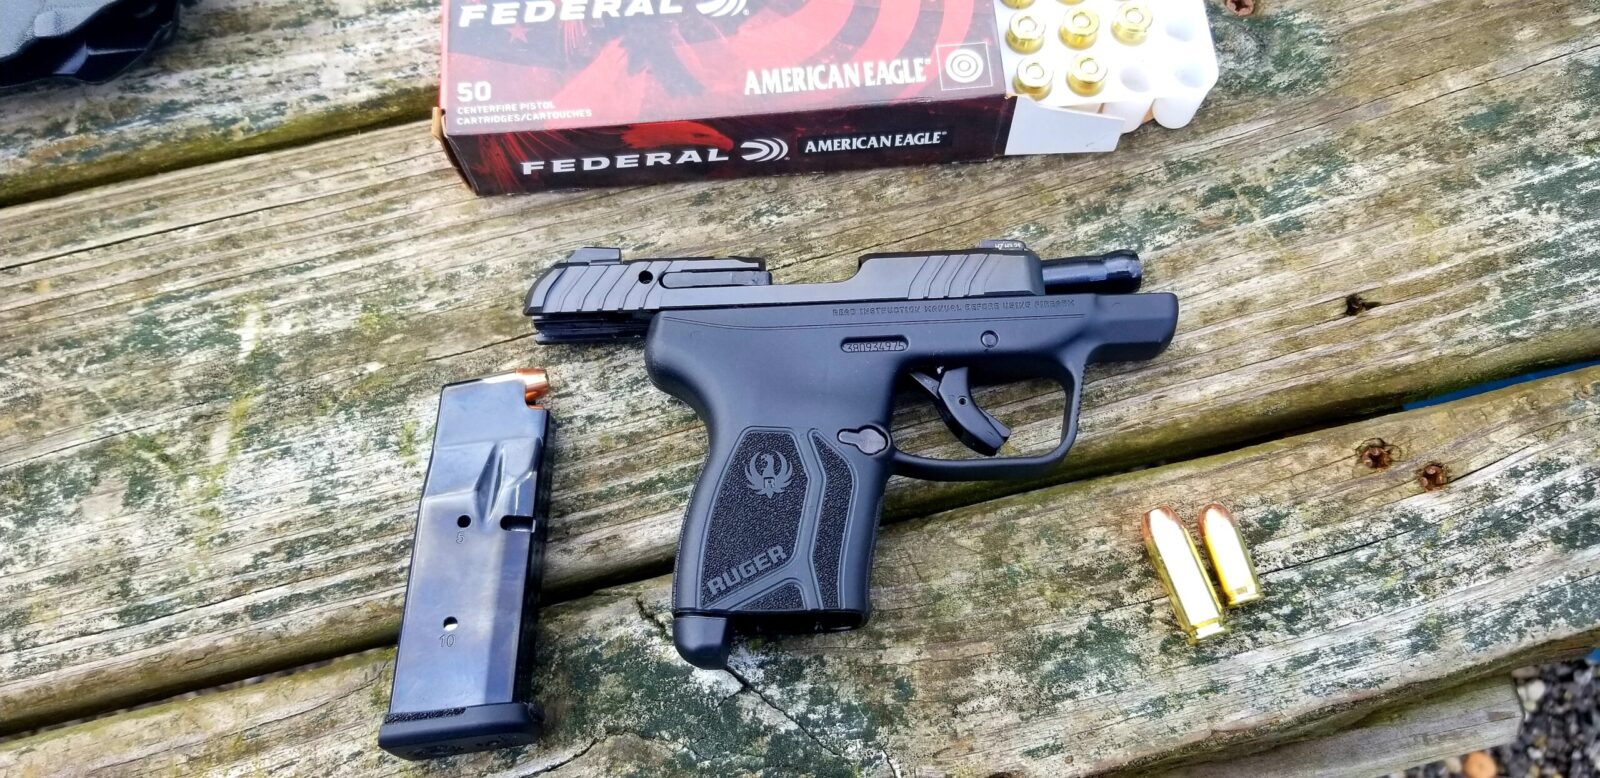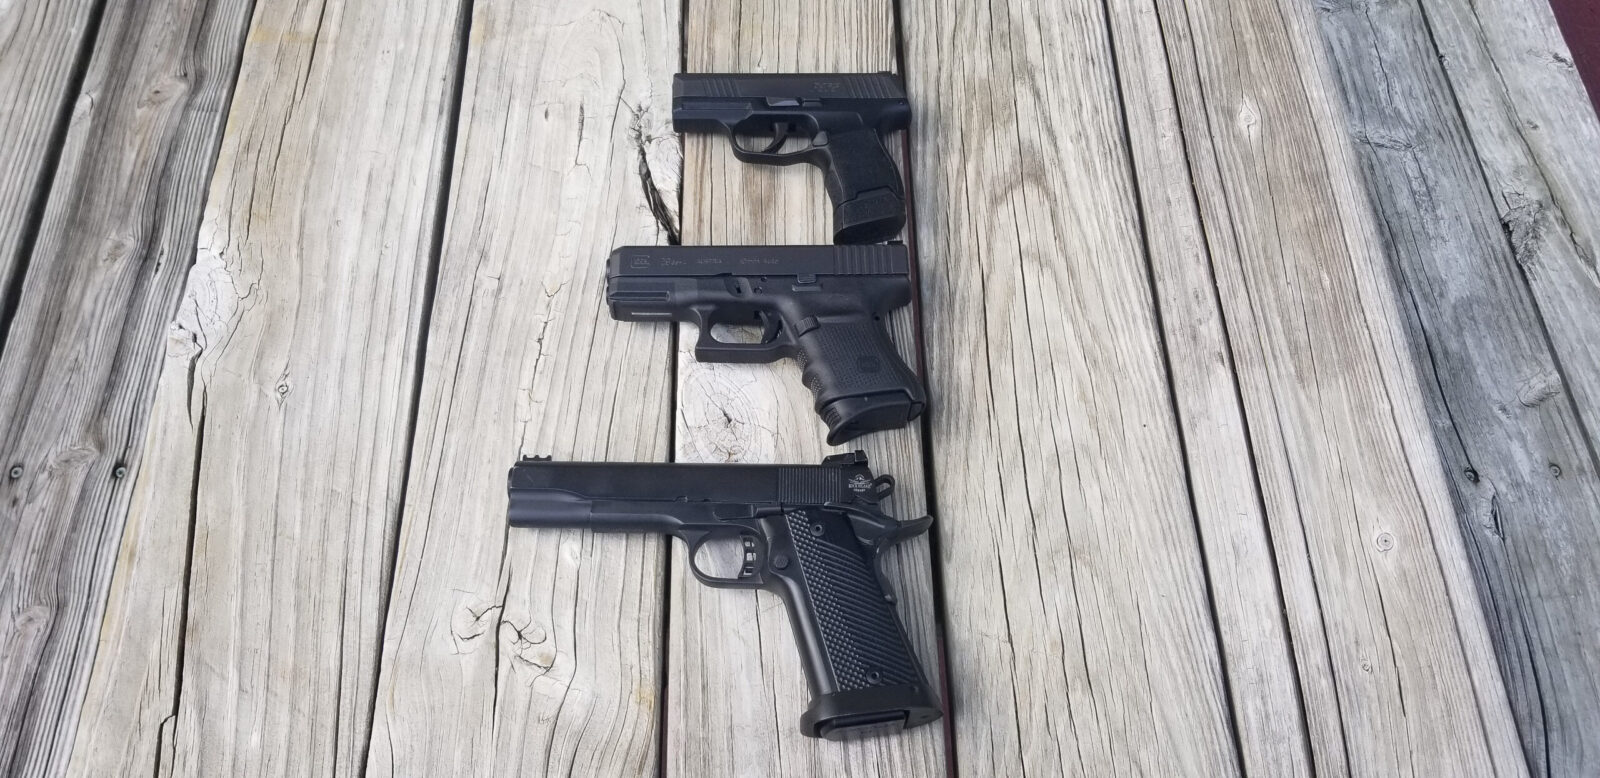
This post reflects a journey I’ve been on regarding making and selling magazines for the 9mm Rock Island Armory (RIA) FS A2 pistols. These pistols are based on Para Ordnance designs that use a staggered magazine that can accomodate 15+ rounds in a fattened 1911 grip. Think of them as 1911 pistols on steroids with a fat grip the holds more rounds they hold more rounds so sometimes RIA calls them “HC” for high capacity.
For over a year now, I’ve been making magazines for the FS A2 pistols chambered in 10mm and .40 S&W. The interesting thing is that 9mm, .38 Super, .40 S&W and 10mm all use the same frame. You’d think making the 9mm mags would be an easy jump – I did at least — maybe it was just me.
The 10mm round is bigger than 9mm – it is fatter and longer. You don’t think about that a lot until you are trying to get the ejecting case to hit the ejector – the 10mm round is a hell of a lot easier to make hit the ejector than the 9mm. Also, the relatively short 9mm round has a long way to travel before it goes into the chamber. I found myself having to kick out some assumptions I had for magazines in order to get the 9mm round to reliably work.
In general, I now understand why the 1911 community is so fast to cast suspicion on the magazines when feed and ejection problems are happening. John Browning was an absolute genius and the 1911 design shows it but it does need all of the parts to be working together correctly to deliver a reliabile pistol.
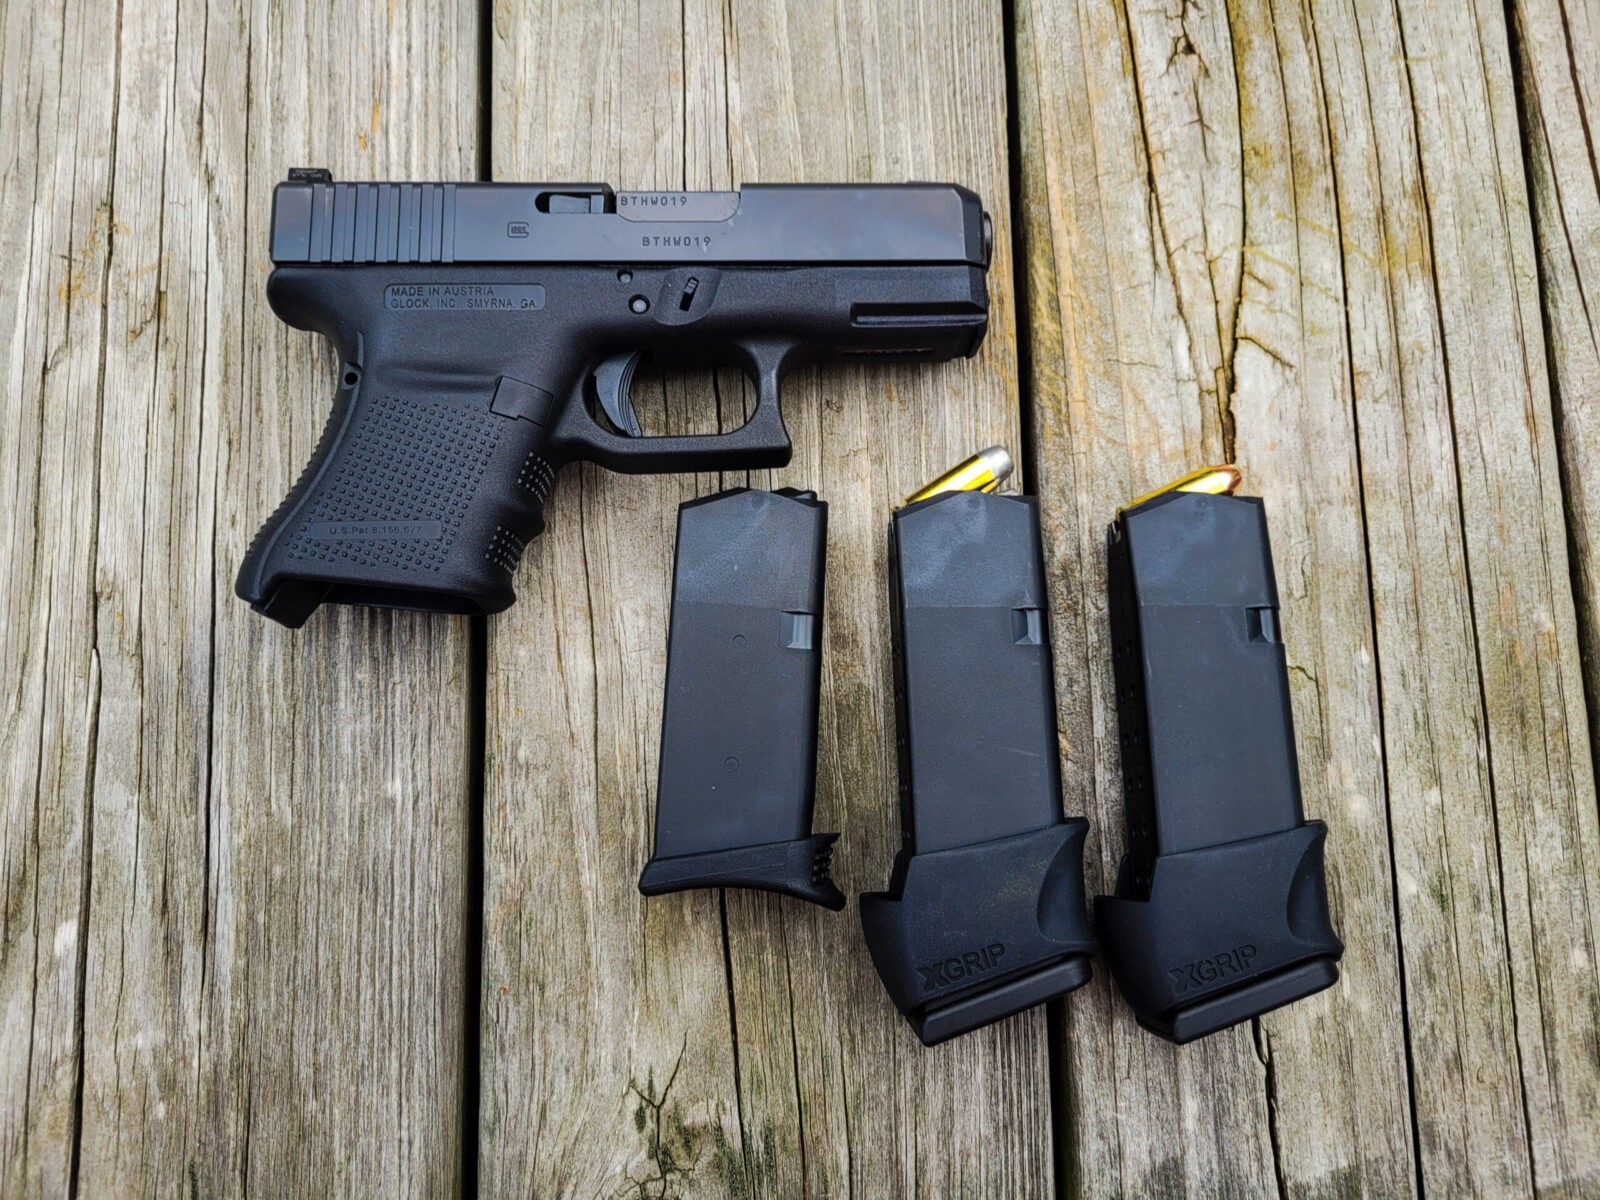
Oh yeah, the magazines can make or break reliability. Let me share with you some observations I’ve made so far about the magazine after making a few hundred of the 9mm models either modifying P18 magazines (.38/9mm) or P16 mags (10/.40).
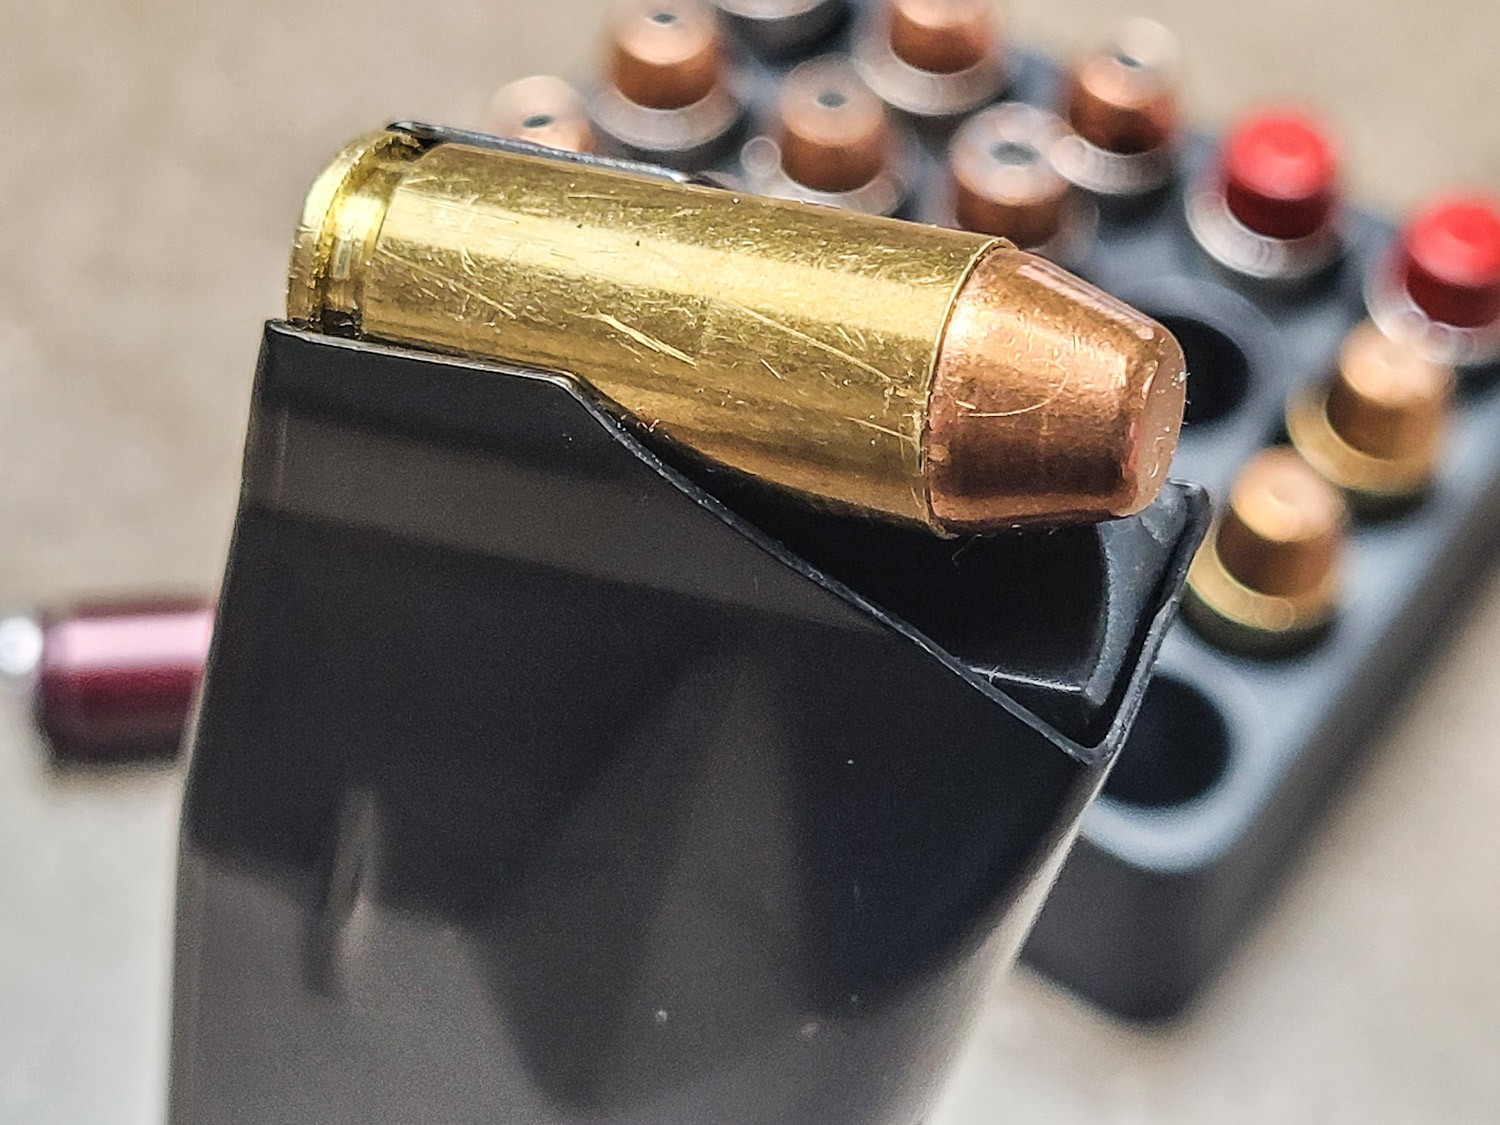
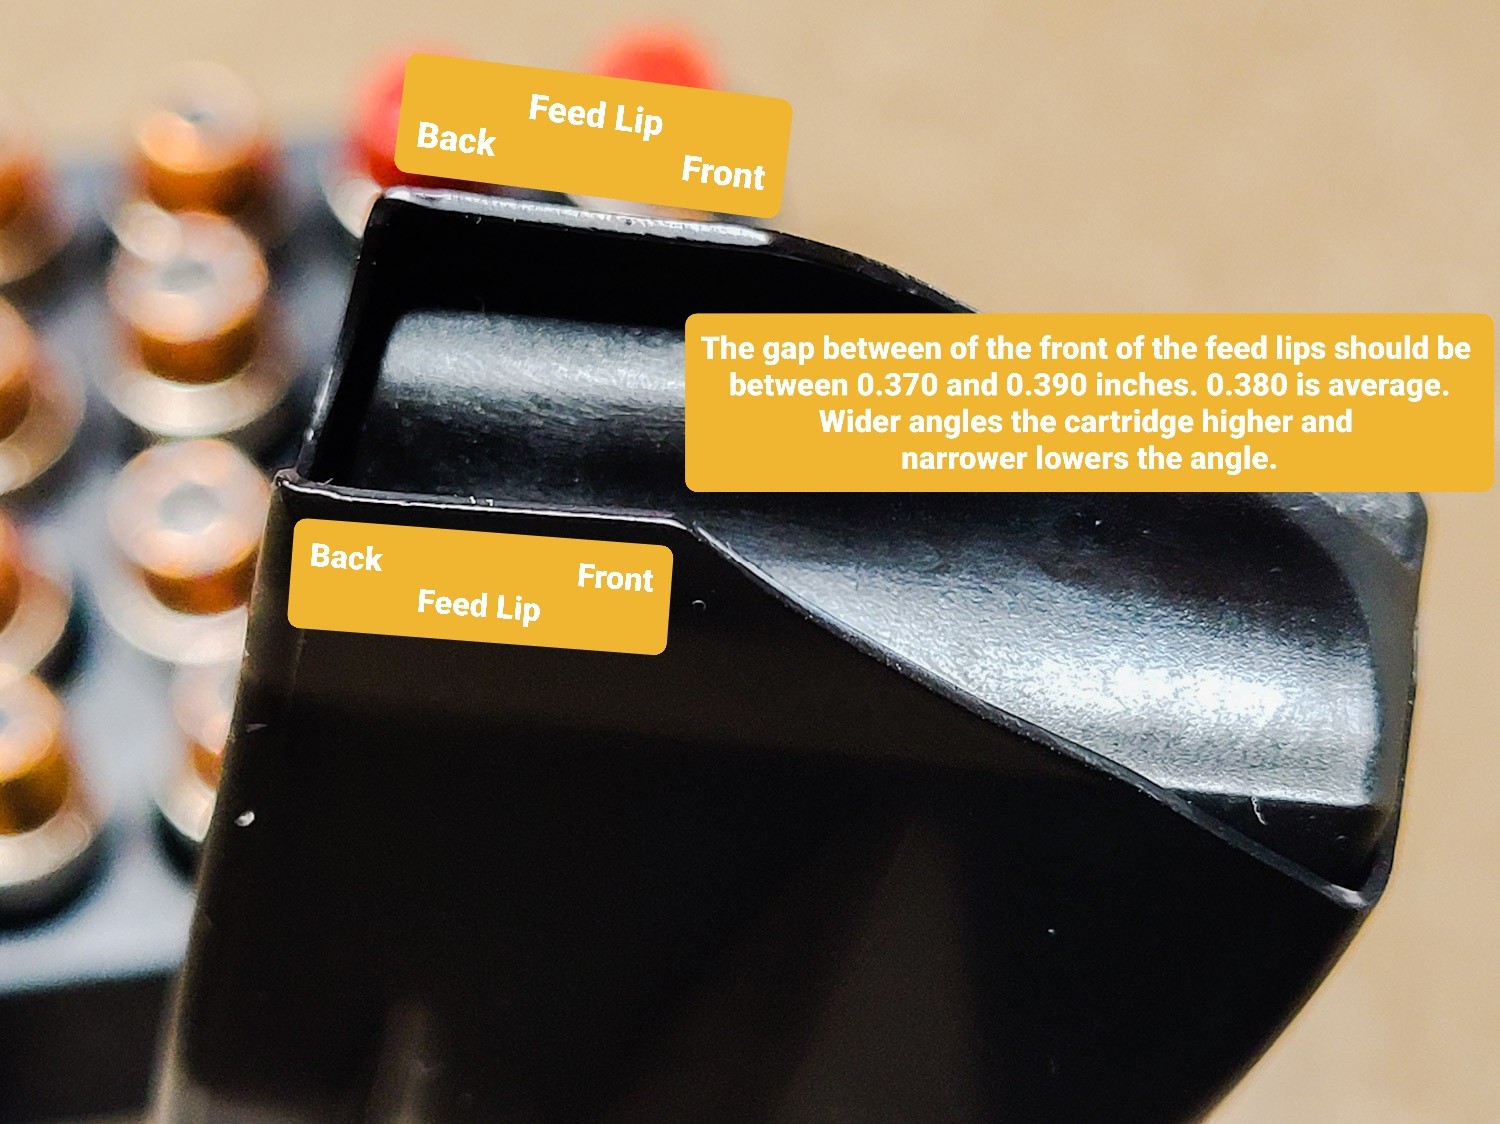
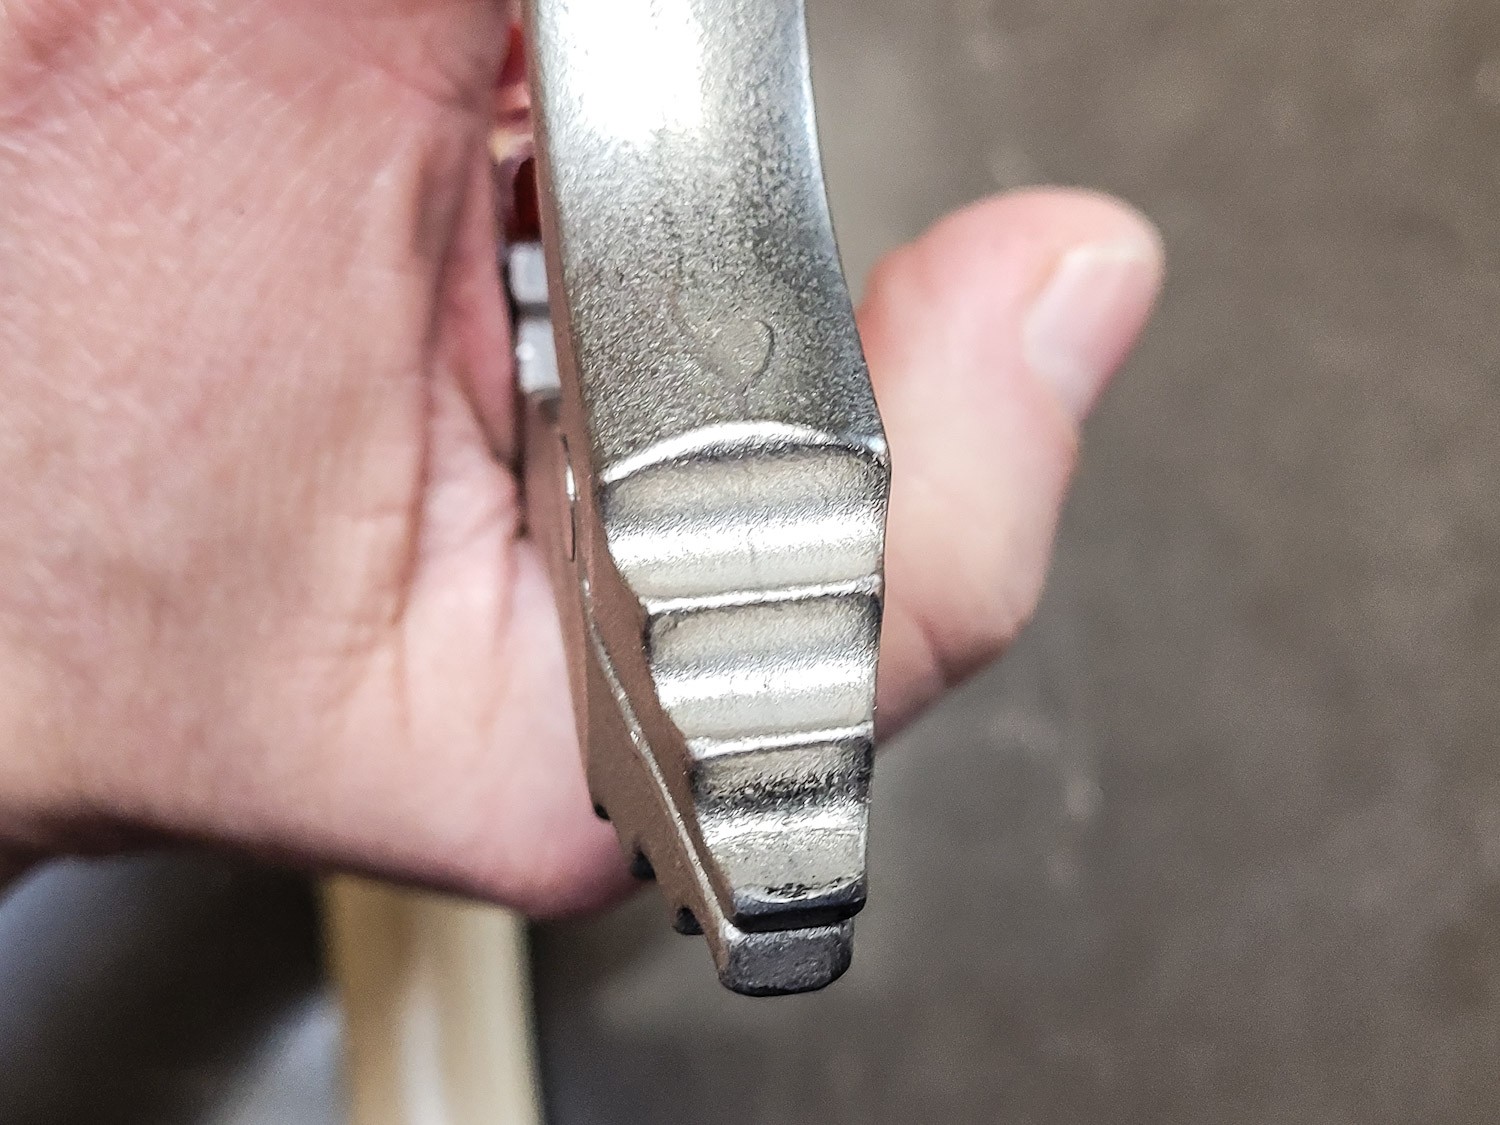
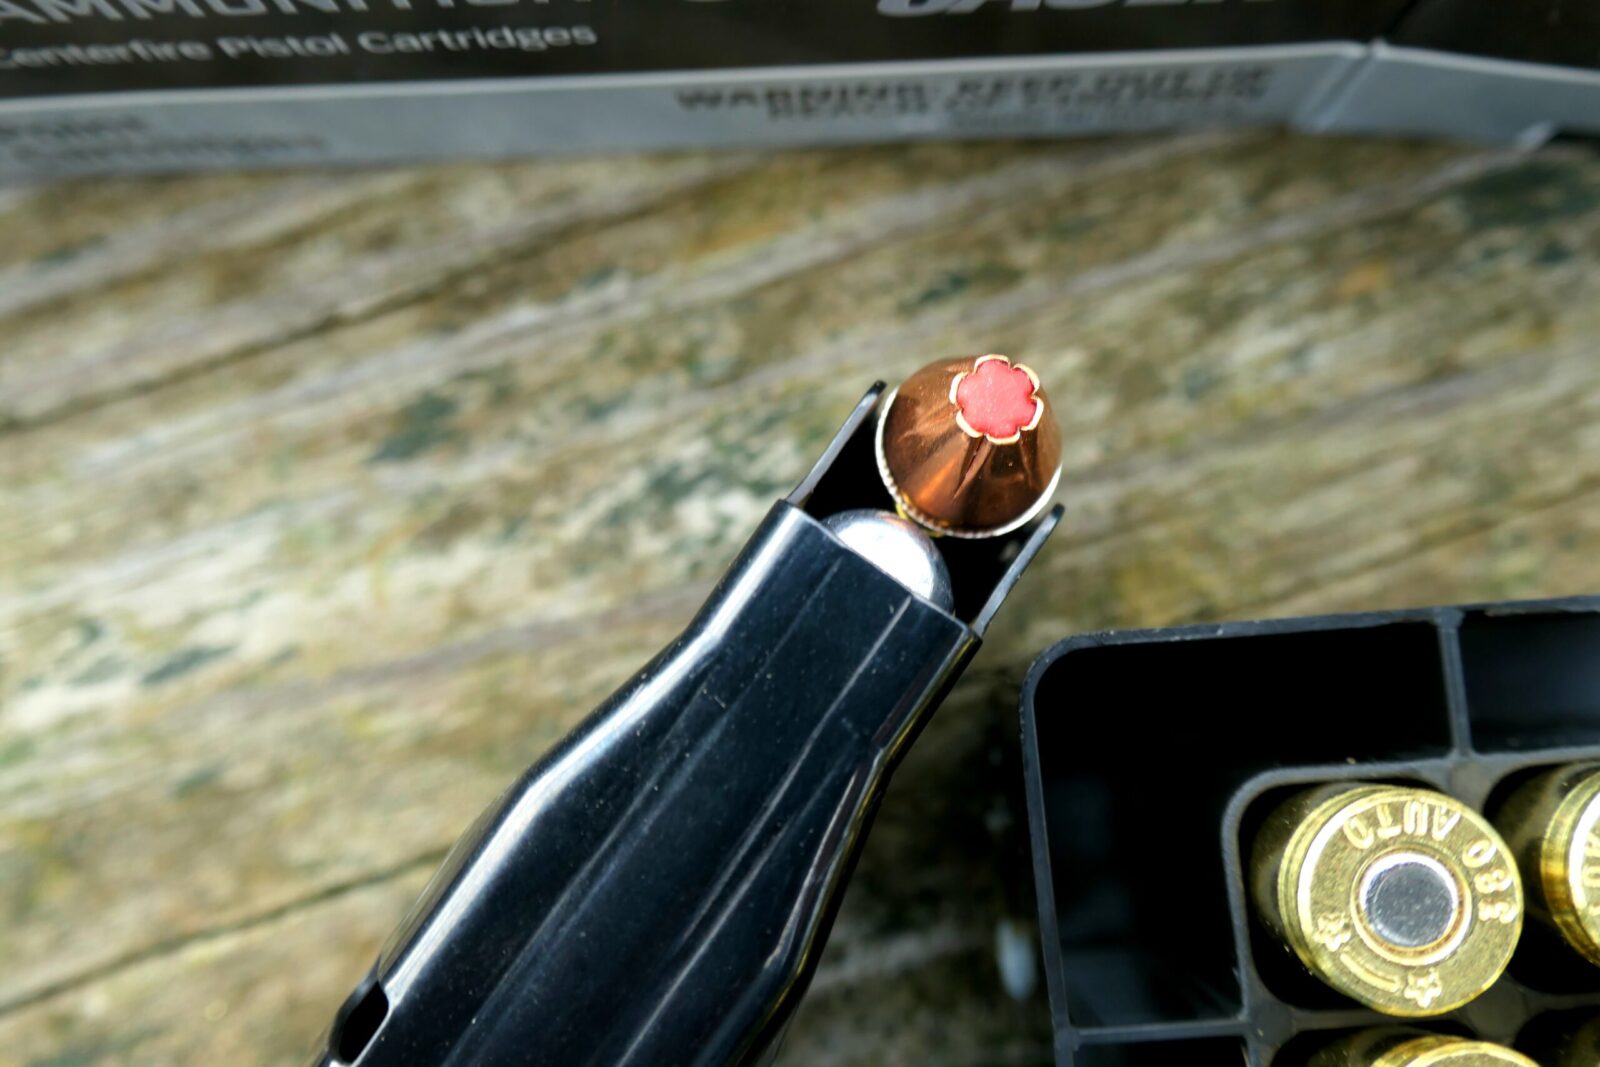
What about feed lip length?
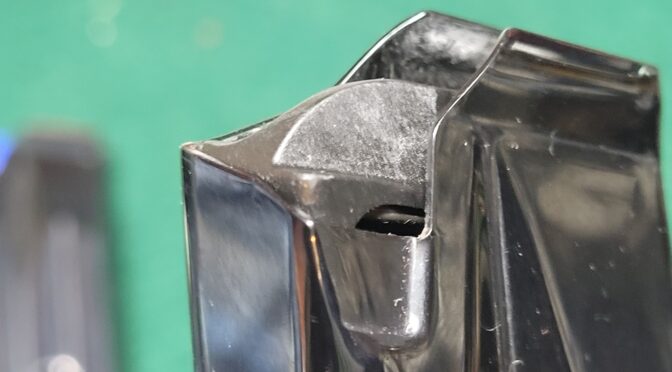
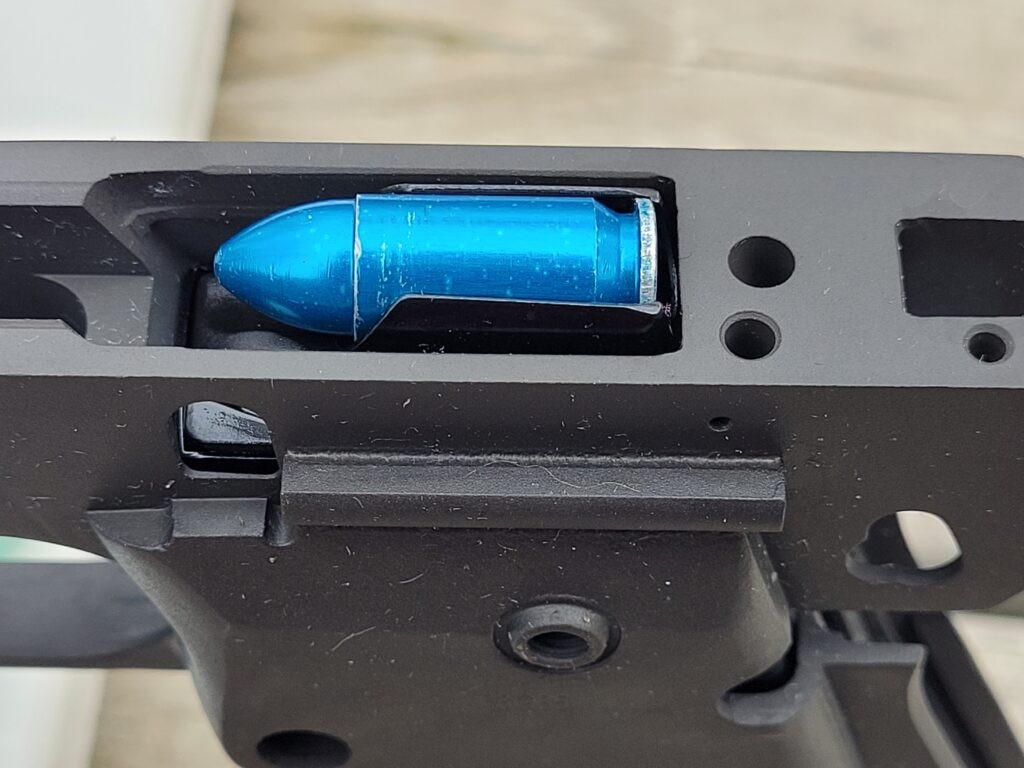
The feed lips are the part of the magazine that hold the top round down and at the right angle. If they are too short, the round tends to be presented at too high of an angle and if they are too long, the front gap may not be adjustable enough to support the feed angle needed.
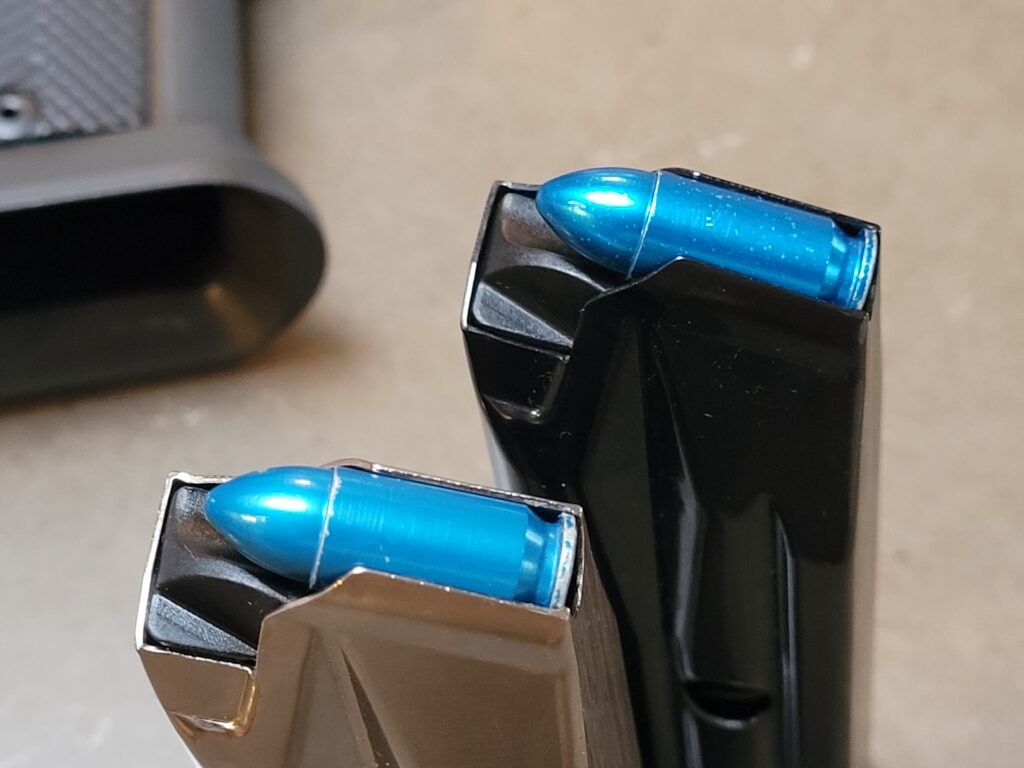
The original 1911 was designed for .45 ACP but we are feeding a little short round from the back of the magazine towards the chamber a mile away. How can we maintain control? The short answer is have longer feed lips on the magazine. These longer lips are what get the relatively small 9mm round from the back of the magazine all the way into the chamber.
The reason I listed this section is that the length of the feed lips can vary depending on the model of pistol so if you are trying to use a magazine from another type of pistol you may find you need to trim the feed lips back. I didn’t have to change the P16 or P18 mags for the 9mm but I did need to modify the P16 Para mags to feed reliability in RIA 10mm and .40 S&W pistols.
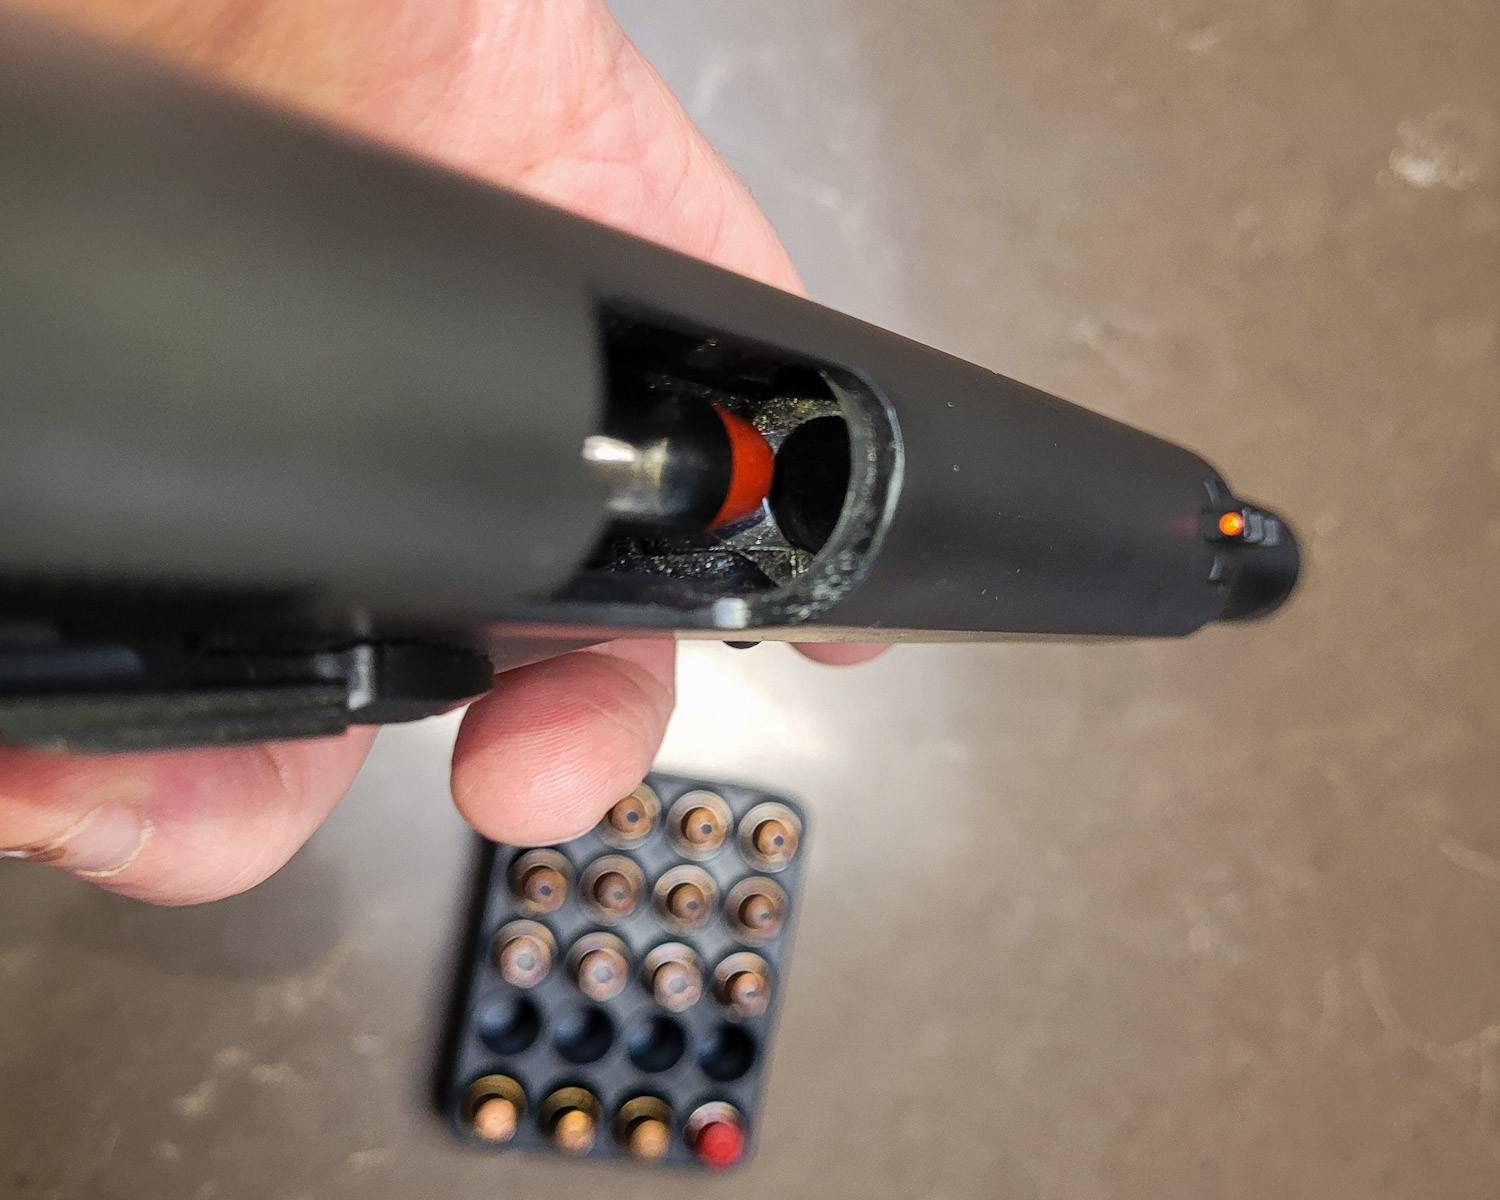
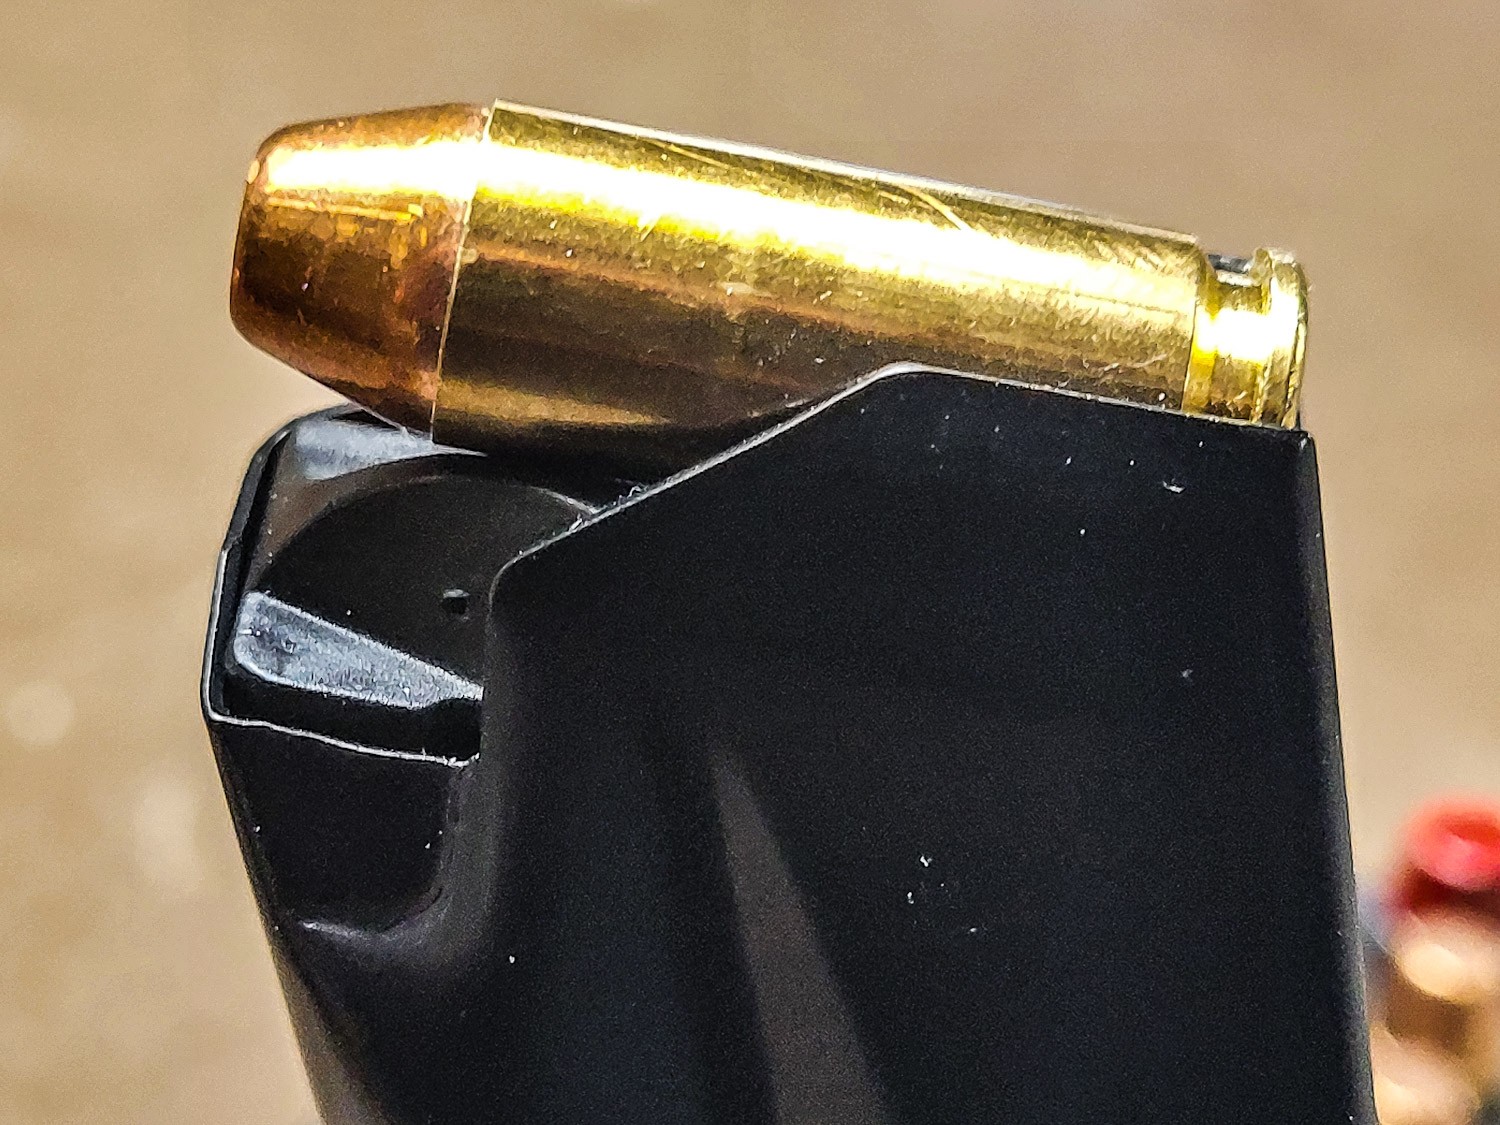
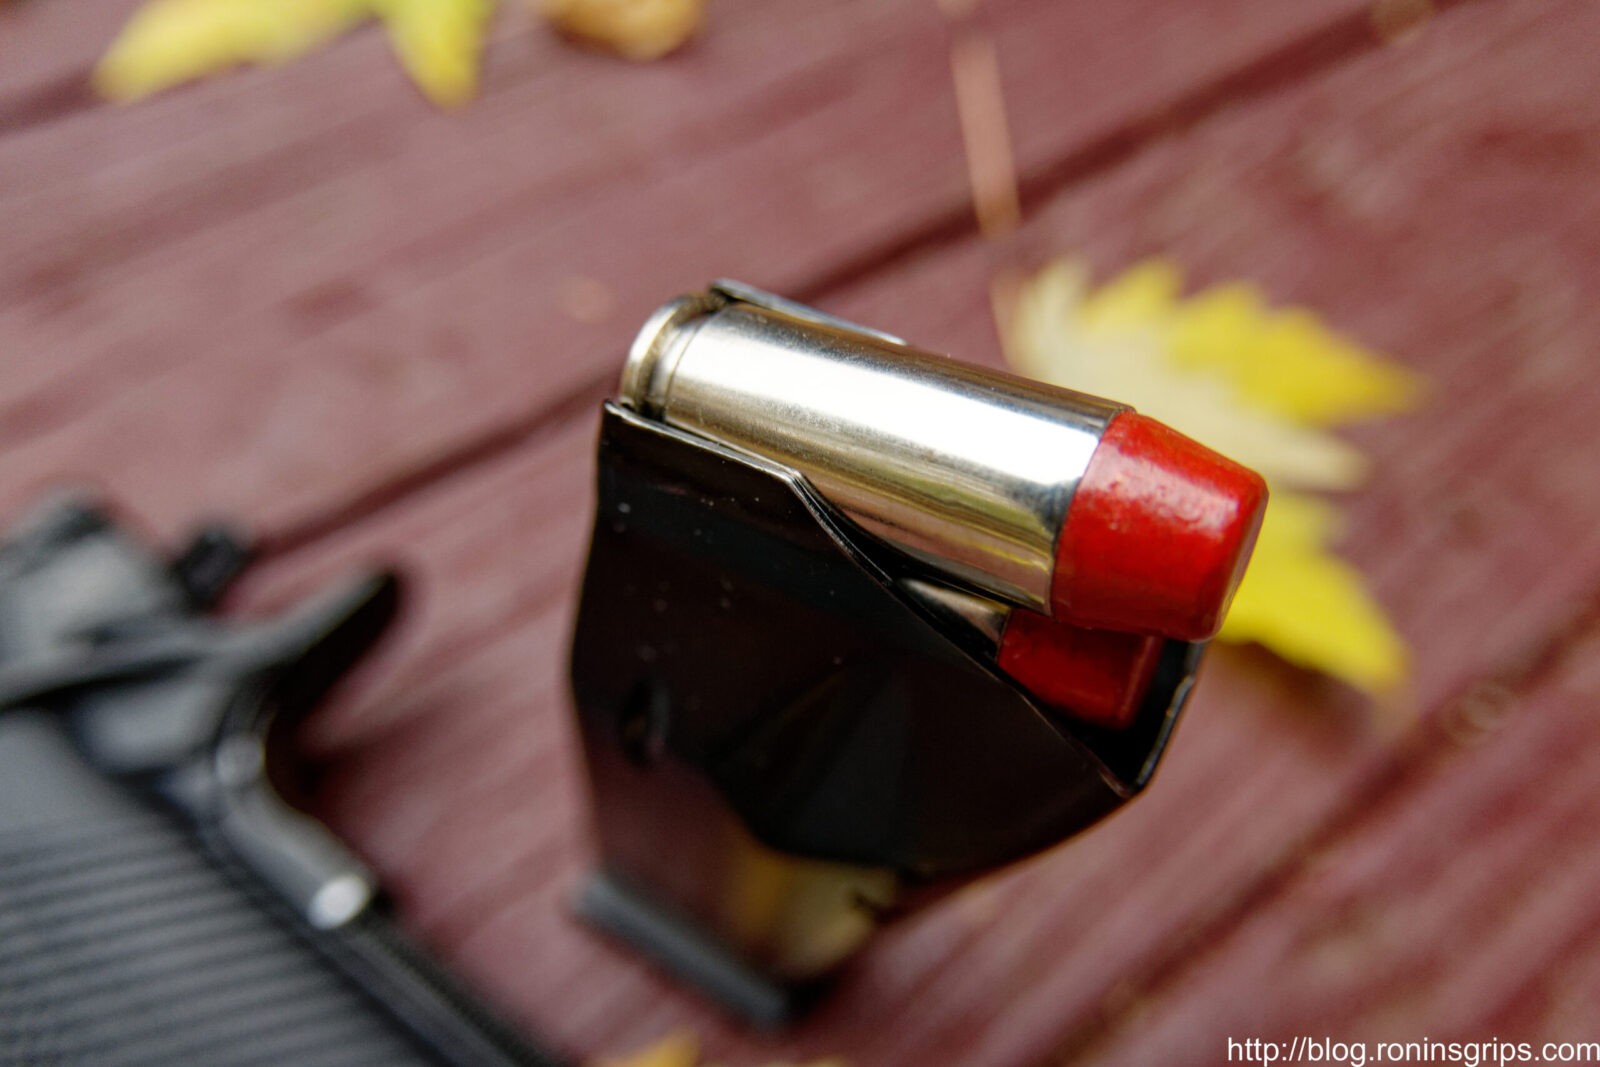
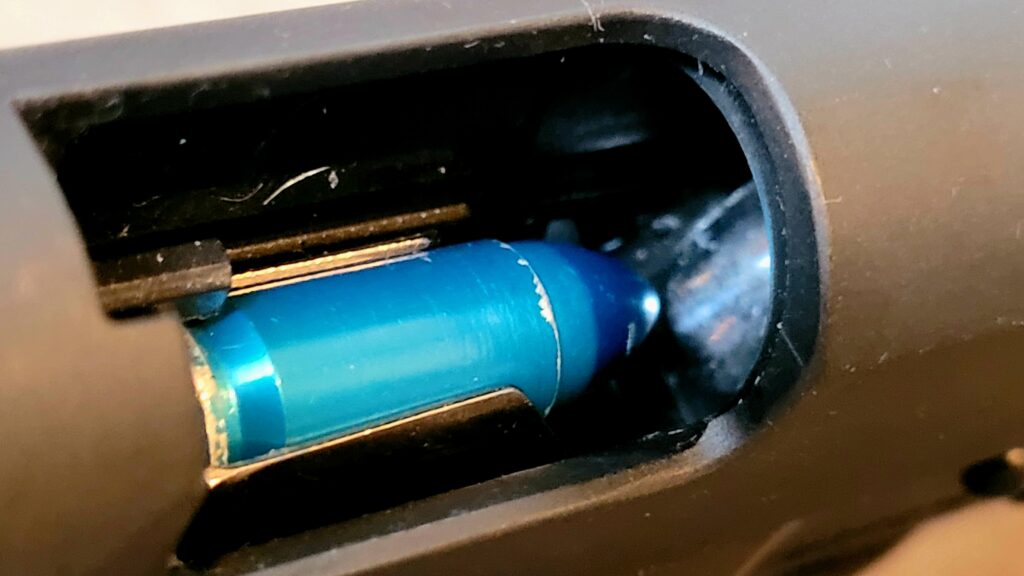
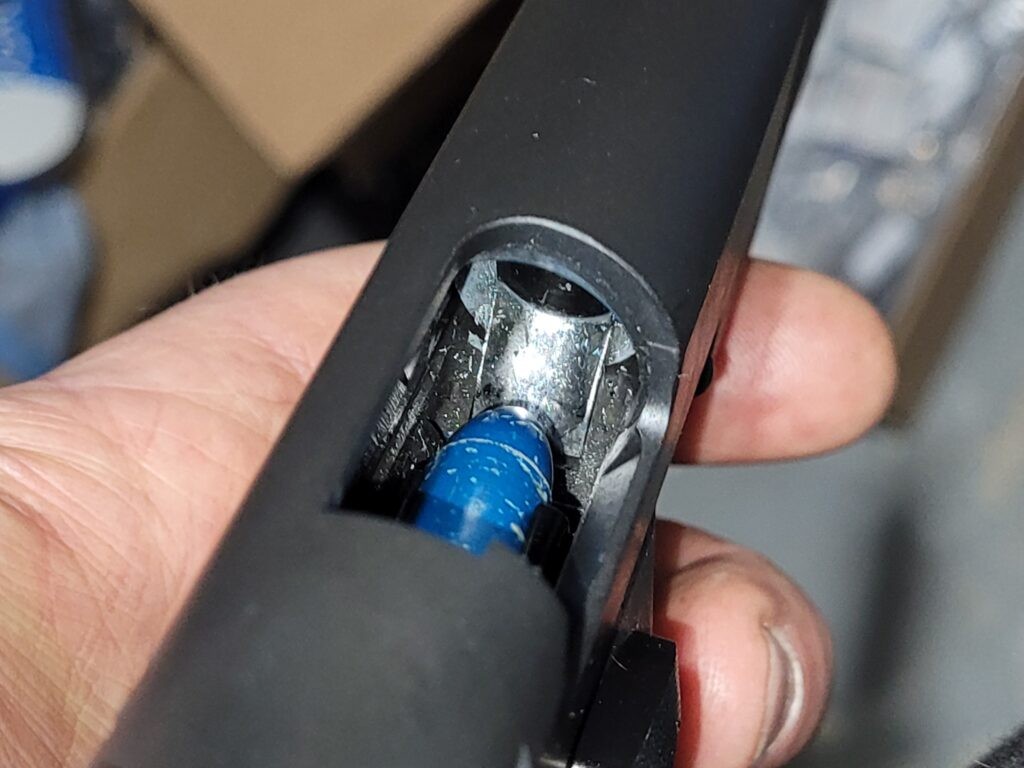
What happens if the front feed lip gap is too wide? You tend to get a Failure to Eject (FTE) or the Slide locks open prematurely
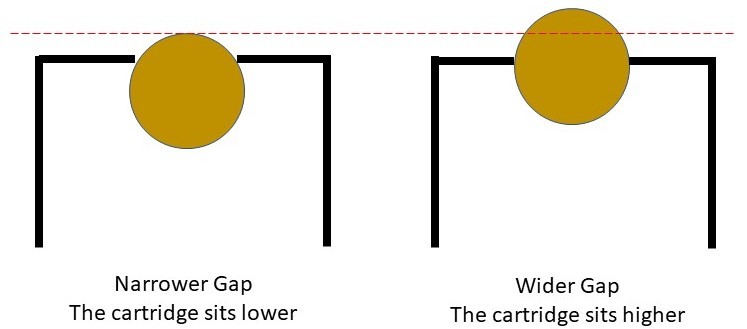
The feed lip gap at the front of the magazine controls where the cartridge is going vertically – the angle towards the chamber. Increase the gap and the front of cartridge rises and decrease it and the angle goes down. But wait, there’s more.
Now here’s the first gotcha: The feed lip gap still controls the rise of the bullet in the front but if it goes too far, the bullet is going to interfere with extraction, pushing the extracted case upwards on the breach face of the slide and out of position to correctly engage the ejector and all of a sudden you have the old case in the slide, a new round trying to feed and you have a jam. If you go for a front feed lips gap of .305-.308″ you will be fine. Depending on your pistol once you get somewhere around .320″, you are going to cause the ejection problem I just mentioned
I’ve spent a lot of time chasing this dimension because you tend to get better feeding the more the bullet is oriented towards the chamber but with the 9mm you have to be mindful of the impacts on the the ejecting cartridge.
By the way, in addition to interfering with ejection, a feed lip gap that is too wide can allow the follower to travel too far upwards and prematurely lock the slide open with one cartridge remaining in the magazine.
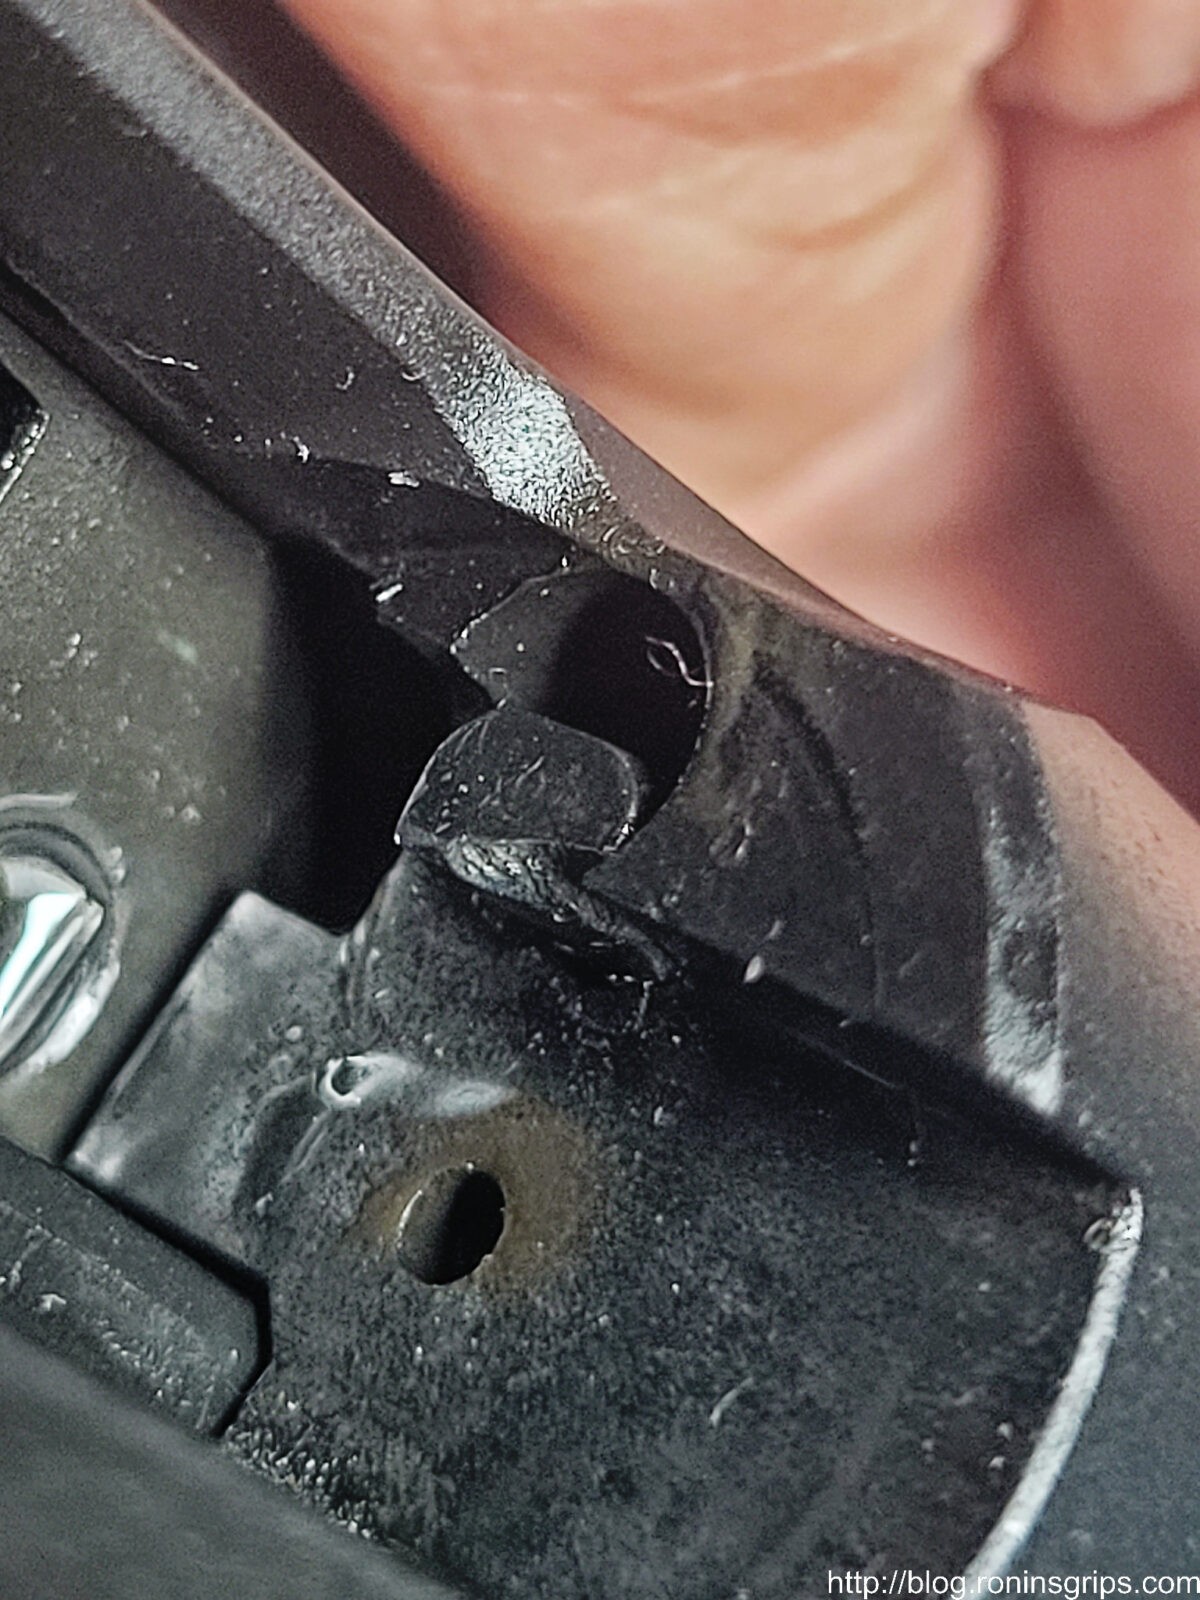
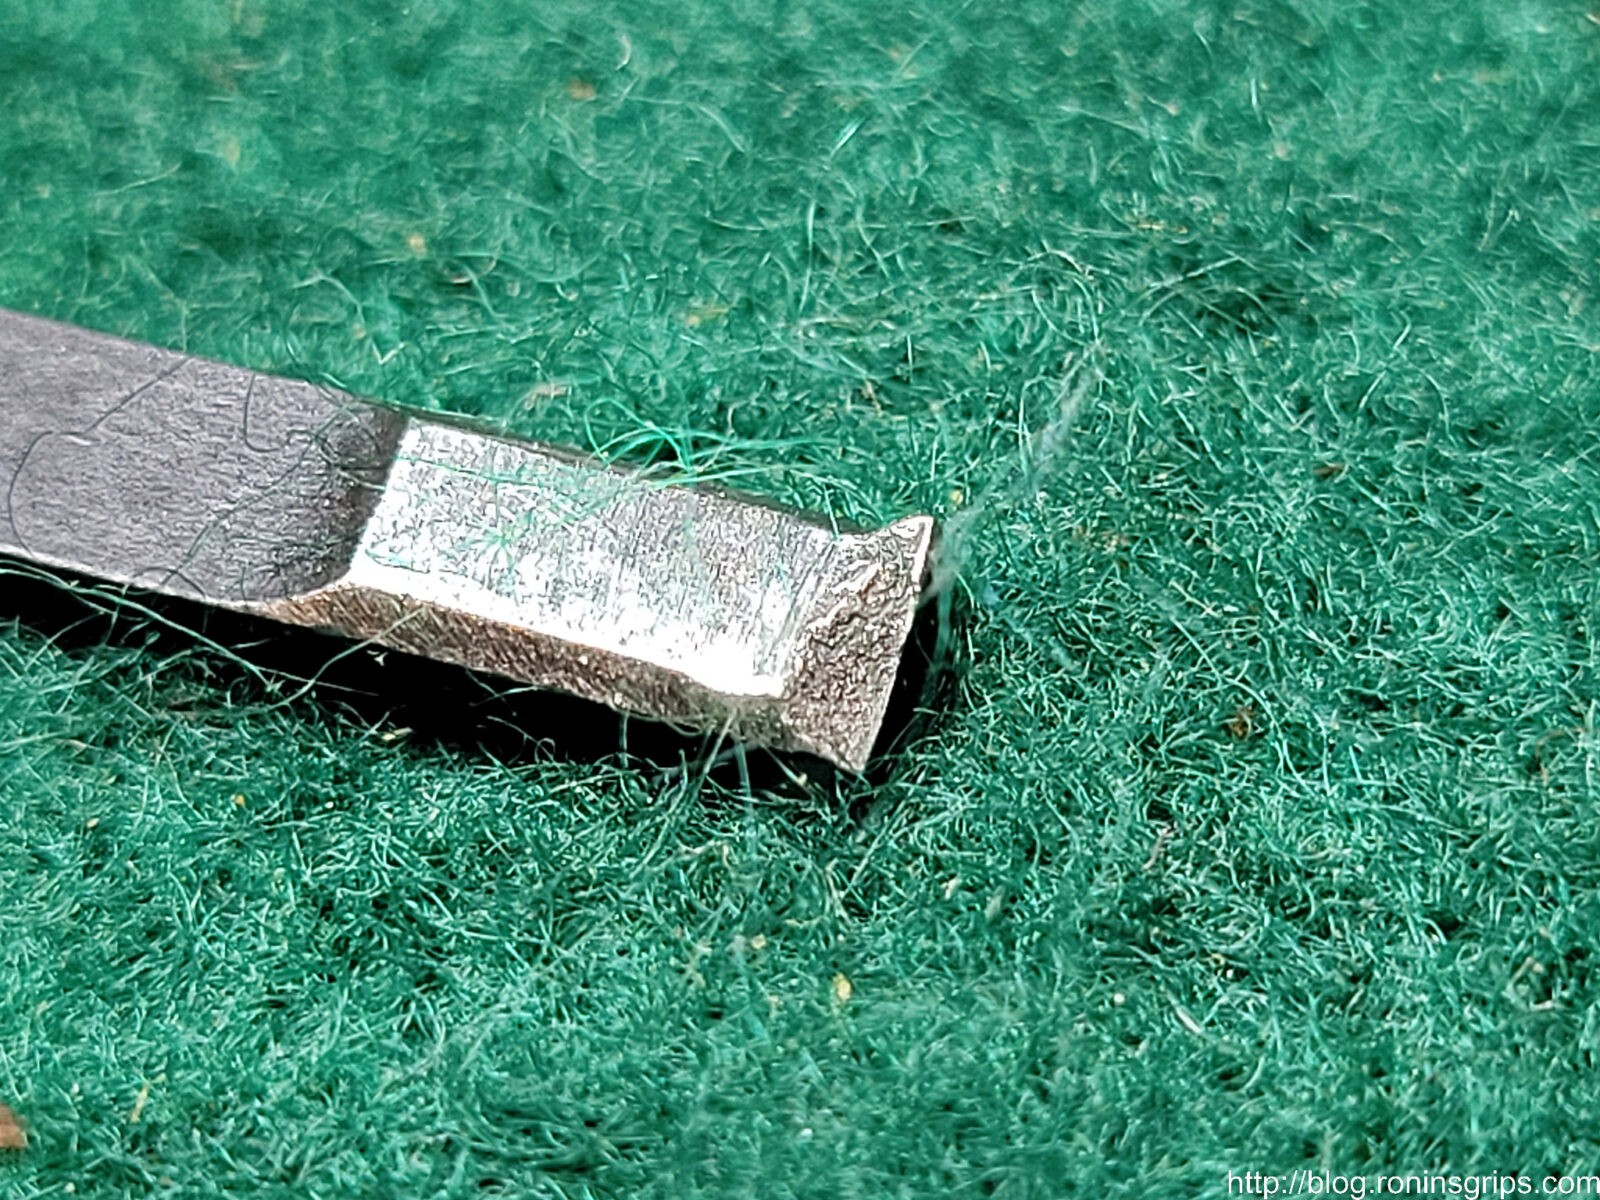
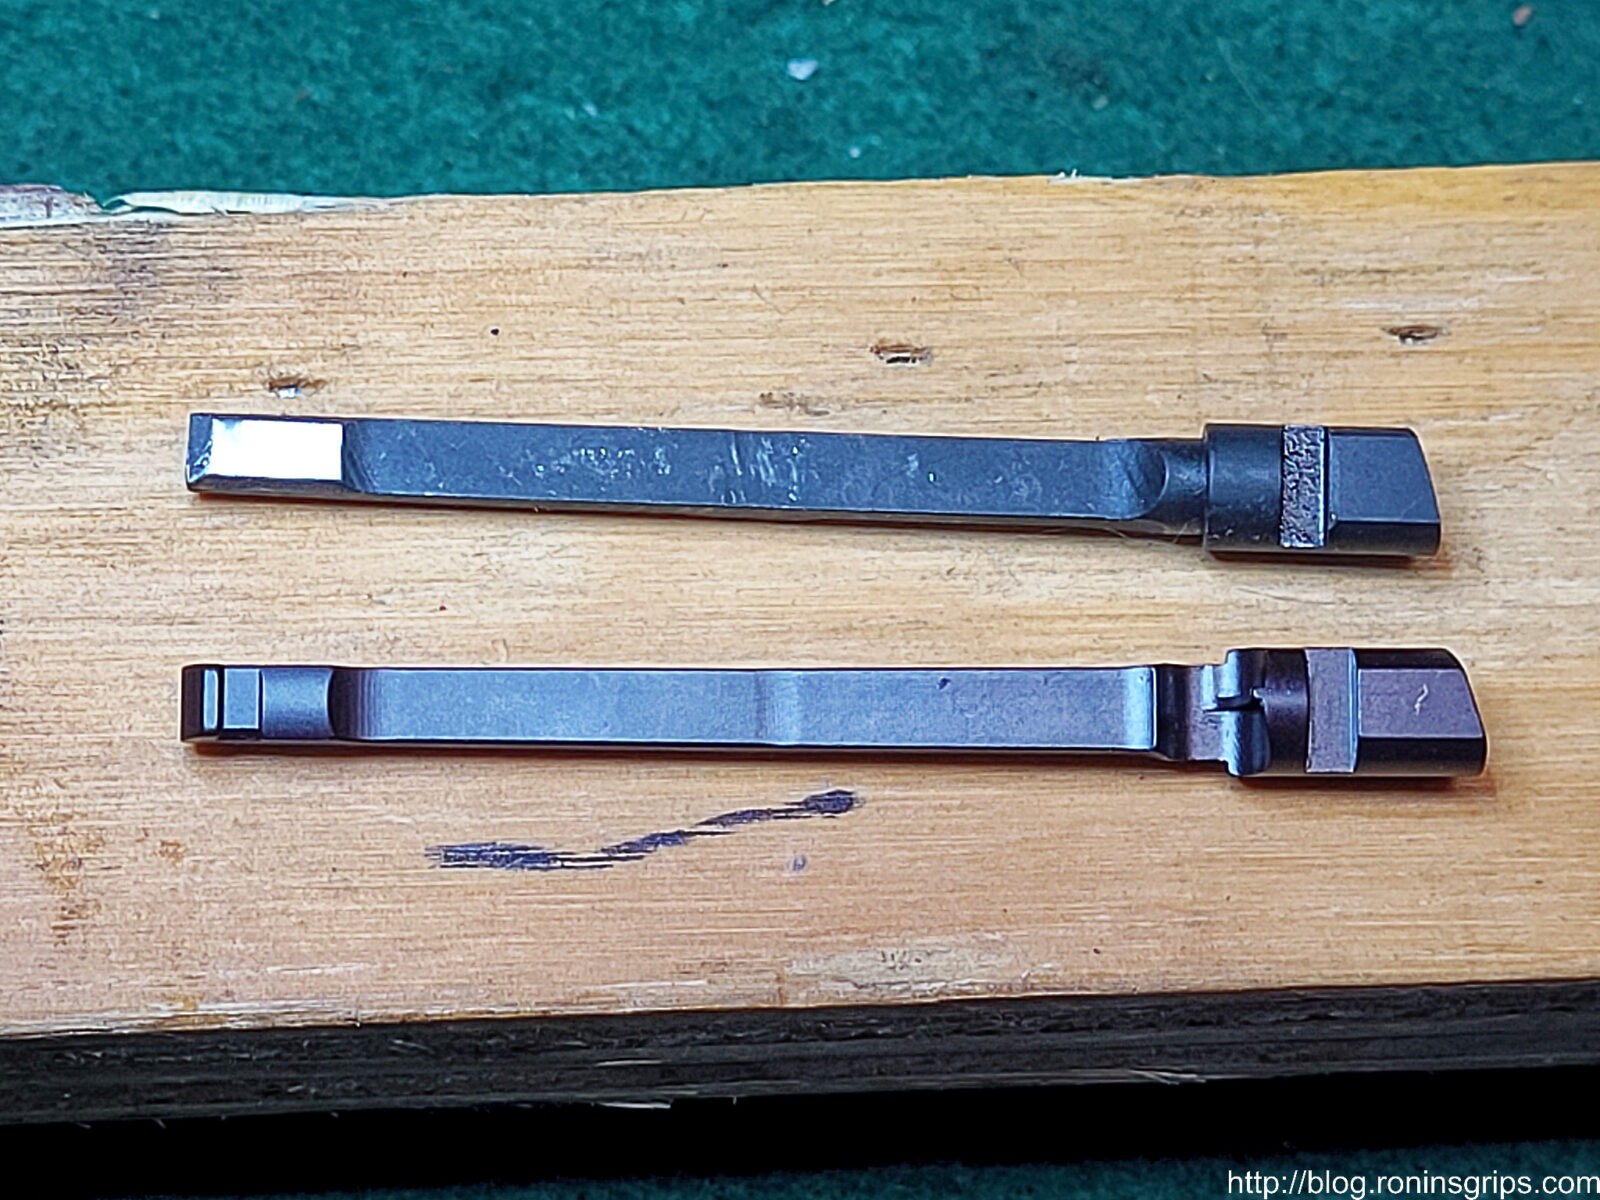
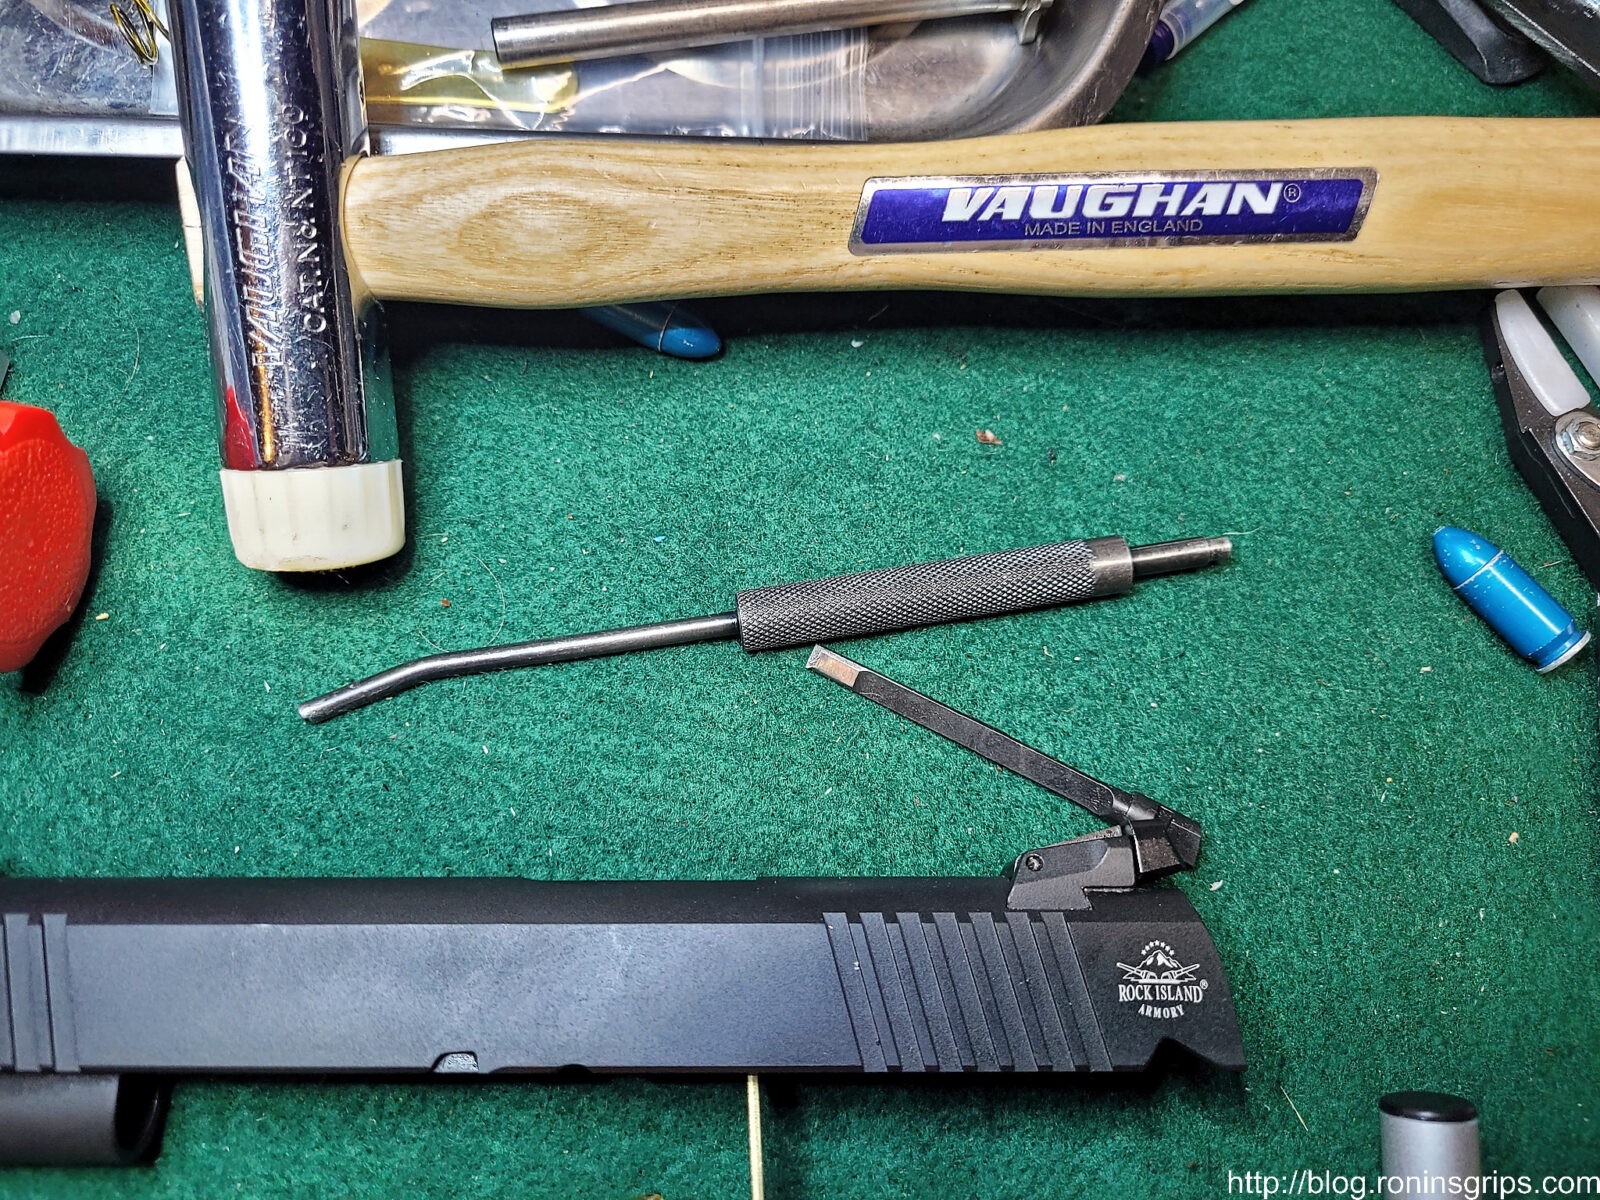
I should point out that the most likely cause of a failure to eject (FTE) is a faulty magazine. The second most likely is a worn or failing extractor. It probably is not the ejector bar.
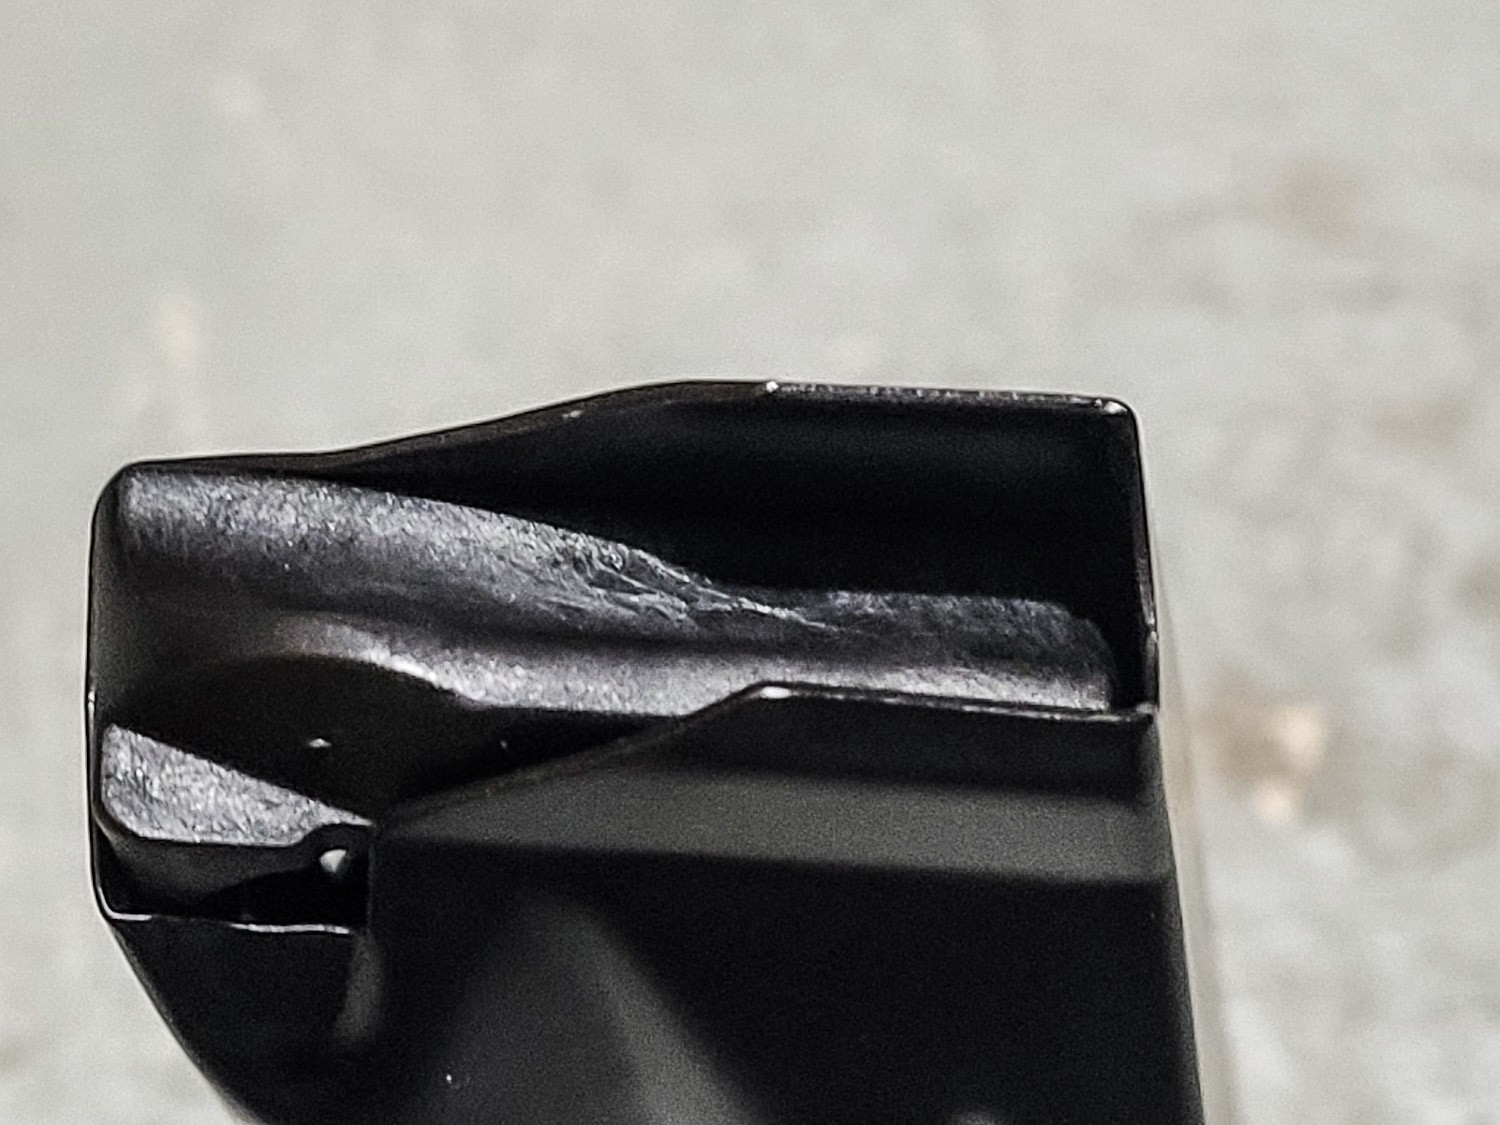
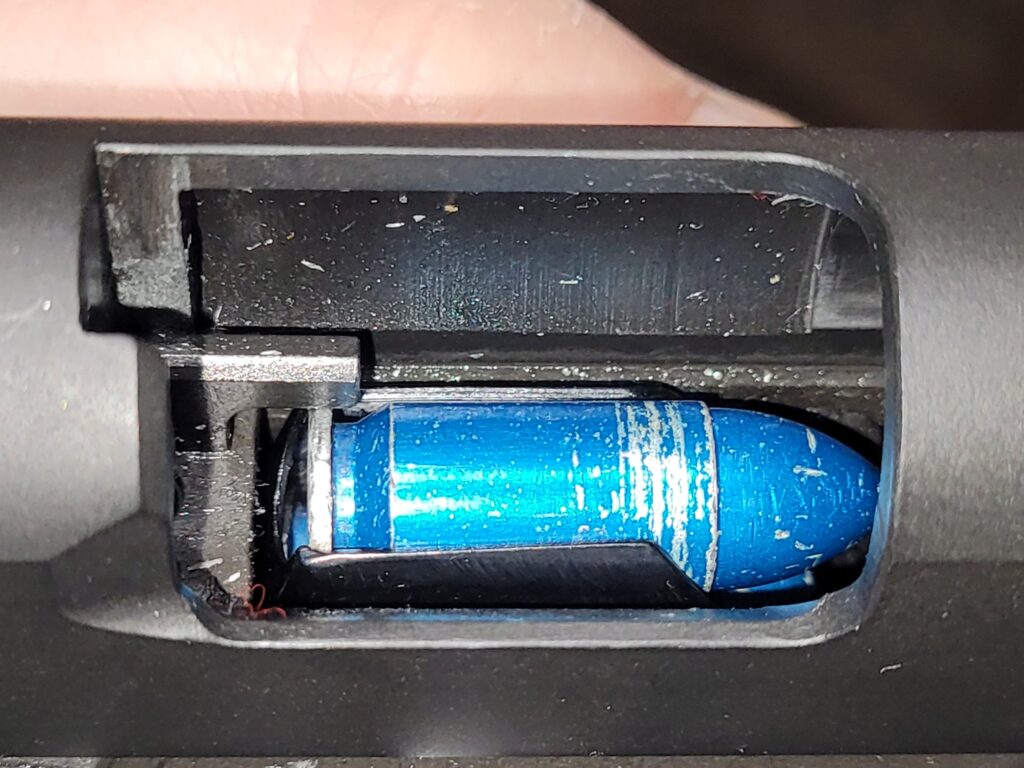
What happens if the front feed lip gap is too narrow? You tend to get a failure to feed (FTF)
If you move the feed lips to close together, the new round that needs to be fed into the chamber comes in at too flat of an angle and smashes straight into the feed ramp. On one hand the 9mm bullet is rounded abruptly but the feed ramp is quite abrupt. I tend to find that somewhere under .302″ this happens but I haven’t done a lot of testing on this dimension because I have been more focused on wanting the cartridge angled up vs. down.
Yeah, the lips have a memory
So the magazines are made of high carbon steel that is heat treated. The feed lip gap falls within a certain tolerance. If it changed either wider or narrower, the lips are going to move back towards their original positing anywhere from .002-.004″ so plan accordingly.
This is where experience matters with the mags you are working with. Once you have your dimensions figured out, you may find you need to bend further than the nominal dimension so when the sheet metal starts to relax it will stop in the range you want.
You may also find that the metal does most of its movement in some number of minutes after you do the initial tune and need to do it one more time. Some guys will wait overnight to do the final tuning. I wait at least 30 minutes.
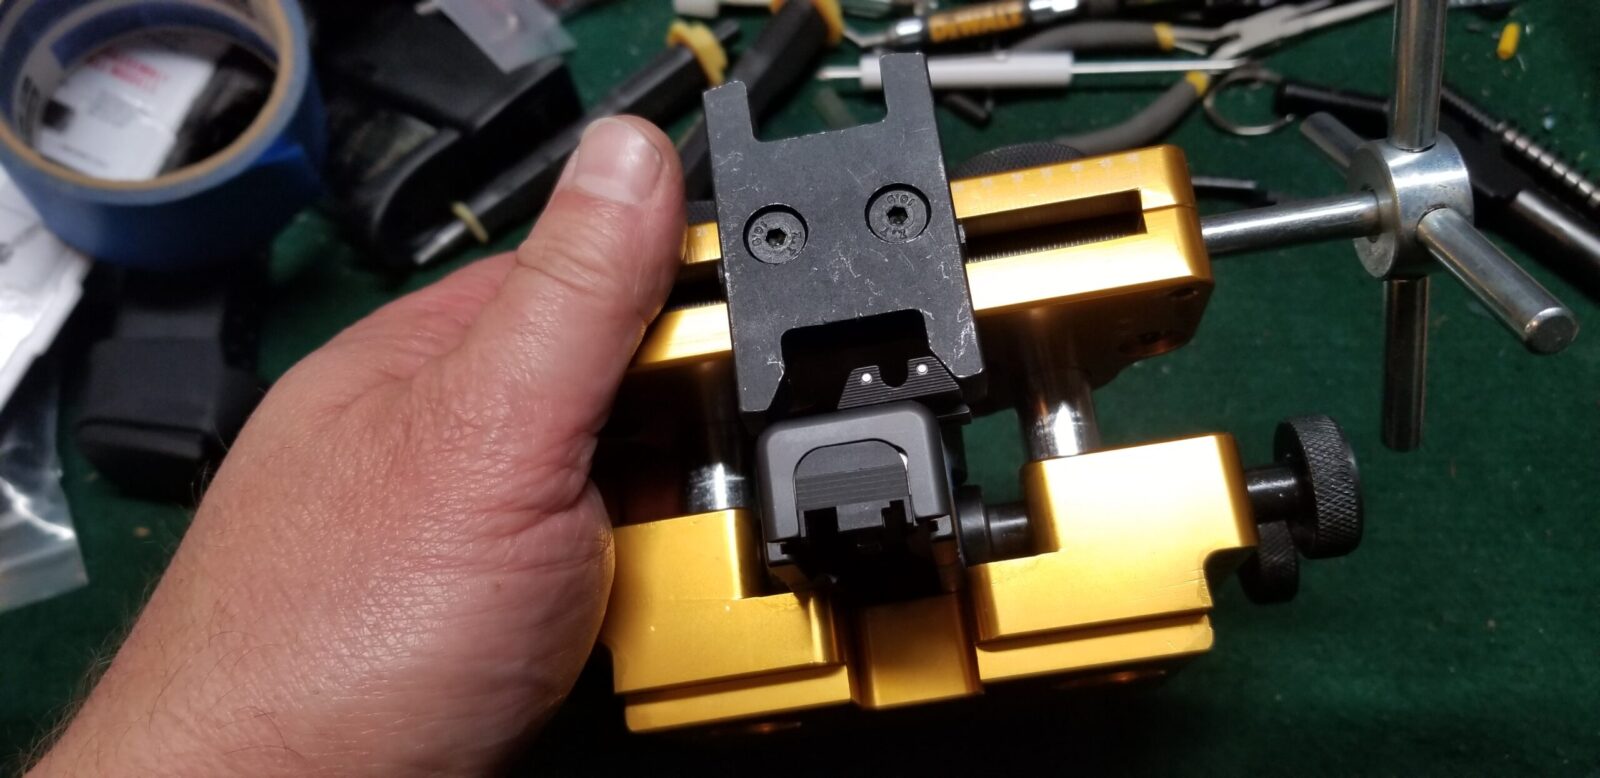
What about left and right bends to the feed lips?
The more you bend the feed lips in one direction too much, the round will point that way and either glance the chamber wall or actually slam into the chamber and stop depending on how off you are. Try and get the cartridge to point into the center of the chamber in terms of left to right.
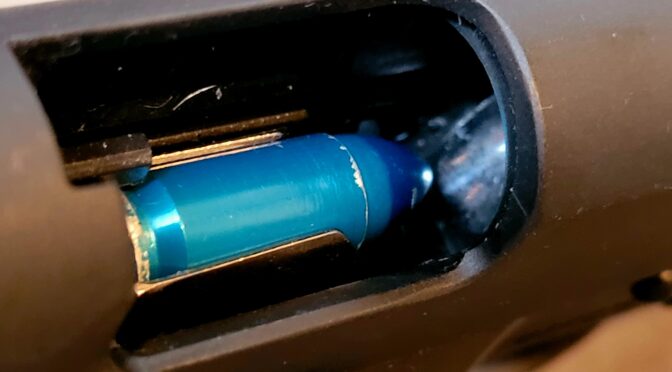
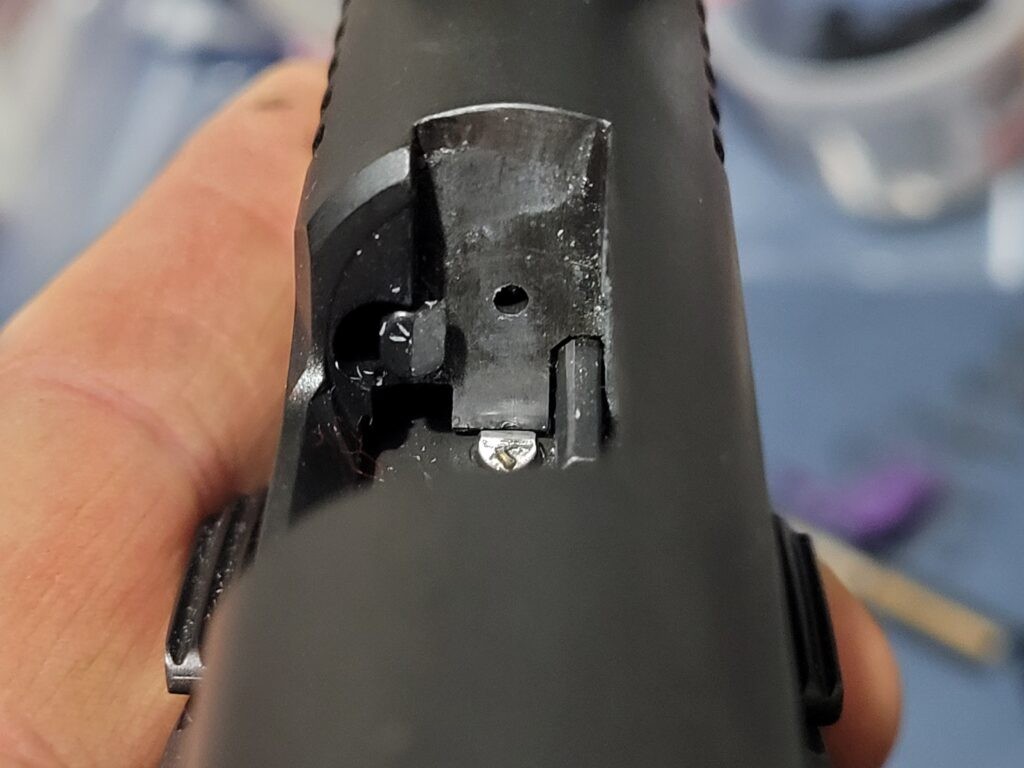
What about the follower?
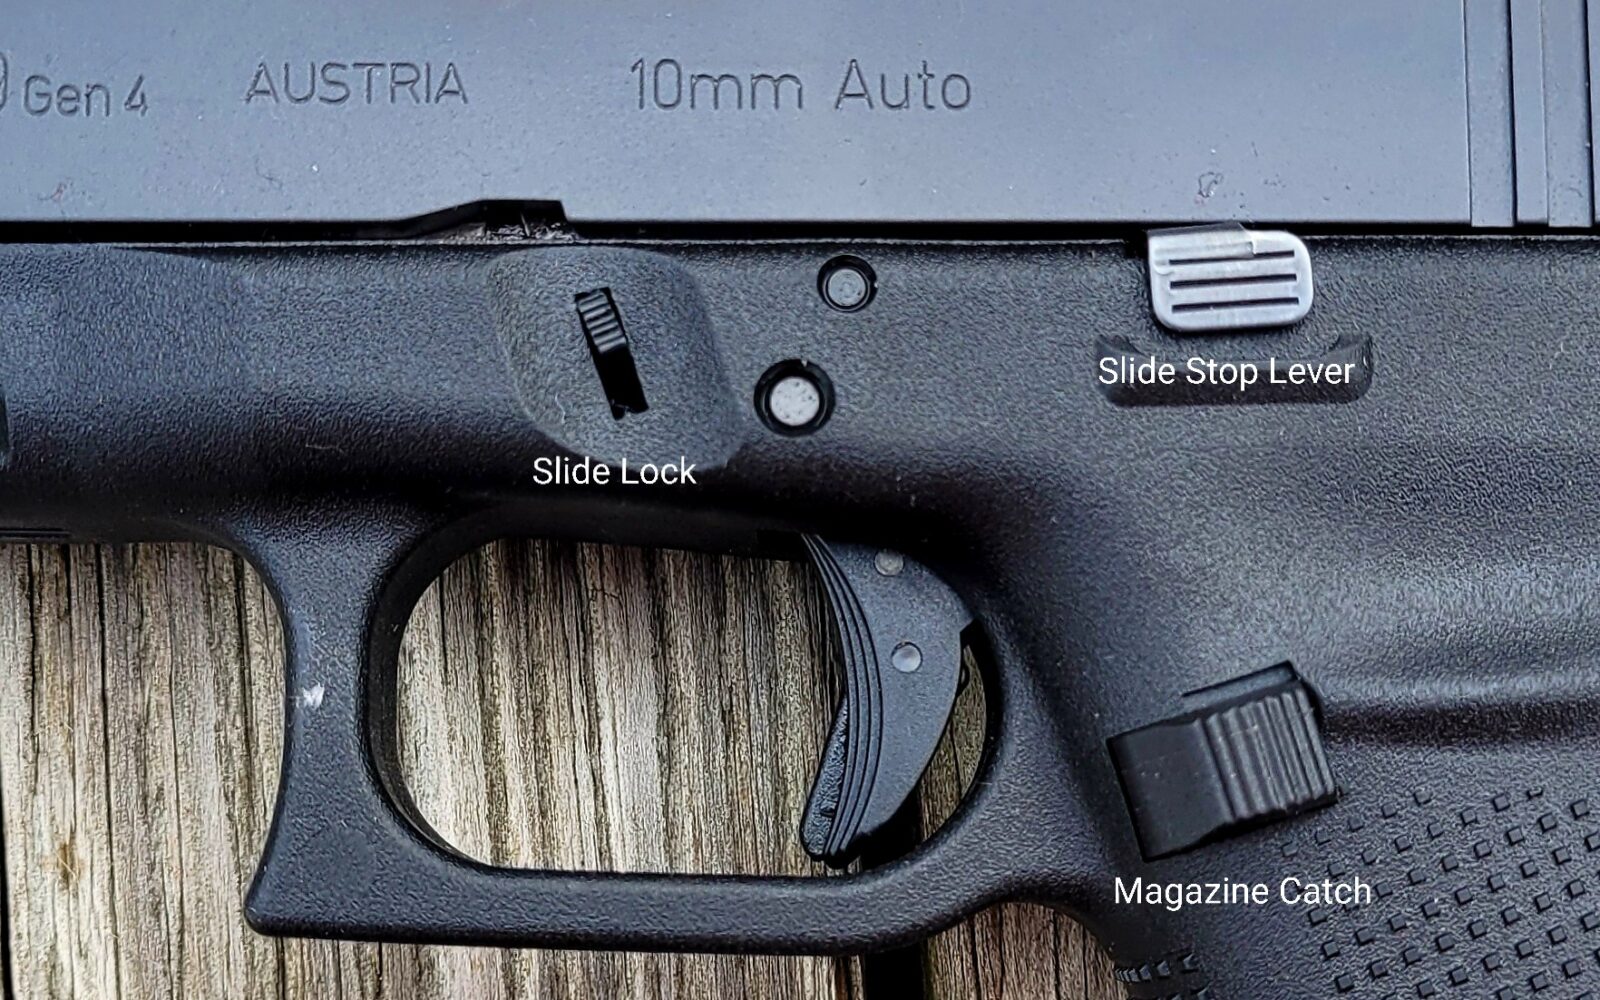
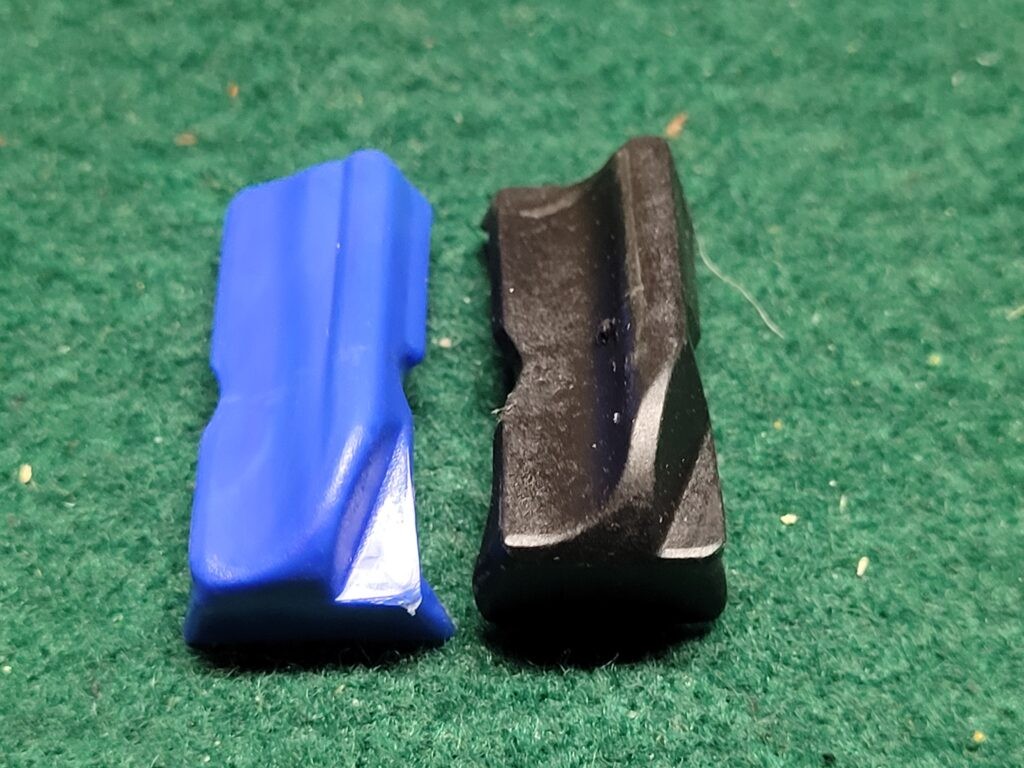
It’s really interesting how important the follower is. On one hand it is pushing the rounds up againt the feed lips properly and on the other, there is a small “shelf” on the front left edge that pushes the slide stop lever up and locks the slide open on empty (unless you are using competition followers such as the Arredondos that purposefully do not lock the slide open).
The walls at the top of the 9mm mag really need to taper inward to properly channel the staggered round into the single exit position at the top. The follower’s sides need to be appropriately tapered and rounded as well less they drag on the walls. The original Mec-Gar followers have significant drag that you can feel when loading the mgazine so revising them made the most sense.
By the way, to make life more colorful, when you install the follower the spring tension will spread the feed lips wider by about 0.002-0.004″.
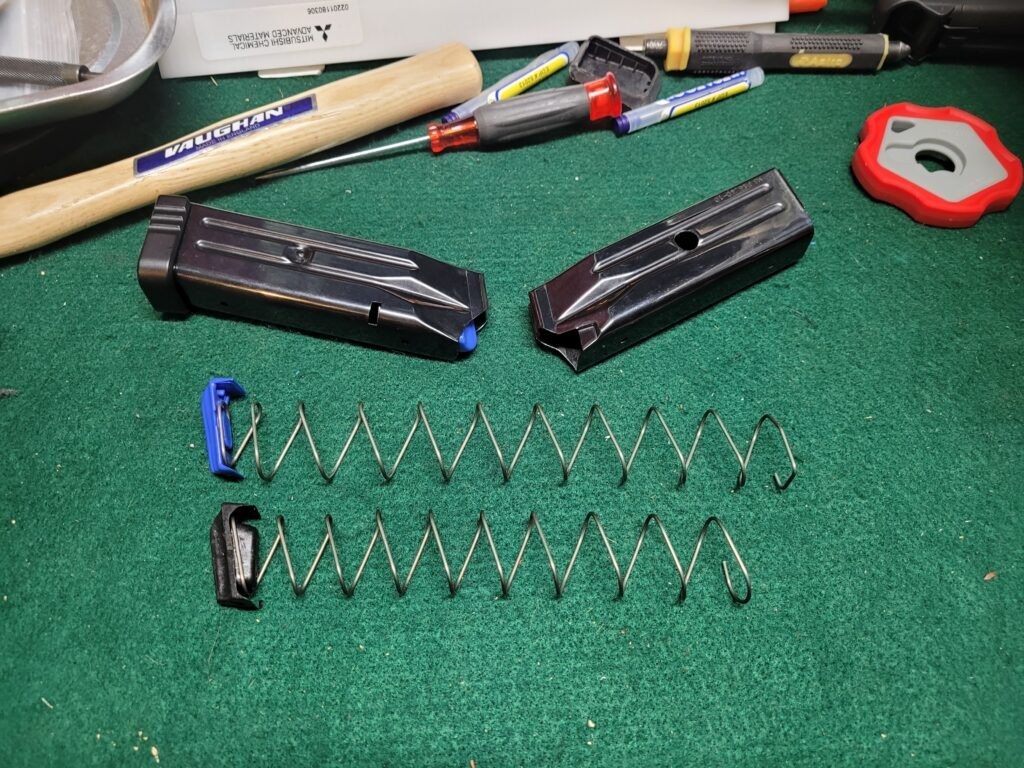
How about the spring?
The Mec-Gar springs are okay. How much spring is enough or to little really depends on how well it can keep constant upwards pressure on the follower to move the rounds up fast enough and keep them in position. With the drag on the follower reduced, the spring can do its job.
There is an exception though – if you add a magazine extension or base plate that adds capacity, the spring really ought to be longer so get a Wolff or Arredondo spring that can supply the pressure over a longer distance.
Yes, springs can and do wear our so if you feel the follower is being pushed up sufficiently or is sluggish *and* the walls do not appear bent then you probably need a new spring.
What about lubricant?
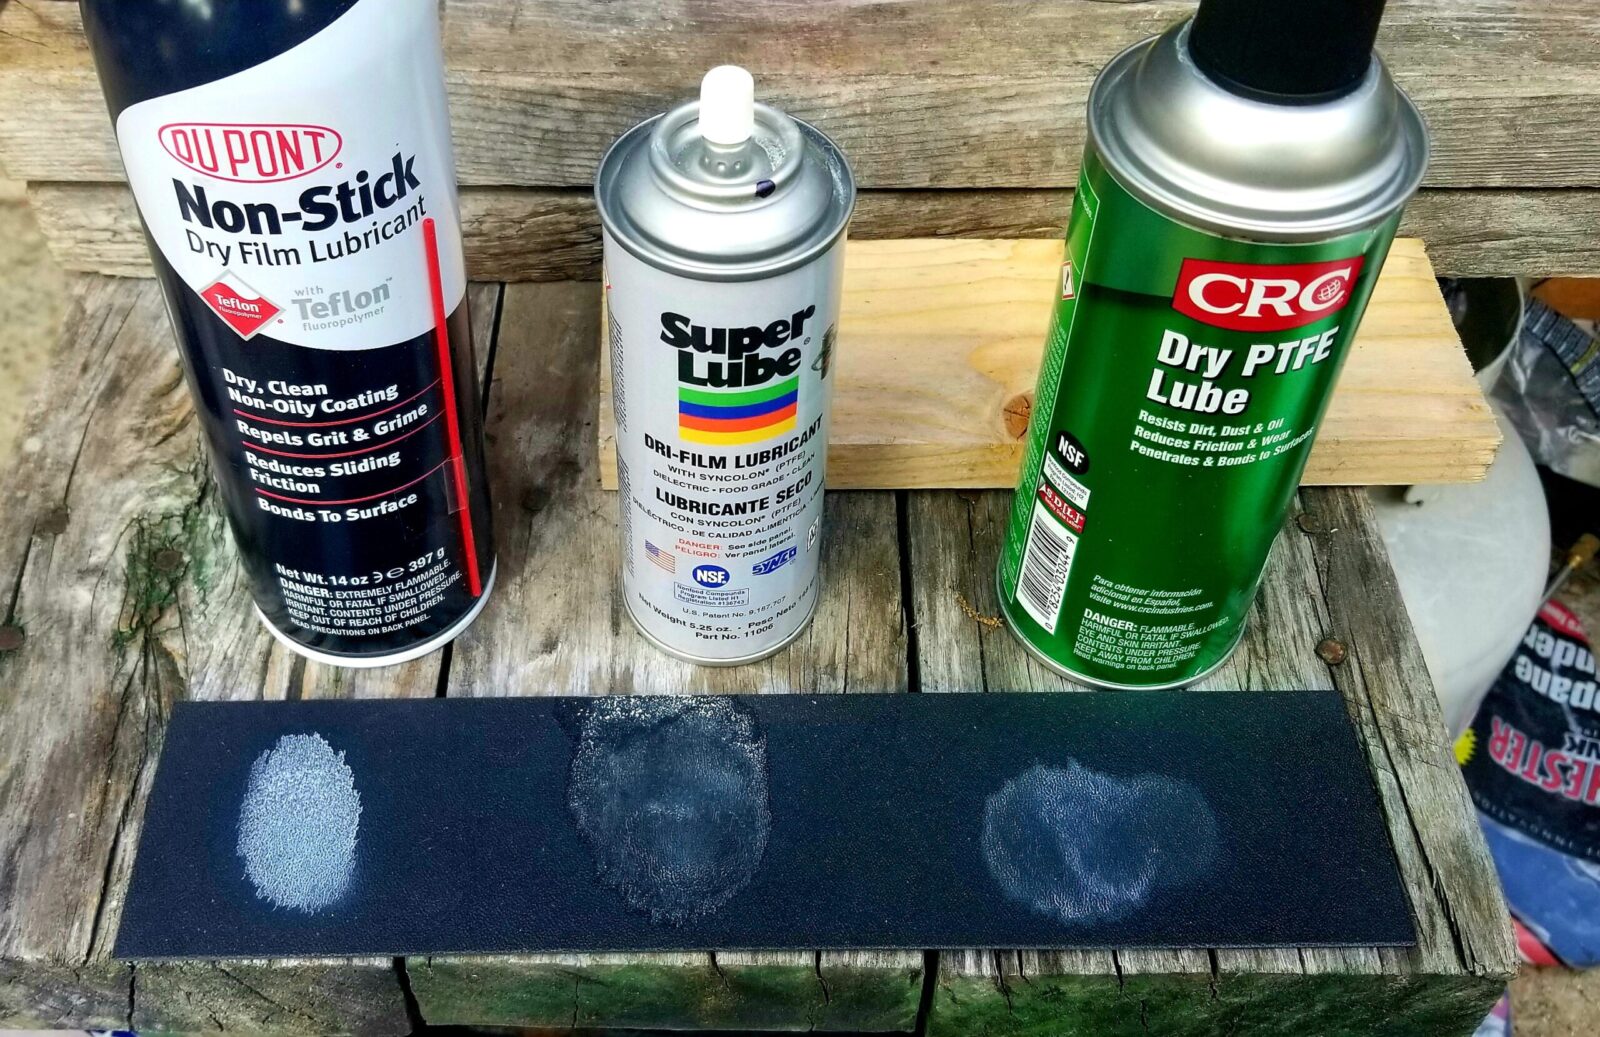
Mec-Gar mags come with some lubricant all over the insides of the mags, follower, spring, floor plate and base plate. On one hand it protects against corrosion but on the other it can attract dirt.
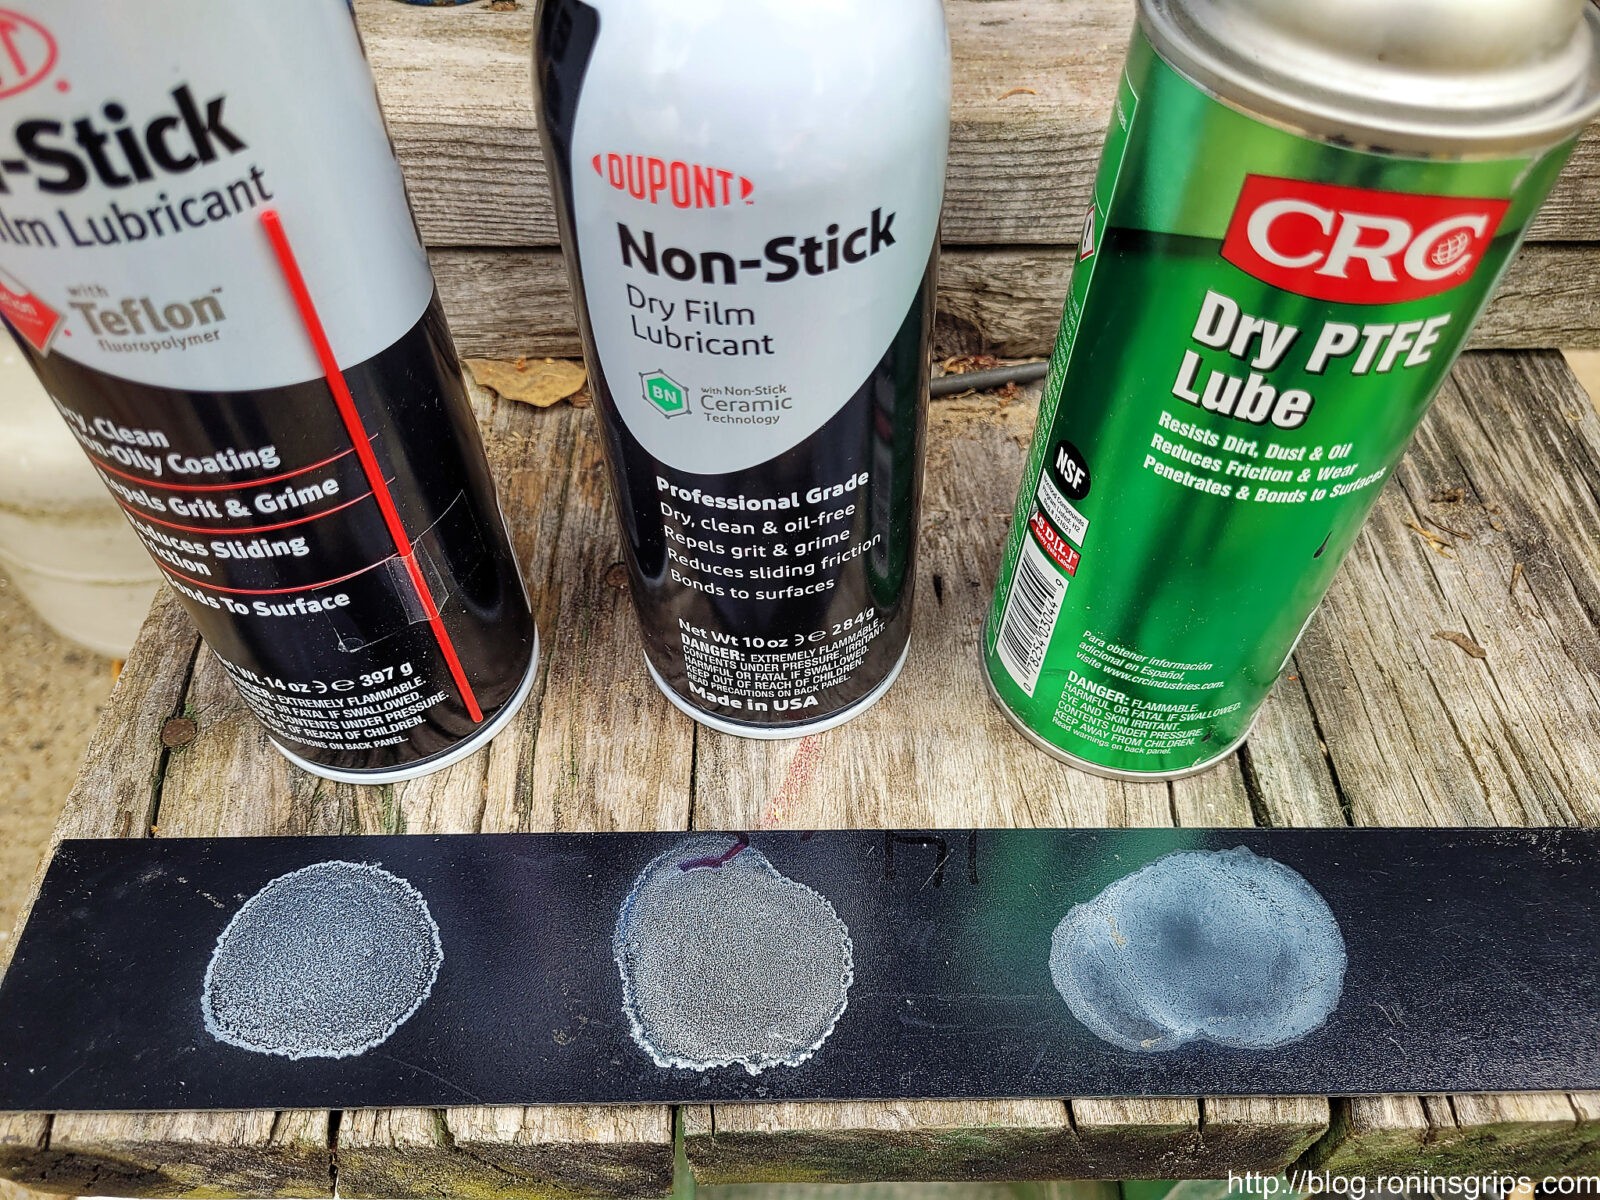
I would recommend that you use a good dry lubricant film. I used to use Dupont’s Teflon dry lubricant film spray but they discontinued it over environmental and health concerns about Teflon. The company is now producing a dry film using a ceramic technology that I really like and find it does a remarkable job at lubricating magazines.
If you are in a marine environment and you need the corrosion protection the use the oil of your choice – you need to worry about rust, I get it. For me, the Dupont Dry Film Lube aerosol spray does a great job. The new followers and the inside of the magazine tubes coated with this enables remarkably smooth movement of the follower.
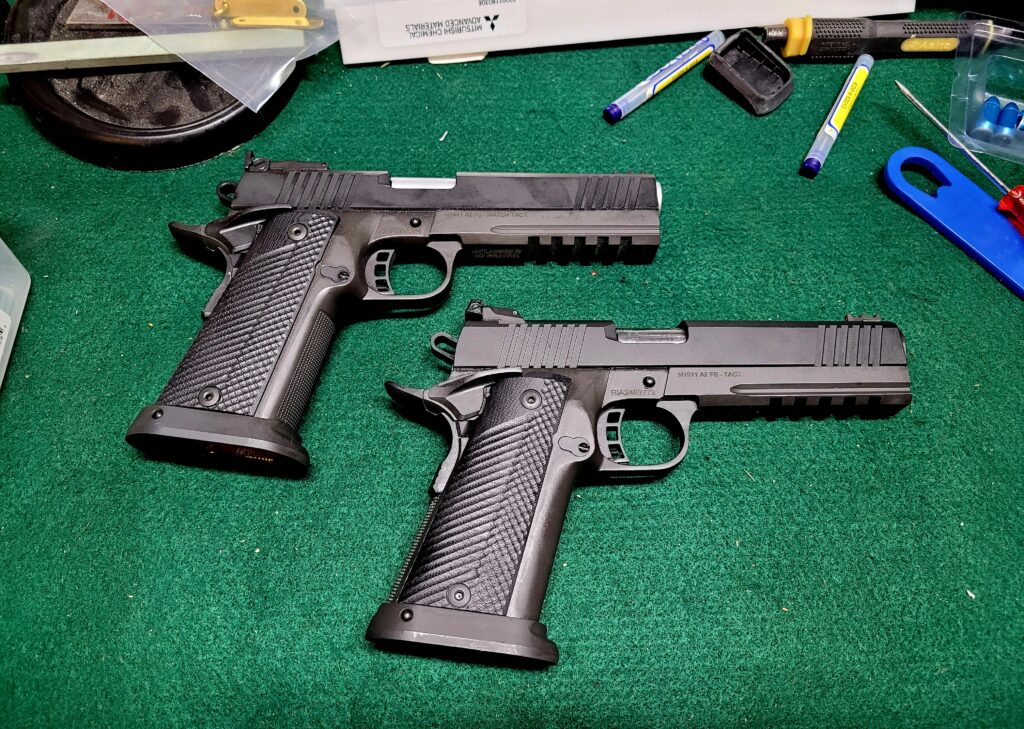
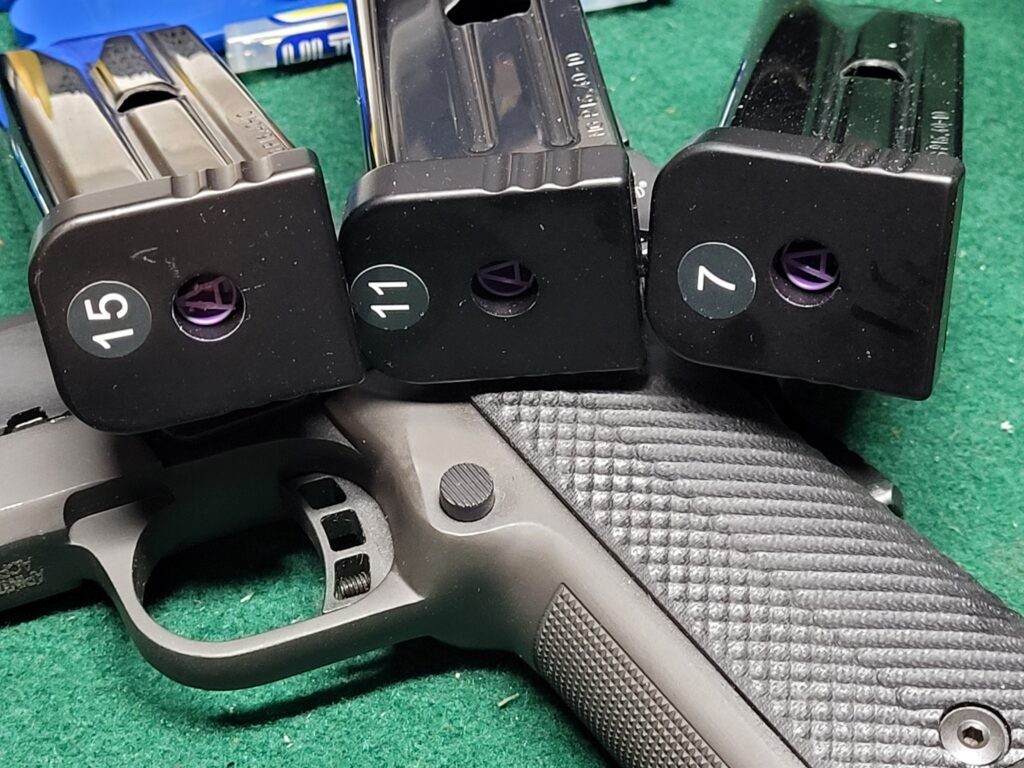
Number your magazines
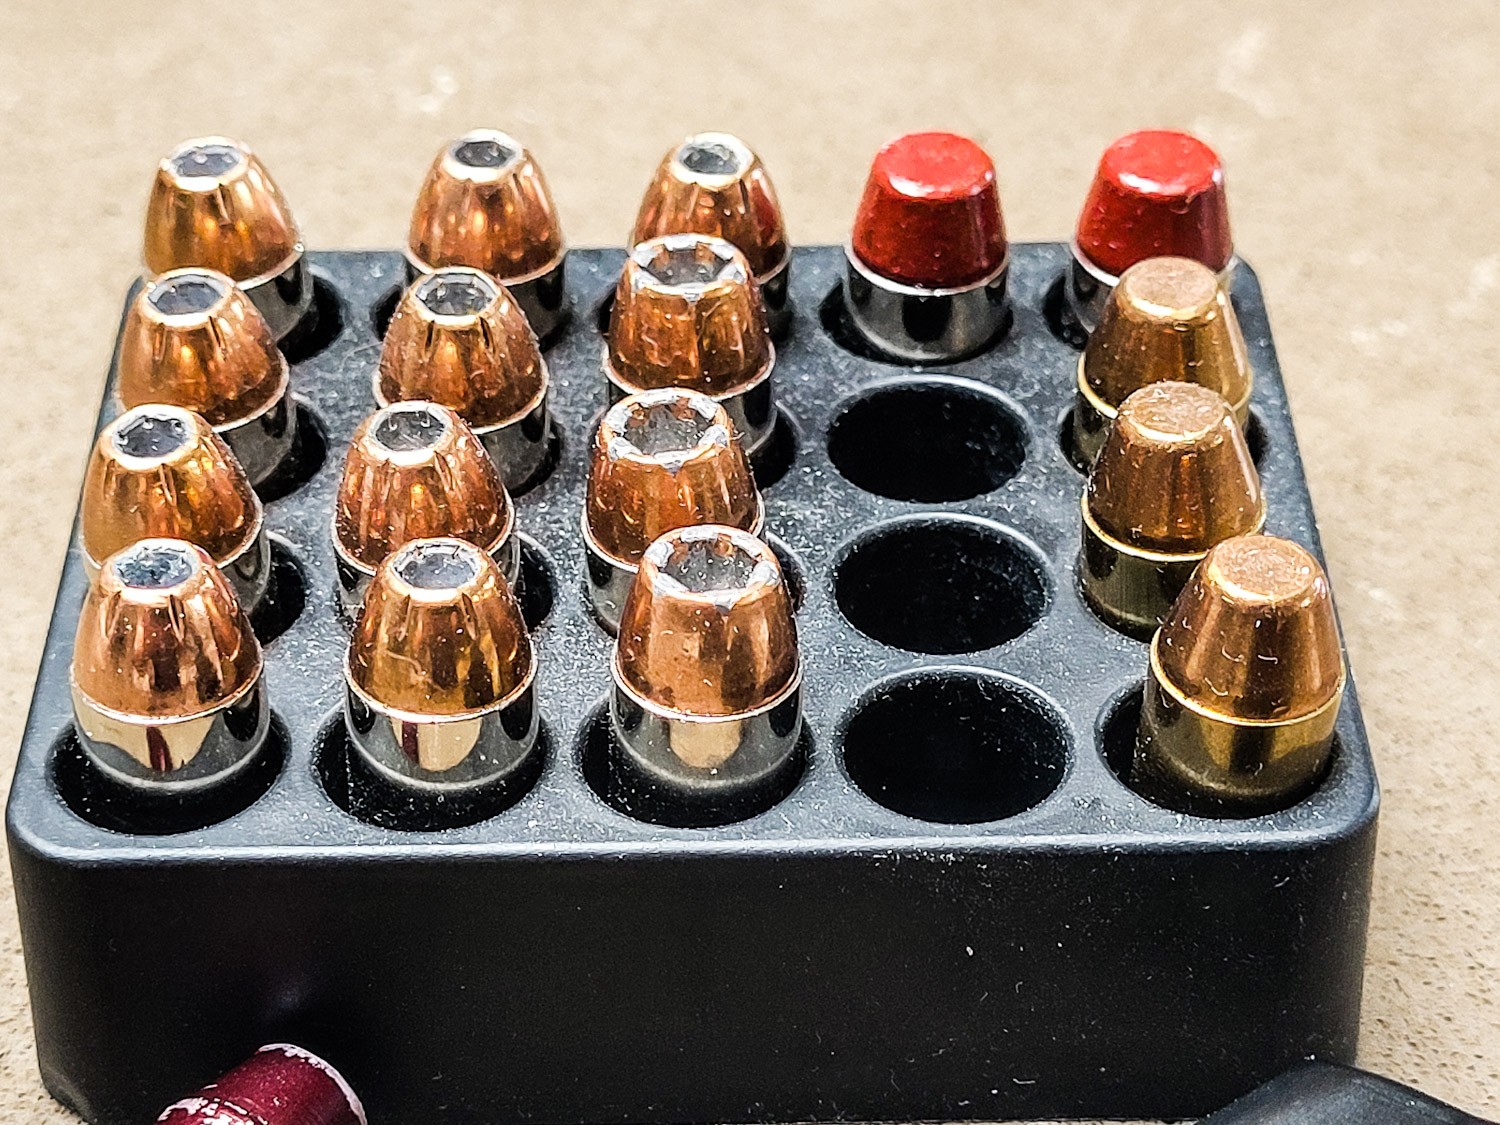
A tip you really ought to consider is to number your magazines so you can keep track of them. I like stickers because you can readily remove them if you put a baseplate on a different magazine tube but there are plenty of guys who use a permanent marker or etcher to uniquely identify each magazine.
The benefit of doing this is that when you are at the range if you find that some magazine is having problems, you can write down or take a photo of the number and know what you need to work on. Face it, if you have a bunch of mags and they all look pretty similar it can be hard to keep track of them otherwise.
We do sell the stickers if you are interested – click here.
I’m still learning
I don’t claim to know everything – let me right up front about that. I now know what people mean whey they say “The more I learn, the less I know”. In other words, as I learn more I am increasingly aware that there is a ton of stuff I don’t know.
Hopefully this gives you some insight about why one magazine will work great but then another one doesn’t. The above are things to consider.
My reason for writing this is to give you some idea of what we’ve learned and are building into each 9mm magazine that you buy from us – we aren’t just relabeling mags and selling them at a heck of a mark up.
What are are doing is ensuring the dimesions, doing the necessary modifications and testing teach magazine in one of our 9mm RIA pistols to ensure you get a reliable mag. If you have problems with a magazine from us, we will definitely make it right.
If you’d like to see our magazines, click here to go to our store.
| We do have a new post about how to load our v2 9mm magazines to get reliable feeding. Click here for it. |
Note, I have to buy all of my parts – nothing here was paid for by sponsors, etc. I do make a small amount if you click on an ad and buy something but that is it. You’re getting my real opinion on stuff.
Please share the link on Facebook, Forums, with colleagues, etc. Your support is much appreciated and if you have any feedback, please email us in**@*********ps.com. If you’d like to request a report or order a reprint, please click here for the corresponding page to open in new tab.