1. Executive Summary
The 2026 Shooting, Hunting, and Outdoor Trade (SHOT) Show will likely be cataloged by small arms historians not merely as another annual exhibition, but as the distinct inflection point where the double-stack 1911—colloquially and historically identified as the “2011”—transcended its heritage as a niche competition instrument to secure its position as the dominant paradigm for future duty and defensive handgun development. For nearly three decades, the 2011 platform was sequestered within the high-maintenance, high-cost “race gun” circuit, typically viewed by law enforcement and military procurers as too finicky for field use and too expensive for departmental budgets. SHOT Show 2026 dismantled that stereotype with prejudiced extreme.
This year’s exhibition floor in Las Vegas did not simply showcase a collection of new product codes; it revealed a fundamental, structural restructuring of the global handgun market. Major manufacturers who have spent the last fifteen years optimizing polymer-framed, striker-fired architectures have effectively capitulated to the market’s resurgent demand for the mechanical superiority of the single-action trigger and the modularity inherent to the 2011 platform. The entry of SIG Sauer with the P211 line and the radical strategic pivot of Staccato toward Glock-magazine compatibility with the HD C4X signals a homogenization of logistics and manual of arms that law enforcement agencies and armed professionals have been requesting for years.
The analysis that follows details the top 20 double-stack 1911 pistols of SHOT Show 2026. However, beyond the individual specifications of these firearms, three macro-trends define this year’s cohort and serve as the thematic backbone of this report:
The Logistics Convergence
The most significant historical barrier to 2011 adoption—proprietary, expensive, and notoriously unreliable magazines—has been shattered. The industry has effectively admitted that the legacy STI/2011 magazine geometry, while effective for 170mm competition tubes, is suboptimal for duty use. With Staccato, Oracle Arms, and Stealth Arms embracing Glock and P320 magazine patterns, the “magazine tax” of the 2011 platform has effectively been repealed. We are witnessing the bifurcation of the market into “Legacy” (STI pattern) and “Modern Logistics” (Glock/Sig pattern) ecosystems.
The Democratization of Compensation
Integral compensation has migrated from a $500–$1,000 custom gunsmithing option to a factory standard. The proliferation of “chunk port” and integral compensator designs from Springfield Armory, MAC, Girsan, and Sig Sauer indicates that recoil management is now considered a baseline safety and performance feature, rather than a luxury for the open class competitor. The physics of the 9mm cartridge are being optimized through hardware solutions that are now mass-producible.
The Evaporation of the Middle Class
The market is experiencing a “hollowing out” of the mid-tier price bracket. We are seeing a distinct split between sub-$1,200 entry-level duty options (Girsan, MAC, Tisas, Live Free Armory) and ultra-premium, $4,000+ precision instruments (Jacob Grey, Cabot, Phoenix Trinity, Vudoo). The fight for the $1,500–$2,500 “enthusiast” bracket has become the fiercest battleground, dominated by Springfield, Kimber, and the new Sig Sauer offerings, forcing legacy custom shops to push further upmarket to justify their pricing.
Summary Data Table: Top 20 Models of 2026
| Rank | Model | Manufacturer | Caliber | Magazine Pattern | MSRP (Est.) | Category |
| 1 | P211-GTO Series | Sig Sauer | 9mm | Sig P320 (Steel) | $1,800 – $2,399 | Disruptor |
| 2 | HD C4X | Staccato | 9mm | Glock | $3,499 | Disruptor |
| 3 | Platypus | Stealth Arms | 9mm/10mm/.45 | Glock | $1,400+ | Disruptor |
| 4 | OA 2311 Compact Pro Elite | Oracle Arms | 9mm | Sig P320 | $2,349 | Disruptor |
| 5 | H2 | Phoenix Trinity | 9mm | Proprietary/Legacy | $6,899 | Disruptor |
| 6 | 1911 DS Prodigy Comp | Springfield Armory | 9mm | Legacy (2011) | $1,500 | Duty Standard |
| 7 | 1911 DS Warrior | Kimber | 9mm/10mm | Legacy (2011) | $1,299 | Duty Standard |
| 8 | Apache Commander | Watchtower Defense | 9mm | Legacy (2011) | ~$3,000 | Duty Standard |
| 9 | Priest (SDC Heavy) | Vudoo Gun Works | 9mm | Legacy (2011) | $3,795 | Duty Standard |
| 10 | SAS II (Link Trigger) | Bul Armory | 9mm | Proprietary | $1,750 | Duty Standard |
| 11 | Witness 2311 CMXX | EAA / Girsan | 9mm/10mm/.45 | Legacy (2011) | $999 | Value Class |
| 12 | MAC 9 DS Comp | Military Armament Corp | 9mm | Legacy (2011) | <$1,000 | Value Class |
| 13 | 1911 DS Carry | Tisas | 9mm | Legacy (2011) | ~$750 | Value Class |
| 14 | Apollo 11 Compact | Live Free Armory | 9mm | Legacy (2011) | $999 | Value Class |
| 15 | Romulus | Alpha Foxtrot | 10mm/.45 | Legacy (2011) | $1,370 | Value Class |
| 16 | Hex Pro | Jacob Grey | 9mm | Legacy (2011) | $4,800 | Executive Tier |
| 17 | Apocalypse 2.0 | Cabot Guns | 9mm/.45 | Legacy (2011) | $7,995 | Executive Tier |
| 18 | Vanta 9 | Fowler Industries | 9mm | Legacy (2011) | $5,000 | Executive Tier |
| 19 | Cobra | Hayes Custom Guns | 9mm | Legacy (2011) | $5,299 | Executive Tier |
| 20 | Quantico HiCap | Alchemy Custom Weaponry | .45 ACP | Legacy (2011) | $3,000+ | Executive Tier |
This report provides an in-depth technical and market analysis of the 20 most significant handguns defining this new era, backed by data collected from the show floor.
2. Market Analysis: The “Wonder Nine” of the 2020s
The 2011 platform in 2026 has effectively become the new “Wonder Nine.” Just as the high-capacity 9mm DA/SA pistols (like the Beretta 92 and Sig P226) replaced revolvers in the 1980s, and the polymer striker-fired pistols (Glock 17) replaced those in the 1990s, the high-capacity Single Action Only (SAO) 2011 is now poised to replace the striker-fired polymer pistol for discerning users. This shift is driven by a realization among trainers and end-users that the shootability of a tuned single-action trigger and the recoil absorption of a metal frame offer a distinct performance advantage that modern manufacturing can now deliver at a reliable price point.
2.1 The Logistical Schism: Magazine Ecosystems
For thirty years, buying a 2011 meant buying into a specific, often temperamental, magazine ecosystem. The “2011 mag,” originally designed by STI, was a tube optimized for feeding.38 Super in competition. When adapted for 9mm duty use, it often suffered from nosedives and required tuning of the feed lips.
SHOT Show 2026 marked the end of the proprietary magazine’s monopoly. We can now categorize the top pistols into three distinct logistical clusters:
- The Glock Pattern Cluster: This is the most disruptive development. Led by the Staccato HD C4X and the Stealth Arms Platypus, this cluster allows users to utilize the most ubiquitous magazine in the world. This removes the switching cost for police departments and private citizens who likely already own dozens of Glock magazines. The Waltz 9 also joins this group, signaling that new entrants view Glock compatibility as a prerequisite for market entry.
- The Sig P320 Pattern Cluster: The Sig Sauer P211 and Oracle Arms OA 2311 utilize the P320/M17/M18 magazine geometry. This is a strategic play for the military logistics tail, as the U.S. military standardizes on the M17. It offers a metal magazine body (unlike the polymer-lined Glock mag) which allows for thinner grip dimensions while maintaining high reliability.
- The Legacy STI/2011 Pattern Cluster: This remains the standard for the high-end competition and performance tier. Bul Armory, Phoenix Trinity, Vudoo Gun Works, and Springfield Armory continue to use this pattern. However, the reliability of these magazines has improved drastically with the introduction of new manufacturing techniques from companies like MBX and Duramag, though they remain significantly more expensive than their Glock/Sig counterparts.
2.2 The Rise of the “Chunk Port”
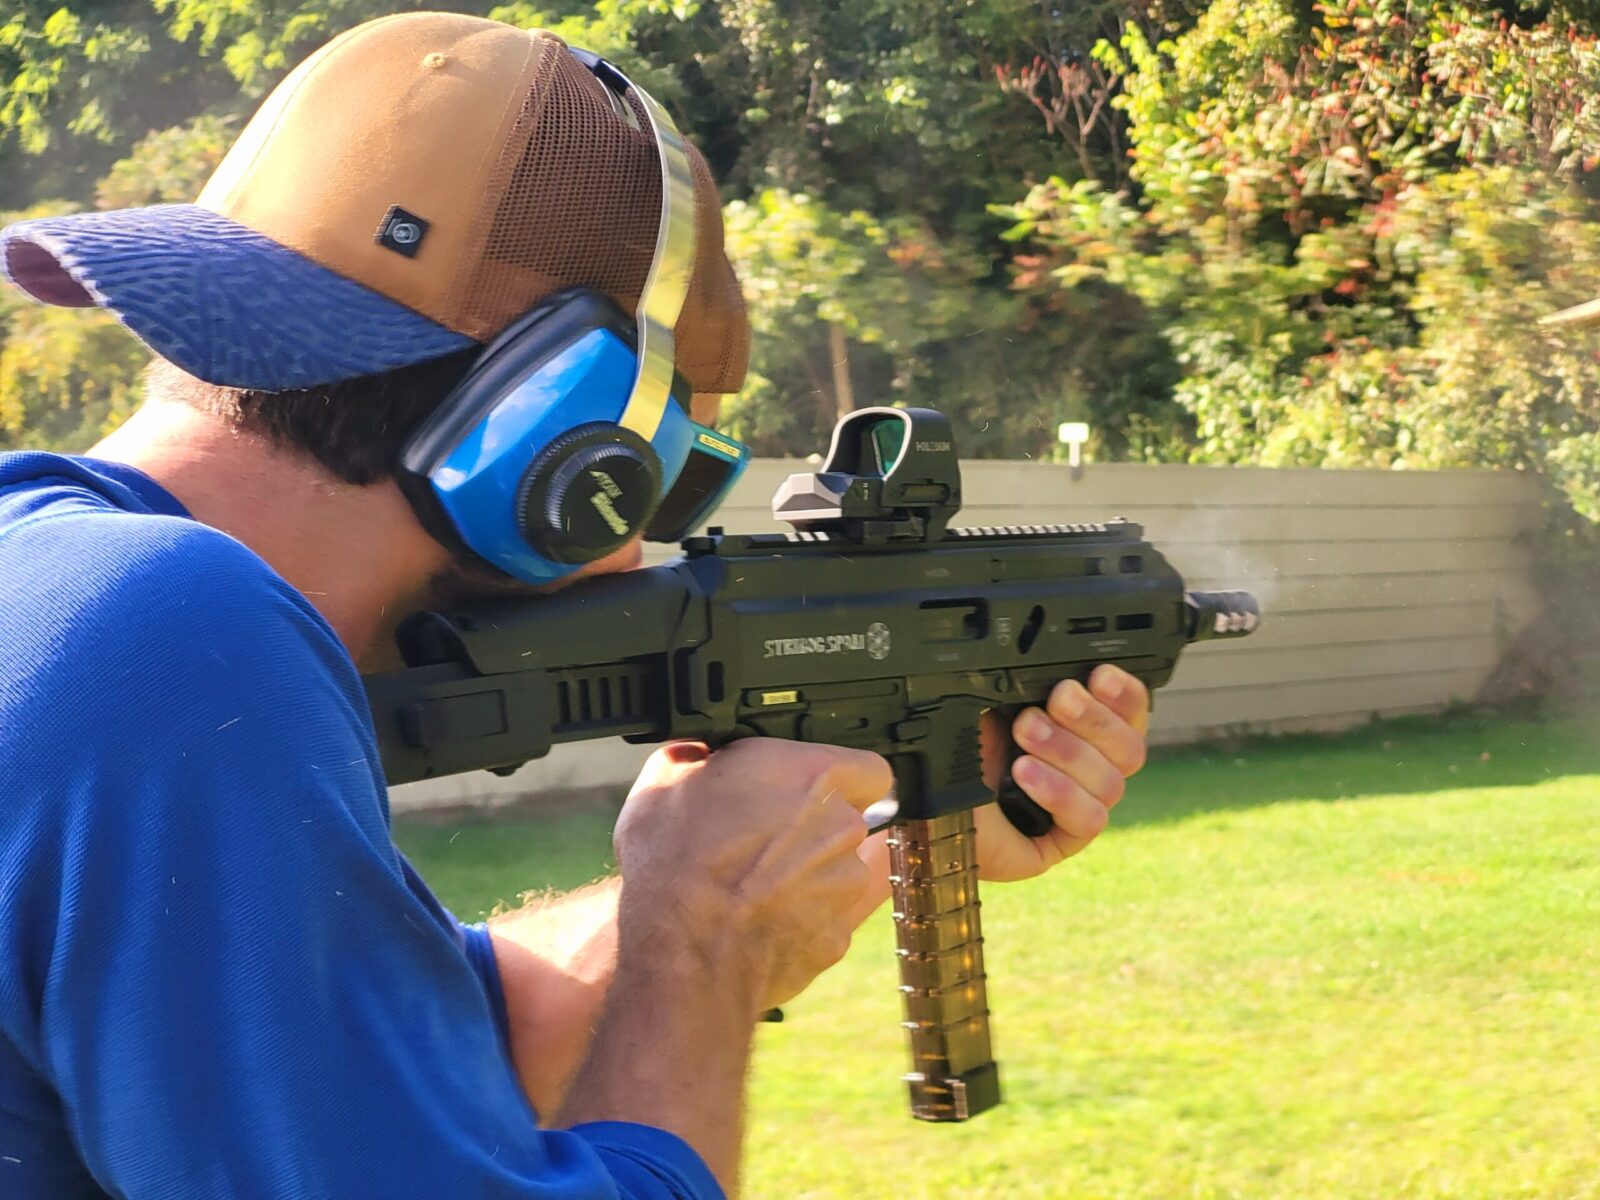
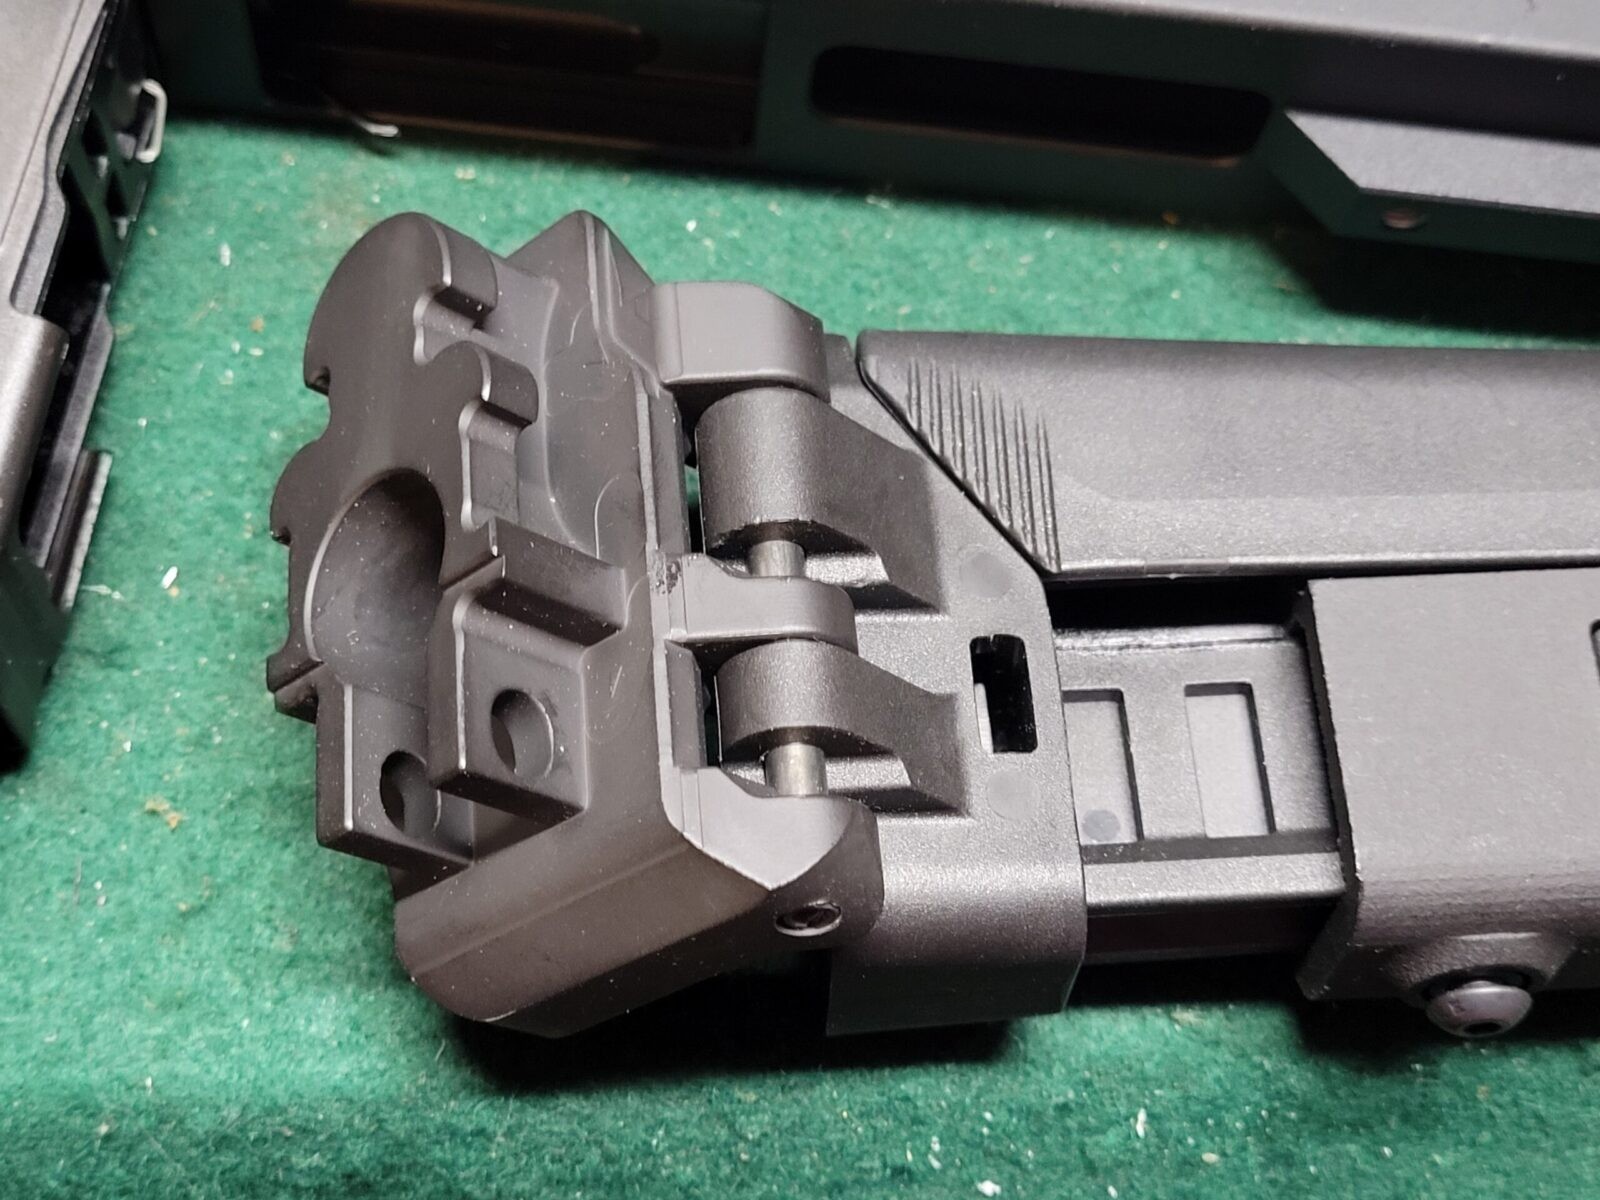
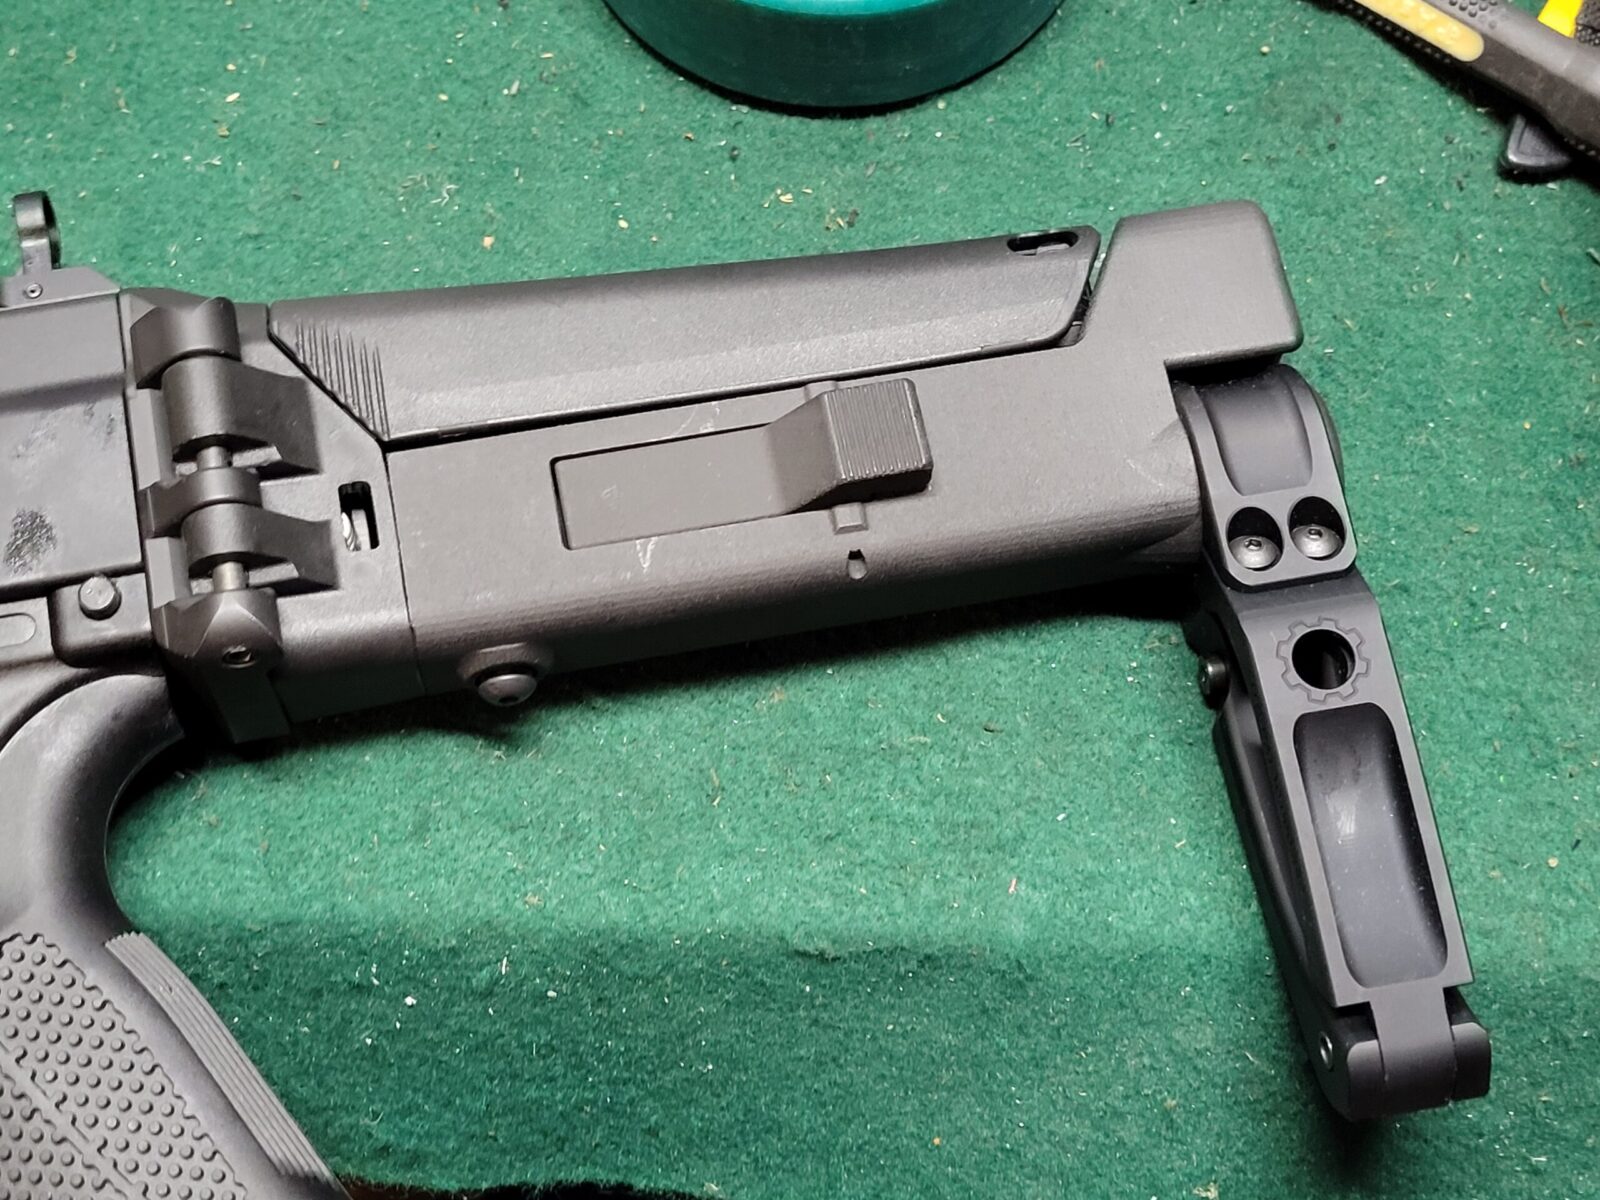
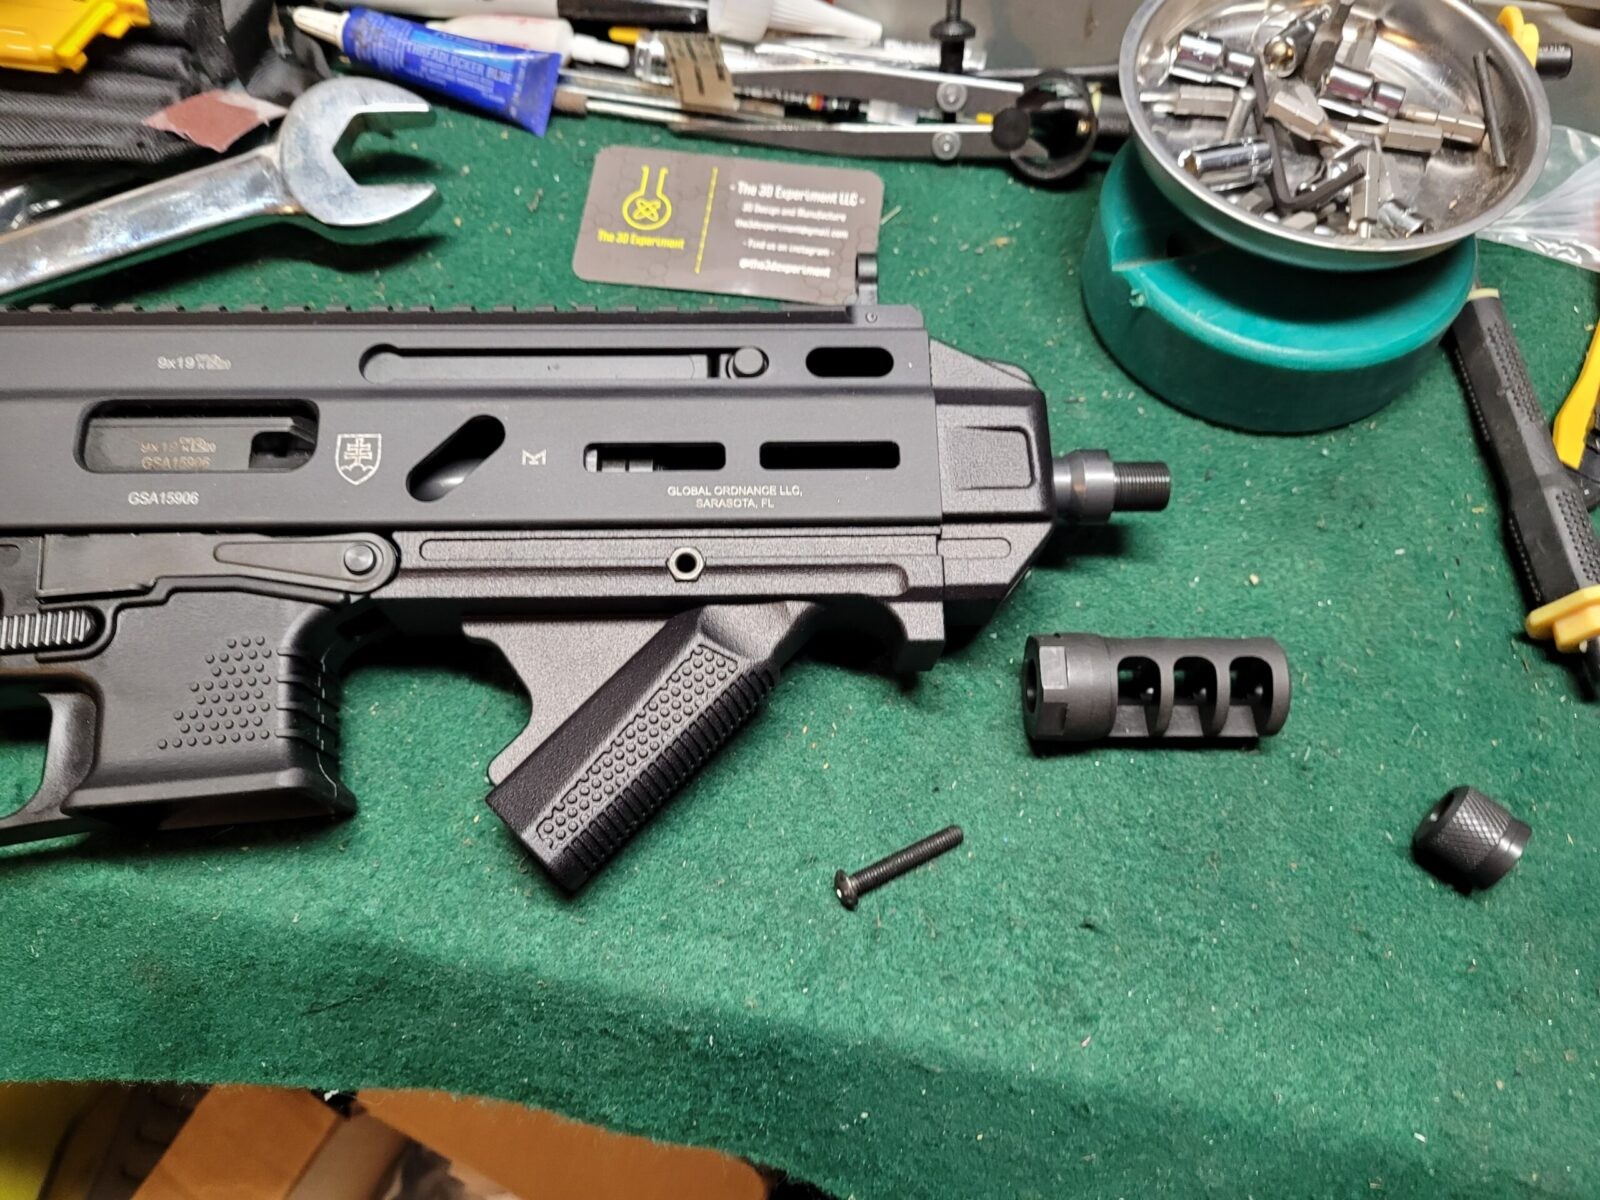
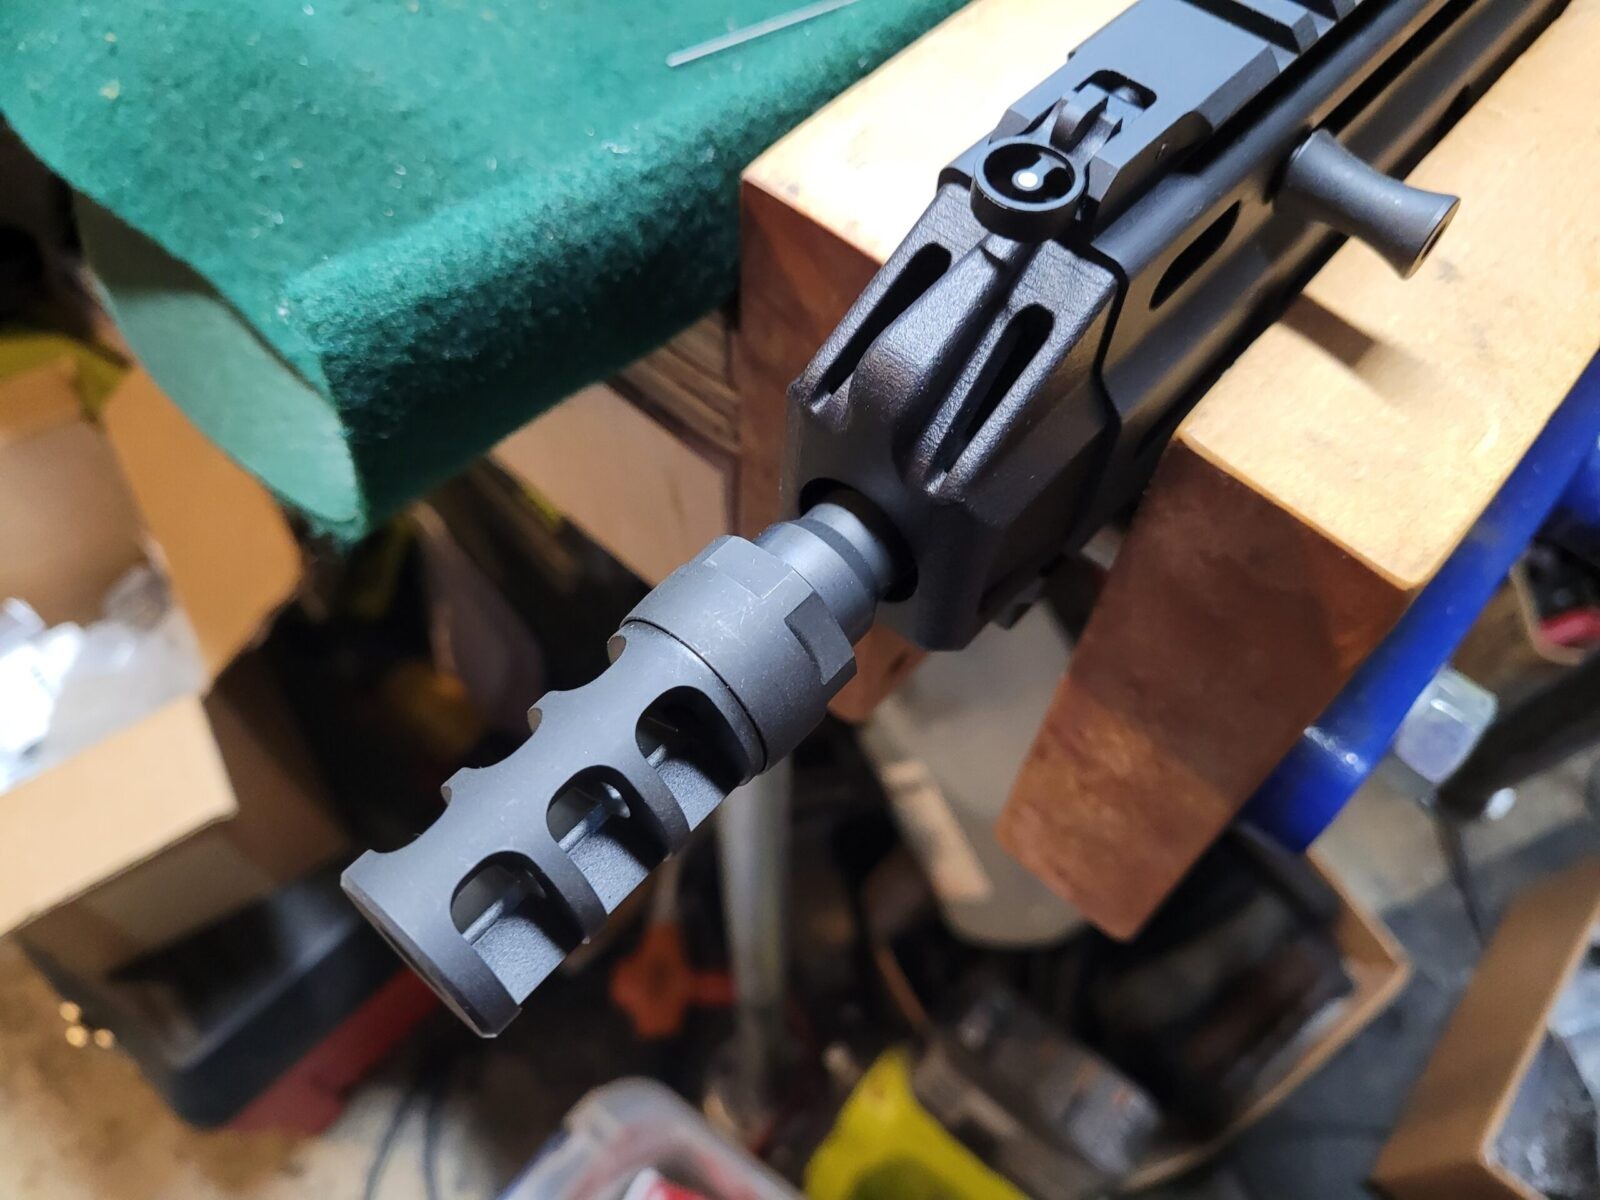
The era of the thread-on compensator is largely over for the 2011 platform. Threaded barrels introduce length, holster compatibility issues, and the risk of the device walking off under fire. SHOT 2026 solidified the “Chunk Port” or “Integral Comp” as the superior solution.1
This design involves a port cut through the barrel and the slide, typically located at the 12 o’clock position near the muzzle. This single expansion chamber dumps gas upwards, leveraging Newton’s third law to drive the slide and muzzle downwards. Because it is integral to the barrel, it requires no timing, no Loctite, and fits in standard open-ended holsters. This feature, once the domain of custom shops like Magnaport or DSC Gunworks, is now factory standard on pistols from Springfield Armory, MAC, Girsan, Sig Sauer, and Jacob Grey.
3. The Top 20 2011 Pistols of SHOT Show 2026
The following analysis categorizes the top twenty handguns into four distinct market segments: The Disruptors (Game changers), The Standards (Duty/Carry), The Value Class (Budget), and The Executive Tier (High-end).
Category I: The Disruptors
These pistols fundamentally alter the market landscape through innovation in logistics or mechanics.
1. Sig Sauer P211-GTO Series
- Manufacturer: Sig Sauer
- Caliber: 9mm
- Magazine Compatibility: Sig P320 (Steel)
- MSRP: $2,399 (GTO) / $1,800 approx (GT4/GT5) 3
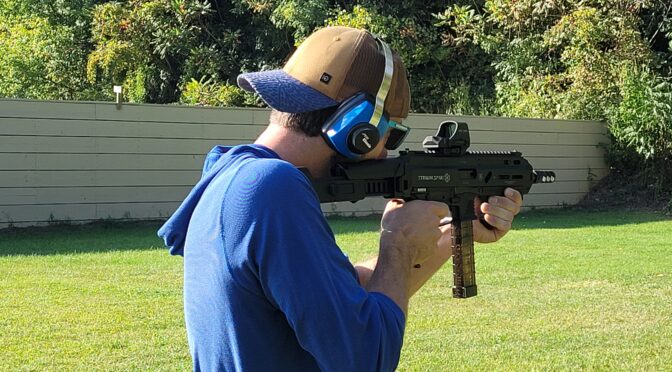
Technical Analysis: The arrival of Sig Sauer into the double-stack 1911 market with the P211 series is arguably the most significant announcement of the decade. The P211-GTO is not a mere clone; it is a reimagining of the platform by a company with deep aerospace manufacturing capabilities. The key differentiator is the Mach3D compensator.4 Traditional compensators are milled from steel bar stock, limiting their internal geometry to straight lines and simple chambers. Sig Sauer utilizes Direct Metal Laser Sintering (DMLS) to print the compensator, allowing for complex internal baffling and gas flow channels that maximize dwell time and redirection efficiency within a compact footprint.
The platform is split into the GT4 (Carry, 4.2″ barrel) and GT5 (Duty, 5″ barrel) variants.5 The GT4 features a “low-profile magwell” and a shortened dust cover, explicitly designed for concealed carry, while utilizing the P320 magazine ecosystem. This decision instantly makes the P211 a viable option for agencies already fielding the P320/M17, as the magazines are interchangeable.
Market Impact:
Sig’s entry validates the double-stack 1911 as a “mainstream” duty option. When a prime military contractor produces a platform, it signals to risk-averse agency administrators that the platform is mature enough for general issue.
2. Staccato HD C4X
- Manufacturer: Staccato 2011
- Caliber: 9mm
- Magazine Compatibility: Glock Pattern
- MSRP: Starting at $3,499 6
Technical Analysis: Staccato (formerly STI) invented the 2011 category. For them to release a pistol that utilizes Glock-pattern magazines is a shift of seismic proportions. Co-developed with an elite law enforcement surveillance team, the Staccato HD C4X addresses the single biggest complaint regarding the Staccato platform: magazine reliability and cost.6
The C4X is built on the “HD” (High Durability) lineage, utilizing a 7075-aluminum billet frame for weight reduction, resulting in a carry-friendly 24.5 ounces. The decision to move to Glock magazines necessitates a redesign of the grip geometry. Traditional 2011 grips are known for their slender feel; Glock magazines, being polymer-lined, are wider. Staccato has managed to contour the grip to maintain the 1911 grip angle while accommodating the wider magazine body. The HD HOST optic-mounting system is a robust, duty-grade plate system designed to withstand the G-forces of slide reciprocation without losing zero, catering to the closed-emitter optics now standard in duty use (e.g., Aimpoint ACRO, Trijicon RMR HD).
Market Impact:
Staccato is effectively “eating its own tail” to survive and thrive. By abandoning their proprietary magazine revenue stream for this model, they are removing the friction for widespread law enforcement adoption.
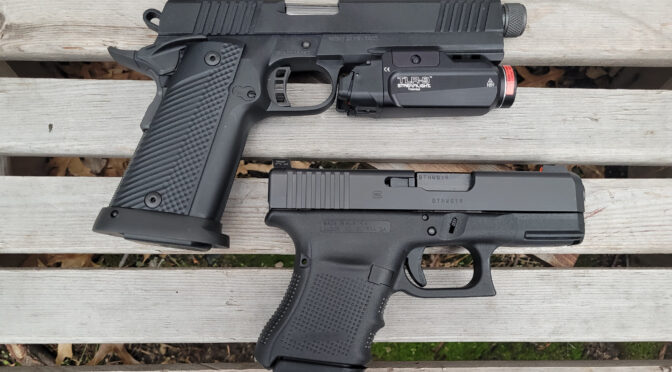
3. Stealth Arms Platypus (.45 ACP / 10mm)
- Manufacturer: Stealth Arms
- Caliber:.45 ACP, 10mm, 9mm
- Magazine Compatibility: Glock 21/20/17 Patterns
- MSRP: ~$1,400+ (Configurable) 8
Technical Analysis: The Stealth Arms Platypus was the viral hit of previous years for proving a CNC-machined aluminum 1911 could run reliably on Glock 17 magazines. At SHOT 2026, they expanded the platform’s capability by introducing .45 ACP and 10mm variants compatible with Glock 21 and Glock 20 magazines, respectively.8
This is a massive engineering challenge. The geometry of a double-stack.45 ACP magazine is significantly larger than a 9mm. Stealth Arms had to widen the grip frame while maintaining comfortable ergonomics. The ability for a shooter to carry a 1911-style trigger with 13+ rounds of.45 ACP or 15+ rounds of 10mm, utilizing cheap and reliable Glock magazines, is a unique value proposition.
4. Oracle Arms OA 2311 Compact Pro Elite
- Manufacturer: Oracle Arms
- Caliber: 9mm
- Magazine Compatibility: Sig P320
- MSRP: ~$2,349 – $3,299 9
Technical Analysis: Oracle Arms (OA) continues to refine their “2311” concept. The OA 2311 Compact Pro Elite distinguishes itself with a linkless barrel system.11 Traditional 1911s use a swinging link to unlock the barrel from the slide, which can be a failure point. OA’s linkless cam design, similar to the Browning Hi-Power or modern SIGs, simplifies the unlocking process and enhances reliability. The “Pro Elite” designation brings ported barrels and aggressive grip textures to the forefront. The use of 7075 Aluminum for the frame and grip module ensures rigidity, and the fully ambidextrous controls—including a dedicated right-side slide stop—make it unique in the sector.
5. Phoenix Trinity H2
- Manufacturer: Phoenix Trinity
- Caliber: 9mm
- Magazine Compatibility: Proprietary/Legacy
- MSRP: ~$6,899 12
Technical Analysis:
The H2 builds on the Phoenix Trinity Honcho legacy. It features a Linkless Barrel System and interchangeable locking blocks. This allows the user to swap calibers or barrels with a level of ease unknown to standard 1911s. The H2 is a high-speed, low-drag competition machine designed for split times measured in hundredths of a second. It represents the pinnacle of the “Linkless” movement in the high-end tier.
Category II: The Duty Standards
These pistols represent the baseline for professional carry and home defense.
6. Springfield Armory 1911 DS Prodigy Comp
- Manufacturer: Springfield Armory
- Caliber: 9mm
- MSRP: $1,500 – $1,632 13
Technical Analysis: The Prodigy Comp represents the mature, refined version of Springfield’s double-stack vision. The headline feature is the integral single-port compensator.13 Unlike thread-on compensators, the Prodigy Comp features a port cut directly into the barrel and slide. Springfield continues to leverage the Agency Optic System (AOS) plates, developed with Agency Arms. These plates offer integral rear sights and robust mounting, addressing the optic-height issues common on other platforms.
Market Impact:
The Prodigy Comp is the “working man’s race gun.” It brings the performance advantages of a compensated 2011—previously a $3,000+ proposition—down to a price accessible to the average dedicated shooter ($1,600 range).
7. Kimber 1911 DS Warrior
- Manufacturer: Kimber
- Caliber: 9mm, 10mm,.45 ACP,.38 Super
- MSRP: ~$1,299 – $1,350 14
Technical Analysis: Kimber’s 1911 DS Warrior utilizes a carbon fiber and glass-filled polymer matrix grip module.14 This material choice reduces weight and manufacturing costs compared to machined aluminum grips. Kimber has retained the legacy internal extractor, appealing to traditionalists. The inclusion of a 10mm Long Slide (6-inch) model is a distinct differentiator, positioning Kimber uniquely in the “hunting/backcountry 2011” niche.
8. Watchtower Apache Commander
- Manufacturer: Watchtower Defense
- Caliber: 9mm
- MSRP: Premium Tier (Specifics N/A, estimated ~$3,000 based on previous models) 16
Technical Analysis:
Born from the restructuring of Watchtower Firearms, the Apache Commander is a collaboration with social media influencer PewView. It features a 4.25-inch slide with an integrated compensator. The construction uses a 4140 stainless steel frame and 416R slide. It is designed to offer a pre-customized experience with tight tolerances and an aggressive aesthetic tailored for the modern “tactical lifestyle” consumer.
9. Vudoo Gun Works Priest (SDC Heavy)
- Manufacturer: Vudoo Gun Works
- Caliber: 9mm
- MSRP: ~$3,795 – $3,895 18
Technical Analysis: Vudoo Gun Works applies precision rifle tolerances to the Priest. The SDC (Standard Dust Cover) Heavy model features a steel grip and heavy frame for maximum recoil dampening. The standout feature is the Co-Witness Optic Cut.18 Vudoo machines the slide to allow standard-height sights to co-witness through the optic window, enhancing the “duty” readiness of the platform without requiring towering suppressor-height sights.
10. Bul Armory SAS II (Link Trigger System)
- Manufacturer: Bul Armory
- Caliber: 9mm
- MSRP: ~$1,750+ 19
Technical Analysis: Bul Armory unveiled the Link Trigger System.19 This modular trigger allows the user to swap the trigger shoe geometry (flat, curved, semi-curved) and length of pull in under 60 seconds using a single tool. This addresses the common pain point of fitting a 2011 trigger to a shooter’s hand. Combined with their proprietary steel magazines and widely praised factory tuning, the SAS II line remains a top contender for competition shooters who want customization without gunsmithing.
Category III: The Value Class
These pistols are democratizing the platform, creating an entry point under $1,200.
11. Girsan Witness 2311 CMXX
- Manufacturer: EAA / Girsan
- Caliber: 9mm, 10mm,.45 ACP
- MSRP: $999 – $1,229 21
Technical Analysis: The Girsan Witness 2311 CMXX (Commander, Match, Extreme) introduces a controversial design choice: the deletion of the grip safety.23 Girsan has replaced this with an auto firing pin block. This allows for a higher, more secure grip on the gun without the risk of failing to disengage the safety under stress. At an MSRP of roughly $999 for the compensated model, Girsan is the “gateway drug” for the 2011 market.
12. MAC 9 DS Comp
- Manufacturer: Military Armament Corp (SDS Arms)
- Caliber: 9mm
- MSRP: <$1,000 estimated 24
Technical Analysis:
Produced in Turkey (likely Tisas factory), the MAC 9 DS Comp offers a QPQ Tenifer finish, which is extremely corrosion-resistant. The “Comp” model features a single-port integrated compensator and uses the Agency AOS plate system (or a compatible clone), providing solid optic mounting options at an entry-level price point.
13. Tisas 1911 DS Carry
- Manufacturer: Tisas / SDS Arms
- Caliber: 9mm
- MSRP: ~$749 26
Technical Analysis:
The Tisas 1911 DS Carry establishes the price floor. Coming in around $750, it proves that the platform can be mass-produced cheaply. It features a polymer grip module and forged slide, serving as the accessible entry point for shooters who want to experience the 2011 platform without the four-figure investment.
14. Live Free Armory Apollo 11 Compact
- Manufacturer: Live Free Armory
- Caliber: 9mm
- MSRP: $999 27
Technical Analysis:
Distributed exclusively by Century Arms, the Apollo 11 Compact features a milled-billet 4140 steel frame and 416 stainless slide. Unlike the cast frames often found in budget imports, LFA emphasizes their US-based machining. It utilizes a textured polymer grip module compatible with double-stack magazines and offers a suite of factory upgrades like porting.
15. Alpha Foxtrot Romulus (10mm/.45)
- Manufacturer: Alpha Foxtrot
- Caliber: 10mm,.45 ACP
- MSRP: ~$1,370 – $1,530 28
Technical Analysis: Alpha Foxtrot (AF) brings the Romulus line into the big-bore arena. Known for their high-quality machining, AF’s Romulus features a DLC (Diamond-Like Carbon) finish as standard.29 The 10mm and.45 ACP versions offer 13-round capacity, a significant upgrade over single-stack 1911s.
Category IV: The Executive Tier & Specialists
Precision instruments where cost is secondary to performance and materials.
16. Jacob Grey Hex Pro
- Manufacturer: Jacob Grey Firearms
- Caliber: 9mm
- MSRP: $4,800 30
Technical Analysis:
The Jacob Grey Hex Pro is a testament to aerospace-grade machining. It features a 4140 billet steel frame and a stainless steel slide, resulting in a heavy pistol (36.5 oz) that absorbs recoil through mass. The “Hex” nomenclature refers to the hexagonal texturing. It includes a chunk port and a trigger with a “Controlled Radius” face. This is a pure enthusiast’s gun, prioritizing shootability and finish over weight savings.
17. Cabot Guns Apocalypse 2.0
- Manufacturer: Cabot Guns
- Caliber: 9mm,.45 ACP
- MSRP: $7,995+ 31
Technical Analysis:
The Apocalypse 2.0 features layered Damascus steel construction for the slide and frame. Cabot has developed a proprietary hardening process that allows the Damascus to serve as the functional material without deformation. It includes the “Cabot Advantage” internal extractor and guarantees 1.5-inch accuracy at 25 yards.
18. Fowler Industries Vanta 9
- Manufacturer: Fowler Industries
- Caliber: 9mm
- MSRP: ~$5,000 – $6,500 32
Technical Analysis:
The Vanta 9 is renowned for its grip geometry and “shootability.” The 2026 models feature refined porting and optic cuts. It is often cited as being “underpriced” at $5,000 relative to its fit and finish, which rivals pistols costing significantly more.
19. Hayes Custom Guns Cobra
- Manufacturer: Hayes Custom Guns
- Caliber: 9mm
- MSRP: $5,299+ 33
Technical Analysis:
The Cobra is a purebred race gun designed for 3-Gun and USPSA. Hayes offers extensive barrel porting options and works closely with magazine manufacturers to ensure reliability. It is a semi-custom platform optimized for speed.
20. Alchemy Custom Weaponry Quantico HiCap (.45)
- Manufacturer: Alchemy Custom Weaponry (Cabot)
- Caliber:.45 ACP
- MSRP: ~$3,000+ 34
Technical Analysis:
Alchemy Custom Weaponry (ACW) doubles down on the classic 1911 look. The Quantico HiCap looks like a single-stack 1911 but bulges subtly to accept double-stack magazines. The .45 ACP version caters to the traditionalist who wants 2011 capacity with the soul of a Government Model 1911, featuring a bead-blast blued finish.
Honorable Mentions & Competitors
While not strictly “2011” platforms in the traditional sense, two other pistols deserve mention for their competitive positioning:
- Waltz 9: A new entrant featuring a roller-locking block system and Glock 17 magazines, priced at $3,499.26 It competes directly with the high-end 2011s but uses a distinct mechanical operating system.
- GP Arms Patriot: A US-made modular double-stack priced competitively (~$1,950) that features swappable grip modules and bull barrels.35
4. Caliber Deep Dive: The Return of the Big Bore
While 9mm remains the undisputed king of capacity, SHOT 2026 saw a surprising resurgence of 10mm and.45 ACP in the double-stack format.
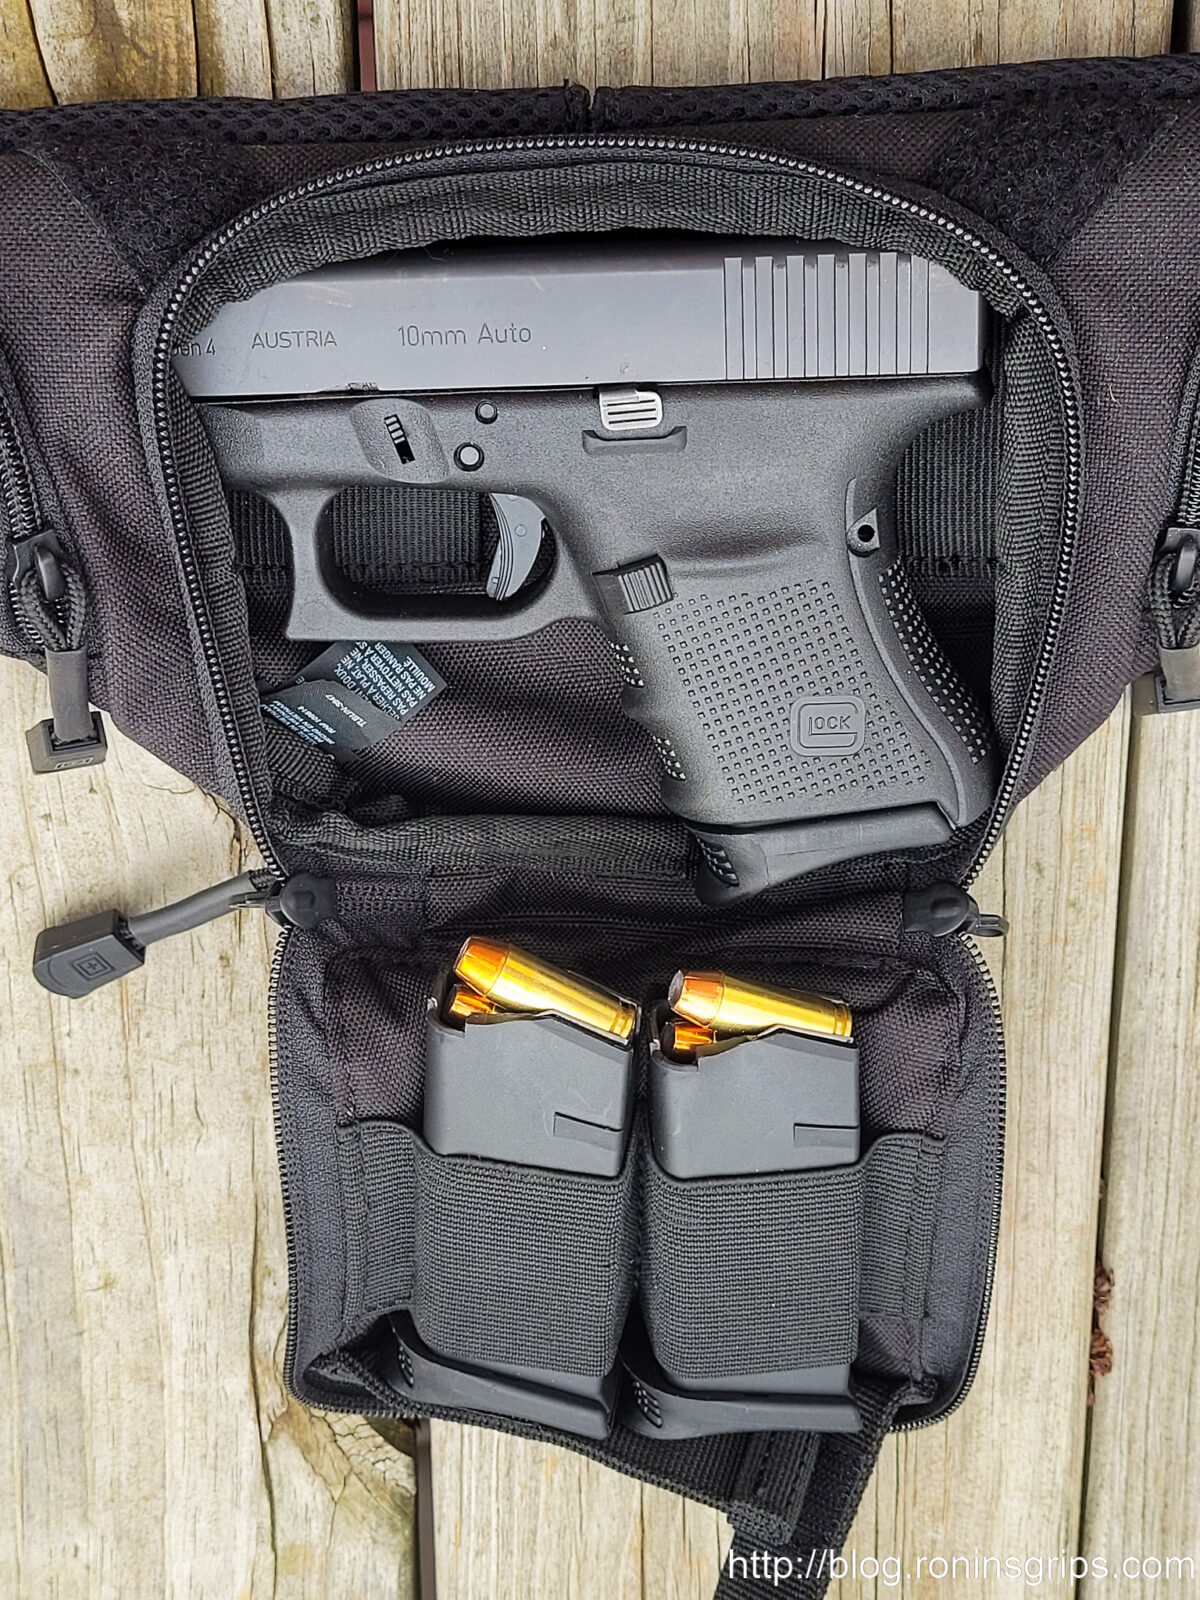
- 10mm: With the rise of “backcountry defense” awareness, the 10mm 2011 (Kimber DS Warrior, Stealth Arms Platypus, Girsan Witness) offers 15+ rounds of bear-stopping power in a shootable platform.
- 45 ACP: The Stealth Arms Platypus and Alchemy Quantico HiCap prove there is still a market for high-capacity.45s. The Platypus’s ability to use Glock 21 mags is particularly revolutionary, as it solves the magazine cost/availability issue that plagued previous double-stack.45s like the Para-Ordnance P14.
5. Conclusion and Future Outlook
SHOT Show 2026 has irrevocably altered the handgun landscape. The “2011” is no longer a specific model from a specific defunct Texas company; it is a genre. The proprietary barriers that kept this platform niche—magazines and maintenance—have been dismantled by Staccato, Sig Sauer, and Stealth Arms.
For the industry, the implications are clear: The era of the “plastic fantastic” monopoly is ending. Shooters are willing to pay a premium for the mechanical advantages of a tuned single-action trigger and the modularity of a chassis-based metal frame. Manufacturers who fail to offer a double-stack 1911—or at least a direct competitor—risk irrelevance in the premium segment of the handgun market.
As we look toward 2027, we predict a brutal price war in the $1,000–$1,500 segment, as Springfield, Kimber, and the Turkish imports battle for the middle market. Simultaneously, the “Mag War” will likely end with Glock and P320 patterns becoming the dual standards for duty use, relegating the legacy STI pattern to the dedicated competition circuit.
6. Appendix A: Methodology
This report was compiled using a multi-variant analysis framework designed to filter high-volume trade show noise into actionable market intelligence. The selection of the “Top 20” was not random; it followed a strict rubric based on Market Impact, Technical Innovation, and Logistical Viability.
Selection Criteria
The total field of “double-stack 1911” handguns at SHOT Show 2026 exceeded 50 unique models. To narrow this field to the top 20, we applied the following weighted scoring system:
- Logistical Friction (25%):
- Products were scored higher if they utilized non-proprietary magazines (Glock/Sig) or established legacy patterns (STI/MBX).
- Proprietary magazines with no cross-compatibility resulted in a significant score deduction.
- Rationale: Agency and consumer adoption is primarily driven by the cost of the “logistics tail” (magazines, holsters, parts).
- Mechanical Innovation (25%):
- Points were awarded for features that solved historical 2011 reliability issues (e.g., external extractors, linkless barrels, simplified recoil systems).
- Integral compensation and optics-mounting solutions (like the AOS or HOST systems) were heavily weighted as “standard” requirements for 2026.
- Manufacturing Maturity & Availability (30%):
- “Vaporware” penalty: Prototypes without a confirmed release date or distribution channel were excluded.
- This metric heavily favored established manufacturers (Sig Sauer, Springfield, Staccato) and importers with proven track records (EAA, SDS Arms) over boutique shops with lead times exceeding 12 months.
- Value Proposition (20%):
- This is not simply “lowest price.” It is a measure of feature density per dollar.
- Example: The Girsan Witness 2311 scores high here for offering an optic cut and rail at sub-$1,000. Conversely, the Jacob Grey Hex Pro scores well despite its high price because of its billet construction and hand-fitting.
Data Sources
- Primary Source: Direct observation and handling of units on the SHOT Show 2026 floor (Venetian Expo and Caesars Forum).
- Secondary Source: Distributor pre-order sheets (Lipsey’s, RSR Group) to verify SKU active status and pricing.
- Tertiary Source: Aggregated industry media reports and technical specifications published by manufacturers (Sig Sauer, Staccato, Springfield Armory).
Categorization Logic
The segmentation into Disruptors, Standards, Value, and Executive tiers was done to assist procurement officers and consumers in comparing “apples to apples.” Comparing a $750 Tisas to a $7,000 Cabot is technically possible but market-irrelevant. The clusters defined in the report reflect the actual cross-shopping behavior of the end-user.
Works cited
- Our Favorite Pistols at SHOT Show 2026 | The Mag Shack, accessed January 23, 2026, https://themagshack.com/favorite-pistols-shot-show-2026/
- 1911 DS Prodigy™ Handguns – Springfield Armory, accessed January 23, 2026, https://www.springfield-armory.com/1911-ds-series-handguns/1911-ds-prodigy-handguns/
- SIG Sauer Will Release the P211 GT4 & GT5 Non-Comped Pistols – Blog.GritrSports.com, accessed January 23, 2026, https://blog.gritrsports.com/new-sig-sauer-p211-gt4-gt5-non-comped-pistols/
- P211-GTO – SIG Sauer, accessed January 23, 2026, https://www.sigsauer.com/p211-gto.html
- SIG Sauer unveils the P211-GT4 and P211-GT5 pistols | all4shooters, accessed January 23, 2026, https://www.all4shooters.com/en/shooting/pistols/sig-sauer-p211-gt4-and-p211-gt5/
- Staccato introduces new addition to HD 2011 platform at SHOT Show 2026: the Staccato HD C4X, accessed January 23, 2026, https://www.police1.com/police-products/firearms/staccato-introduces-new-addition-to-hd-2011-platform-at-shot-show-2026-the-staccato-hd-c4x
- Staccato Grows HD 2011 Line with New Staccato HD C4X Pistol – Guns.com, accessed January 23, 2026, https://www.guns.com/news/2026/01/19/staccato-hd-c4x
- 1911 Platypus – Stealth Arms, accessed January 23, 2026, https://www.stealtharms.net/p/platypus
- OA 2311™ Compact Pro – OA Defense, accessed January 23, 2026, https://oadefense.com/firearms/2311-compact-pro/
- OA 2311™ Pro Elite – OA Defense, accessed January 23, 2026, https://oadefense.com/firearms/2311-pro-elite/
- OA Defense, accessed January 23, 2026, https://oadefense.com/
- Firearms – Phoenix Trinity, accessed January 23, 2026, https://ptrinity.com/product-category/firearms/
- 1911 DS Prodigy™ Comp 4.25″ AOS 9mm Handgun – Springfield Armory, accessed January 23, 2026, https://www.springfield-armory.com/1911-ds-series-handguns/1911-ds-prodigy-handguns/1911-ds-prodigy-comp-4-25-aos-9mm-handgun/
- The New Double-Stack Kimber 1911 DS Warrior | Hook & Barrel Magazine, accessed January 23, 2026, https://www.hookandbarrel.com/shooting/kimber-1911-ds-warrior-double-stack
- The 1911 DS Warrior: Kimber’s Budget-Priced Double-Stack | An Official Journal Of The NRA – American Rifleman, accessed January 23, 2026, https://www.americanrifleman.org/content/the-1911-ds-warrior-kimber-s-budget-priced-double-stack/
- Watchtower Returns with New 9mm Apache Commander Double-Stack 1911s – Guns.com, accessed January 23, 2026, https://www.guns.com/news/2025/12/04/watchtower-apache-commander-1911
- WATCHTOWER Defense – American-made Rifles and 1911 Pistols, accessed January 23, 2026, https://watchtowerfirearms.com/
- Priest 5″ SDC Heavy w/ Co-Witness – Vudoo Gun Works, accessed January 23, 2026, https://vudoogunworks.com/product/priest-5-sdc-heavy-w-co-witness/
- Bul Armory’s NEW 1911 Trigger System | SHOT Show 2026 Update – YouTube, accessed January 23, 2026, https://www.youtube.com/watch?v=ae0BVawZj2M
- ULTRALIGHT – Bul Armory USA, accessed January 23, 2026, https://www.usa.bularmory.com/product-page/ultralight
- European American Armory|Girsan 395060 – Witness 2311 CMX – Pistol: Semi-Auto – 9MM LUGER – Single Action – Black | GalleryofGuns.com – Gallery of Guns, accessed January 23, 2026, https://www.galleryofguns.com/genie/default.aspx?item=395060
- Girsan Witness2311® CMXX – EAA Corp., accessed January 23, 2026, https://eaacorp.com/product/girsan-witness2311-cmx-x/
- New: EAA Girsan Witness 2311 CMX Double Stack 1911 with Auto Firing Pin Block Safety, accessed January 23, 2026, https://www.guns.com/news/2025/12/15/new-eaa-girsan-witness-2311-cmx-double-stack-1911-with-auto-firing-pin-block-safety
- MAC 9 DS Comp – Military Armament Corporation, accessed January 23, 2026, https://milarmamentcorp.com/mac-9-ds-comp/
- MAC 9 DS Comp: An Entry Level 2011 — SHOT Show 2025 – GunsAmerica, accessed January 23, 2026, https://gunsamerica.com/digest/mac-9-ds-comp-a-new-entry-level-2011-shot-show-2025/
- New Handguns From SHOT Show 2026 – Outdoor Life, accessed January 23, 2026, https://www.outdoorlife.com/guns/new-handguns-of-shot-show-2026/
- New Guns 2026: Pistols and Revolvers – NRA Women, accessed January 23, 2026, https://www.nrawomen.com/content/new-guns-2026-pistols-and-revolvers
- PISTOLS – Page 1 – Alpha Foxtrot, accessed January 23, 2026, https://alphafoxtrot.us/pistols/
- AF1911 Romulus RMSC 17 & 20RD – Alpha Foxtrot, accessed January 23, 2026, https://alphafoxtrot.us/af1911-romulus-rmsc/
- Jacob Grey Hex Pro – Double Stack 1911 – Xtreme Guns And Ammo, accessed January 23, 2026, https://xtremegunsandammo.com/shop/pistols/jacob-grey-firearms/jacob-grey-hex-pro/
- Apocalypse – Cabot Guns, accessed January 23, 2026, https://cabotguns.com/product/apocalypse/
- Vanta 9 – Fowler Industries, accessed January 23, 2026, https://fowlerindustries.com/vanta/
- Hayes Custom Guns, accessed January 23, 2026, https://hayescustomguns.com/hayes-custom-guns/
- America Wins Again…Alchemy Hi Cap…in 45 ACP – YouTube, accessed January 23, 2026, https://www.youtube.com/watch?v=lq0jfplB5sI
- Patriot – GP Arms, accessed January 23, 2026, https://www.gparms.com/products/patriot