Armscor Global Defense, Inc. (AGDI) represents one of the most compelling and often underestimated success stories in the modern small arms industry. From its origins as a modest mercantile establishment in the early 20th-century Philippines, it has evolved into a transnational manufacturing powerhouse, recognized globally as the world’s largest producer of 1911-pattern pistols.1 The company’s century-long journey is a definitive case study in generational ambition, strategic adaptation, and disruptive market positioning. It has successfully navigated colonial transition, wartime occupation, and the intense competition of the global firearms market to become a significant and influential player, particularly within the United States.
It is imperative at the outset to distinguish the subject of this report—the privately-owned Filipino corporation—from the similarly named South African state-owned enterprise, the Armaments Corporation of South Africa SOC Ltd, also known as Armscor.4 The two entities are entirely separate and unrelated in their history, ownership, and operations. This analysis is concerned exclusively with the Manila-based company whose legacy is inextricably linked to the Tuason family.
The trajectory of Armscor’s ascent can be attributed to three foundational pillars that have defined its strategy for over a century. First is the remarkable entrepreneurial resilience of the Tuason family, who have guided the company through catastrophic geopolitical events and across three generations of leadership. Second is the astute, and arguably decisive, strategic acquisition and cultivation of the Rock Island Armory brand, a move that provided a crucial American identity to overcome market entry barriers. Finally, and underpinning its entire commercial success, is a relentless focus on a value proposition of “affordable reliability,” a strategy that effectively democratized the iconic M1911 pistol platform for a mass-market audience, transforming it from a premium historical artifact into an accessible firearm for the modern shooter. This report will analyze these pillars in detail, tracing the company’s evolution from a local enterprise into a global arms manufacturer.
Section 1: Genesis of a Filipino Arms Giant (1905-1952)
The foundation of Armscor as a manufacturing entity was not a sudden development but the culmination of nearly half a century of commercial activity, geopolitical upheaval, and strategic foresight. The company’s pre-industrial history is crucial to understanding the conditions and motivations that led to its pivotal transformation into the Philippines’ first licensed firearms producer.
The Squires, Bingham & Co. Era (1905-1941)
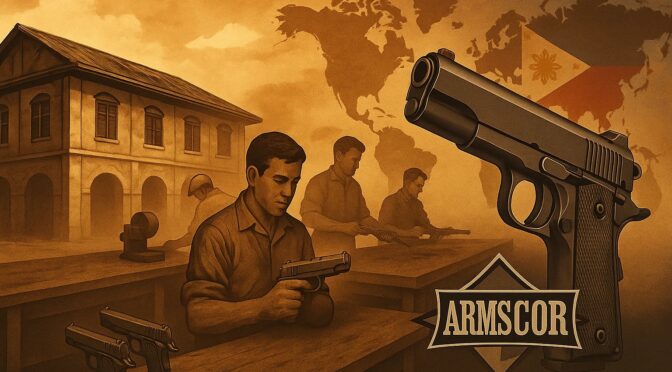
The company’s lineage begins in 1905 with the establishment of Squires, Bingham & Co. in Manila by two British expatriates, Roy Squires and William Bingham.7 Initially founded as a print shop, the firm quickly diversified its operations to become a general merchandise store, capitalizing on the various commercial opportunities in the American-administered Philippines.4 Its inventory expanded to include a wide array of imported goods, from motorcycles to sporting equipment. Over time, the company developed a particular specialty in firearms and ammunition, catering to a growing market of sportsmen and hunters.8
By 1930, the business had been acquired by an American, Arthur Hileman, who rebranded it as “Sportsmen’s Headquarters” to reflect its primary commercial focus.7 Under this name, it solidified its reputation as a premier destination for shooting and outdoor supplies in the Philippines, laying the commercial groundwork for its future in the arms industry.
The Tuason Acquisition and Wartime Crucible (1941-1945)
A pivotal moment in the company’s history occurred in 1941 when Don Celso Tuason, a visionary Filipino entrepreneur and avid sportsman, purchased Sportsmen’s Headquarters.7 This acquisition, made just four months before the Japanese invasion of the Philippines during World War II, marked the beginning of the Tuason family’s multi-generational stewardship of the enterprise.8
The onset of the war and the subsequent Japanese occupation presented an existential threat. The occupying forces immediately confiscated the company’s entire inventory of firearms and ammunition, effectively eliminating its core business overnight.8 Faced with financial ruin, the Tuason family demonstrated remarkable commercial agility. The company survived the brutal three-year occupation by pivoting its operations entirely to its clothing and haberdashery department, a secondary business line that became its sole source of revenue.7 This period of extreme adversity tested and proved the family’s resilience and business acumen.
Post-War Pivot to Manufacturing (1945-1952)
The end of World War II left the newly independent Philippines in a state of profound flux. The country was inundated with thousands of “loose firearms”—weapons issued by American forces, captured from Japanese soldiers, or retained by former guerillas—creating a significant internal security challenge.13 This environment underscored the need for domestic control over arms and ammunition. Simultaneously, the post-war Philippine government embarked on a national project of industrialization, seeking to build a self-reliant economy and reduce its dependence on foreign imports.8
Don Celso Tuason recognized that these converging historical forces presented a unique opportunity. Rather than simply rebuilding his import business, he envisioned a more ambitious future: transitioning from a seller of foreign-made firearms to a manufacturer of Filipino-made ones. In 1952, he achieved a landmark success by securing the first-ever firearms and ammunition manufacturing license—License No. 1—from the Philippine government.7 This was not merely a business permit; it was a foundational moment for the Philippine defense industry. To reflect this new industrial mission, the company was formally incorporated as Squires Bingham Manufacturing, Inc..4
The near-destruction of the company’s import business during the war was, paradoxically, a critical catalyst for its transformation. The loss of its firearms inventory forced the Tuason family to prove their business acumen in a completely different sector, demonstrating a level of resilience and adaptability that went far beyond that of a simple merchant. This proven capability, combined with the family’s established reputation, likely provided the credibility necessary to persuade the post-war government to entrust them with the nation’s inaugural firearms manufacturing license. The war, in effect, created the conditions—a nationalistic drive for self-reliance and a vacuum in the domestic arms market—that made local manufacturing not just a viable commercial venture, but a national strategic priority. Armscor’s origin as a manufacturer is thus deeply intertwined with the post-colonial industrial policy of the Philippines, positioning it from its inception as a contributor to a broader national project of self-sufficiency.
Section 2: Corporate Evolution and Global Expansion (1952-Present)
The decades following the company’s pivot to manufacturing were characterized by steady growth, generational leadership transitions, and a series of bold strategic decisions that transformed it from a domestic producer into a formidable global competitor. This evolution was driven by the Tuason family’s ambition to move beyond the confines of the Philippine market and establish a significant presence on the world stage, particularly in the lucrative and demanding U.S. market.
Generational Transition and Rebranding (1960s-1980)
The 1960s saw the entry of the second generation of the Tuason family into the business. Don Celso’s three sons—Demetrio “Bolo,” Carlos “Butch,” and Severo “Conkoy”—joined the company, gradually assuming leadership roles.7 This transition culminated in 1980 with a major corporate restructuring. Squires Bingham Manufacturing, Inc. was officially reorganized and renamed the
Arms Corporation of the Philippines, or Armscor.7 Demetrio “Bolo” Tuason was appointed Chairman and President of the new entity.7 This rebranding was a crucial step in forging a modern corporate identity, shedding the historical “Squires Bingham” name in favor of one that clearly communicated its core mission and national origin. It signaled a new era of industrial ambition, focused on establishing the Armscor brand as a significant name in firearms manufacturing.
The American Beachhead: U.S. Expansion and the RIA Acquisition (1985)
In 1985, under Bolo Tuason’s leadership, Armscor executed what would become the single most consequential strategic maneuver in its history. The company established its first foothold in the United States, opening an office for Armscor Precision International in Pahrump, Nevada.7 This move was not merely about creating a distribution channel; it was part of a more sophisticated market entry strategy.
Contemporaneously with its physical entry into the U.S., Armscor acquired the Rock Island Armory (RIA) brand.4 Rock Island Armory was a small, U.S.-based company founded in 1977 by David Reese in Colona, Illinois. It derived its name from the famous U.S. Army Rock Island Arsenal located nearby, though it had no official affiliation with the government facility.4 The acquisition of this brand was a masterstroke of marketing. It provided Armscor with an authentically American-sounding name, imbued with military and historical connotations, under which it could market its Philippine-made firearms to a U.S. consumer base that might otherwise be skeptical of a budget-priced import from a developing nation.10 This strategy effectively neutralized the “country of origin effect,” allowing the product’s intrinsic value—its low price and solid performance—to be judged on its own merits, without the immediate handicap of being perceived as a “cheap foreign gun.” The RIA brand became the Trojan Horse that allowed Armscor to penetrate the most competitive firearms market in the world.
Building a Dual-Country Footprint (2011-Present)
The success of the Rock Island Armory brand in the U.S. generated the revenue and market share necessary for the next phase of Armscor’s global strategy: establishing a physical manufacturing presence in its most important market. Under the leadership of the third-generation CEO, Martin Tuason, who assumed the role in 2012, the company embarked on an aggressive expansion of its U.S. operations.7
This expansion unfolded in several key stages:
- 2011: Armscor opened its first U.S. production facility, an ammunition plant named Armscor Cartridge, Inc., in Stevensville, Montana.7 This move allowed the company to produce ammunition domestically, simplifying logistics and catering directly to American demand.
- 2016: The company took a significant step further by opening its first U.S. firearm manufacturing facility in Pahrump, Nevada.7 This development made Armscor one of the few companies in the world to manufacture both firearms and ammunition in two separate countries, establishing a truly transnational operational footprint.
- 2021-2022: Armscor solidified its commitment to U.S. production by announcing and subsequently opening a new, state-of-the-art manufacturing facility in Cedar City, Utah.9 This facility operates under the RIA-USA banner, producing premium, American-made firearms and spearheading innovation for the company.21
This establishment of a “dual-citizenship” manufacturing base is a sophisticated long-term strategy.10 It mitigates the risks associated with international trade policies, tariffs, and supply chain disruptions. Furthermore, it allows the company to legitimately market certain products as “Made in USA,” a powerful branding tool in the American market, and better positions it to compete for U.S. law enforcement and government contracts. This strategy represents a permanent embedding of the company within its largest and most critical export market.
Strategic Rebranding to Armscor Global Defense, Inc. (2017)
In 2017, another significant rebranding occurred when the company officially became Armscor Global Defense, Inc. (AGDI).4 This name change was a clear signal of the company’s strategic intent to expand its focus beyond the civilian sporting market. It marked a formal pivot toward aggressively competing for military and law enforcement contracts on a global scale, leveraging its manufacturing capacity and cost advantages to become a serious contender in the defense sector.17
Section 3: Manufacturing Prowess and Technological Advancement
Armscor’s ability to capture a significant share of the global firearms market, particularly in the hyper-competitive value segment, is directly underpinned by the evolution of its manufacturing capabilities. The company has transformed itself from a modest post-war workshop into a highly efficient, technology-driven industrial operation. This progression has been central to its capacity to produce firearms and ammunition on a massive scale while maintaining the quality and consistency necessary to build a reputable brand.
From “Backyard Operation” to Industrial Scale
The company’s manufacturing journey began humbly. Its initial efforts in 1952, starting with the production of a.22 rifle, were described by CEO Martin Tuason as a “backyard operation” conducted in a temporary building on a family property.14 This modest start quickly gave way to more ambitious industrialization. In 1958, the company established its permanent headquarters and primary manufacturing plant in Marikina, Metro Manila.4
Today, that Marikina facility has grown into a sprawling seven-hectare compound that serves as the heart of Armscor’s global production network.15 It employs a workforce of over 1,600 people and boasts a staggering production capacity.2 Annually, the facility is capable of producing between 200,000 and 350,000 firearms and between 420 million and 700 million rounds of ammunition.4 Reflecting its global focus, approximately 80% of this massive output is destined for export markets in over 60 countries.4
Adoption of Modern Manufacturing (Industry 4.0)
A critical factor in Armscor’s success has been its deliberate and aggressive modernization, moving from traditional, labor-intensive assembly lines to a sophisticated manufacturing framework that embraces the principles of Industry 4.0.1 This technological leap is the direct enabler of the company’s core value proposition.
The company makes extensive use of Computer Numerical Control (CNC) machinery to mill firearms components, particularly frames and slides, from ordnance-grade 4140 chromoly steel.9 This ensures a high degree of precision and consistency in tolerances, which is fundamental to the reliability of the final product.
More recently, Armscor has integrated robotics into its assembly lines, a move that has revolutionized its efficiency.15 One robotics-driven line, equipped with 10 CNC machines, can now perform the work that previously required as many as 40 human workers. This has resulted in a dramatic increase in productivity, with output rising from an average of 5-6 guns per assembler per day to between 35 and 40.15 The impact on quality control has been equally profound. The implementation of robotics in the metal sanding stage for its pistols slashed the component rejection rate from a costly 19% to a negligible 0.01%.15 In addition to CNC and robotics, the company’s modern processes also incorporate CAD/CAM (Computer-Aided Design/Computer-Aided Manufacturing), cloud computing for data management, and 3D printing for prototyping and development.1
Commitment to Quality Control and Certification
To bolster its reputation in a market often skeptical of budget-priced firearms, Armscor has made formal quality control a cornerstone of its brand identity. The company is an ISO 9001 certified manufacturer, a globally recognized standard for quality management systems. It first achieved this certification in 1997, a fact it frequently highlights to underscore its commitment to international production standards.7
Furthermore, the implementation of a lifetime product warranty in 1999 was a shrewd strategic decision by Martin Tuason.12 This policy served two purposes: externally, it built immense consumer confidence and differentiated the brand from other low-cost competitors. Internally, it created a powerful incentive for the manufacturing division to “up their game,” as the financial liability for any defects would fall back on the company. This forced a culture of quality and accountability throughout the production process.
The company’s investment in technology is the mechanism that allows it to resolve the classic manufacturing trilemma of balancing cost, quality, and volume. By leveraging the lower labor costs of its Philippine base while simultaneously employing high-precision automation, Armscor achieves a level of efficiency that is difficult for competitors to match. This technological parity allows them to produce a reliable, CNC-machined product at a price point that challenges manufacturers reliant on more expensive labor or less efficient processes. This approach reframes Armscor not merely as a “cheap” manufacturer, but as a “high-efficiency” one, a critical distinction that challenges the traditional narratives of firearms production that often prioritize romanticized notions of craftsmanship over the realities of modern, scalable industrial technology.
Section 4: Product Portfolio Analysis: Firearms
Armscor’s product strategy is centered on dominating the value segment of the market with a diverse portfolio of firearms. While the company produces a wide range of rifles, shotguns, and revolvers, its global reputation and commercial success are built squarely on the foundation of its Rock Island Armory 1911 pistol series. The firearms are marketed under the Rock Island Armory brand for export, particularly to the United States, while the Armscor brand is typically used for the domestic Philippine market.10
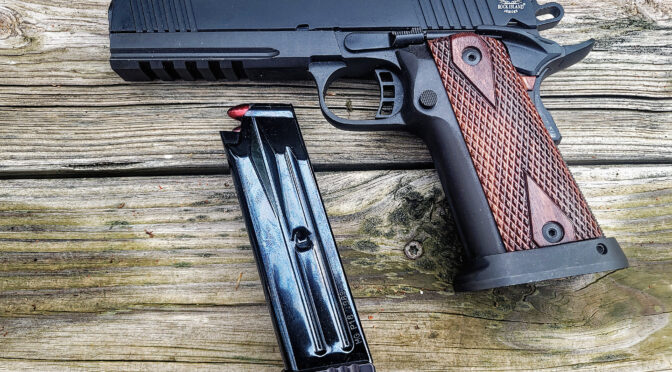
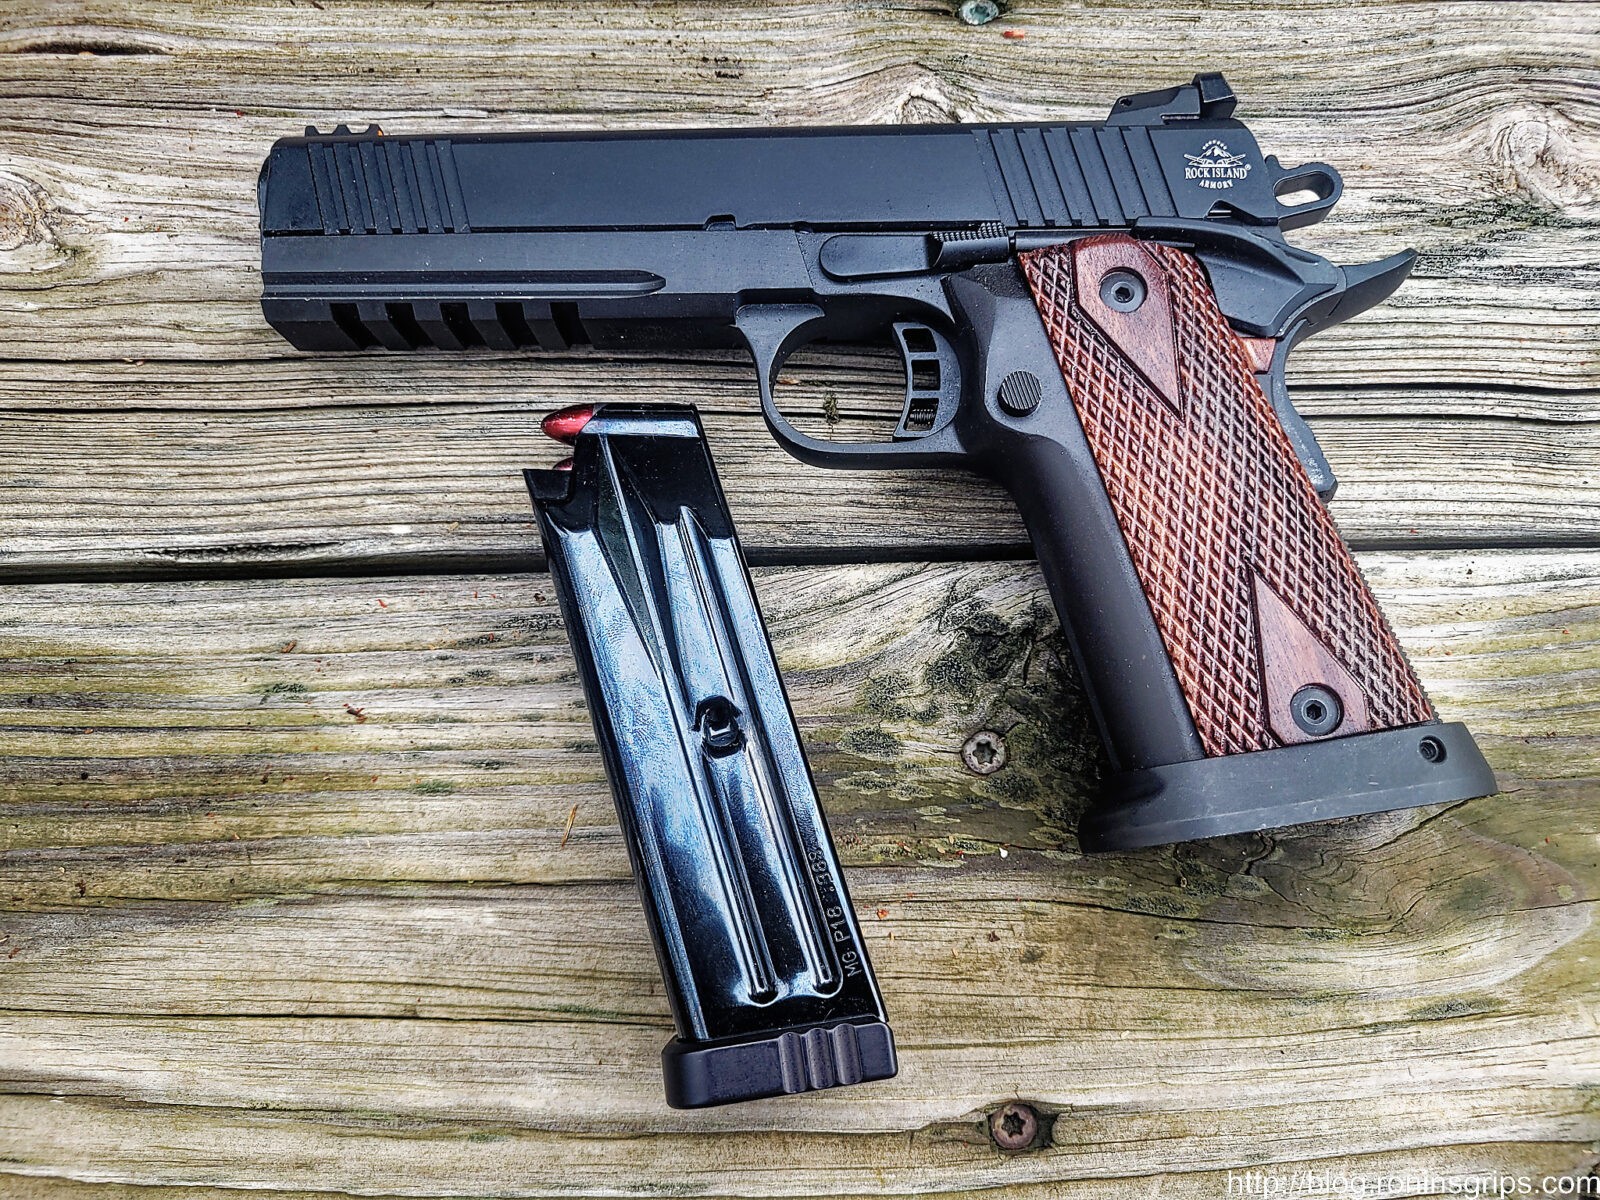
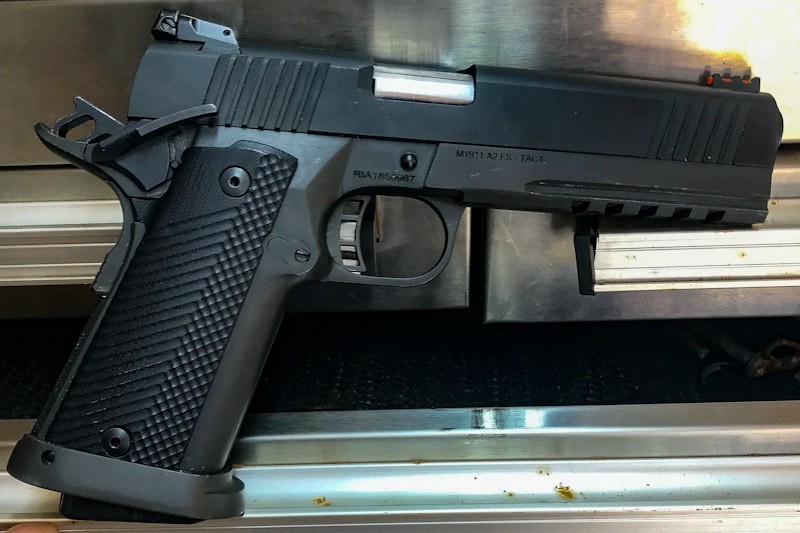
The Cornerstone: Rock Island Armory 1911 Series
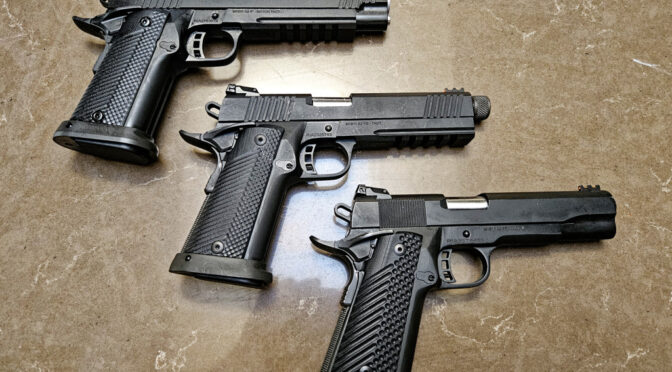
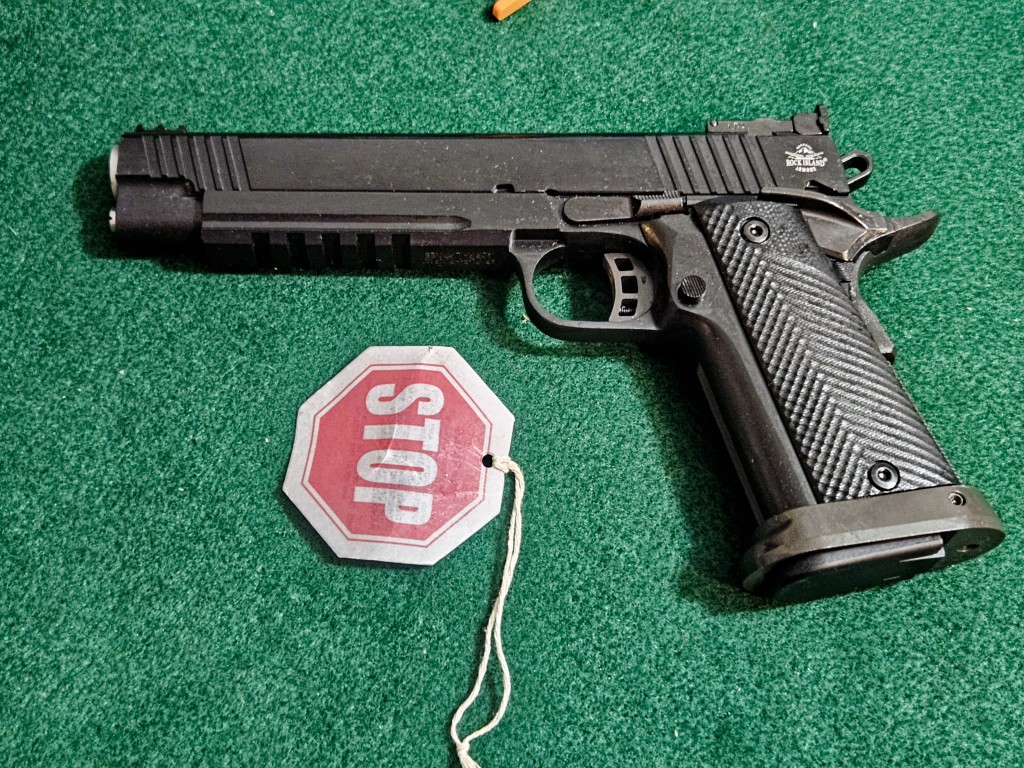
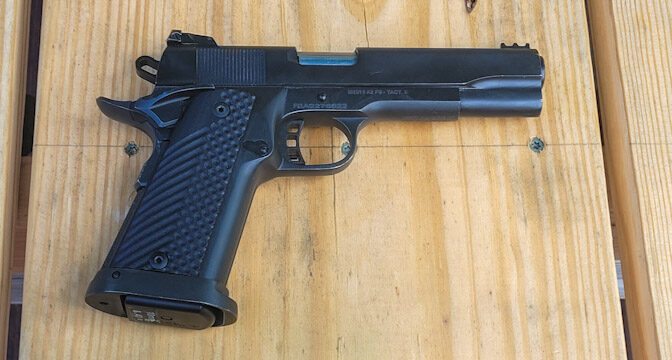
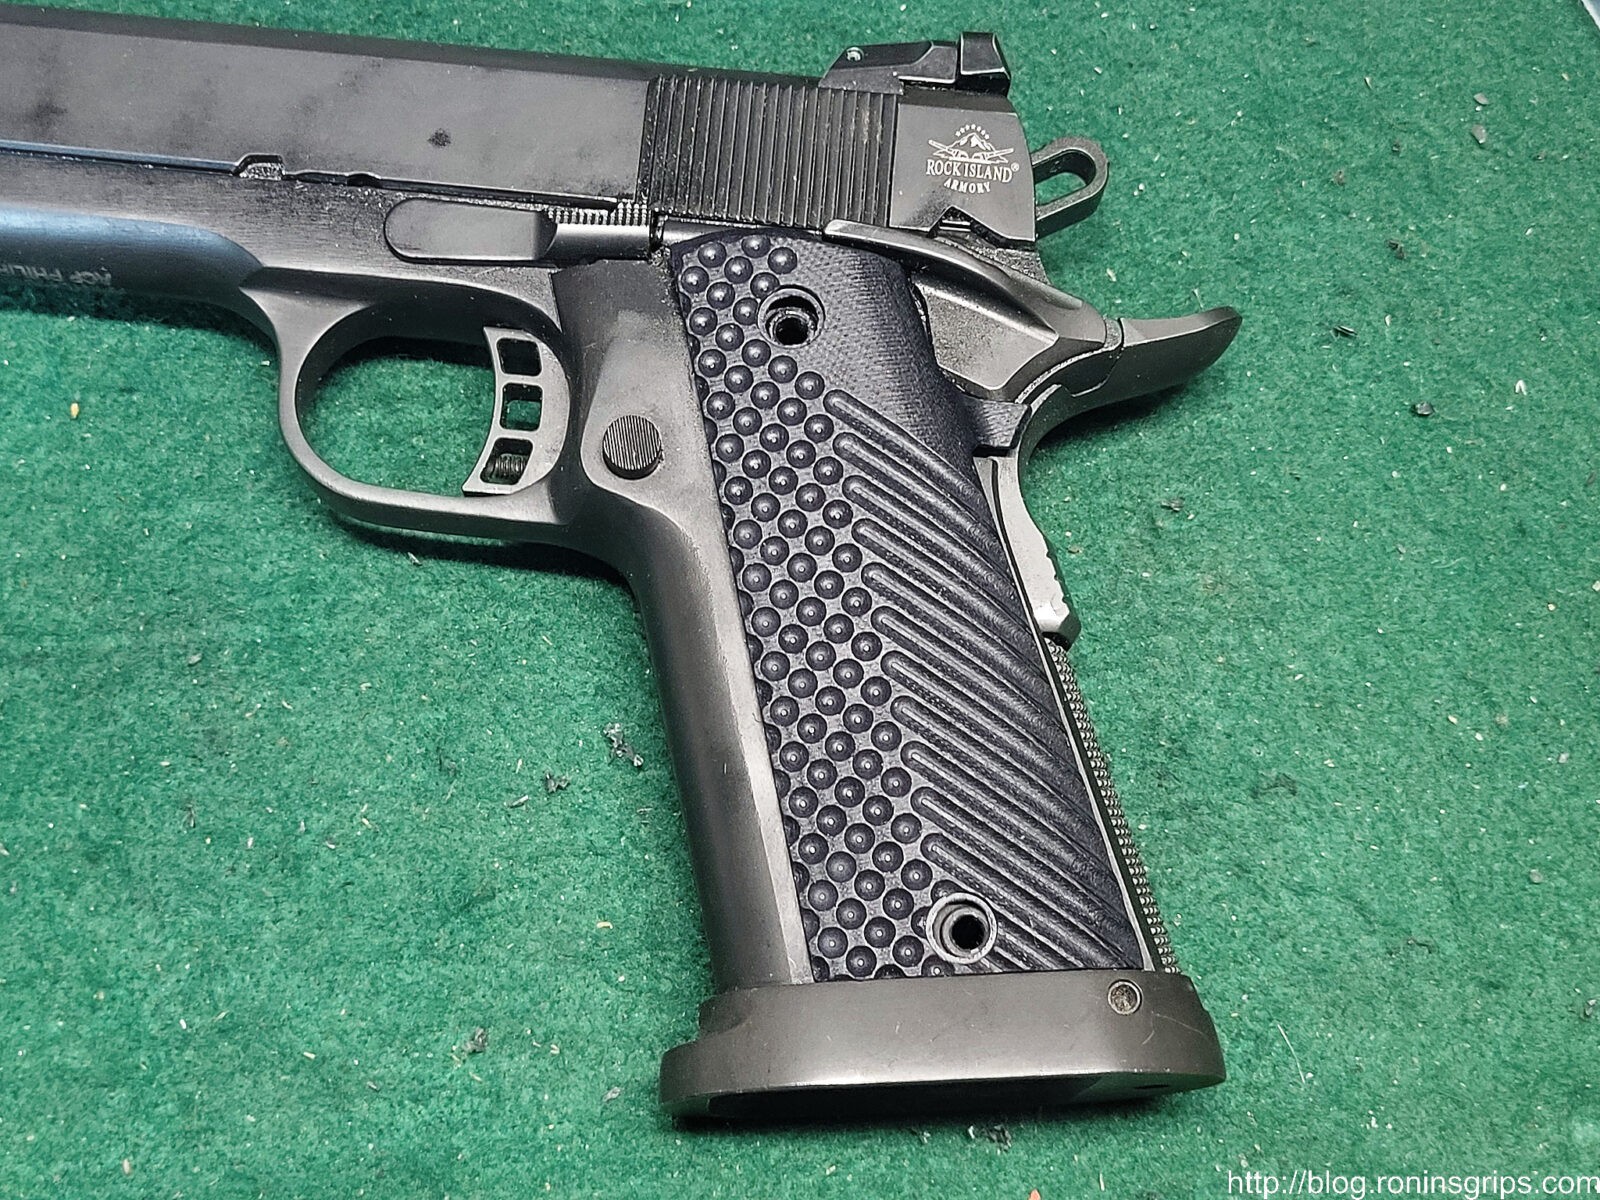
Rock Island Armory is, by volume, the world’s largest manufacturer of 1911-pattern pistols.1 This product line is the company’s flagship and the primary driver of its international brand recognition. The pistols are derivatives of the classic U.S. Military G.I. M1911-A1 and are constructed from cast 4140 ordnance-grade steel frames and forged slides, with components machined using modern CNC equipment to ensure consistent quality.9
The genius of RIA’s 1911 strategy lies in its systematic market segmentation. The company has evolved its offerings from a single, basic model into a multi-tiered product family that caters to a wide spectrum of consumers, from first-time buyers and historical purists to tactical shooters and amateur competitors. This evolution demonstrates a keen understanding of the 1911 market and a deliberate strategy to capture market share at multiple price points. The success of the foundational GI model created the brand equity and market permission for RIA to progressively introduce more feature-rich and higher-priced models. Consumers, having been convinced of the core reliability of the basic product, became willing to invest more in RIA models with desirable upgrades.
The 1911 series can be broadly categorized into the following tiers:
- GI Series: This is the entry-level line, offering a faithful reproduction of the original M1911-A1. These pistols feature basic “mil-spec” components, including low-profile sights and traditional finishes like Parkerizing. The GI series targets the budget-conscious consumer and the historical enthusiast seeking an authentic 1911 experience without the high cost of a collectible firearm.10
- Rock Series: This is the mid-tier and core of the product line. Built on a traditional Series 70 design (lacking a firing pin safety), the Rock series incorporates popular modern upgrades such as improved combat or Novak-style sights, skeletonized hammers and triggers, and more ergonomic grips. It represents the company’s primary value proposition, offering a feature set typically found on more expensive pistols at a highly competitive price.33
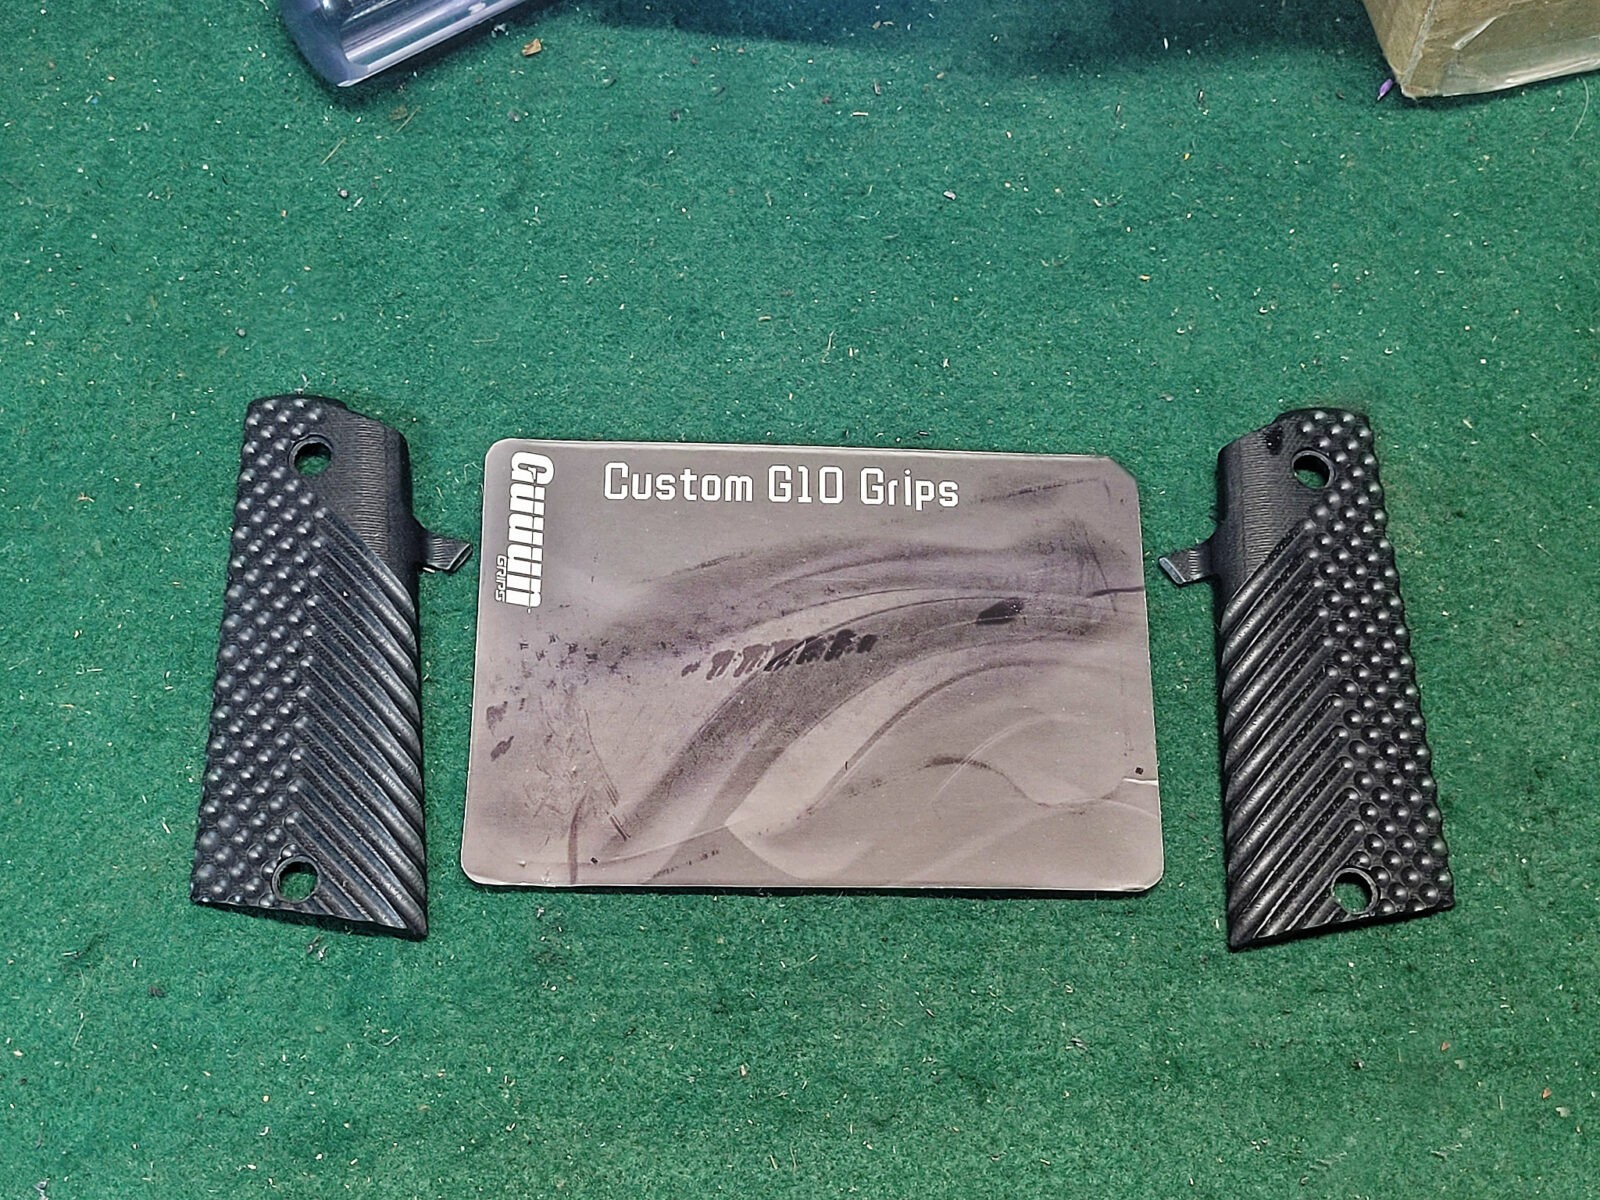
- TAC (Tactical) Series: This line is designed for defensive and tactical applications. Its defining feature is a full-length Picatinny accessory rail integrated into the dust cover, allowing for the mounting of lights and lasers. TAC models also typically include ambidextrous thumb safeties, extended beavertail grip safeties, and aggressively textured G10 grips.10
- Ultra & PRO Series: These represent the top tier of RIA’s 1911 offerings. They are equipped with premium features geared toward competition and high-performance shooting, such as fiber-optic front sights, fully adjustable rear sights, flared magazine wells for faster reloads, and match-grade components.35
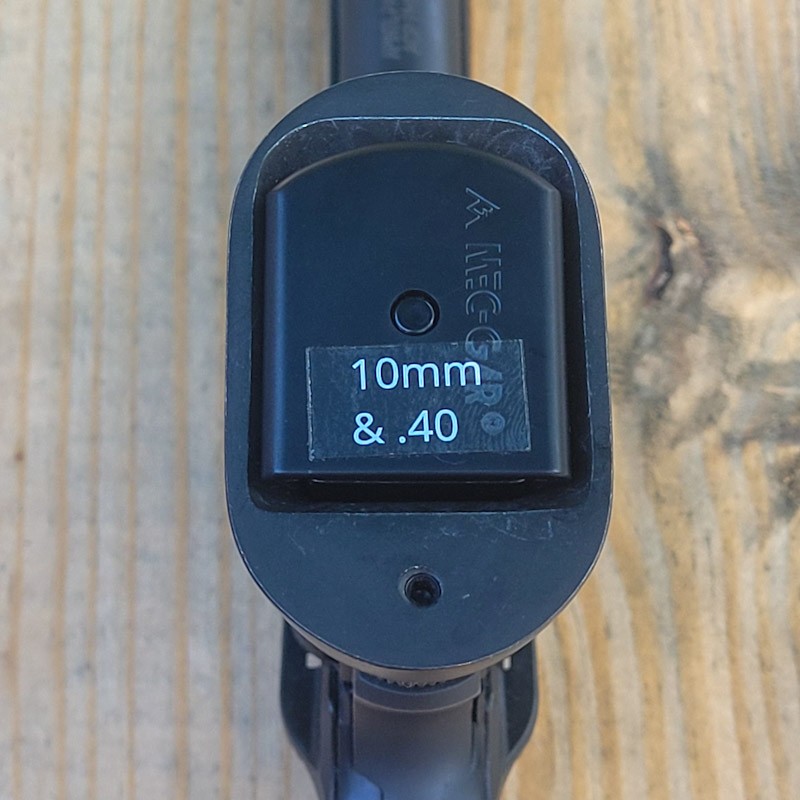
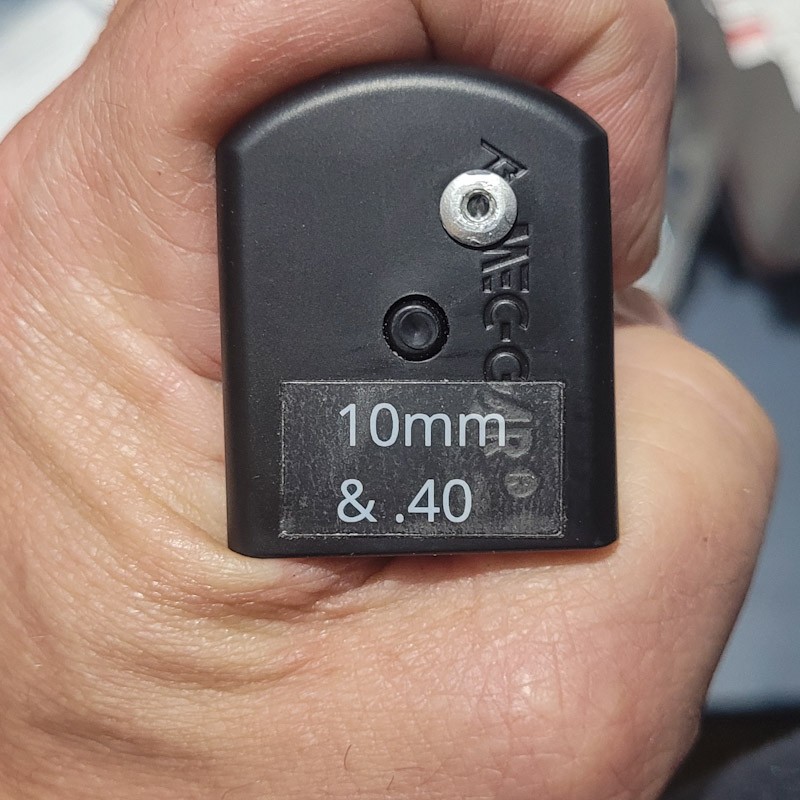
While the brand is synonymous with the.45 ACP cartridge, a key part of its strategy is offering this diverse 1911 platform in a multitude of calibers, including 9mm, 10mm Auto,.40 S&W,.38 Super, and its own proprietary.22 TCM cartridge.28
Table 1: Comparative Analysis of Rock Island Armory 1911 Series
| Series | Frame/Slide Material | Key Features | Primary Calibers | Target Market | MSRP Range (Approx.) |
| GI | Cast 4140 Steel Frame, Forged Slide | Low-profile G.I. sights, traditional spur hammer, standard safety, wood/polymer grips, no rail. | .45 ACP, 9mm,.38 Super | Entry-Level, Historical Purists | $400 – $550 |
| Rock | Cast 4140 Steel Frame, Forged Slide | Upgraded combat/Novak-style sights, skeletonized hammer & trigger, beavertail grip safety, rubber/G10 grips. | .45 ACP, 9mm, 10mm,.40 S&W | Mainstream Enthusiasts | $500 – $750 |
| TAC | Cast 4140 Steel Frame, Forged Slide | Full-length Picatinny rail, ambidextrous safety, fiber-optic front sight, G10 grips, extended beavertail. | .45 ACP, 9mm, 10mm | Tactical & Home Defense | $650 – $900 |
| Ultra / PRO | Cast 4140 Steel Frame, Forged Slide | All TAC features plus flared magazine well, adjustable rear sights, slide serrations, match-grade components. | .45 ACP, 9mm, 10mm,.40 S&W | Competition, High-Performance | $750 – $1,200 |
Revolvers and Other Pistols
Beyond its dominant 1911 lineup, Armscor produces several other handgun models. The company manufactures a line of simple, affordable double-action revolvers, most notably the M200 and M206 series, which are typically chambered in.38 Special and targeted at the budget self-defense market.11
Demonstrating its ability to work with diverse designs, Armscor also assembles and markets the MAPP series, a polymer-framed pistol based on the Tanfoglio Force, which is itself a clone of the renowned Czech CZ-75.11 In recent years, the company has ventured into the popular striker-fired market with its STK100 pistol, an aluminum-framed handgun with Glock-pattern compatibility.11 Most significantly, under its RIA-USA brand, the company has developed the RIA 5.0, an original and innovative high-performance pistol featuring a patented recoil system, signaling a clear ambition to compete in higher-end market segments based on proprietary design.11
Long Guns: Rifles and Shotguns
Armscor has a long history of long gun production, having manufactured bolt-action and rimfire rifles since 1980.11 Early and notable models include the Squires Bingham Model 20 and the M1600, an M16-style rifle chambered in.22 LR.42 The contemporary rifle lineup includes the modern TM22 series of semi-automatic rimfire rifles and the M22 bolt-action rifle, which is a key platform for the company’s.22 TCM cartridge.44 In a significant move to enter the centerfire rifle market, the company announced its first 5.56mm AR-platform rifle, the “Torch,” in 2024.11
The company’s shotgun portfolio is equally diverse. It includes traditional pump-action models like the M30 (based on the High Standard Flite King design) and various single-shot and over/under models.11 However, the most impactful development in its shotgun line has been the
VR (Virtual Reality) Series. This lineup consists of AR-style, magazine-fed, semi-automatic shotguns, which have become immensely popular in the U.S. market. The series includes the original VR60, the refined and highly successful VR80, the VRBP-100 bullpup, and the compact VRF14 “firearm”.48 This product line showcases Armscor’s strategic agility; rather than investing heavily in developing its own AR-style shotgun from the ground up, the company leveraged the robust manufacturing ecosystem in Turkey—a global hub for affordable shotgun production—to source and import these firearms under the trusted and well-established Rock Island Armory brand.54 This approach allowed RIA to rapidly enter a trending market segment with a competitive product, demonstrating a pragmatic business strategy focused on market opportunities over manufacturing dogma.
Section 5: Product Portfolio Analysis: Ammunition and Innovation
Armscor’s identity as a comprehensive arms manufacturer is solidified by its massive ammunition production capabilities. It is not merely a firearms assembler but a vertically integrated company that produces both the weapons and the cartridges they fire. This dual capability is a significant strategic advantage, and the company’s development of its own proprietary cartridge, the.22 TCM, demonstrates an ambition to be an innovator in the industry.
Ammunition Production
Armscor is a major global player in the ammunition market. Its production is split between the massive facility in Marikina, Philippines, and the dedicated Armscor Cartridge, Inc. (ACI) plant in Stevensville, Montana.8 Together, these facilities produce hundreds of millions of rounds annually, serving both civilian and military markets worldwide.
The company’s ammunition portfolio is broad, designed to cater to a wide range of shooting disciplines. It is generally organized into distinct product lines:
- Armscor USA: Ammunition manufactured in the Stevensville, Montana facility, primarily for training and target shooting in popular American calibers.19
- Armscor Precision: A line focused on performance for competitive and precision shooters, often featuring match-grade components.19
- Specialized Lines: The company also offers ammunition tailored for specific applications, including self-defense (often featuring jacketed hollow point projectiles), hunting, and cowboy action shooting.19
Armscor produces ammunition in a comprehensive array of calibers, covering rimfire (.22 LR,.22 Short,.22 WMR), pistol (9mm,.45 ACP,.38 Special, 10mm, etc.), and rifle (.223 Rem/5.56mm,.308 Win,.300 Blackout), ensuring it can supply cartridges for nearly every firearm it sells and for the market at large.56
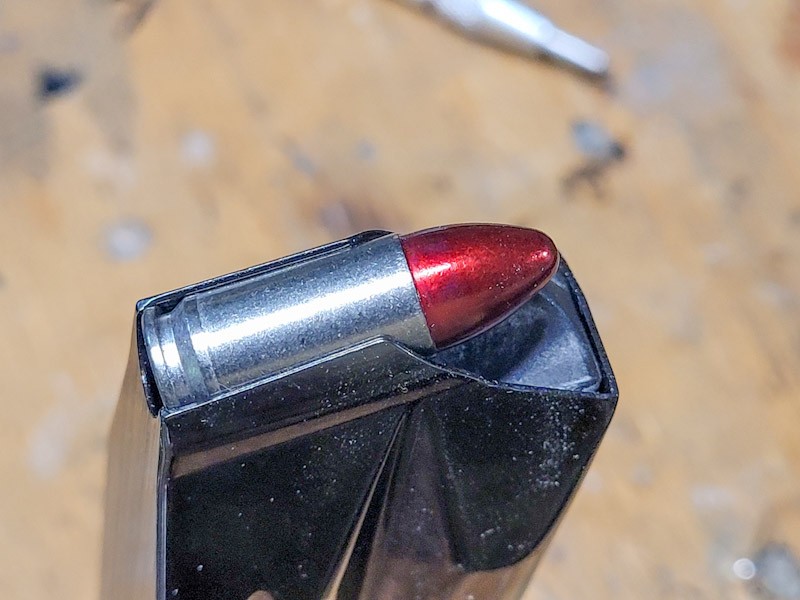
The.22 TCM Innovation
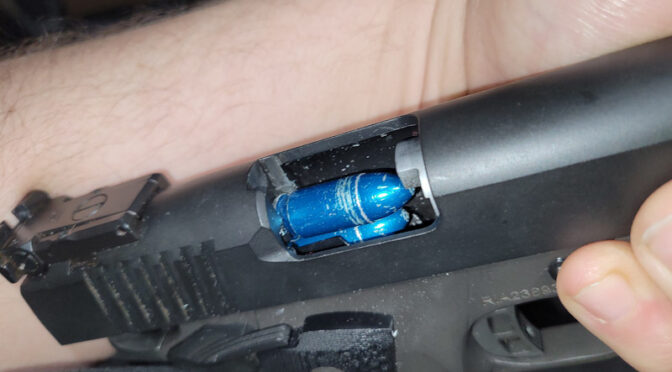
The most significant and original contribution Armscor has made to the world of ammunition is its proprietary .22 TCM (Tuason Craig Micromagnum) cartridge.4 Developed in a collaboration between Martin Tuason and American gunsmith Fred Craig, the cartridge was designed to offer a unique performance envelope, combining high velocity with low recoil in a 1911 platform.63
- Design and Performance: The.22 TCM is a bottlenecked, centerfire cartridge derived from a 5.56x45mm NATO case that has been shortened to an overall length compatible with.38 Super/9mm 1911 magazines.4 It fires a lightweight, 40-grain,.224-inch diameter projectile at extremely high velocities—approximately 2,000 feet per second from a 5-inch pistol barrel and up to 2,800 fps from the 22-inch barrel of the M22 rifle.63 This performance results in a very flat trajectory, minimal recoil comparable to a.380 ACP, and a dramatic muzzle flash and report, making for a unique shooting experience.63
Variants and Platforms: To increase its versatility, Armscor introduced a key variant:
- .22 TCM-9R: This version features a slightly lighter 39-grain bullet seated more deeply in the case, resulting in a shorter overall length. This modification makes the cartridge compatible with standard 9mm magazines and firearms, most notably enabling the creation of conversion kits for popular platforms like Glock pistols.62
- The primary platforms for the.22 TCM are Rock Island Armory’s own firearms, particularly its 1911 pistols, which are often sold as a “combo” package that includes both a.22 TCM barrel/recoil spring and a 9mm barrel/recoil spring.68 This was a brilliant marketing strategy, as it significantly lowered the barrier to entry for a new and proprietary caliber by allowing consumers to experiment with the novel round while retaining the practical utility of a standard 9mm pistol. The cartridge is also chambered in the Armscor M22 bolt-action rifle.46
The development of the.22 TCM and its associated firearms is a classic example of creating a closed product ecosystem. By designing a proprietary cartridge with unique characteristics, Armscor simultaneously created a captive market for the specific firearms engineered to chamber it. While the.22 TCM has remained a niche caliber and has not achieved the mainstream success of cartridges like the 5.7x28mm to which it is often compared, its existence is strategically significant.64 It serves as a powerful demonstration of Armscor’s research and development capabilities, signaling to the market that the company is more than a mere replicator of existing designs and possesses the technical acumen to design, produce, and commercialize a complete firearm-and-cartridge system from the ground up.
Table 2: Specifications and Applications:.22 TCM vs..22 TCM-9R
| Attribute | .22 TCM | .22 TCM-9R |
| Parent Case | 5.56x45mm NATO | 5.56x45mm NATO |
| Bullet Weight / Type | 40-grain / Jacketed Hollow Point (JHP) | 39-grain / Jacketed Hollow Point (JHP) |
| Muzzle Velocity (Pistol) | ~2,000 fps | ~1,875 fps |
| Muzzle Energy (Pistol) | ~381 ft-lbs | ~312 ft-lbs |
| Overall Length | ~1.265 inches | ~1.160 inches (9mm compatible) |
| Key Feature | Original high-velocity design. | Shorter length for compatibility with standard 9mm magazines and firearms. |
| Primary Platforms | RIA 1911 (Double-Stack, Full-Size), Armscor M22 Rifle. | RIA 1911 (Single-Stack, Compact), Glock Conversion Kits, MAPP Series. |
Section 6: Strategic Analysis and Market Position
Armscor’s century-long evolution has culminated in a distinct and formidable position within the global small arms market. Its success is not accidental but the result of a disciplined, multi-generational business strategy centered on a clear value proposition, savvy branding, and a pragmatic approach to manufacturing and market expansion. The company’s recent pivot toward the defense sector represents the next logical step in its maturation from a commercial goods producer to a strategic industrial player.
Core Value Proposition: The “Affordable Reliability” Niche
The foundation of Armscor’s commercial success is encapsulated in its marketing slogans: “Right on target. Right on the Price” and “Solid as a rock”.7 The company has masterfully carved out a niche in the budget-to-mid-tier segment of the market by offering firearms that are functional, durable, and reliable at a price point that significantly undercuts most American and European competitors.10
This strategy has been most powerfully executed with its Rock Island Armory 1911 line. By making the iconic American pistol platform accessible to a mass audience, RIA has effectively become the “gateway” to 1911 ownership for countless new shooters and budget-conscious enthusiasts who might otherwise be priced out of the market.10 This approach has allowed Armscor to achieve a scale of production that few other 1911 manufacturers can match, creating a virtuous cycle of high-volume production and low unit cost.
Competitive Landscape
Armscor operates in a fiercely competitive environment, particularly within its flagship 1911 market.
- 1911 Market: In the value-priced segment, RIA’s primary competitors are other import brands, most notably Turkish manufacturers such as Tisas and Girsan, as well as other budget-oriented companies like Auto-Ordnance and Taurus.77 It competes for the next tier of buyers with established American brands like Springfield Armory and Ruger. The company is strategically positioned well below the premium and semi-custom tiers occupied by brands such as Colt, Kimber, Sig Sauer, and Dan Wesson, choosing not to compete on fit and finish but on functional value.77 Armscor’s strategy has been one of market disruption; by redefining the entry-level price for a reliable 1911, it has forced established brands to either cede the budget market or introduce their own lower-cost lines to remain competitive.
- AR-Style Shotgun Market: The RIA VR series competes in a crowded field of largely Turkish-made, AR-style, magazine-fed shotguns. In this segment, differentiation often comes down to specific features, brand reputation, and price, and RIA has successfully used its established brand equity to become a leading player.81
Strategic Pivot to Defense
The 2017 rebranding to Armscor Global Defense, Inc. and the subsequent launch of the RIA Defense product line signify a crucial strategic pivot.17 This initiative represents a deliberate move to capture a larger share of the military and law enforcement market, both domestically in the Philippines and internationally.
The core of the RIA Defense strategy is to develop firearms specifically tailored to the unique requirements of the Philippine military and police—considering factors like the tropical environment, the physical stature of the average Filipino soldier, and budgetary constraints.26 This positions Armscor not just as a vendor, but as a collaborative partner in national defense, aligning perfectly with the Philippine government’s
Self-Reliant Defense Posture (SRDP) program, which aims to reduce the nation’s dependence on foreign military suppliers.2 This strategy has already borne fruit, with significant contracts to supply the Armed Forces of the Philippines (AFP), including a landmark deal for 50,000 M1911 pistols and its critical role as a supplier during the 2017 Marawi siege.3
This pivot is a classic business maturation strategy. It allows Armscor to de-risk its operations by diversifying away from the highly cyclical and politically sensitive U.S. civilian firearms market. By becoming a critical supplier to its own government, Armscor ensures a stable revenue stream, elevates its corporate status to that of a strategic national asset, and builds a foundation for future international defense contracts.
Challenges and Market Perception
Despite its widespread success, Armscor faces persistent challenges related to market perception. While lauded for their value, Rock Island Armory products are sometimes criticized for inconsistent quality control, a rougher fit-and-finish compared to higher-priced firearms, and a tendency for some firearms to require a “break-in” period to achieve optimal reliability.75
Furthermore, the company’s customer service receives decidedly mixed reviews. While some customers report positive and helpful interactions, a significant number of online accounts detail frustrating experiences with the warranty and repair process, citing long wait times and unresolved issues.88 These service inconsistencies represent a potential vulnerability for a brand whose reputation is built on reliability. These challenges can be understood as a direct consequence of the company’s high-volume, low-margin business model. Investing in a large, highly-trained, U.S.-based customer service and gunsmithing team is a significant cost center that runs counter to the core strategy of maximizing affordability. While a lifetime warranty is offered, its execution can be inconsistent, creating a dichotomy where a widely popular product can, for an unlucky minority of customers, lead to a frustrating ownership experience.
Conclusion
The history of Armscor Global Defense, Inc. is a testament to the power of strategic vision, industrial adaptation, and generational persistence. From a small Manila print shop in 1905, it has grown into a globally significant arms manufacturer, fundamentally reshaping the market for one of the world’s most iconic firearms. Its success is not a simple story of low-cost labor, but a complex narrative of calculated business decisions.
The entrepreneurial spirit of the Tuason family provided the resilience to survive war and the ambition to look beyond national borders. The acquisition of the Rock Island Armory brand was a transformative act of marketing genius, providing the American identity needed to unlock the world’s largest consumer firearms market. This success was then solidified by a deep investment in modern, high-efficiency manufacturing technology, allowing the company to deliver on its promise of “affordable reliability” at a scale its competitors cannot easily replicate.
Through its Rock Island Armory 1911s, Armscor democratized a platform, making it accessible to a new generation of shooters. With innovations like the.22 TCM cartridge and the VR series of shotguns, it has demonstrated a capacity for both internal R&D and savvy brand management.
Today, Armscor stands at a new inflection point. Its aggressive expansion into U.S.-based manufacturing and its strategic pivot toward the global defense market signal a new phase of maturation. The company is evolving from a disruptive commercial exporter into a resilient, transnational corporation and a key partner in its home country’s national security apparatus. This dual identity—as a provider of value-driven firearms to the global civilian market and as a strategic asset to the Philippine defense industry—positions Armscor for continued relevance and growth in the complex and ever-changing landscape of the 21st-century small arms industry.
Please share the link on Facebook, Forums, with colleagues, etc. Your support is much appreciated and if you have any feedback, please email us in**@*********ps.com. If you’d like to request a report or order a reprint, please click here for the corresponding page to open in new tab.
Works cited
- Webinars – Institute of Corporate Directors, accessed August 17, 2025, https://www.icd.ph/webinars-13-armscor-webinar
- Armscor Global Defense, Inc. : Targeting Firearm Excellence – APAC …, accessed August 17, 2025, https://www.apacoutlookmag.com/manufacturing/armscor-global-defense-inc-targeting-firearm-excellence
- Armscor to supply 50000 .45 ACP pistols to Philippine military (PHOTOS) – Guns.com, accessed August 17, 2025, https://www.guns.com/news/2018/12/04/armscor-to-supply-50000-45-acp-pistols-to-philippine-military-photos
- Armscor (Philippines) – Wikiwand, accessed August 17, 2025, https://www.wikiwand.com/en/articles/Armscor_(Philippines)
- Armscor – 2025 Company Profile & Competitors – Tracxn, accessed August 17, 2025, https://tracxn.com/d/companies/armscor/__lr9FG7dAP1tnnLt-TXujO-yR8ke1jQYARWI2iGjSHFo
- Armscor – Your strategic partner of choice for defence and security solutions., accessed August 17, 2025, https://www.armscor.co.za/
- Company Heritage | Rock Island Armory and Armscor, accessed August 17, 2025, https://www.armscor.com/about-us/heritage/
- Armscor: Three Generations And Counting | An Official Journal Of The NRA, accessed August 17, 2025, https://www.americanrifleman.org/content/armscor-three-generations-and-counting/
- How Armscor Was Formed And Expanded In The Us Firearms Market | Smoky Mountain Guns and Ammo, accessed August 17, 2025, https://www.smga.com/blog-armscor
- Dual Citizenship: The Rock Island Armory Story | An Official Journal Of The NRA, accessed August 17, 2025, https://www.americanrifleman.org/content/dual-citizenship-the-rock-island-armory-story/
- Armscor (Philippines) – Wikipedia, accessed August 17, 2025, https://en.wikipedia.org/wiki/Armscor_(Philippines)
- The best of the Philippines to the world | Philstar.com, accessed August 17, 2025, https://www.philstar.com/business/2012/03/10/785143/best-philippines-world
- Our History | Firearms and Explosives Office, accessed August 17, 2025, https://feo.csg.pnp.gov.ph/our-history/
- For Arms Corporation of the Philippines, work is more than just making money. It’s about giving back to the communities it ope – static.theceomagazine.com, accessed August 17, 2025, https://static.theceomagazine.com/content/downloads/pdf/ASIA-2017.03-I_Martin%20Tuason_ARMS%20CORPORATION.pdf
- Homegrown gun-maker captures offshore markets with a big bang …, accessed August 17, 2025, https://business.inquirer.net/373859/homegrown-gun-maker-captures-offshore-markets-with-a-big-bang
- About – Armscor Shooting Center, Inc., accessed August 17, 2025, https://armscorshop.com/pages/about
- Armscor guns for global growth | Inquirer Business, accessed August 17, 2025, https://business.inquirer.net/383453/armscor-guns-for-global-growth
- Armscor to double production of firearms – Philstar.com, accessed August 17, 2025, https://www.philstar.com/business/2012/03/02/782424/armscor-double-production-firearms
- ARMSCOR Ammo for Sale – Black Basin Outdoors, accessed August 17, 2025, https://blackbasin.com/armscor/
- Shooting for growth in 2023 – Radio Philippines Network, accessed August 17, 2025, https://rpnradio.com/shooting-for-growth-in-2023/
- RIA USA Careers | Rock Island Armory and Armscor, accessed August 17, 2025, https://www.armscor.com/en/careers
- Armscor To Begin Operations in Cedar City – Governor’s Office of Economic Opportunity, accessed August 17, 2025, https://business.utah.gov/news/armscor-to-begin-operations-in-cedar-city/
- UT: Armscor to Open Office in Iron County, Adding 88 New Jobs, accessed August 17, 2025, https://www.tradeandindustrydev.com/region/utah/news/ut-armscor-open-office-iron-county-adding-88-new-17961
- RIA USA | Rock Island Armory and Armscor, accessed August 17, 2025, https://www.armscor.com/ria-usa
- Armscor unveils latest products at largest weapons industry convention in US – YouTube, accessed August 17, 2025, https://www.youtube.com/watch?v=P8KAzxFuB9A
- Business – Manila Bulletin, accessed August 17, 2025, https://mb.com.ph/2025/1/1/armscor-investing-p1-billion-to-boost-capacity-for-local-export-markets
- Armscor aims for military, law enforcement market with new product line – Inquirer Business, accessed August 17, 2025, https://business.inquirer.net/480758/armscor-aims-for-military-law-enforcement-market-with-new-product-line
- Guns and Firearms | Rock Island Armory and Armscor, accessed August 17, 2025, https://www.armscor.com/firearms
- Rock Island Armory 1911 series – Wikipedia, accessed August 17, 2025, https://en.wikipedia.org/wiki/Rock_Island_Armory_1911_series
- Review: Rock Island 1911 | The Armory Life Forum, accessed August 17, 2025, https://www.thearmorylife.com/forum/threads/review-rock-island-1911.5231/
- Rock Island Armory M1911 GI Standard 45 Auto (ACP) 5in Parkerized Pistol – 8+1 Rounds, accessed August 17, 2025, https://www.sportsmans.com/shooting-gear-gun-supplies/handguns/rock-island-armory-m1911-gi-standard-45-auto-acp-5in-parkerized-pistol-81-rounds/p/1321104
- The GI 1911 from Rock Island Armory (Review) – The Mag Life – GunMag Warehouse, accessed August 17, 2025, https://gunmagwarehouse.com/blog/rock-island-1911-review/
- // PRODUCT CATALOG, accessed August 17, 2025, https://559399.fs1.hubspotusercontent-na1.net/hubfs/559399/2025%20Catalogs/24_Arms_Catalog_2025_RIA-RIA-USA.pdf
- Armscor International, Inc – Rock Island Armory, accessed August 17, 2025, https://www.armscor.com/rock
- What You Should Know About the ROCK Series, accessed August 17, 2025, https://news.armscor.com/what-you-should-know-about-the-rock-series
- TAC Series | Rock Island Armory | Armscor International, Inc, accessed August 17, 2025, https://www.armscor.com/tac
- Rock Island 1911 Pistols | MidwayUSA, accessed August 17, 2025, https://www.midwayusa.com/interest-hub/rock-island-1911
- Rock Island Armory: Guns | 1911 Pistols, Rifles, Shotguns & Handguns, accessed August 17, 2025, https://www.armscor.com/
- Armscor Guns and Ammo – Ammunition Depot, accessed August 17, 2025, https://www.ammunitiondepot.com/armscor
- RIA 5.0E | Rock Island Armory | Armscor International, Inc, accessed August 17, 2025, https://www.armscor.com/ria50e
- // PRODUCT CATALOG, accessed August 17, 2025, https://559399.fs1.hubspotusercontent-na1.net/hubfs/559399/2025%20Catalogs/24_Arms_Catalog_2025_RIAUSA.pdf
- Armscor M16 22 – Wikipedia, accessed August 17, 2025, https://en.wikipedia.org/wiki/Armscor_M16_22
- ARMSCOR RIMFIRE BATTLE GUNS – Small Arms Review, accessed August 17, 2025, https://smallarmsreview.com/armscor-rimfire-battle-guns/
- Rifle Series: Rock Island Armory | Armscor International, Inc, accessed August 17, 2025, https://www.armscor.com/rifles
- Armscor Rifles for Sale – Hinterland Outfitters, accessed August 17, 2025, https://www.hinterlandoutfitters.com/departments/firearms/rifles/rf-manufacturers/armscor.html
- M22 TCM BA 22TCM 5rd – Rock Island Armory, accessed August 17, 2025, https://www.armscor.com/firearms-list/m22-tcm-ba-22tcm-5rd
- Armscor to enter 5.56 mm rifle market with new civilian semi-auto – InsiderPH, accessed August 17, 2025, https://insiderph.com/armscor-to-enter-556-mm-rifle-market-with-new-civilian-semi-auto
- Shotguns – Armscor – Midwest Gun Works, accessed August 17, 2025, https://www.midwestgunworks.com/armscor/shotguns.html
- Shotguns | Armscor International, Inc – Rock Island Armory, accessed August 17, 2025, https://www.armscor.com/shotguns
- The VR Lineup: Tactical Shotguns for Home Defense, Hunting & Range Day, accessed August 17, 2025, https://news.armscor.com/ria-vr-series-lineup
- Armscor VRF14 12-Gauge Shotgun: Full Review – Firearms News, accessed August 17, 2025, https://www.firearmsnews.com/editorial/armscor-vrf14-12-gauge-shotgun-review/462297
- Rock Island Armory’s Shotgun Series: A Comprehensive Guide, accessed August 17, 2025, https://news.armscor.com/rock-island-armorys-shotgun-series-a-comprehensive-guide
- VR 60 Semi-Auto Shotgun Series From Armscor Will Rock AR Fans – GUNS Magazine, accessed August 17, 2025, https://gunsmagazine.com/guns/shotguns/vr-60-semi-auto-shotgun-series-from-armscor-will-rock-ar-fans/
- Armscor Semi-Auto Shotguns – Guns and Ammo, accessed August 17, 2025, https://www.gunsandammo.com/editorial/armscor-semi-auto-shotguns/360072
- Rock Island Armory VR80 – Gun Tests, accessed August 17, 2025, https://www.gun-tests.com/shotguns/rock-island-armory-vr80/
- Armscor Ammo – Cheap Rounds for Sale, accessed August 17, 2025, https://www.ammunitiontogo.com/armscor
- Armscor Ammo For Sale at Target Sports USA, accessed August 17, 2025, https://www.targetsportsusa.com/armscor-m-128.aspx
- Buy Armscor Ammo (Fastest Shipping & Bulk Prices), accessed August 17, 2025, https://ammo.com/brands/armscor-ammo
- Armscor Ammo & Components – Graf & Sons, accessed August 17, 2025, https://www.grafs.com/armscor-ammo-components
- Shop Deals on Armscor Ammo In-Stock & Fast Shipping, accessed August 17, 2025, https://trueshotammo.com/brand/armscor/
- Armscor Ammo for Sale – AmmoForSale.com, accessed August 17, 2025, https://www.ammoforsale.com/armscor
- Ammo | Armscor International, Inc – Rock Island Armory, accessed August 17, 2025, https://www.armscor.com/ammo
- About .22 TCM | True Shot Ammo, accessed August 17, 2025, https://trueshotammo.com/academy/about-22-tcm/
- .22 TCM – Wikipedia, accessed August 17, 2025, https://en.wikipedia.org/wiki/.22_TCM
- Armscor USA 22 TCM Ammunition 40 Grain Jacketed Hollow Point – FAC22TCM-1N, accessed August 17, 2025, https://www.targetsportsusa.com/armscor-usa-22-tcm-ammo-40-grain-jacketed-hollow-point-fac22tcm-1n-p-3619.aspx
- .22 TCM Cartridge Review – RifleShooter, accessed August 17, 2025, https://www.rifleshootermag.com/editorial/review-the-22-tcm-cartridge/83389
- Rock Island Armory M22 22 TCM Rifle : 22 Micromag! – YouTube, accessed August 17, 2025, https://www.youtube.com/watch?v=itdkrBiOshw
- Rock Island Armory .22TCM/9mm 1911 Pistol Review – Blog.GritrSports.com, accessed August 17, 2025, https://blog.gritrsports.com/armscor-rock-island-armory-22tcm/
- 1911 Rock Island Armory 22 TCM: Sootch00 Pistol Review – GetZone.com, accessed August 17, 2025, https://www.getzone.com/sootchzone-rock-island-armory-22-tcm-1911/
- TCM ROCK Standard FS HC Combo – 22TCM/9mm Review – Spotter Up, accessed August 17, 2025, https://spotterup.com/tcm-rock-standard-fs-hc-combo-22tcm9mm-review/
- Armscor 22 TCM 9R Ammunition 22TCM9R 39 Grain Jacketed Hollow Point 50 Rounds, accessed August 17, 2025, https://outdoorlimited.com/handgun-ammo/22-tcm/armscor-ammunition/armscor-22-tcm-9r-ammunition-39-grain-jacketed-hollow-point-50-rounds/
- TCM Standard MS 22TCM – Rock Island Armory, accessed August 17, 2025, https://www.armscor.com/firearms-list/tcm-standard-ms
- Rock Island Armory .22 TCM / 9mm 1911 Review | How to Swap Calibers & Range Test! #196 – YouTube, accessed August 17, 2025, https://www.youtube.com/watch?v=bK17-BksE7Y
- Which manufacturer makes higher quality 1911s between Norinco and Rock Island Armory?, accessed August 17, 2025, https://www.quora.com/Which-manufacturer-makes-higher-quality-1911s-between-Norinco-and-Rock-Island-Armory
- Review: Rock Island Armory 1911 – The Shooter’s Log, accessed August 17, 2025, https://blog.cheaperthandirt.com/review-rock-island-1911/
- Rock Island Armory M1911A1 – The Sight 1911, accessed August 17, 2025, https://sightm1911.com/lib/review/RIA_M1911A1.htm
- The Best 1911s: Find Your Perfect Match | American Firearms, accessed August 17, 2025, https://www.americanfirearms.org/best-1911/
- Decades of Shooting: One Author’s Top 10 1911 Handguns – The Shooter’s Log, accessed August 17, 2025, https://blog.cheaperthandirt.com/decades-of-shooting-one-authors-top-10-1911-handguns/
- Rock Island 1911? | SBG Sword Forum, accessed August 17, 2025, https://sbg-sword-forum.forums.net/thread/66644/rock-island-1911
- 15 Best 1911 Manufacturers of 2024 | Craft Holsters, accessed August 17, 2025, https://www.craftholsters.com/1911/guides/best-1911-manufacturers
- [Review] Rock Island VRBP-100, VR60, & VR80 Shotguns – Pew Pew Tactical, accessed August 17, 2025, https://www.pewpewtactical.com/rock-island-vr60-vr80-vrbp100-review/
- Rock Island VR80? : r/Shotguns – Reddit, accessed August 17, 2025, https://www.reddit.com/r/Shotguns/comments/10ootn8/rock_island_vr80/
- Armscor launches RIA Defense rifles, pistols for military, law enforcement markets, accessed August 17, 2025, https://insiderph.com/armscor-launches-ria-defense-rifles-pistols-for-military-law-enforcement-markets
- Armscor guns for stronger presence in military market – Philstar.com, accessed August 17, 2025, https://www.philstar.com/business/2024/09/20/2386486/armscor-guns-stronger-presence-military-market
- Rock Island Armory 1911 Review [2024]: 5000 Round Test! – Gun University, accessed August 17, 2025, https://gununiversity.com/rock-island-armory-1911-review/
- Rock Island Armory 1911 Review: A Budget 1911 – Gun Made, accessed August 17, 2025, https://www.gunmade.com/rock-island-m1911-review/
- “Budget” Rock Island 1911 GI .45 ACP Shooting Review – Great INEXPENSIVE 1911 Pistol? Is It Worth It – YouTube, accessed August 17, 2025, https://www.youtube.com/watch?v=RDm1Y4R4r7Q
- How good/reliable are Rock Island Armory M1911’s? : r/1911 – Reddit, accessed August 17, 2025, https://www.reddit.com/r/1911/comments/11k8git/how_goodreliable_are_rock_island_armory_m1911s/
- Armscor Precision International | BBB Complaints | Better Business Bureau, accessed August 17, 2025, https://www.bbb.org/us/nv/pahrump/profile/gun-dealers/armscor-precision-international-1086-59382/complaints
- For the Love of God, Do Yourself a Favor and Don’t Buy a Rock Island Armory/Armscor Revolver. : r/guns – Reddit, accessed August 17, 2025, https://www.reddit.com/r/guns/comments/xvq5ur/for_the_love_of_god_do_yourself_a_favor_and_dont/
- Just packaging my brand new Armscor/Rock Island Armory revolver for its FOURTH trip back to the service center. : r/guns – Reddit, accessed August 17, 2025, https://www.reddit.com/r/guns/comments/xx5ige/just_packaging_my_brand_new_armscorrock_island/