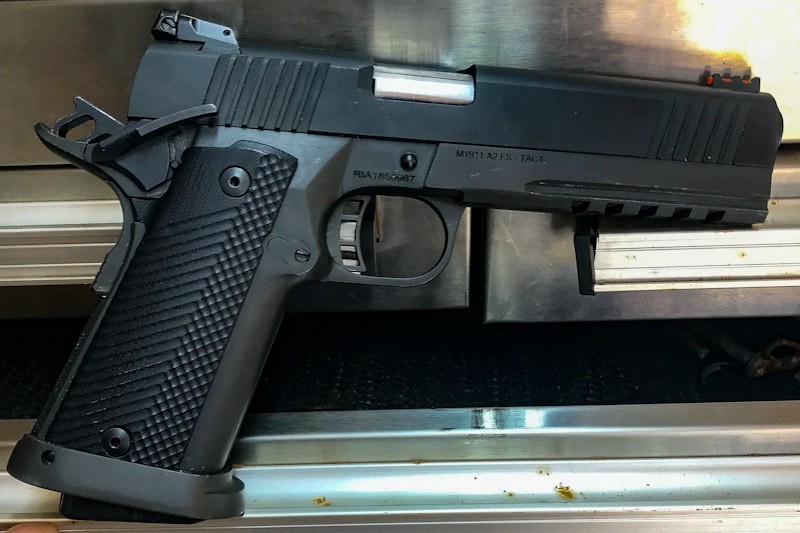
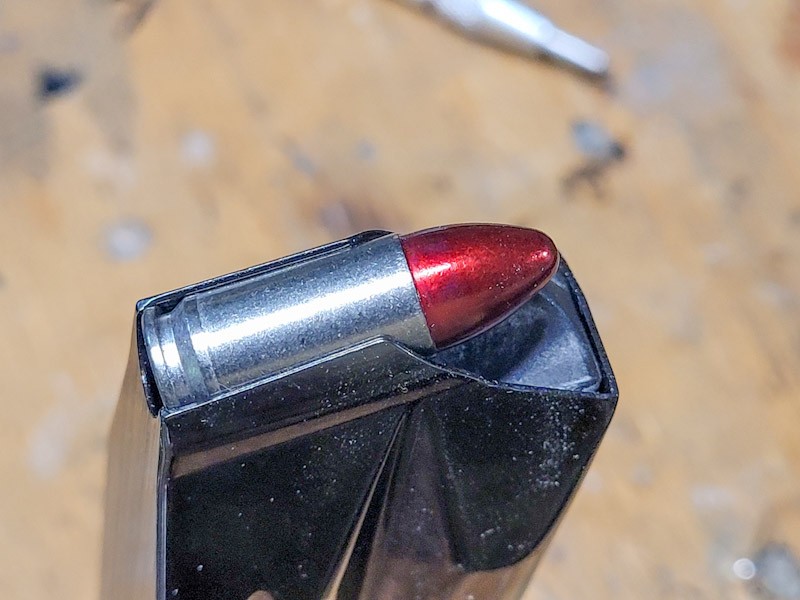
One of the things I enjoy about the firearm industry is meeting neat people. Dan Barnett contacted me a few weeks back. He is a certified “polymer” pistol armorer and had recently got into 1911s. As part of the journey, he purchased a used Rock Island Armory 51679 Tac Ultra FS HC 9mm and was trying to sort out why it was failing to eject way more than he cared for and he would have an empty case and a round trying to be fed in the slide at the same time. He and I hit it off because we both like the soft shooting Rocks.
Because of my past experiences with RIA Tac Ultra 9mm extractors failing, I asked him how his looked and he told me that it looked nice and sharp – no broken parts. I send him my blog post on extractors and recommended he switch his to a Wilson Combat if he ever runs into a problem or wants to make the upgrade anyways.
There was a possibility the extractor tension was too light but I figured we’d assume it was okay for the moment. Note, if you open a slide slowly and watch the cartridge or casing being extracted, the extractor should maintain control all the way to the ejector. If it doesn’t and the extractor looks ok then it is most likely the tension and there are specialty gauges out there for testing and setting them.
With the extractor tentatively ruled out, what I told him was that not many people understand how critical the magazine feed lips are to proper feeding and ejection of a 1911 and that his Tac Ultra was just that – an oversize 1911.
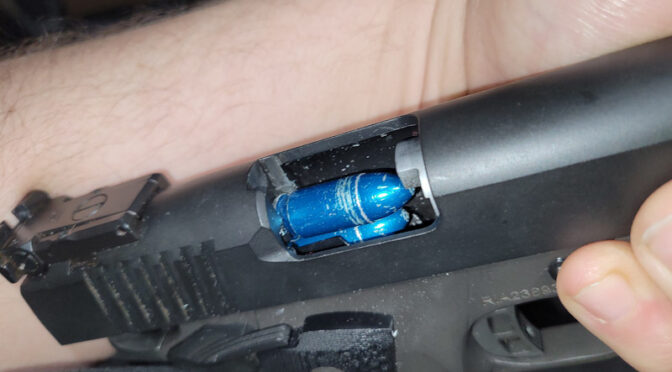
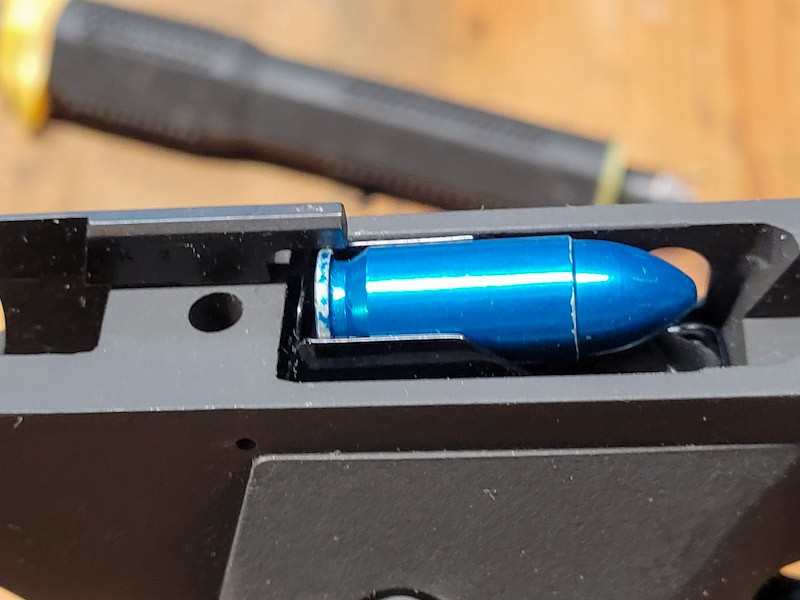
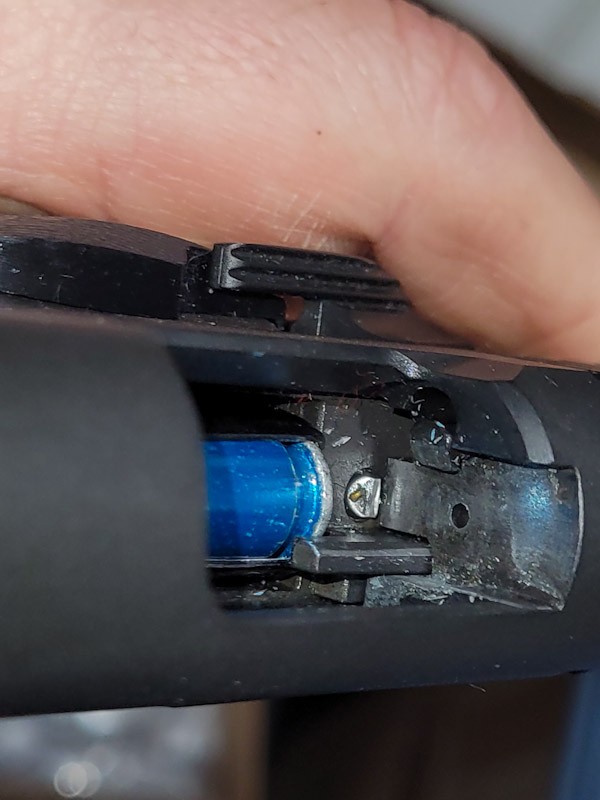
What can happen is that the front feed lip gap can be set too wide allowing the front of the cartridge to tilt up in the air too far. Then, as the newly extracted case comes backwards, the riding too high bullet pushes the spent case up just enough to miss the ejector. Honestly, there is a really delicate brilliant dance going on inside a 1911 and all it takes is something to be off just enough and things go wrong.
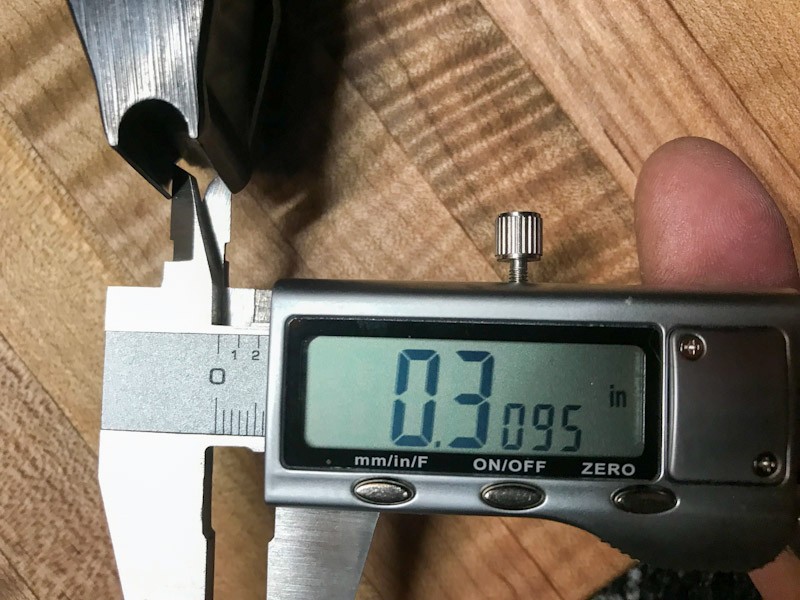
Dan took his calipers to the four mags he had and the front of the feed lips that can be adjusted were all over 0.320″ and I recommend starting somewhere between 0.308 to 0.312″. There isn’t a magic number due to all of the variables one can encounter. Too wide and it can cause a failure to eject or stove piping. You can even have rounds falling out of the mag. Too narrow and you have the cartridge moving straight ahead, smashing nose first into the feedramp and stopping / jamming right then and there.
Dan asked what he should do, I told him to disassemble the magazine and then carefully hold the magazine budy (the “tube”) on a table or better yet a piece of wood that lets the bottom lips dangle but supports the magazine all the upwards. Then lightly tap on each front side of the magazine to close the gap. Light tap left, light tap right, and measure. Repeat until it gets to the right gap – either via measurement or testing the mag with some dummy rounds.
By the way, the back of the magazine is fixed due to the folded metal ears that form the back of the lips. You can’t adjust them much at all or they will buckle or break. I leave them alone.
This tapping doesn’t take a ton of effort so use a light hammer and light taps – this is not a “mongo smash” moment because if you crush the neck of the mag, it’s game over unless you have a mandrel to open it back up. These days I use a light body hammer to do the work.
If you go too far and need to open the lips, use malleable chain pliers also known as chandelier or lamp chain pliers to open the lips back up. External snap ring pliers can also work but are not my first choice. The chain pliers distribute the pressure along a larger area of the lips vs. the relative point pressure of the snap ring pliers’ pins.
Feed lip gaps will change with use – this is not a one time exercise and why it is a good idea to number your mags. This way you can write down the setting for each magazine or know that when you get back front the range which magazine you need to take a look at.
How did the adjustments work out for Dan? He finished a 1,000 round tactical range session with zero malfunctions. I told him to have fun because there is always something to adjust or tinker with on a 1911 and I mean that in a good way.
So, I hope this post helps you out!
Please share the link on Facebook, Forums, with colleagues, etc. Your support is much appreciated and if you have any feedback, please email us in**@*********ps.com. If you’d like to request a report or order a reprint, please click here for the corresponding page to open in new tab.