
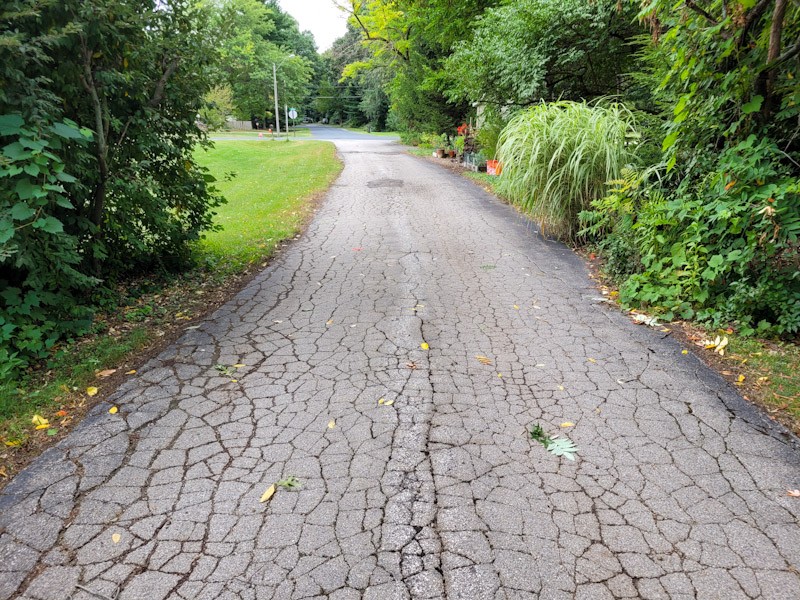
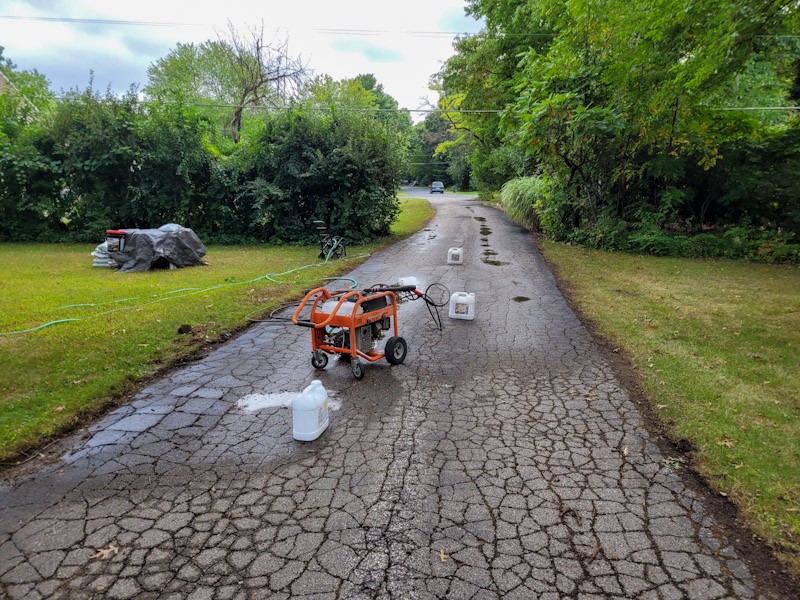
My wife and I wanted to seal our 160 foot long x 12 foot wide driveway in 2022. My first thought was to use a service but they were sold out for the season by the time we asked so we decided to try and do it ourselves.
What I found out is that the old days of buying some liquid tar / oil based product are gone. You have to buy all these different products that are based on latex of some other chemical. You need one thing to seal holes, another for big cracks and the sealant. Okay, we have a big driveway and it is beat to hell, falling apart and really ought to be replace but we couldn’t afford it. So, what did we do? We took a gamble and the results are so-so but I learned a lot and want to share them because I bet they will help you regardless of brand or product you are using.
Getting Started
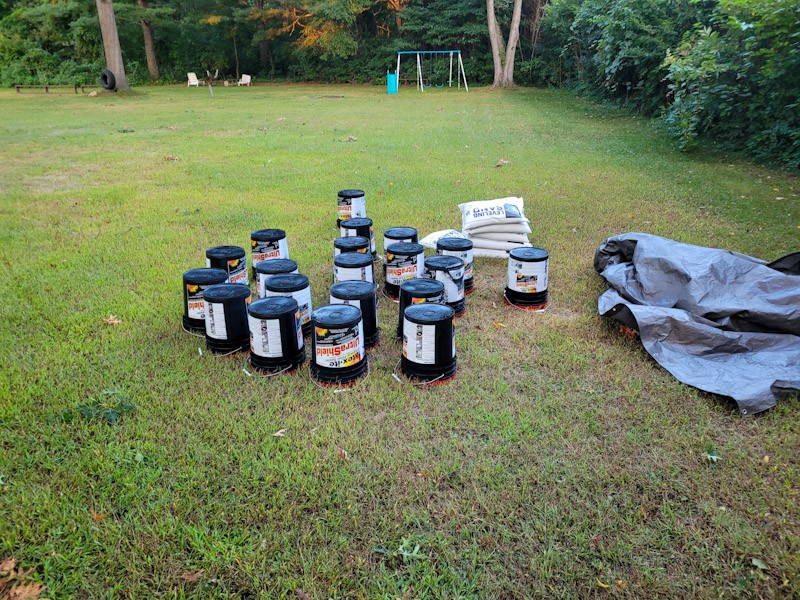
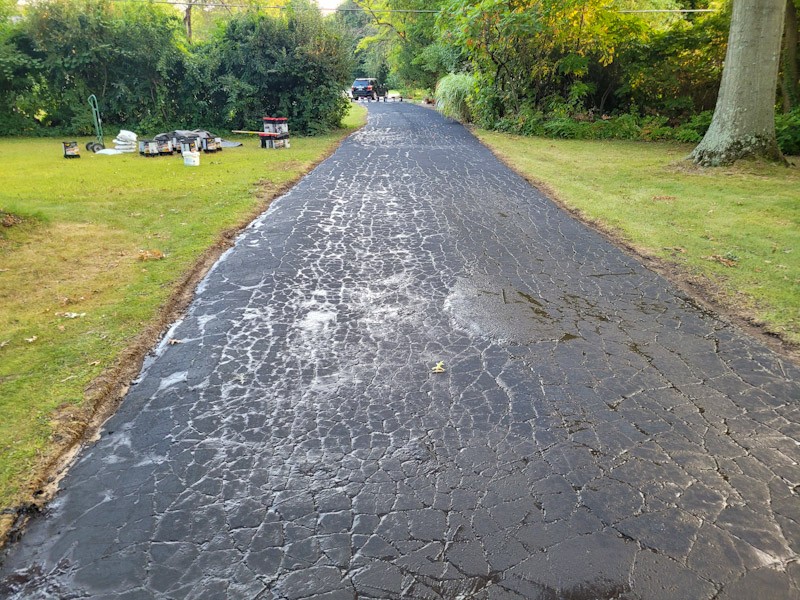
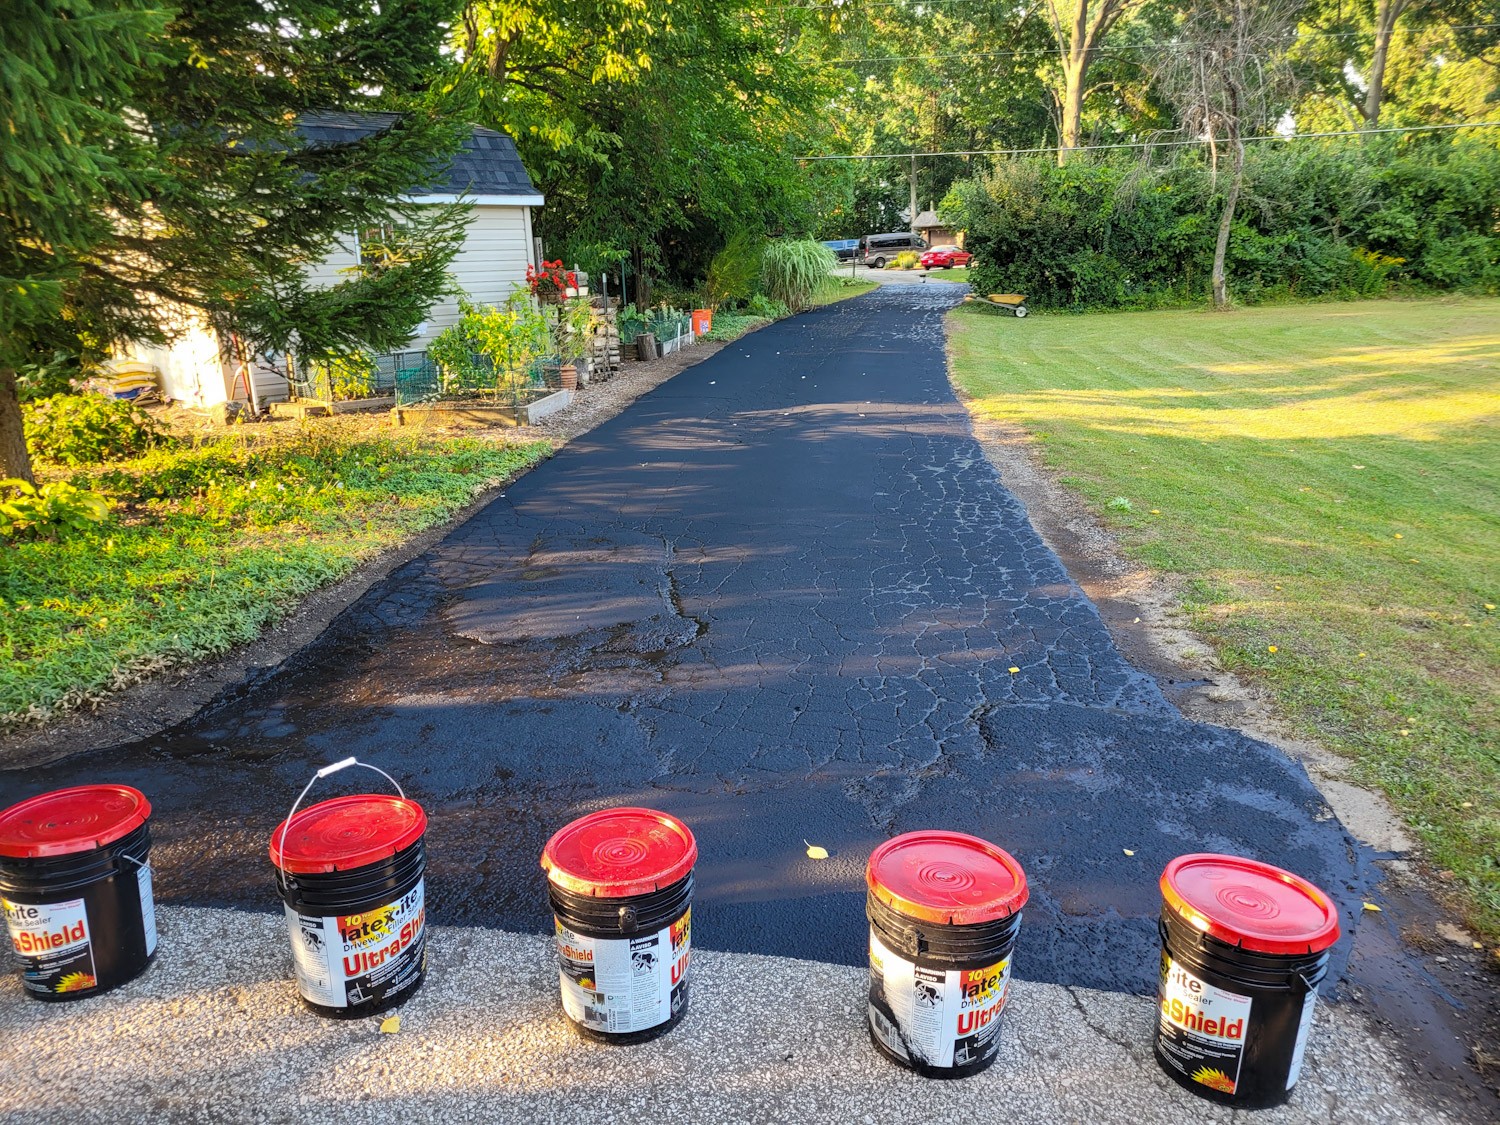
I did the math and bought a bunch of pails of Latex-ite UltraShield. What I did was I took the length of the asphalt portion of my driveway x the average width in feet. I then divided this by their average coverage ratio: 160×12/200=9.6 pails. I think I actually bought 10 pails at my local Home Depot but ecause my driveway was in such tough shape, I wound up actually using 14.25 pails for two coats.

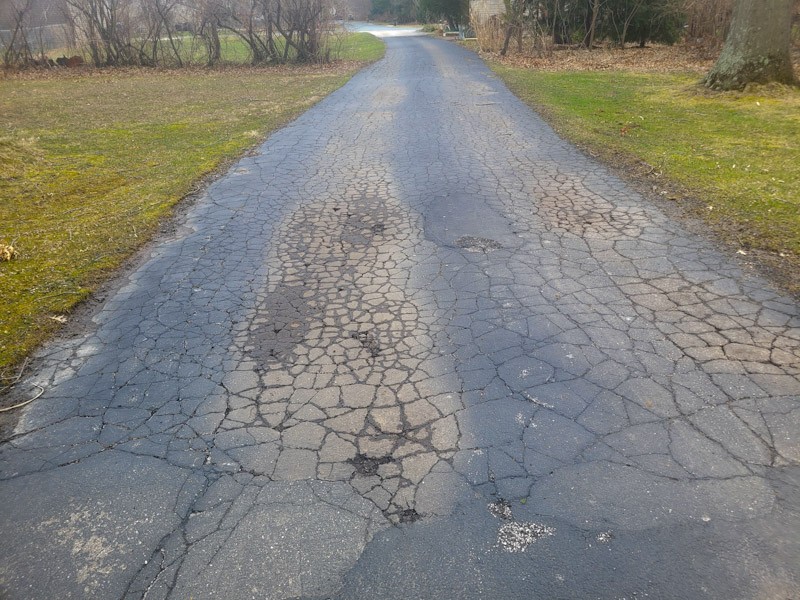
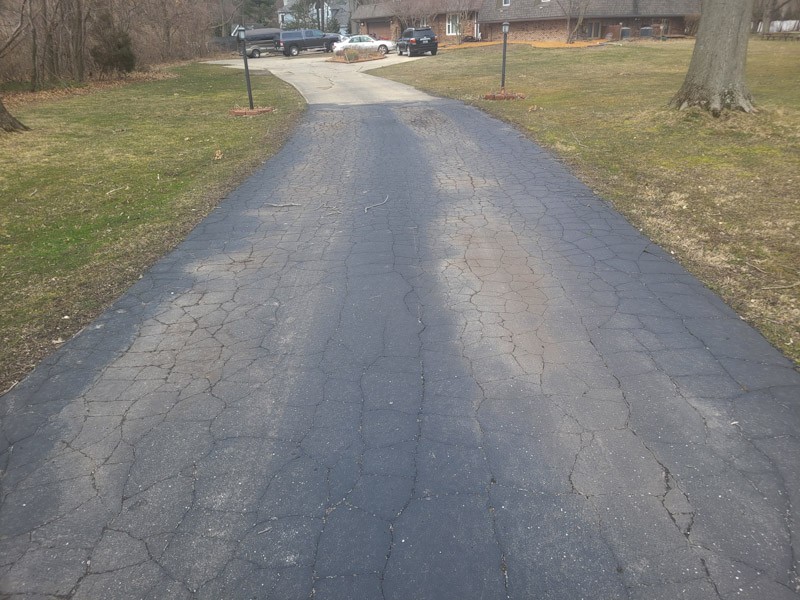
The Results Six Months Later After Winter
I had a really bad experience once with a wood deck repair chemical that claimed to fix anything that looked awesome in the summer but then the wind literally blew it off in sheets during the winter. The deck sealer had glowing reviews that first summer and then got absolutely smalled with one and two star reviews at Lowest after the first Winter. My point is that I have been sitting on a ton of photos and stuff since last fall to see how it would actually hold up before I wrote this post.
The first thing I want to be clear about in fairness to Latex-ite is that they tell you over and over it is a sealant and will not fill big cracks. Well, even though I searched a ton, I ignored that. I shouldn’t have.
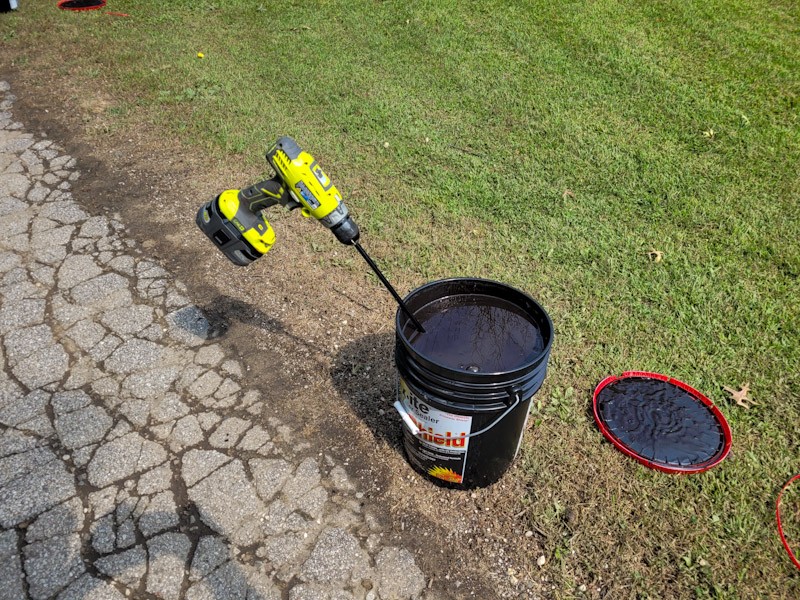
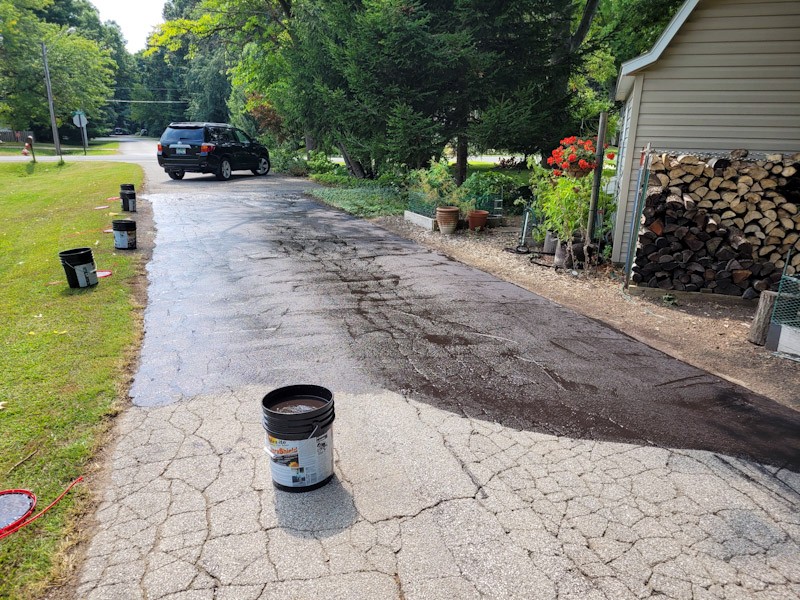
Latex-ite is basically a glorified black paint that dries and hardens on clean solid asphalt to seal it. Well, it looks brownish as you are applying it but it turns a nice rich black as it dries and cures.
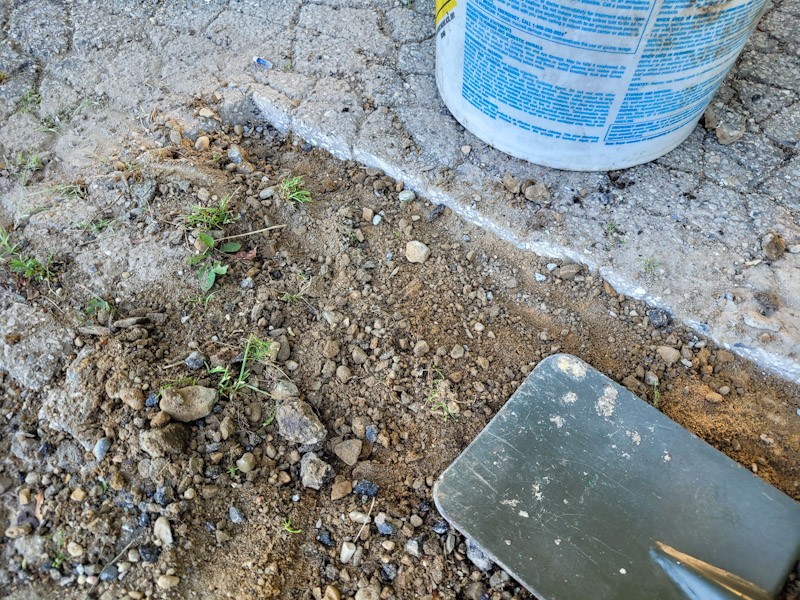
One thing I learned is that where it can’t get a good grip, it peels up so a oily, dusty or dirty surface will not work. I tried to do my mother-in-law’s little short driveway in a rush and didn’t get it pristinely clean in all places so I can tell you it doesn’t stick plus I had a few on our driveway as well.
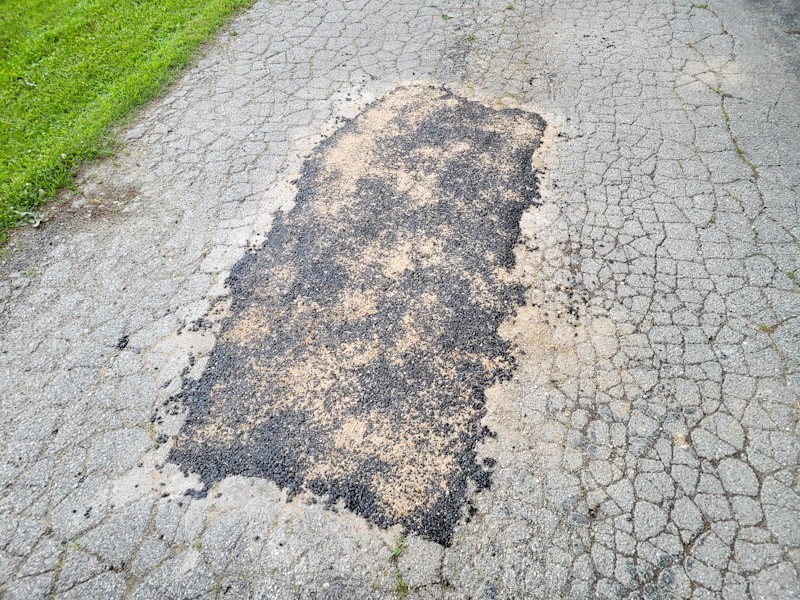
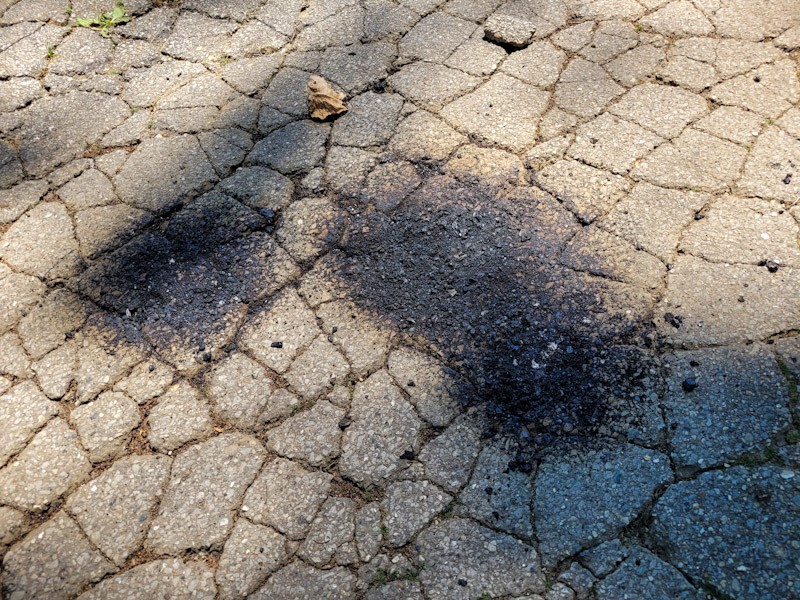
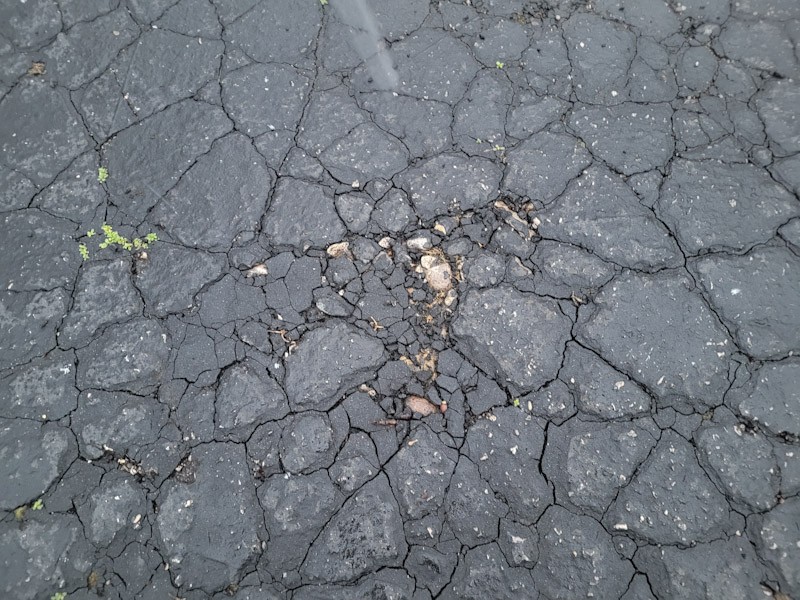
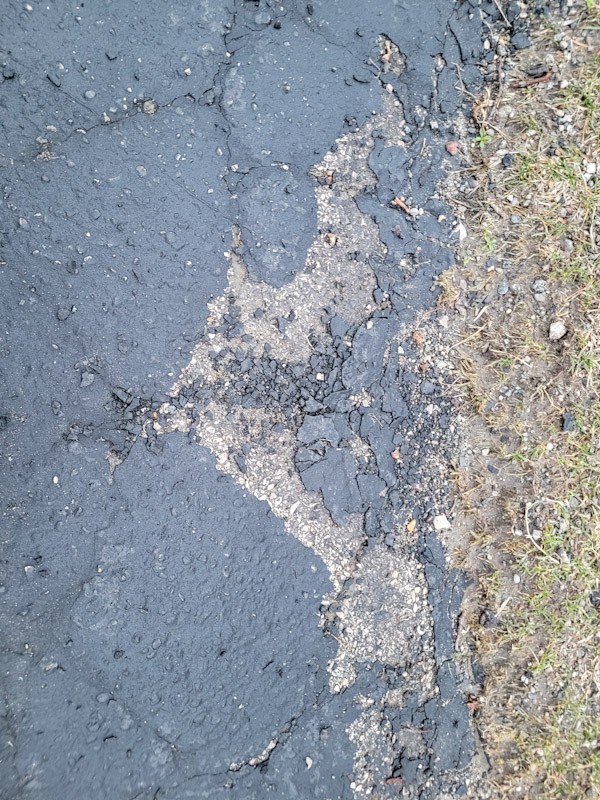
You also need to squeegee it in place to force it into cracks, crevices and pores but if applied too thick, such as in the tons of larger cracks on my driveway, it will crack, break down and otherwise slowly disappear.
In short, it is just a sealer and gives you a good looking new black coloring on your asphalt. It really is not a filler, glue or anything else in terms of fixing things.
The following photos show the difference between mid-September 2022 and March 2023:
Summary
What I want to take from the blog post are some key lessons learned:
These new drive way finishes – all of them that no longer have oil/petroleum products in them – have limits so carefully read their instructions, application notes and reviews by others. If they say they can’t do something then respect that. My biggest regret in hindsight was trying to use the sealer to fill the cracks – it can’t and the maker said so.
Surface prep is key followed by applying two good coats with a squeegee. The Quickrete patch held up fairly well. The sealer helped keep it from falling apart during freeze-thaw cycles, something I have experienced multiple times in the past.
John’s idea of heating up asphalt pieces and beating them in place worked just fine – no surprises there.
What are my thoughts on Latex-ite UltraShield? Well, to be completely fair to them, the product performed as they said it would. If my driveway wasn’t in such tough shape, I bet it would have held up better. In places where it could get a firm grip on the asphalt it still looks good.
Am I going to use it again if I try to reseal the whole drive again? Maybe not. I would really like to find something that is more flexible given my driveway’s shifting nature but first I need to apply crack filler before doing anything else.
Does it look better than before I started all this? Yes, I think it does. Not as good as I would like but it is better. At best, I am playing a delaying game. We will need to replace that driveway at some point but if I can get another 5-10 years out of it then great.
Let me stress this one more time – regardless of brand or product, unless your driveway sealer or finish says it can fill cracks and gaps the sizes your driveway has, you will need to take care of them first.
I hope this gives you some food for thought.
Please share the link on Facebook, Forums, with colleagues, etc. Your support is much appreciated and if you have any feedback, please email us in**@*********ps.com. If you’d like to request a report or order a reprint, please click here for the corresponding page to open in new tab.