Tag Archives: Optic

How to level a scope reticle

First off, I better explain that a recticle is the formal name for the cross-hairs or series of fine lines that are inside a scope that you use to aim with. There are a ton of different ones out there and one thing you want to do is to get them level with the rifle.

Let’s start with why this matters

The reason for this doesn’t affect the old traditional cross-hair designs but it does the ones that have additional marks to help you better determine the range and the necessary hold based on Mil-Radians (Mils) or Minutes of Angle (MOA).
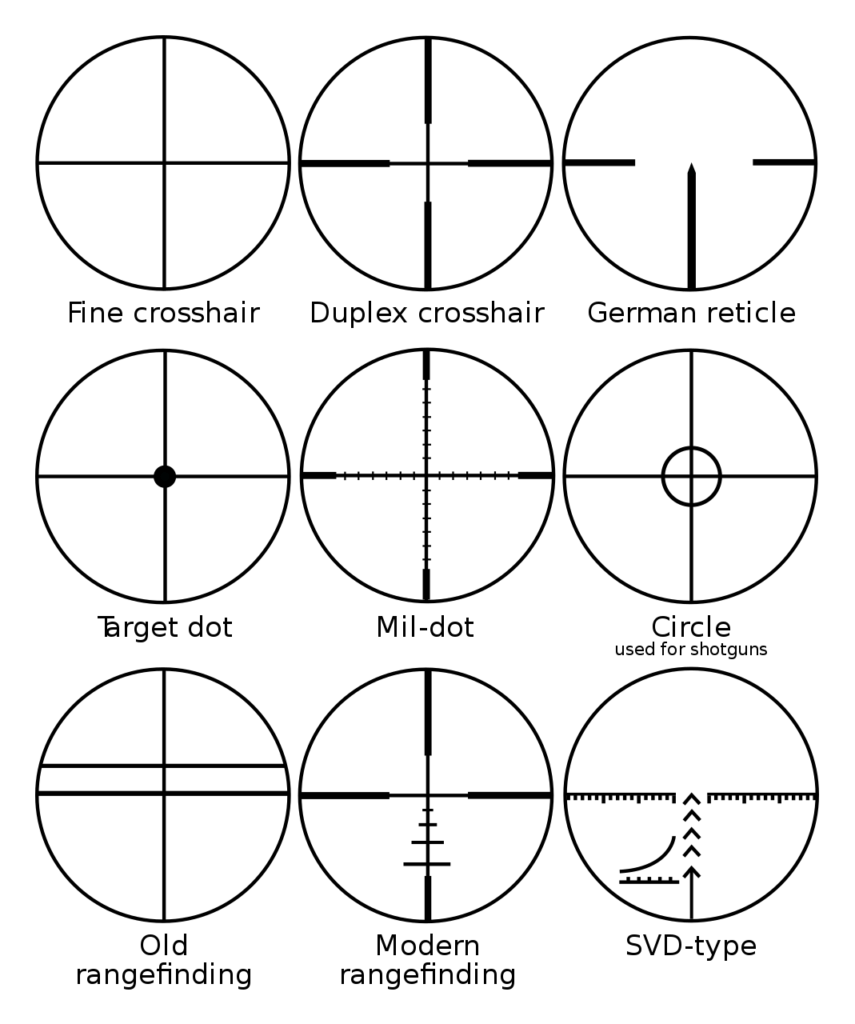
These are examples of reticles found in a very interesting post about the topic on Wikipedia.

If you search, there are tons and tons of posts about different types of reticles and how to use them. The important point I want to make is that for any of these more modern reticles with additional lines to help you accurately, the horizontal lines must be parallel with the rifle.

How do you level a reticle?

The first way is the old fashioned “eyeball” method. Hold the rifle and make sure the top of the receiver is as level as possible (meaning the rifle is not tilted left or right), look through the scope and adjust it in the rings until it is true to the top of the receiver and then start tightening down the rings while confirming nothing shifts. It’s not the most precise method but it does work, I’ve done a ton of rifles that way, but there is another approach using levels.

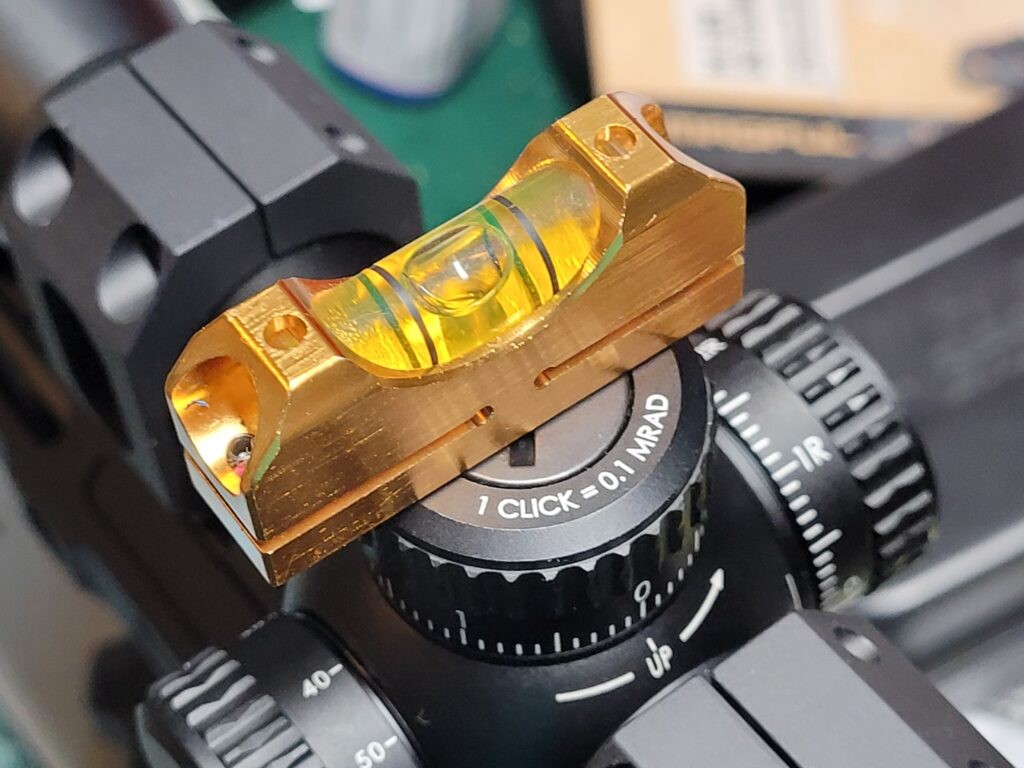
In it’s most form, you put a small level on the top rail or flat spot of your recever, tilt it until it is level and then put the level on the top turret and adjust the scope until it matches. Having something to hold the rifle in place while you work really helps as does having a second level so you can both confirm the receiver and scope are level as you work. You can often find single vial levels at hardware stores or through industrial supply houses. The one negative to this approach is that the levels can slide off if you don’t have things secure. I like to use a Tipton Pro Rifle Vise to hold the rifle in place while working.

Wheeler Engineering does offer a basic level set that works. I don’t use it though because it’s rear receiver piece has a magnet to secure it and that will not work in an AR or other weapon that is made from aluminum and not steel. For this reason, it wasn’t something I could use.

These days, when I have time and I want to try and get the scope as accurately positioned as I can on the first try, I use a Wheeler Engineering Profession Reticle Leveling System. It’s easy and fast.

First, you put the level on your receiver/rail and level the receiver. Then you put the clamp on the barrel and level it – I compare both the receiver and the barrel bubble levels before I move the receiver level to the top scope turret. Once the level is on the top turret, I adjust the scope until the bubbles match and it’s done. I’ve used this for a number of years now and am very happy with it.
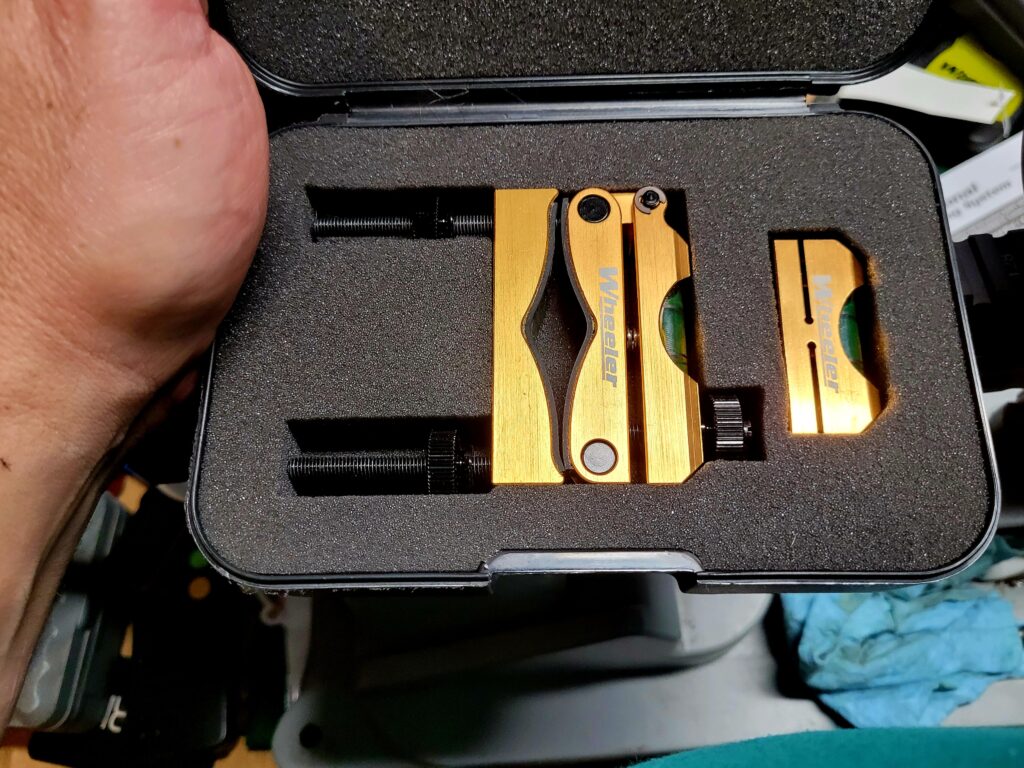
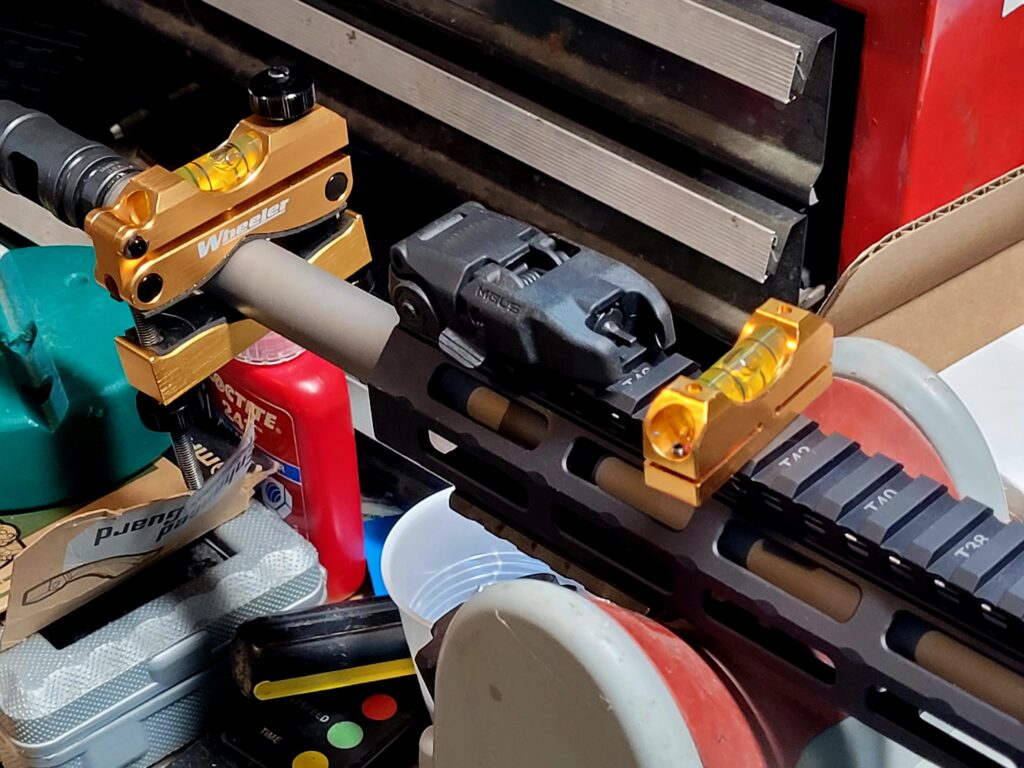
The professional leveling system has two parts – the barrel clamp and the separate level you use on the receiver and then the scope turret. The two parts are made from aluminum and come in a nice protective case. If it weren’t for the case, mine would look much more beat up. Protecting the parts makes sense for another reason – you don’t want things to get bent, gouged, dented or whatever and then throw off the readings or mar the finish of your weapon.
The first thing you do is to use the small level (shown behind the backuop sight) to true the receiver. Then you adjust the barrel clamp until it is level also. Just visible under the handguard is the front of my Tipton vise.
After the barrel clamp has been levelled, you move the small level to the flat top turret and then rotate the scope however you need to get it flat also. Compare this level to the barrel clamp level to make sure they agree. The more care you take to get the bubbles centered and matching, the better.

I do use a Vortex torquing screw driver to tighten the scope ring screws and am careful to confirm the scopes levelling does not shift in the process. Vortex scopes say not to torque them past 18 inch/pounds (please note that is inch pounds and not foot pounds just to be very clear – you don’t want to damage your scope but at the same time, you do want it secure).

Again, with any of these methods, it really helps to secure the rifle in a vise where you can adjust and then secure the rifle so the top is horizontally true.
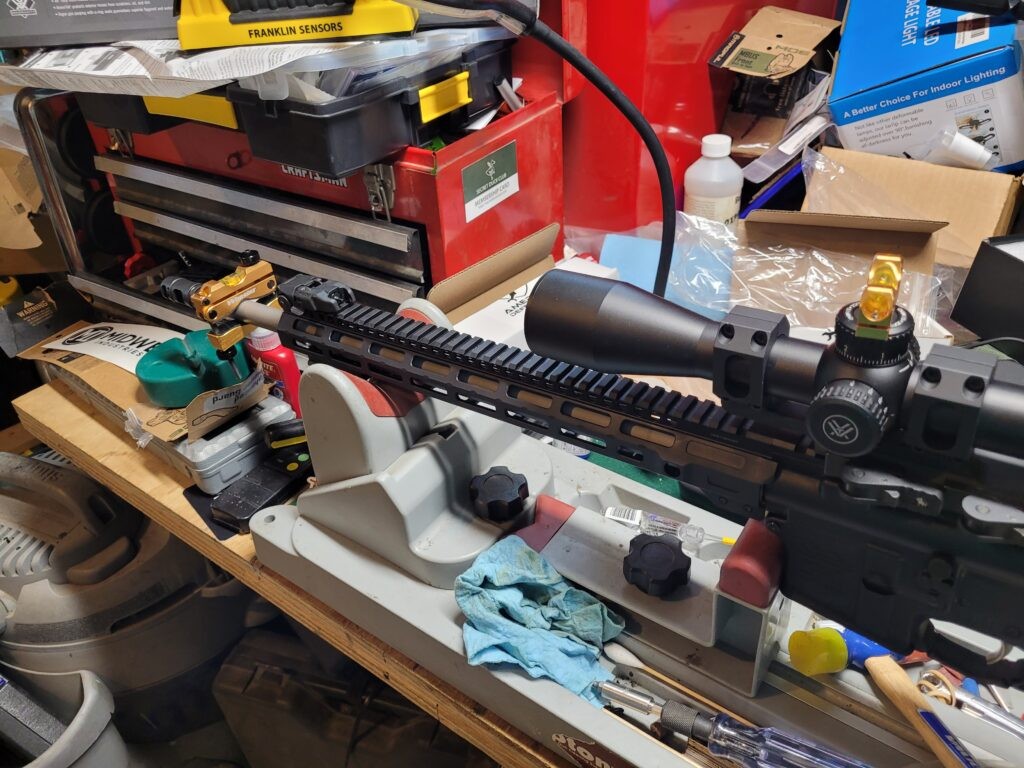
Yeah, this is my real work bench. It was worse than normal as I still had all of the packing from the scope,rings and upper on the bench. The Tipton gun vise has served me very well over the years. By the way, notice the level on the turret – you reall want that perpendicular to the rifle. In this photo it is slightly crooked and no longer perpendicular and risk the scope not bein accurately levelled to the rifle.

Conclusion

The Wheeler Engineering Professional Leveling System has served me well and I have used it on a number of projects over the years. I have no hesitations in recommending it to you as well.

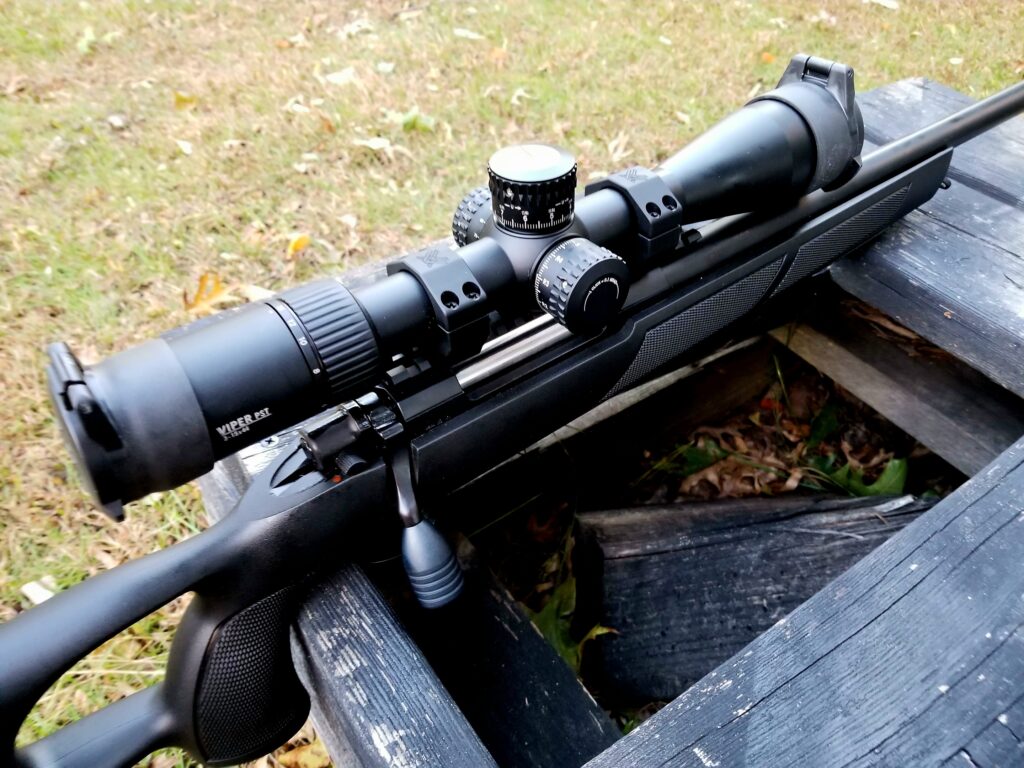
Sabatti Urban Sniper with a Vortex PST scope.
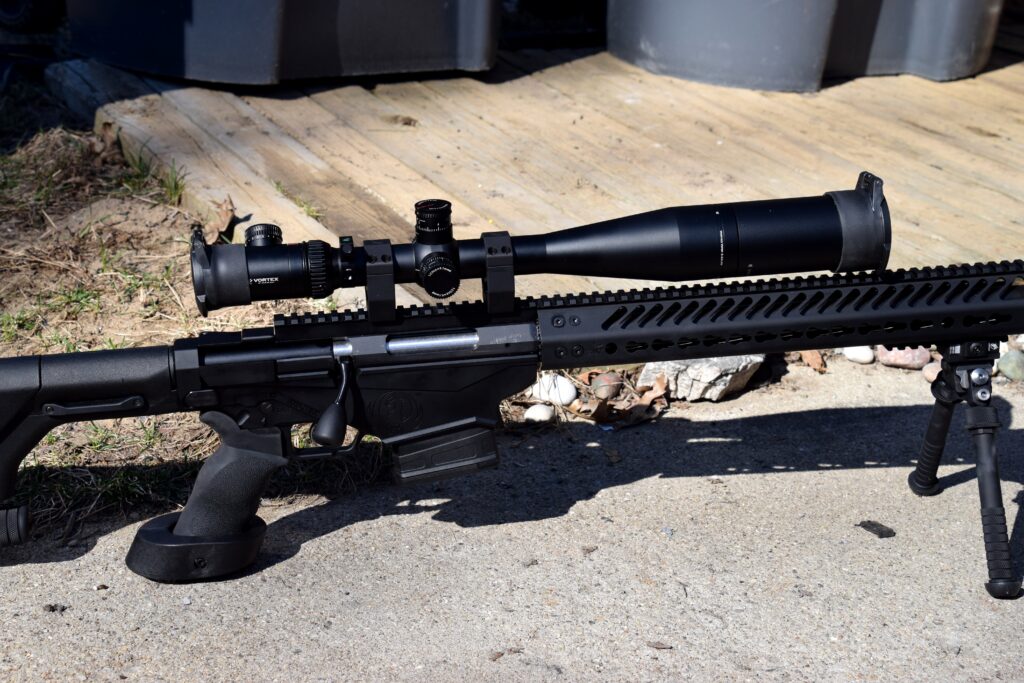
Ruger RPR with Vortex PST optic sporting its sun shade.
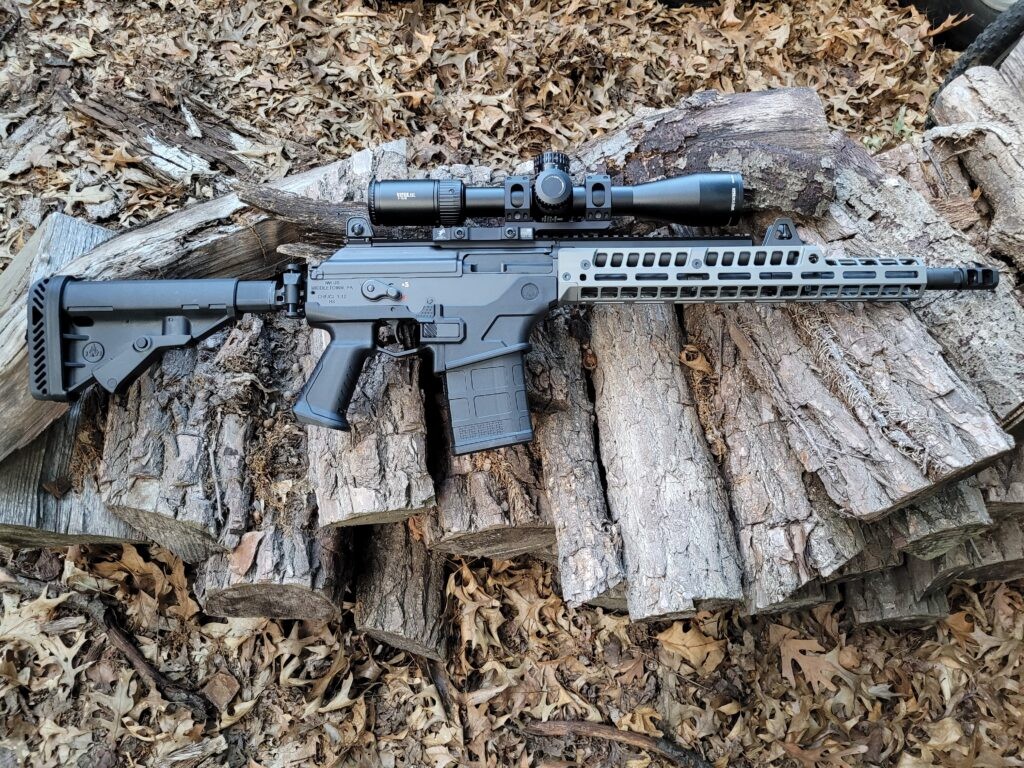
IWI .308 Galil with a Vortex PST Gen 2 Scope.

I hope this post helps you out.


Note, I have to buy all of my parts – nothing here was paid for by sponsors, etc. I do make a small amount if you click on an ad and buy something but that is it. You’re getting my real opinion on stuff.

If you find this post useful, please share the link on Facebook, with your friends, etc. Your support is much appreciated and if you have any feedback, please email me at in**@ro*********.com. Please note that for links to other websites, I may be paid via an affiliate program such as Avantlink, Impact, Amazon and eBay.
The Vortex UH-1 Sight and V3XM Magnifier Are An Amazing Combination On A Galil Ace Pistol

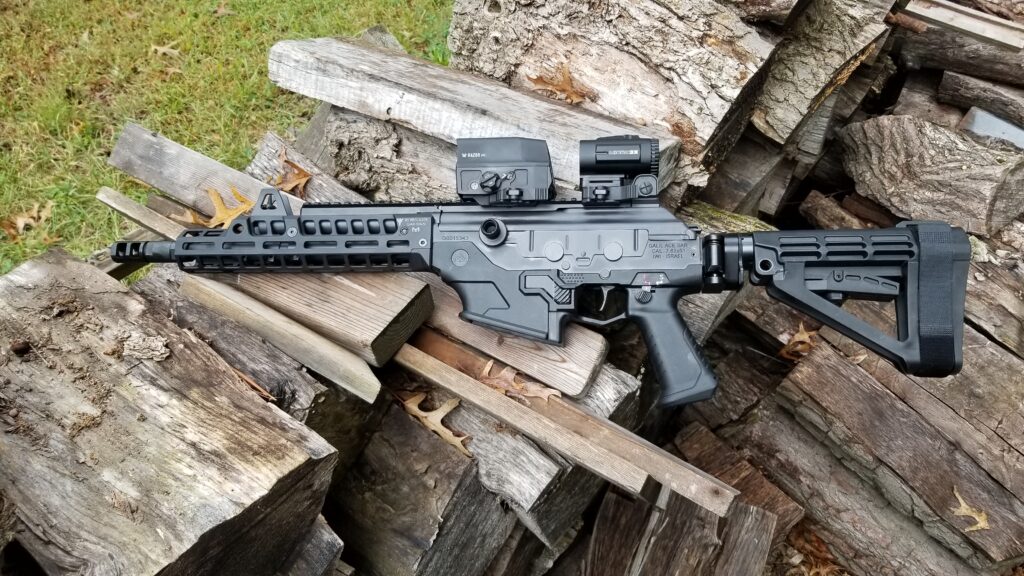
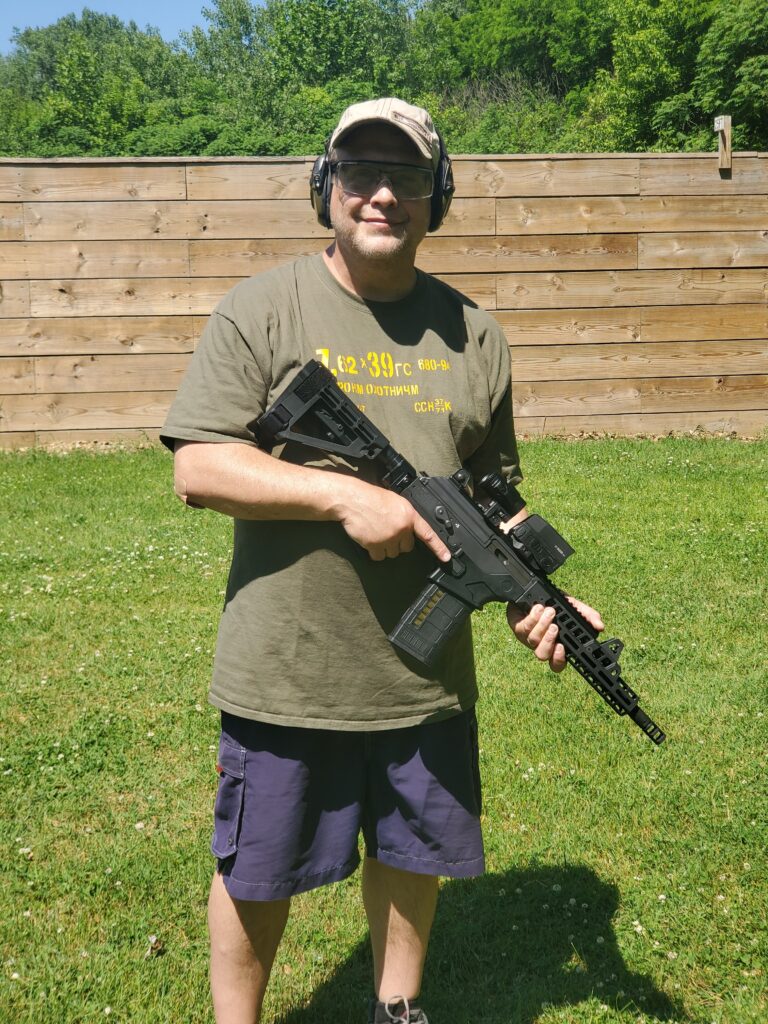
Well, the pandemic threw all my plans right out the window including having time to go to the range. I bought and customized my 7.62×51/.308 Galil Ace Pistol in the Fall of 2019 and just recently was able to take it to the range with my daughter and good friend Niko.

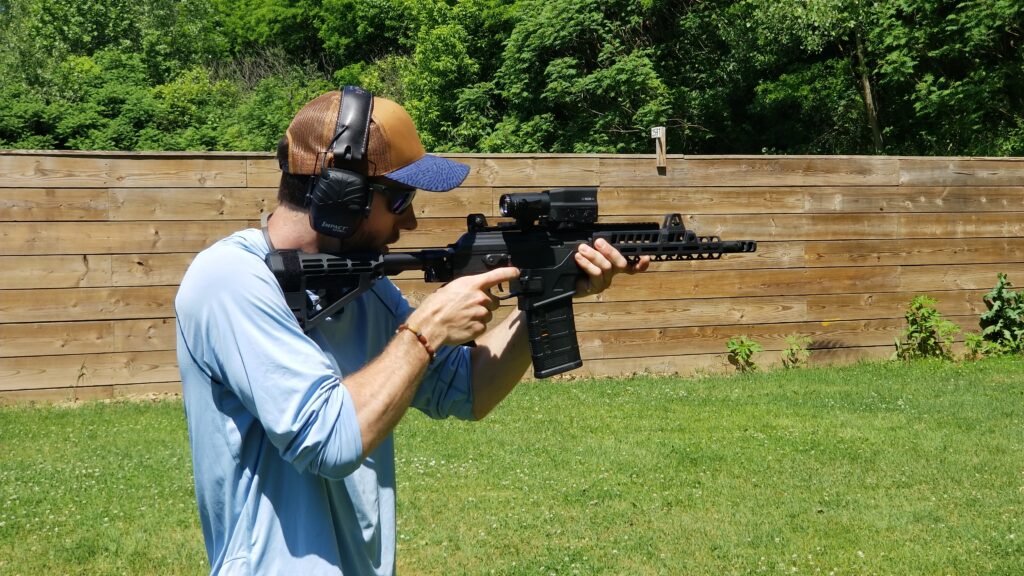
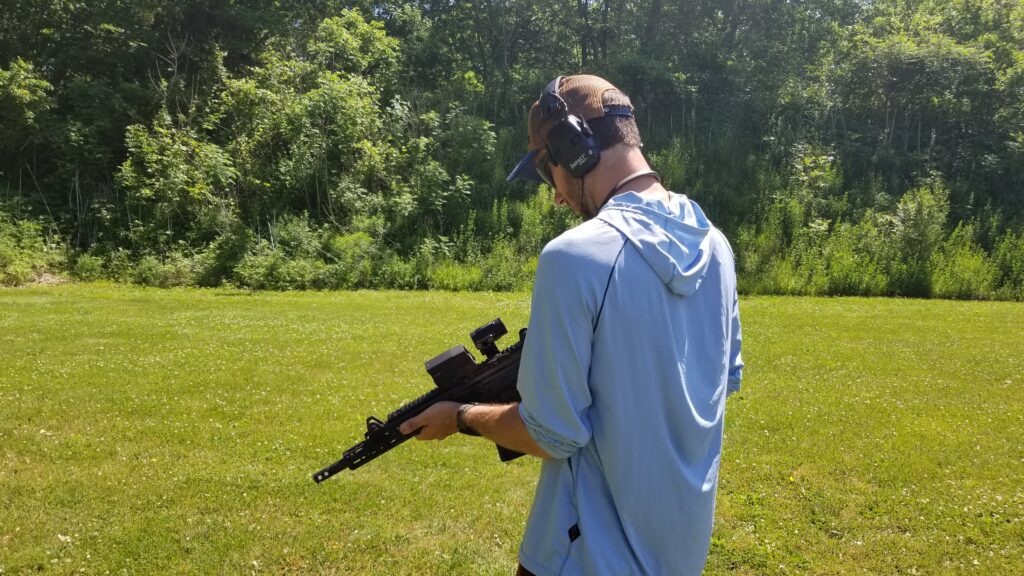
Niko having fun with the Ace and optic combination.

When I was planning the customization of the Ace, I wanted a holographic sight for rapid target acquisition in close, parallax free viewing and also a magnifier to help me out to a hundred yards or so. By the way, tons of guys go further even without a magnifier but this is just me.

Being a Vortex Optics fan and having read good reviews of their Razor AMG UH-1 optic, I bought one plus the V3XM Micro 3x magnifier. I have to admit that I was nervous. Years back I built an AR-15 and installed both a full size red dot and a full size 3x magnifier and honestly did not like it. The combination used a ton of top rail space due to the size of the two parts and it was heavy. To be honest, I found myself wishing I’d just bought a 1-4x or 1-6x optic at the time.

Why Bother With A Magnifier?

In case you are wondering why I even wanted the 3x magnification, it’s s a simple answer. As I get older,I find myself needing more magnification for any degree of target shooting as I get closer to 100 yards and beyond. Yeah, make fun of me but in talking with a lot of 50+ year old guys, I’m not the only one. I tend to favor 1-6 and 1-8x Vortex Strike Eagles for relatively close in optics – they are light, rugged and allow me to trade off field of view and magnification.

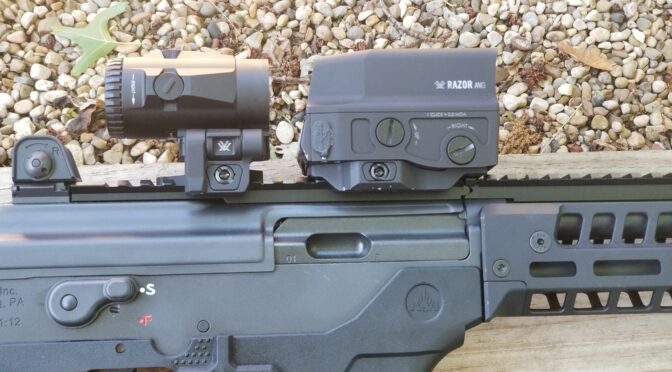
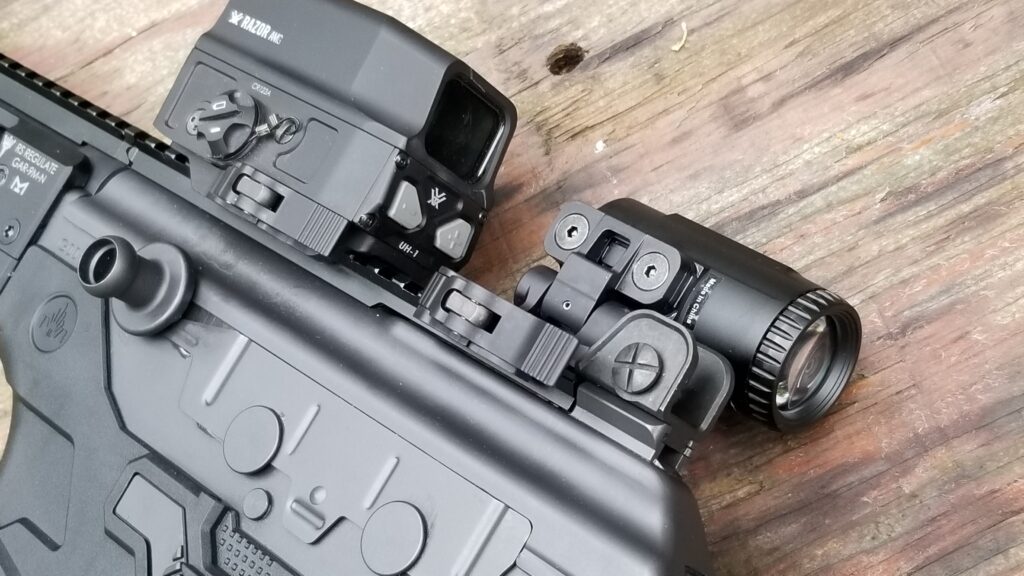
The optics combo fits nicely on the Ace. I like the quality quick release levers they used. The levers clamp very well and have a repeatable zero when removed and re-installed.
Here the magnifier is swung out of the way for 1x viewing through the UH-1. All controls are very easy to use.

At any rate, back to the UH-1, the UH-1 itself weighs about 11oz and the Micro 3X (V3XM) magnifier adds 9.55oz. So you are looking at about 20-21oz or just over 1.25 pounds for the combination. A 1-6x Strike Eagle weighs 18.5oz and then you need to add at least a basic cantilever mount at 1.3oz, you are totalling 19.8oz.

Why am I bringing this up? Some situations really require variable magnification optics and the 1-6x and 1-8x Strikefires are hard to beat. In other cases, you are expecting situations where you will need little to no magnification then the UH-1 wins hands down. Why? Target acquisition is screamingly fast and you don’t have parallax. No parallax means that no matter how you look at the projected recticle (the hologram), the recticle is on the target. With regular scopes, as your eye position changes relative to the recticle, the point of impact changes. This is one reason why a good consistent cheek weld is so important with a traditional optic. Bottom line is that holographic sights seriously rock when it comes to speed of target acquisition.

A 7.62×51 Galil Ace Is Not A Distance Weapon

Another thing to point out is that this weapon is not a target rifle by any stretch of the immagination – it’s for close in work. The 7.62×51 Galil Ace pistol has an 11.8″ barrel and that short length is really going to limit the weapon to less than 200 yards and that is just my opinion because that short length will reduce the velocity of the bullet and there will be more bullet drop at a given distance. The reason is simple – the 7.62×51 and .308 cartridges are still burning powder, generating more pressure and bullet speedwhen the bullet exits the muzzle – all that burning powder makes for an impressive muzzle flash but that’s actually a waste of powder and why it will have less velocity than a weapon with a longer barrel.

How far do I intend to shoot the Ace? Now that’s the real question and is what drove the selection of the optic. I honestly plan to shoot it under 50 yards the majority of the time. I can flip the magnifier out of the way if I don’t need it.

A Bit Of Range Time

How did it work at the range? It was fantastic. The Ace itself ran great with PPU M80 FMJ ammo and the optic pairing was way better than I expected. The recticle was nice and bright even during mid-day son and it was easy to swing the magnifier in and out of position. All three of us liked the Ace and optic combination. After shooting the Ace for the first time, I can definitely see why they have such a excellent reputation.

Even in close the magnifier worked nice. It still has a pretty wide field of view — 38 feet at 100 yards. I went from being cautiously hopeful to really liking the combo.
In this photo, Niko is getting ready to shoot with the magnifier swung out of the way.
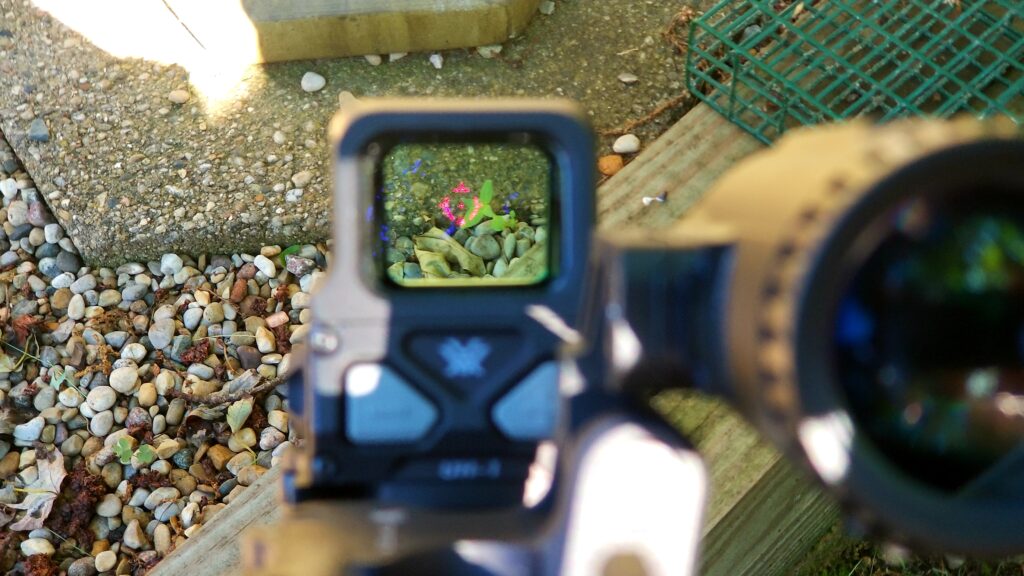
I’m still trying to learn the art of getting a decent photo of a recticle. With the UH1 you have 1- brightness levels to select from and I really like it.

In Summary

I really like the pairing of the UH-1 optic and the V3XM magnifier on my Galil Ace. The pairing works really, really well and I am already planning on getting one of the new second generation UH-1 optics for a new build I am planning – a 7.25″ 12.7×42 (Beowulf) pistol 🙂


If you find this post useful, please share the link on Facebook, with your friends, etc. Your support is much appreciated and if you have any feedback, please email me at in**@ro*********.com. Please note that for links to other websites, I may be paid via an affiliate program such as Avantlink, Impact, Amazon and eBay.