Category Archives: Optics

Do you really have backup iron sights (BUIS) that you can count on? A lot of shooters do not and it’s not just the fault of the hardware

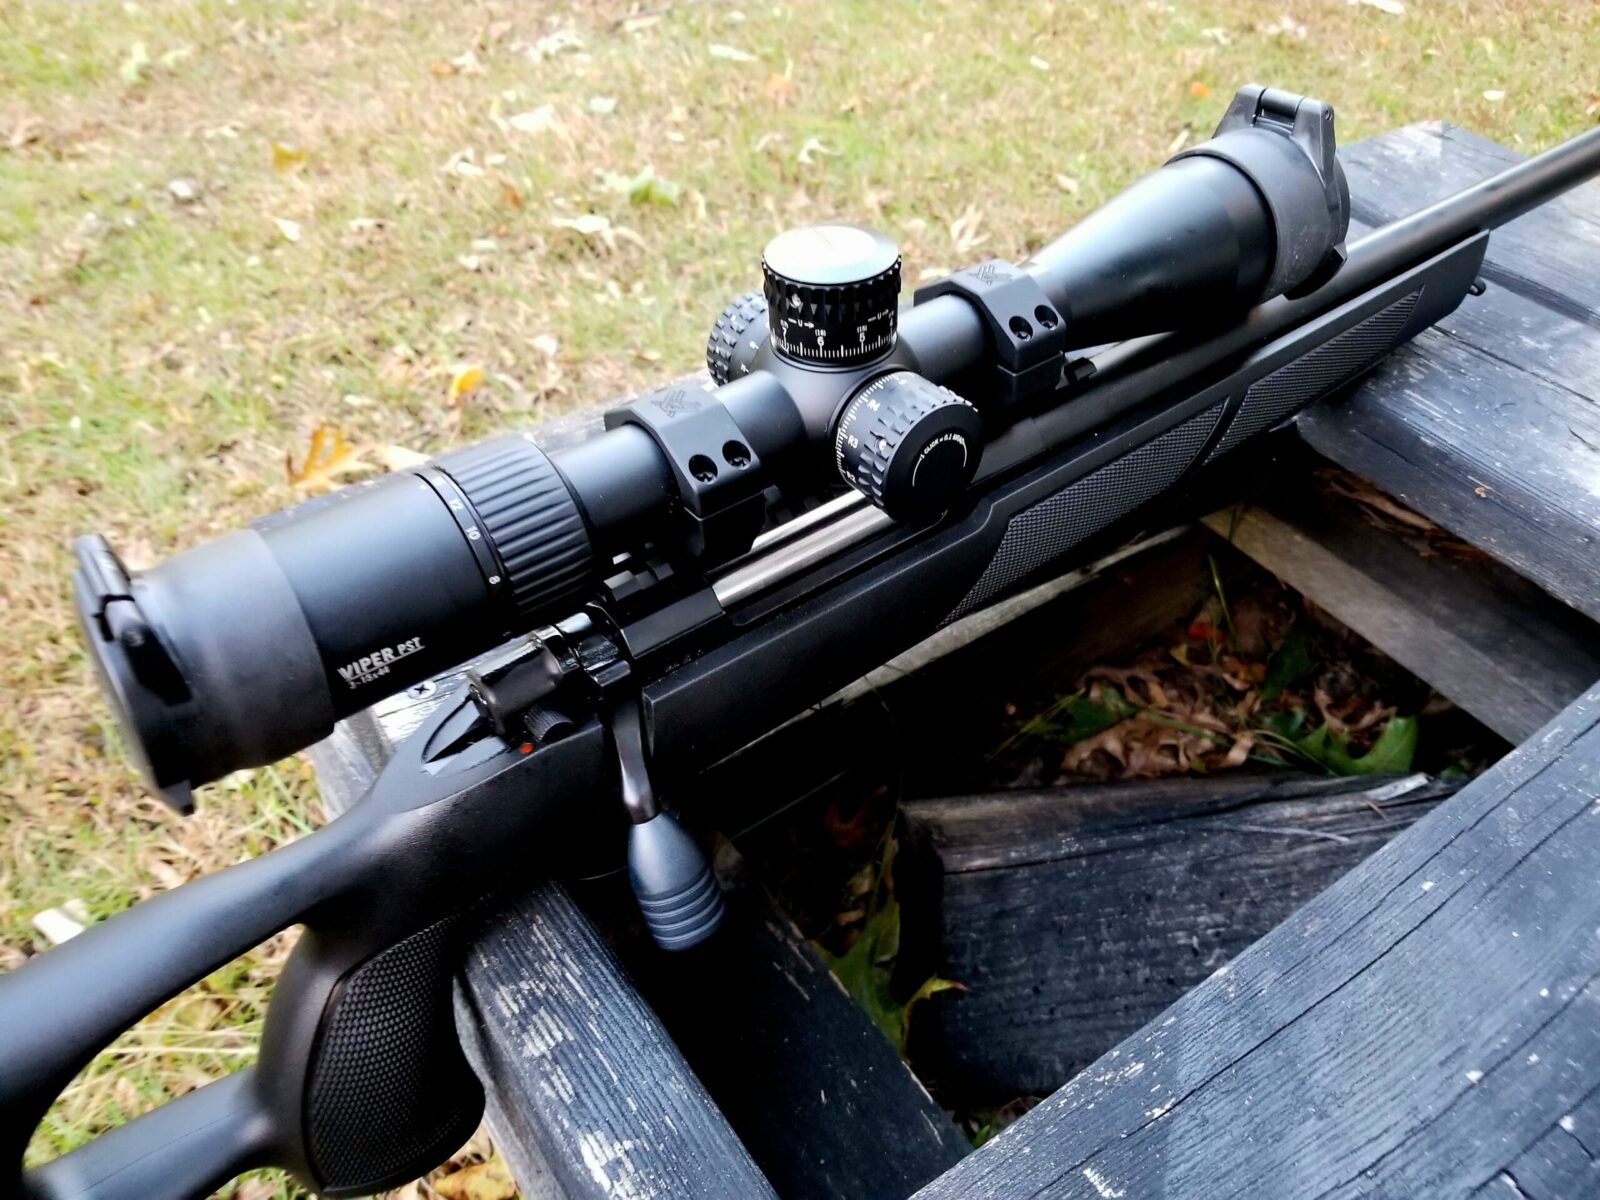
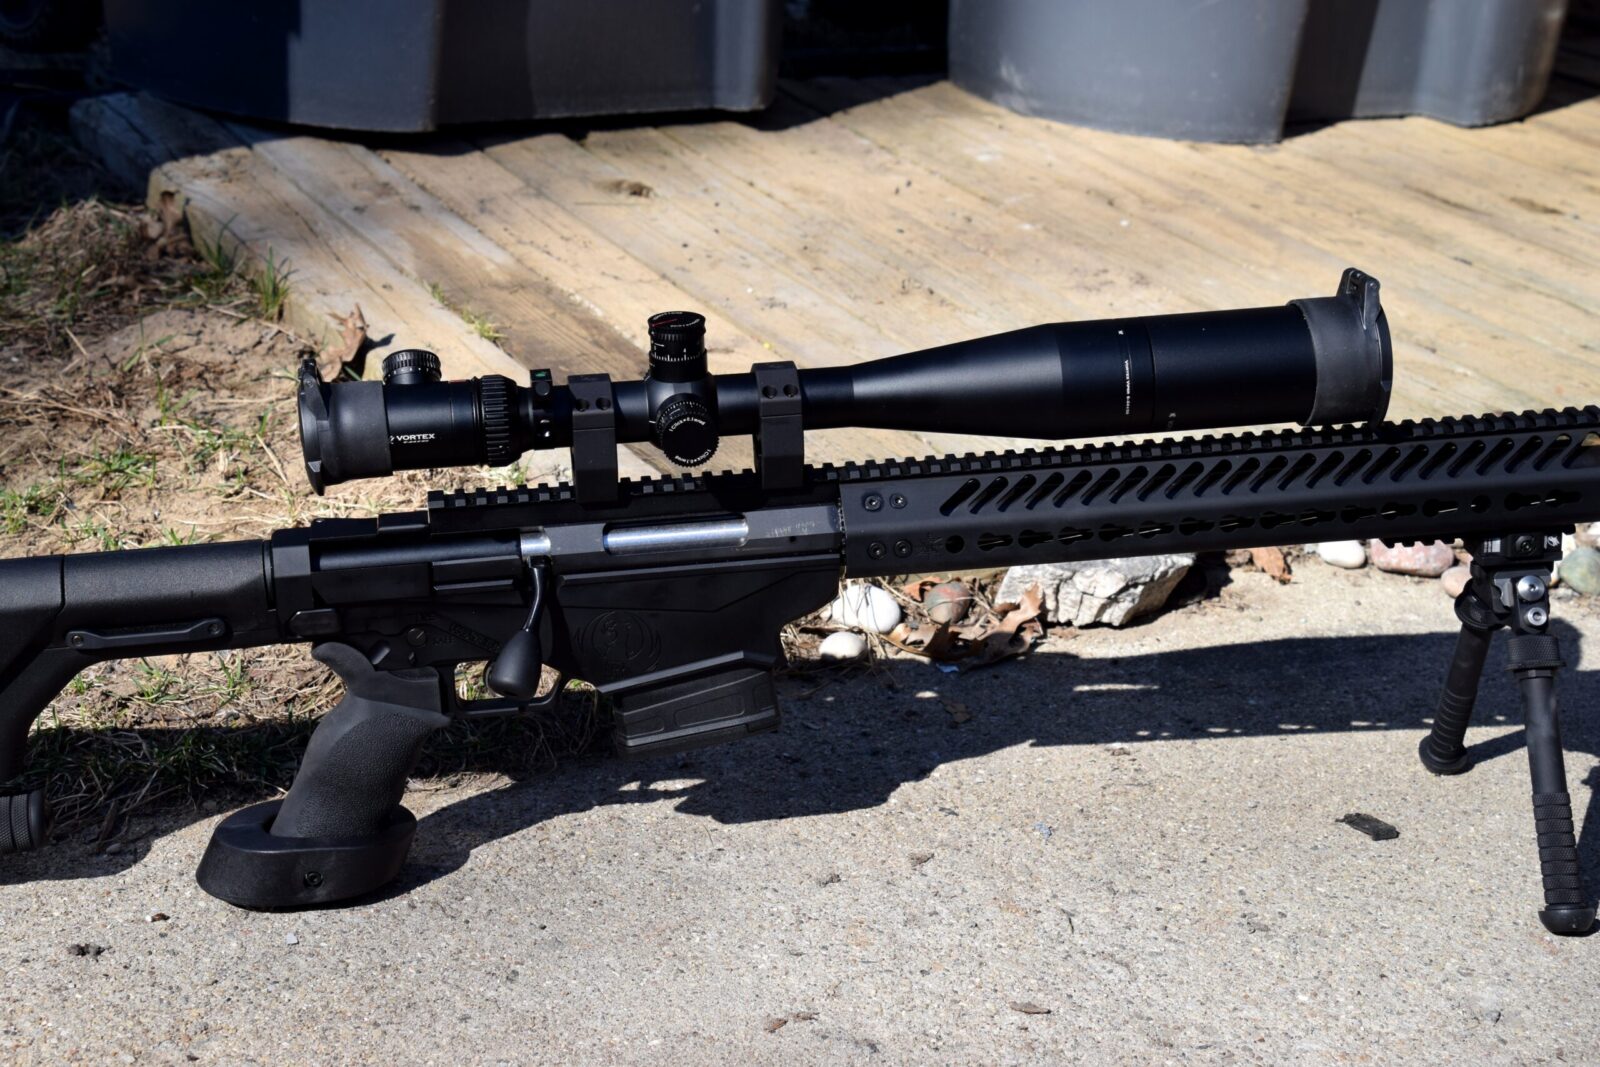
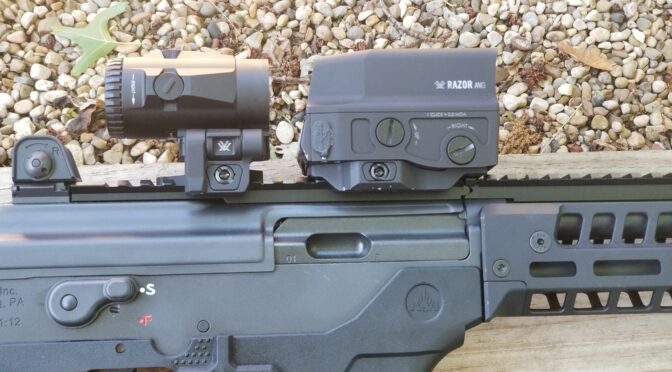
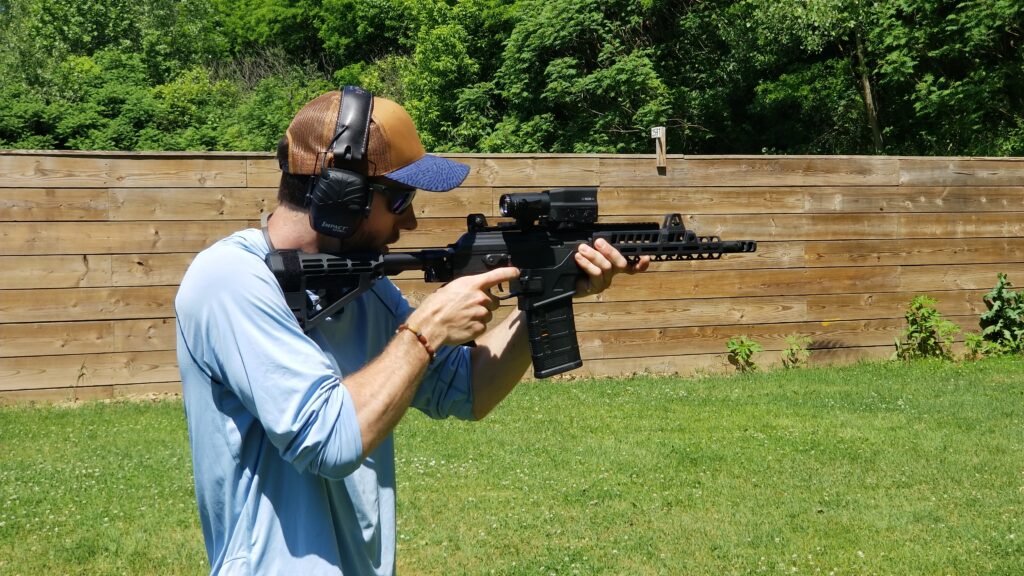
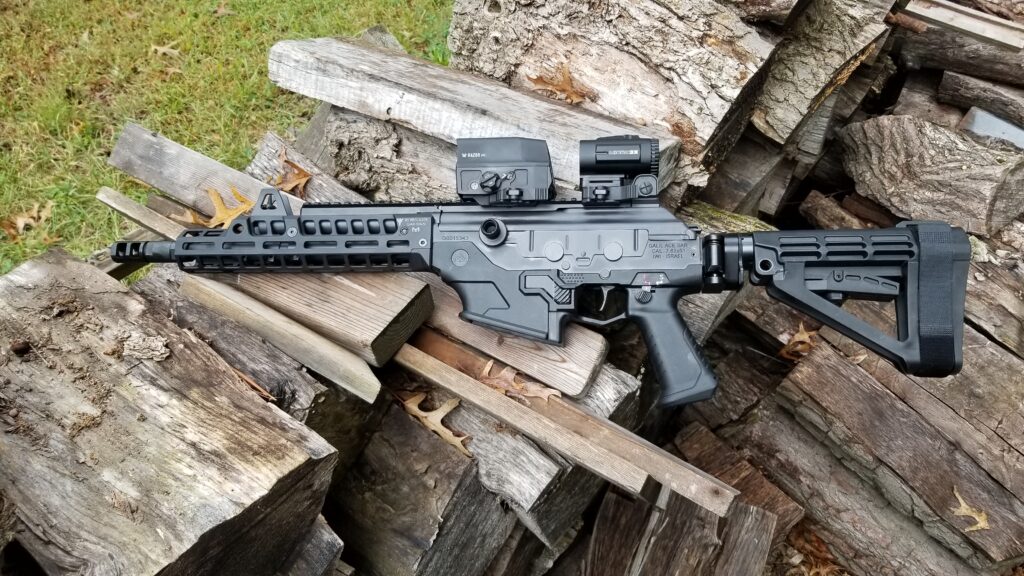
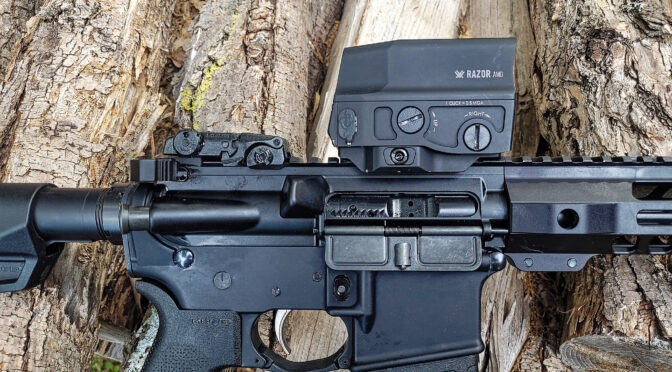
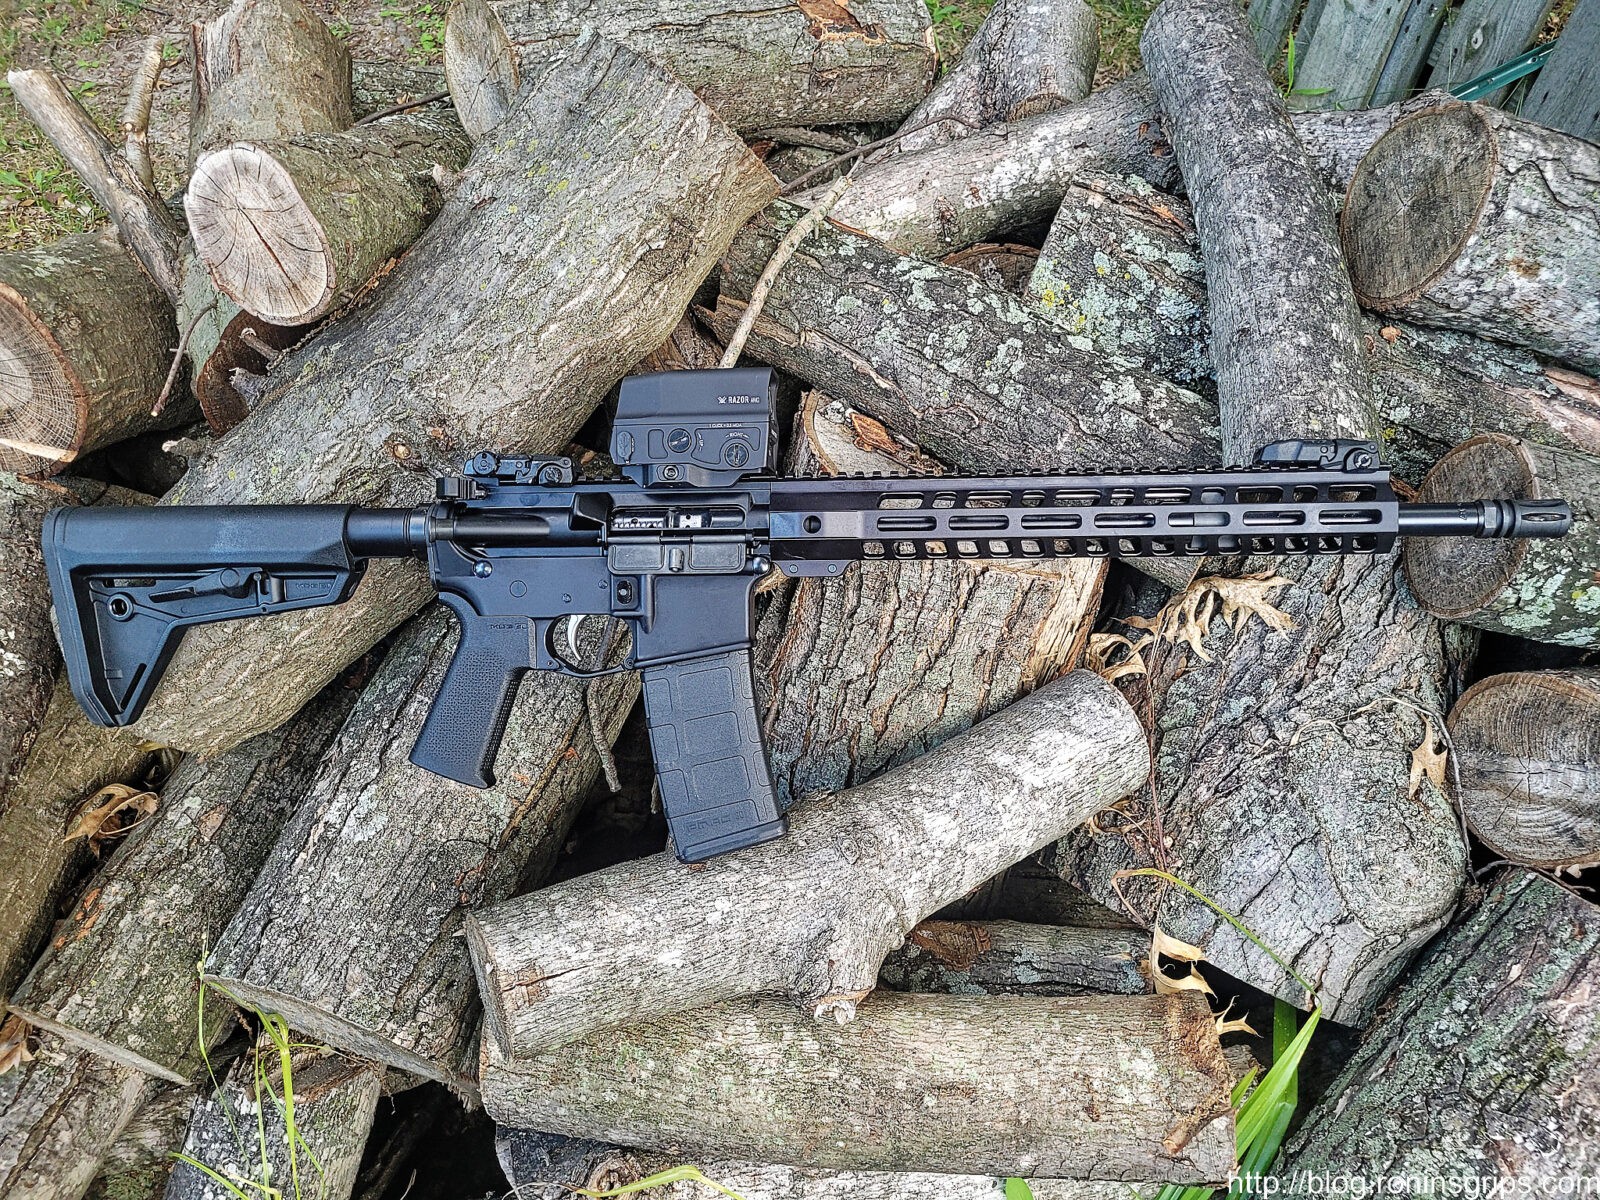
I’m sure there are a lot of shooters like me who buy and install back up iron sites on their weapons just in case the optic fails. Except for pure range toys that will never see use beyond having fun, I do think BUIS are a really good idea – optics fail for any number of reasons with batteries being dead quite possibly being the #1 issue – especially given how folks love their red dot, green dot and holographic sights. You need a backup for aiming your firearm.

What happens if the battery in the Vortex dies? Well, I do have the backup Magpul sights … right?

A quick comment about “BUIS” – it stands for Back Up Iron Sights. I’m a creature of habit and that’s how they were first introduced to me but not everyone uses that term. For example, Magpul calls their units MBUS – Magpul Back-Up Sights. Other’s just say “back up sights” or even just “attachable” or “folding” sights. So, if you are wanting to search and see what your options are, it will take some searching.

Four Camps of BUIS Users

In talking with shooters, regardless of their firearm platform (AR, AK, Stribog, HK, etc.) about their BUIS, I usually find they fit in one of four camps:

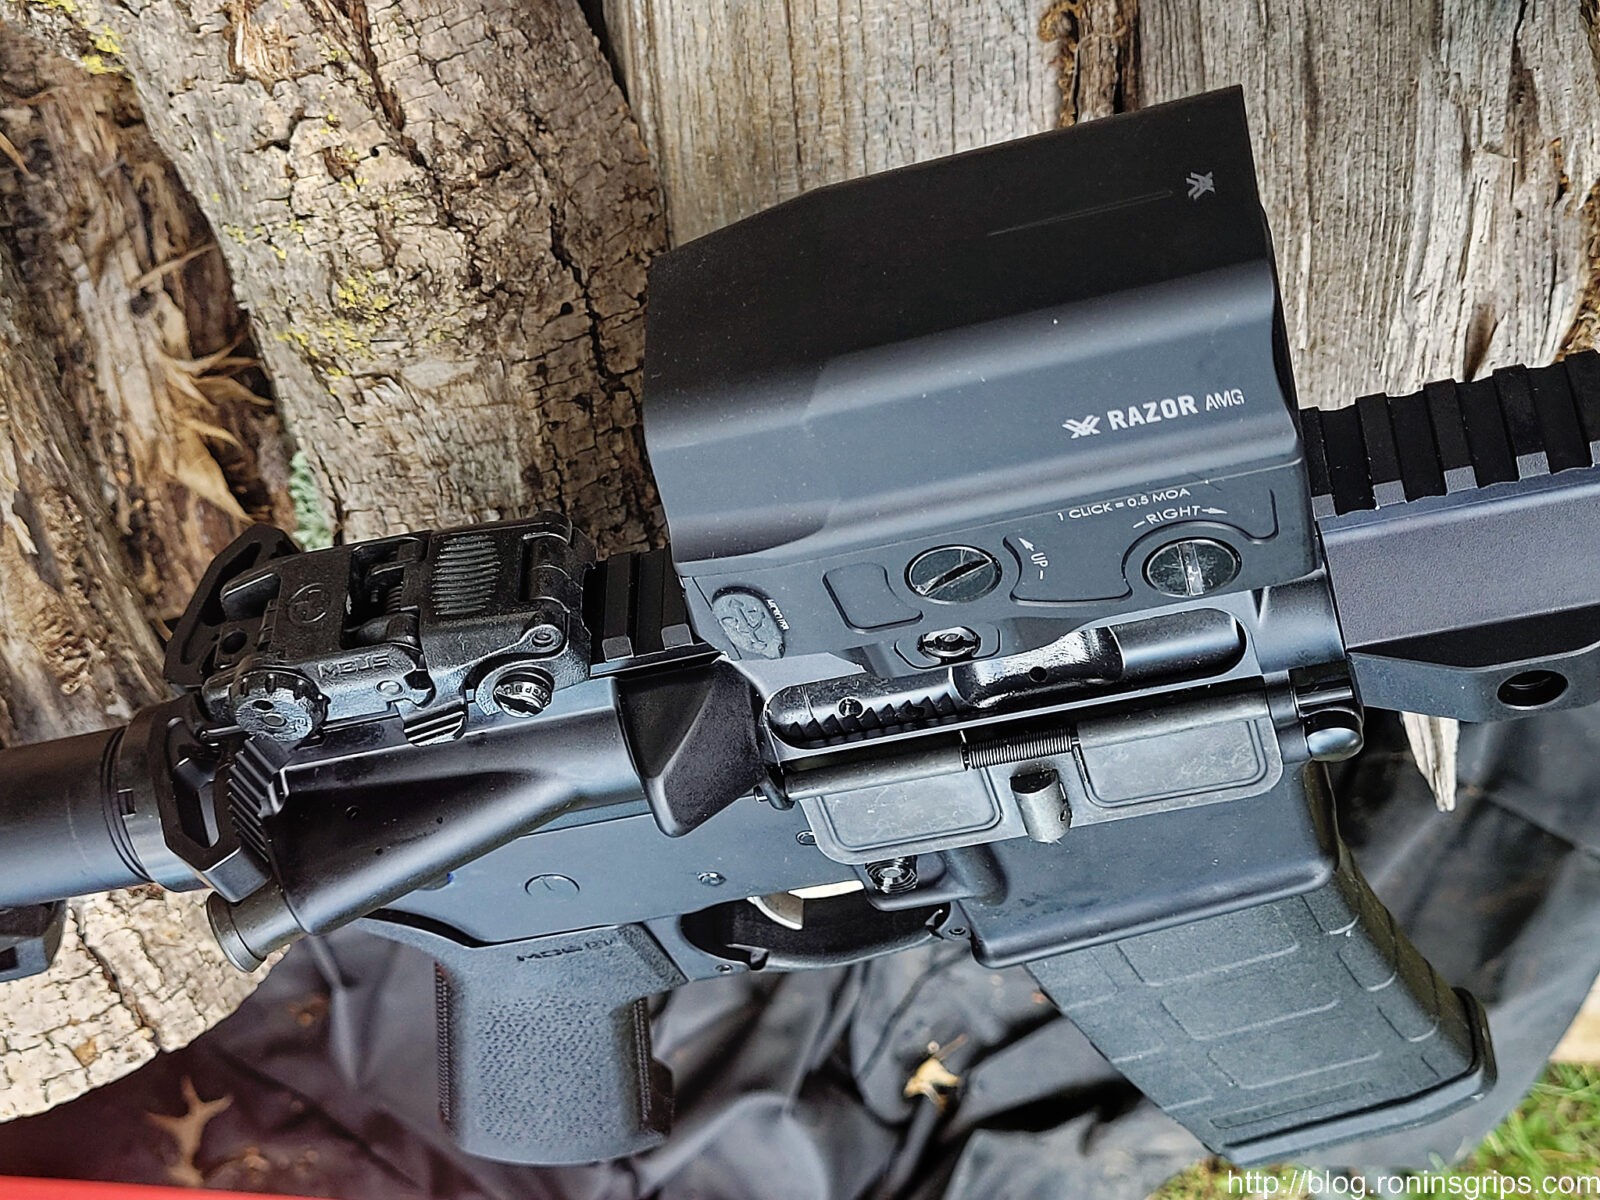
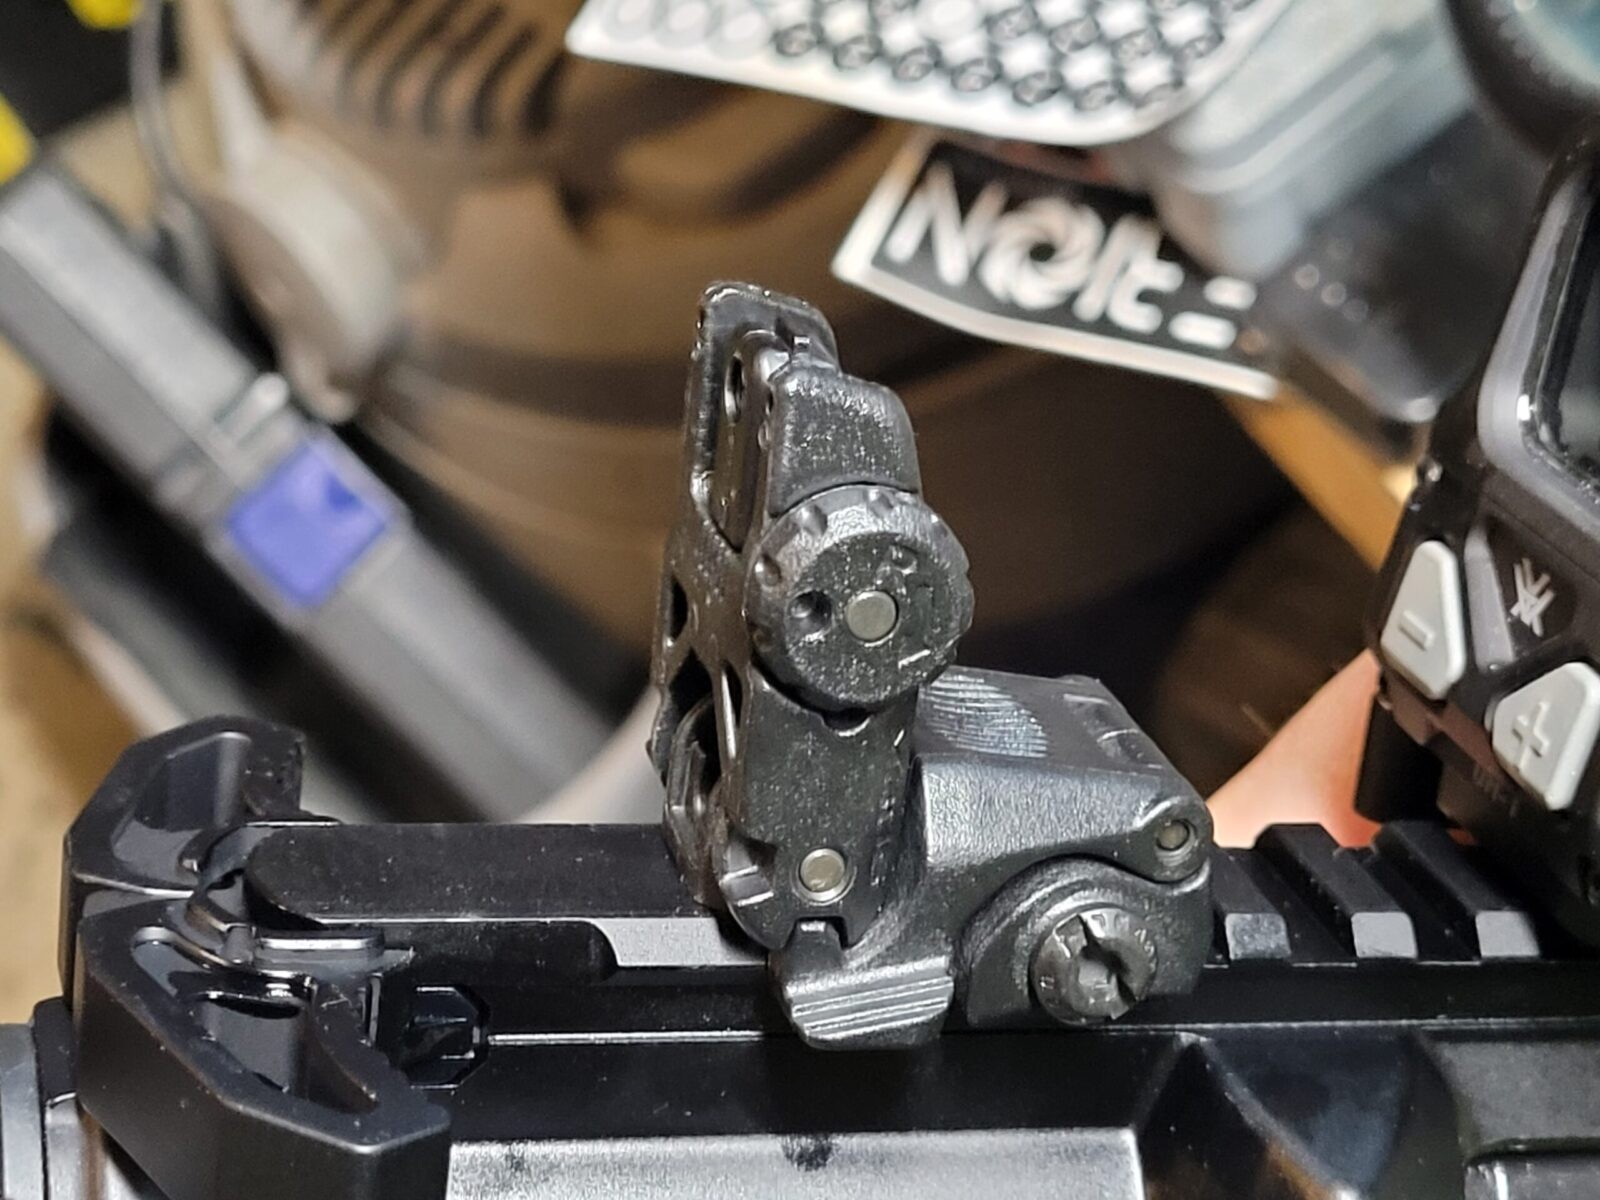
  1. Installed the BUIS and run them full time with their optic in a co-witness manner
  2. Installed the BUIS and periodically use them in a co-witness model but fold them down when not in use
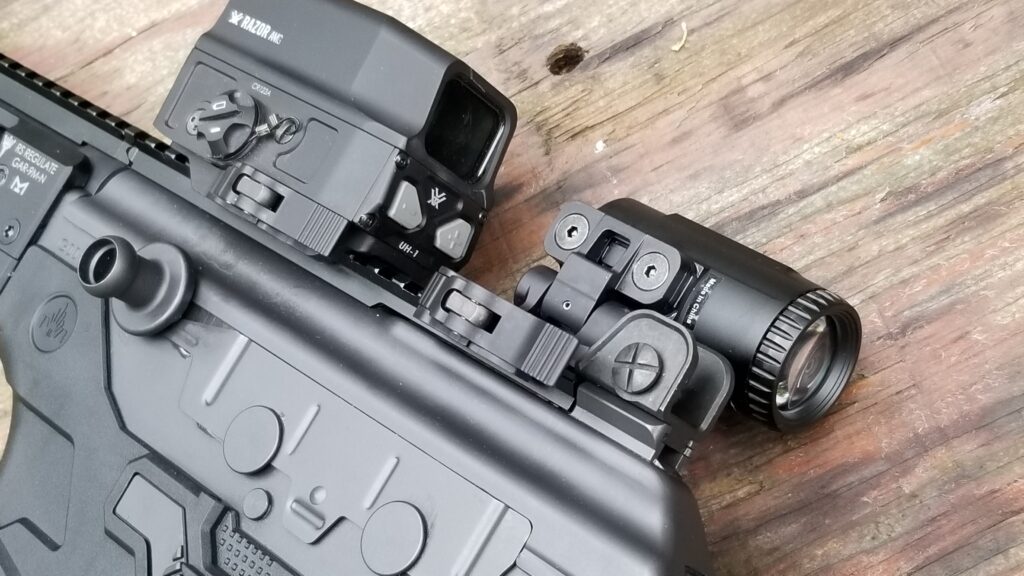
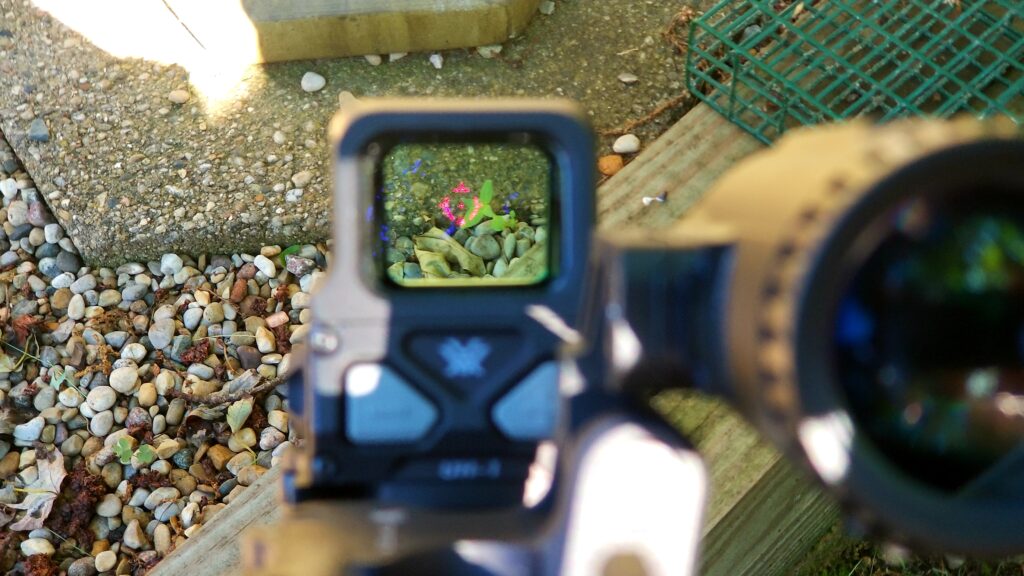
  3. Installed the BUIS and only use them when needed but did sight them in. For example, if they need to remove the optic to deploy the sights or are using offset sights and tilt the weapon 45 degrees to use them.
  4. Attached the units to the Picatinny rail, did not sight them in and have never actually practiced using them to hit targets at the range … “but have them just in case”.

With scenario #1, you know those sights will work – it doesn’t matter if the scope is powered off as long as you can see through the glass.

With #2 & #3 – the sights will probably work as long as you can see through the glass or otherwise see them. Hopefully the shooter has practiced enough how to use the units.

The last one is the most concerning – camp #4 – to be honest, a person in this camp doesn’t really have a backup. Yeah, they have the sights but they aren’t dialed in and lack experience with them. This is a gamble you do not want to take. If this describes you – please don’t take it personally and read the next section – I want to help.

As far as I know, all BUIS are two parts – a front sight and a back sight. In the above photo – I am using Magpul polymer MBUS folding units and are on each far end of the top rail. They fold down until needed and then spring p when you push a lever on each.

If You Are In Camp #4…

First off, I am glad you invested in BUIS – if you are reading this and you haven’t yet, then do so. With that said, do you have quality units or did you buy something dirt cheap off Amazon or eBay. I’d recommend going with a brand name and not cheap airsoft import stuff – I like Magpul (they have a ton of models so click here to see them) plus, in all fairness, there are other quality BUIS sets from the likes of ARMS, Bobro, DiamondHead, Troy and others. Cheap stuff may not hold their zero or break easily. Buy quality to have true BUIS that you can count on.

Second, make sure they are mounted properly. Did you follow the instructions from the vendor who made them? Sometimes there is more to do than slap them on the Picatinny Rail.

Your backup sights should have come with instructions and any specialized tools – be sure to read and follow them. The little black key you see is used for adjusting a Magpul front sight.

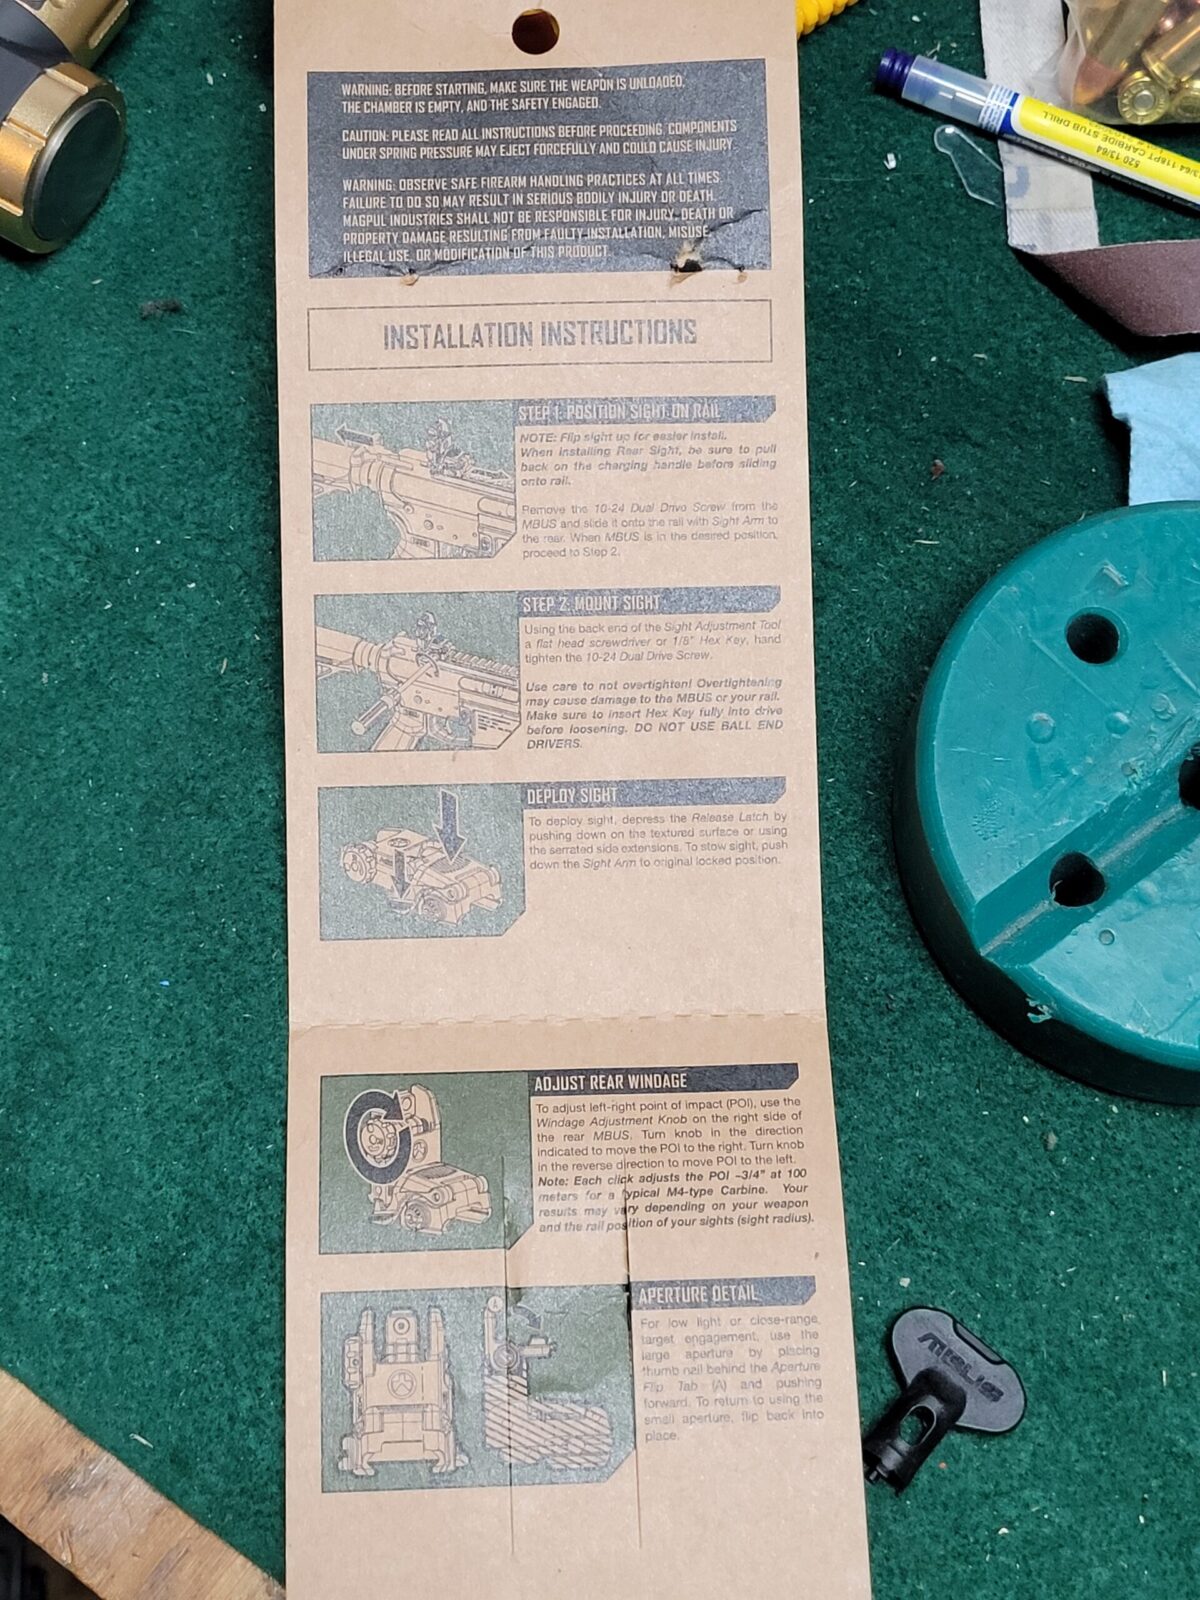
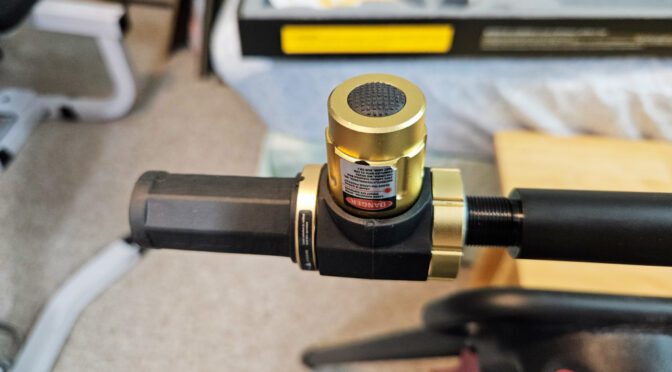
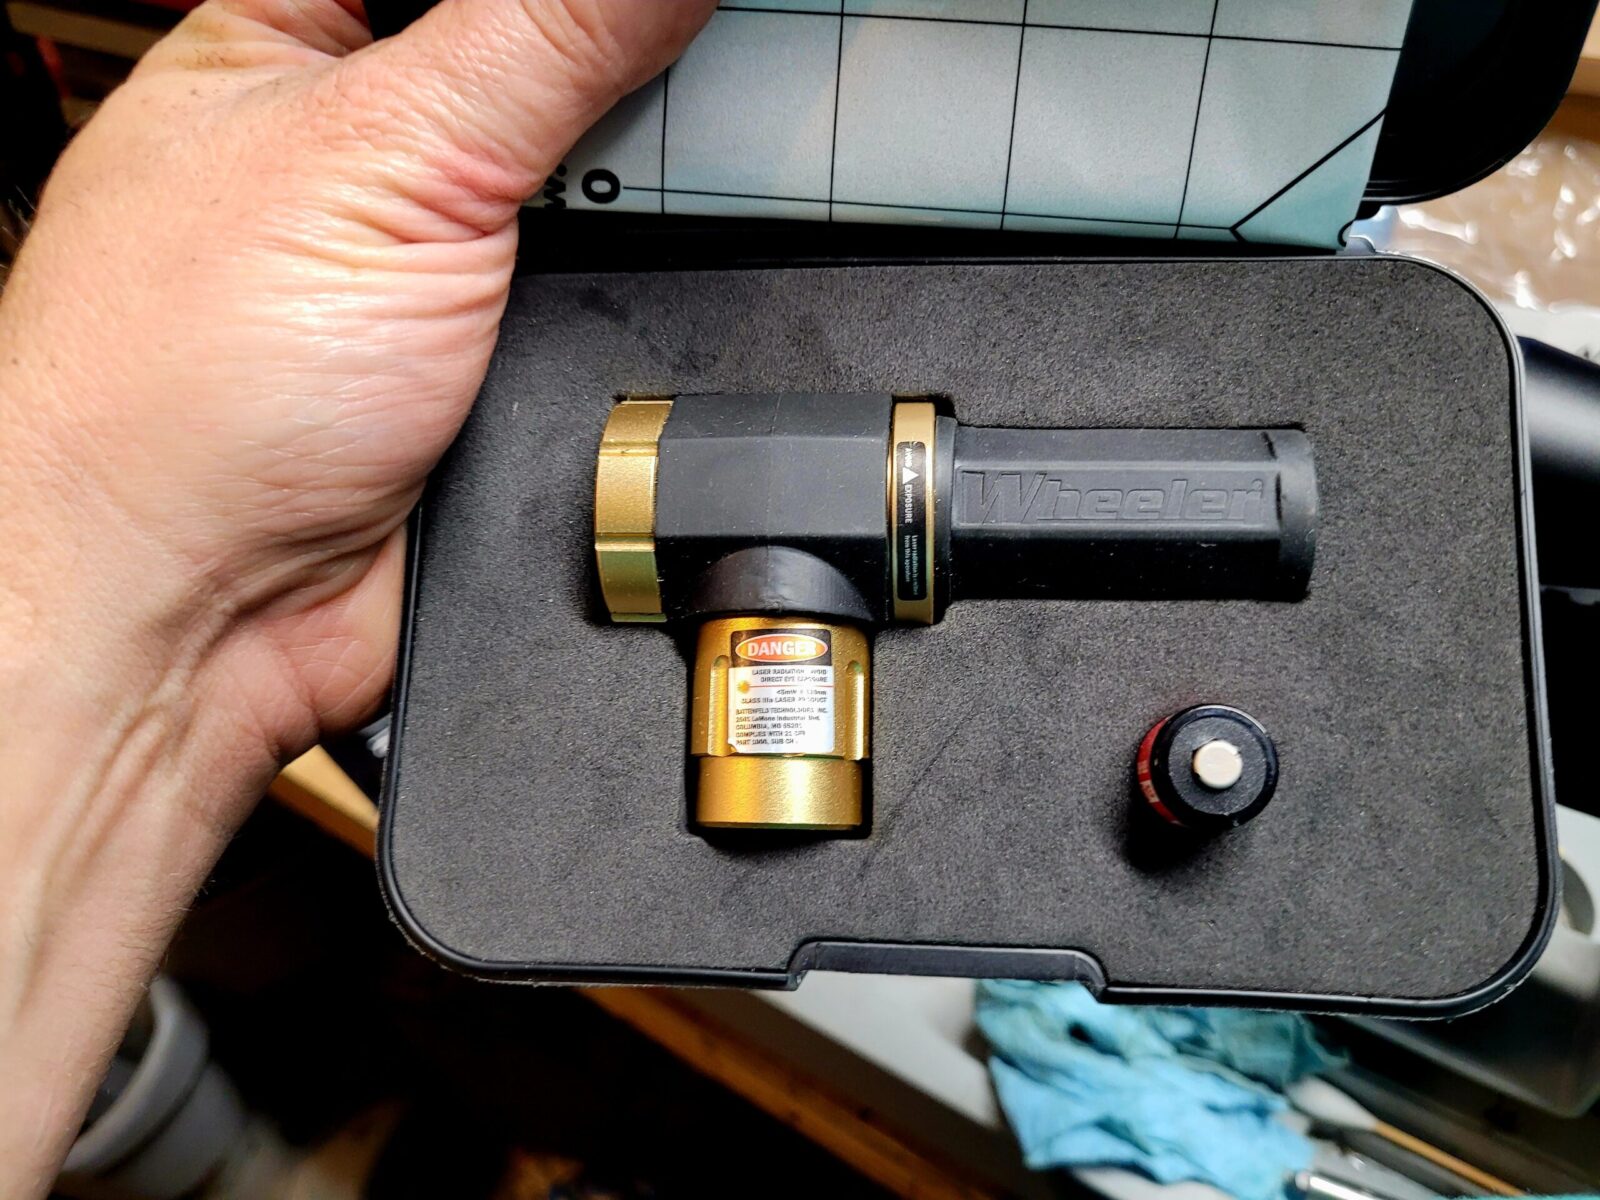
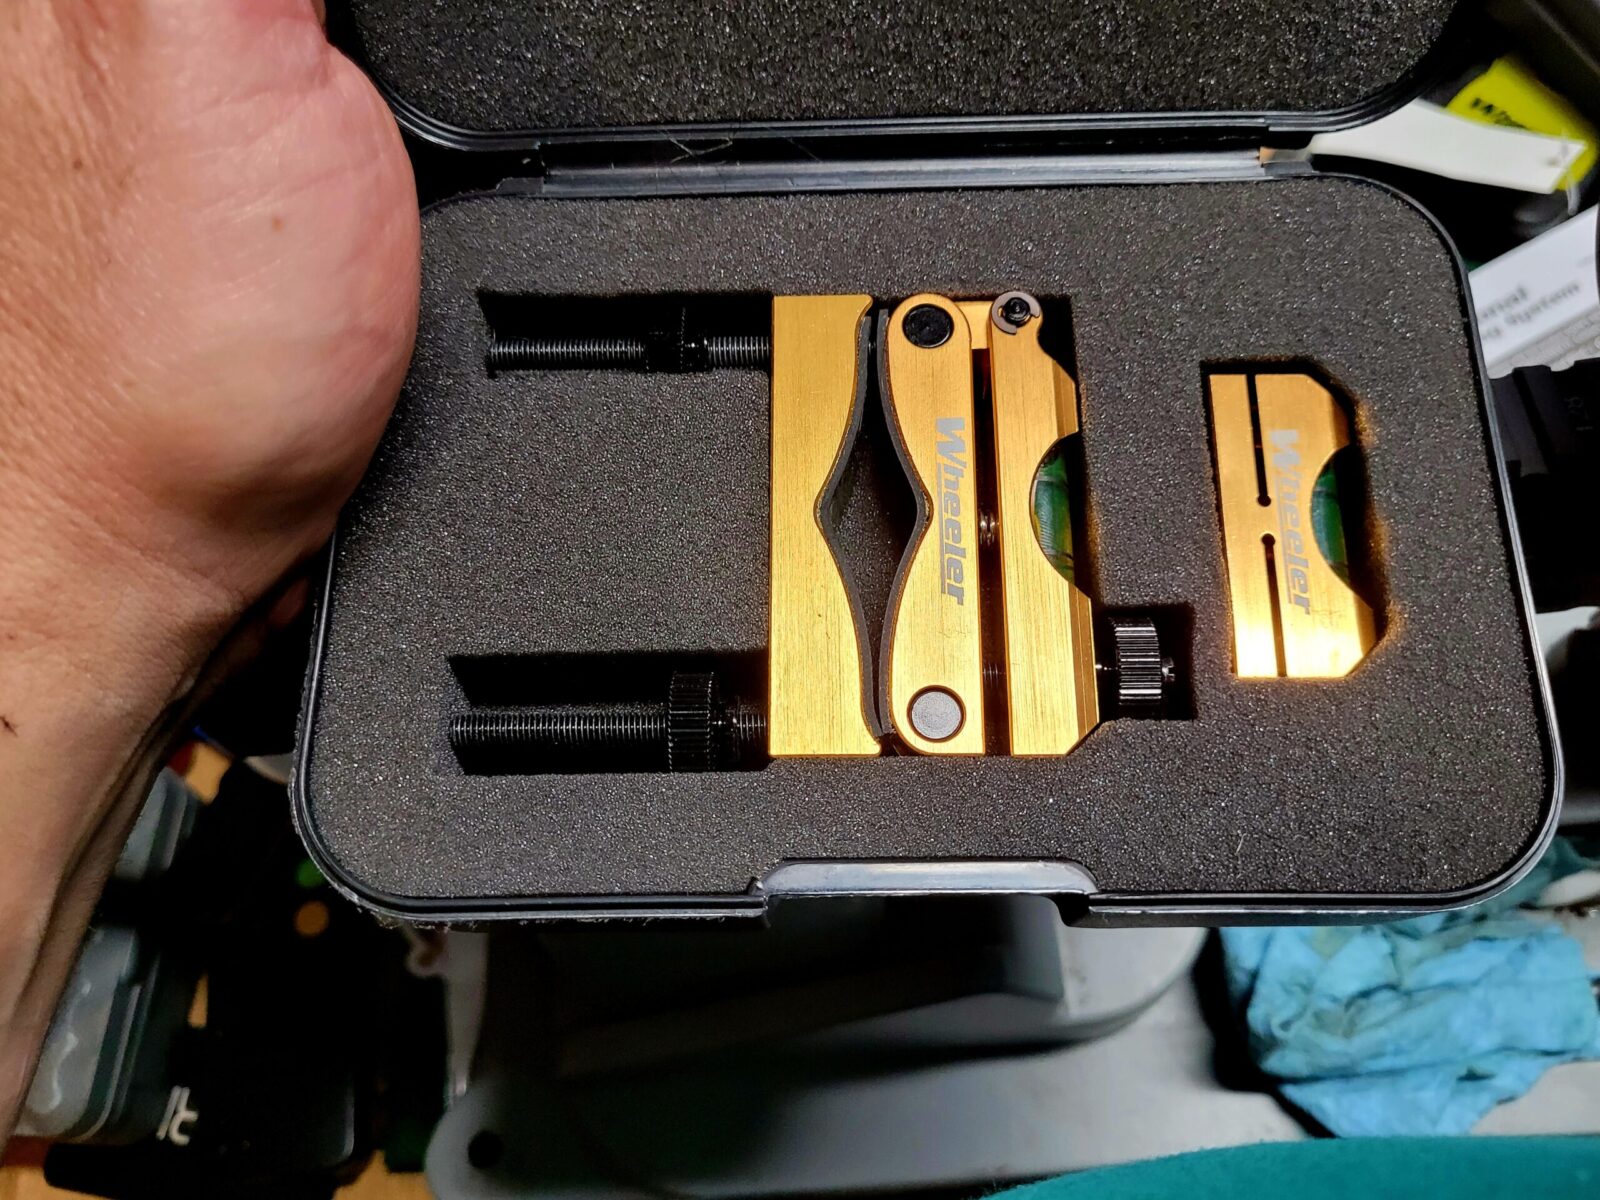
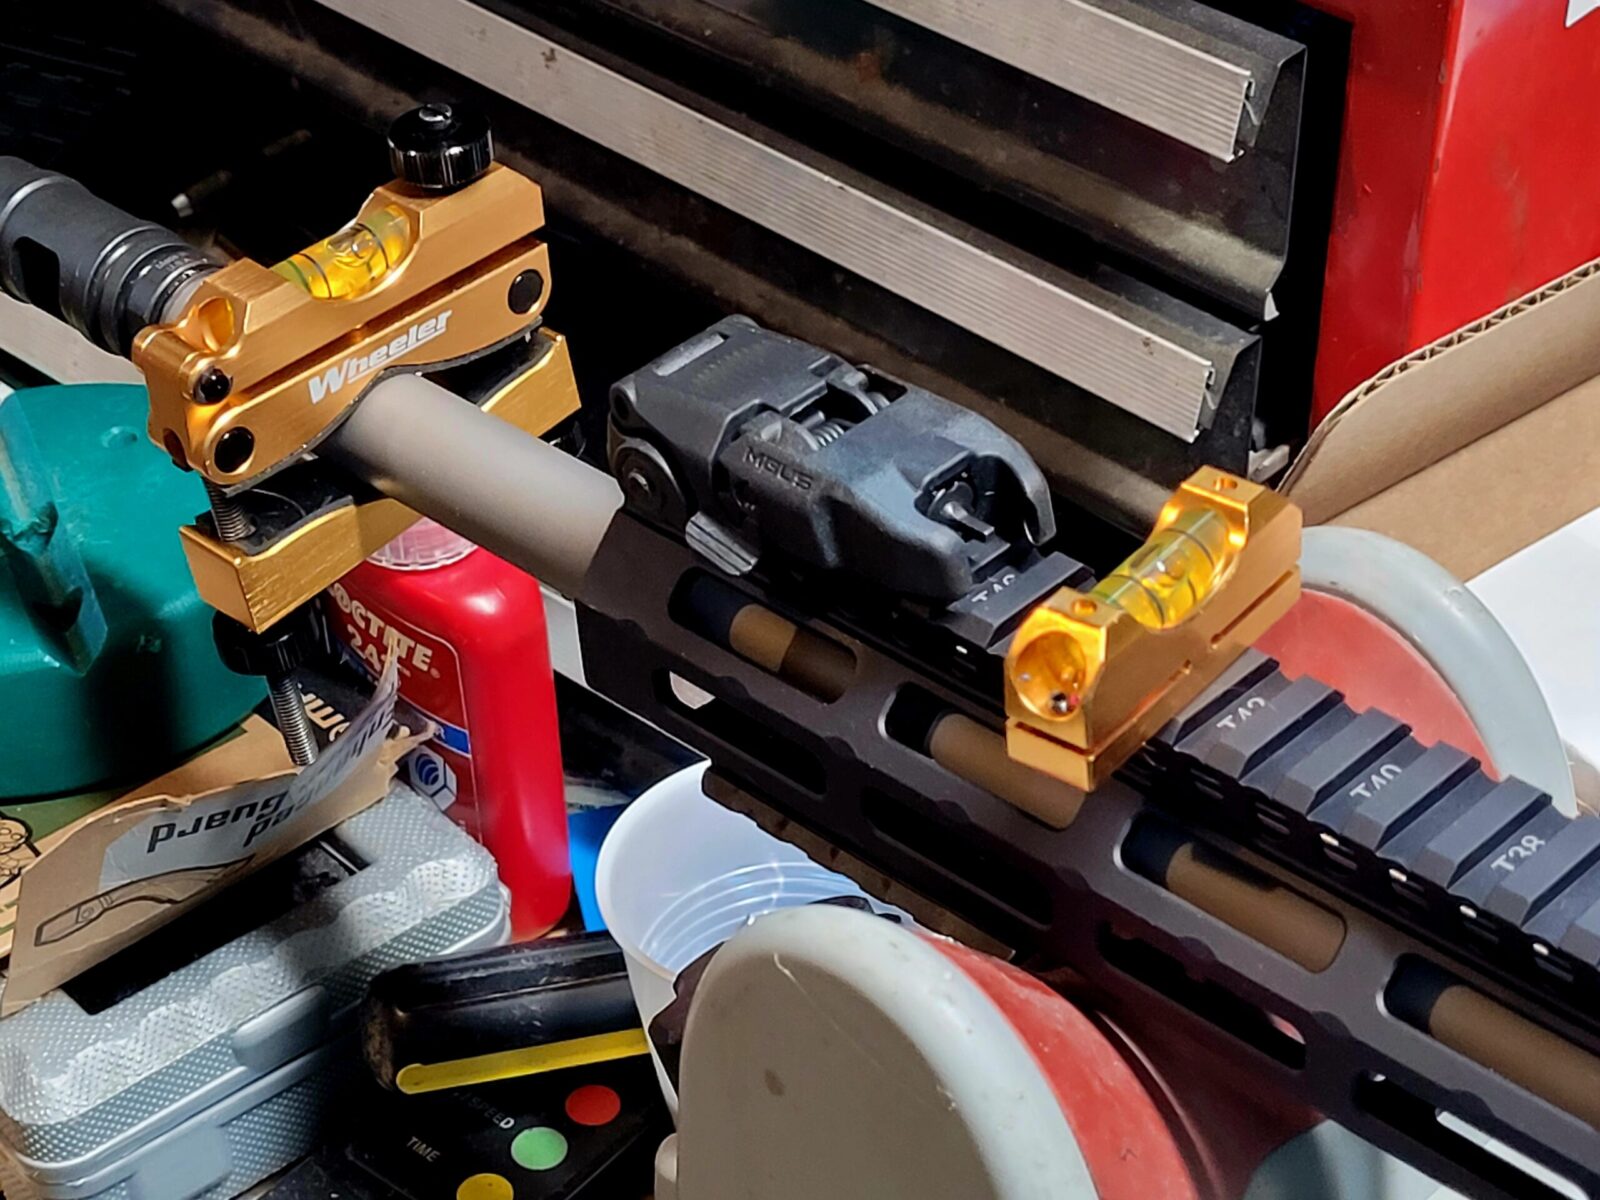
Second, you need to sight in the BUIS. I use a laser to help get in the ballpark in the shop and then I do the final tuning at the range. Read up on the recommended range for your firearm and type of optic. For rifles, I go for 50 yards because then you are then zeroed for 50 yards and at 200. The BUIS are just that – emergency backups. I look to be in the ballpark with them and am not looking for perfection but some guys are amazingly proficient with them.

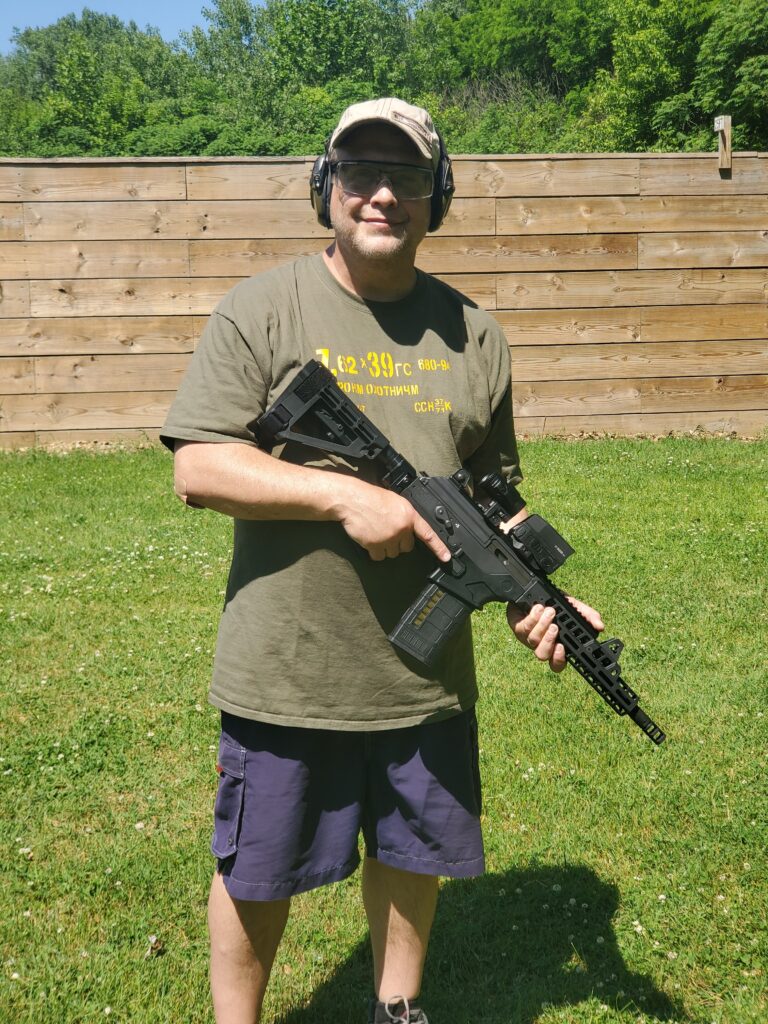
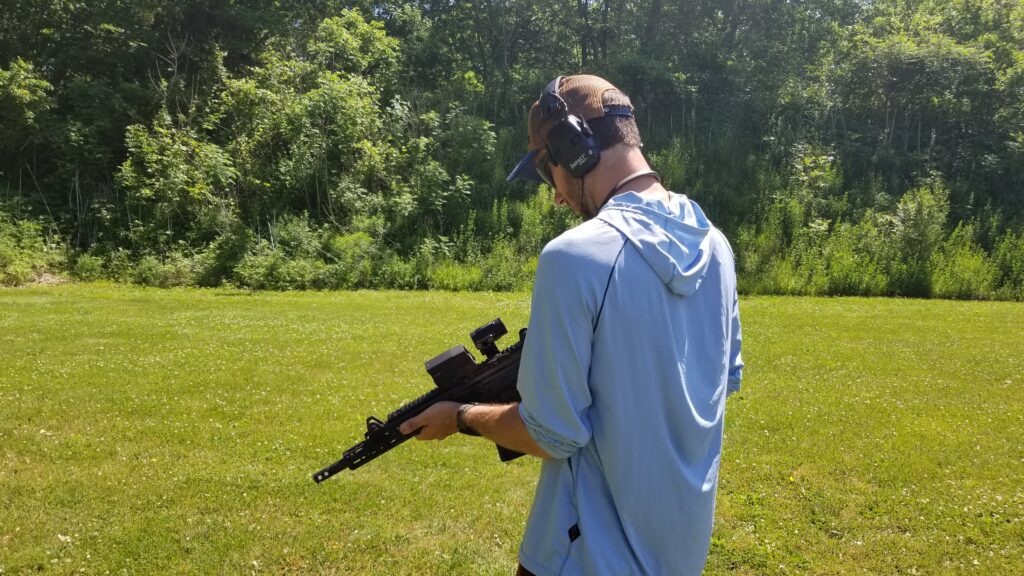
Third, absolutely take them to the range and practice with them!!! Buying, installing and zeroing the BUIS are only part of the game – you must also know how to use them. If they fold, practice on opening and closing them while shooting. If they are offset, practice transitioning to them. Bottom line, you need to practice hitting targets with them and adjust the sights and what you are doing accordingly. The more you practice the greater the odds that things will work when you need them. If you don’t practice then you are taking a huge gamble both on the BUIS and your ability to use them – so don’t gamble.

Magpul sells both basic polymer and pro steel versions of their MBUS. Above is a polymer rear unit on one of my ARs. I fold both the rear and front sights flat until needed – the small lever you see to the left of the mounting screw both releases the sight so it flips open via a spring and then locks up up right. I can count on them because they are zeroed and I practice with them.

Summary

The whole reason I wrote this is that it seems like I have encountered a lot of shooters this past year that had BUIS and fell square in camp 4 – they had never sighted them in or practiced with them. This is very concerning to me – they are gambling on something that shouldn’t be left to chance. So, yes, I think BUIS are a great idea but you need to sight them in and regularly practice using them also. If you don’t, then your backup probably isn’t a backup.

I hope this gives you some food for thought.


Note, I have to buy all of my parts – nothing here was paid for by sponsors, etc. I do make a small amount if you click on an ad and buy something but that is it. You’re getting my real opinion on stuff.

If you find this post useful, please share the link on Facebook, with your friends, etc. Your support is much appreciated and if you have any feedback, please email me at in**@ro*********.com. Please note that for links to other websites, I may be paid via an affiliate program such as Avantlink, Impact, Amazon and eBay.


Use a Wheeler Engineering Green Laser Bore Sight To Get Your Scope or Optic Range Ready

When you buy a scope/optic and mount it on your rifle or pistol, it may relatively be close to where the actual bullet will hit the target or it may be a mile off. This applies just as much to dot optics as well as scopes with magnification. First off, this is why you need to sight in any type of optic before you use it. Second, unless you want to waste a ton of ammo, this is why you want to bore sight an optic before you do the final adjustments.

“Bore Sighting” refers to looking down the bore, seeing the target and roughly dialing on the elevation and windage of the optic. This was never perfect but it at least got you on the paper at 25-50 yards you could then start dialing in the scope and backing up to whatever range you wanted to dial the scope in for. This method worked fine if you could actually remove the bolt and look down the scope, such as a bolt action rifle. It doesn’t work for semi-autos where you typically have a closed rear receiver and can’t look down the bore. It also doesn’t work for folks like me who can’t see the broad side of a bright red barn when trying to look down a bore.

The industry responded with all kinds of gizmos to help improve the process ranging from calibrated collimeters that let you roughly sight in by pointing at some target held up from the end of the barrel. That lasted for a few years until lasers started getting affordable and then models started popping up that either went in the muzzle with some form of collet to help center the shaft in the barrel or there were ones that approximated the shape of a given round and went in the chamber. The accuracy of either one greatly depended on the quality control of the manufacturer. In general, they worked and were really simple – put the laser in, turn it on and then dial in your scope to where the red dot was showing.

Pros: Simple, cheap, did the job Cons: acccuracy was highly dependent on how well the manufacturer made the unit, they are impacted by how well the inside of the muzzle device aligns with the barrel and the red laser faded out quickly in bright light and because they all use button cells of varying sizes the battery life might be short – especially the fake cartridge units. Note, a number of the muzzle end manufacturers do offer green lasers and that helps. Bottom line, they do the job and I do favor the muzzle end devices more provided they are from a quality manufacturer.

Then along came Wheeler Engineering with relatively large green laser unit with a strong magnet that sticks on the face of the muzzle (the end of the barrel). This got away from issues with the muzzle end units not centering and the frequent poor quality of the imported fake cartridge units. The green laser is powered by a relatively large CR123A battery that is the same used in many tactical lights. I should point out that they make a red laser version too but if I had to pick I would go with the green laser as your eye can see it easier and it reflects from further away.

This is the Wheeler laser bore sighter and it is the green laser unit. Note, I have a bettery in the unit and a spare Surefire CR123A in the holder. Steer clear of no-name cheap CR123A units as they have had issues in the past and caught fire, burst, etc.

I’ve used it for a few years now (I bought it in 2019) and have found two issues that affect it. First, the end of the barrel or your muzzle device (flash hider, muzzle brake, and so forth must be steel for the magnet to stick to it. By the way, I am not impressed by how aluminum muzzle devices hold up over time and just buy steel whenever I can.

The second shortcoming is that the manufacturer of the muzzle device and/or the barrel must have created a true end meaning the end of the barrel, the thread, the muzzle device – they must all result in an end of the barrel/muzzle device that is perpendicular to the barrel. The worst offenders in my experience are the muzzle devices because their positioning depends both on how well the threads were but on the barrel plus how well the device was made. Some combinations are better than others. If I were to make a generalization, unthreaded barrel muzzle faces from a quality manufacturer tend to be pretty true.

This is a quality Ballistic Advantage 20″ 5.56 DMR barrel. I’d expect its threads to be cut properly. The next variable would be how well the muzzle device engages the threads and how square the end of it is.
This is a IWI Galil Ace in .308. In a favorable nod to their manufacturing the factory barrel and brake yielded a remarkably close test pattern at 25 yards. I’m always amazed when boresighting is within inches and then going to range yields initial rounds within a6 inches of the expected center and this one did.
This is the strong magnet that secures the laser boresight to the end of the barrel or muzzle device. It’s also why either end would need to be steel for it to magnetically attach.
Here’s the unit secured to the end of a PSA barrel and PSA bird cage brake. It did the basic job of getting the rifle on paper with it’s Vortex UH-1 optic.
The power button is on top of the battery compartment and you can see the green laser hitting the off-white plastic cup. I like to sight in when the sun isn’t bright so I can get out 25-50 yards.

As with the other bore sighting devices, this unit will get you in the ballpark. Because of the factors above, you might be on the paper at 100 yards but you are better starting off at 50 and working things out from there.

By the way, one tip of any of them is to do your boresighting early in the morning or at dusk but not in the bright light of day. You can reach out 25-50+ yards and see the dot enough to do the initial sighting.

As a closing comment – none of them are perfect because they were all designed to be approximations. The final sighting must be done by you with the rounds you expect to use because a ton of variable will affect where you bullet actuall hits – your cheek weld, your trigger pull, factors with the bolt and barrel, how consistent the ammo is, the weight of the bullets, etc. My goal is to save some ammo and at least hit the target so I don’t have to shoot so many rounds to dial in the final settings and then begin working out firing solutions for different ranges.

In Conclusion

There actually isn’t a perfect solution – I mainly use the Wheeler Pro Green Laser Boresighter when I can but I still have a couple of good muzzle end units that I use when the muzzle device is aluminum. I know one unit is from LaserLyte and I really do not recall who the other is from. I do not use the dummy cartridge units after a few disappointing tries.

So, if you haven’t tried a Wheeler Pro boresighter and are in the market, I like mine.


Note, I have to buy all of my parts – nothing here was paid for by sponsors, etc. I do make a small amount if you click on an ad and buy something but that is it. You’re getting my real opinion on stuff.

If you find this post useful, please share the link on Facebook, with your friends, etc. Your support is much appreciated and if you have any feedback, please email me at in**@ro*********.com. Please note that for links to other websites, I may be paid via an affiliate program such as Avantlink, Impact, Amazon and eBay.


How to level a scope reticle

First off, I better explain that a recticle is the formal name for the cross-hairs or series of fine lines that are inside a scope that you use to aim with. There are a ton of different ones out there and one thing you want to do is to get them level with the rifle.

Let’s start with why this matters

The reason for this doesn’t affect the old traditional cross-hair designs but it does the ones that have additional marks to help you better determine the range and the necessary hold based on Mil-Radians (Mils) or Minutes of Angle (MOA).

These are examples of reticles found in a very interesting post about the topic on Wikipedia.

If you search, there are tons and tons of posts about different types of reticles and how to use them. The important point I want to make is that for any of these more modern reticles with additional lines to help you accurately, the horizontal lines must be parallel with the rifle.

How do you level a reticle?

The first way is the old fashioned “eyeball” method. Hold the rifle and make sure the top of the receiver is as level as possible (meaning the rifle is not tilted left or right), look through the scope and adjust it in the rings until it is true to the top of the receiver and then start tightening down the rings while confirming nothing shifts. It’s not the most precise method but it does work, I’ve done a ton of rifles that way, but there is another approach using levels.

In it’s most form, you put a small level on the top rail or flat spot of your recever, tilt it until it is level and then put the level on the top turret and adjust the scope until it matches. Having something to hold the rifle in place while you work really helps as does having a second level so you can both confirm the receiver and scope are level as you work. You can often find single vial levels at hardware stores or through industrial supply houses. The one negative to this approach is that the levels can slide off if you don’t have things secure. I like to use a Tipton Pro Rifle Vise to hold the rifle in place while working.

Wheeler Engineering does offer a basic level set that works. I don’t use it though because it’s rear receiver piece has a magnet to secure it and that will not work in an AR or other weapon that is made from aluminum and not steel. For this reason, it wasn’t something I could use.

These days, when I have time and I want to try and get the scope as accurately positioned as I can on the first try, I use a Wheeler Engineering Profession Reticle Leveling System. It’s easy and fast.

First, you put the level on your receiver/rail and level the receiver. Then you put the clamp on the barrel and level it – I compare both the receiver and the barrel bubble levels before I move the receiver level to the top scope turret. Once the level is on the top turret, I adjust the scope until the bubbles match and it’s done. I’ve used this for a number of years now and am very happy with it.

The professional leveling system has two parts – the barrel clamp and the separate level you use on the receiver and then the scope turret. The two parts are made from aluminum and come in a nice protective case. If it weren’t for the case, mine would look much more beat up. Protecting the parts makes sense for another reason – you don’t want things to get bent, gouged, dented or whatever and then throw off the readings or mar the finish of your weapon.
The first thing you do is to use the small level (shown behind the backuop sight) to true the receiver. Then you adjust the barrel clamp until it is level also. Just visible under the handguard is the front of my Tipton vise.
After the barrel clamp has been levelled, you move the small level to the flat top turret and then rotate the scope however you need to get it flat also. Compare this level to the barrel clamp level to make sure they agree. The more care you take to get the bubbles centered and matching, the better.

I do use a Vortex torquing screw driver to tighten the scope ring screws and am careful to confirm the scopes levelling does not shift in the process. Vortex scopes say not to torque them past 18 inch/pounds (please note that is inch pounds and not foot pounds just to be very clear – you don’t want to damage your scope but at the same time, you do want it secure).

Again, with any of these methods, it really helps to secure the rifle in a vise where you can adjust and then secure the rifle so the top is horizontally true.

Yeah, this is my real work bench. It was worse than normal as I still had all of the packing from the scope,rings and upper on the bench. The Tipton gun vise has served me very well over the years. By the way, notice the level on the turret – you reall want that perpendicular to the rifle. In this photo it is slightly crooked and no longer perpendicular and risk the scope not bein accurately levelled to the rifle.

Conclusion

The Wheeler Engineering Professional Leveling System has served me well and I have used it on a number of projects over the years. I have no hesitations in recommending it to you as well.

Sabatti Urban Sniper with a Vortex PST scope.
Ruger RPR with Vortex PST optic sporting its sun shade.
IWI .308 Galil with a Vortex PST Gen 2 Scope.

I hope this post helps you out.


Note, I have to buy all of my parts – nothing here was paid for by sponsors, etc. I do make a small amount if you click on an ad and buy something but that is it. You’re getting my real opinion on stuff.

If you find this post useful, please share the link on Facebook, with your friends, etc. Your support is much appreciated and if you have any feedback, please email me at in**@ro*********.com. Please note that for links to other websites, I may be paid via an affiliate program such as Avantlink, Impact, Amazon and eBay.


The Vortex UH-1 Sight and V3XM Magnifier Are An Amazing Combination On A Galil Ace Pistol

Well, the pandemic threw all my plans right out the window including having time to go to the range. I bought and customized my 7.62×51/.308 Galil Ace Pistol in the Fall of 2019 and just recently was able to take it to the range with my daughter and good friend Niko.

Niko having fun with the Ace and optic combination.

When I was planning the customization of the Ace, I wanted a holographic sight for rapid target acquisition in close, parallax free viewing and also a magnifier to help me out to a hundred yards or so. By the way, tons of guys go further even without a magnifier but this is just me.

Being a Vortex Optics fan and having read good reviews of their Razor AMG UH-1 optic, I bought one plus the V3XM Micro 3x magnifier. I have to admit that I was nervous. Years back I built an AR-15 and installed both a full size red dot and a full size 3x magnifier and honestly did not like it. The combination used a ton of top rail space due to the size of the two parts and it was heavy. To be honest, I found myself wishing I’d just bought a 1-4x or 1-6x optic at the time.

Why Bother With A Magnifier?

In case you are wondering why I even wanted the 3x magnification, it’s s a simple answer. As I get older,I find myself needing more magnification for any degree of target shooting as I get closer to 100 yards and beyond. Yeah, make fun of me but in talking with a lot of 50+ year old guys, I’m not the only one. I tend to favor 1-6 and 1-8x Vortex Strike Eagles for relatively close in optics – they are light, rugged and allow me to trade off field of view and magnification.

The optics combo fits nicely on the Ace. I like the quality quick release levers they used. The levers clamp very well and have a repeatable zero when removed and re-installed.
Here the magnifier is swung out of the way for 1x viewing through the UH-1. All controls are very easy to use.

At any rate, back to the UH-1, the UH-1 itself weighs about 11oz and the Micro 3X (V3XM) magnifier adds 9.55oz. So you are looking at about 20-21oz or just over 1.25 pounds for the combination. A 1-6x Strike Eagle weighs 18.5oz and then you need to add at least a basic cantilever mount at 1.3oz, you are totalling 19.8oz.

Why am I bringing this up? Some situations really require variable magnification optics and the 1-6x and 1-8x Strikefires are hard to beat. In other cases, you are expecting situations where you will need little to no magnification then the UH-1 wins hands down. Why? Target acquisition is screamingly fast and you don’t have parallax. No parallax means that no matter how you look at the projected recticle (the hologram), the recticle is on the target. With regular scopes, as your eye position changes relative to the recticle, the point of impact changes. This is one reason why a good consistent cheek weld is so important with a traditional optic. Bottom line is that holographic sights seriously rock when it comes to speed of target acquisition.

A 7.62×51 Galil Ace Is Not A Distance Weapon

Another thing to point out is that this weapon is not a target rifle by any stretch of the immagination – it’s for close in work. The 7.62×51 Galil Ace pistol has an 11.8″ barrel and that short length is really going to limit the weapon to less than 200 yards and that is just my opinion because that short length will reduce the velocity of the bullet and there will be more bullet drop at a given distance. The reason is simple – the 7.62×51 and .308 cartridges are still burning powder, generating more pressure and bullet speedwhen the bullet exits the muzzle – all that burning powder makes for an impressive muzzle flash but that’s actually a waste of powder and why it will have less velocity than a weapon with a longer barrel.

How far do I intend to shoot the Ace? Now that’s the real question and is what drove the selection of the optic. I honestly plan to shoot it under 50 yards the majority of the time. I can flip the magnifier out of the way if I don’t need it.

A Bit Of Range Time

How did it work at the range? It was fantastic. The Ace itself ran great with PPU M80 FMJ ammo and the optic pairing was way better than I expected. The recticle was nice and bright even during mid-day son and it was easy to swing the magnifier in and out of position. All three of us liked the Ace and optic combination. After shooting the Ace for the first time, I can definitely see why they have such a excellent reputation.

Even in close the magnifier worked nice. It still has a pretty wide field of view — 38 feet at 100 yards. I went from being cautiously hopeful to really liking the combo.
In this photo, Niko is getting ready to shoot with the magnifier swung out of the way.
I’m still trying to learn the art of getting a decent photo of a recticle. With the UH1 you have 1- brightness levels to select from and I really like it.

In Summary

I really like the pairing of the UH-1 optic and the V3XM magnifier on my Galil Ace. The pairing works really, really well and I am already planning on getting one of the new second generation UH-1 optics for a new build I am planning – a 7.25″ 12.7×42 (Beowulf) pistol 🙂


If you find this post useful, please share the link on Facebook, with your friends, etc. Your support is much appreciated and if you have any feedback, please email me at in**@ro*********.com. Please note that for links to other websites, I may be paid via an affiliate program such as Avantlink, Impact, Amazon and eBay.


Vortex Second Generation 1-6 and 1-8×24 Strike Eagles Are On Sale At PSA With Free Mount and Shipping – Coupon Good Thu 5/13/2020

PSA has a deal going on through 5/13 (they extended the deal) on the new second generation Vortex Strike Eagle Scopes. The deal includes the optic, a Vortex 2″ cantilever offset mount (their 14919 CME-202 mount to be specific) and PSA is including free shipping. Use Coupon Code: Strike

What are the differences?

  • Has the new 5.56 calibrated reticle – the AR-BDC3
  • Integral throw lever on the zoom ring
  • Slight design change to the 1-6 body so it looks like the 1-8

Click on the photo to open the PSA page


This is a short post – you might want to snag this deal while you can. I have a first gen 1-6 and really like it. The scope has a great field of view at 1x and helps you zoom in to see things better.

I hope this helps you out.


If you find this post useful, please share the link on Facebook, with your friends, etc. Your support is much appreciated and if you have any feedback, please email me at in**@ro*********.com. Please note that for links to other websites, I may be paid via an affiliate program such as Avantlink, Impact, Amazon and eBay.


By the way, the following are first generation Strike Eagle listings at other vendors so you can compare – I have a first gen 1-6×24 and it has held up great. It’s living on my Beowulf right now so it’s up to you as to whether the new features matter enough:

American Defense Red Dot Optic Mounts Rock!

I really like Vortex Crossfire Red Dots and have been using them extensively for a while now.  They’ve survived 9mm POF-5. 12 gauge shotguns, 5.56 ARs and 7.62×39 AKs with no problem.  The only modification they need is a good quick release mechanism in my opinion.

HK SP5 with a Vortex Crossfire and an American Defense AD-T1-L STD low mount.
Lynx 12 gauge with a Crossfire and also the AD-T1-L STD low base.

The designers at Vortex are pretty shrewd.  They designed the Crossfire to share the same base as the Aimport T-1/H-1.  Because of that smart design consideration, it opens up a ton of options for you.  

My preference these days are quick release mounts made by American Defense right here in the US.   The units are made from 6061 T6 aluminum and finished with a T3 anodized unit.  They are rock solid.  I have had problems in the past with cheap import models and these are rugged and reliable.

They have a low profile unit that I like for AKs and my POF-5 where I don’t care about co-witnessing with the iron sights.  It’s their AD-T1-L STD model.

They also make a taller unit that is an absolute co-witness height for ARs.  

This is one of my Vortex Crossfires.  It has the low-profile American Defense mount on it and the co-witness model is the taller unit on the right.   The small lever you see sticking out from the main lever is the lock to prevent an accidental release.
The bases are held in place by four small screws.  Here’s the “-L” low model next to the co-witness “-10” model.
To change bases is just a matter of removing four screws.  To avoid the screws loosening, use a blue medium Loc-tite or Vibratite.  Do not use a permanent formula.
To adjust the fit, you push with one finger from the lever side and the nut is pushed out of its housing straight across.  Turn it one hex side at a time.  Turn it clockwise to make the clamp tighter or counter-clockwise to loosen it.  (righty-tighty and lefty-loosy

These American Defense mounts work like a charm and the quality is evident.  I can easily remove the red dots when I am working on a weapon or even swap optics if I so choose.  They do have a repetitive zero but I would recommend always putting it in the same rail slot for consistency.

I hope this helps you out.


If you find this post useful, please share the link on Facebook, with your friends, etc. Your support is much appreciated and if you have any feedback, please email me at in**@ro*********.com. Please note that for links to other websites, I may be paid via an affiliate program such as Avantlink, Impact, Amazon and eBay.