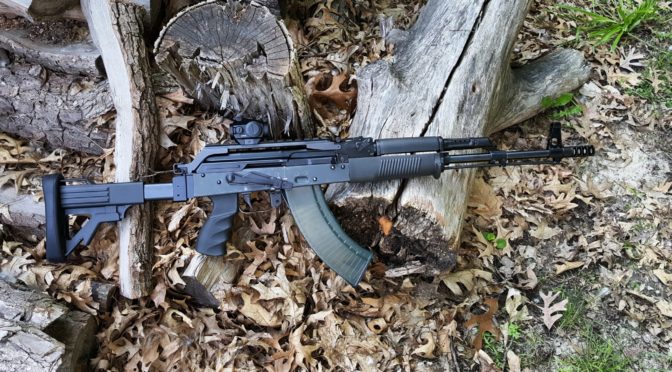
Tag Archives: AK-47

Awesome Shirts and Hoodies for AK Fans

Folks, I’ve been involved with AKs since about 2006 – not a long time but long enough to watch the AK, or Avtomát Kaláshnikova, rise from a firearms embraced kind of at the fringe by preppers and guys who realized that it was extremely reliable and fun to shoot.

Today, the AK and its many, many variants (AK-47s, AK-74s,  Veprs, Saigas, PSLs, M70ss, PAPs, SLRs, Galils, AMD-65s, etc.) are really in the mainstream.  There are tons of rifles, ammo and accessories available.

What I also think is interesting and very cool is the rise of AK clothing (T-shirts, sweatshirts and hoodies mainly) where you can show off your favorite firearm — or at least one of your favorites 🙂  These used to be limited-run hard to find stuff years ago.  Now, thanks to eBay, there are tons and tons of options in terms of designs, sizes and colors plus you can see how well the vendor is doing in terms of sales volume and ratings.

There are T-Shirts

I had to order one with the 7.62×39 spam can!  Note, some of the images don’t show but when you click on the link you can see the item and some of them are hilarious!

Sweatshirts and Hoodies

Needless to say, I’ve bought a few and hope you find some cool garb to express yourself as well!

P.S.  If you want to limit your risk a bit, buy from vendors with more sales (I like over 30) and positive reviews.  Anyone can get one or two great reviews from friends and family so be cautious.


Please share the link on Facebook, Forums, with colleagues, etc. Your support is much appreciated and if you have any feedback, please email us in**@*********ps.com. If you’d like to request a report or order a reprint, please click here for the corresponding page to open in new tab.
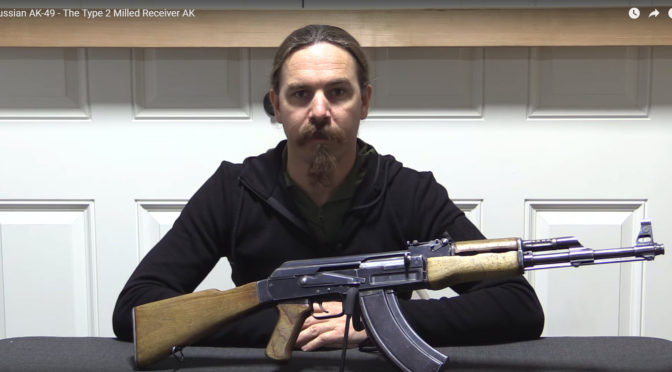



Learn About The Type 2 Soviet AK-47 – Forgotten Weapons Video

It’s interesting that we hold the AK-47 in near mythic regard when it comes to reliability.  It took almost 12 years from 1947 to the release of the AKM (Avtomát Kaláshnikova modernizírovanny or  “Modernized Kalashnikov Automatic Rifle”) in 1959.  The journey the design team made over the years is quite interesting.

I did a post on the Type 1 previously (click here to open it) and that first iteration had problems with the stamped sheet metal receiver that affected reliability.  In response, Valeriy Kharkov lead a design team who created a milled receiver from a forging to address the reliability problems and it was ready by 1949.

The Soviets had plenty of labor, that wasn’t a problem so in a manually intensive manner, they machined a six pound block of steel that required 120 steps into a finished 1.4 pound receiver.  That means they wasted almost 3.6 pounds of quality steel and used a ton of consumables and machine time.  To be honest, it boggles my mind but they accomplished their mission – the QC problems with the receiver were addressed.

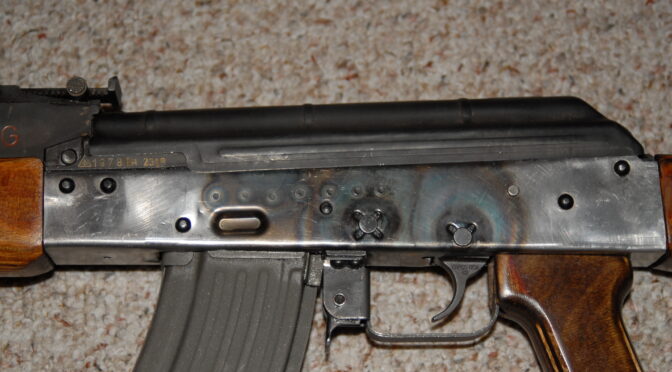
In the following video, Ian McCollum does a great job showing a type 2  and describing the differences between it, the type 1 and the following type 3.   For example, he points out the rear receiver extension that is made from sheet metal that is an instant identifier of a Type 2 fixed stock rifle (sometimes referred to as the “2A”).  Note, they made the type 2 with an underfolder stock also (the “2B”).

Ronin's Grips polymer samples showing heat resistance at different temperatures.

Another tell is that the lightening cuts are parallel to the top of the receiver in the type 2 and in the type 3 they are parallel to the bottom.

Ronin's Grips polymer samples showing heat resistance at different temperatures.

There are quite a few other changes such as the grip now being a single piece, the selector lever having an additional clearance added above the pins, gas vent holes moved to 10 and 2 o-clock and more.

By the way, one thing Ian does is refer to it as the AK-49 and I have never read anything that supports that nomenclature.  If you Google AK-49, nothing turns up.  I would recommend you refer to it as an AK-47 Type 2.  Other than that, I think it is a great video and you can actually see the many details as Ian points them out:

https://www.youtube.com/watch">

If you want to read a book that does a great job detailing the Type 2 and its history, I would recommend The Grim Reaper by Frank Iannamico.  Poyer’s book has details but not as much history.


Please share the link on Facebook, Forums, with colleagues, etc. Your support is much appreciated and if you have any feedback, please email us in**@*********ps.com. If you’d like to request a report or order a reprint, please click here for the corresponding page to open in new tab.


Video: Legendary Kalashnikov: Story of AK-47 Rifle (RT’s Documentary)

Hand gripping the ergonomic wooden handle of the CRKT HalfAChance K920KKP machete Hand gripping the ergonomic wooden handle of the CRKT HalfAChance K920KKP machete Hand gripping the ergonomic wooden handle of the CRKT HalfAChance K920KKP machete Hand gripping the ergonomic wooden handle of the CRKT HalfAChance K920KKP machete

I have a number of books both about the Kalashnikov rifles and also biographies of Mikhail Kalashnikov, the chief designer.  I always find documentaries of either the rifle or the man very interesting.  This particular video combines some fascinating footage about current use, manufacturing and testing with historical information and perspectives on Mikhail Kalashnikov vs. Stoner.

The video was released in 2013 and is 25:57 minutes long and is well worth the time.


Please share the link on Facebook, Forums, with colleagues, etc. Your support is much appreciated and if you have any feedback, please email us in**@*********ps.com. If you’d like to request a report or order a reprint, please click here for the corresponding page to open in new tab.


How to Install a Flat’s Lower Receiver Rails So They Align With The Front Trunnion

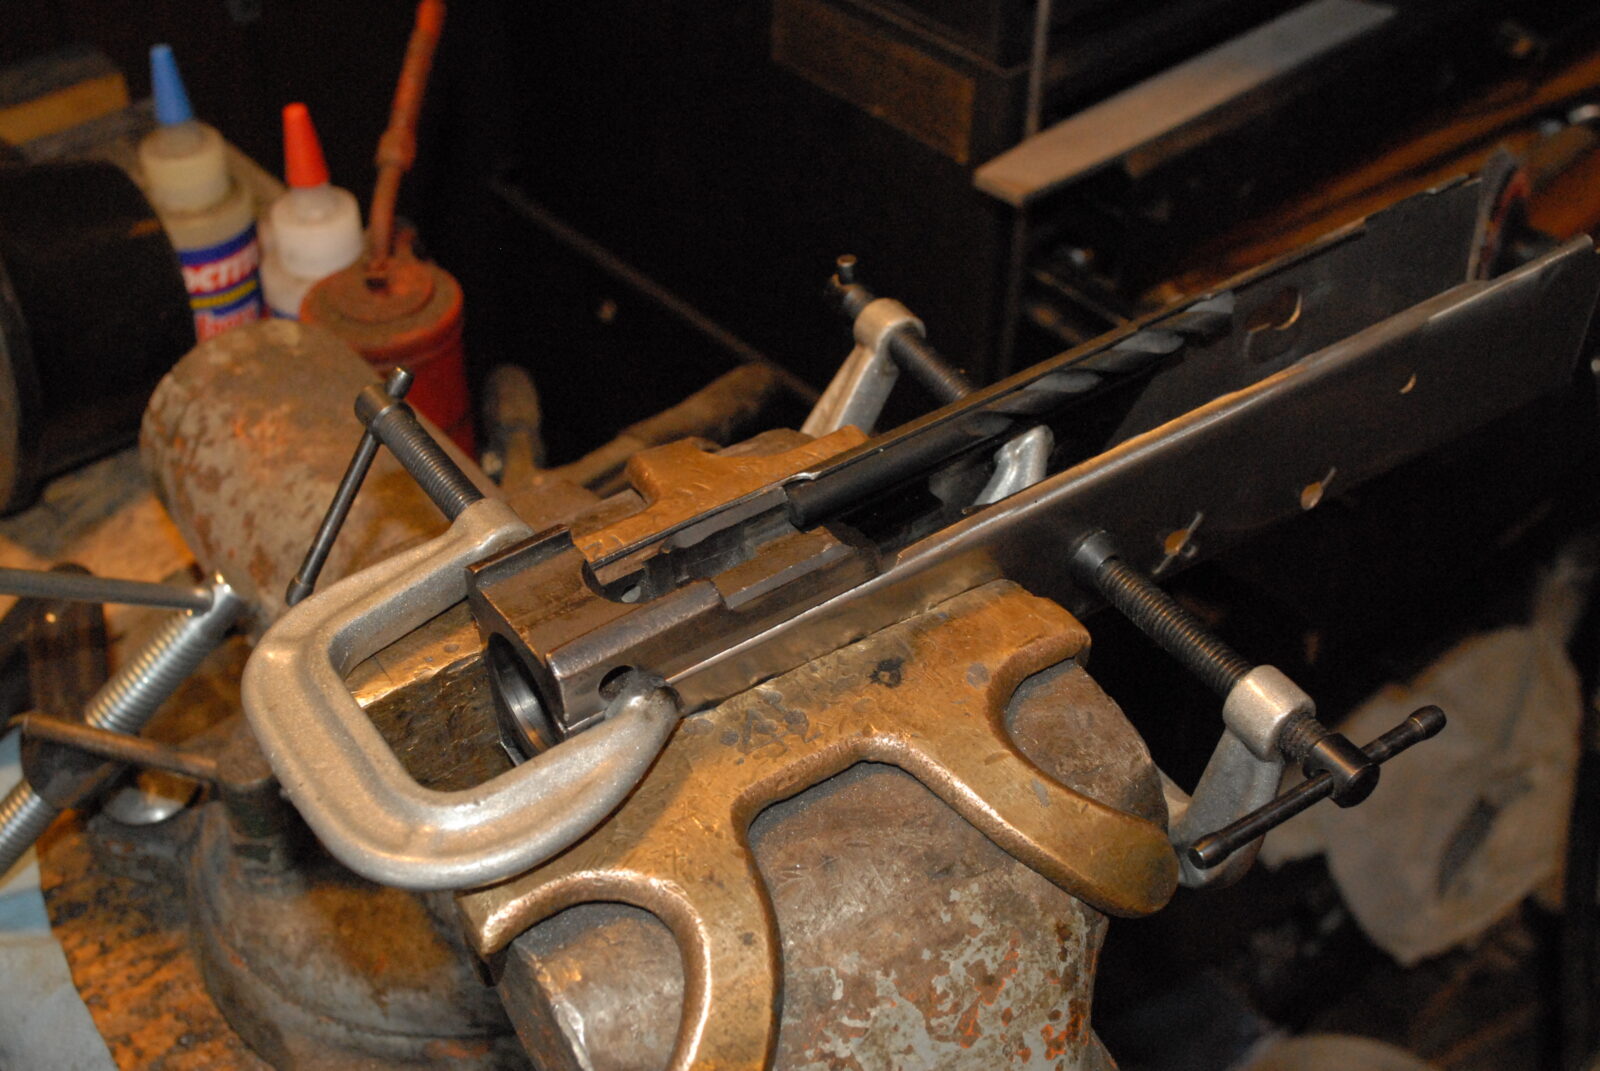
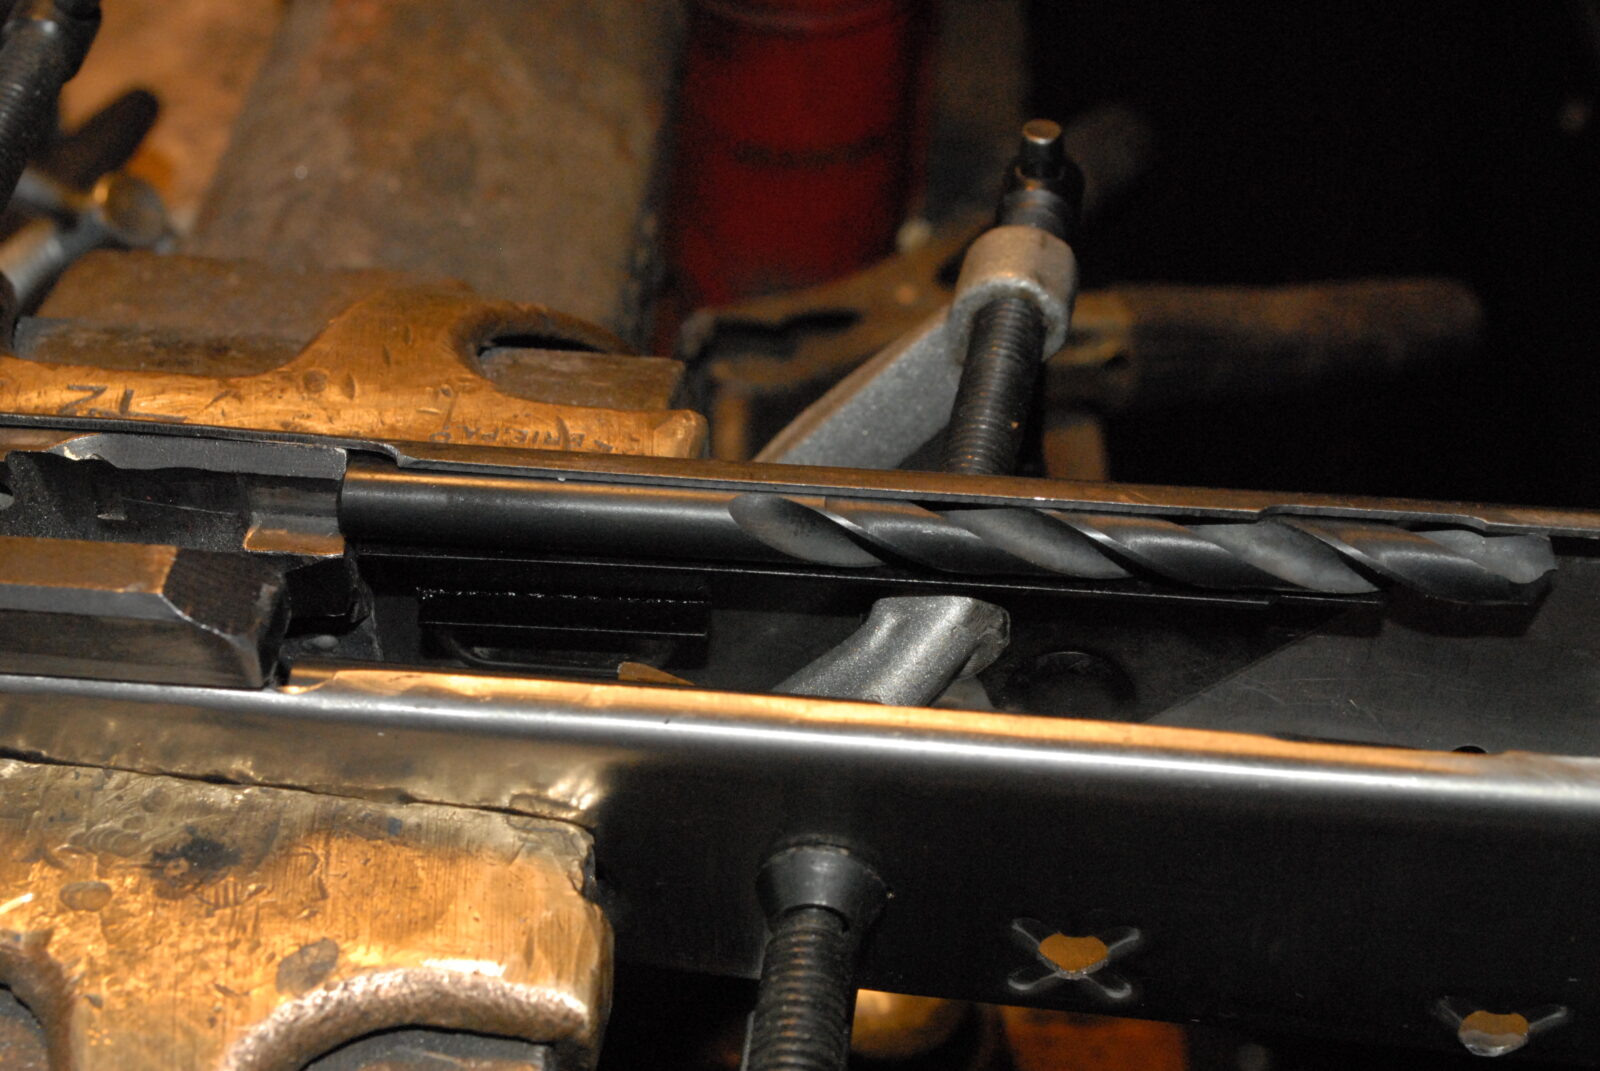
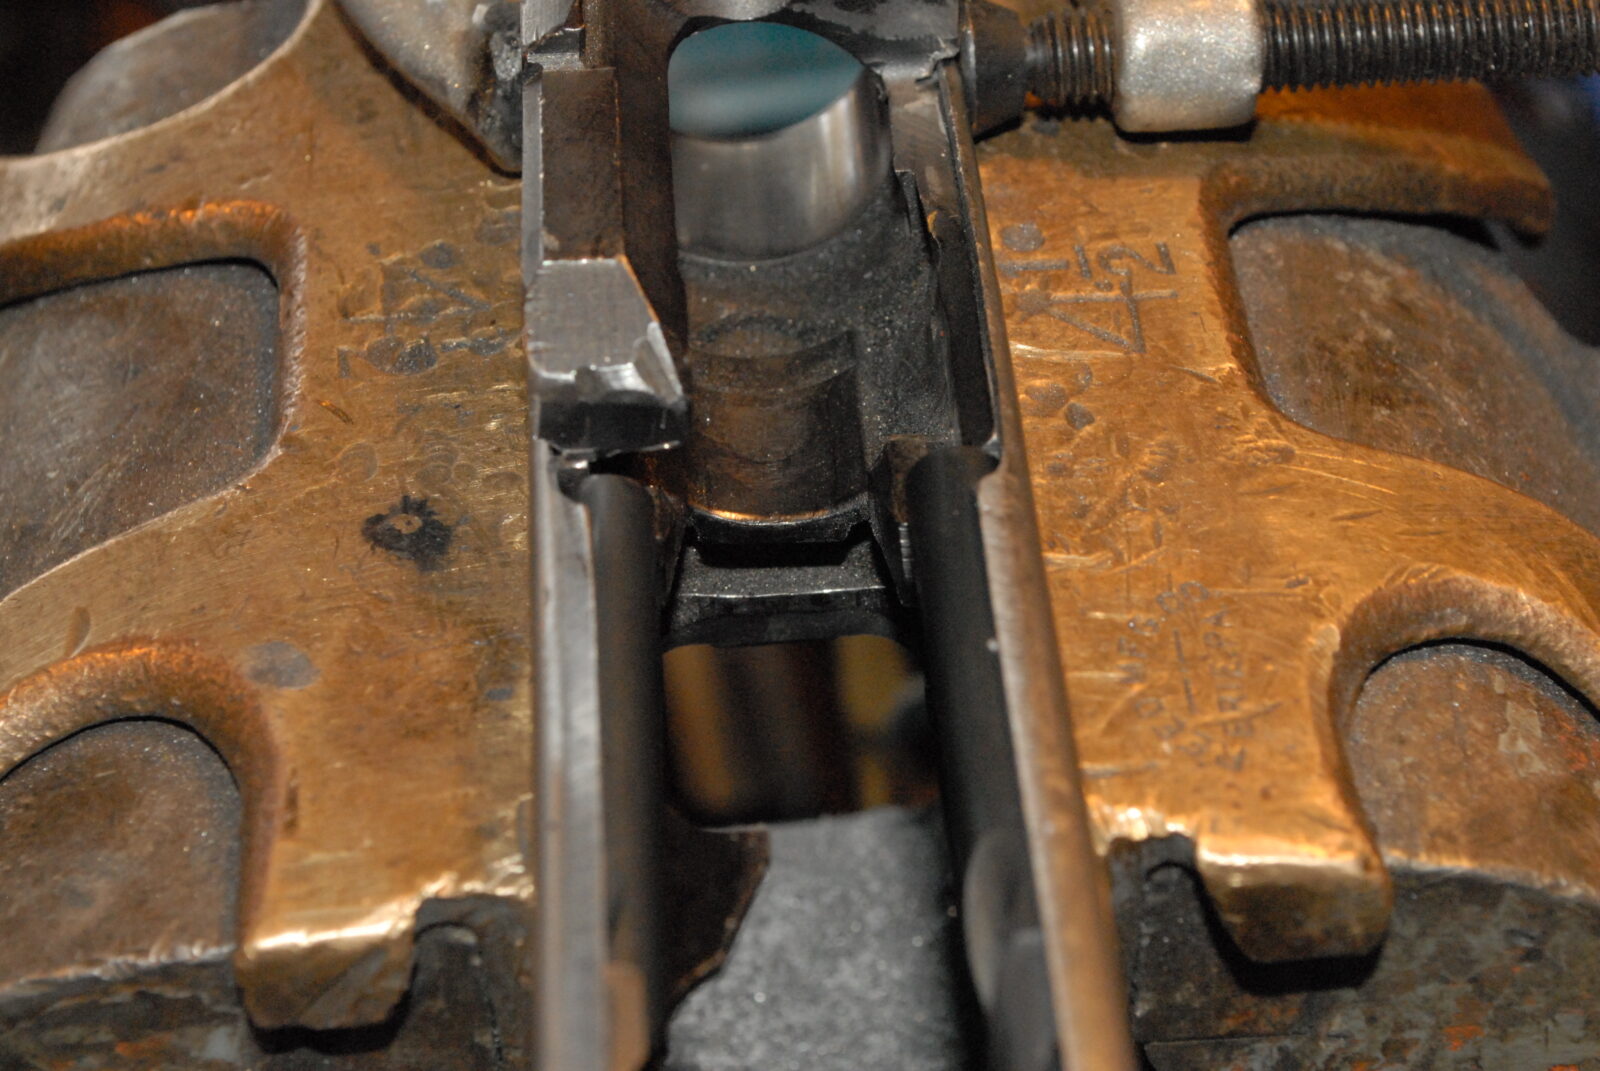
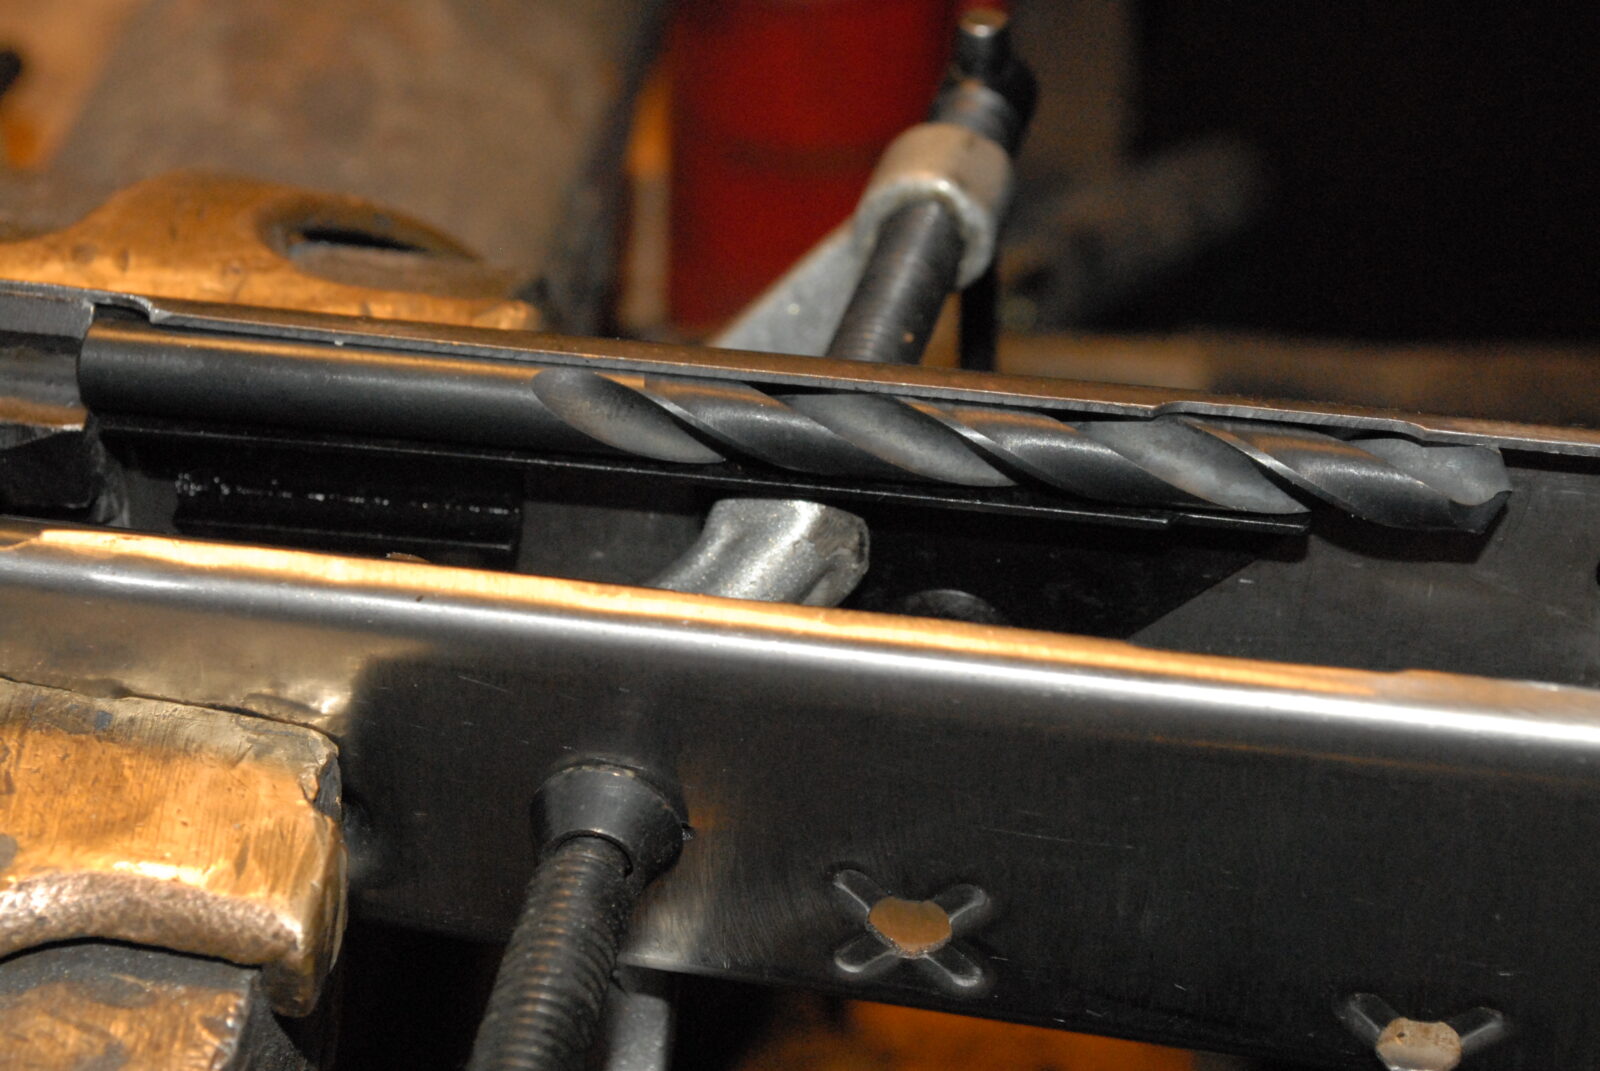
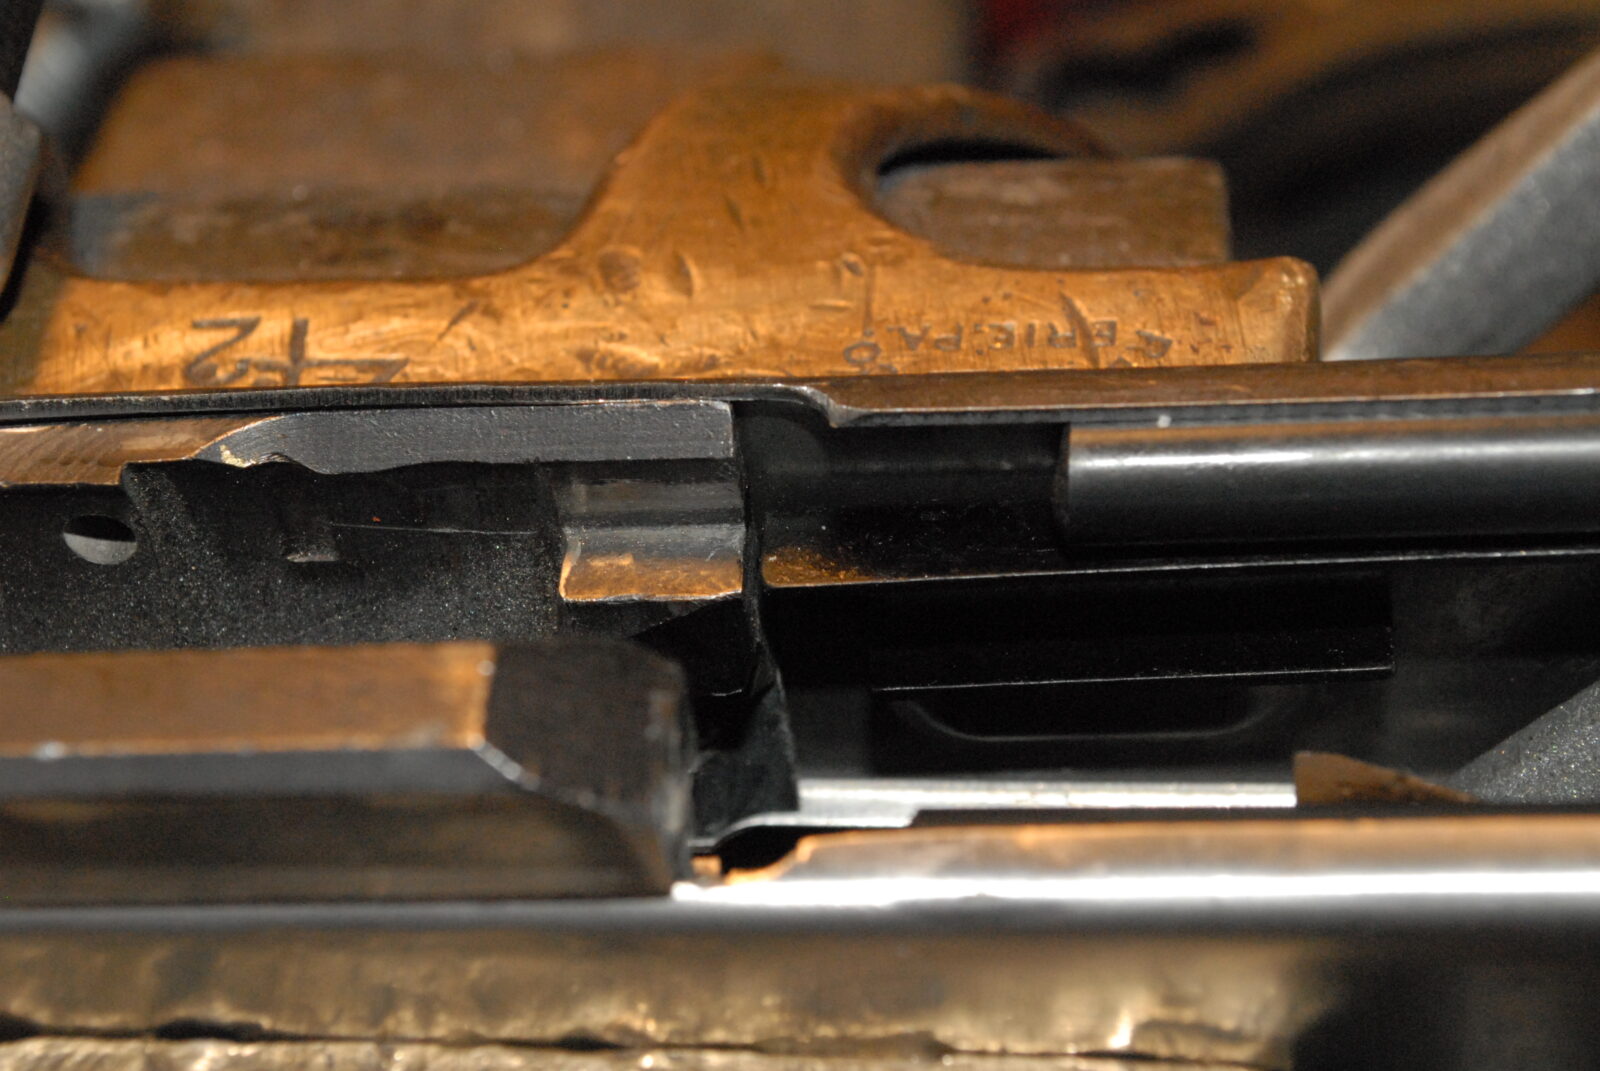
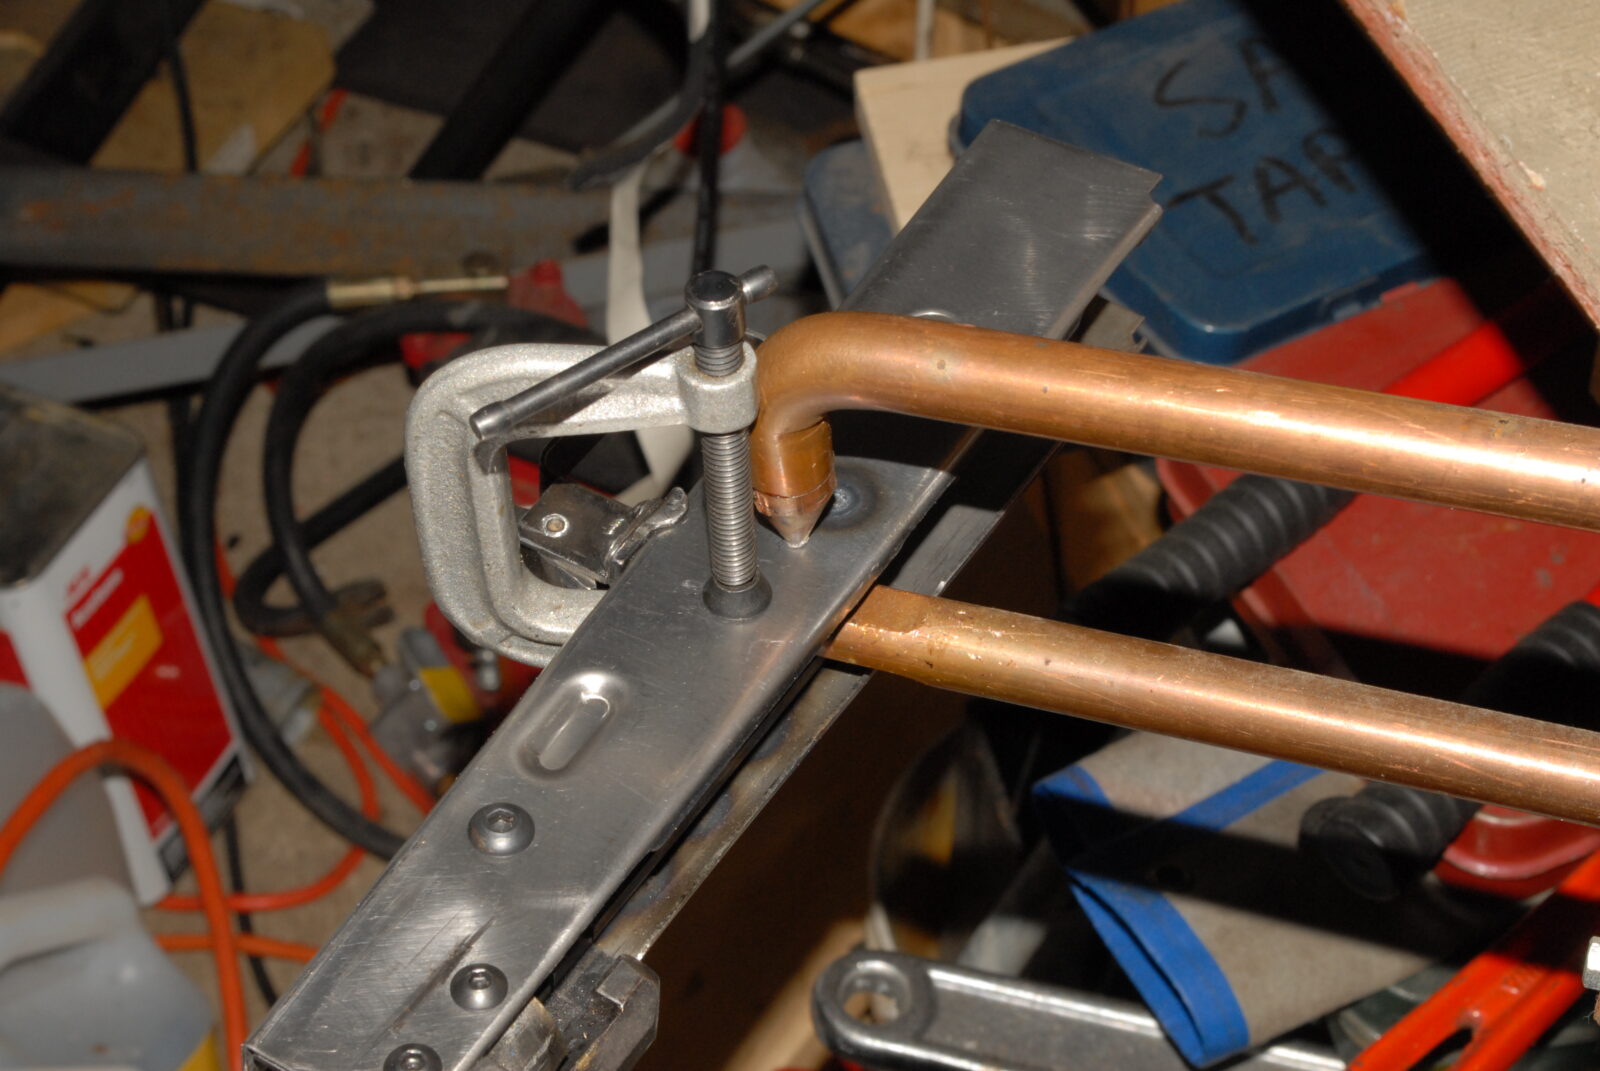
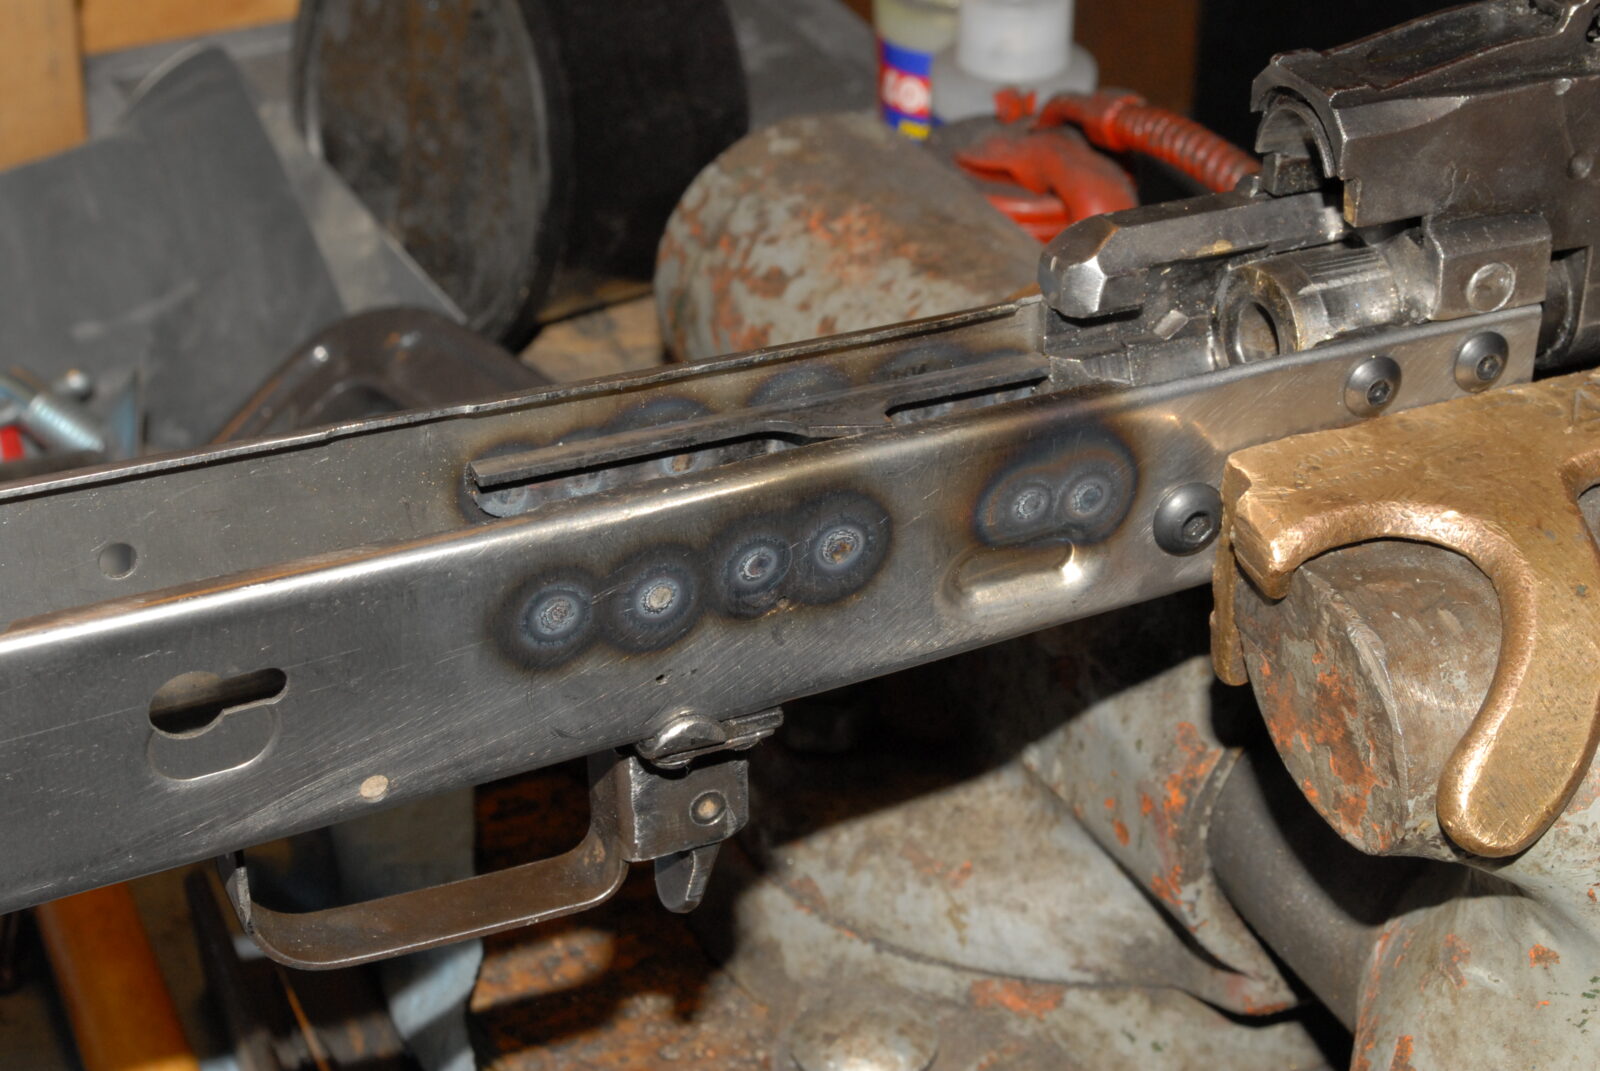
I heat treat the lower rails before I install them.  The best way I found to align the lower rails in a flat so they were both parallel with the upper rail and aligned with the trunnion was to use a drill bits of the proper size to locate the lower rail and I would then clamp the lower rail in place prior to spot welding.  This is one of those things where you want to check and double-check prior to and after each weld to make sure nothing shifted on you.

Flat's lower receiver rails being installed, aligned with front trunnion in vise.
Drill bit aligned with Flat's lower receiver rails for trunnion installation
Close-up of flat's lower receiver rails aligning with the front trunnion
Drill bit aligned with Flat's lower receiver rails for trunnion installation
Flat's lower receiver rails aligning with front trunnion during installation

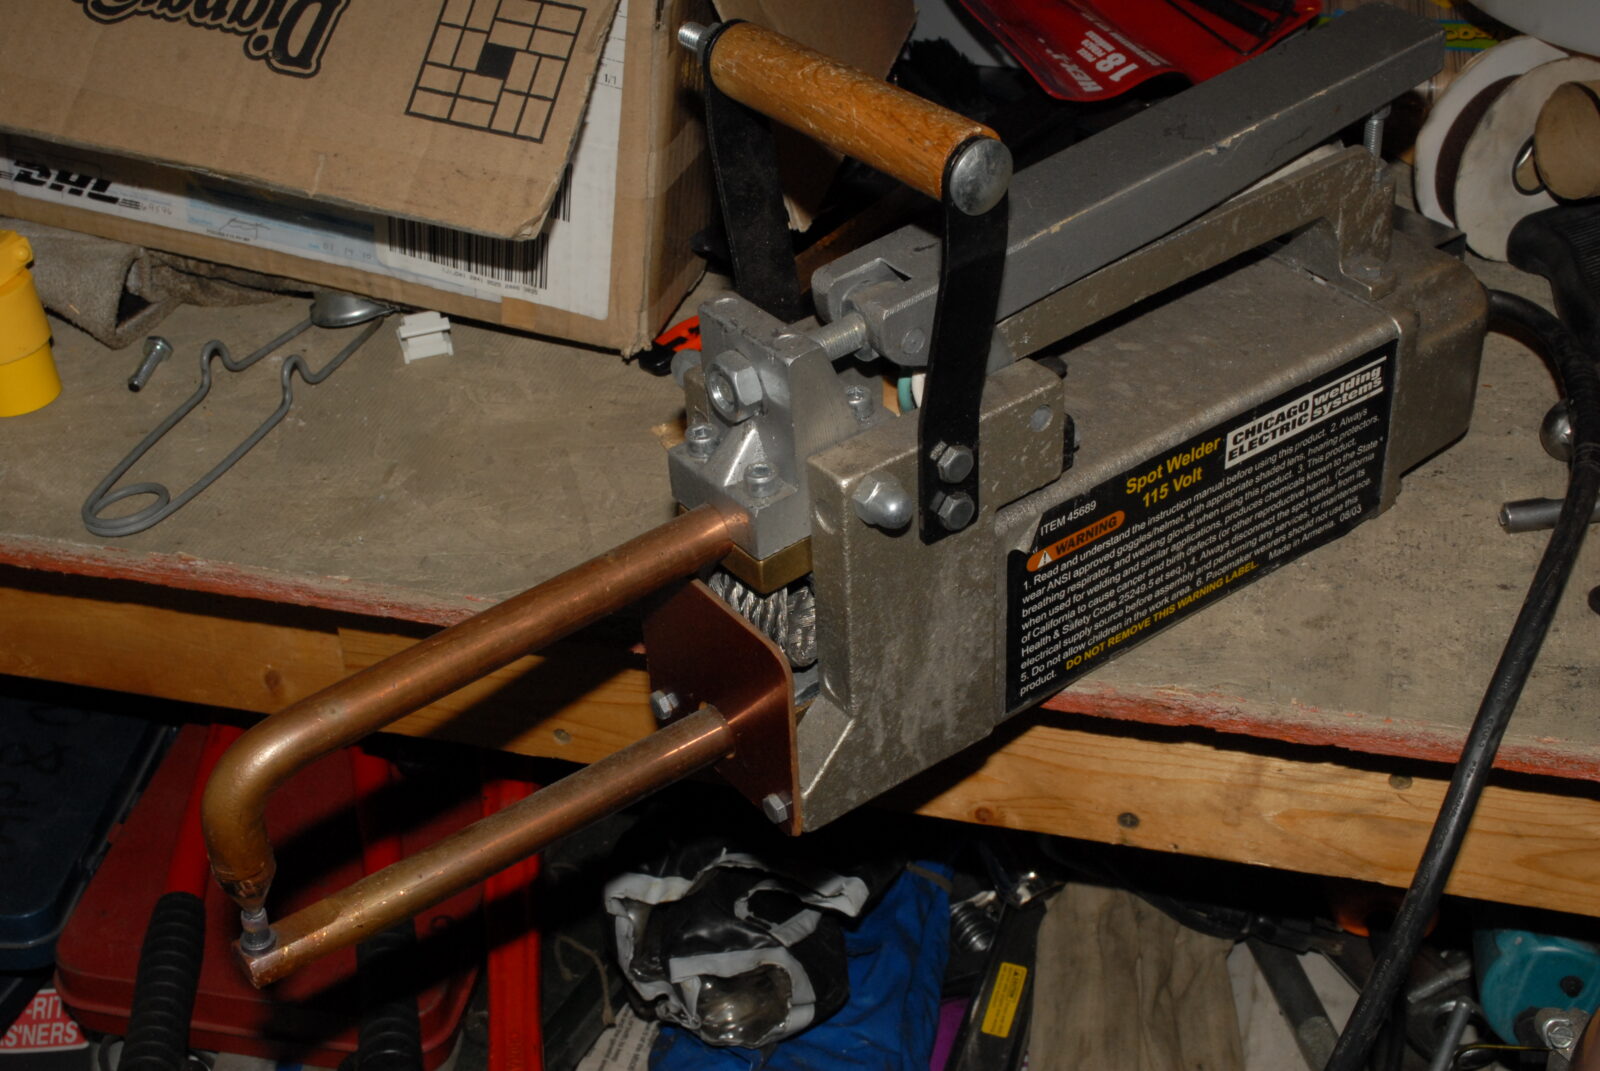
I use a Harbor Freight #45689 115 Volt spot welder with AK-Builder upper replacement tong and also tips.  It’s lasted me through quite a few builds over the years and is still going strong.  The tong makes it way easier to reach in and make the weld and the tips make the spot weld look a lot more like the real ones.  I have had to replace the tips once so far, just FYI.  You need to keep them clean to be most effective.

For beginners, there is no way to tell you how long to clamp and trigger the current for – many factors can affect how long it takes to heat the steel up enough for the two pieces of sheet metal to weld together.  You need to practice and you’ll notice the color, sound of the welder. the amount of time it takes to get a good weld and especially the feel of the clamps as they come together during the weld.  With practice you’ll feel when you have a good weld especially but it all adds up but you need to actually do it to learn.

Get scrap metal of about the same thickness to practice with.  AKM receivers are 1mm thick.  18 gauge is 1.02mm so it is good to practice with and old scrap receiver stubs are another.  With your first practice weld, go long and let the pieces really melt together so you can see.  You want to burn a hole to understand how long it takes, the sound and the feel of the tongs.  Then practice with less amounts of time until you find the sweet spot.  These welds should be pretty strong and not pull apart easy.  I do more spot welds than most and some guys look at photos of the rifle they are building and try to approximate the count and location, which is just fine.  One thing, if you do heat treat your rails before hand like I do, be careful you do not get the tongs up against the ejector and ruin the heat treat.  I’ve done it and the tell tale sign is that the ejector will be discolored from the heat.  If you do make this mistake you will need to heat treat the tip while it is in the receiver or else it will definitely peen over and be deformed in its softened state.  By the way, the steel should be relatively clean also and not have tons of grease or other contaminants on it either that might inhibit a good weld.

Chicago Electric 115 Volt spot welder with copper electrodes
Copper pipe being secured with a clamp for lower receiver rail installation
Welded lower receiver rails on a firearm, aligning with front trunnion.

Just double check alignment very carefully before you spot weld and also that your welder’s tong does not get against the ejector and ruin the heat treat – assuming you did that before installation.

I hope this helps you out!


Please share the link on Facebook, Forums, with colleagues, etc. Your support is much appreciated and if you have any feedback, please email us in**@*********ps.com. If you’d like to request a report or order a reprint, please click here for the corresponding page to open in new tab.


Converting a Milled M70 Front End for a Sheet Metal Receiver Using Screws

Let me open this article with a comment for people new to building AKs – the best proven method is to use rivets.  The Soviets did a lot of testing and the best mechanical join of the forged trunnions to sheet metal was a mechanical rivet.  To this day, all commercial and military AKs are built using rivets.  In my journeys, I have built AKs using welds, screws and rivets – all have pros and cons.  What would I build an AK with that I care about?  The answer is easy – rivets.  This blog post documents my building a prototype using screws.  Has it held up to casual non-military non-full-auto use?  Yes.  What would I recommend to you to build your AK?  The answer is rivets.


In a previous post I described taking a milled stub and welding it to a sheet metal receiver.  Another approach is to drill, tape and use alloy screws.  So, let’s talk about that a bit.  I did this build back in 2010 also.  I actually still have the rifle and it’s one of my most reliable AKs.  It takes about any ammo I stuff in it and I don’t recall ever having any issues.

For those of you who are wondering why I didn’t do rivets – I was bored and wanted to try something different plus this is a range gun and not something mission critical.  Here we are 7 years later and it’s still doing fine – no cracks, no loose screws … but it isn’t stressed either.  When in doubt, do rivets or a milled gun.

Also, bear in mind that the front trunnion was made from the milled receiver stub so screws made it real easy.

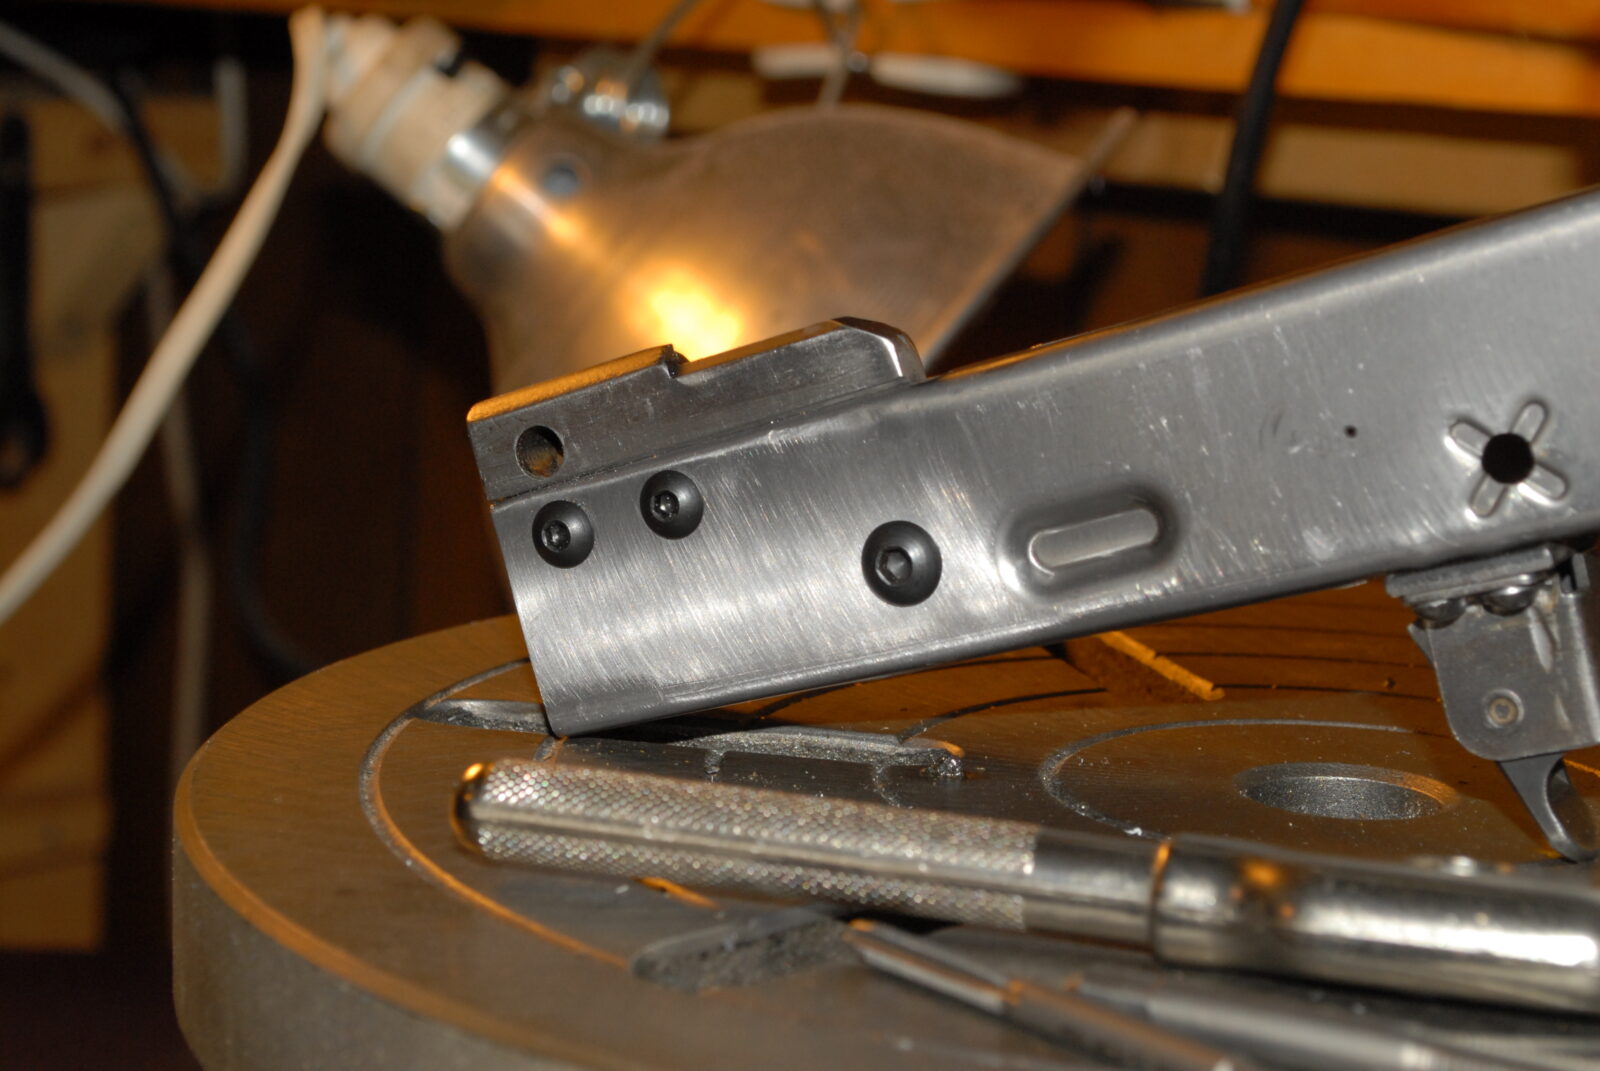
In terms of this build, I milled the trunnion down the same as I did for the weld build.   I used my Hungarian AMD trunnion as an approximate guide for locating the holes and used two #10 screws for the front top and a 1/4″ for the rear.  In both cases, I opted for national fine.  10-32 and 1/4-28.  So, for 10-32, I used a #21 drill bit to make the hole  and for the 1/4-28, I used a #3.

Drilling Milled M70 front end for sheet metal receiver conversion

For drill locating and drilling the receiver holes, I used the AK-Builder trunnion rivet locating jig.  You just put the trunnion on the jig, locate the hole, slide the receiver on and drill the hole.

Drill bit precisely piercing a milled M70 front end for sheet metal receiver conversion.

Drill bit creating screw holes in milled M70 front end for sheet metal receiver conversion.

Drill press creating screw holes for M70 sheet metal receiver conversion

Now for tapping, being square is a good idea.  I squared my table to the drill press’s chuck and used it to hold the tap.  I use Tap Magic cutting fluid to lubricate everything.

Tap threading a hole in a milled M70 front end for sheet metal receiver conversion.

Tap threading a sheet metal receiver for a milled M70 front end conversion.

Drill press with vise and sheet metal receiver for M70 front end conversion

For the screws, I used alloy button heads and secured them with red thread locker.  I reached in with a Dremel and ground down protruding screws.

Milled M70 front end conversion for sheet metal receiver with screws

Milled M70 front end with sheet metal receiver using screws

Milled M70 front end conversion for sheet metal receiver using screws

So there’s the front.  I used an air riveter to do the trigger guard.

Sheet metal receiver front end conversion with screws and tools on drill press

Milled M70 front end conversion with screws on sheet metal receiver

Milled M70 front end conversion with screws and vise grip

End Result

Milled M70 front end parts for sheet metal receiver conversion

Here’s a link to the AK-Builder Trunnion Hole Jig.


Please share the link on Facebook, Forums, with colleagues, etc. Your support is much appreciated and if you have any feedback, please email us in**@*********ps.com. If you’d like to request a report or order a reprint, please click here for the corresponding page to open in new tab.


Good animation of an AK-47 operating

I’ve seen other animations in the past that didn’t get into as much detail as this one.  In this video you get a pretty good demo of how the various parts work during the firing and automated loading of the AK-47 but they got the trigger wrong, etc.  This one shows the disconnector and trigger hook operating in the right manner for example.  I’m posting it because I think it always helps to understand what is going on inside a firearm for when you want to tune it, figure out what might be going wrong, and so forth.

Video: How to Field Strip an AK Rifle

To me, the AK family of rifles are some of the easiest designs on the planet to field strip … but I have done it hundreds of times.  For a newcomer, how to take the rifle apart can be daunting.  I took a few minutes and assembled some of my favorite videos and online resources / manuals to help clarify matters:

AK manuals that are online:

YouTube Videos:

Now Brownell’s did some videos on Youtube also but they split them into separate parts:

Part 1 – Disassembly:

Part 4 – Reassembly


We will have a future post about cleaning and maintenance so keep an eye out for it.

Video: Tales of the Gun – AK-47, The Kalashnikov, FULL EPISODE

In case you missed the original Tales of the Gun episode on the AK-47 when it aired in 2010, here it is. This is a very well done episode that goes into the history of the design and how it served in battle.   Fans of the Kalashnikov will definitely want to watch this.

By the way, what I like about this particular Youtube video is that the quality is pretty good and it is the whole episode vs. being chopped up.