I use a ton of epoxy as part of my work plus fixing all kinds of stuff at home, on cars, guns, knives and more. I’d like to take a few minutes share some lessons learned with you to bear in mind on your next project that involves epoxy:
Buy quality epoxy – not cheap junk. Epoxy is a generic term and a lot of the no-name blister pack retail stuff is crap. Go for brand names. If they list real specs about the formulation then it is probably legit.
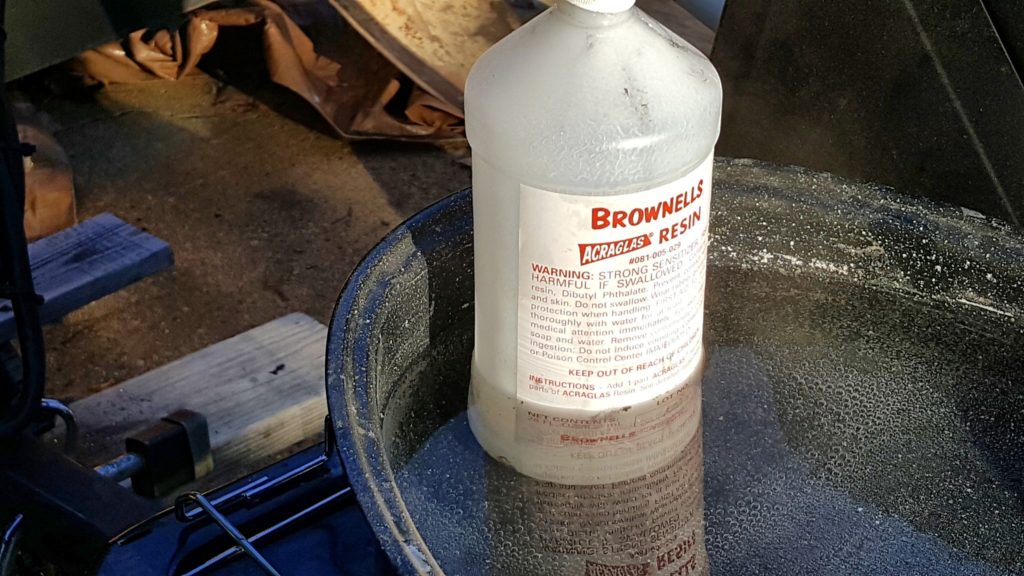
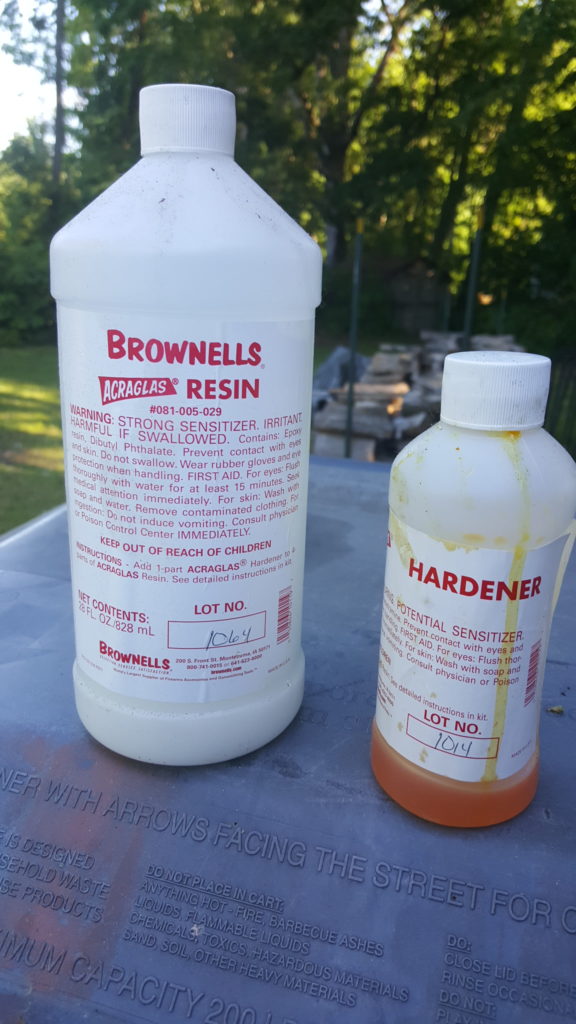
I recommend industrial epoxies and not the consumer stuff. My hands down favorite epoxy is Brownell’s Acra Glas liquid. It is strong and resists breaking down from repeated impacts very well. It’s one down side is that it takes a long time to set up so it may not be your best bet if you need something to be fixed and back in service quickly.
Know your application and match the formula to your need – there is no magical formula that does everything. You may need a putty, a fast cure, a short pot life, higher heat resistance, improved impact resistance, shear strength, etc. Figure out what you need and then look for the epoxy that will work best for you. At any given time I probably have 3-4 different formulations on hand.
The longer it takes an epoxy to cure the stronger it is. All things being equal, an epoxy that cures in 24 hours will be stronger than one that claims to do so in 5, 10 or 30 minutes.
Read the package – setting up vs. curing and reaching full strength are two very different things.
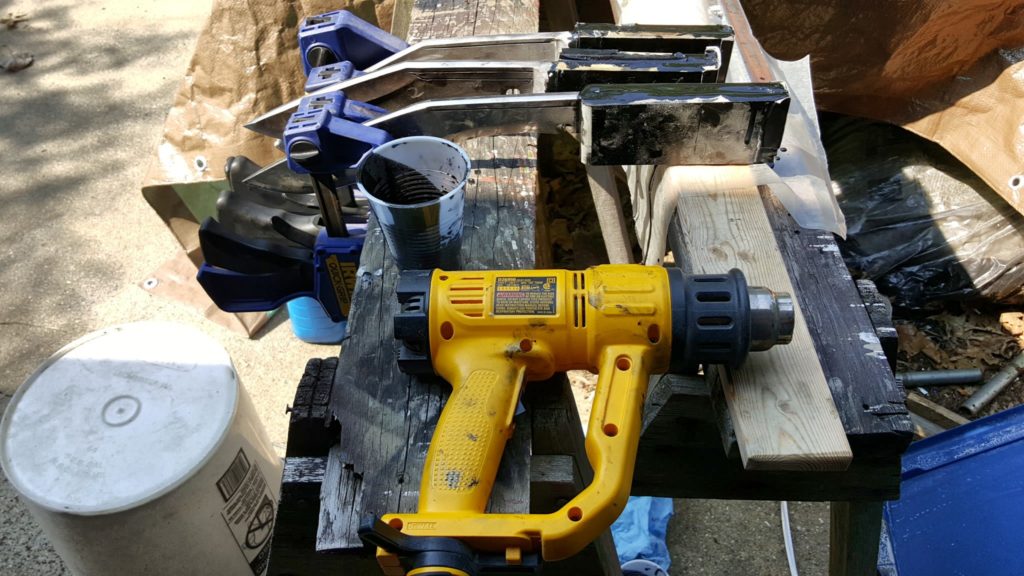
If you want to get epoxy to flow into wood or difficult areas, heat it up. The liquid thins as it warms up but note this will also speed up how fast it sets up and cures.
As epoxy gets colder, it takes longer and longer to cure. If you are working outside, use a space heater, flood light or other heat source to keep the epoxy and the work piece area being repaired at least 70F. I shoot for 80-90F.
Epoxy can get really thick as it gets cold and not want to come out of the containers. Either keep it inside where it is warm or at least warm it up before you use it,
Epoxy resin can sugar with age just like honey. What I mean is that will develop a solid mass in the resin bottle – it’s not really sugar! If you heat up a container of water, take the resin container’s lid off and then set it the container in the water, the resin will warm up and the solid will dissolve back into liquid. I buy 28oz or larger bottles of Acra-Glas that I don’t always use right away so when it sugars, I do this.
As mentioned above, I buy my epoxy in bulk. Acra-Glas can be measured by volume and it has a ratio of 1 hardener to 4 resin. The way I deal with this is very simple – I use 10cc syringes without needles. I have on syringe in a cup that I use for hardener and one syringe stored in a cup that I use for hardener. The reason I do this is that the two parts do not react to the air very fast. I may be able to use one syringe for a several weeks/months before it stops working so I set the syringe in its dedicated cup when done to be used again. I do not use fresh syringes every time. A 100 count syringe pack will last me at least a year.
You can definitely color epoxy. You can buy purpose-made dyes such as So-Strong or add in powdered tempra paint.
You can add fillers for strength or looks. When filling gaps, I mix 1/32″ milled glass fibers with the epoxy. The ratio depends on the epoxy you are using, how thick/pasty you want the result to be or how much you want it to still flow into place.
To get rid of bubbles you either need to draw a vacuum, apply pressure or at least use a heat gun to thin the epoxy once it is applied and this allows the trapped air to escape.
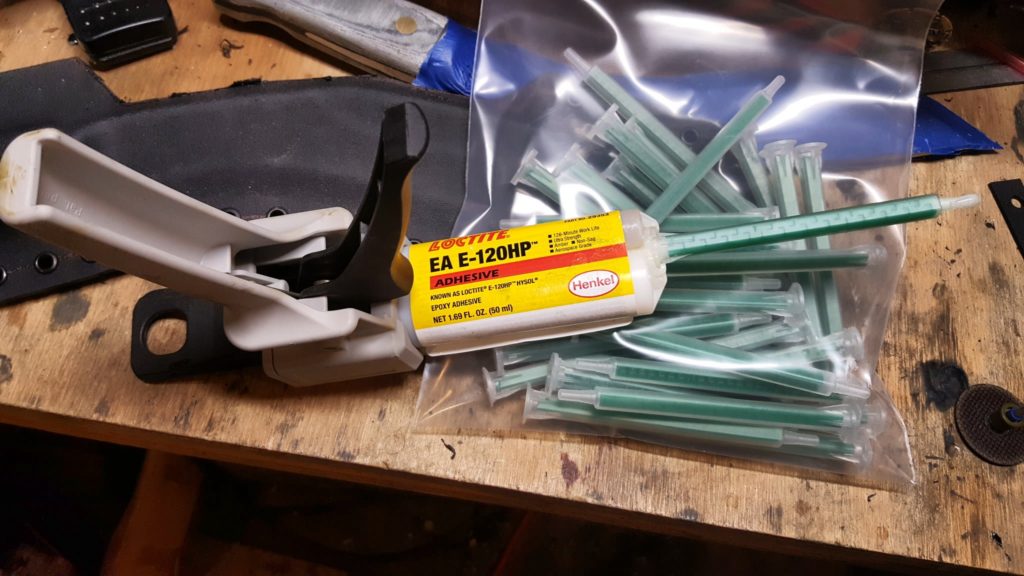
When I am gluing big objects together, such as wood panels, forms, or other construction I will use a cartridge based epoxy. My favorite is Hysol E-20HP. To use a cartridge, you need the dispensing gun and also the correct mixing tip. This allows you to squeeze the trigger and properly mixed epoxy comes out of the tip. When you are done, you just let the tip harden in place sealing the epoxy. When you are ready to use the gun again, you simply remove the plugged tip with a new one. This allows for you to deploy a bead of epoxy very quickly but the con is that you throw away a tip every time you stop. You also can’t color the epoxy first but it is fast and convenient on larger projects.
The surface must be clean for epoxy to work best. Remove dust, dirt, oil, etc.
A rough surface is always better than a smooth surface. I always recommend sanding, brushing or blasting a surface to improve adhesion. Not only do you increase the surface area but you also are creating a texture where the epoxy can get under the base material in thousands of tiny places to really grab hold.
Wear disposable gloves to avoid making a mess. I buy boxes of the Harbor Freight 5 mil nitrile gloves when they go on sale for $5.99/box of 100. They really are a good value for a medium-light duty disposable glove.
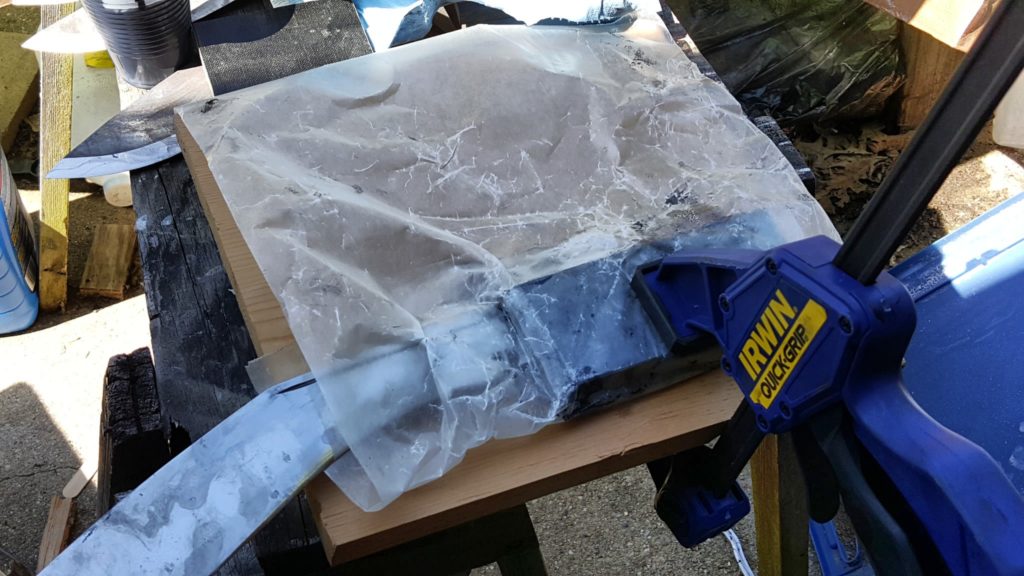
If you need to clamp parts together, wrap the assemble with wax paper to avoid gluing your clamps to the work piece – yeah, I’ve done that.
Whenever possible, I prefer to clamp work together to get this best bond.
Check, double-check and come back in again later and check your work again to make sure nothing has shifted.
I hope these tips help you with your next project.
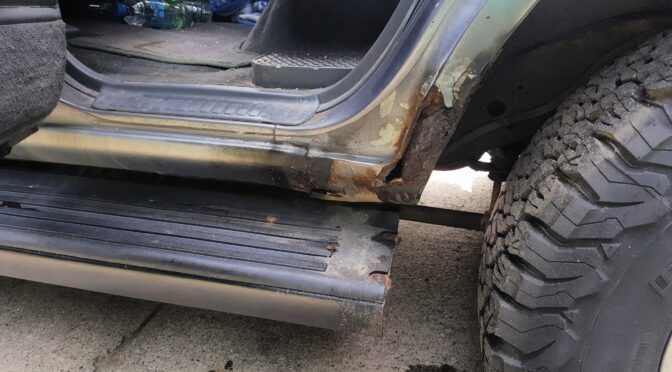
We recently bought a new van and I wanted to undercoat it so it would last — being old school that was the first thing I thought of anyways. The next was to do some searching around with Google about undercoatings so I could get the best product to use. You know what I found out? When most cars and trucks are made, the manufacturers do a ton of stuff now to prevent corrosion straight from the factory – so much so that you may find it hard pressed to find a shop that even does undercoating/rust proofing any more. The car companies have improved their alloys, finishes and even learned not to leave exposed lips for mud to settle in to and sit – think about how the old wheel wells had the reinforcing lip all the way around that dirt/mud could sit in and hold salty water or even just water against the metal – of course it would rust. So now you look in to wheel wells and through one method or another that flange is either not there or protected.
So I want to share some things I learned. First, rubberized spray on undercoatings often caused more problems than they solved. Now, you may be wondering why – I know I did. You see, it is a spay on finish the adheres to whatever surface it can stick to – paint, rubber, metal, dirt, etc. Over time, that undercoating develops small holes from stuff hitting it and then a pocket starts to form, salty water enters in and is held against the very steel it is trying to protect! So to make a long story short, after reading tons of posts about the various spray on rubber undercoatings one must conclude they are not worth investing in any longer.
Second, rust proofing sounds great but there really is no such thing. You are delaying the inevitable if we are talking about steel and salt water – eventually something is going to rust.
Okay, enough doom and gloonm, let’s say you live in a state, like Michigan, where they salt the heck out of the roads in the winter. What do you do to protect new cars even more than what the factory did *or* you want to try and save older vehicles even if they have started to rust? The answer, interestingly enough, was developed long ago – Fluid Film. Eureka Chemical Company, yes that really is their name – started in the 1940s when they developed a product with an unlikely source to help the Navy prevent corrosion – the not-so-secret ingredient is lanolin from sheep. If you want to read the whole story, click here.
Let me cut to the chase – the reason this stuff works is that it oozes and seals itself if nicked. DoD, NASA, Coast Guard, Delta and others are still using this stuff! After doing a lot of reading, I bought a five gallon pail off Amazon, an applicator gun and a pail pump dispenser. They sell an aerosol can version but I really don’t have much experience with it but am a bit leery of it because the liquid is so thin that comes out compared to what I can spray with the applicator gun.
This is my second year using it on our vehicles and it almost makes it a few months before you can tell it has dried out / faded. In other words, it doesn’t quite make it the whole winter. I get rid of looser dirt by spraying it down, let it try and go to town spraying this stuff on everything – even the exhaust as it will just bake off after the first time it gets good and hot.
Honestly, I think the FuildFilm helps – our newest car after our van is a 2002 Camry and I spray the heck out of it and our other older cars (the oldest is a 1992 Corolla) and my old 1996 Land Cruiser. I go through about a quart per car/truck liberally applying it real thick all over the under carriage. I also spray door hinges, locks and hood latch. The stuff smells funny for the first day or so but seems to really do the trick. I just finished putting it on our vehicles for the second year. I’m about half way through the five gallon pail so if you want to test it out some, you could start with a gallon pail – that would do 4-6 cars or trucks depending on how thick you apply it.
So, thought I would pass along what I learned – don’t bother with rubberized undercoatings and definitely check out FluidFilm.
Note, my local Autozone also sells the below aerosol cans. I really do not know how long it will protect what you spray it on. It is way, way thinner than the stuff that comes in the pails.
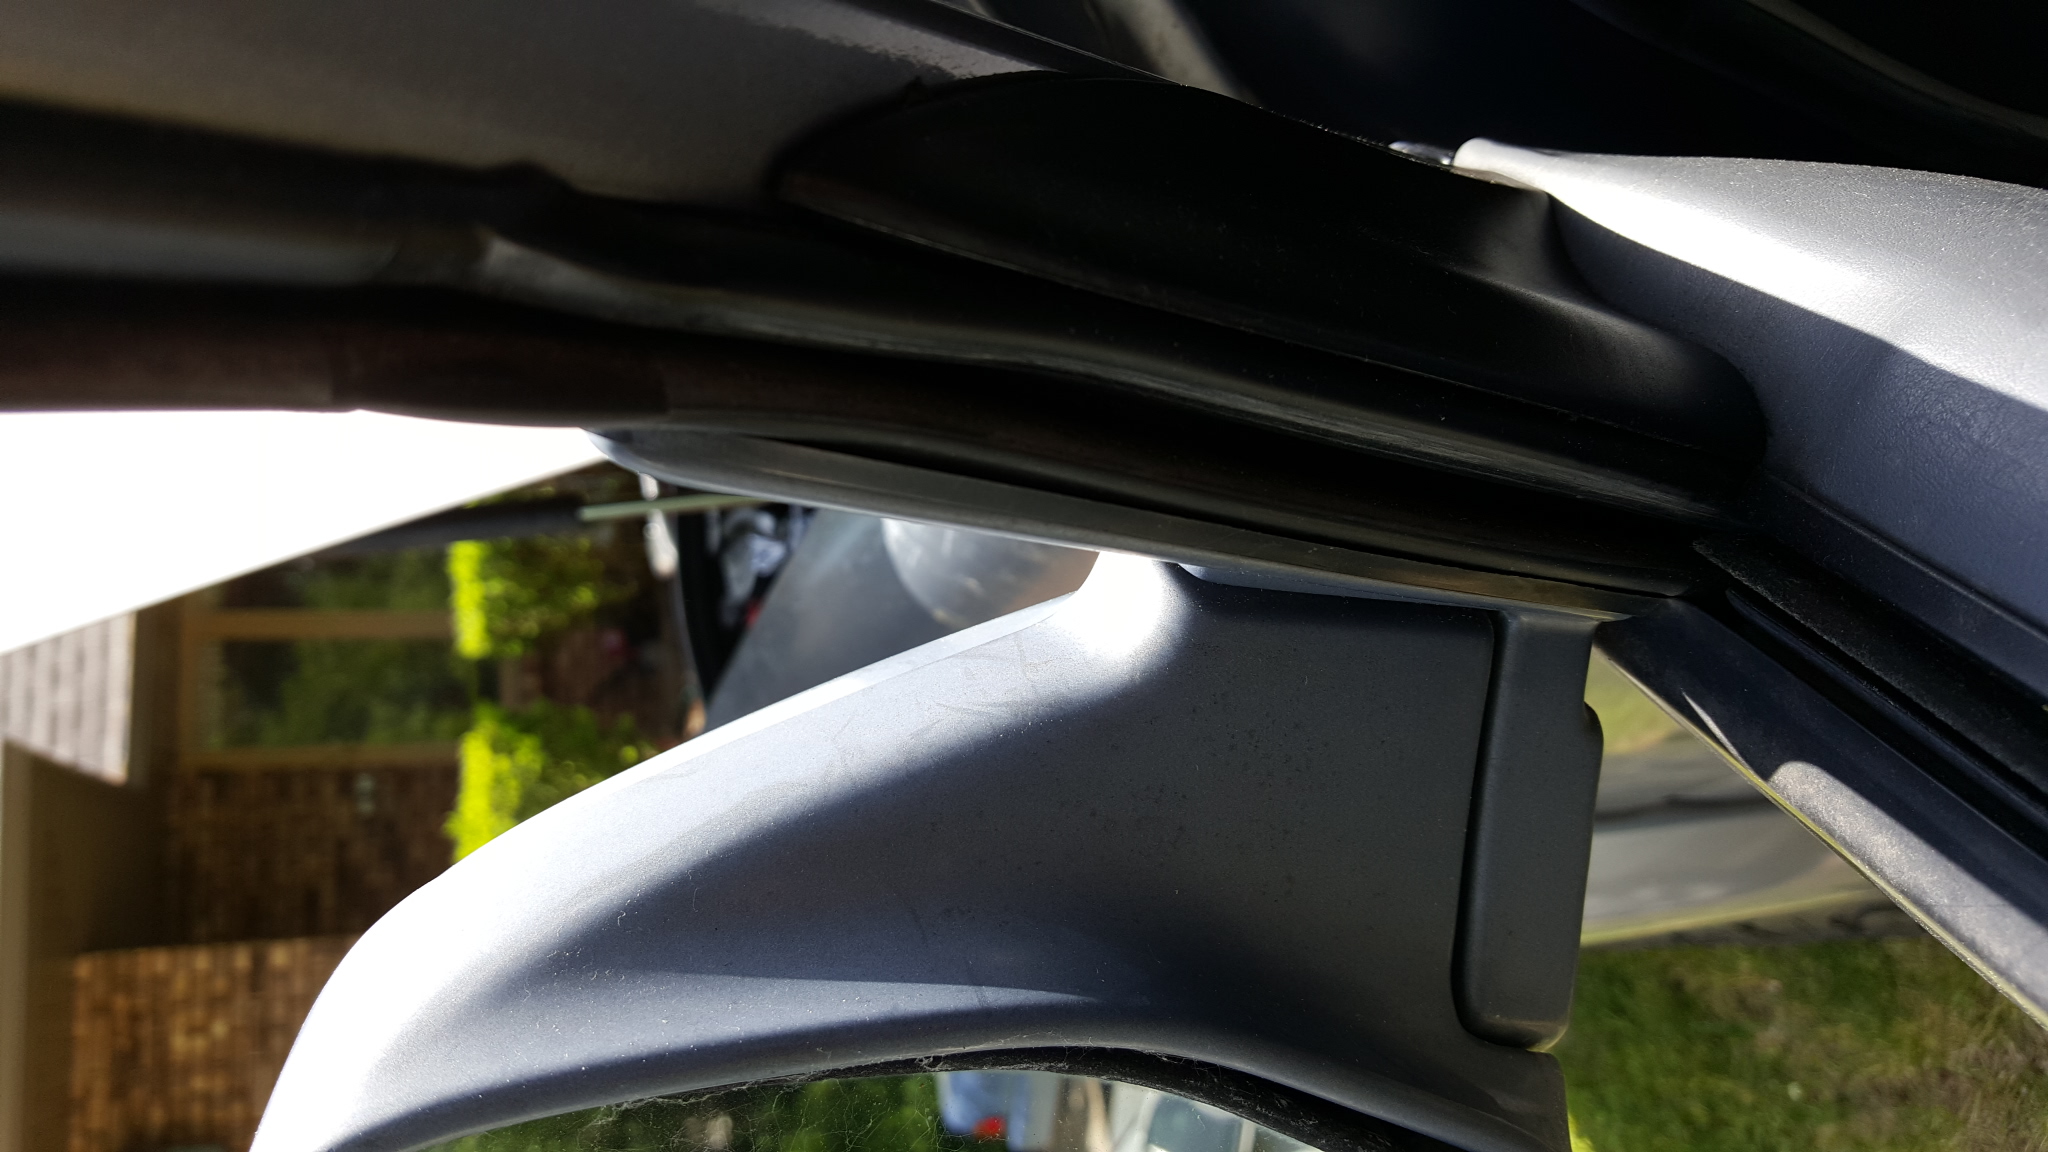
My truck is a 1996 Toyota Landcruiser that is showing its age and I’m always finding ways to keep it going. One problem I had was that the power windows were very slow to go up and down because the rubber around the glass was oxidizing and not as soft. This was especially a problem in the winter when plowing as I would sometimes have to use my hand to help the window go back up. I had been using silicone spray but it’s benefits were pretty short lived. A friend told me to use silicone grease and WOW what a difference.
Please note to use silicone grease and not petroleum grease. The petroleum grease can cause the rubber to break down or at least make quite a mess. Silicone grease was designed intentionally to lubricate and protect rubber parts such as seals.
Now, one tip, get a flux brush or some disposable brush with relative small stiff bristles so you can wipe down all the rubber window channels where the glass slides. Your brush is going to get old rubber and other debris on it. If you put it back in your silcone grease container, you will have a mess – guess how I know this? 🙂 Instead, put some grease on a paper plate or something as an intermediary to dip your brush in. This will not take much – maybe a tablespoon or two at most. I can do all four power windows on my truck with probably right around a tablespoon or just over. You aren’t looking to leave gobs and gobs of the stuff – just a good coating.
So, a warm day helps. Put all the windows down and apply it. Then run each window up and down a few times to get a good coating on everything. You will see a remarkable improvement with the 2nd or 3rd cycling of the windows as everything gets coated. Then just wipe off any residue on the window frames (I leave it on the glass edge myself).
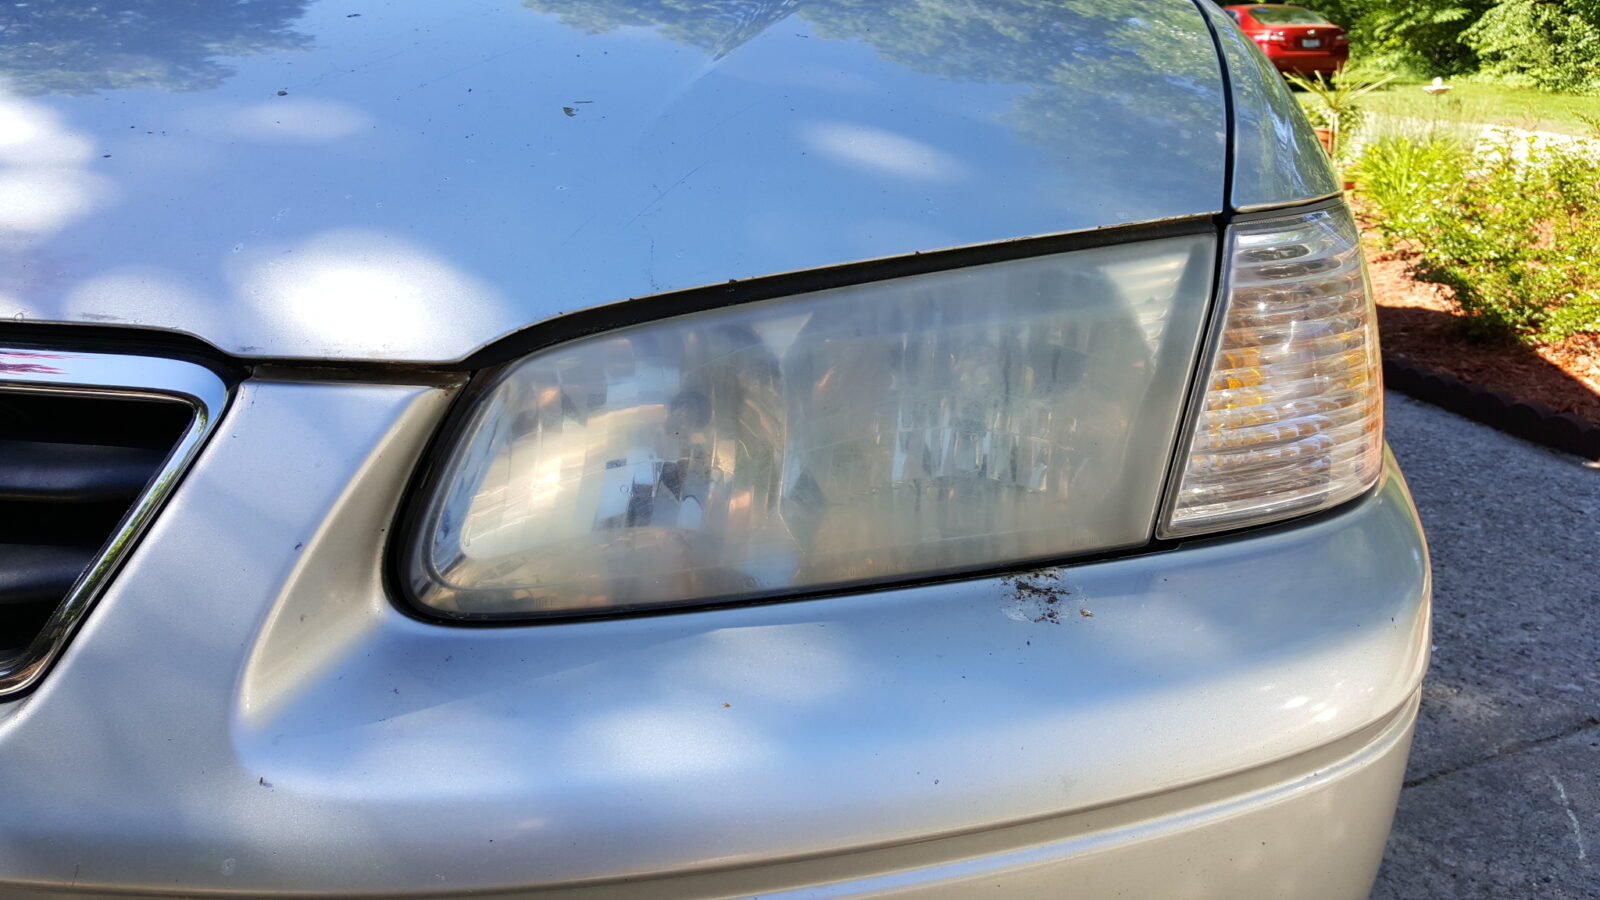
When car companies moved to plastic headlight lenses they opened the door to them oxidizing over and majorly reducing the transmitted light. I’m surprised they haven’t been sued yet actually. I really do not like the fact that light is reduced and people are driving with less and less visibility at night – that seems wrong to me. However, if they don’t correct this problem we can at least fix it with annual polishing of the lenses.
For badly deteriorated lenses, I use Meguiar’s Heavy Duty Headlight restoration kit. It comes with sandpaper and polish to really let you get through the yellow oxidized plastic. I have sworn by that kit for several years now and you can do a number of vehicles with each package. It was also a pretty good price considering you could avoid having to buy new lenses for at least 3-4 cars.
I just learned a trick from my son who was home for a visit. He uses toothpaste to fix lightly oxidized headlights. Yes, plan old Crest toothpaste. Now this isn’t some odd chemical fix that disappears in a few hours. Toothpaste has a very mild abrasive in it for cleaning your teeth. Apparently it does an awesome job on car headlight lenses also. The following is my wife’s Camry that has gone about a year since I last polished it:
Basically he would pour water on the headlight, get the toothbrush wet, added the toothpaste to the old tooth brush and then vigorously rubbed all over the lens. He’d then pour water, wipe it off, look at the results and repeated it about three times per light until he got it just the way he wanted it. I’m impressed.
He really didn’t use much toothpaste either. This is real cheap and effective on light oxidation. I’m doing this for now on and saving the Meguiar’s HD kit for lenses that are badly damaged.
Folks, I work a lot with epoxy and reply on it as a structural adhesive to both fill gaps and bond parts together. I’ve done everything from fixing car parts, wood furniture, tools, rifle bedding, scope mount bedding, custom knife handles and much more with epoxy. It is incredibly versatile but you need to do some planning to really get what you want out of it predictably.
In case you didn’t know it, “epoxy” is a general term for a wide range of cured polyepoxide resins glues with different physical characteristics such as how long they cure, strength, temperature resistance and so forth (click here if you want to learn more about the chemistry). There are a ton of options out there as quality manufacturers experiment with different resin and hardener formulations. In short, not all epoxies are the same and for people concerned with the quality of what they are building, they need to think things through. For quite some time I’ve wanted to write down a series of tips for folks to get strong reliable results so here they are:
Buy a quality brand epoxy to begin with
What I have found over the years is that not all epoxies are created equal so spend the money and buy quality epoxy. There can be a huge difference in how well the epoxy will last over time and/or how strong it really is. Do not buy the bargain basement junk. In general, if the maker lists all the physical properties then it is a well thought out and executed formula. I have three epoxies that I use the most in order are Brownell’s AcraGlas liquid (not the gel), Locite E-120HP, JB KwikWeld and ITW Devcon Plastic Steel. Once in a while if I need a fast cure epoxy, I will get a retail blister pack of some five minute epoxy and I’ll explain more in a moment.
Strongly consider what your application is
Epoxy comes in many formulations. They can vary the chemistry of the resin, the hardener and the filler to behave differently. Consider the following example characteristics:
Liquid, Gel/Paste or Putty/Bar — The liquid can seep into pores and fibers plus it can be spread but it can run into places you do not want. Gels and pastes tend to stay put better but do not seep in as well. The really thick puttys and bars are great for filling space or creating an impromptu clamp or to seal a hole but they definite don’t sink in much.
Temperature – you need to think both about the temperature when you are mixing and applying the epoxy as some will not set up at all if too cold. You also need to think about the heat when in operation because many epoxies soften and lose their bond the hotter they get. For example, you may apply epoxy to an exhaust manifold but it will blow off when it gets hot.
Pot life – this is how long you can still apply it before it starts to thicken. Some folks will refer to this as working time. You need to mix the two parts together, apply the epoxy, position and clamp the work before you run out of time. Keep this in mind.
Cure time – this is how long until the epoxy reaches full strength
Color – you can get epoxies in different colors
Ratio / mixing – some are by volume or by weight. The easy consumer stuff is usually 1:1 by volume but when you get into the more sophisticated epoxies the volumes vary or a digital scale is needed
Heat resistance – some epoxies resist heat better than others before they soften and “let go”
Shock resistance – some formulations hold up better than others before they start the break apart and “sugar”. Sugaring refers to the powdery look epoxy gets as it breaks apart. Brownell’s AcraGlas, Loctite E-120HP, JB KwikWeld and ITW Devcon Plastic Steel have all held up very well for me under shocks. My go-to epoxy for most work is Acra-Glas liquid because it holds up so very well.
Others – there are other factors that may matter to you but the important thing is to think through your application
Go with as long of a curing time as you can for maximum strength
What many people do not know is that the faster an epoxy cures, the weaker it is. Conversely, the longer the formulation takes to cure, the stronger it is. All things being equal, a 24 hour curing epoxy will be stronger than 90-second, 5-minute, 30-minute and so forth epoxies. Now there is a time and a place where speed is needed and also situations where strength is paramount. When I make khukuri hands and other things where strength is critical, I always use a 24 hour epoxy.
Use the Proper Ratios
Be sure to carefully follow the mixing ratios. For volume ratio work, I use 10cc or larger syringes without the needles on them to meter liquid resin and hardener. For example, I like AcraGlas and it is 4 parts resin to 1 part hardener. I keep two syringes separated that I re-use over and over. With the syringe in the holding cup labeled “resin”, I use it to draw 4 cubic centimeters (CCs) of resin out and squirt it into a mixing cup. With the hardener syringe, I meter out 1 CC of hardener into the cup. Now you can vary that. If you need a smaller about, meter out 2 CC of resin and 1/2CC of hardener. The syringes really help. If you are doing larger volumes then either use bigger syringes or disposable cups that have measurements printed on the side. Also note how I pour from the bulk container into the smaller intermediary containers that are easy to work with plus I avoid contamination, dropping a big bottle, etc.
The Loctite E-120HP comes in a specialized dispenser tube that uses a gun and tip to do all the mixing. It’s cool as can be for volume work where additional coloring or fillers are not needed.
For the Devcon Plastic Steel, I use my digital scale.
Here’s one thing not to do: Some guys have heard that if they add more hardener it will cure faster. This may be true but the resulting cured epoxy will be weaker. Do not deviate from the manufacturer’s recommendations if you want the physical properties they report.
Mix thoroughly
Folks, I can’t stress this enough. Mix the heck out of the two parts and combine them thoroughly. If you are doing larger volumes, consider doing what is known as a double pour. Pour the two parts into a first container, mix them thoroughly and then pour the combination into the middle of a second container and mix. What a double pour does is avoid having unmixed materials that have stuck to the walls of the container come out when you are applying the epoxy. Keep your pot life / working time in mind.
Most of the time I am using a generic 5oz plastic cup and plastic knife to do the mixing. I buy them by the hundreds for Ronin’s Grips and they are cheap regardless. Do not use styrofoam.
Prepare the surface
Whatever you want to bond epoxy to had better be clean and free of oils, greases, waxes, release agents and so forth. Second, the more abraded the surface the better. If you abrasive blast a surface not only can you double the surface area being bonded together but the irregular surface creates many opportunities for the epoxy to get “under” material to create a better grip. If you can’t blast then at least sand the surface with 80-100 grit sand paper.
So here are two rules to bear in mind when it comes to the surface:
Clean, clean, clean and wear gloves to not contaminate the surface with oil from your skin
Shiny is bad. A polished smooth surface will not give you anywhere near the bonding strength that a blasted or abraded surface will. I blast everything that I can – metals, micarta, plastic and even wood. It makes a world of difference – seriously.
The following is a bakelite handle from an electric griddle of my parents’. The unit works great and has sentimental value so I cleaned it, blasted it, cut a quick cross hatch pattern to give even more grip and then cleaned it again. It set up like a rock and we used it all Memorial Day morning to cook hundreds and hundreds of pancakes with no problem.\
Heating Epoxy
Heat can help you two ways. First, by warming epoxy it tends to flow better. If you need to to soak into wood or other surfaces, consider using a heat gun to blow/chase the epoxy into the wood. Do not burn the epoxy – just warm it up. Second, in general, warming epoxy up tends to make it cure faster. Now there are limits and you need to either experiment or talk to the vendor before doing anything too radical. I will often use a halogen light or other heat source to warm the surface up to 80-100F. In chemistry, there is a formula known as the Arrhenius Equation that notes that for each additional 10 degrees Celsius added, a reaction rate doubles (click here for more info on the equation). My experience is that you want the heat to penetrate and warm all of the epoxy and not just the surface and you also do not want to burn the epoxy. In general, I do not exceed 100F but that is just me. I found something that works good enough and have just stayed there.
Also pay attention to the minimum temperature requirements for curing. Some epoxies will not do anything at all at freezing. Some take forever to cure at 50F. It just depends. When in doubt, use a lamp or something to gently heat the part.
Coloring Epoxy
What many folks do not know is that you can actually color epoxy. I have found two approaches that work. First, use powdered tempera paint. You can stir in a bit of black powder to get black epoxy. Now I did this starting out and have since moved to using epoxy dyes so I am added less powder to the mix because I want to save the volume for glass fillers which we will talk about next.
Fillers
You can modify the physical strength of epoxy by adding a substrate or fillers. For example, fiberglass is matted glass fiber that bonded together with epoxy made for that purpose. Folks working with carbon fibers are using epoxy for bonding that together. I add 1/32″ milled glass fibers to my epoxies to get more strength. If I want more of a paste, I add more glass fiber and if I want it to be more of a liquid, I use less. The exact volume of glass fiber depends on what you are trying to do. Some vendors will give you recommendations and others will not.
Clamping / Work holding
In general, you want to apply the epoxy and then clamp everything together really well and then let it sit. You may choose to use traditional clamps, vacuum, etc. Bear in mind two things:
1. Be careful that you secure the material and that it can’t shift while curing. I can’t tell you how many times I have checked stuff and found out it moved and had to change my approach. Figure this out before you apply the glue in case you need to make something, change your approach, etc. Check it regularly to make sure it hasn’t shifted regardless. Every time I think something can’t move – it does.
2. The epoxy will run out of what you are working on. Decide how you are going to deal with it. Wax paper can protect your tools and table. You can scrape the epoxy off after it has partially cured. You can wipe things down with acetone when partially cured. Just think it through otherwise you are going to glue stuff together really well that you do not want bonded – trust me. It is a real headache so plan for seepage/dripping and how you will deal with it.
Patience
This is something I have gotten better at over the years – wait the recommended amount of time. If they say 24 hours then wait 24 hours. If you have questions about using the part sooner then ask the manufacturer. For example, you might be able to assemble something after 10 hours but not actually put it under strain for 24 hours. Factor in the temperature. The colder it is then the longer it will take. Remember what I said about the heat from lamps above.
Safety
Yeah, I had to add this. Follow all guidance from the vendors. The resins aren’t too bad but some of the hardeners are nasty. Wear rubber gloves, use eye protection, work in a well ventilated area and wear a real good dust mask when sanding. I use N99 masks now for everything.
I hope you found this general epoxy guidance helpful!