The cool thing about ARs is that there are a ton of them out there and people are sharing ideas on how to build, use and maintain them every day. This series of blog posts I just wrote shows my current take on how to assemble lowers. I will continue to improve my techniques over time and I do this both through trial and error as well as researching what others do. In this post, I want to share some links with you that might just give you an “ah-ha” moment because of what these folks are sharing.
Please note that when you click on the below links a new tab or window will open and you may need to manually switch to that tab or window in your browser to see it.
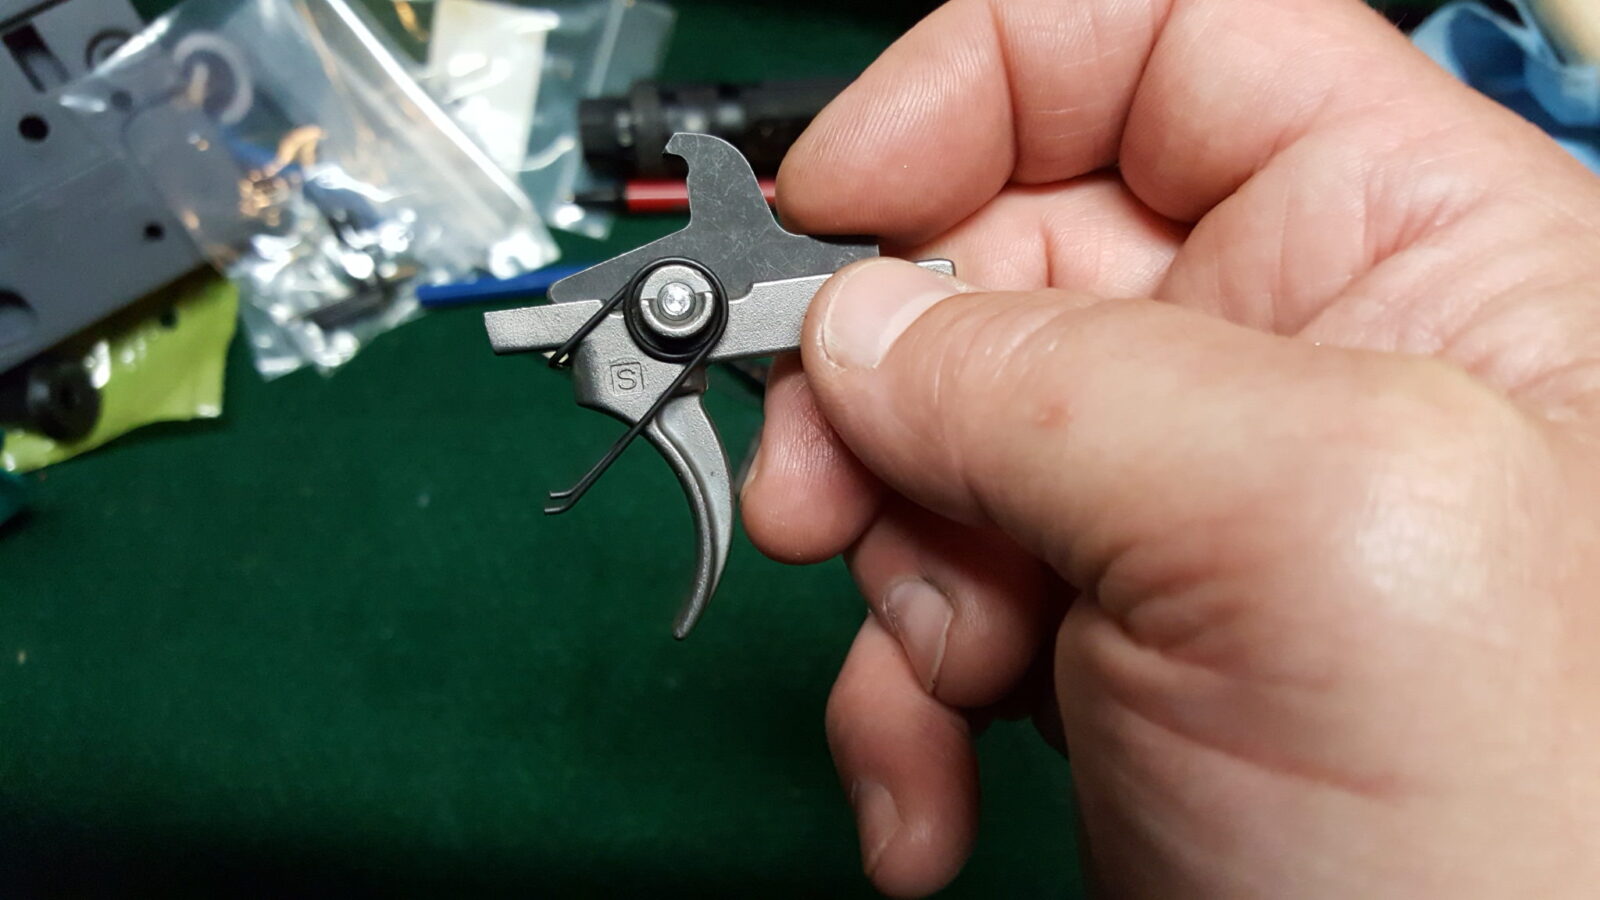
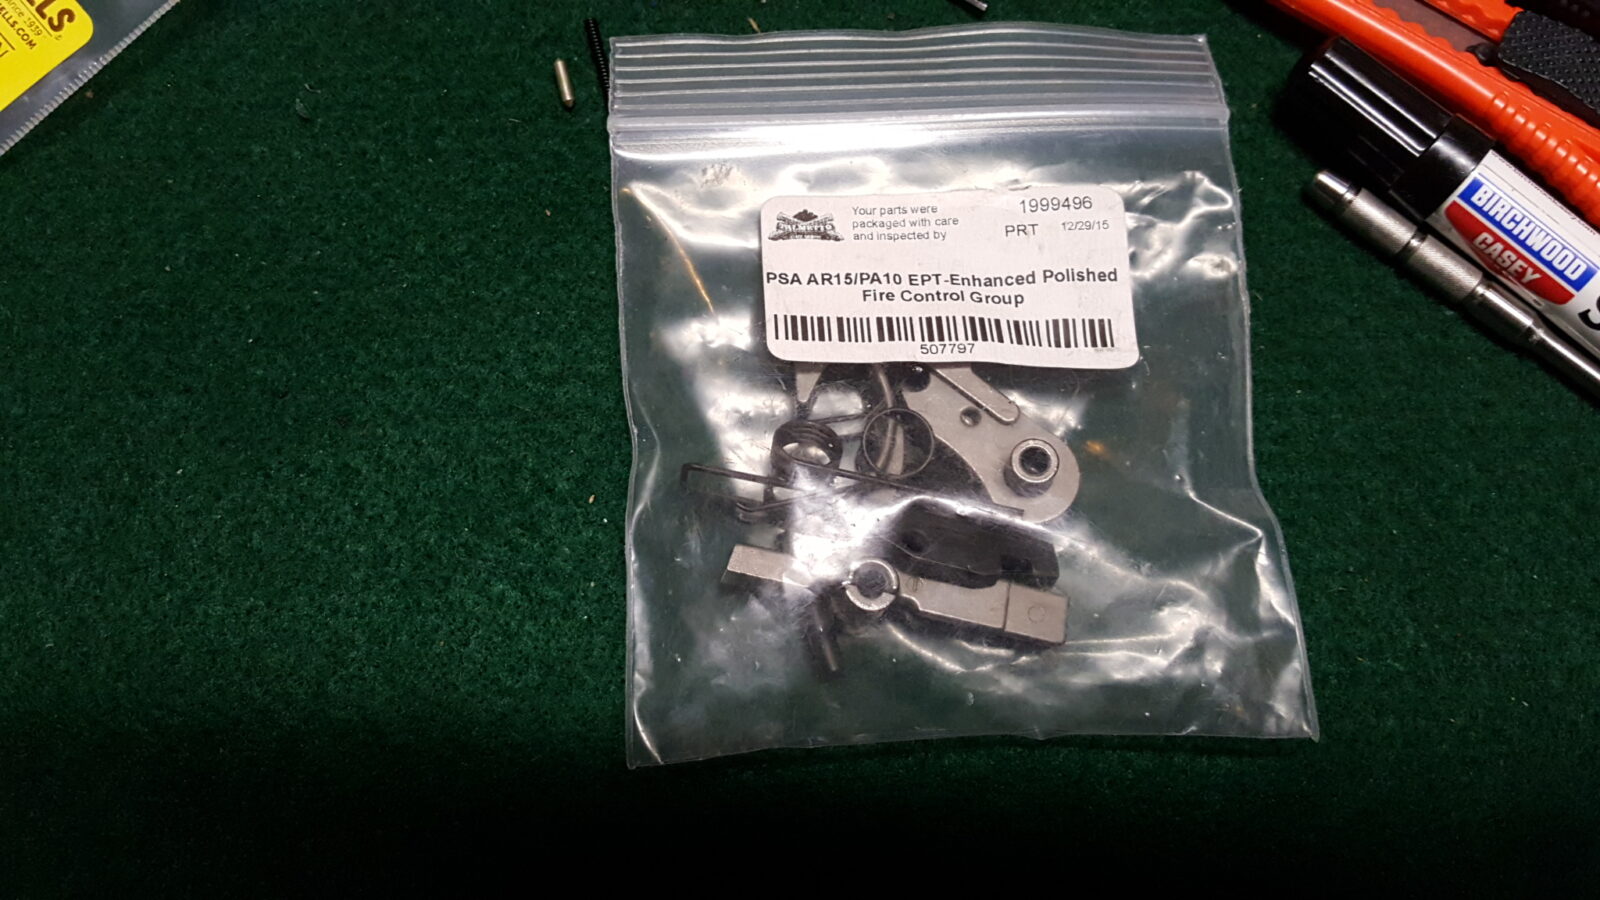
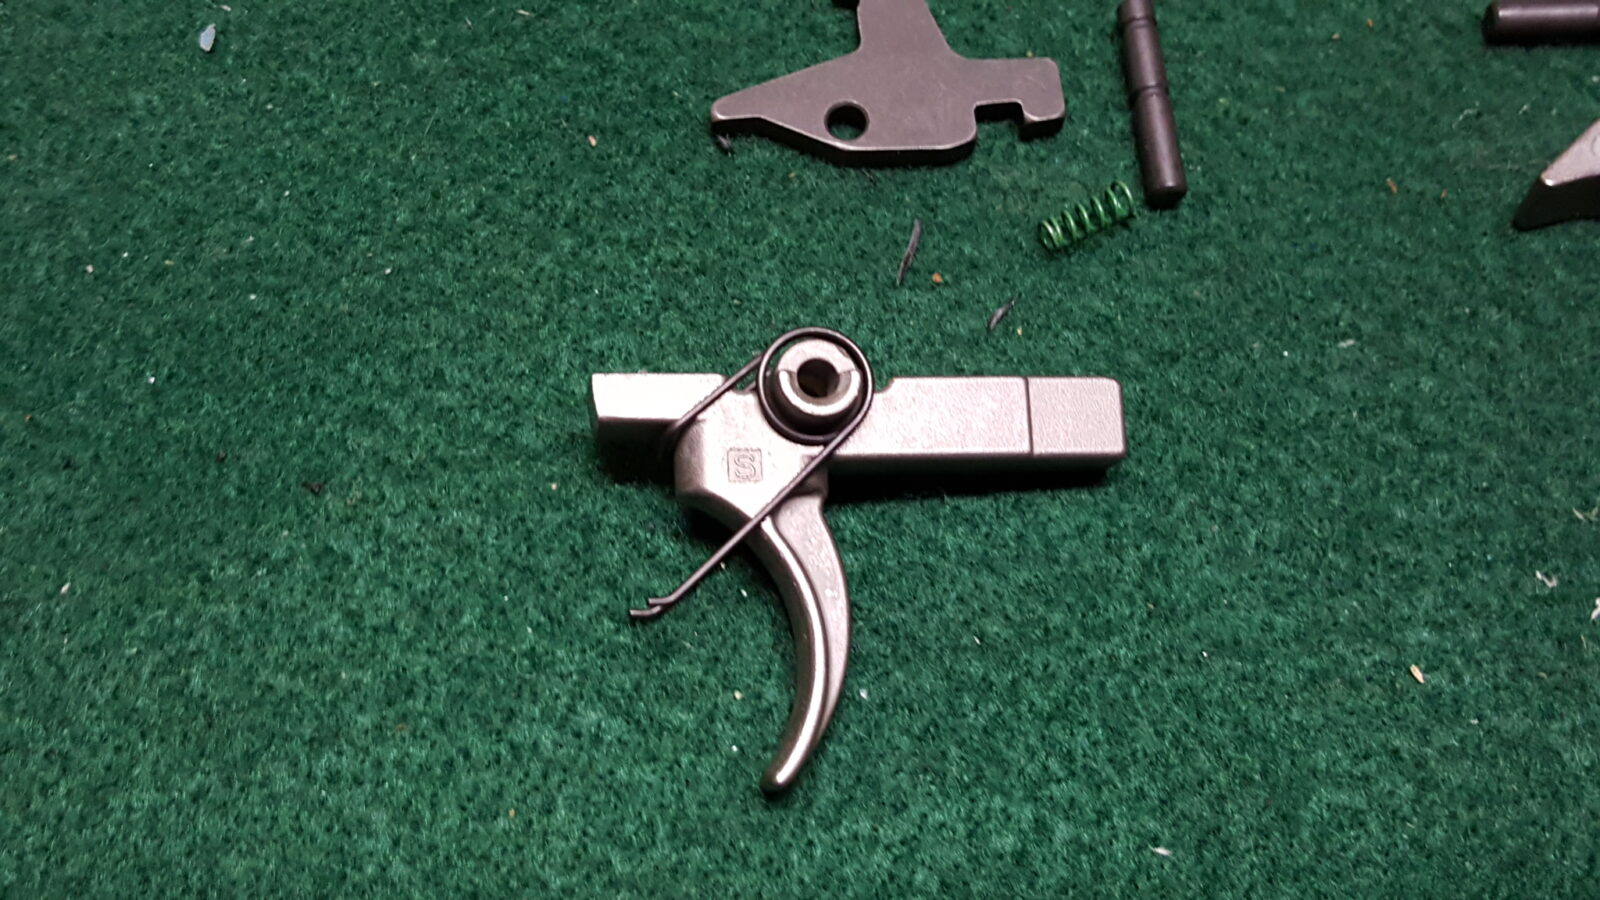
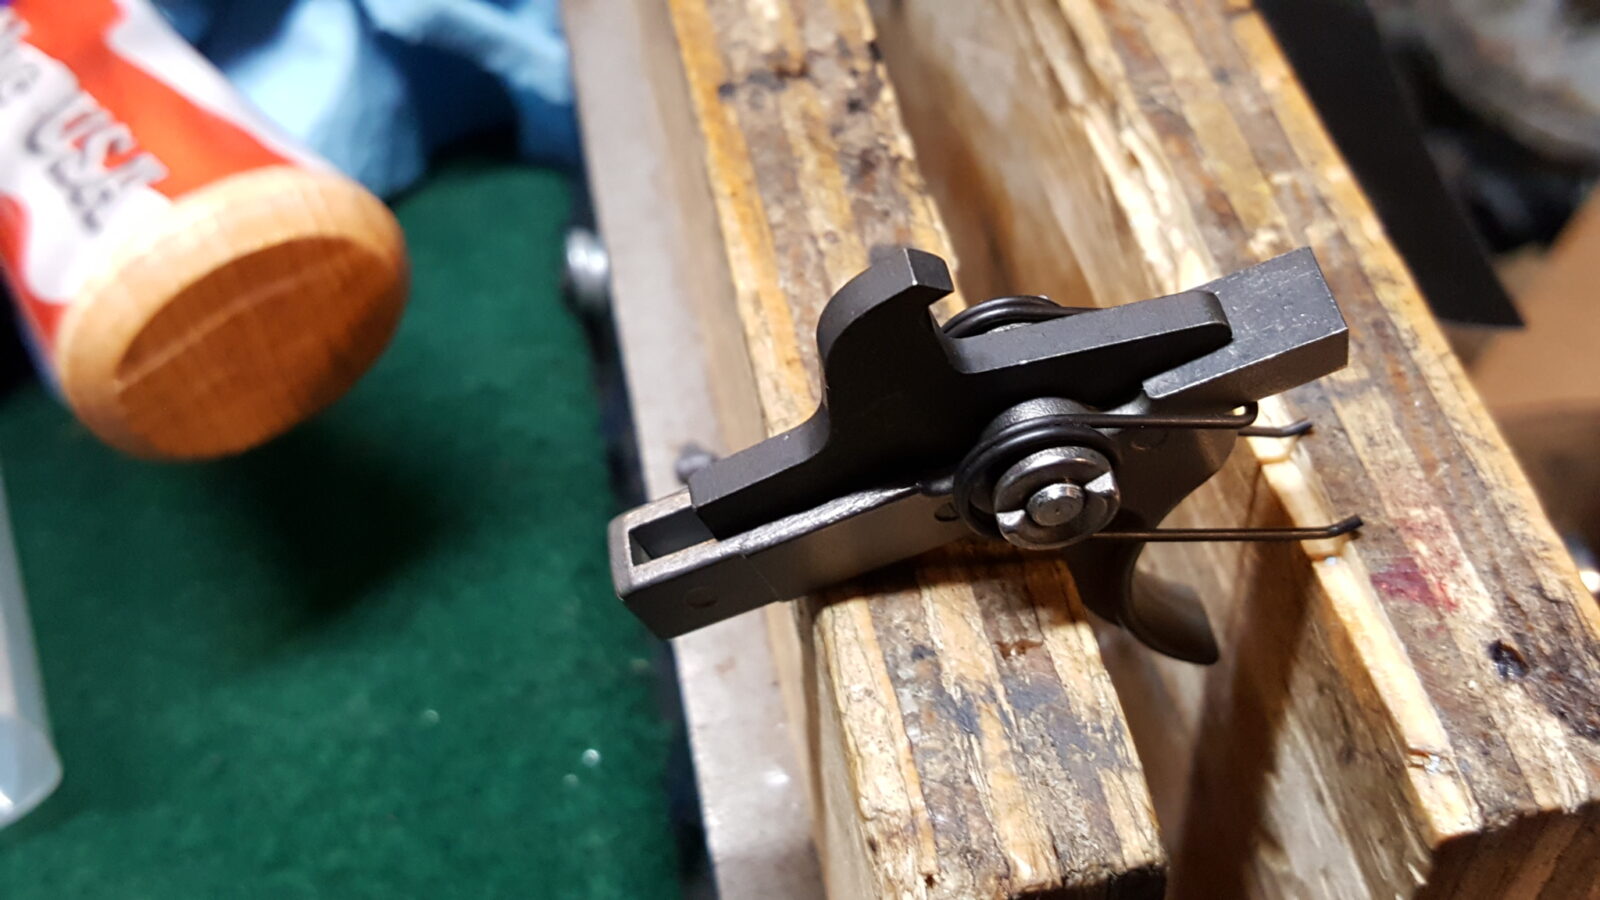
Lower-Receiver Assembly Resources
First off, I’ve written a number of blog posts over the years on assembling lowers. Click here to see them listed in a new tab.
- “How to build an AR-15 Lower Receiver: A Step by Step Visual Guide” by The New Rifleman. Great photos and instructions. Shows some different approaches such as using carefully wrapped pliers to squeeze the bolt catch pin into place. Note, I tried pliers once and didn’t like them but this is an example of another approach for you to consider – plenty of guys do use pliers – just be careful wrapping them to protect the receiver from getting nicked/scratched.
- “Ask Foghorn: AR-15 Parts Names, Disassembly and Re-Assembly” by Nick Leghorn. He steps through both the lower and the upper plus provides a video.
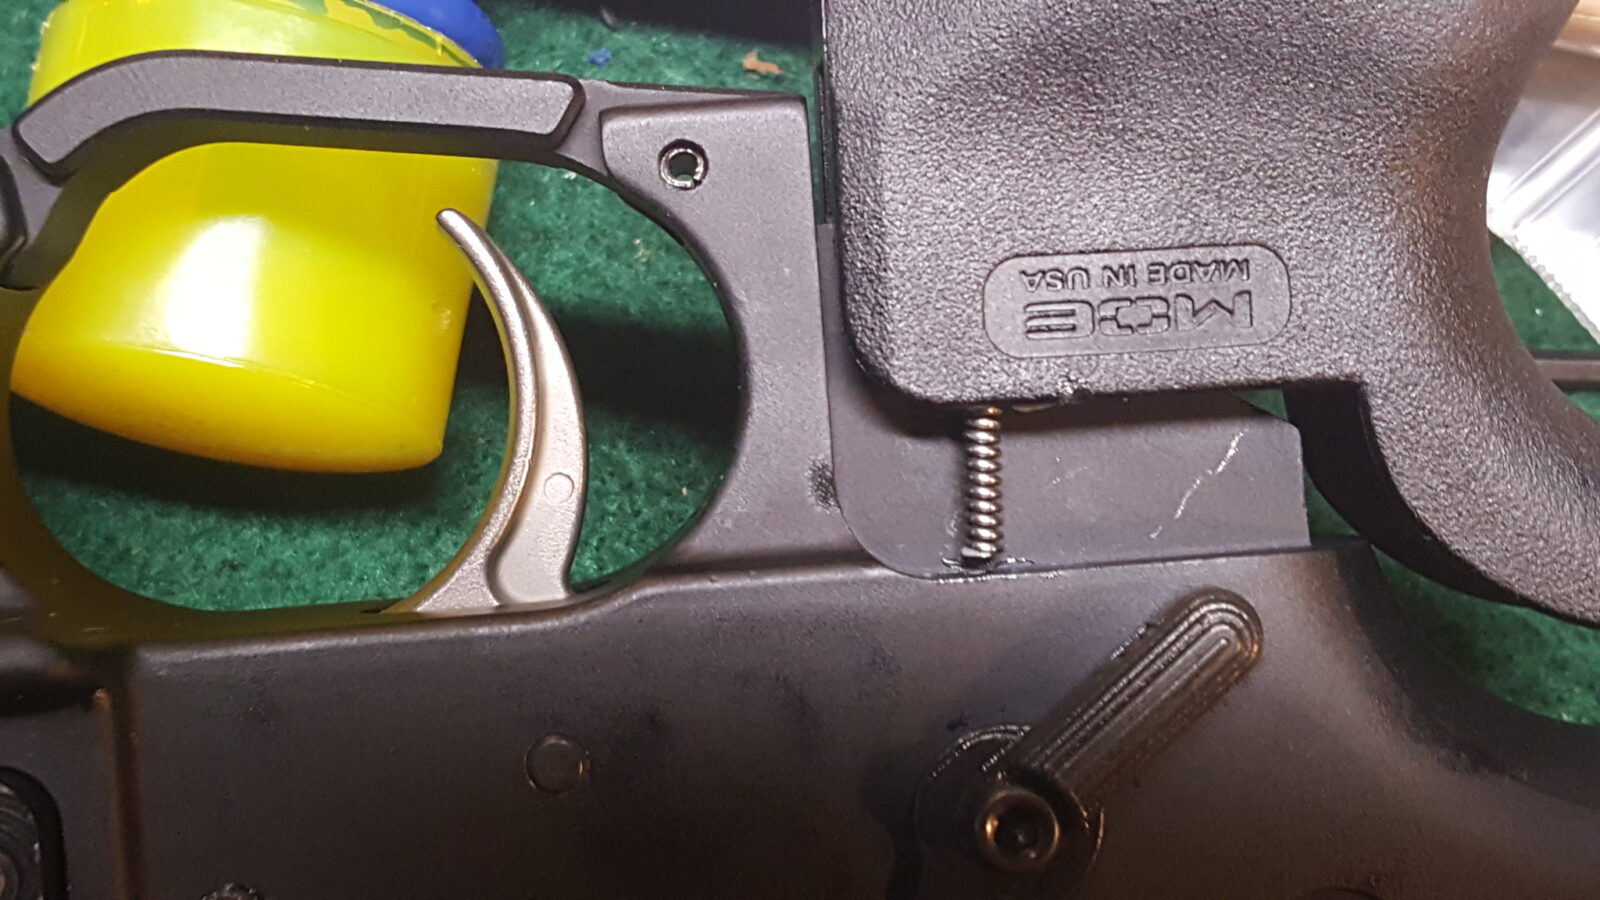
- “Assembling Lower Receiver – Section 7” by Brownells. This page then links to videos that cover an introduction, the mag catch, bolt catch, pivot pin, trigger group, safety selector, pistol grip and trigger guard.
Upper-Receiver Assembly Resources
- “Ask Foghorn: AR-15 Parts Names, Disassembly and Re-Assembly” by Nick Leghorn. He steps through both the lower and the upper plus provides a video.
- “Ask Foghorn: How to Build an AR-15 Upper Receiver” by Nick Leghorn. He steps through assembly of the upper and provides a video.”
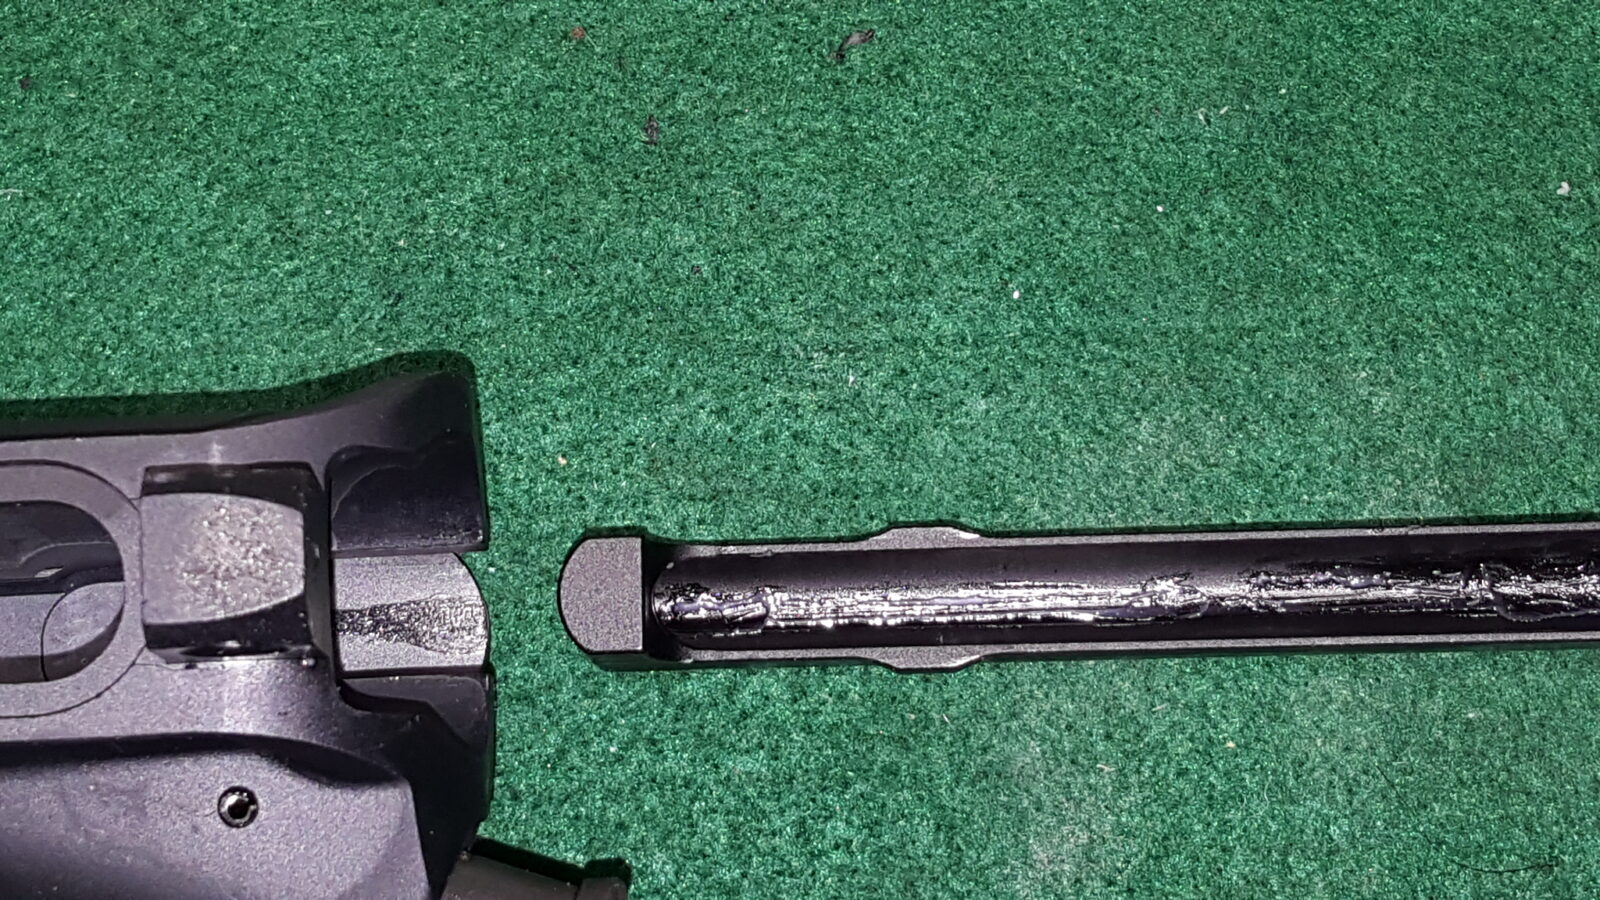
- “AR15 Barrel Installation Guide” by The New Rifleman. Great photos and instructions.
- “Assembling the Upper Receiver – Section 4” by Brownells. This page links to videos that cover an introduction, installing the ejection port cover, the forward assist plunger assembly & installation, A1 sights and A2 sights.
- “Assembling Mil Spec & Free Float Barrels – Section 5” by Brownells. This page links to videos that provide an overview, installing the delta ring, flash hider / muzzle brake, front sight, assembling a free floated barrel, installing free float handguards w/gas block and installing free float handguards with a standard front sight (which makes no sense to me why you would do that but it is there if you want to see that – if I free float a barrel, I want as little stuff on it as possible as in just the gas block and that’s it).
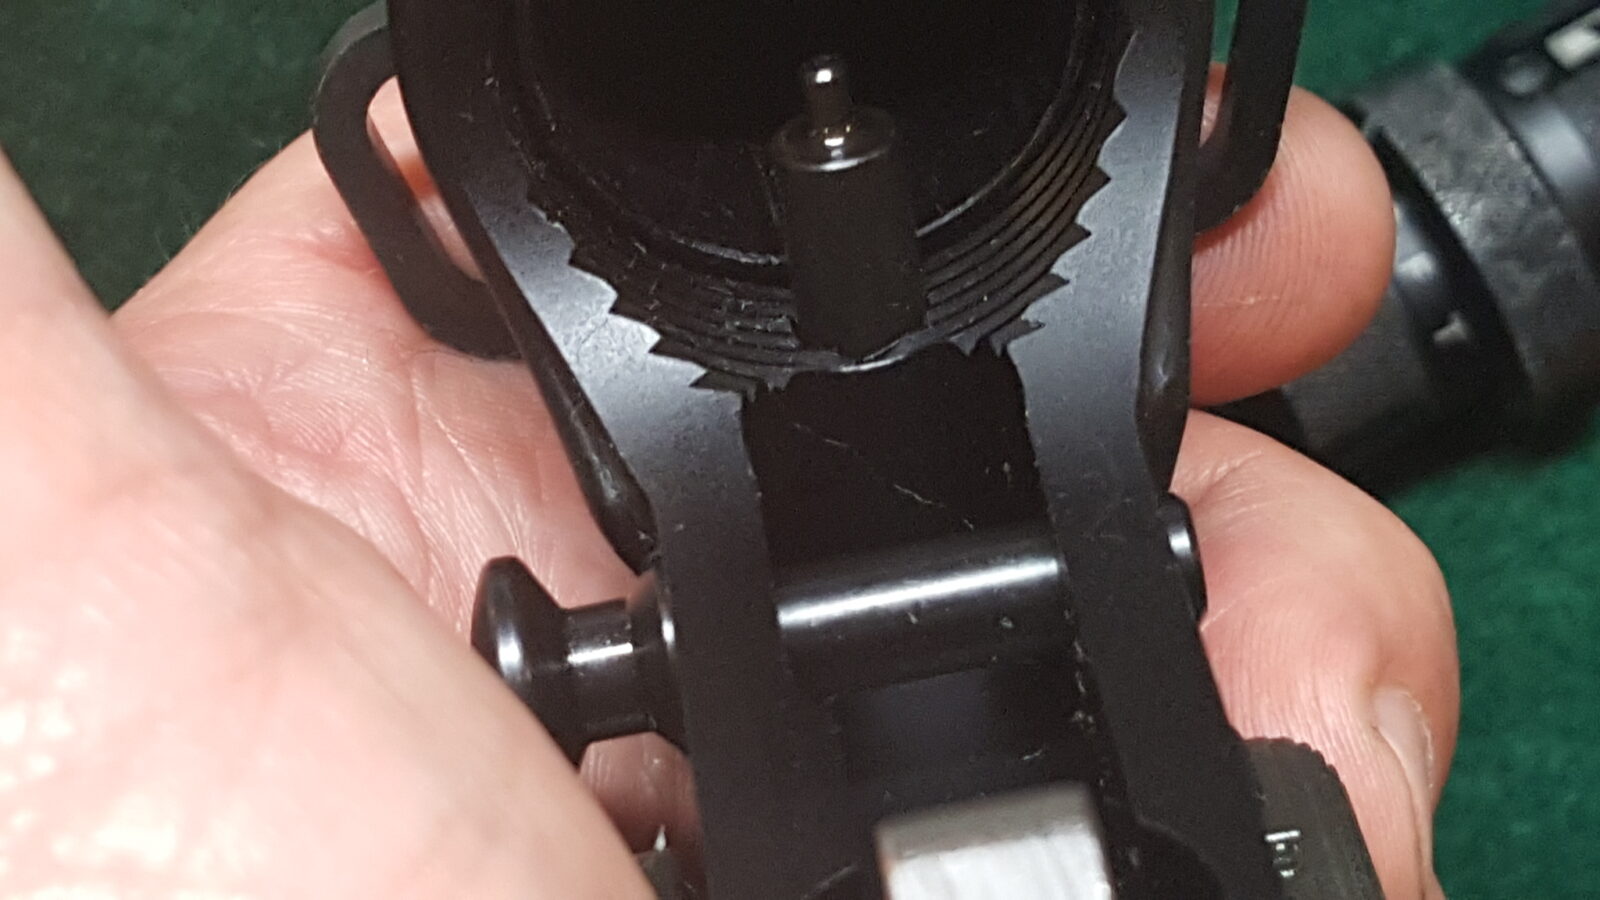
- “Assembling the Operating Handle, Bolt Carrier Group & Checking Headspace – Section 6” by Brownells. This page links to videos covering what they mention in the title plus removing and installing the ejector.
Cleaning and Lubrication Resources
- Educational Zone #49 – Cleaning & Lubricating an AR15 Rifle” by The Box O’Truth. Nice step by step instructions with plenty of photos on field stripping, cleaning and lubricating an AR.
- “Inspection, Cleaning and Lubrication” by Bushmaster Firearms. They have a well illustrated guide that is quite thorough.
- “AR-15 Maintenance – 13 Things To Keep Your AR Rifle Running” by Tom McHale at AmmoLand. Good discussion and a video.
Sources For AR Parts
The following are all vendors of AR parts including barrels, handguards, triggers, magaziness and what have you that I use and recommend:
Beware no-name knock off websites selling generic import stuff. Some of the parts are counterfeit and not rated for firearms use.
Please share the link on Facebook, Forums, with colleagues, etc. Your support is much appreciated and if you have any feedback, please email us in**@*********ps.com. If you’d like to request a report or order a reprint, please click here for the corresponding page to open in new tab.