I wrote about this recently that my go-to fire control groups, meaning the trigger, disconnector and hammer, are now the ALG Enhanced Triggers – model AKT-EL. There are two challenges that interested buyers have – #1 they can’t even find them in stock at most websites and #2 even if they do, they are expensive. Let me tell you a secret.
Palmetto State Armory has made a big push into AK-series rifles and pistols over the past few years and some of their models have a unique layout inside that requires a slight change to the traditional AK trigger design. They talked to ALG, a sister company owned by the wife of Bill Geiselle of Geiselle trigger fame – and they produced a bunch of the AKT-EL triggers for PSA with the slight modification. Guess what? Any AK can use them.
For a couple of years now, I have been using AKT-EL in regular AK builds and even my IMI Galils that needed their fire control groups swapped out for 922r reasons.
So this post is short and sweet – if you are looking for a great American made AK trigger, then get an ALG AKT-EL and if you want one that is in stock at a great price, go to PSA [click here].
Note, I have to buy all of my parts – nothing here was paid for by sponsors, etc. I do make a small amount if you click on an ad and buy something but that is it. You’re getting my real opinion on stuff.
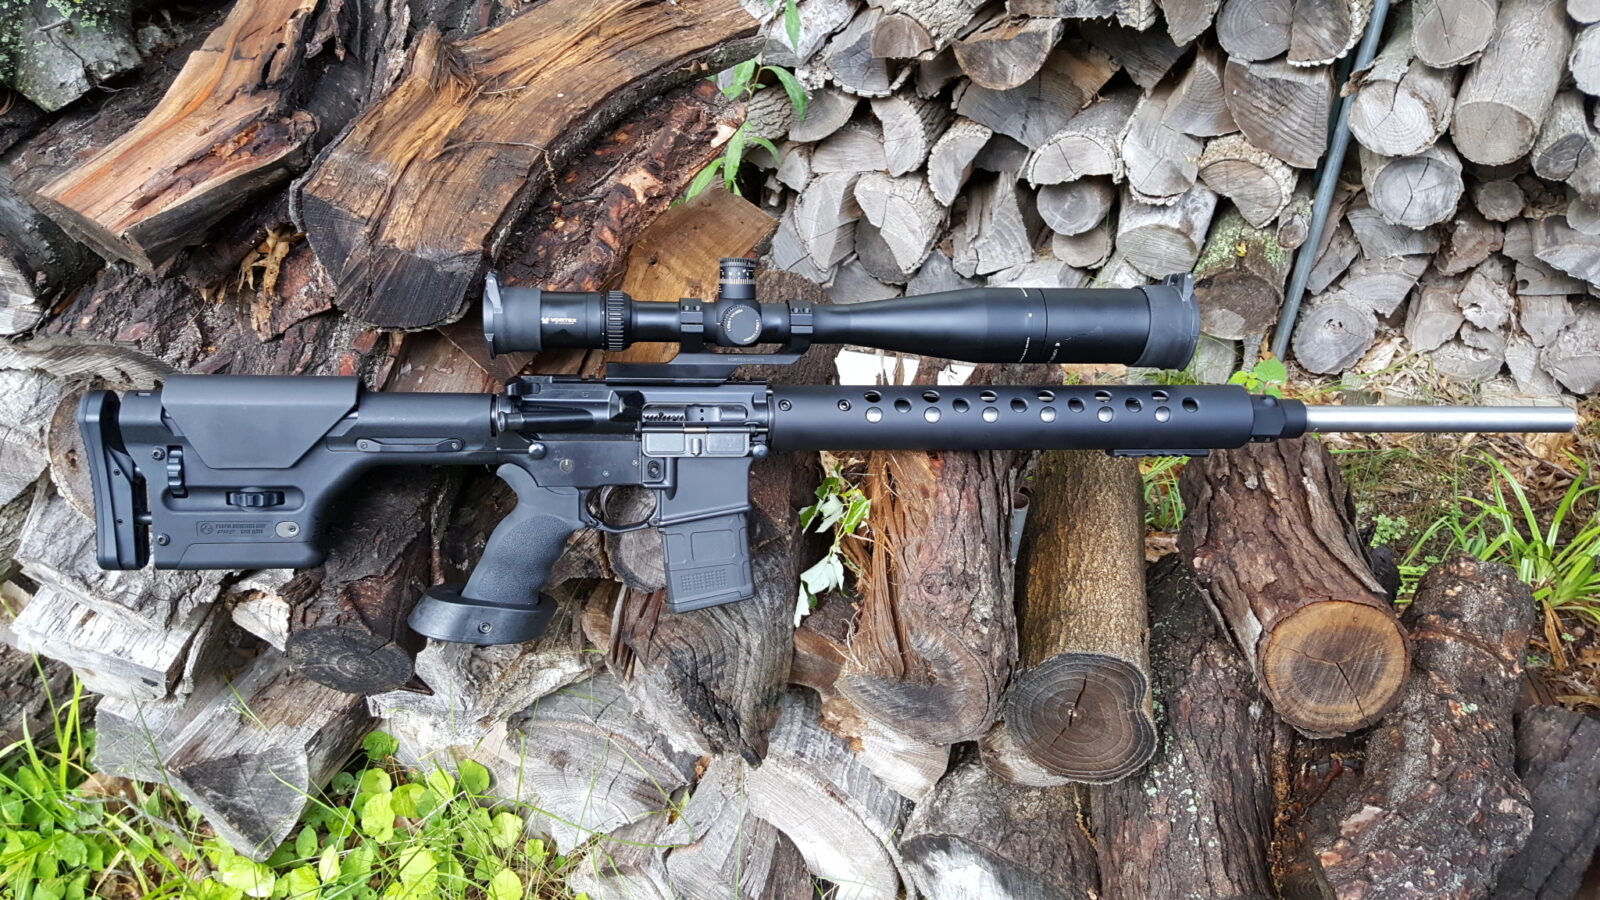
For years I have have heard how great Geissele (pronounced Guys-Lee) triggers are. They offer a ton of models so I actually called them and talked about what trigger to use for a target rifle – which is the rifle shown above. After some talking, the gentleman I talked to recommended their Super Semi-Automatic Enhanced (SSA-E) trigger. I bought it direct from them and have been very happy. Here are the SSA-E specs on the trigger direct from the Geissele web page:
Type:
2 Stage
1st Stage Weight:
2.3lbs.
2nd Stage Weight:
1.2lbs.
Total Pull Weight:
3.5lbs.
Adjustable:
No
Recommended Use:
Target Shooting, Precision Shooting
Pin Size:
Mil-Spec
After shooting with it, I can tell you it is my favorite AR trigger hands down. Now I know why guys swear by them. The only con is the cost but you are definitely getting value in return.
I was surfing around on Youtube and found this video today – I wish I had known about it before as it would have helped me also. Bill Geissele, the man himself, walks you through their 15 models of triggers and answers common questions he gets about them. I definitely want to try one of their Super 3-Gun (S3G) or Super Dynamic 3-Gun (SD-3G) triggers in the future and will definitely go the SSA-E route again if I build another precision rifle.
By the way, unless you are in a rush, Geissele triggers go on sale 2-3 times per year at Midway, Brownells, Primary Arms and other sources. I paid $240 for my trigger and could have saved 40% if I had timed my purchase better. That’s what I am doing with my 3-Gun trigger purchase – just waiting for the next sale.
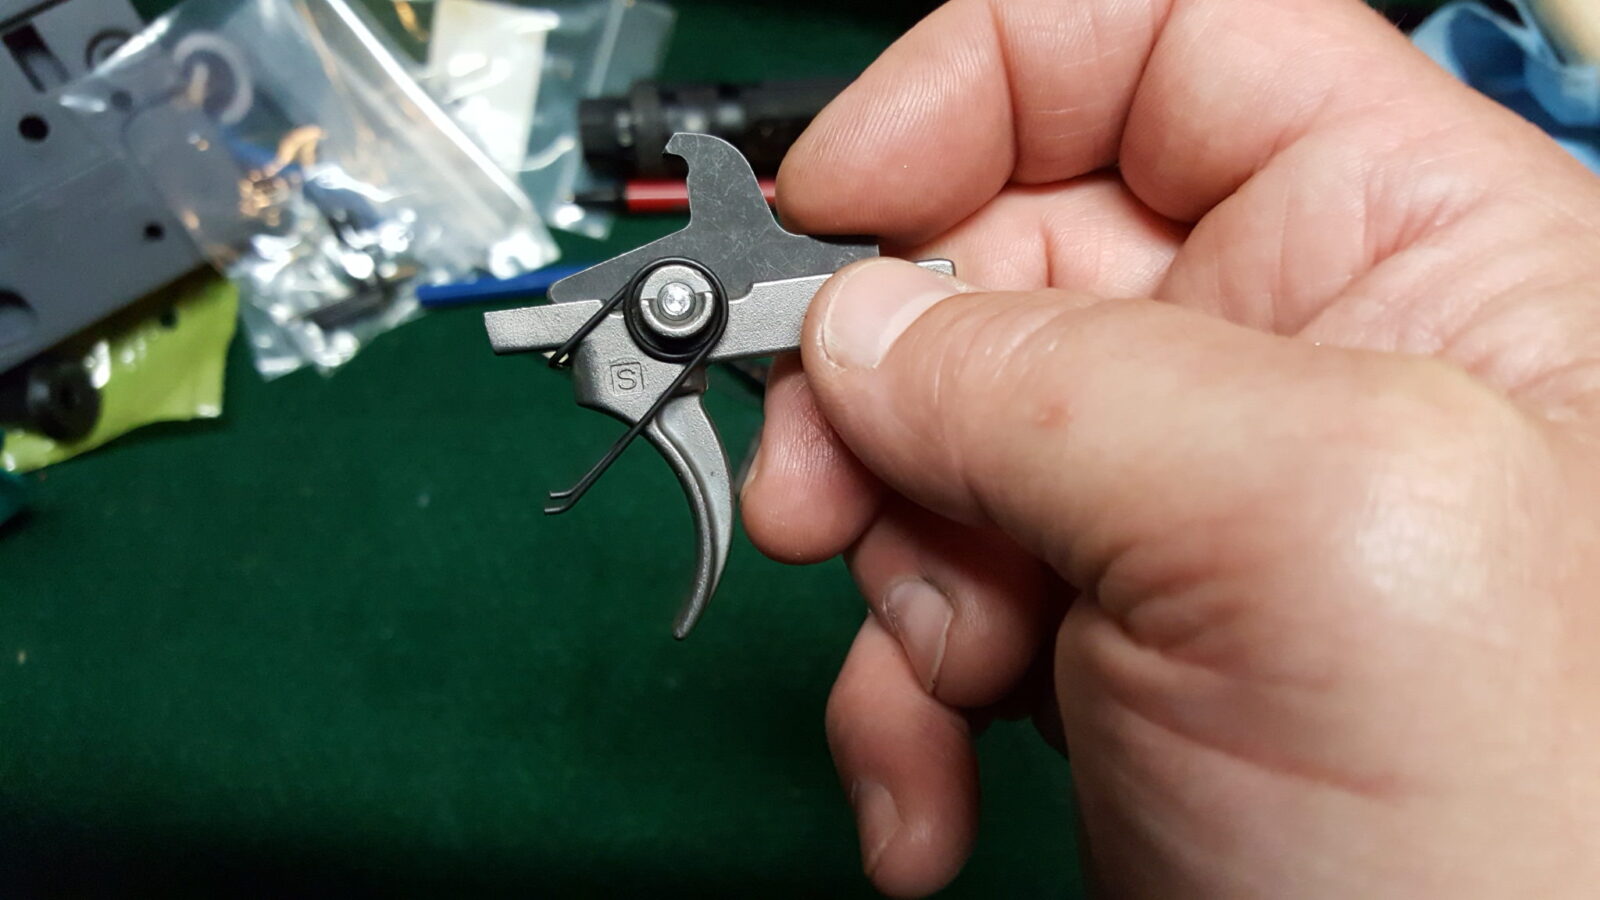
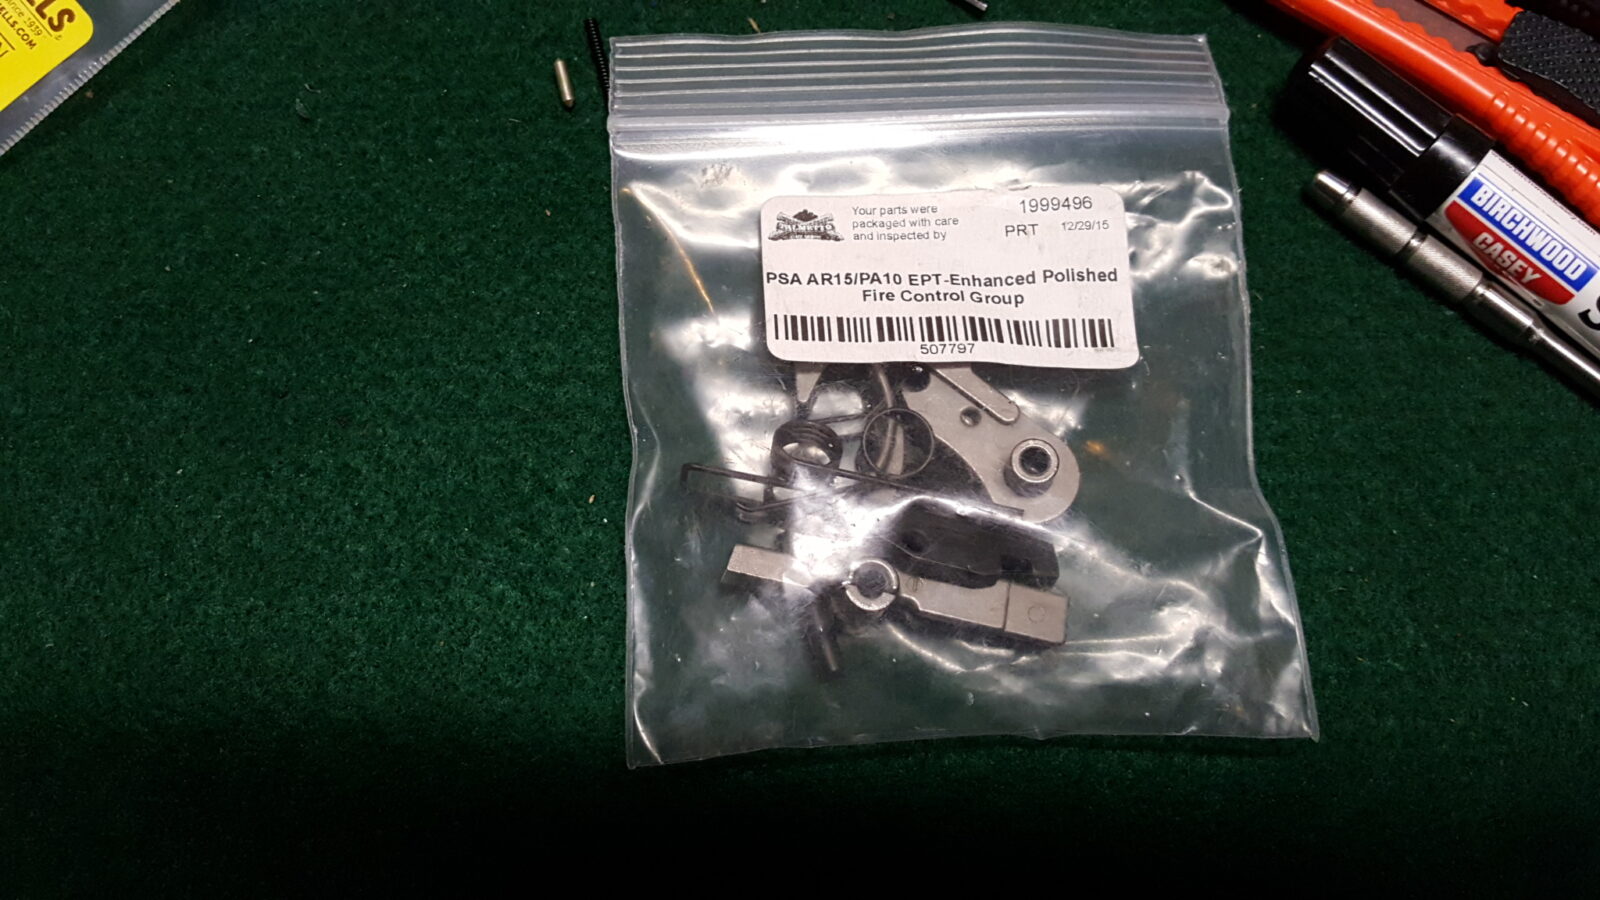
An AR trigger assembly is four parts not including the pin that holds the assembly in the receiver. I like Palmetto State Armory’s Enhanced Trigger Group that has a polished nickel boron finish for my basic AR builds. My favorite trigger manufacturer is Geissele and have used a number of their models over the years but they are pricey. The PSA enhanced trigger is $39.99 and a nice improvement over the normal Mil-Spec trigger. I should note that even the regular trigger from PSA is not bad. I have used build kits from others, such as Anderson, where the trigger felt very “gritty” until it wore in whereas the PSA triggers have not had that feeling out of the bag.
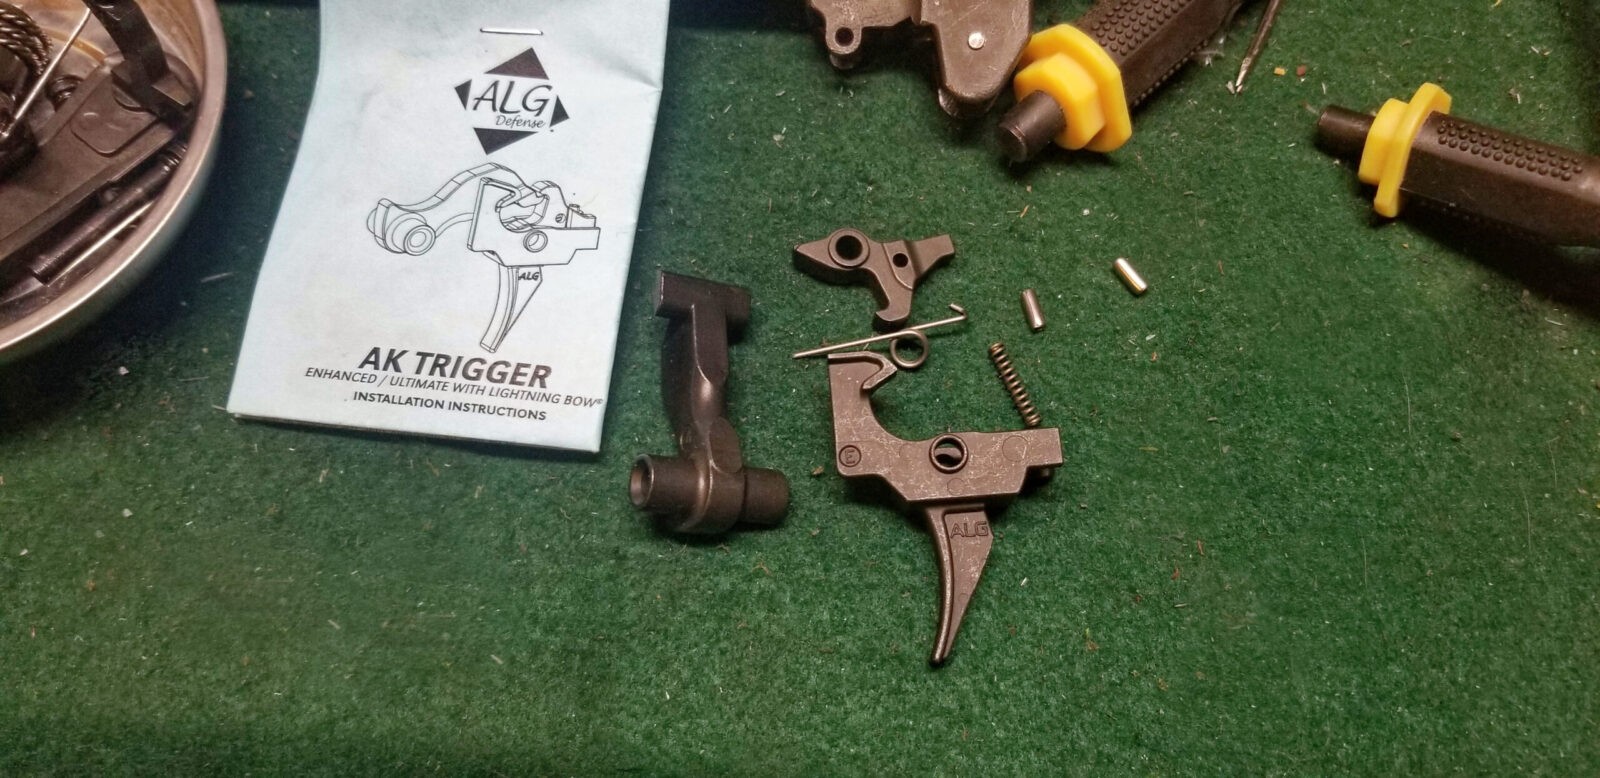
So, when you get a trigger group from PSA, as well as most other vendors, they will have the components in a bag. Pour out the contents and organize them to make sure all the parts are there. Notice I am using a green fabric work mat. These are made by several companies and the benefit is that the fine nap of the mat softens the impact of small parts so they don’t fly/roll all over the place. It helps keep stuff from getting scratched up.
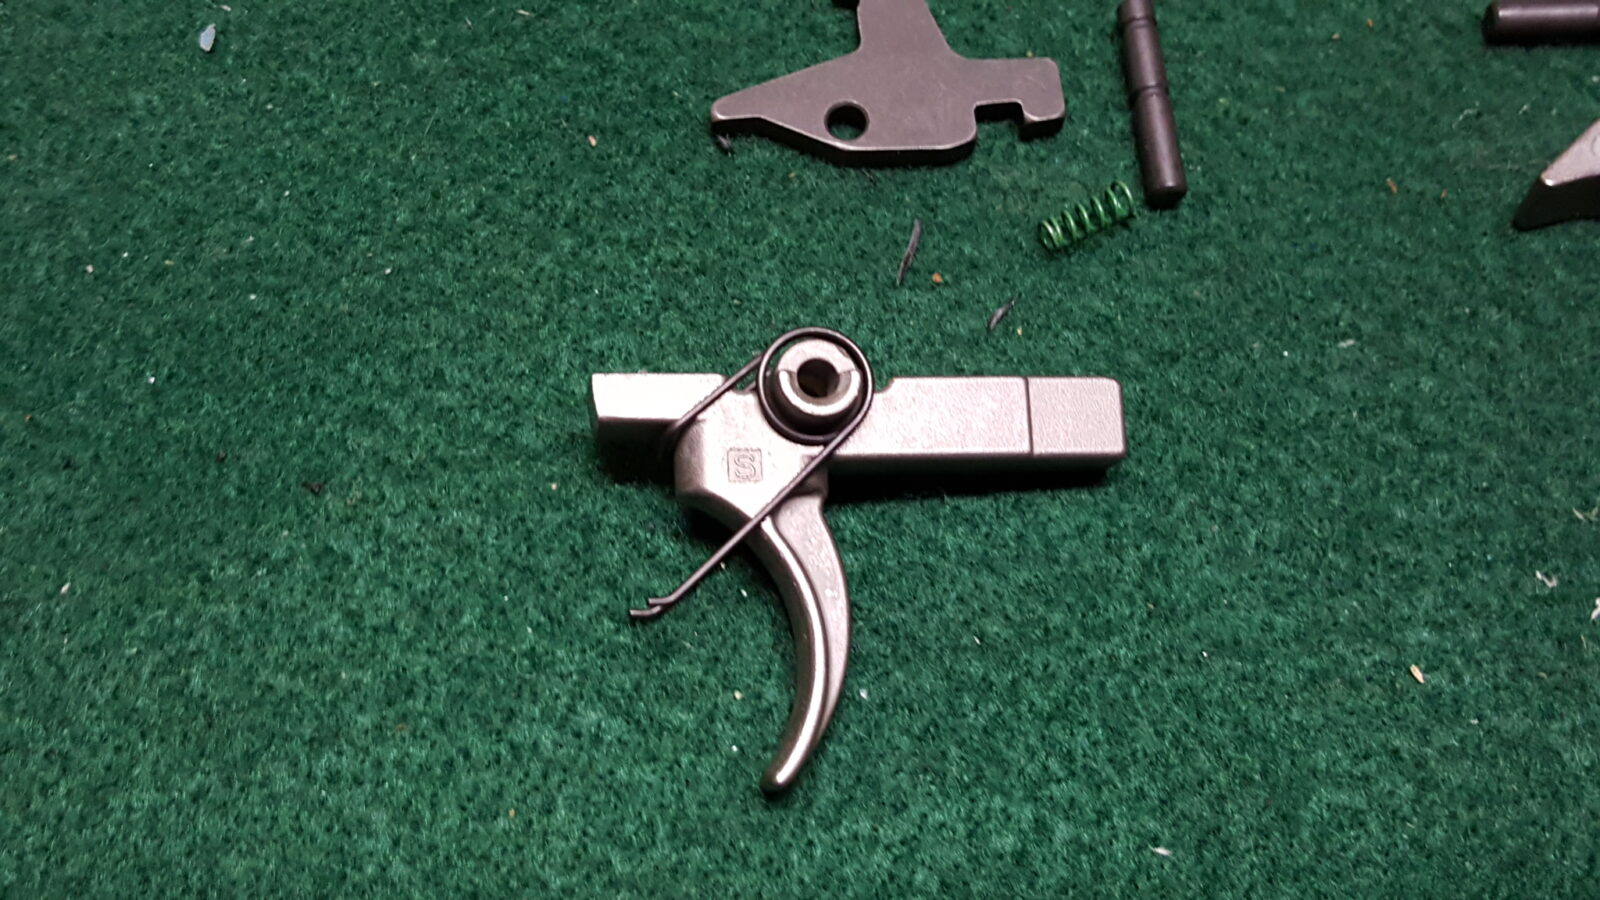
In the next photo you will see the trigger and hammer assemblies and all the parts that should be there. On the left is the trigger assembly – disconnector, trigger pin, small green disconnector spring (note that the vendors do not always color this spring but it is uniquely shaped), the trigger itself and the trigger spring. On the right is the hammer assembly and starting at the top you have the hammer pin (the pins are identical by the way), the hammer itself and the hammer spring.
Even though this trigger is polished, I polish the mating surfaces to a mirror finish with a Dremel, felt wheel and a fine polish such as Flitz. I also remove any burs/rough endges that I encounter with a fine stone. I don’t change the geometries – my goal is just to get things nice and smooth. Note, if you skip this the trigger will need to wear in to smooth out.
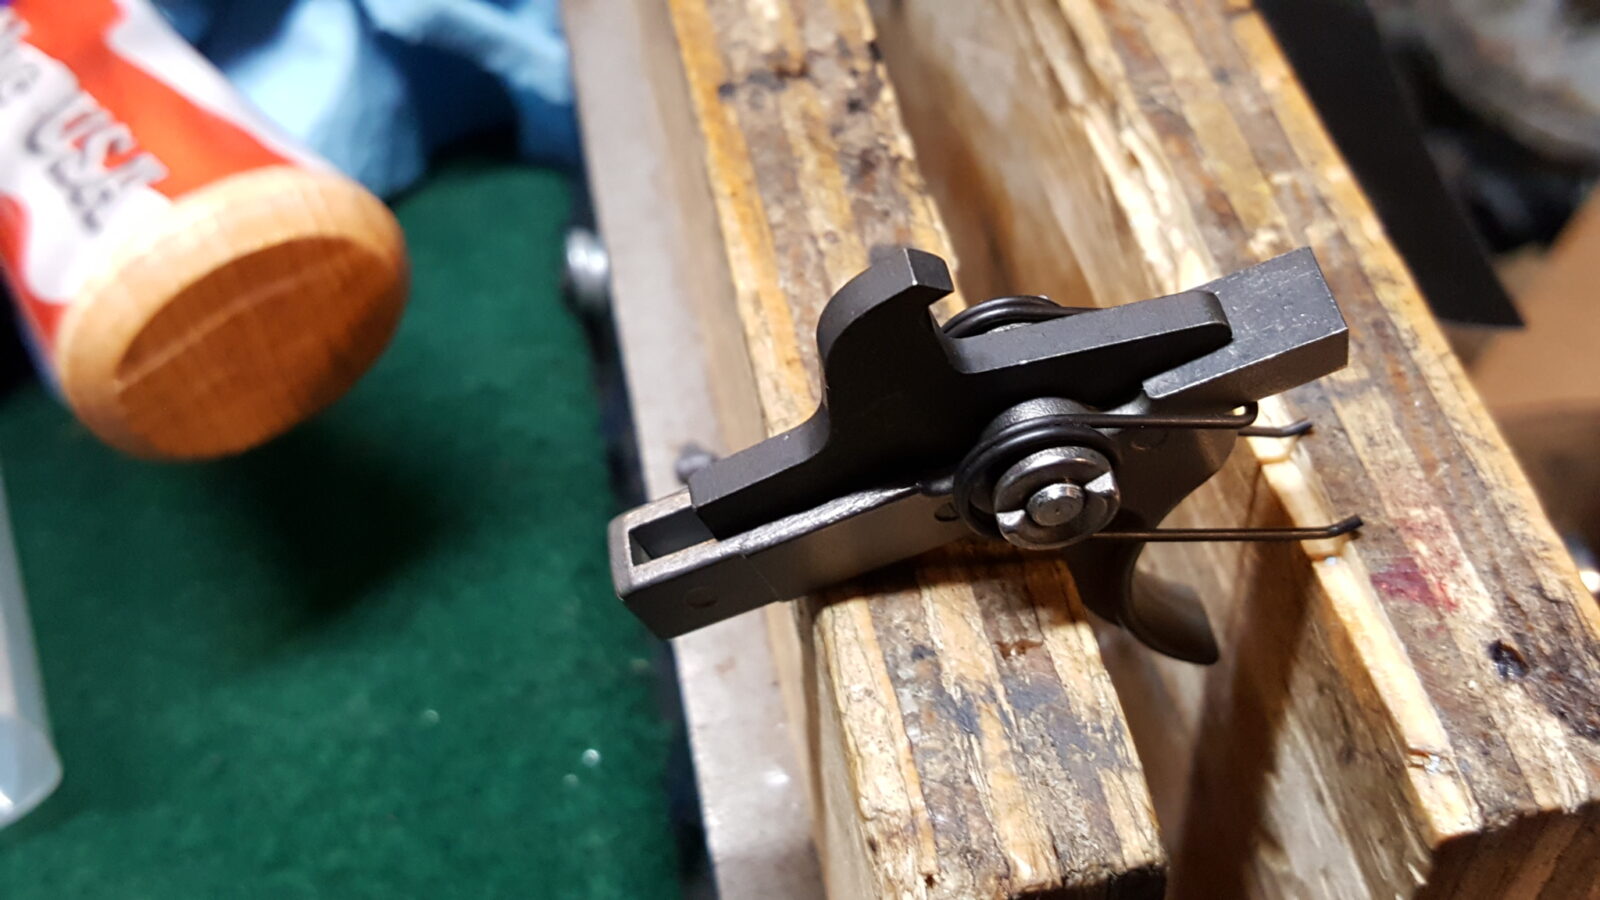
Next, install the trigger spring. Note the orientation of the front of the spring under the nose of the trigger:
Now if you look at the disconnector spring and you will notice that one end is wider. You push that wider part down into the round pocket that is machined in the back of the trigger.
See how the bottom is wider? This particular spring is colored green. Rarely are the colored – you need to go by the shape.
Now you have an option that will make your life way easier – assemble the trigger group outside of the receiver using a slave pin. I’m just going to talk about modern ARs and not all the ban-era Colt hijinks or oversize pins for worn rifles. In general, the trigger and hammer pins have a diameter of 0.154″. This is the same size as a #23 drill bit. You can go, buy a cheap bit, cut the shaft off so the length of the pin is the same as the width of the trigger. I would recommend using sandpaper to round the edges of the pin so you wind up with the following:
The silver pin above is a slave pin. The purpose of the slave pin is to hold the trigger assembly together. When the actual fire control pin is inserted, the slave pin is pushed out the other side of the receiver and its job is done. We do make and sell slave pins – click here to open our store in another tab.
You can function test the disconnector and make sure that it smoothly rocks back and forth with the spring supporting it.
Now, if you do not want to go the pin route, you will need to juggle everything in the receiver but I would still recommend using a 9/64″ or 1/8″ pin punch to help line things up from the right side as you are looking down at the receiver. They are smaller than the normal pin so just expect to do a bit more positioning. This method works fine – it’s just not my personal preferred method any longer.
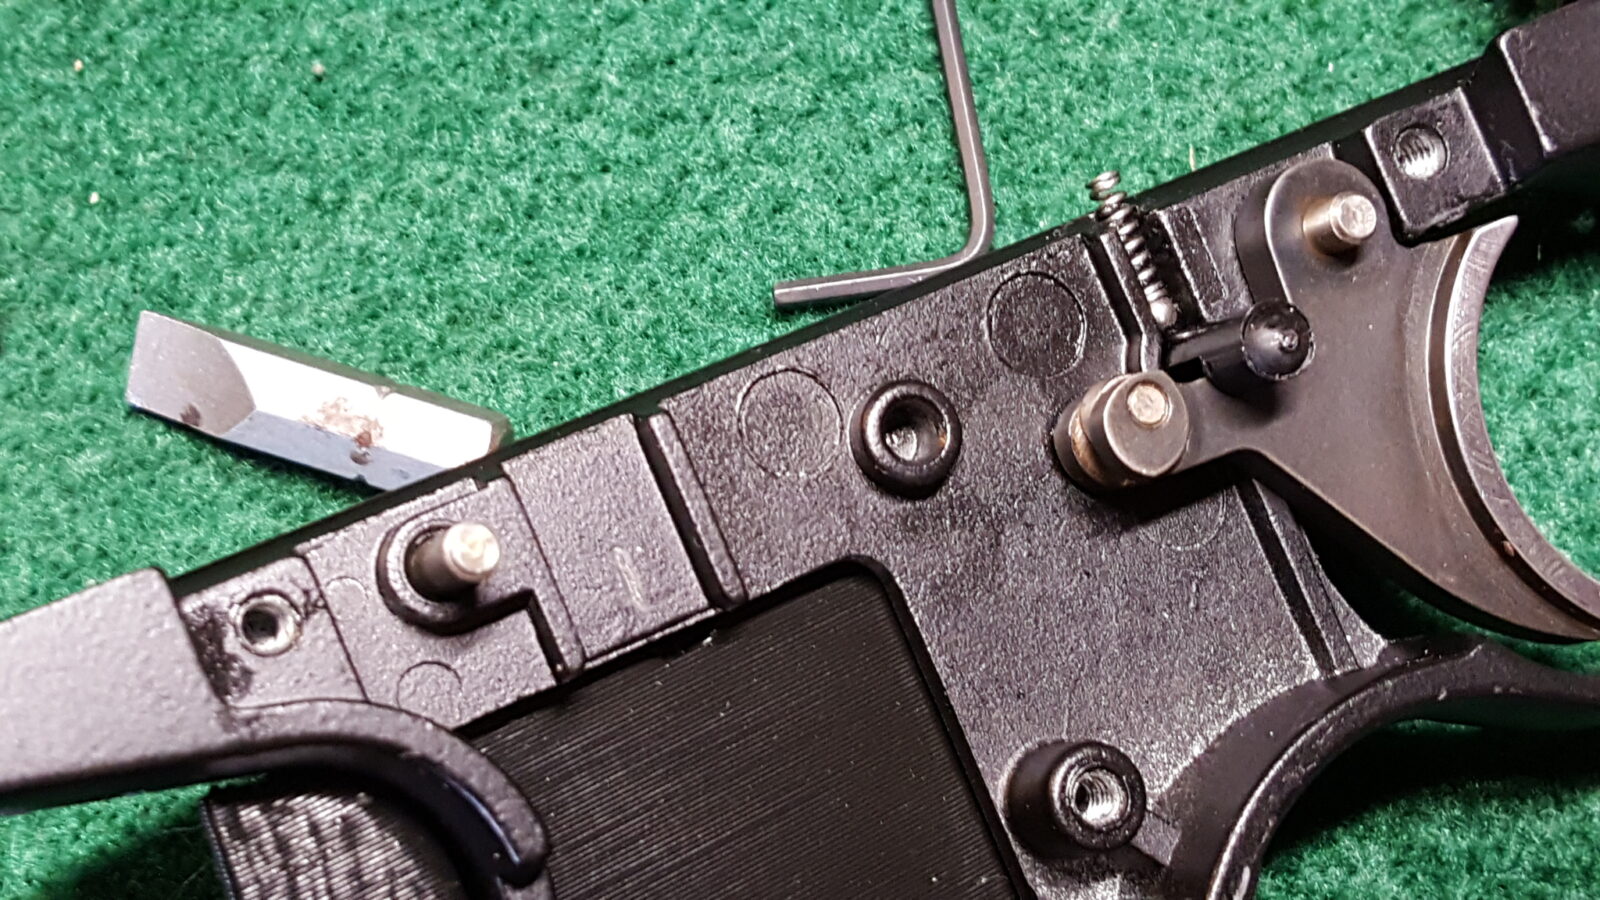
Ok, so let’s say you did take my advice – now place the trigger assembly down in the receiver with the trigger facing forward. Put some pressure on the top of the trigger assembly with your thumb, line up the slave pin with the hole and push in the real trigger pin from the left to the right. Note how I have the groove on the left side – one of the hammer spring’s legs will lay in that groove and lock the pin place. Now it just becomes a matter of wiggling thins around and pushing the pin all the way through. Be sure to catch your slave pin before it falls out. This does not take a ton of force. If the pin isn’t going in all the way and things are lined up properly, use a rubber or plastic faced mallet to tap it in.
Note how the slave pin is exiting the receiver as the actual trigger pin is inserted.
Once installed, squeeze the trigger and make sure to is going back and forth with the spring. Double-check also that the disconnector rotates also. In both cases you should feel the springs doing their job.
There are a lot of reputable AR parts vendors online but beware of eBay and bargain basement dealers that sell airsoft parts and tell you they will stand up to firearm use – they will not. At any rate, here are my top sources of AR parts:
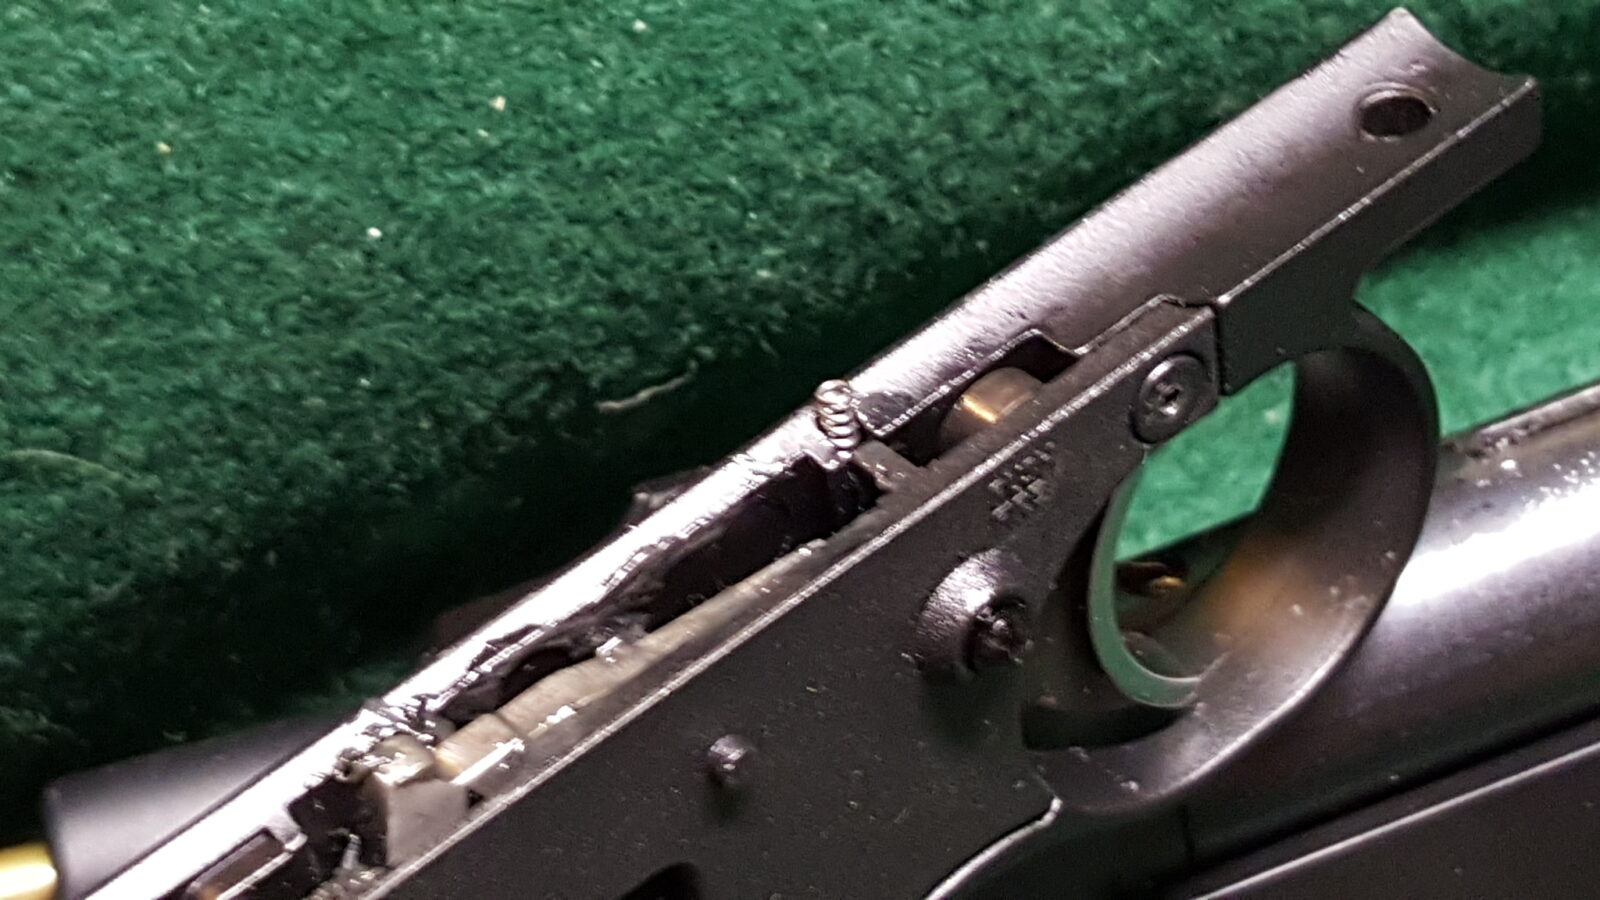
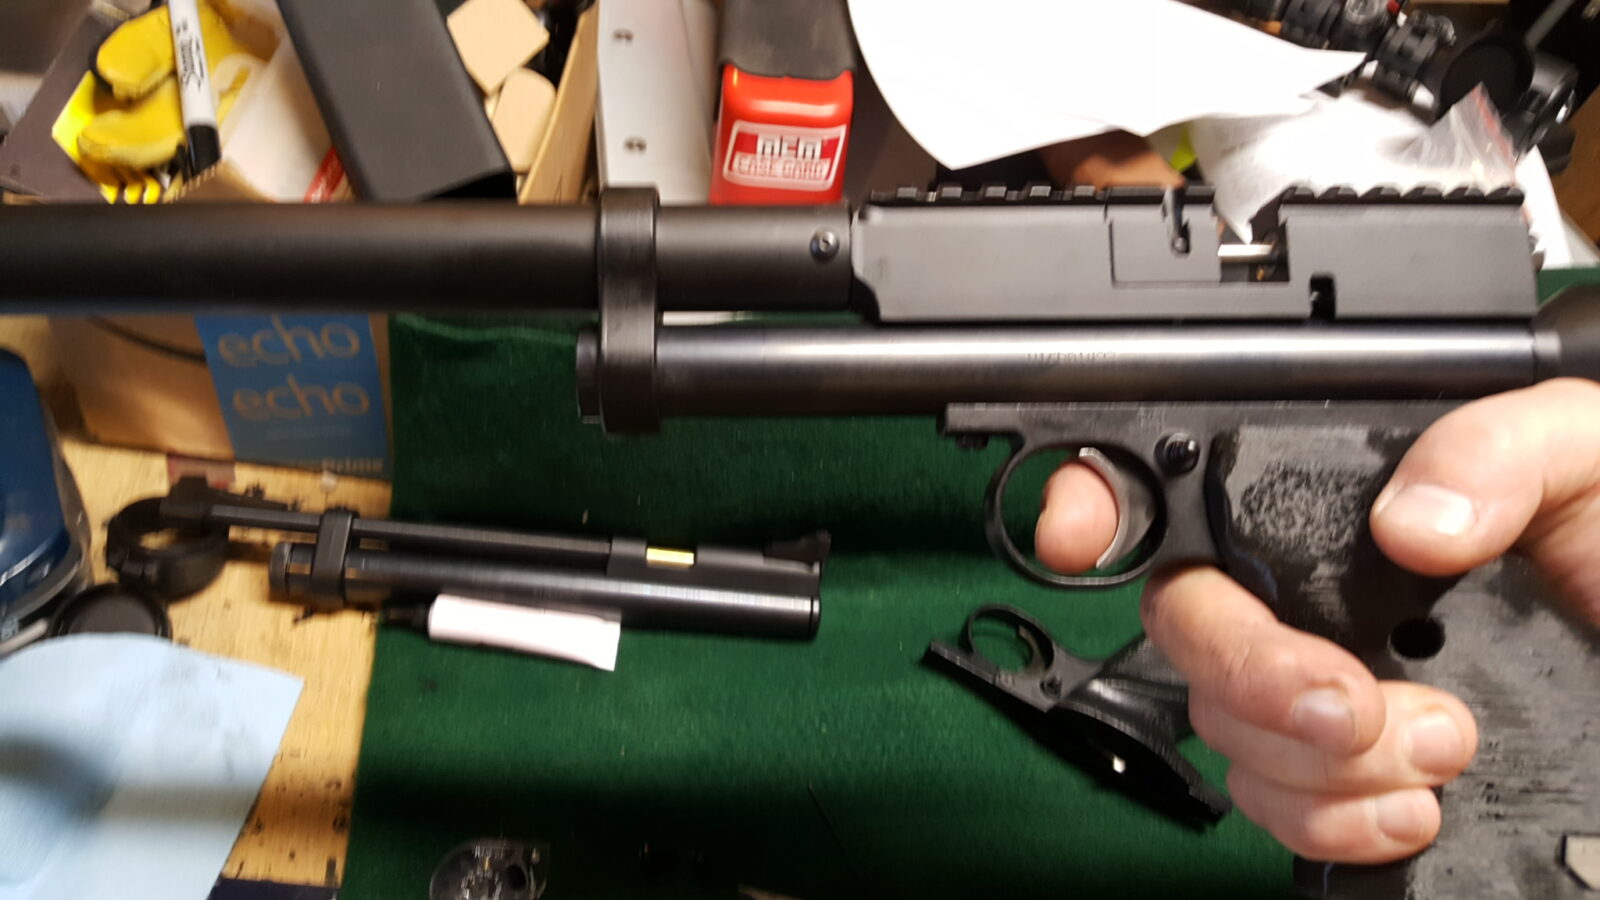
The Crosman 2240 has to be one of the most popular, if not the most popular, .22 caliber C02 pistols available. In part because it is a cheap and reliable design but also because there is a HUGE aftermarket parts industry out there. There is one negative right out of the gates though. It has, in my opinion, quite possibly the worst trigger I have ever felt in my life. The trigger isn’t very wide so it feels weird on your finger, there is a ton of slop and it is heavier than sin. Not surprising, there are a ton of tricks and aftermarket parts out there to rectify this. The focus of this blog post isn’t so much about replacing the trigger and tuning everything. It’s really about what to do if the basted safety spring and detent ball fall out so I am going to get to that point quickly and post later about my trigger tuning efforts.
Before you do anything, make sure the pistol is empty and that there isn’t any Co2 in it plus make sure the pistol safety is set to fire or you risk losing the spring and detent. Notice that last part. It’s a heck of a good warning to bear in mind – have it set to fire and protect it from being bumped. That doesn’t always work out so well hence this post.
Second HUGE recommendation – Be sure to have one of the fuzzy work mattes. I’m not telling you this to be cool – they serve a real purpose. The fuzzy surface cushions soft parts so they don’t fly away. There is an unwritten shop law, the smaller the part, the further than darn thing will bounce never to be found or not without some monumental search with magnets, flashlights and a clairvoyant.
So here are the steps bearing in mind we really want to talk about the safety spring and detent:
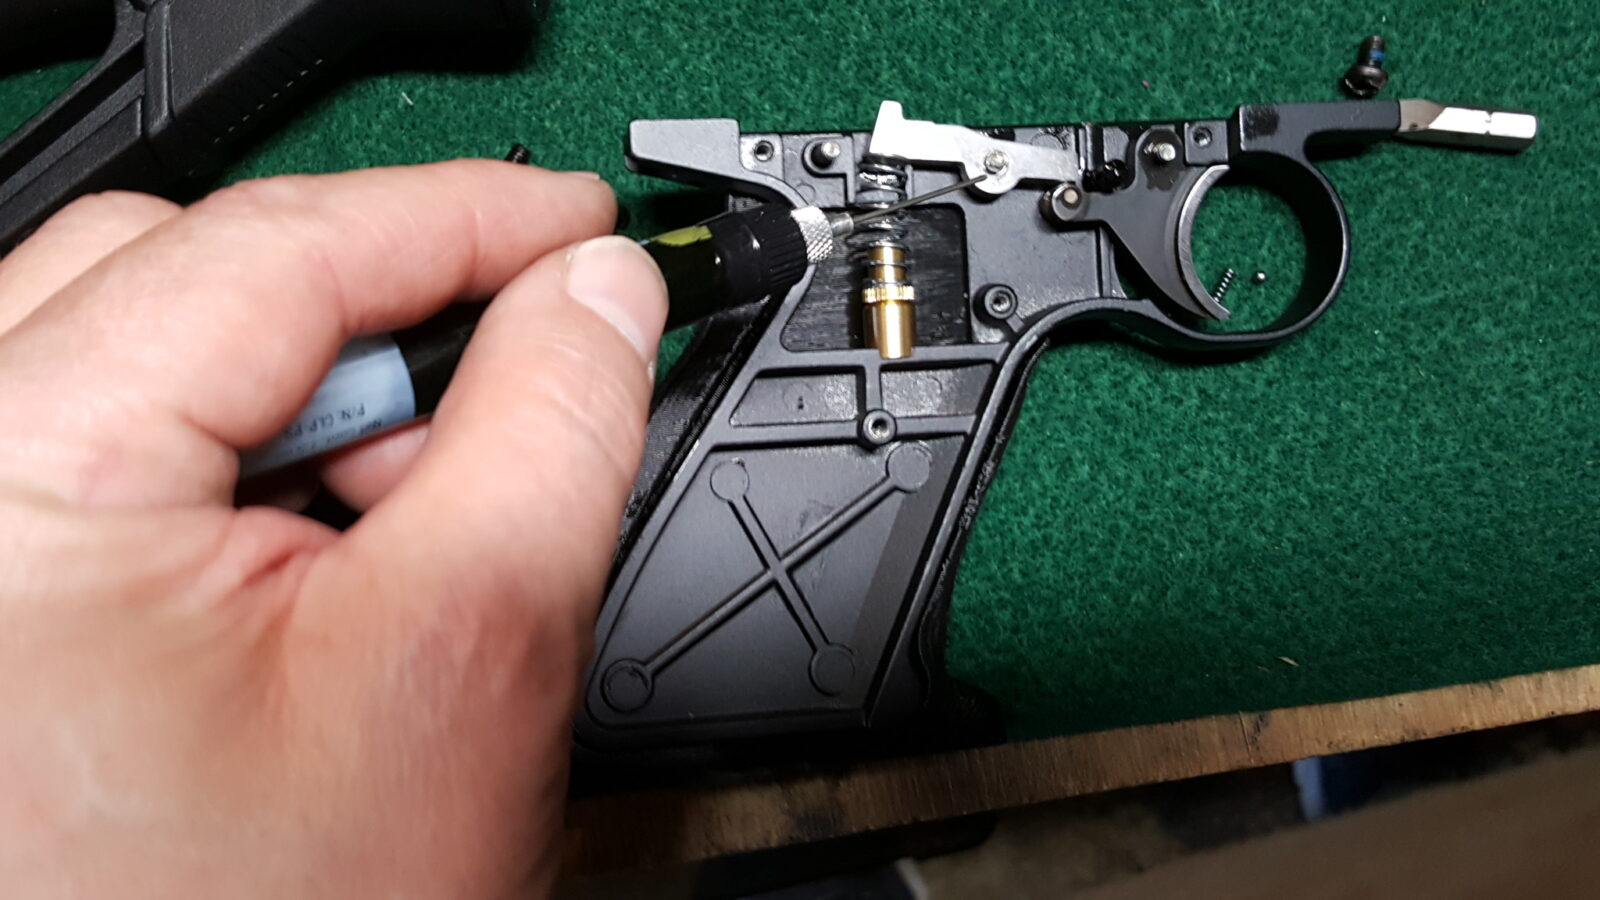
1. When you go to work on the trigger. you remove the right side grip plate and you are looking at a plate held in by 2-3 screws. On my six month old 2240, it is three small 1/16″ allen screws.
2. When you do pull that plate off, make very sure that cheap plastic safety pin doesn’t pull out with the plate. That is exactly what happened to me. Boy was I pissed. I was distracted, lifted the plate and watched it shoot out. Luckily the green matte caught the little detent ball and the spring stayed in the grip frame. I looked at it and wondered how the heck it went back in.
3. Modifying 2240s is something I’ve taken up experimenting with so I had another stock 2240 sitting near by. If you’ve ever done an AR, you know the detent pins and springs go in the end opposite the pin. So, I carefully took the grip frame off the gas tube and sure enough, there was the spring sticking straight up. It is the hole on the left side of the grip from straight above the hole for the safety cross pin.
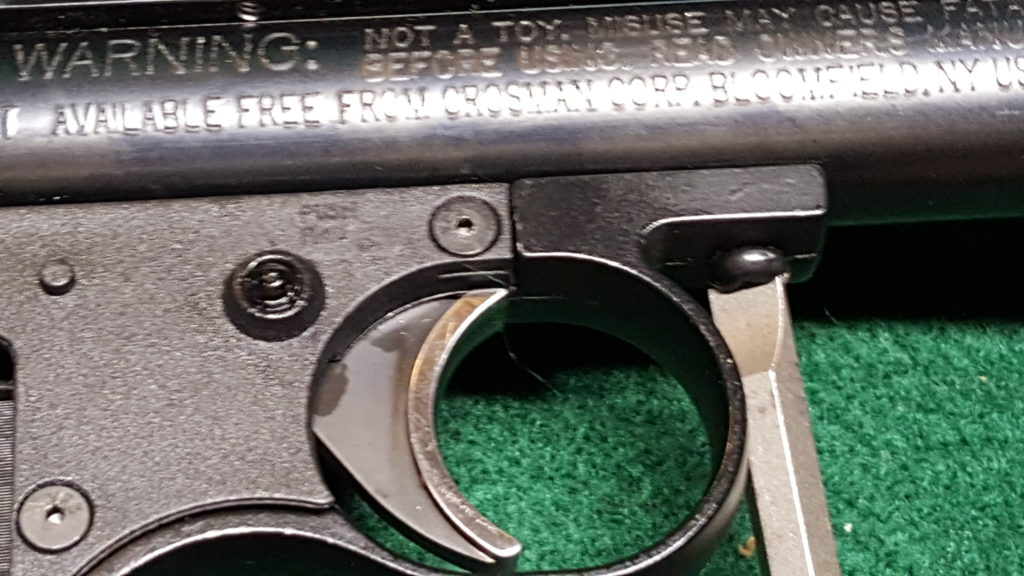
4. So, with the mystery solved, I carefully assembled my 2240 with the new roller trigger, stainless sear and adjustable sear spring. I made sure it all looked good, oiled it, and put the side plate back on (you must put the plate on or it the spring will shoot out – I lost one that way). Note, the red side of the safety should be on the left side of the grip frame.
5. Having had many bad experiences in the past trying to go too fast, I know to always function test. I made sure the safety worked first by sliding the safety on and making sure the trigger would not fire. I then slid the safety off and made sure it would fire. I also made sure to watch the sear to ensure it was articulating when I pulled the trigger. That is a basic trigger function test.
6. I then carefully dropped the tiny detent ball down the hole. The next step is just me – I put a dab of grease on the side of the spring to keep to from easily sliding out. I view it as cheap insurance to reduce the odds of the spring falling out if I accidentally tilt the grip frame. You can certainly skip the grease if you want.
7. I put a dab of grease where the sear rubs on the valve. There’s an old adage that if it slides, grease it — so I did.
8. Next, I carefully mated the grip assembly face up to the gas tube in order to keep the detent spring in place and gently screwed in the front screw (the longer screw) into the frame and then did the back. Be sure to leave the front a tad loose so you can position the back. Then tighten them both down.
9. I did another function test but this time actually cocked the empty pistol to make sure it would fire and that the safety worked.