The selector assembly is what allows a regular AR to either be on “Safe” by blocking the trigger’s movement or “Fire” my allowing the trigger to pass. It’s actually a very straight forward design and I like those. Now I like ambidextrous selectors and they are just like a normal one but have a small lever that is screwed on to the operating side after the selector is installed. This is a Palmetto State Armory (PSA) model that works just fine for me. Note, some guys like these and some don’t because you will feel it on the other side, which some guys find to be weird and not to their taste. Bottom line, use what you like. If you’ve never felt one before, try and hold an AR with and ambidextrous selector before you buy one.
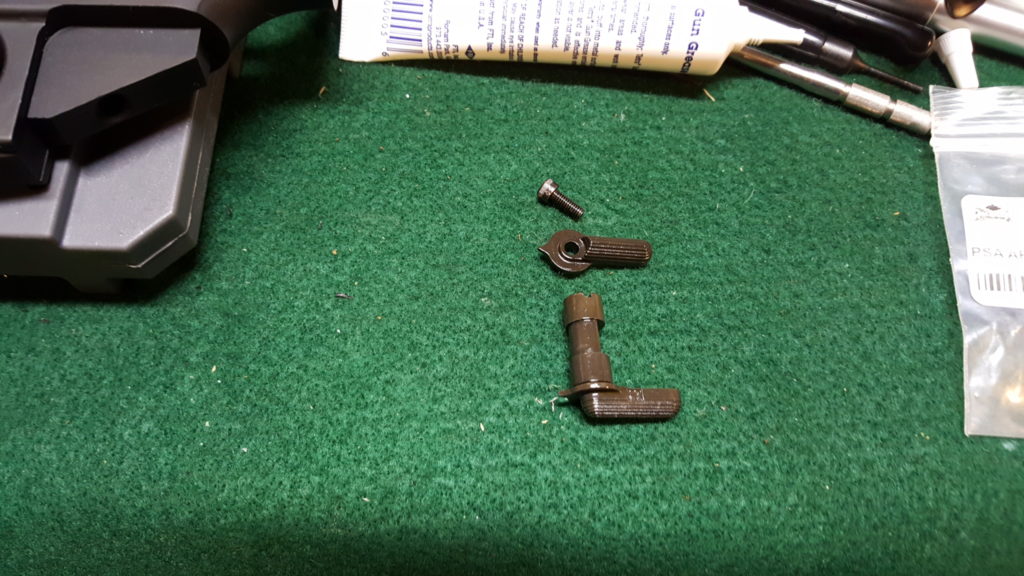
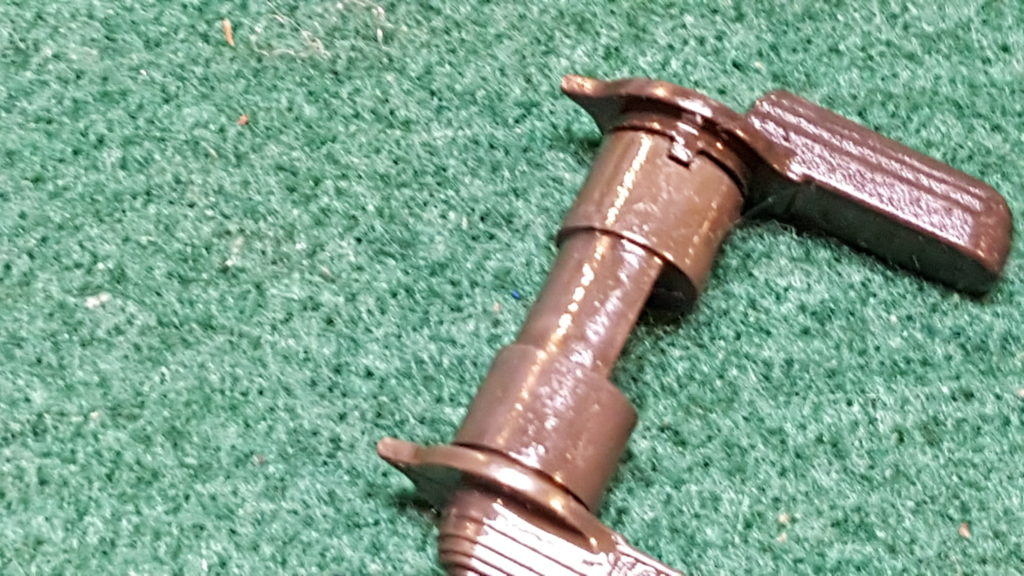
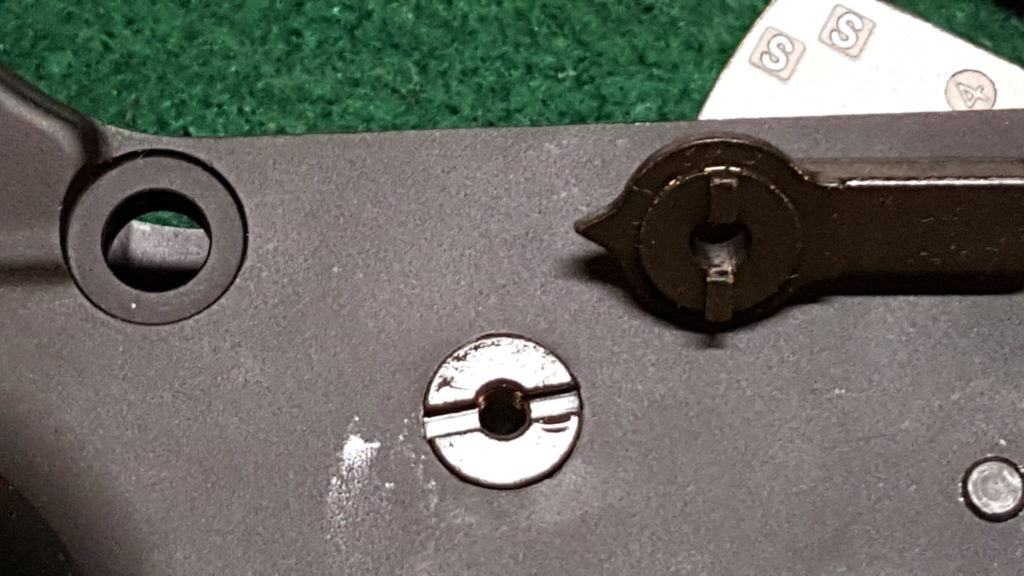
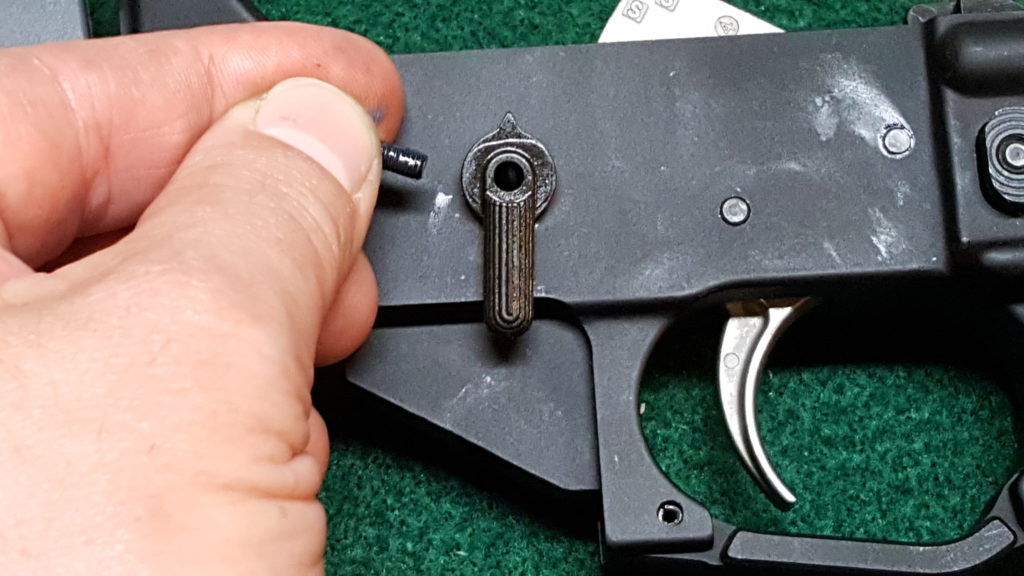
To install it, first cock the hammer and insert it from left to right with the selector pointing in the “Fire” direction. You may need to wiggle the trigger some to let the selector pass. If you are using a Mil-Spec selector, you are done other than function testing. If you have an ambidextrous selector, most have a groove on the other side and you simply mate up the right side lever. Before install the small screw that holds in it place, put a bit of blue medium-strength Loc-tite on the screw so it is held in place. If you do not apply some form of thread locker, the screw will loosen and fall out.
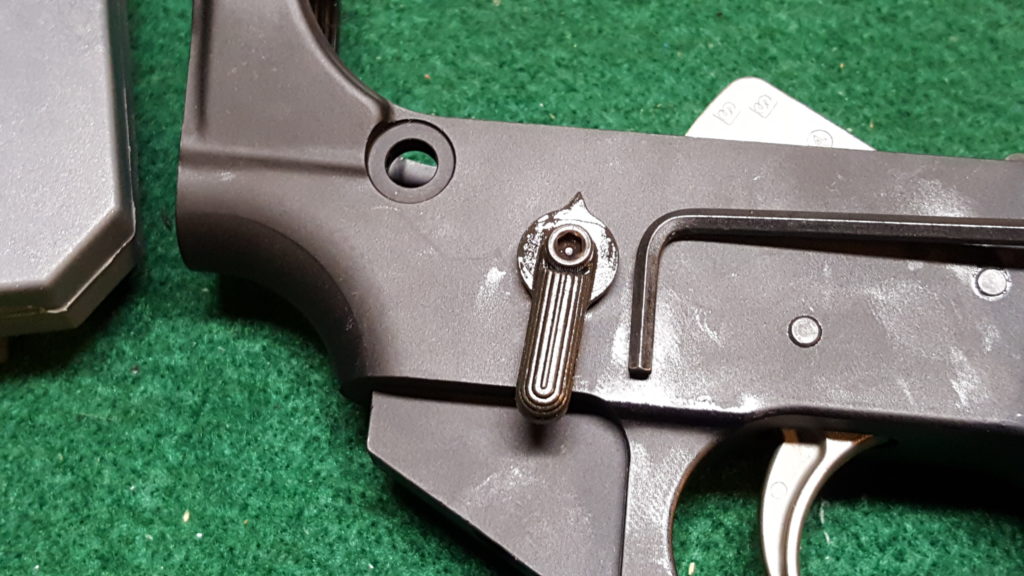
To function test the fire control group (FCG) overall, you need to do the following but remember to NOT let the steel hammer slam into the aluminum magazine well – control the hammer’s movement with your thumb, fingers or whatever (meaning hold it – don’t put your fingers in front of the hammer and hit them – that hurts!!). Each test below assumes that you can accomplish the step – if not, something is wrong:
- Cock the hammer back and the trigger should grab it.
- With the selector on FIRE, pull the trigger while holding the hammer with your thumb to control its movement – the trigger should release the hammer.
- With the selector on SAFE, pull the trigger and the trigger should not be able to move. If the hammer is released then something is very wrong.
- Now, put the selector to FIRE, pull the trigger back and while holding the trigger back, cock the hammer – the disconnector should grab the hammer and when you release the trigger, the hammer should move from the disconnector to the trigger body. Now, pull the trigger and it should fire like normal.
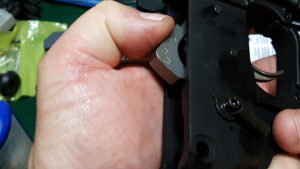
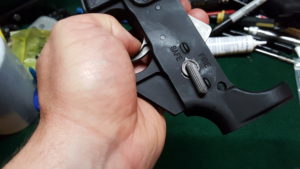
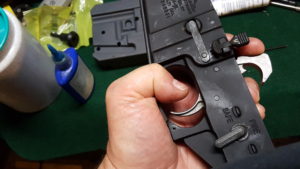
Now, a word of caution – if you do not feel comfortable with any of this, please see a gunsmith. If you have any doubts at all, please see a gunsmith. I want you to enjoy assembling your AR but I want you to be safe even more.
That’s it for this step. Next up is installing the pistol grip, which also includes installing the detent and spring that hold the selector in place because the pistol grip holds them in position.
If you find this post useful, please share the link on Facebook, with your friends, etc. Your support is much appreciated and if you have any feedback, please email me at in**@*********ps.com. Please note that for links to other websites, we are only paid if there is an affiliate program such as Avantlink, Impact, Amazon and eBay and only if you purchase something. If you’d like to directly contribute towards our continued reporting, please visit our funding page.
AR Parts Sources
There are a lot of reputable AR parts vendors online but beware of eBay and bargain basement dealers that sell airsoft parts and tell you they will stand up to firearm use – they will not. At any rate, here are my top sources of AR parts:
