We’re in the home stretch. You can buy completed AR uppers from many sources. I’ve had very good luck with Palmetto State Armory (PSA), Ghost Rifles, White Oak Armory (for precision uppers), Del-Ton, and Rock River Arms. I bought a few Hardened Arms uppers with bolts and simply was not impressed – they seemed gritty and with a 12.7×42 Beowulf build their bolt did not work correctly but I digress.
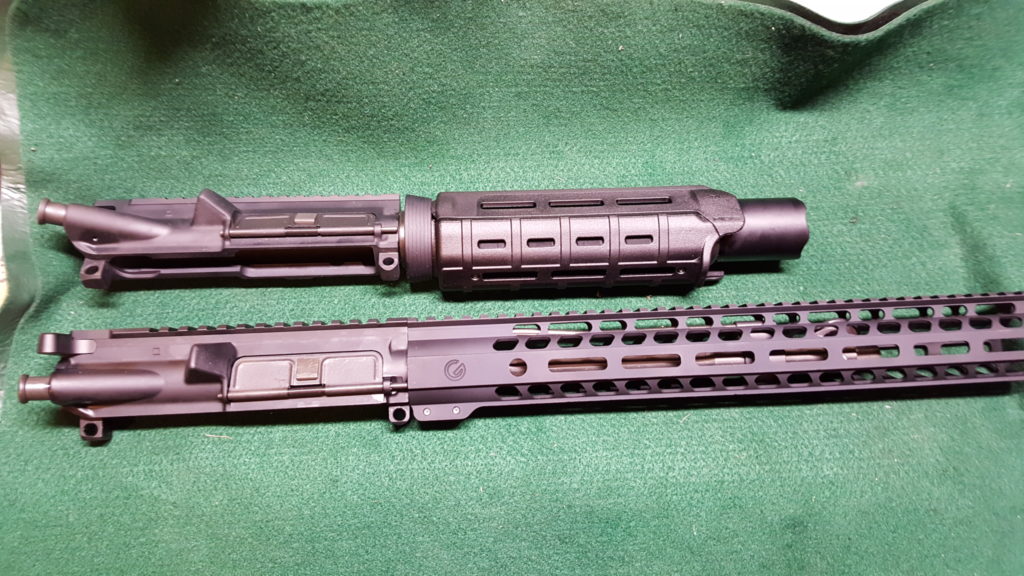
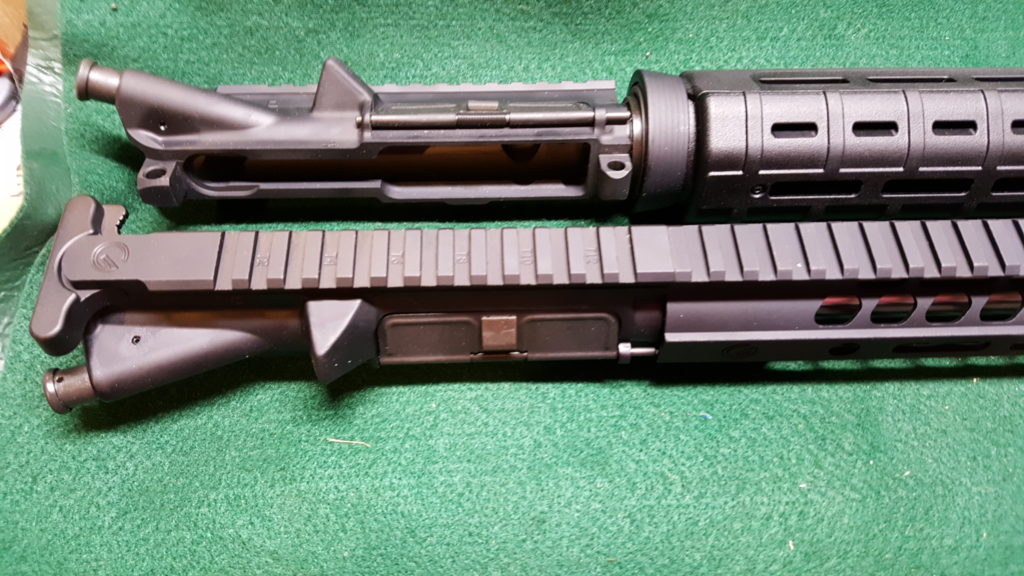
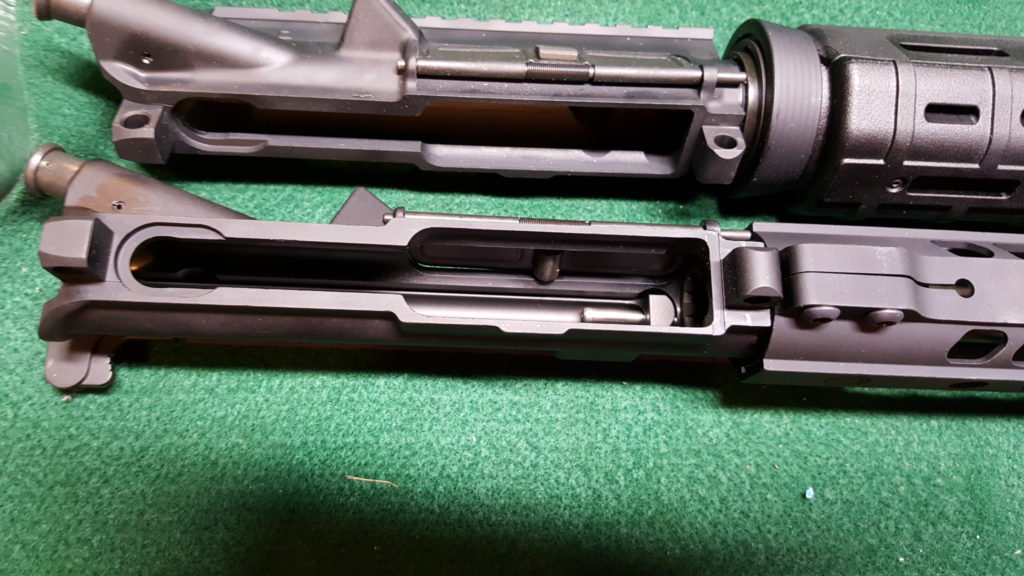
With that said, the short barreled upper with the Magpul furniture is from PSA and the 10.5″ upper is from Ghost Rifles. If you were to ask me who I use the most, I’d have to say PSA. Subscribe to their Daily Deals email list and you’ll see some pretty wicked deals. With all of the uppers, take note if they are selling the complete upper with the bolt carrier group (BCG) and charging handle or a stripper upper that does not include those two things. I buy depending on what I want to do. For both of these pistols, I bought stripper uppers as I had PSA Nickel Boron (NiB) BCGs that I got a deal on in the past plus I planned to use a PSA charging handle that I had with an extended latch and already had a plain Mil-Spec charging handle that I could use though I do have one of my favorite charging handles – the BCM Mod.3 large latch model – on order.
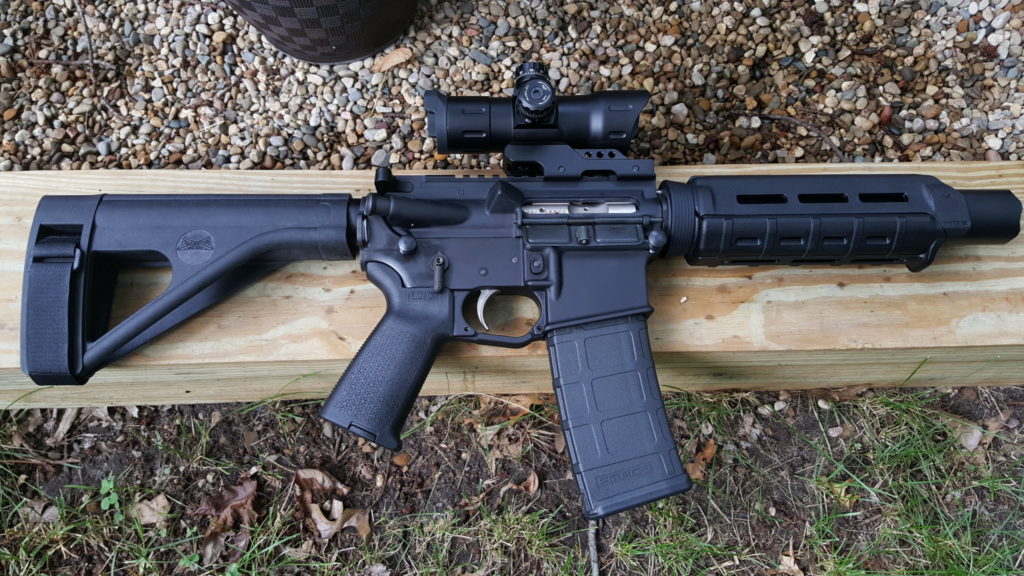
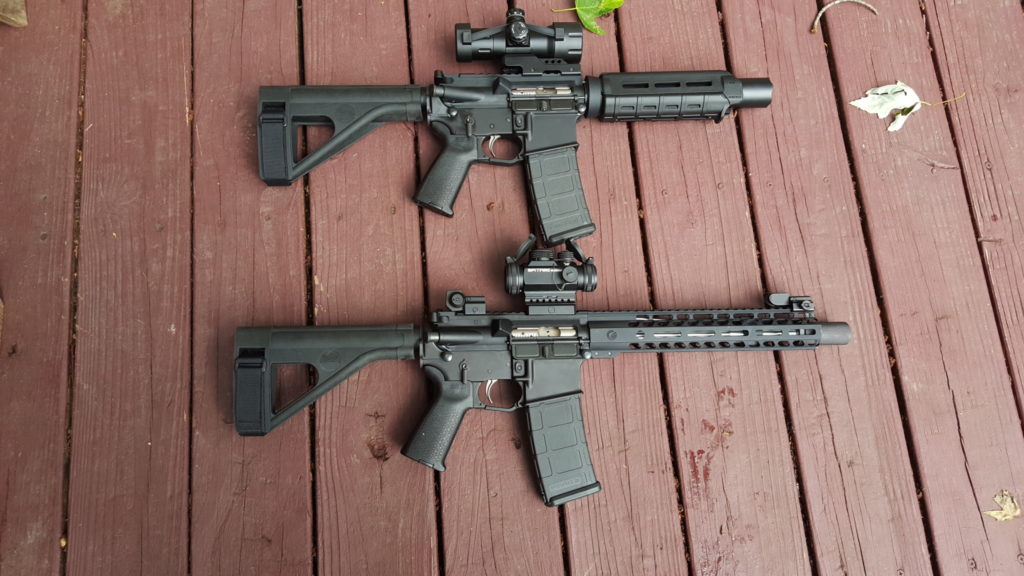
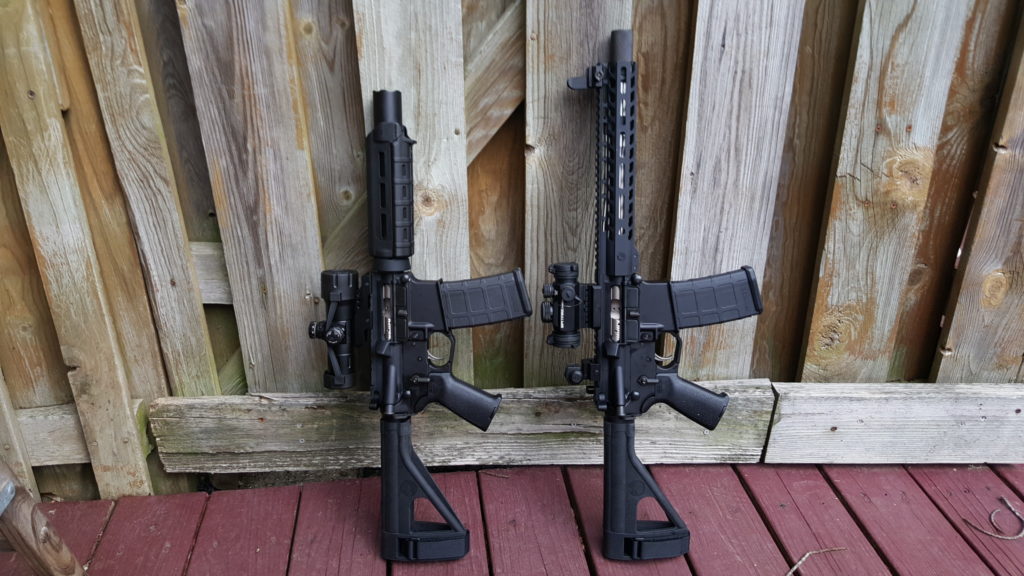
The next photo shows the two uppers side by side. The PSA upper had the 7″ barrel, CAK Flash Can, Magpul handguards, gas block, tube, and ejection port dust cover installed – all it needed was the BCG and charging handle. The Ghost Rifles upper had the 10.5″ barrel, handguard that I had to trim down for the look I wanted, and ejection port dust cover installed. I added the brake, BCG, charging handles. The side rails on both uppers are M-Lok and were added by me along with the backup sights.
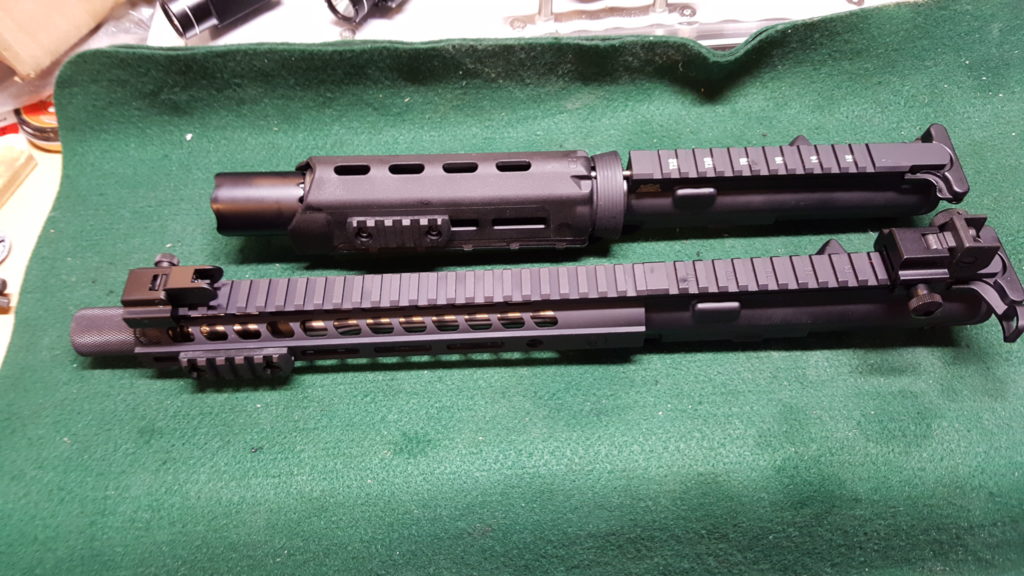
Now when planning an upper, as long as it is Mil-Spec, and they all claim to be, it should mate (a fancy way of saying “fit”) with your Mil-Spec lower. What I have found over the years is that some brands go together nice and snug and some are looser. For example, PSA uppers fit Anderson lowers nice and snug. The Ghost upper was a tad loose on the Anderson lower so I added a spacer to tighten it up.
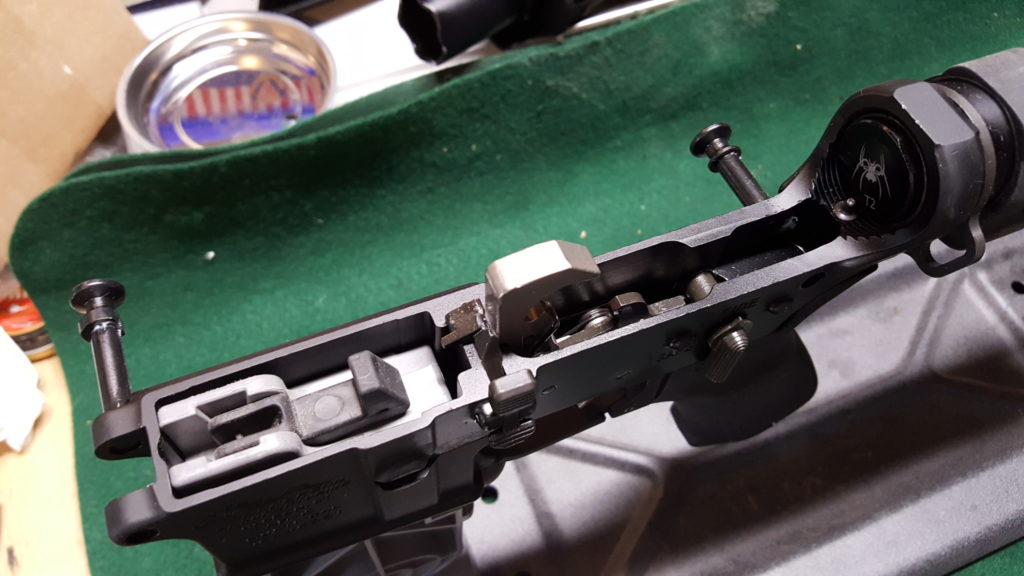
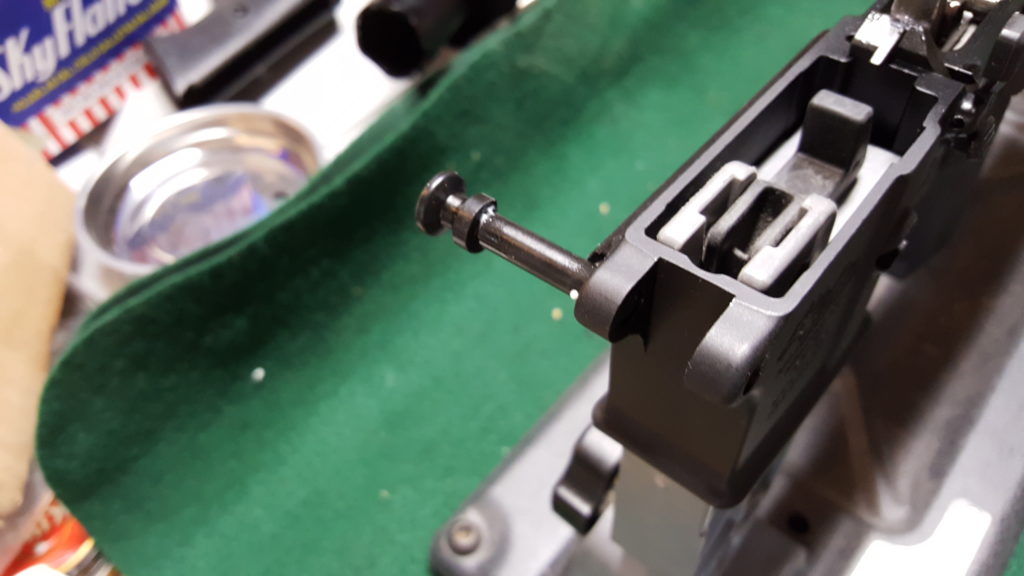
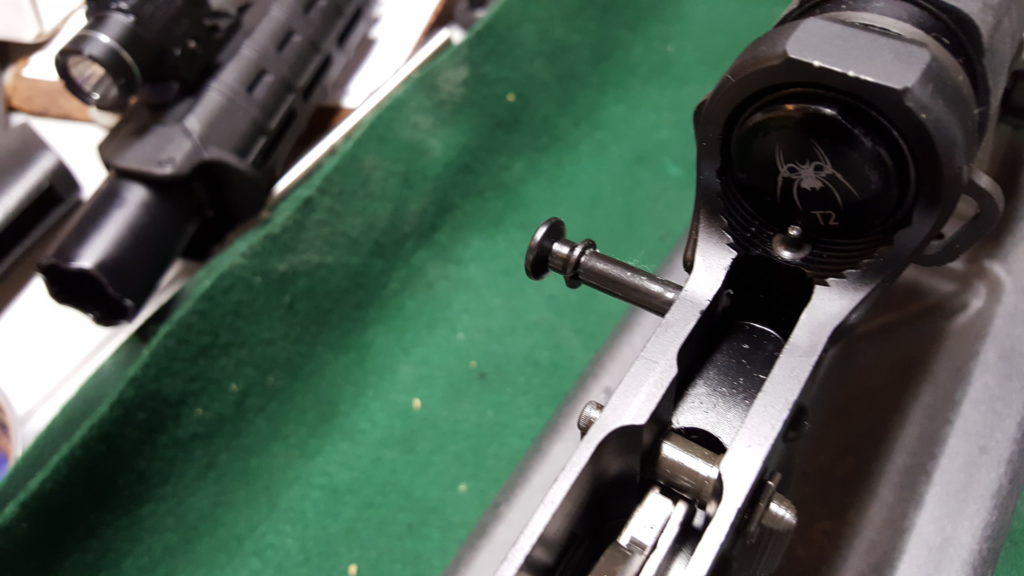
Okay, so here is how it goes. First, open both pins on the lower like so. Note, you see the buffer already installed. I took an assembled pistol and removed the upper to take the photos. Of course, when I am writing this blog post then I notice I forgot to remove the buffer purely for the photos. Just imagine it is not there 🙂 If it is, no worries – the pins work regardless. The pins and modular design is what makes the AR like Legos for shooters – you can open them and swap uppers at the drop of a hat.
Step two: Inspect the bolt and make sure the gas key screws are staked, that the bolt head can move freely, the extractor works, firing pin present, etc. Normally I do not take the bolt apart – just a quick double check. I have only had challenges with no-name bolts. PSA, Aim, and Fail Zero. have all worked just fine for me. The Fail Zero BCG is very well made if you ever get a chance to use one. If the BCG feels or looks funny then a closer inspection is warranted but outside of the scope of this post. Both of the pistols I assembled in this post is a PSA Nickel Boron (NiB) BCG.
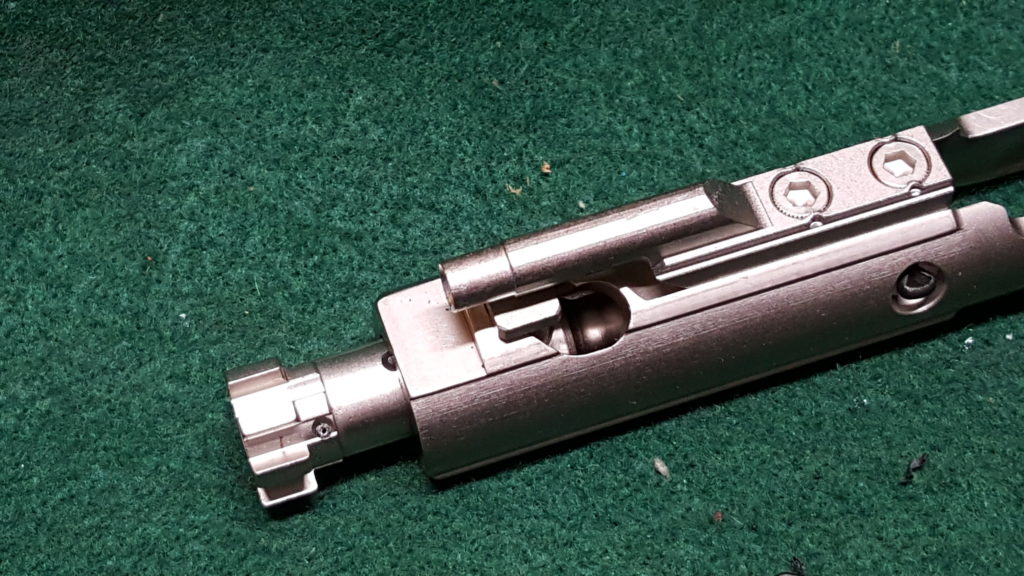
Step three: I like to install the BCG and charging handle before I put the upper on the rifle. You can install the upper and these items if you want. First, I oil the lubrication points of the BCG and apply grease to the underside of the BCG. Do NOT put a ton of grease or oil under the handle. I just put a very light coat of oil on the whole body of the handle. You do not want to get a ton of grease on the gas system.
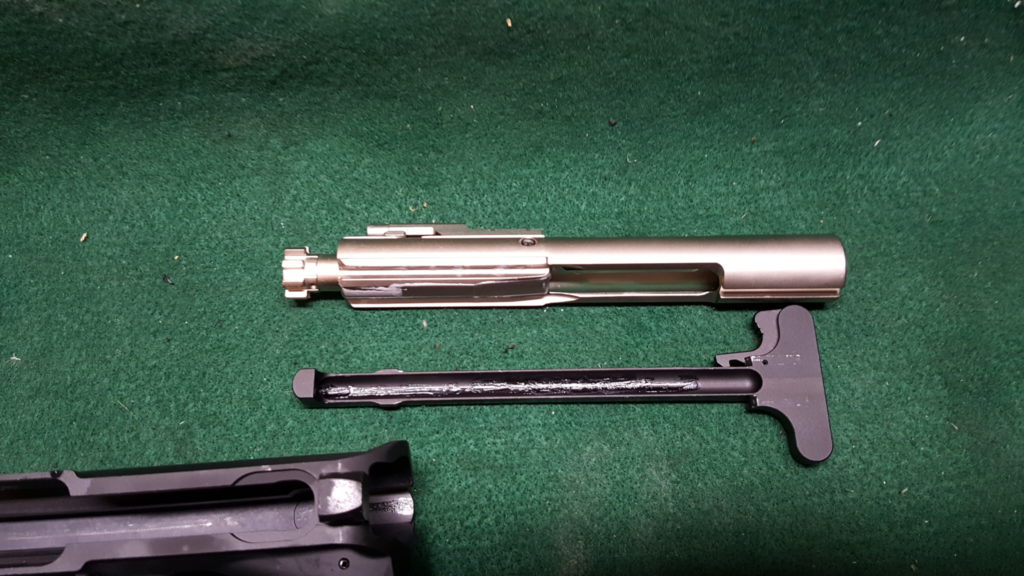
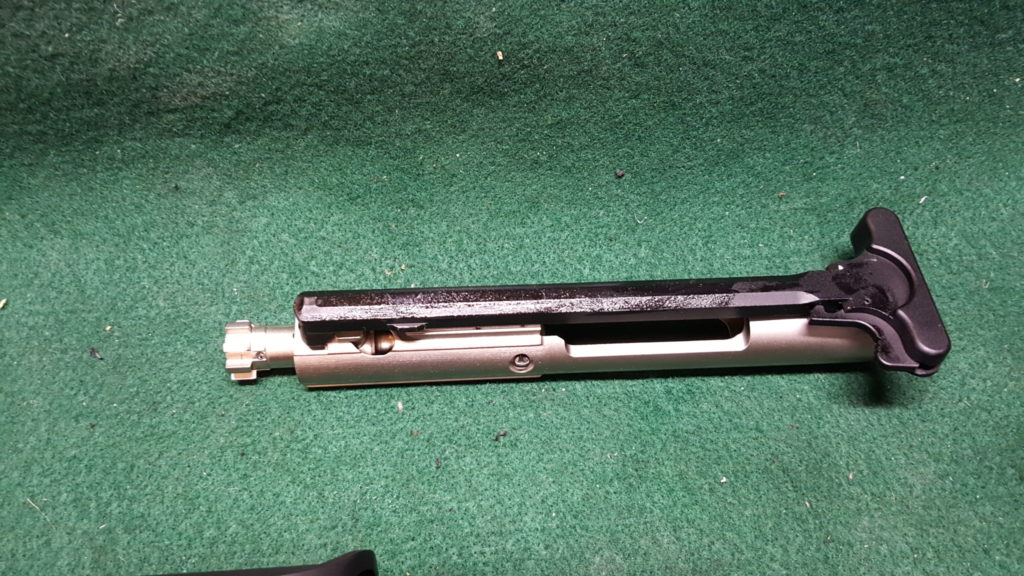
Step Four: The charging handle has little tabs towards the front. Slide the charging handle in above where it resides, align the tabs on the handle with the keyway in the receiver and press the handle down to where it normally goes. Do not slide the charging handle in yet because the BCG slides in next.
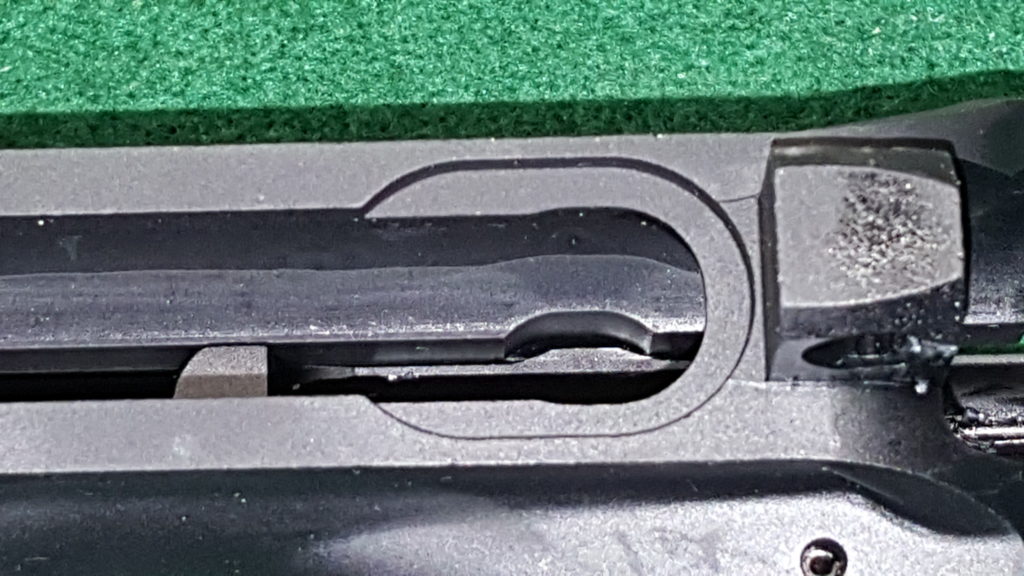
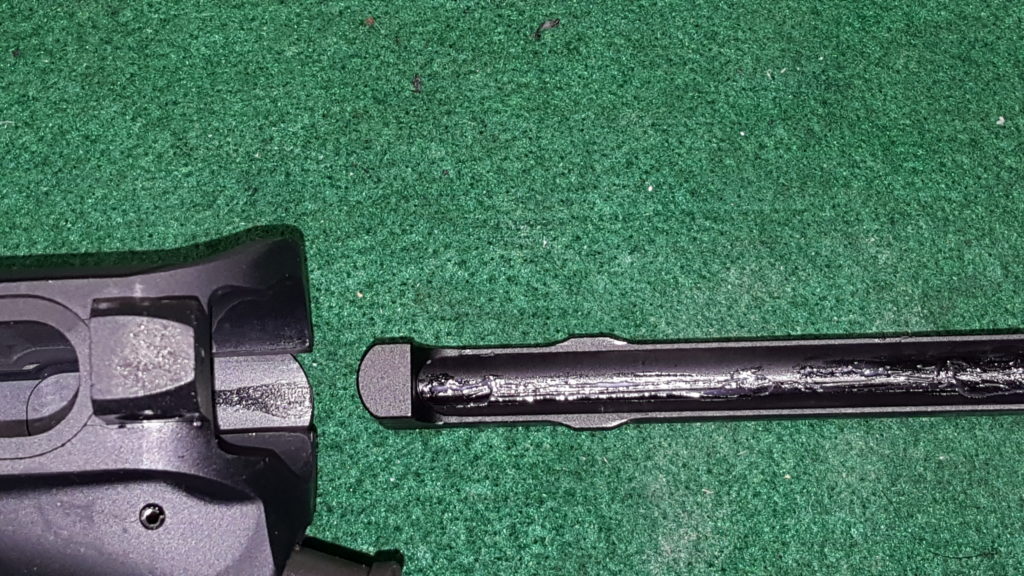
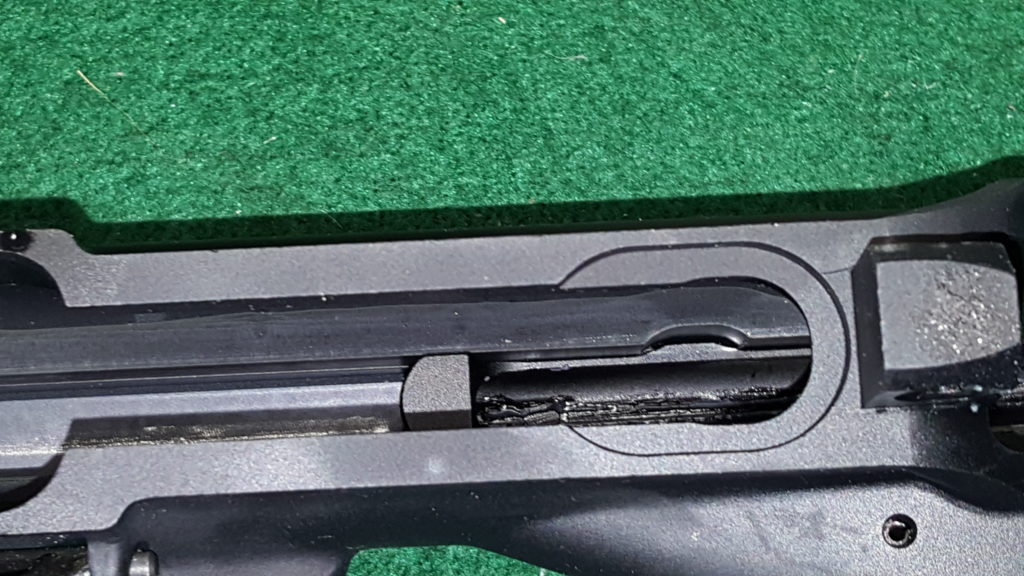
Step Five: Ensure the bolt head is pulled all the way out. You then put the top of the bolt in the handle and slide the assembly forward until the handle locks into position.
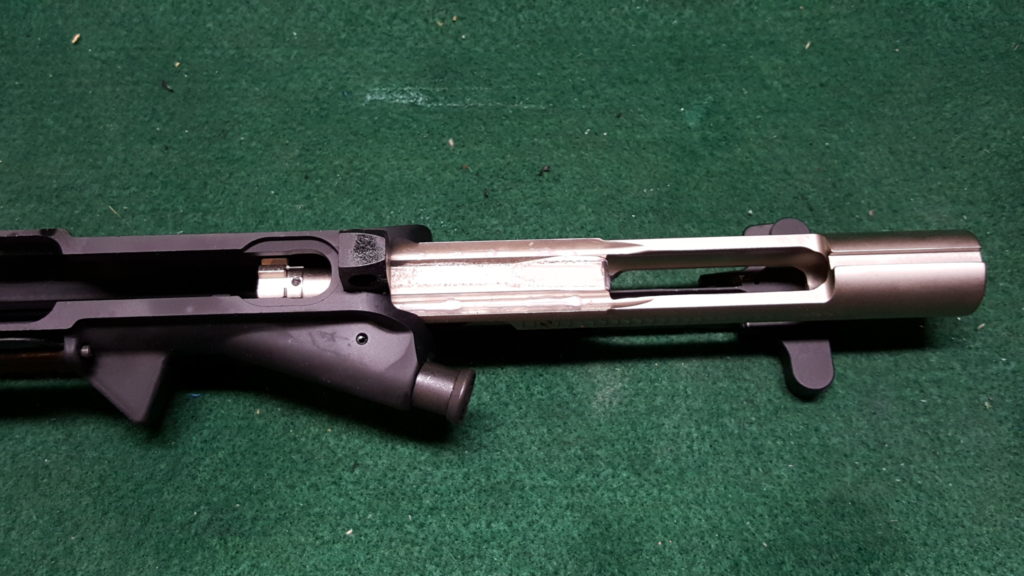
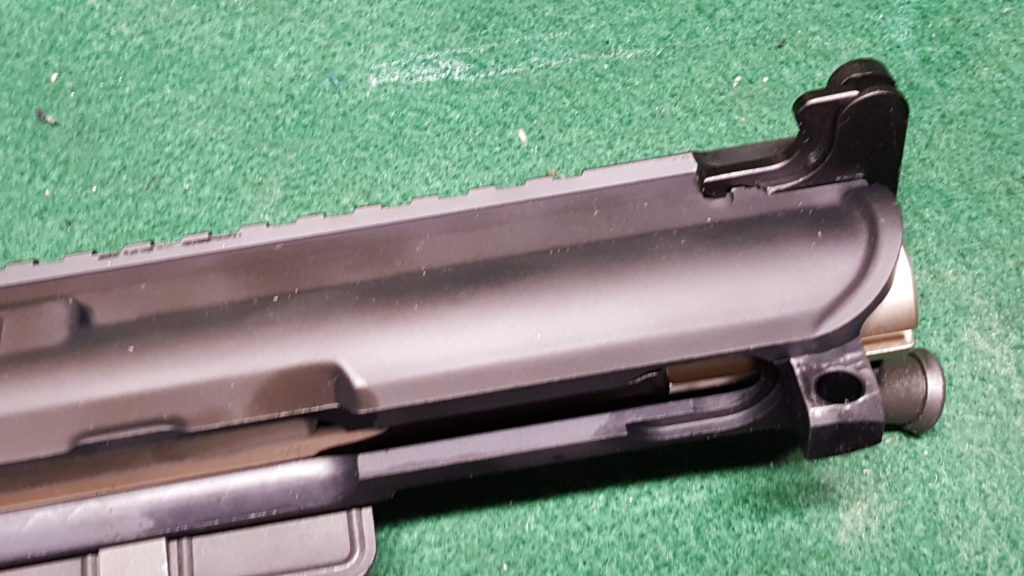
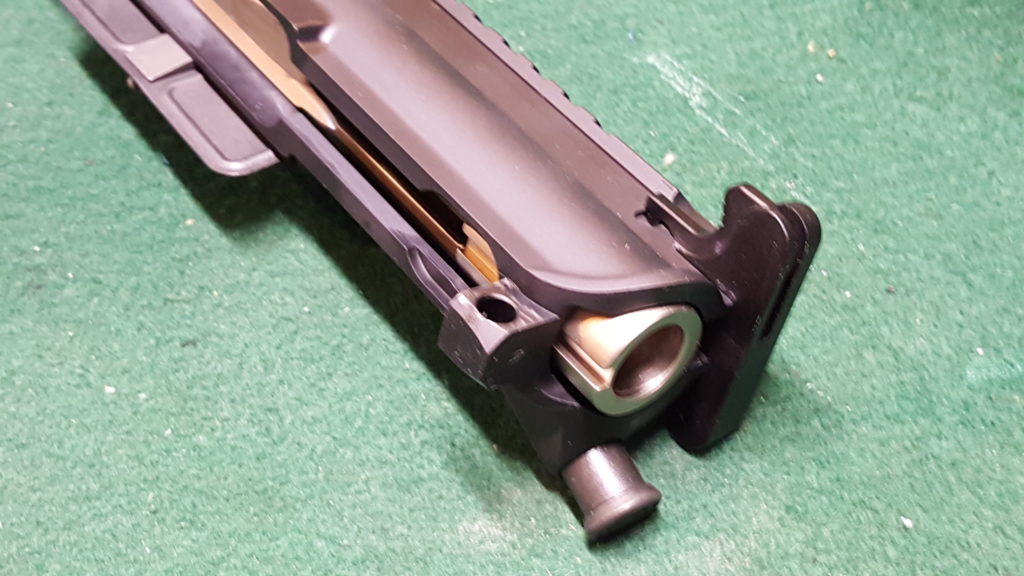
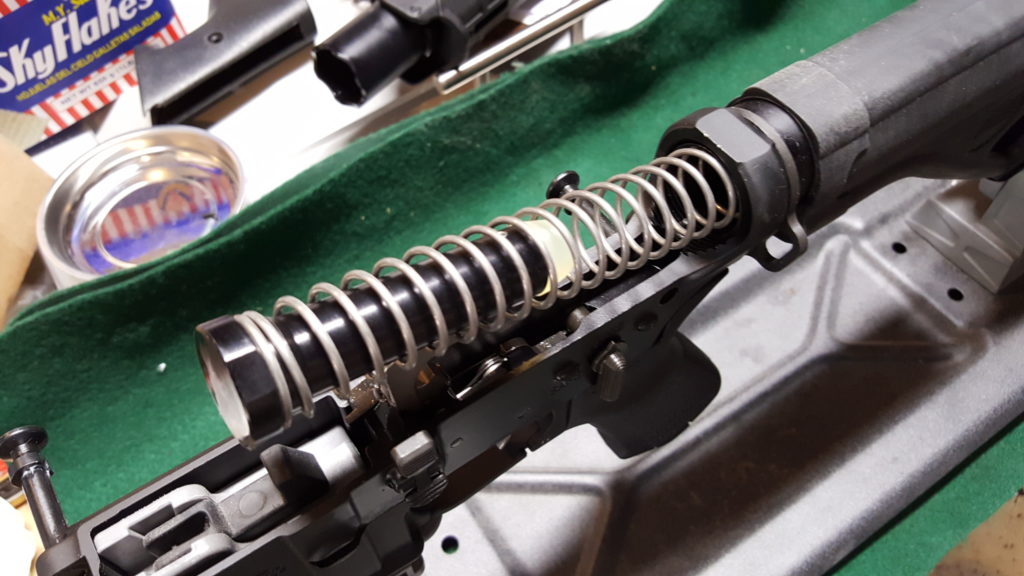
Step 6: Put the buffer in the buffer spring and slide it into the buffer tube spring first. When you get to the buffer itself, you may need to push the buffer detent down a bit to get it to slide in. I like the slightly heavier H2 buffers and used a PSA and a Spikes in these two builds.
Step 7: Line the front upper hole with the lower and close the pivot pin all the way.
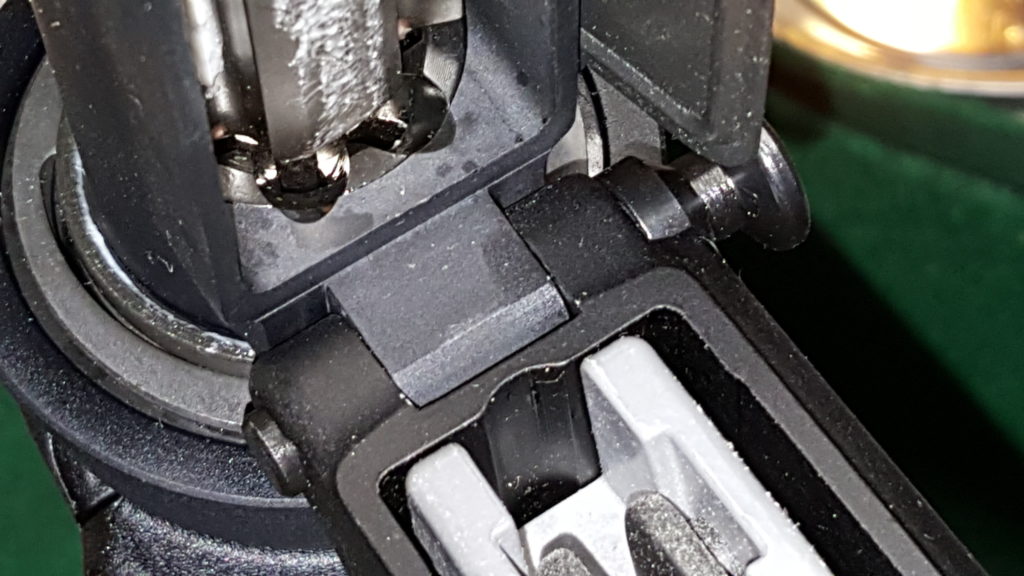
Step 8: Swing the upper down and close the rear takedown pin.
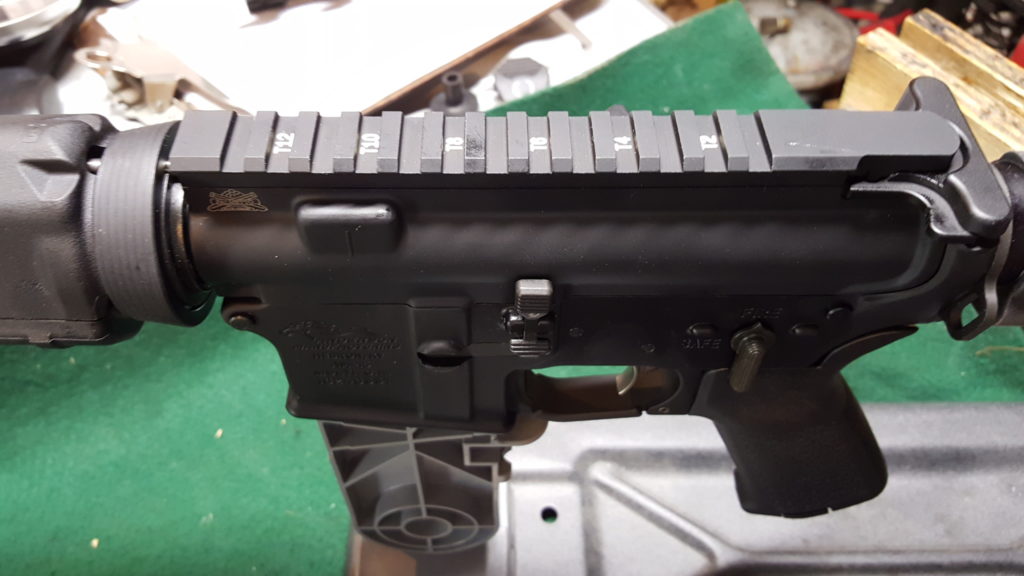
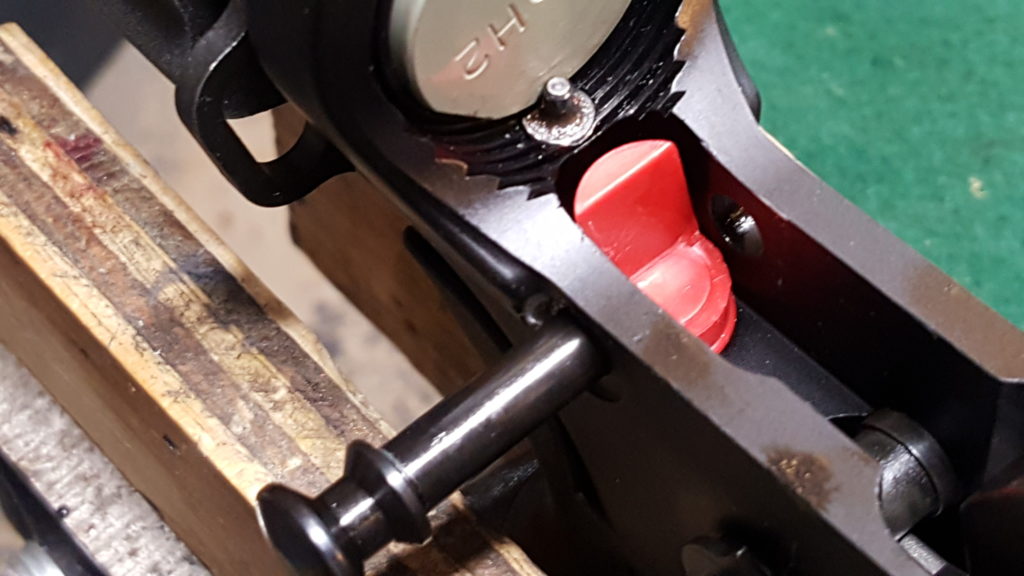
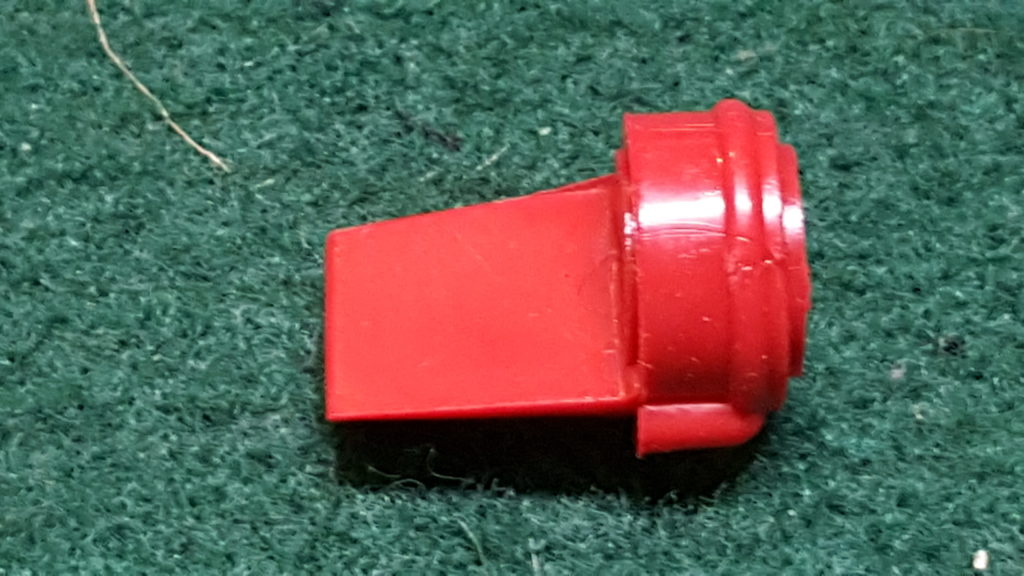
Step 9: Technically you are done – the two halves are assembled and you can function test your FCG. [For a review on function testing the FCG, click here.] At this point, I do what I call a “rattle test”. If I shake the rifle and the upper is loose in the lower, I add a rubber receiver wedge (these things have a ton of names) to remove the slop. Basically it sits in the lower and you trim the bottom of it until you can close the upper but there is upwards pressure from the wedge locking everything in place thus removing any play.
And with that, you are done with the basic assembly and can go ahead and add whatever accessories you want. When you are planning what to do – ask yourself “Is this a range toy or something I need to rely on and if so, what are key considerations?” and use that to govern what you add. For example, on a defensive weapon, I have backup sights, a quality Vortex optic and a quality Streamlight weapons light. I do not go with cheap stuff as I have had them fail on me. For a range toy, I worry a lot less about what reliability for example.
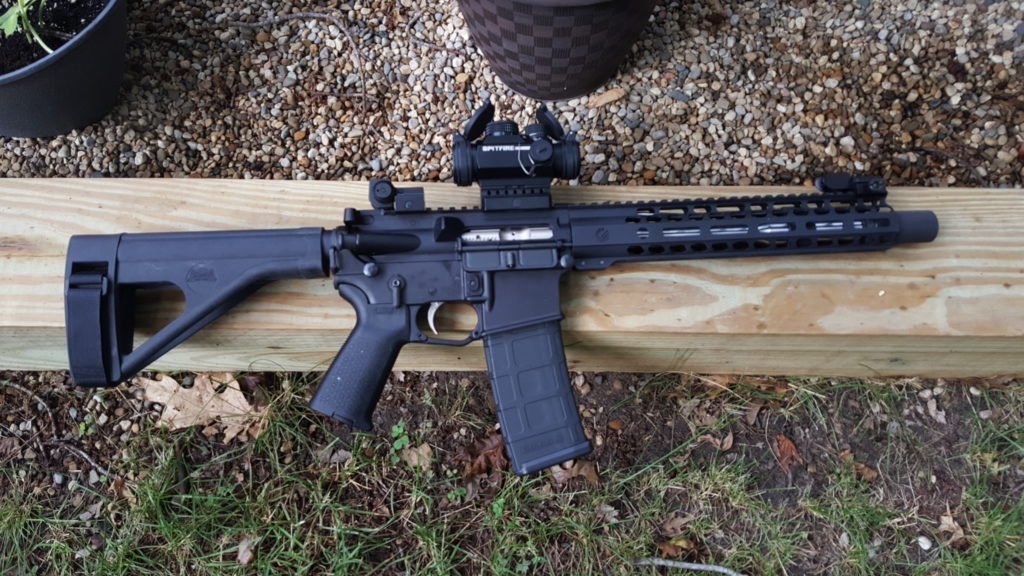
So here are the two finished pistols. The 7″ is a range toy and the 10.5″ may well serve a defensive purpose so it has a Vortex Spitfire red dot and backup sights.
Okay – safety briefing time: When you test fire, consider using a stand and pulling the trigger with a string from a safe distance. Be sure to inspect the weapon carefully before and after. If you do not feel comfortable with any of this, please see a gunsmith. If you have any doubts at all, please see a gunsmith. I want you to enjoy assembling your AR and shooting it.
By the way, my AR expert is Scott Igert of Modern Antique Firearms. He is a police officer and has years and years of real world AR building, maintenance and tactical use experience. If you need a custom AR built, need to buy parts, or have gunsmithing done, talk to Scott.
Hope this series helped you out! The next post, step 11, will provide additional resource information.
Sources For AR Parts
The following are all vendors of AR parts including barrels, handguards, triggers, magaziness and what have you that I use and recommend:
Beware no-name knock off websites selling generic import stuff. Some of the parts are counterfeit and not rated for firearms use.
If you find this post useful, please share the link on Facebook, with your friends, etc. Your support is much appreciated and if you have any feedback, please email me at in**@*********ps.com. Please note that for links to other websites, I may be paid via an affiliate program such as Avantlink, Impact, Amazon and eBay.
