David told me they did have a few quality control problems early on and that he wanted to replace my four magazines. Note, David said they have sold over 3,000 magazines with just a few problems and given that I haven’t heard or read about others having problems, it must have just been bad luck for me. At any rate, I was impressed that he reached out so quick and a few days later the replacement magazines arrived.
To make sure I didn’t have further problems, they had opened each package and tested the followers, which I appreciated. Let me tell you, the difference was night and day. The replacement magazine followers were much looser as they approached the top of the mag and felt great from the start. Exactly what I would normally expect. Of course, this then begged the question of how would they perform?
About a week after that, I finally got a chance to take the Lynx and the new magazines to the range. I could tell the Lynx was still wearing in. Whenever you have a weapon with parkerizing, it is to be expected. We put about 25 rounds of 2-3/4″ Remington 00 buckshot through it the first time and then I put about 70 more through on this trip. I’d say somewhere between cumulative round 40-50 (meaning from the fist session and this one), the SDS really started to smoothen out.
How could I tell? It was cycling faster and it was kicking rounds out very aggressively so I turned the gas port down from wide open to the third widest setting. I bet I can turn that down again for these higher-power rounds in the near future.
Those 12 gauge rounds are stout. It’s been years since I shot more than 25 in one session so I was feeling it. You’ll also notice that my JMAC brake loosened up. I had hand tightened the jam nut and forgot to secure it with a wrench. I fixed that problem as soon as I got home.
At any rate, the new SDS 10 round magazines worked great especially once the action started smoothing out. I tried them all the way full with 10 rounds as well as starting with only five rounds. I also fired both buck shot and some Brenke slugs. Thus, I’m happy to report that the SDS magazines appear to be good to go.
There is a good lesson here for all of us – including me – definitely test your gear before you need to rely on it. Thankfully this was just me getting embarrassed by my buddies at the range razzing me vs. a critical situation.
Now, I next need to point out that I took the CSSpecs magazines with me also and all they did was jam so I need to contact those folks and work on them next.
I placed my order on their website and within a week receive to magazines that were built like a tank. I had a problem with some of the plastic SDS 10 round magazines in terms of the follower going all the way to the top. The Csspecs follower shot up in the top so fast I think you could take off a body part 🙂 just kidding but it is very well done.
You have to love a magazine that is so heavily made it can be used as a defensive weapon all by itself 🙂 Seriously, Csspecs makes some wicked mags and they tell you right up front that you may need to do a bit of fitting and I did.
Fitting The Magazines
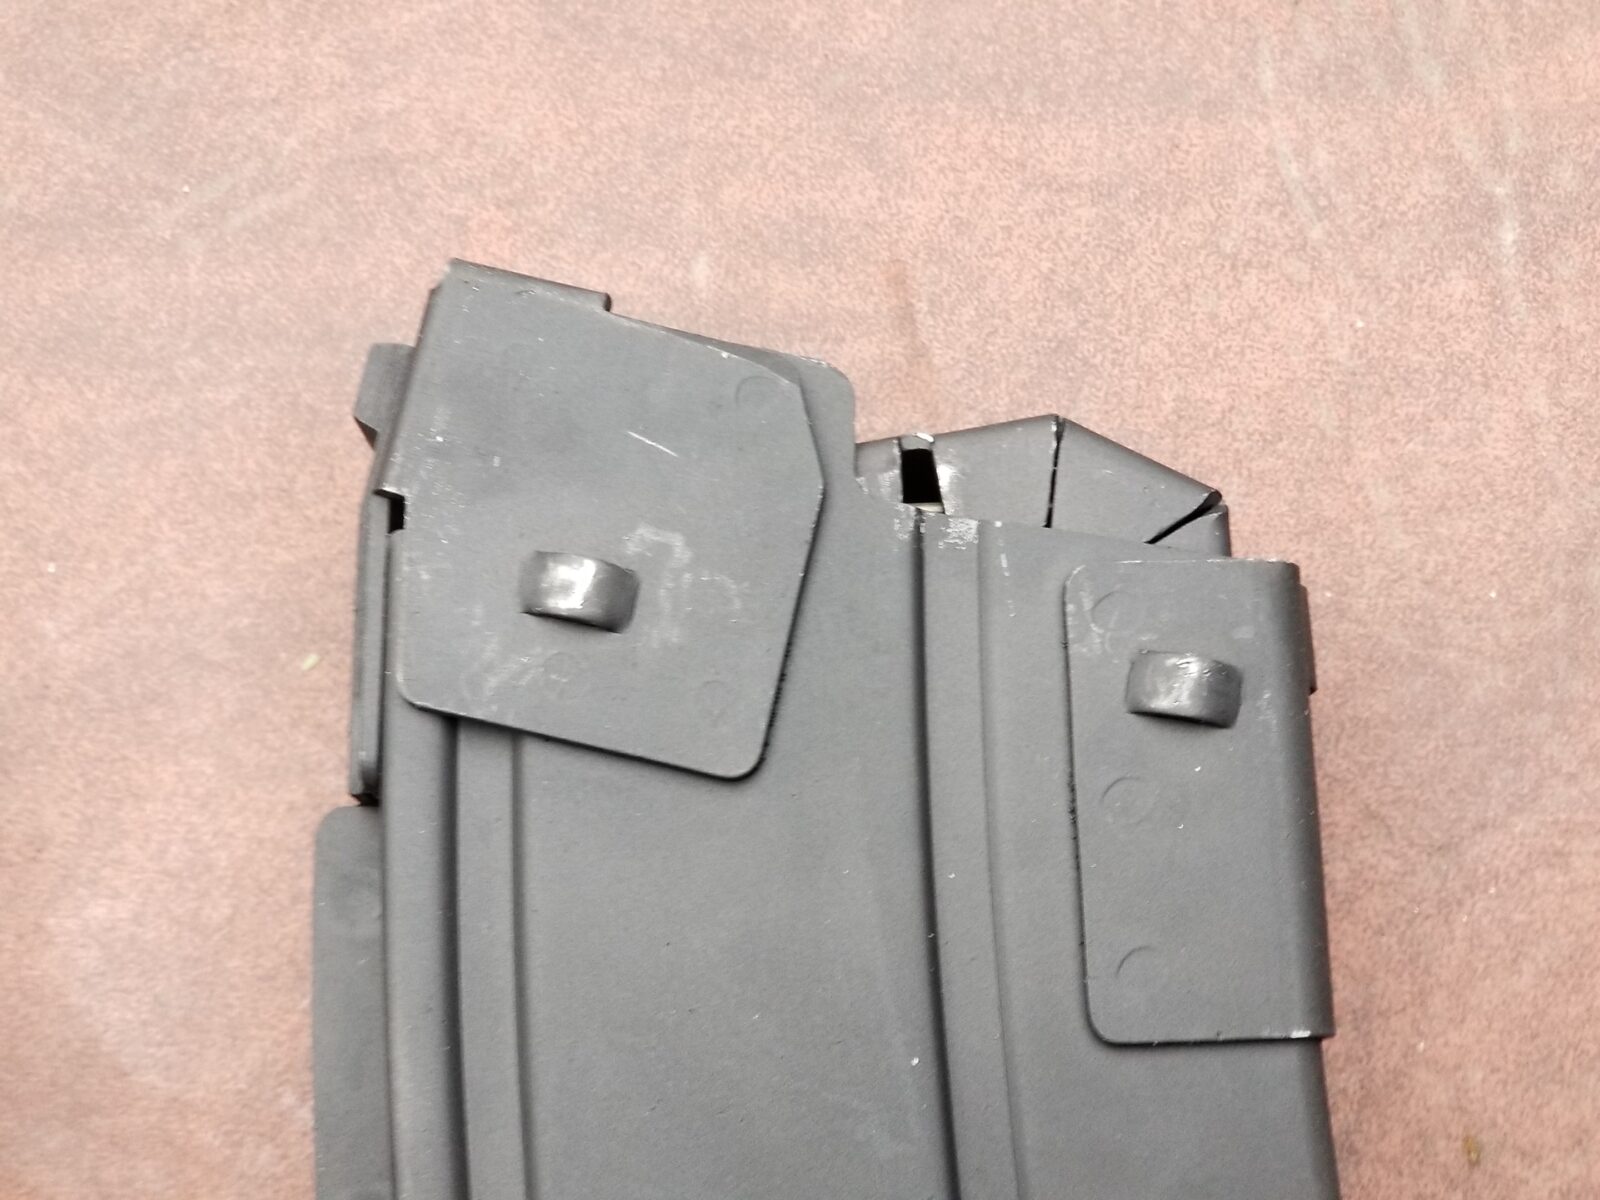
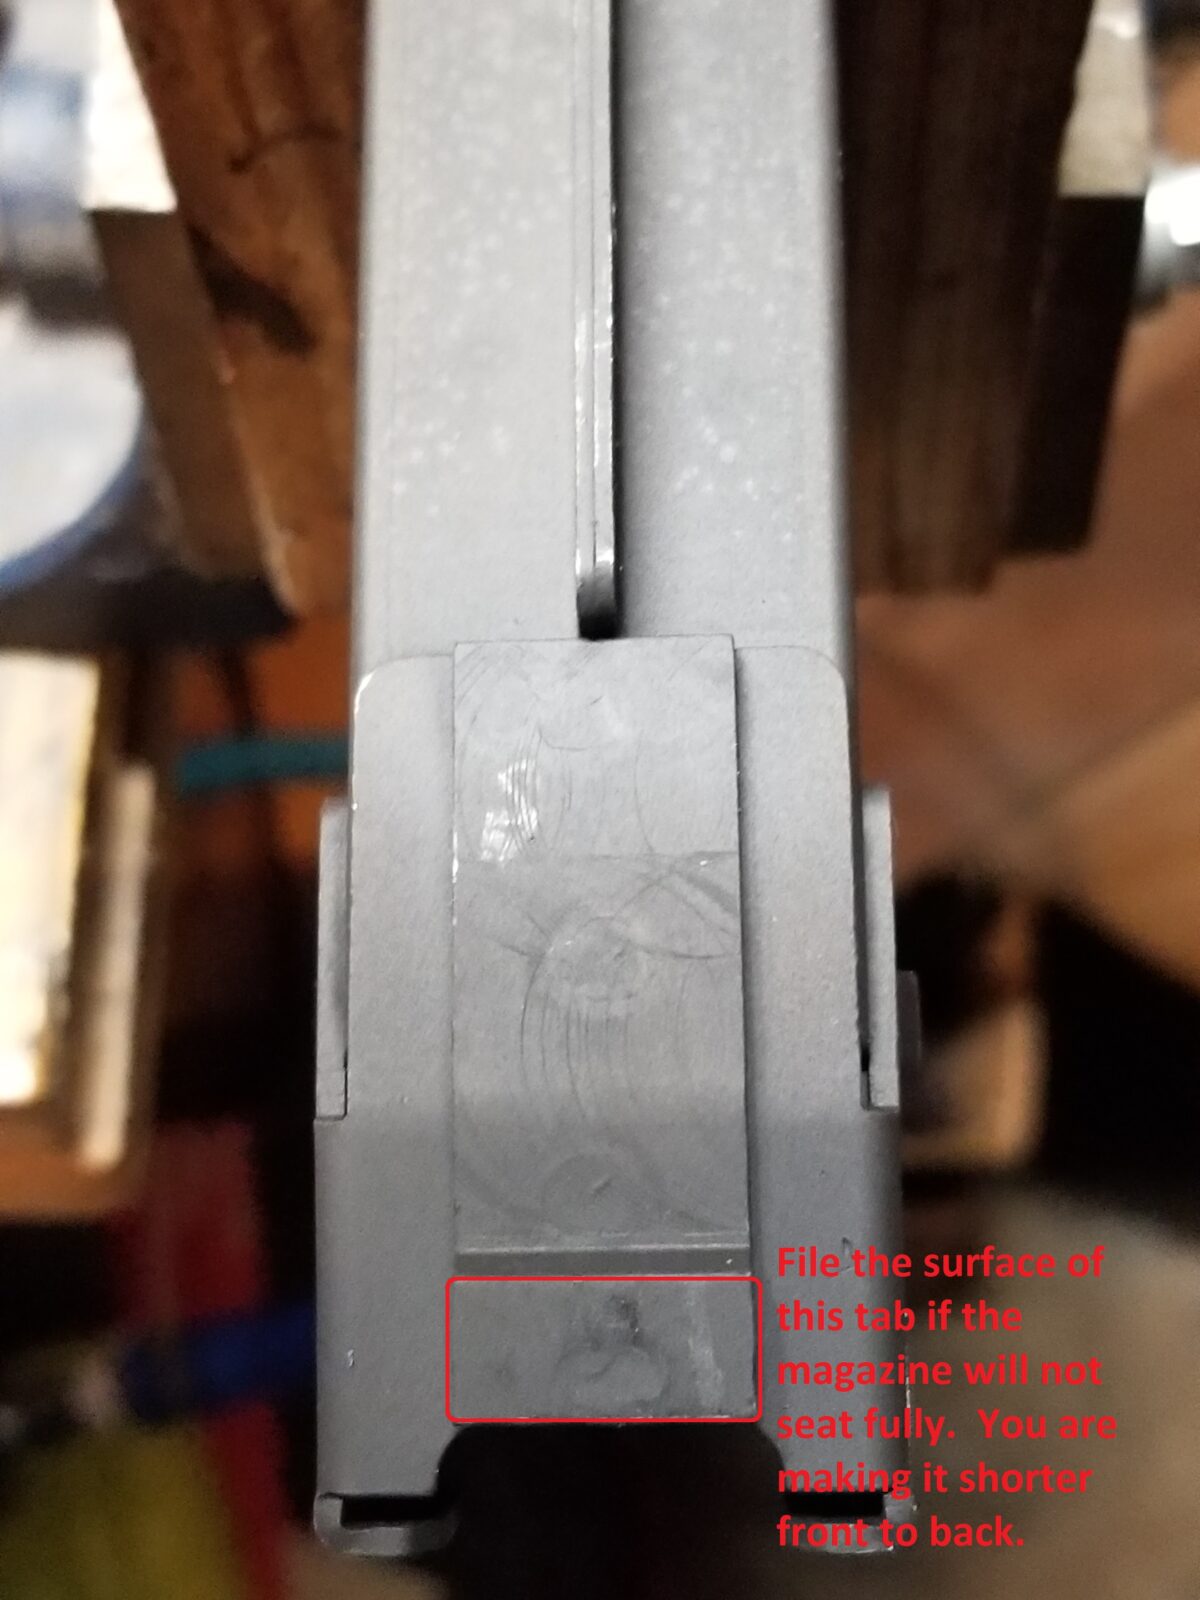
The magazines come with a small instruction pamphlet for fitting that makes perfect sense to anybody who’s ever had to fit AK magazines. Step one is to make sure that the magazine fits correctly from front to back. If it does not you trim a little bit off the back tab of the magazine.
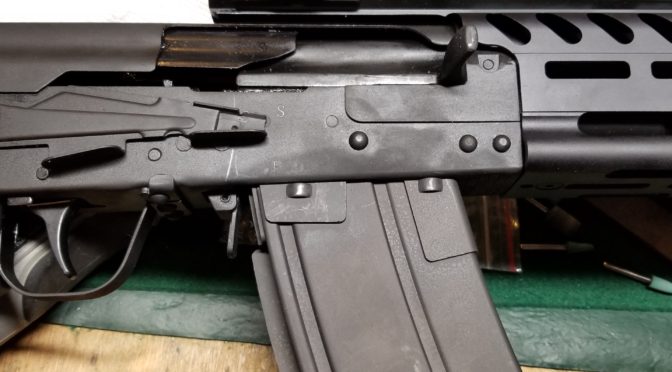
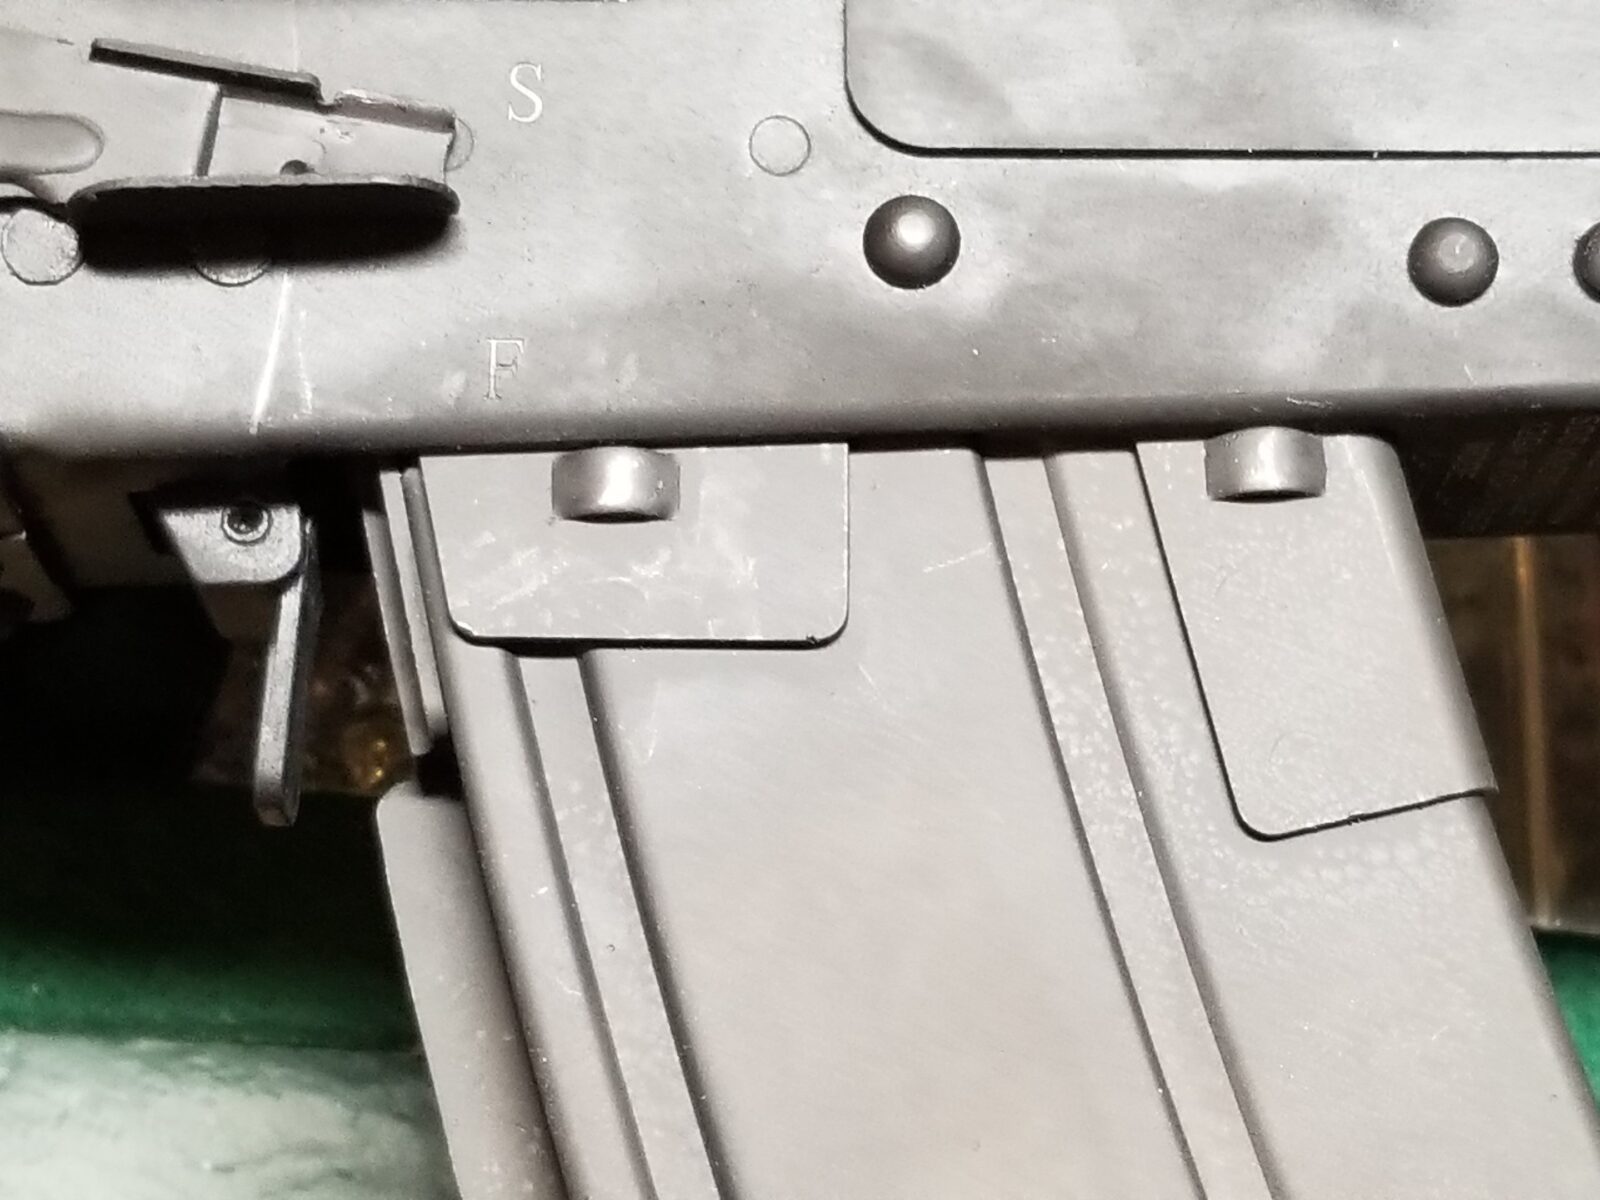
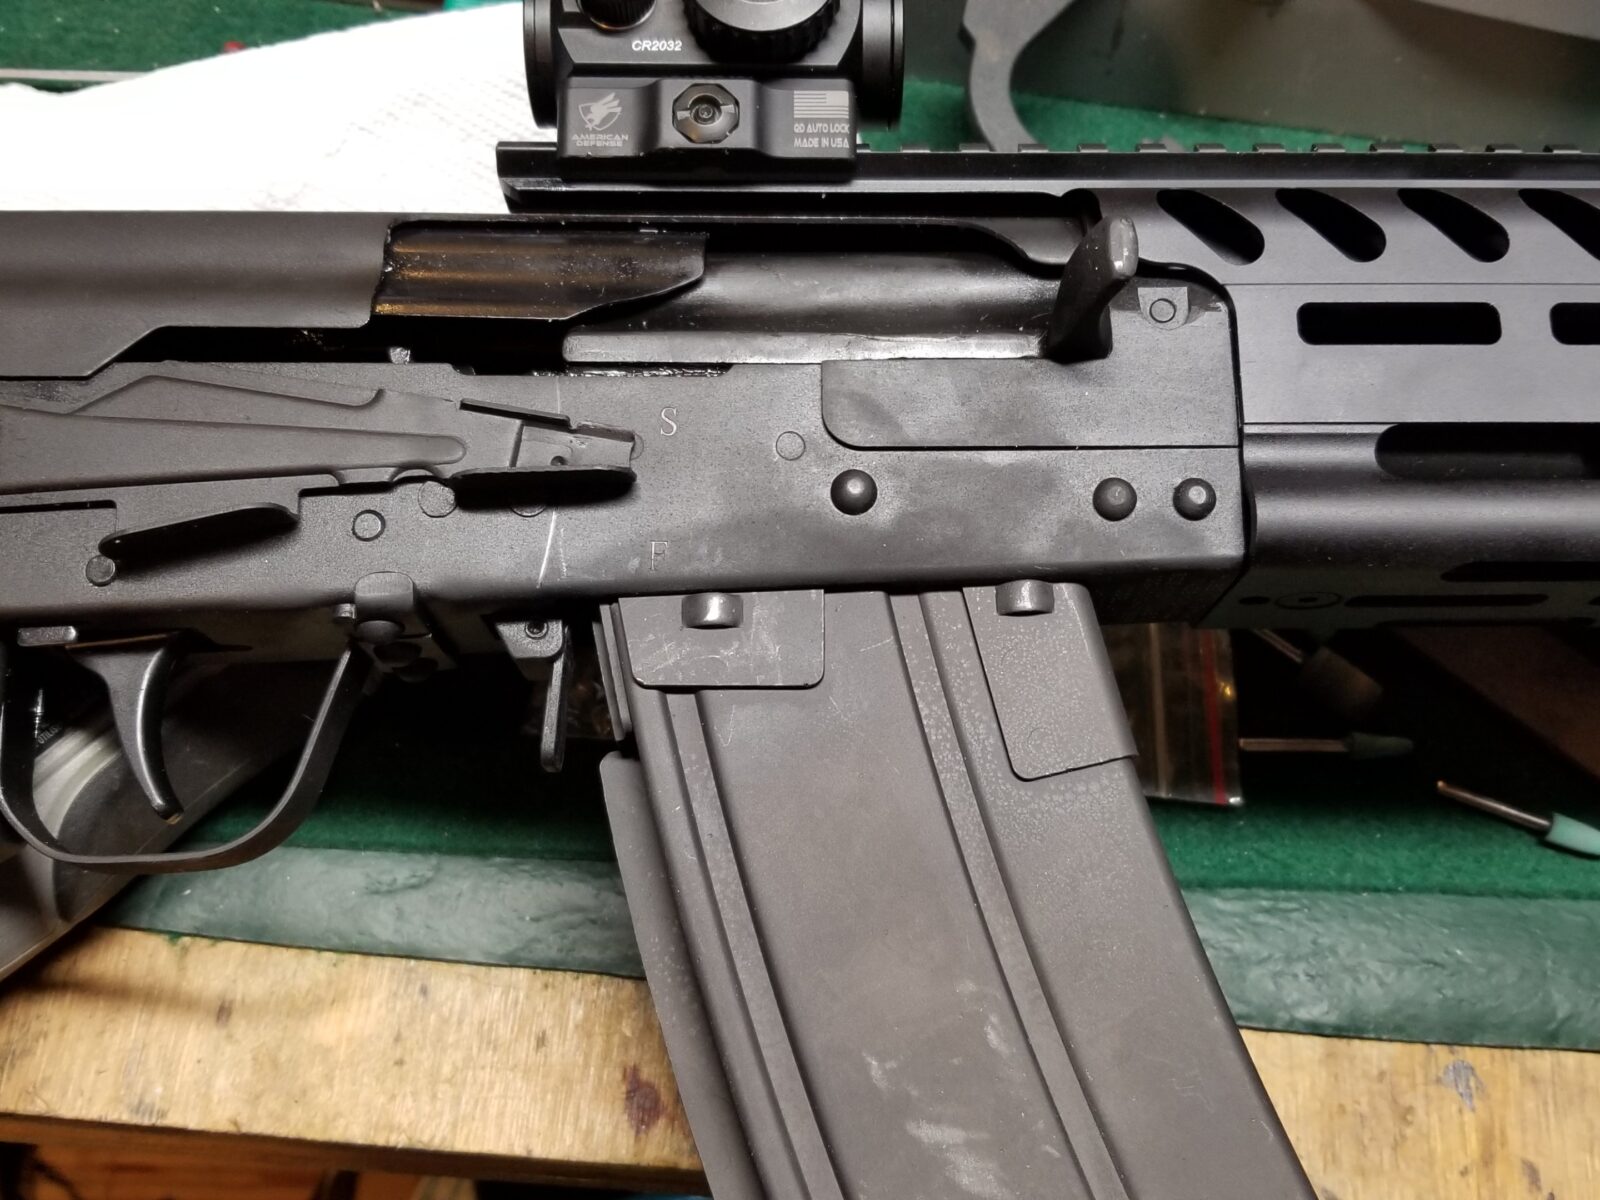
In my case it set right in. You can see how the mag stops are coming right against the bottom of the receiver. This is good! If I did need to trim it, I would have carefully filed a bit and tested over and over until the mag stops contacted the receiver, polished the surface and applied cold blue per the details in the next step.
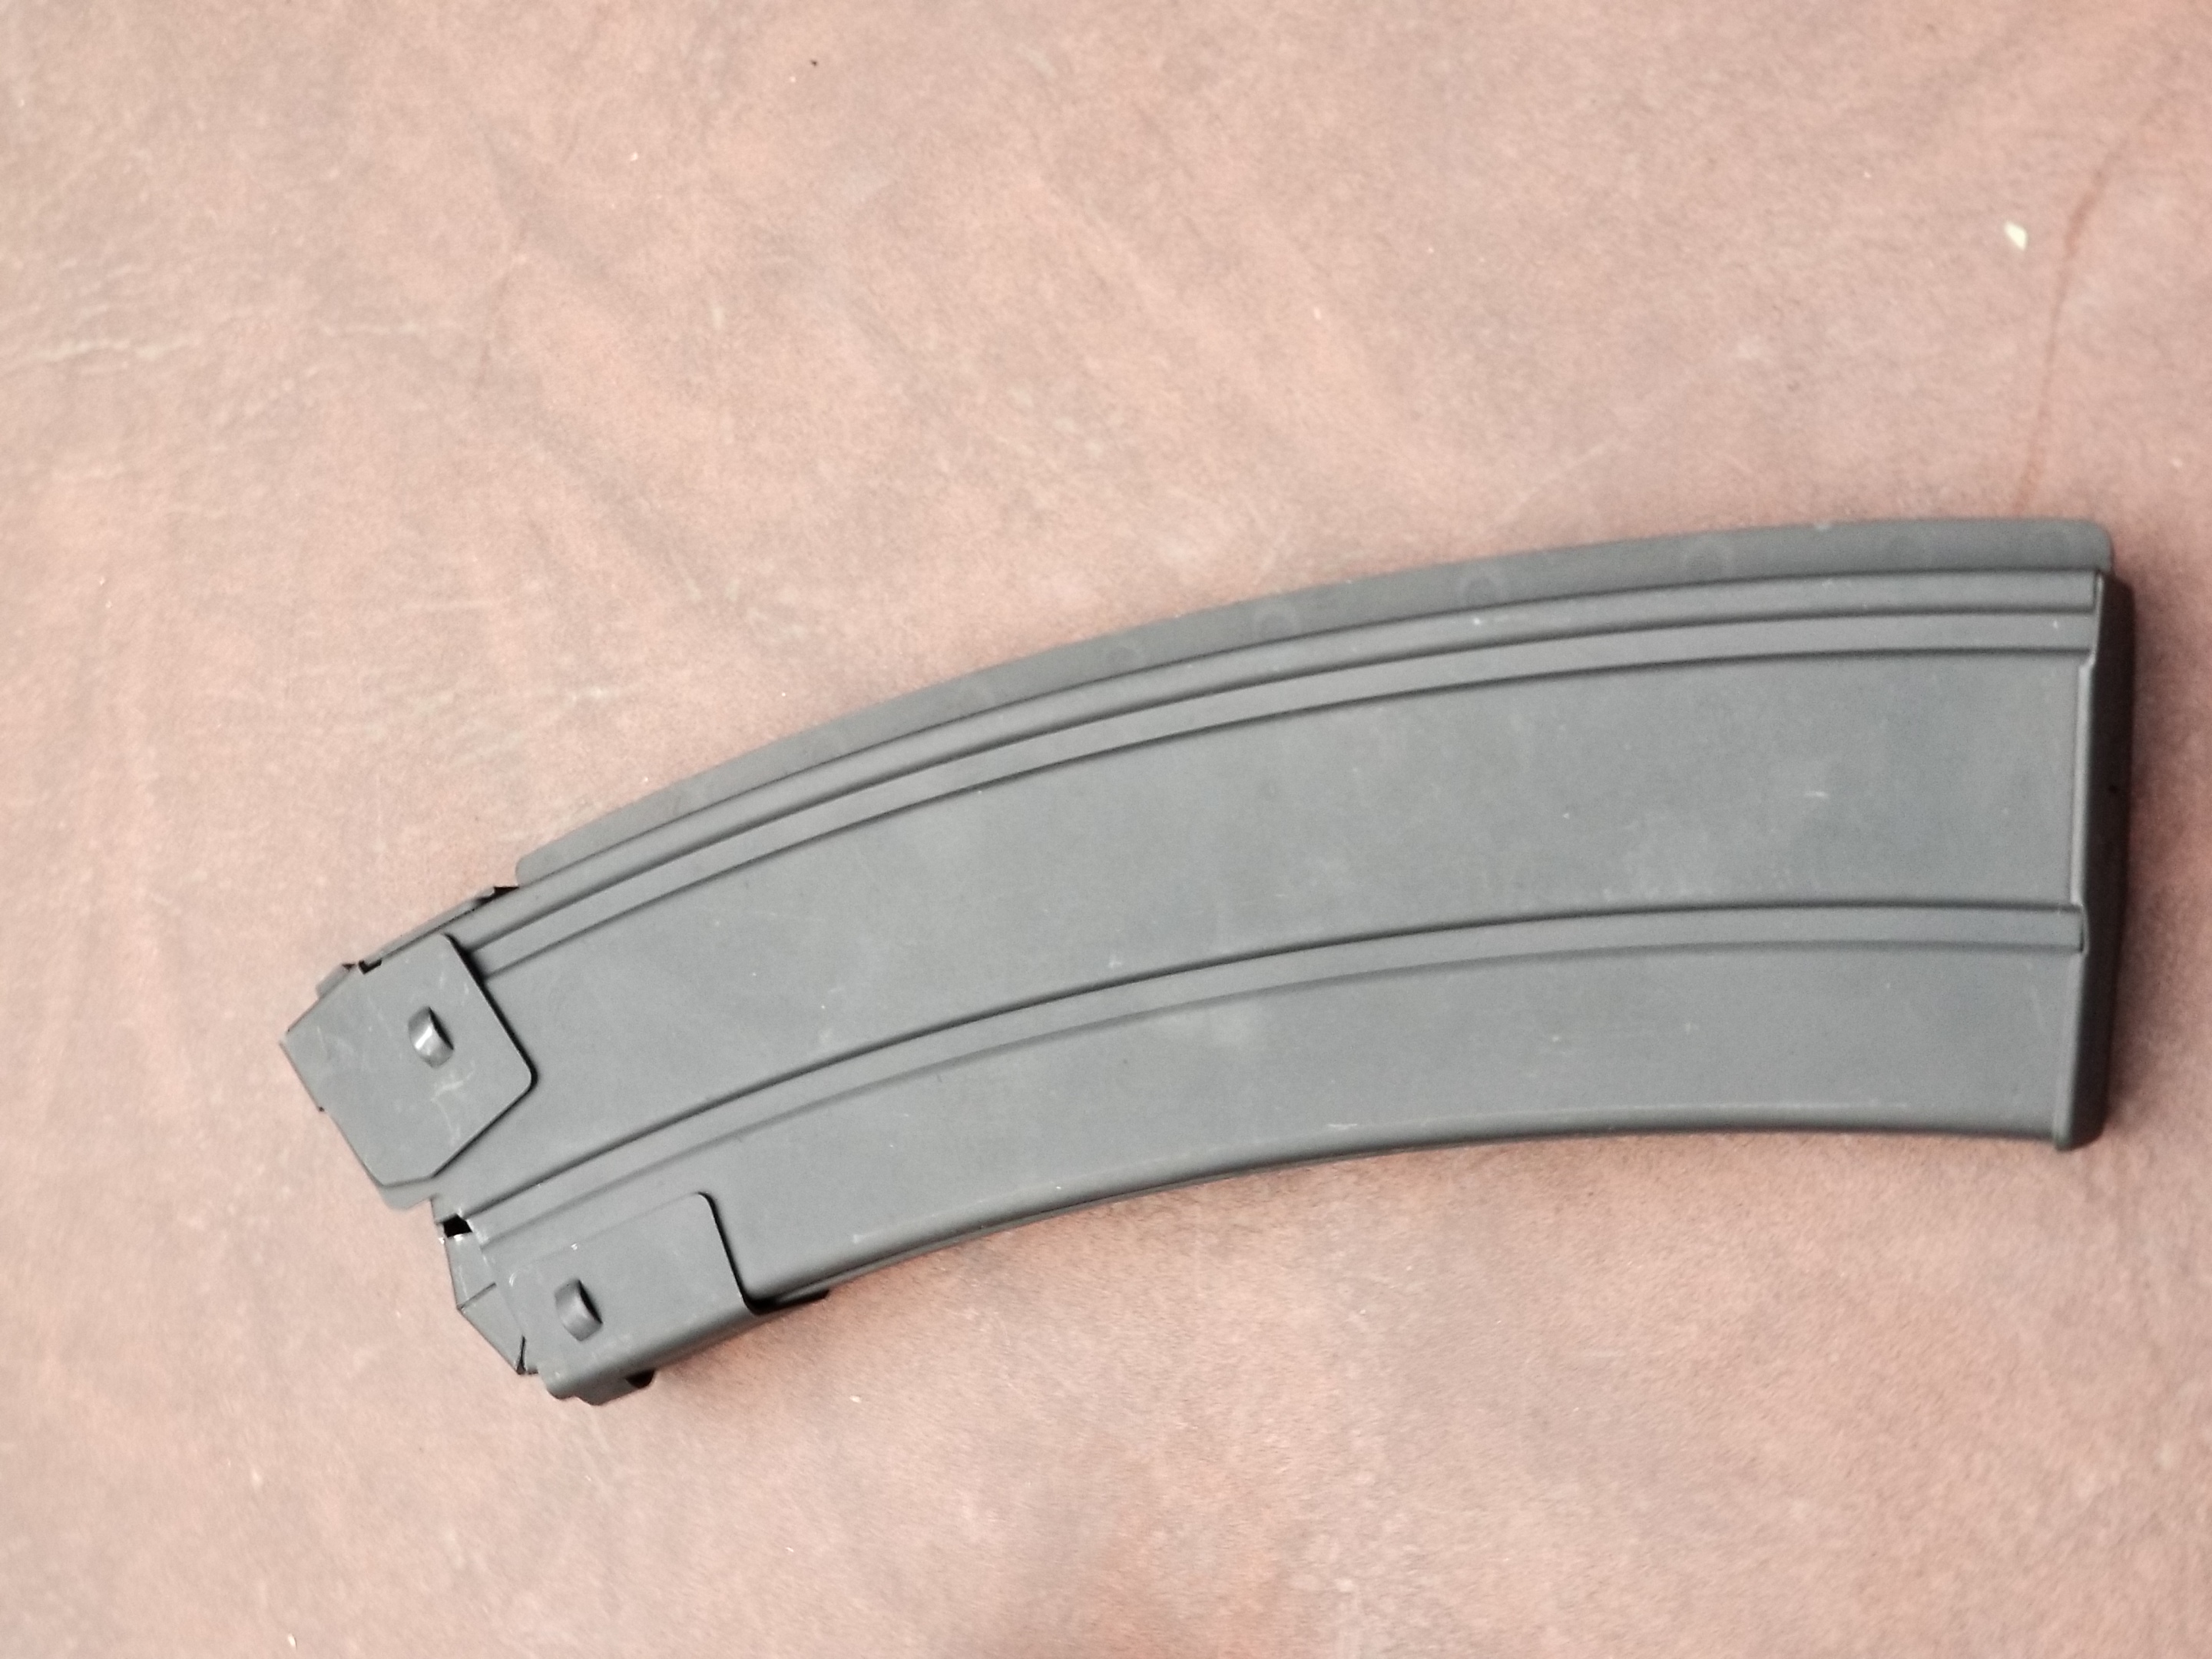
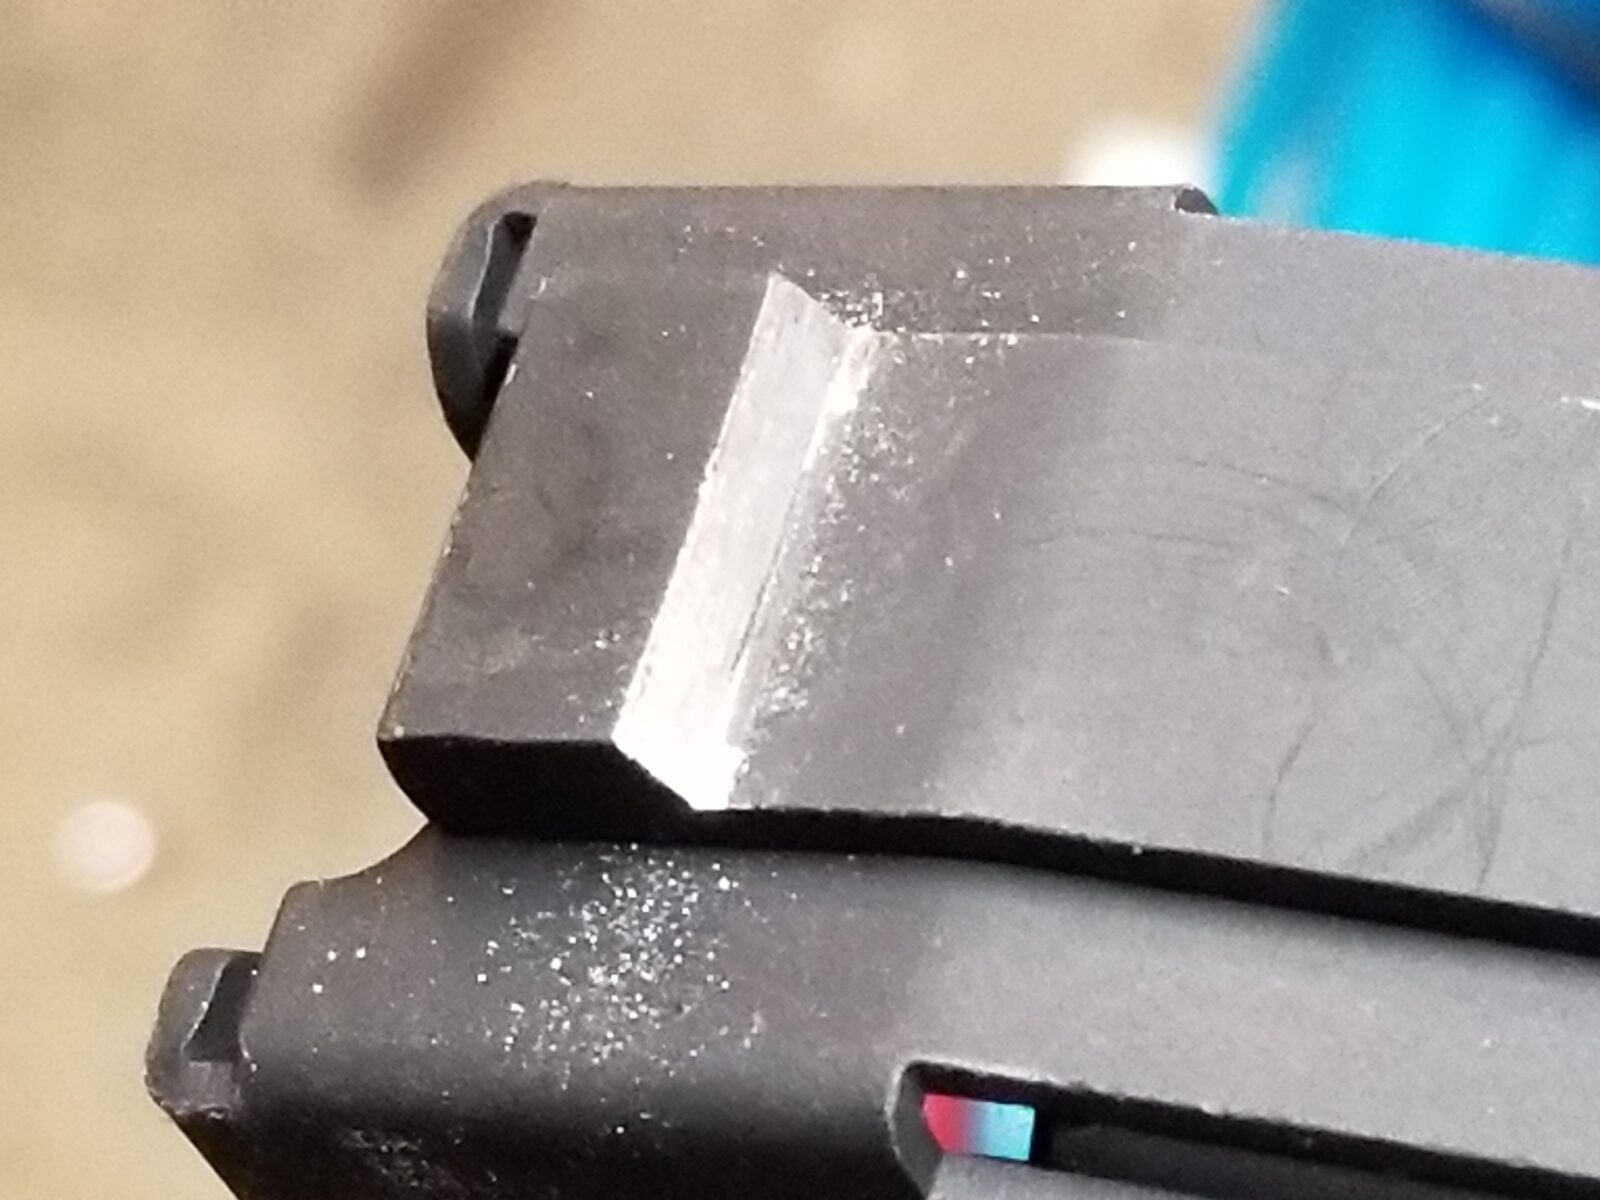
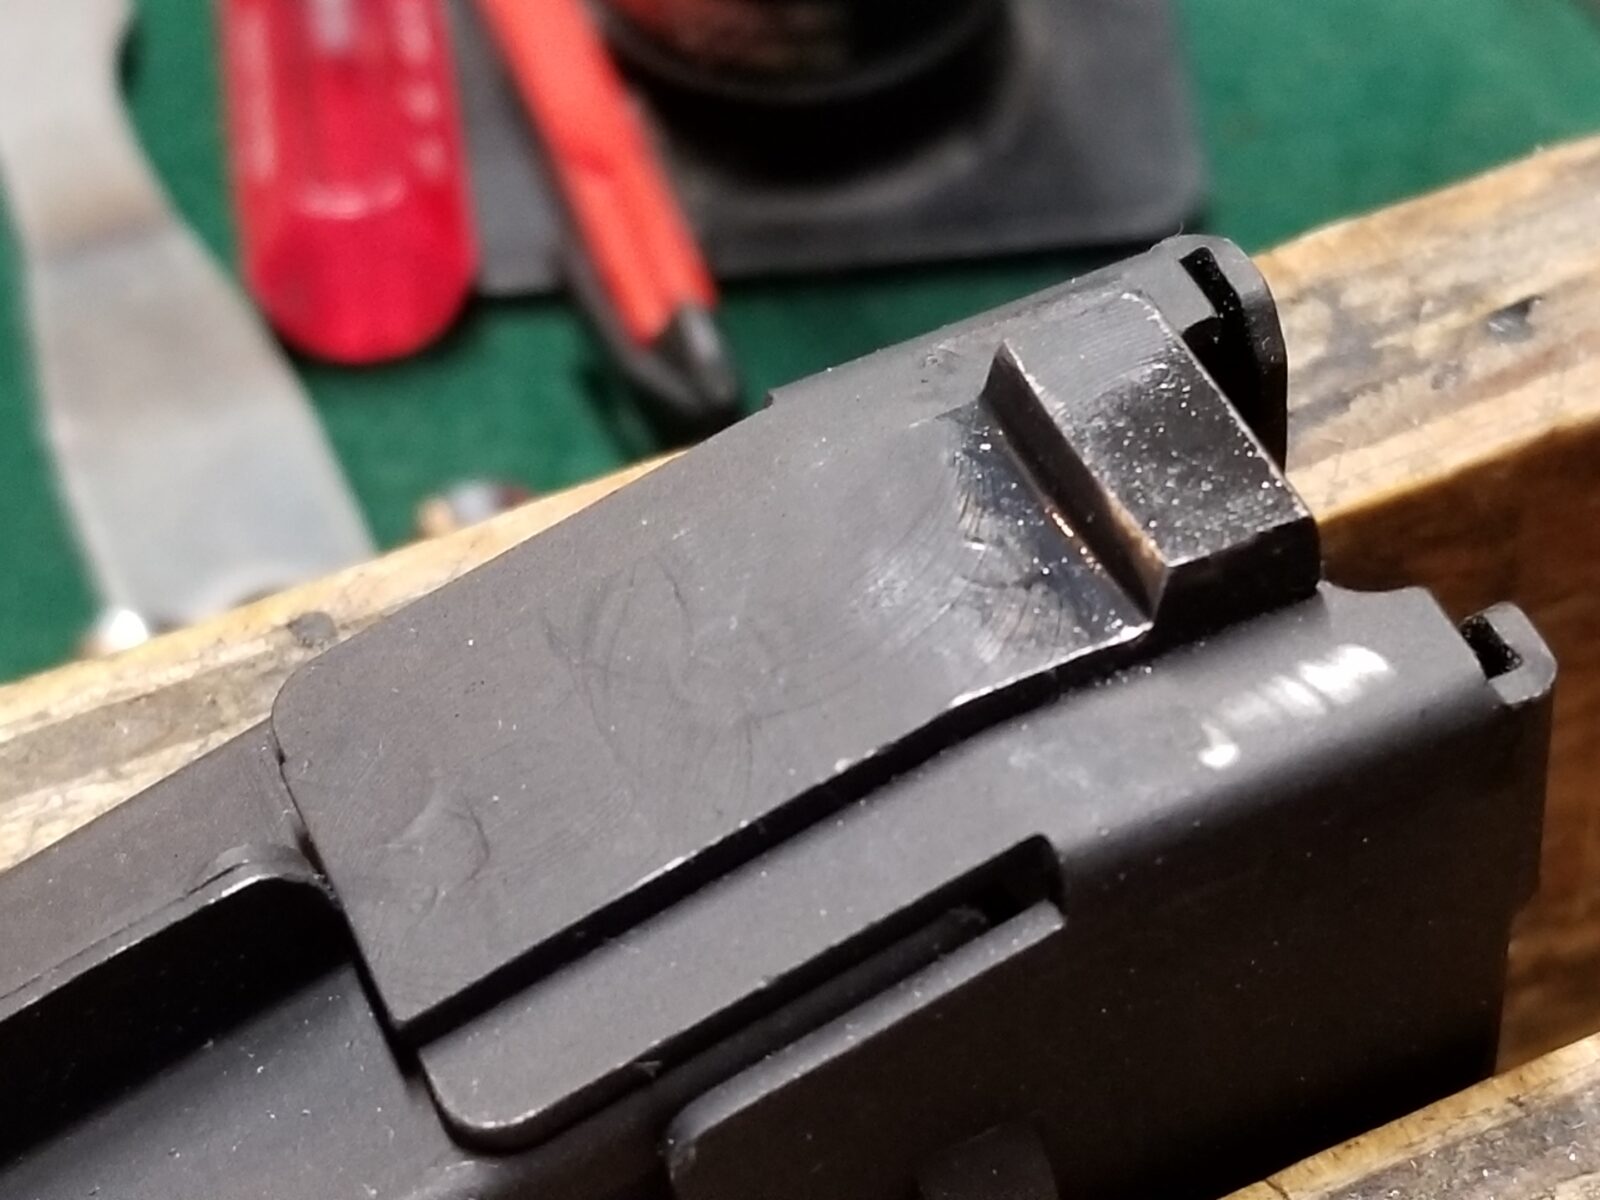
In my case, the magazine locking lever would not engage the mag’s tab at all. That means that little tab was too thick and needed to be filed down. This is really a situation where you want to use a fine hand file and take off a little bit at a time and test – don’t rush this. Take care to maintain the slight angle. This helps with the lock up. Do not make it flat and try to keep it as straight across as possible.
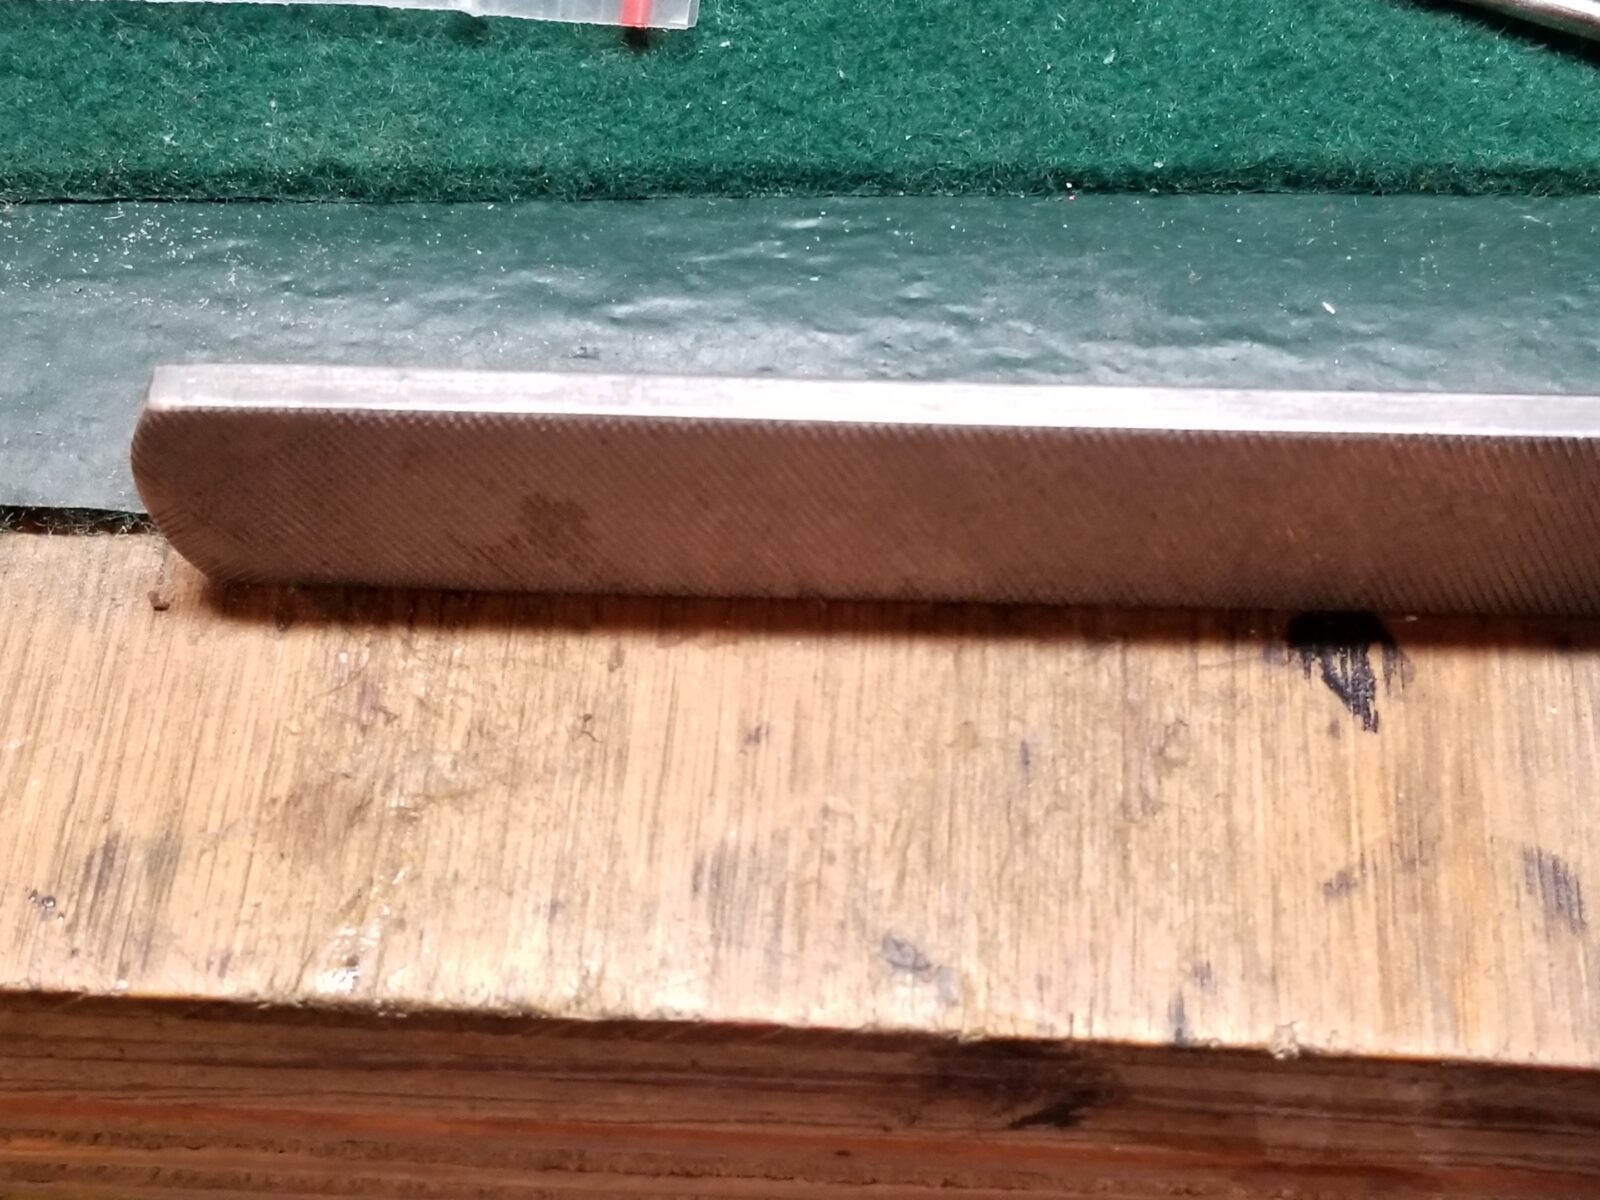
I can’t stress enough, take your time. The above was done with a single-cut file where one edge was ground down so I can make cuts like this with out damaging the surface. You can sometimes buy files like I show below with one or both edges left plain. In my case, I used my belt sander to remove the teeth on that side.
This is not a situation where you want to rush. Take a little bit off at an angle and test over and over. It probably took me about 5 minutes per magazine. You want the magazine to lock into place firmly. If it is really loose I would recommend welding some material back on and fixing it.
After the filing, I did use a fine rubber abrasive polishing but in my Dremel to smooth the surface out so the lock up process would be smoother.
After I had the fitting correct, I use the little bit of Brownells Oxpho blue liquid on Long dobbers and blued the surface followed by some oil.
That is all there was to it. I hope this helps you out. Kudos to CS specs for making some very nice magazines. These things are rock solid and I may very well pick a couple more up at some point.
I like weapons based on the Armalite Rifle (AR) design and have owned a variety of them over the years including a variety of AR-15s from Colt, Rock River, Palmetto State Armory and others plus a whole slew of pistols.
I also like having cool T-shirts and hoodies that reflect my interests and opinions about firearms and the Second Amendment. So, I did some searching and found there are some great designs on eBay that you just might find of interest:
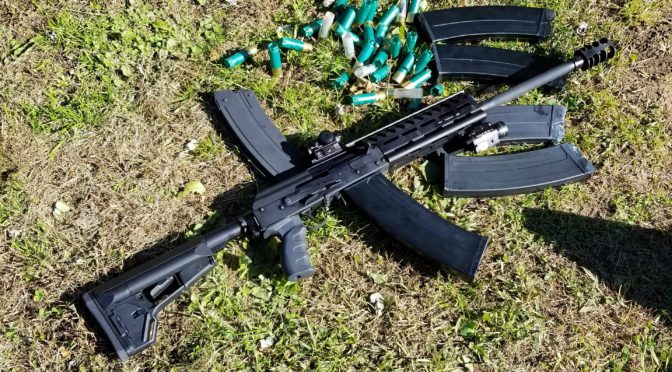
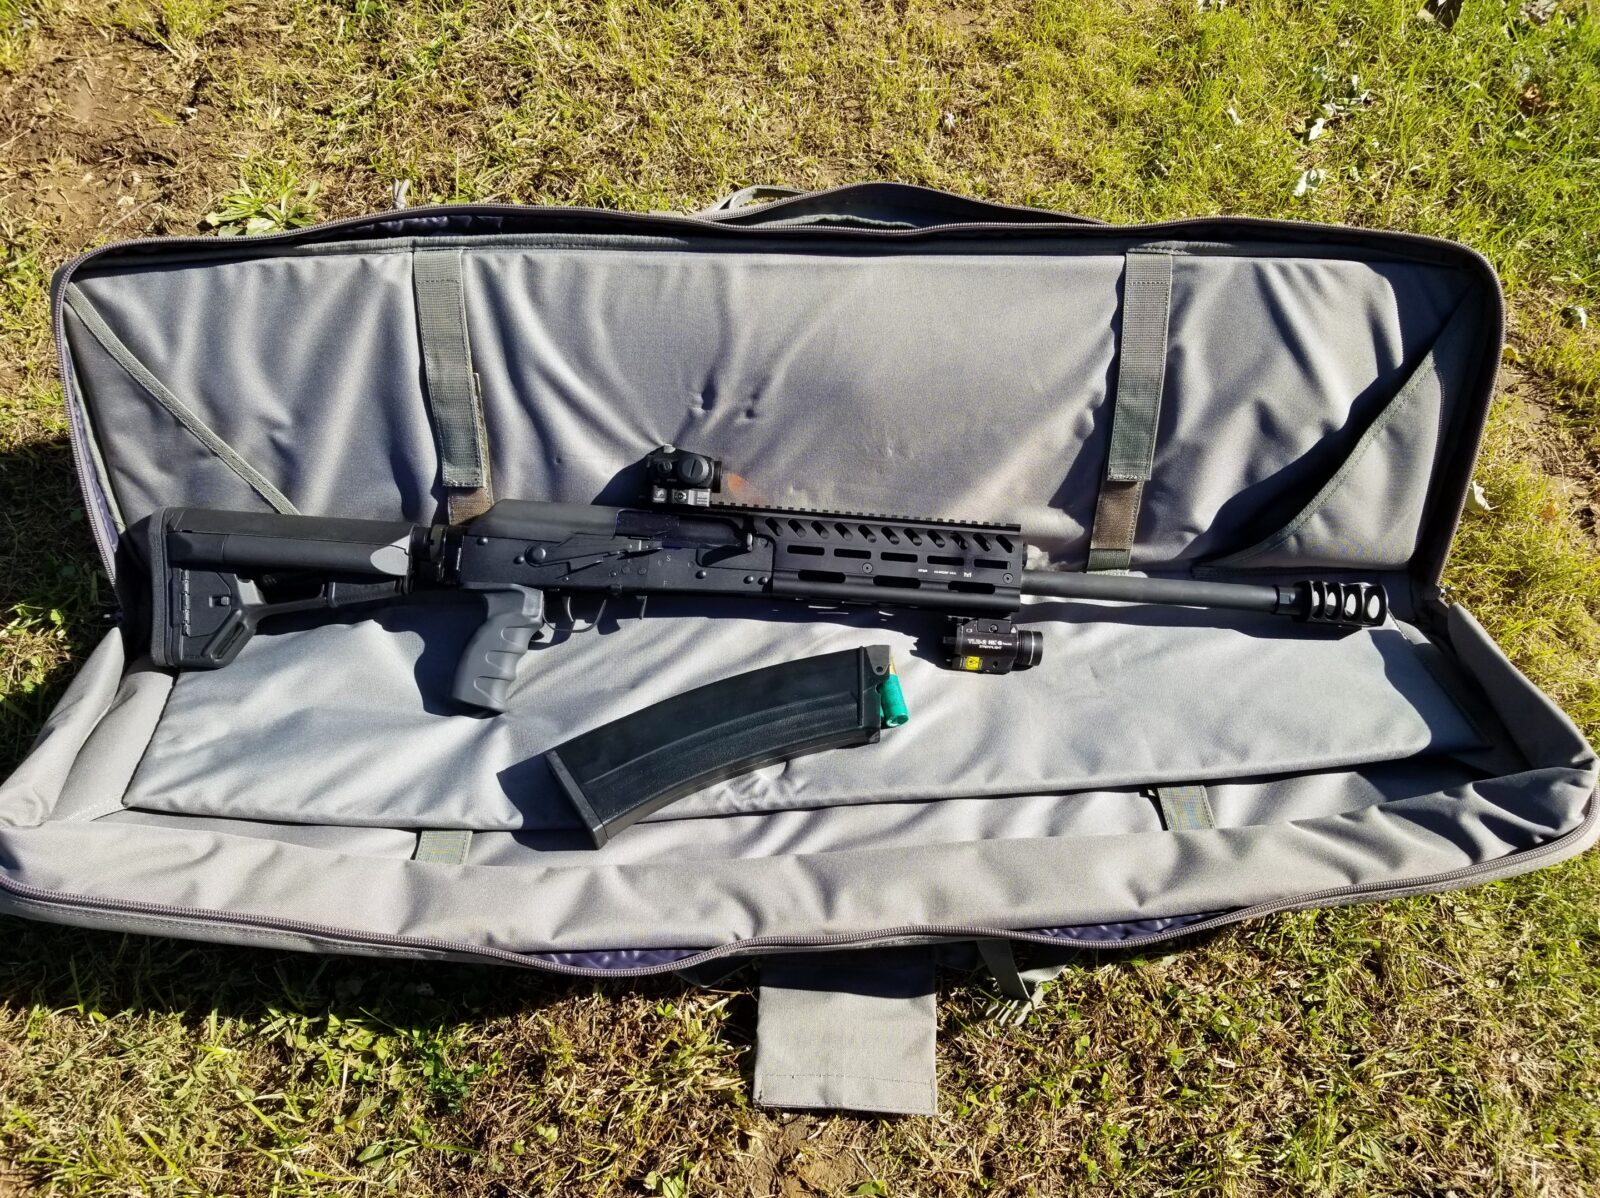
Well, Scott, Brooks and I went shooting a few weeks back. I was really excited to take my new SDS Lynx out and I had bought four brand news SDS 10 round magazines that I took out of the wrapper and threw in my range bag. That turned out to be a mistake. The photo above is of Scott trying to clear yet another jam from the Lynx with one of the 10 round magazines inserted – they had feed failures constantly.
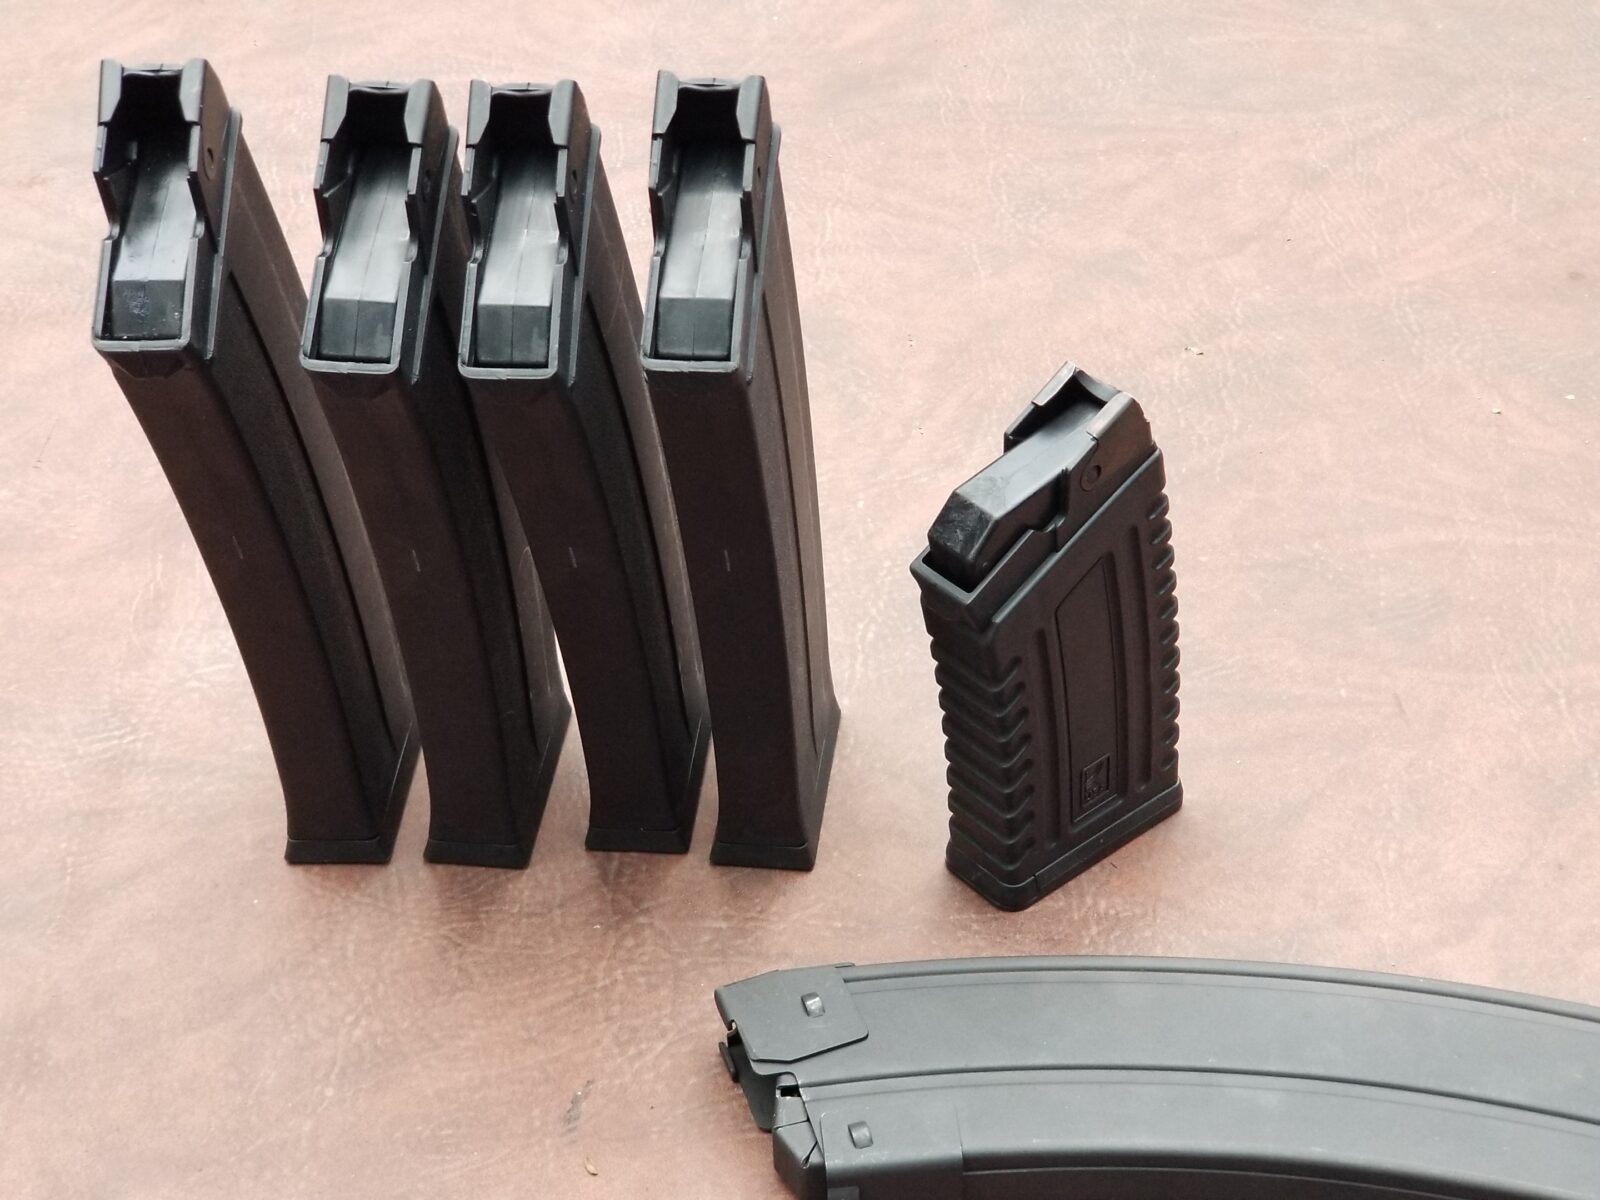
One of the things I was told years ago was to test everything before you rely on it. Now granted I was just going to the quarry to shoot with my friends but I really should have tested those magazines. Of the four, only one kind of worked. The followers were all hanging up about an inch from the top. The five round SDS magazine that came with the shotgun ran great but five founds at a time is not the most exciting thing. It was frustrating and disappointing at the same time.
The Lynx and the mags went back in the gun case and I felt pretty stupid for not checking the mags before going. On the other hand, they were brand new and should have worked. I was more than a bit miffed also – clearly there was a manufacturing issue, Followers should spring to the top of a magazine like a rocket – not get stuck part way down. A person should not need to buy magazines and then tune them inside – getting them to fit an AK-style weapon, sure that happens all the time, but not needing to redo the internals.
In the following photos notice how the followers are not all the way to the top compared to the small 5 round magazines.
At that point I made a decision – the SDS magazines really did look well made and rather than send them back, I decided to tune them and document what I did to share with others.
The Lynx shotgun uses Saiga magazines so this design is common and writing up what to do might very well help others out. So with my mind made up, it was just a matter of finding the time to do it.
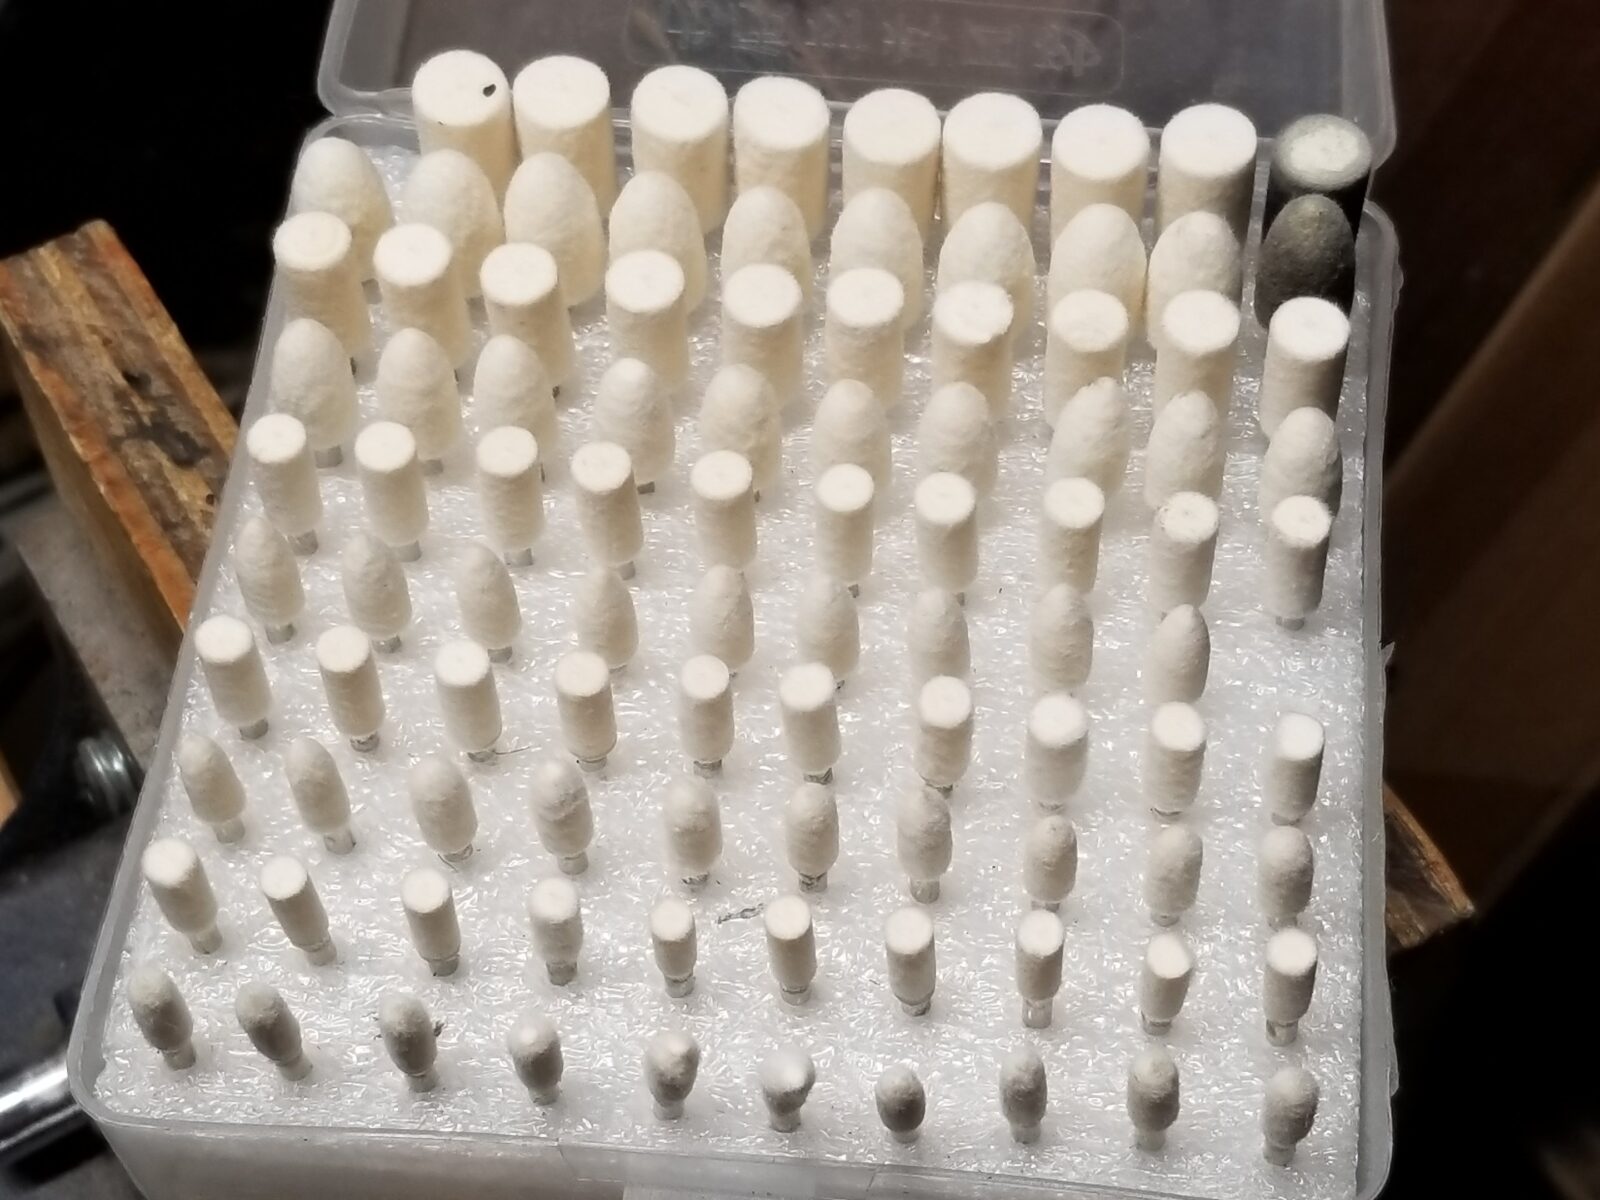
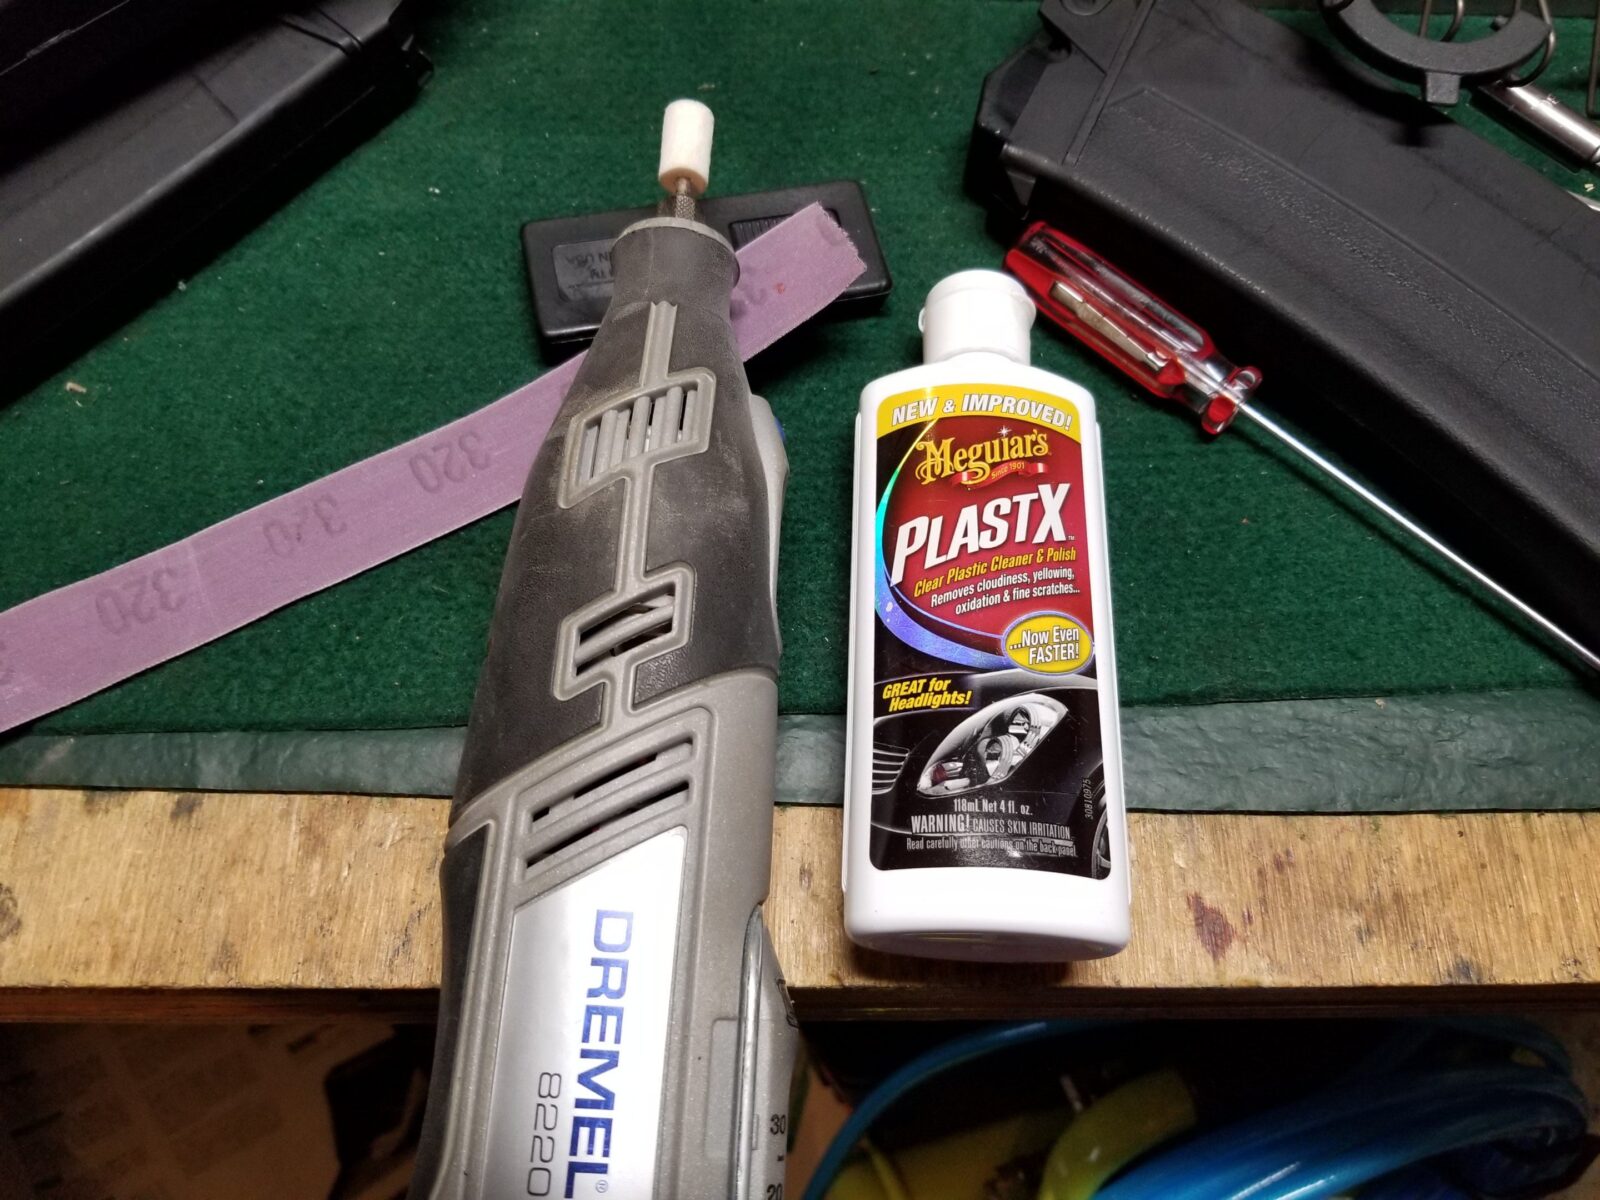
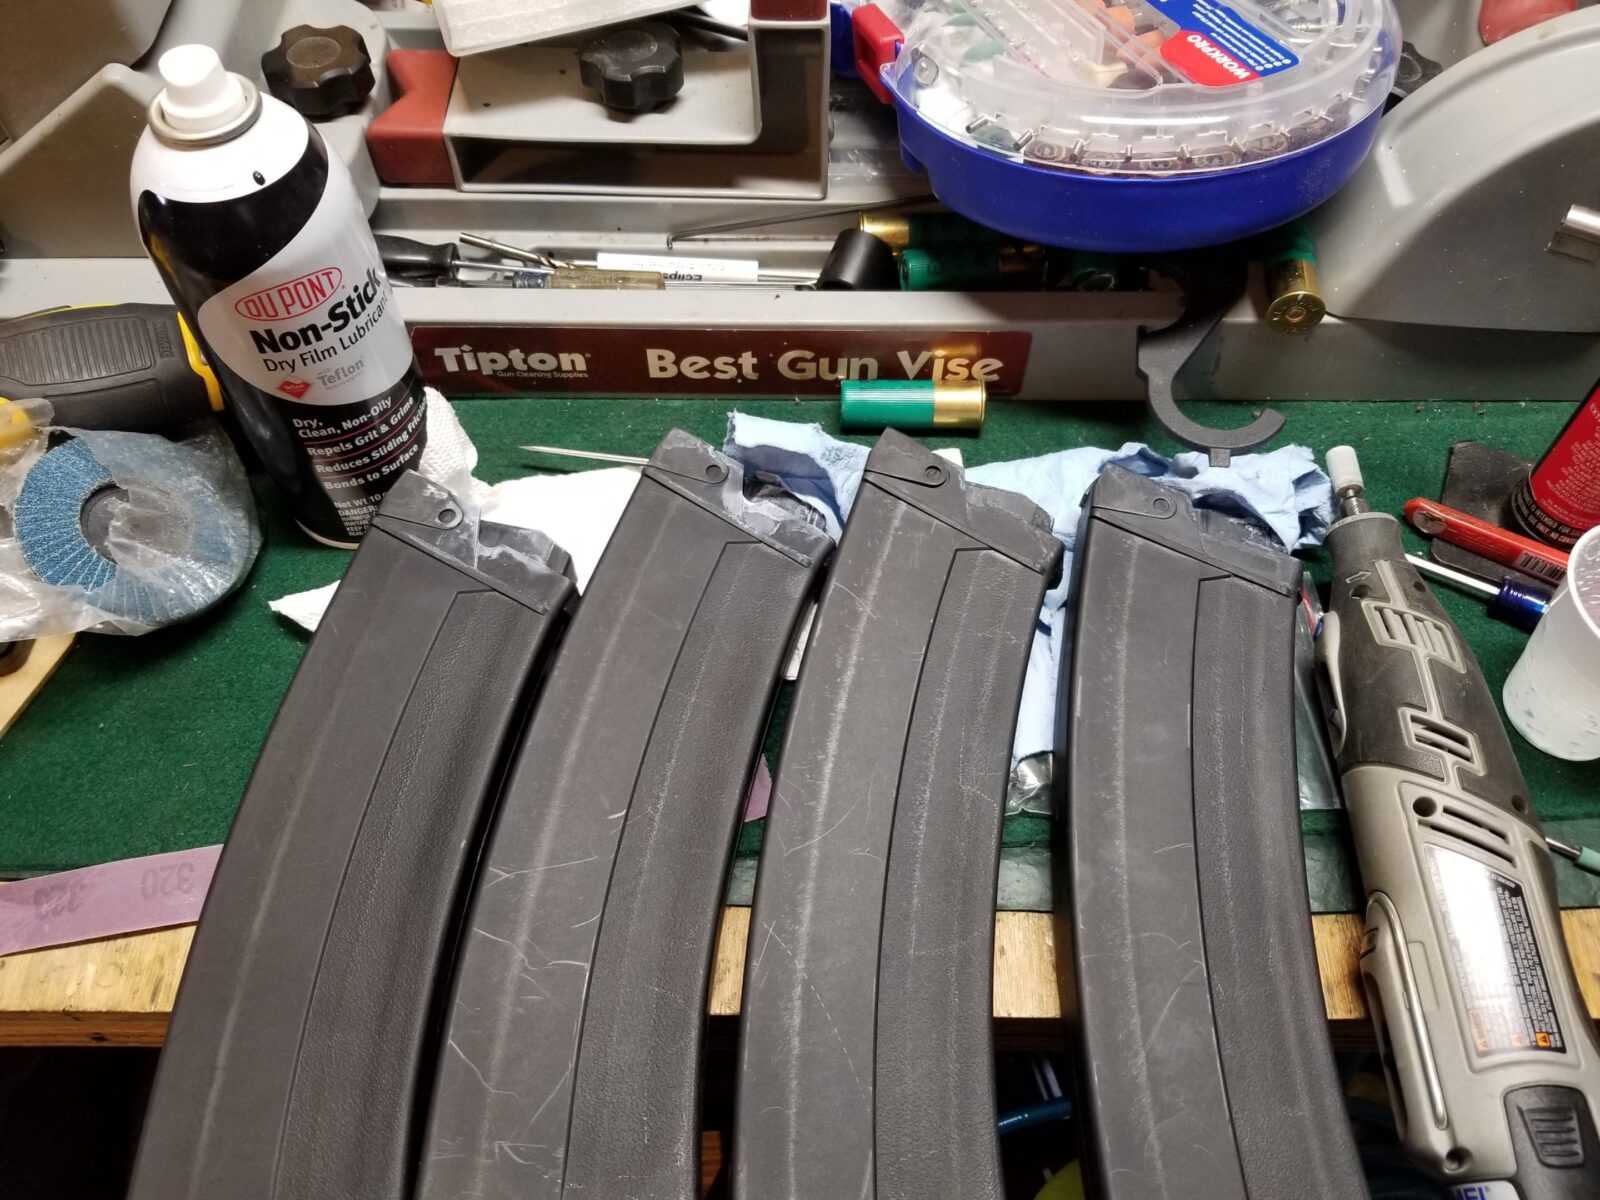
A couple of weeks went buy before I could dig in but finally the time came. I’m going to try and show you what I found and explain what you need to do to correct it. You’re going to need a Dremel (or similar rotary tool), rubberized polishing bits, felt/wool polishing bits, and a plastic polish – I use Plastix a lot but even toothpaste would work. Yes, toothpaste is a very fine grit polish – you can even use it to polish plastic headlights.
Disassembling a SDS Magazines
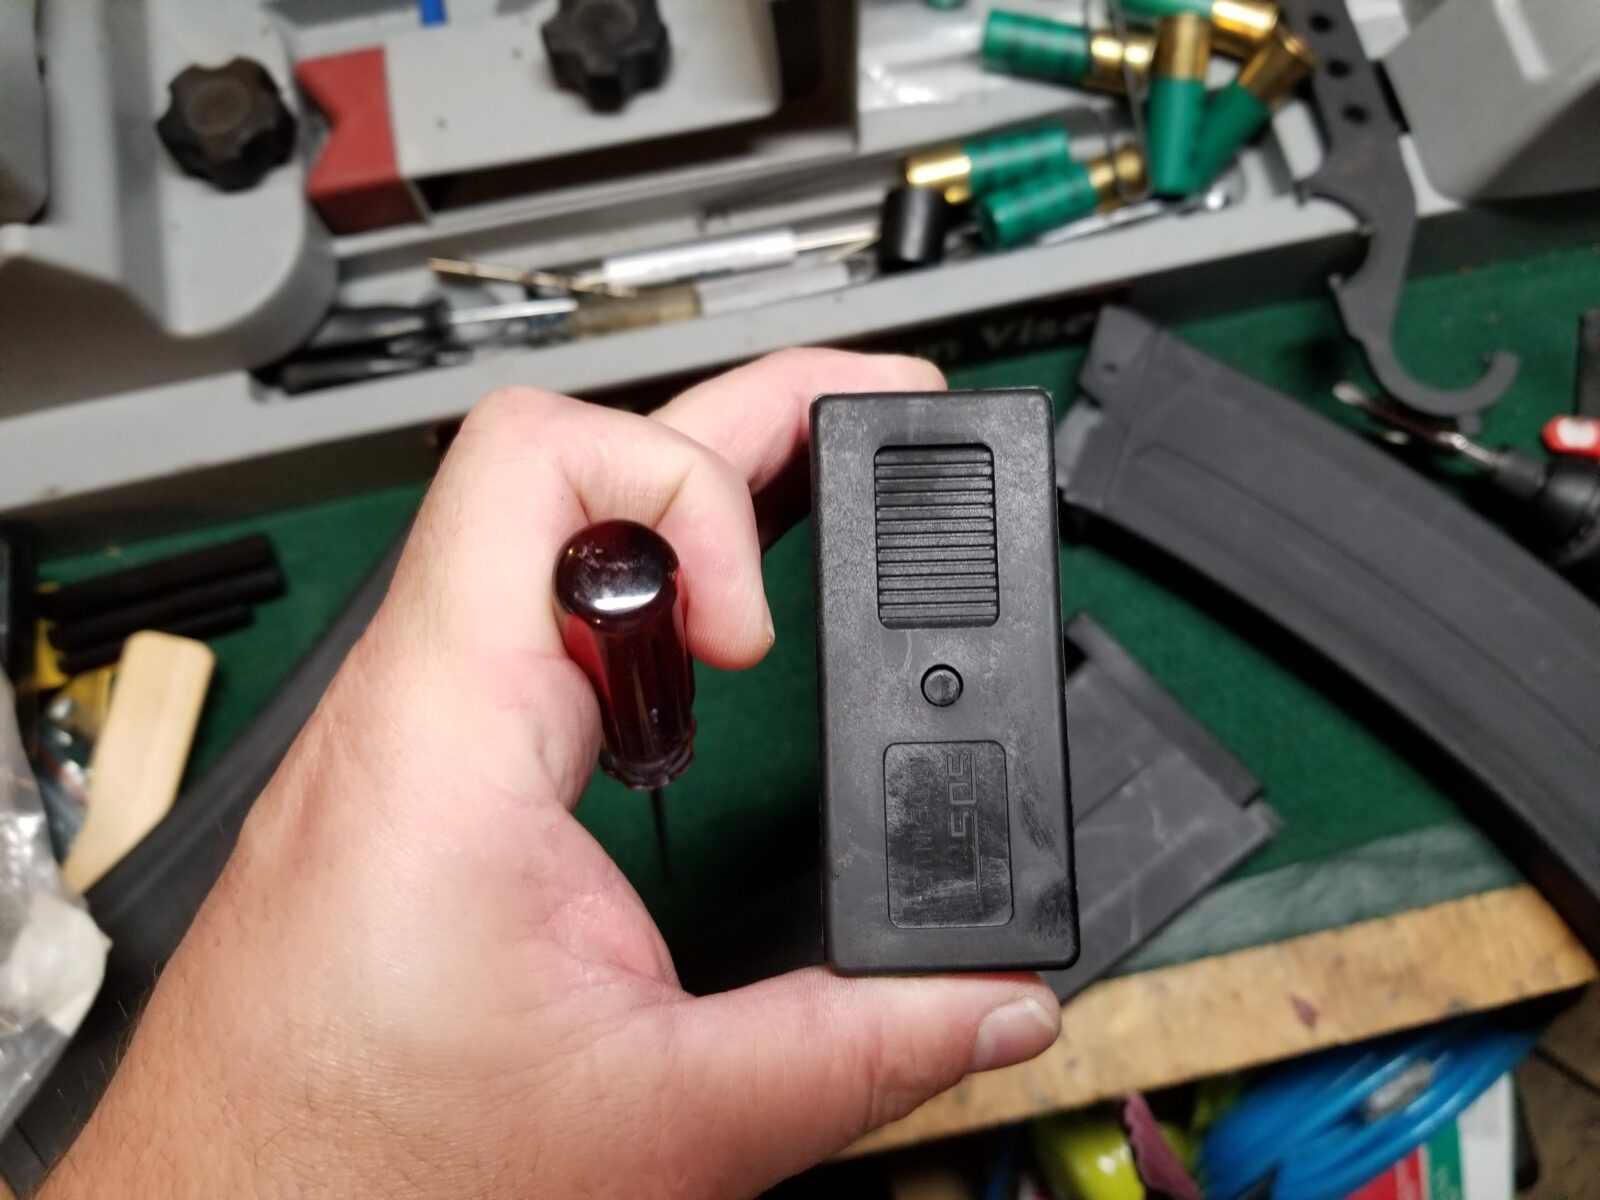
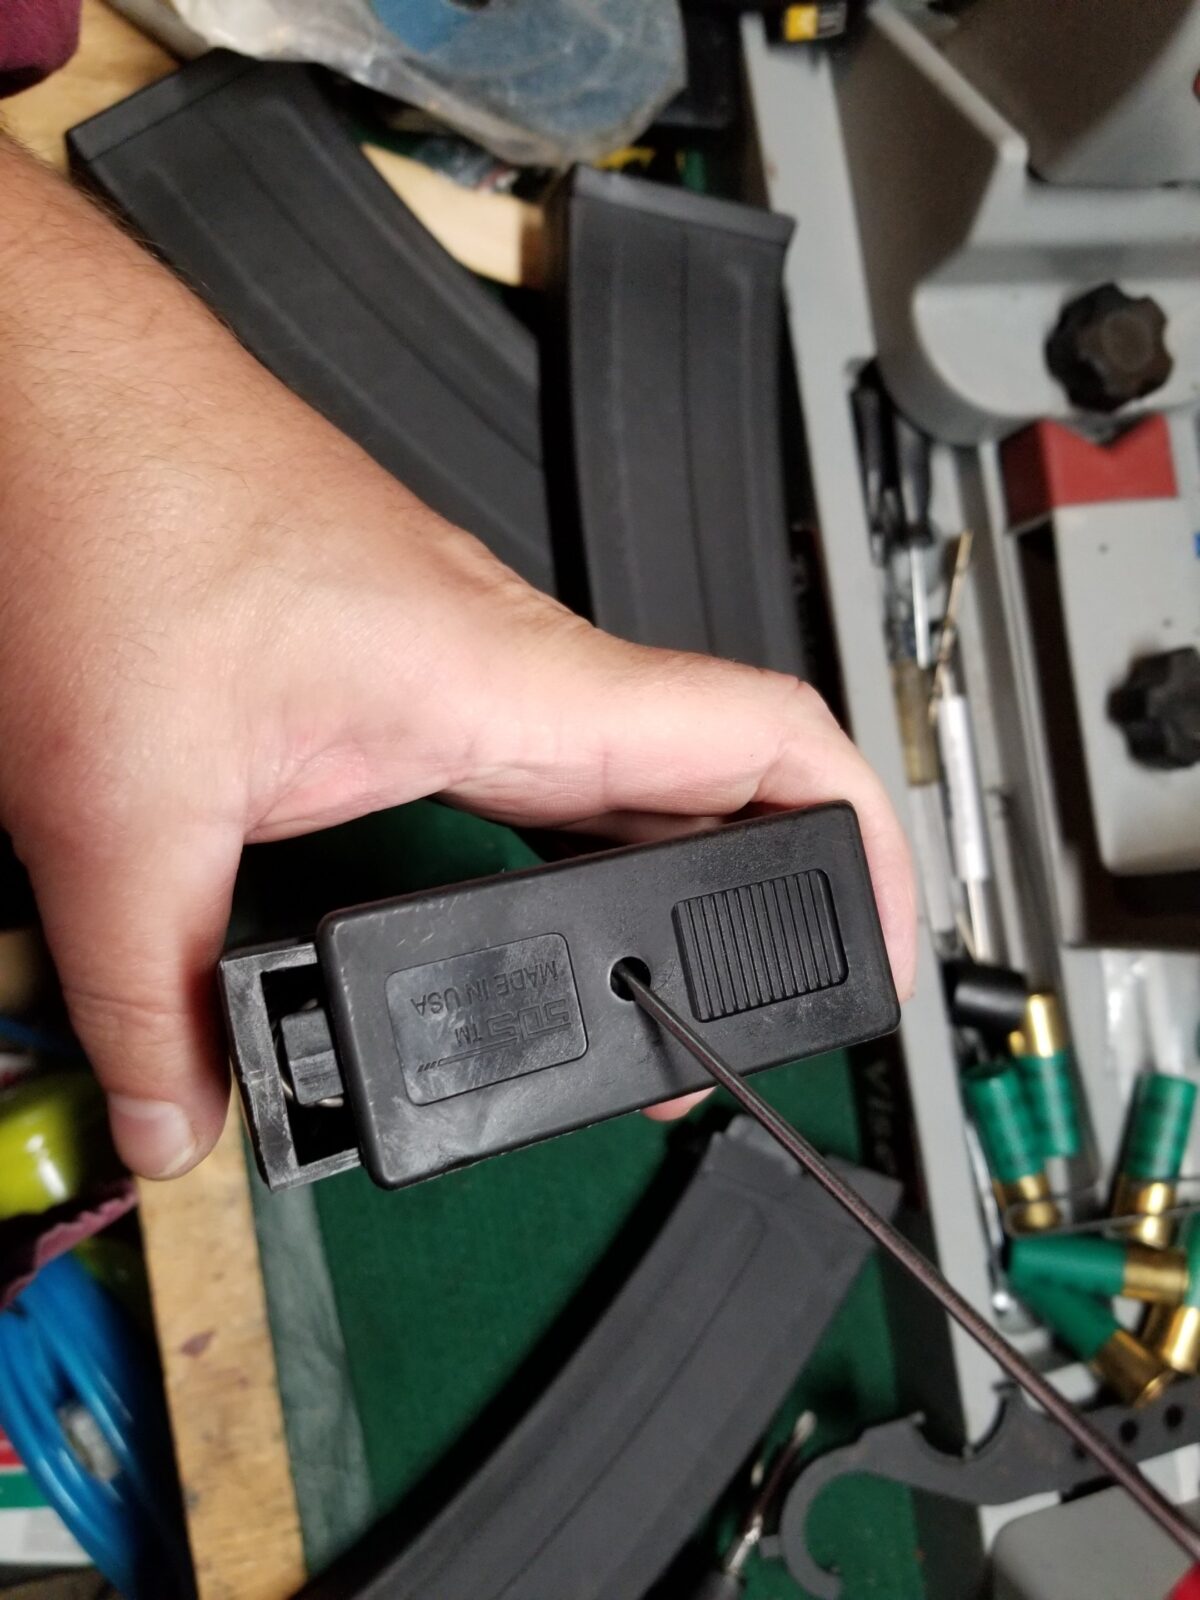
The SDS magazine comes apart just like any AK magazine – you push the button on the bottom with a screw driver and slide the floor plate off of the magazine body. Now take a look at it. It can only push off one. All of the magazine Parts in the SDS can only go one way.
So push the button down and shove the floor plate in the direction of the opening. You may need to use a small Mallet or something hard to give it a little bit of a whack to get it started.
Now once you get that floor plate off the rest is going to want to spring out so use your thumb to keep it from flying across the room or in your face.
Fixing The Problem Area
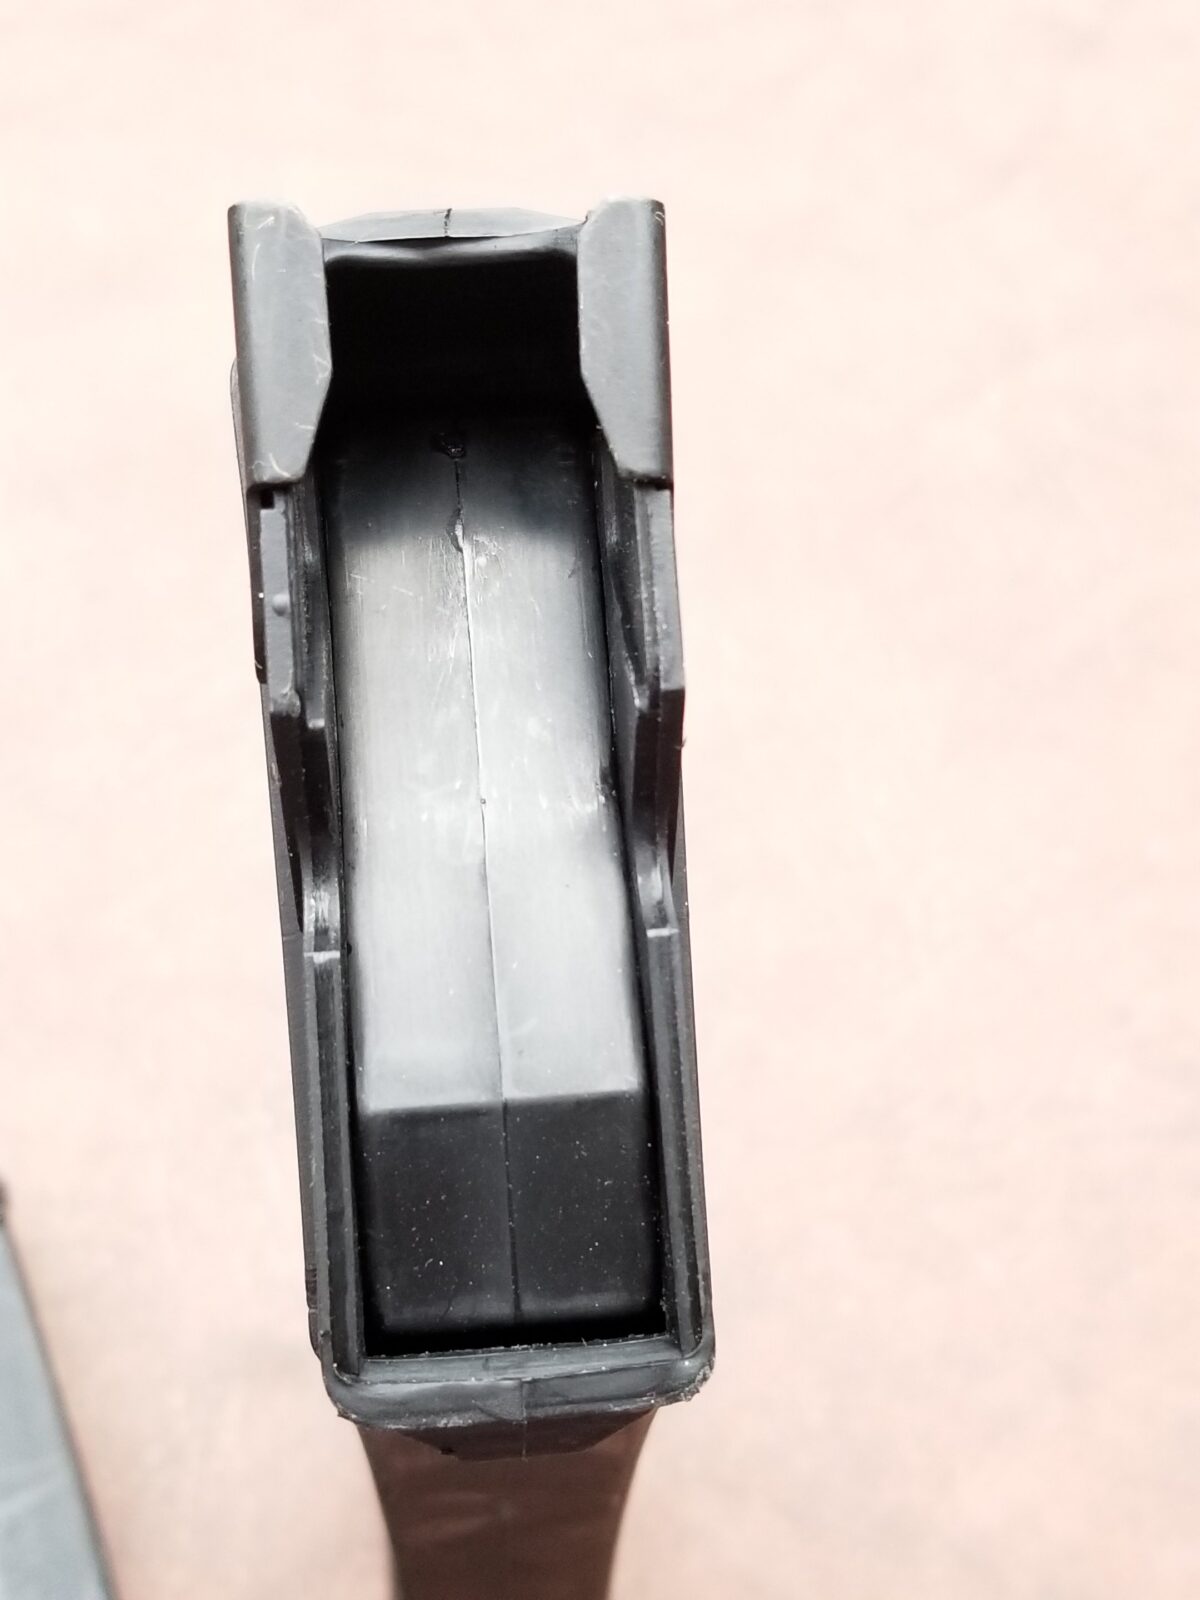
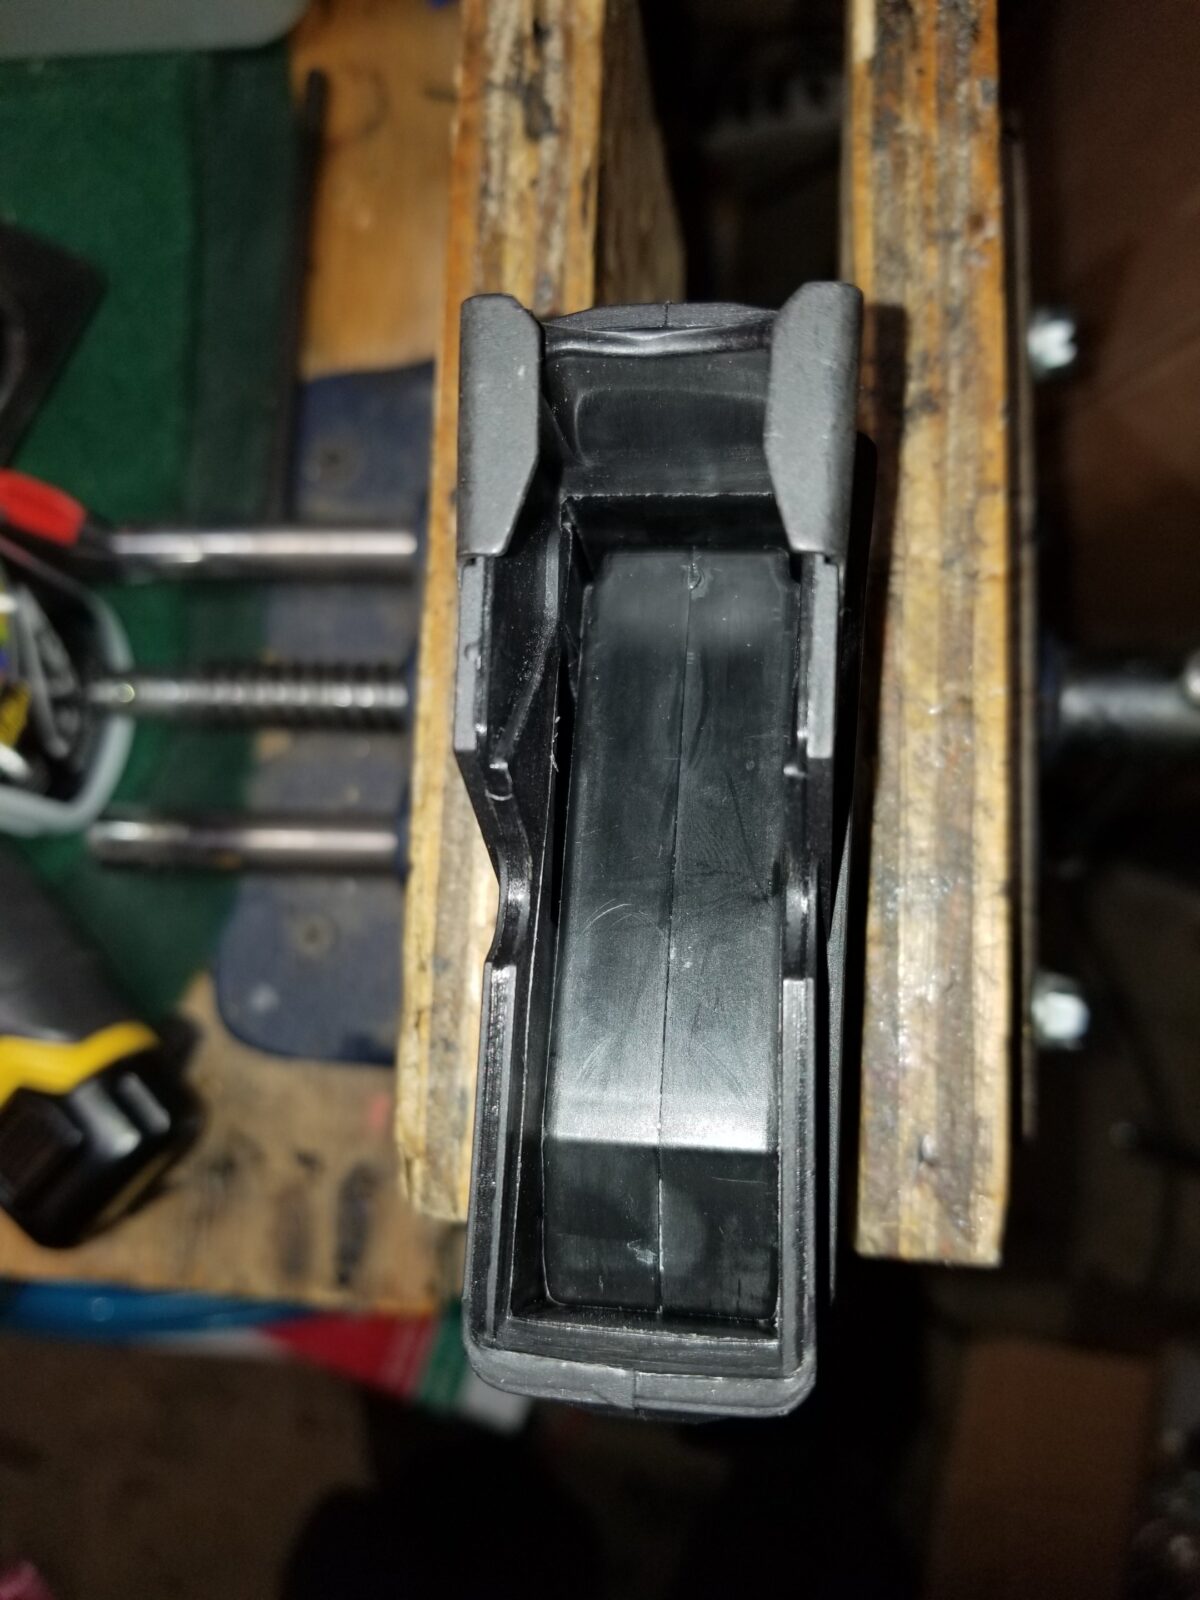
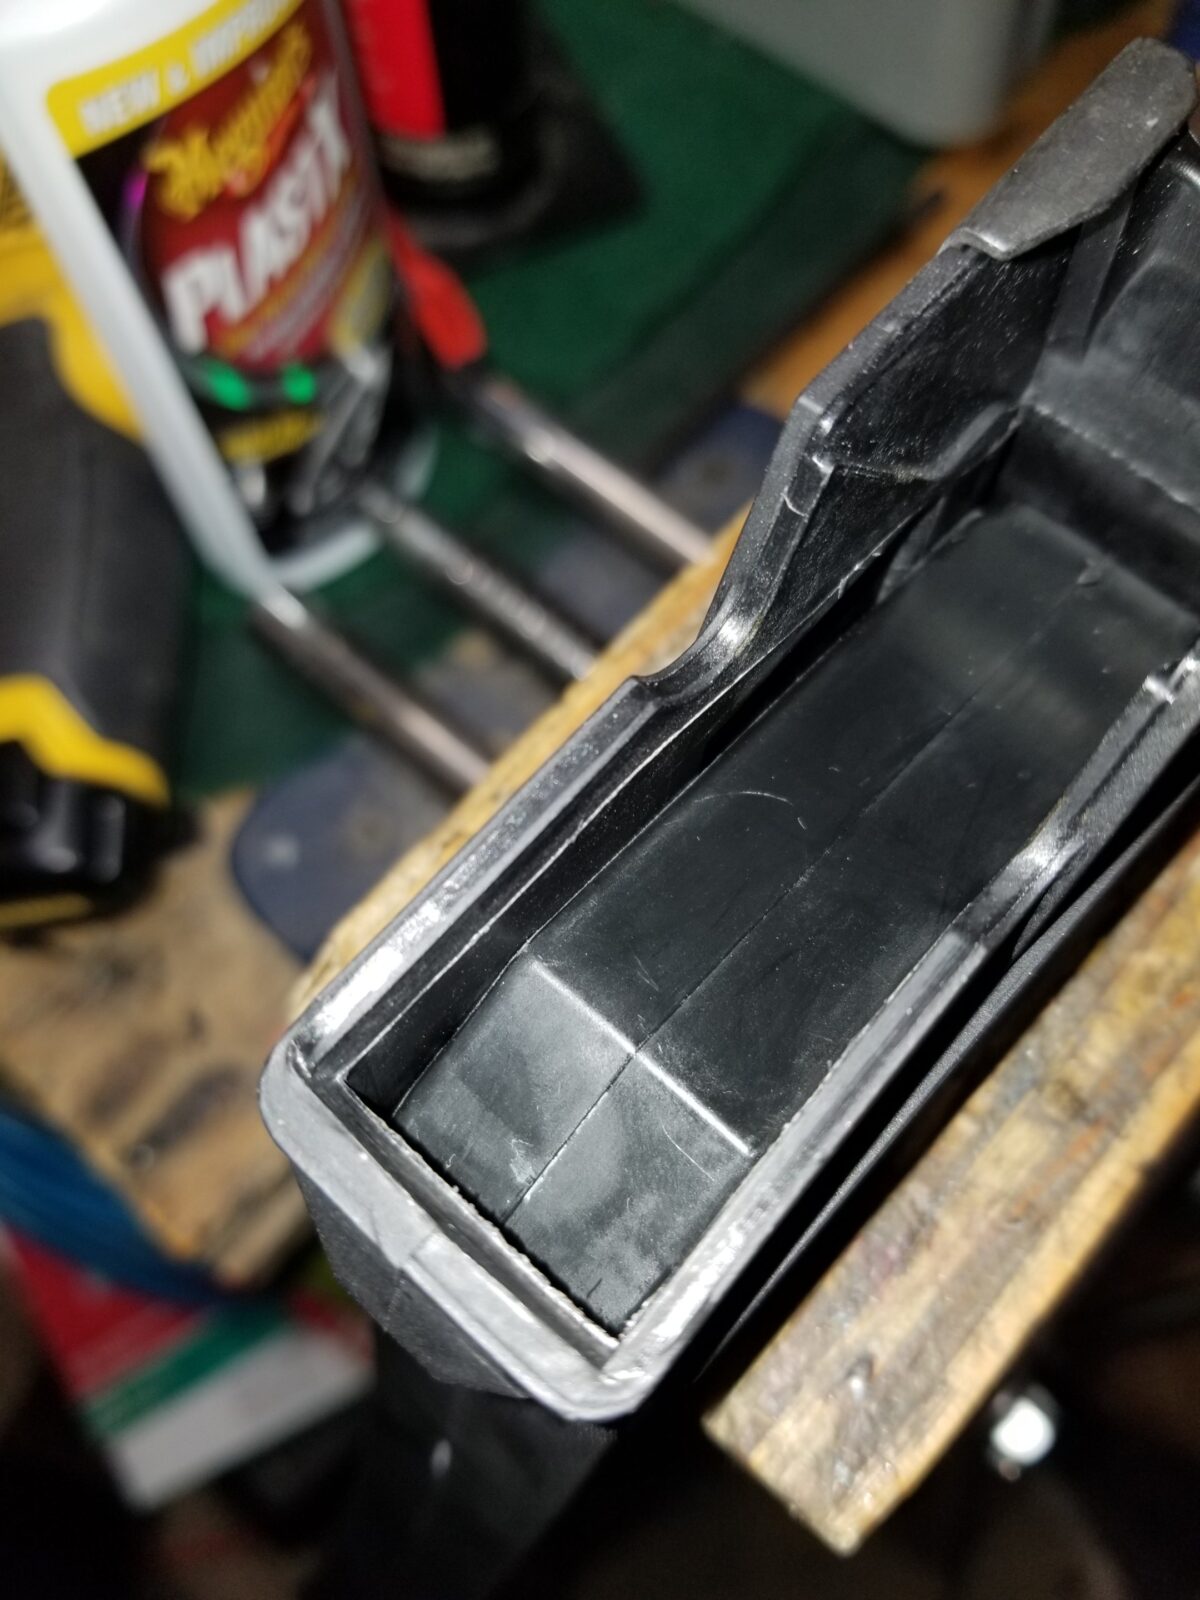
The problem area in the magazines seem to be in the upper inch to inch and a half. You’ll see a mold seam that needs to be erased using the Dremel tool with the rubberized abrasive tips as well as it being tight in general all the way around.
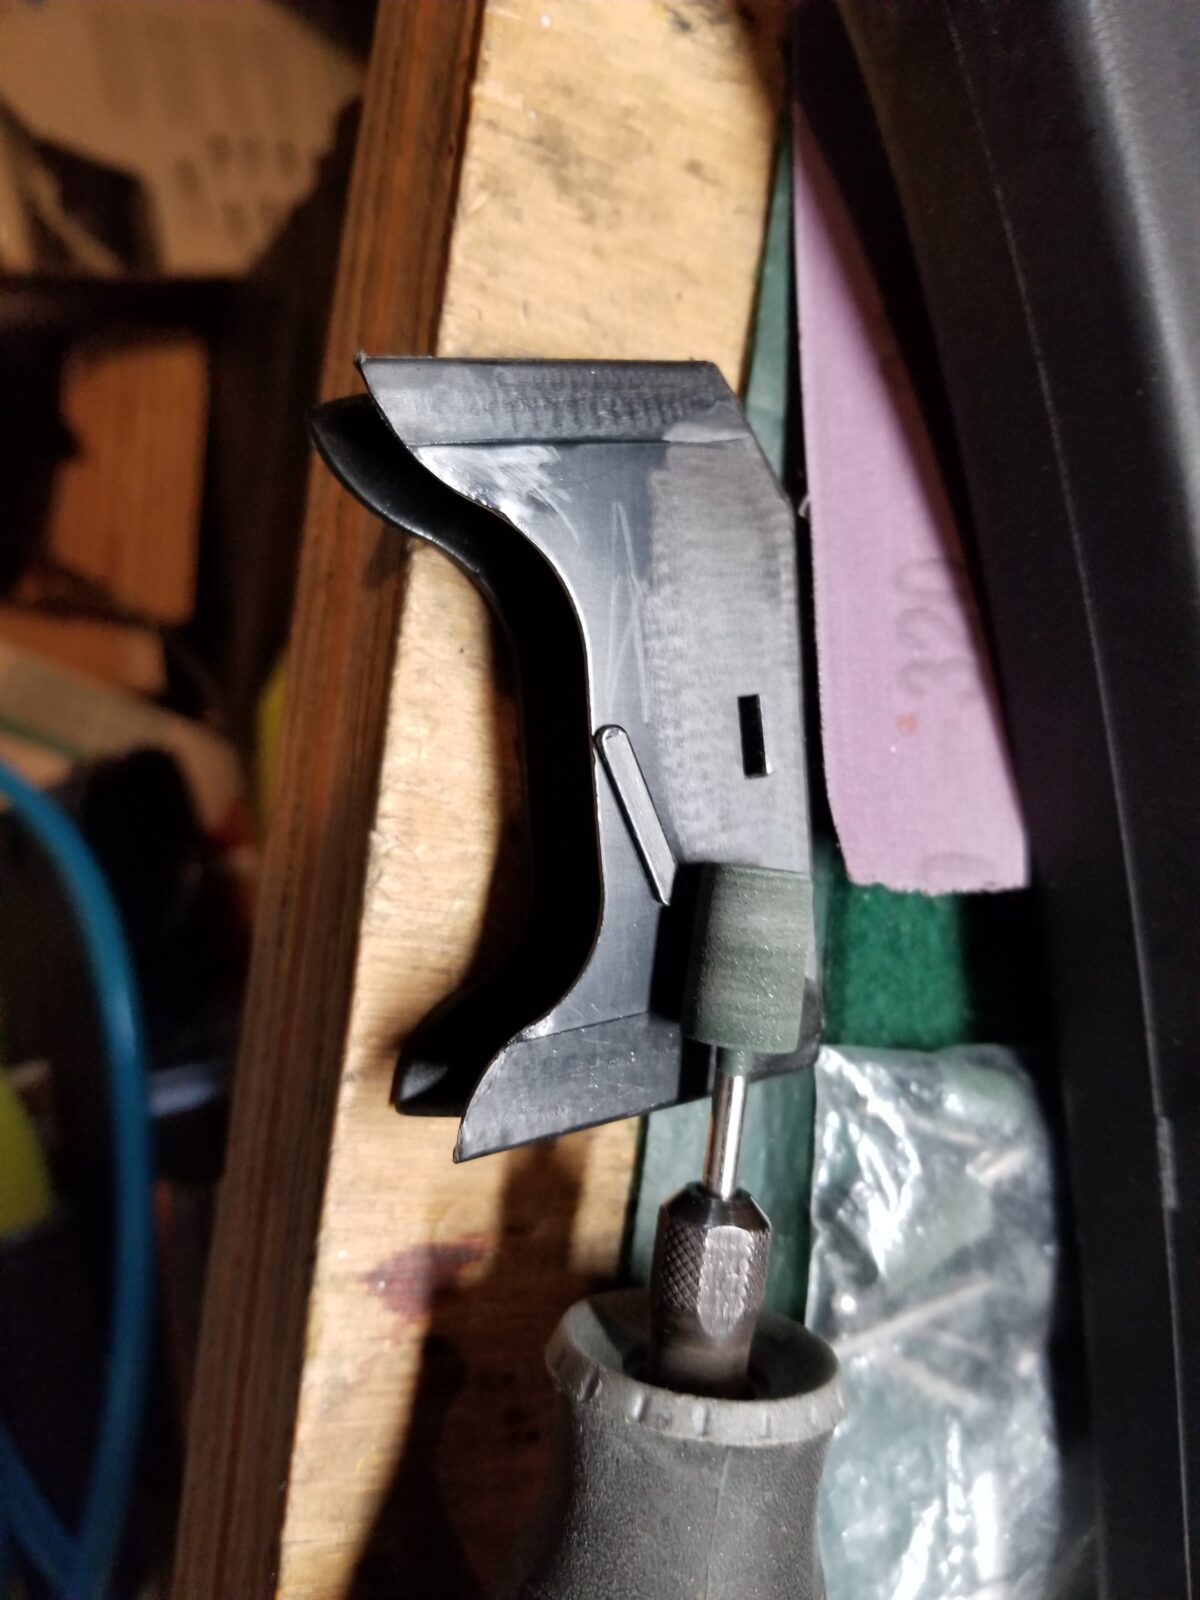
So the first thing I did was to use a small rubberized abrasive tip to erase the mold seemed entirely that runs around the inner area of the magazine. In the next two photos you’ll see a shiny protruding lip inside the magazine that is just above the follower — that is the mold seam I am speaking of. It’s important to note that the follower is binding even before getting to that seam.
I used a small rubberized fine abrasive tip in my Dremel to literally erase the mold seam flush with the rest of the mold body.
At this point I blew out the magazine body with compressed air and the overall fit of the follower to the magazine body was just too tight. It and the body needed to be thinned a bit – not a bunch, just a bit.
In terms of the trimming, I would definitely recommend that you use the abrasive tip to remove just a little and test over and over. I can’t stress this enough – don’t try to do it all at once. As the saying goes, it’s easier to take more material off than to try and put it back on.
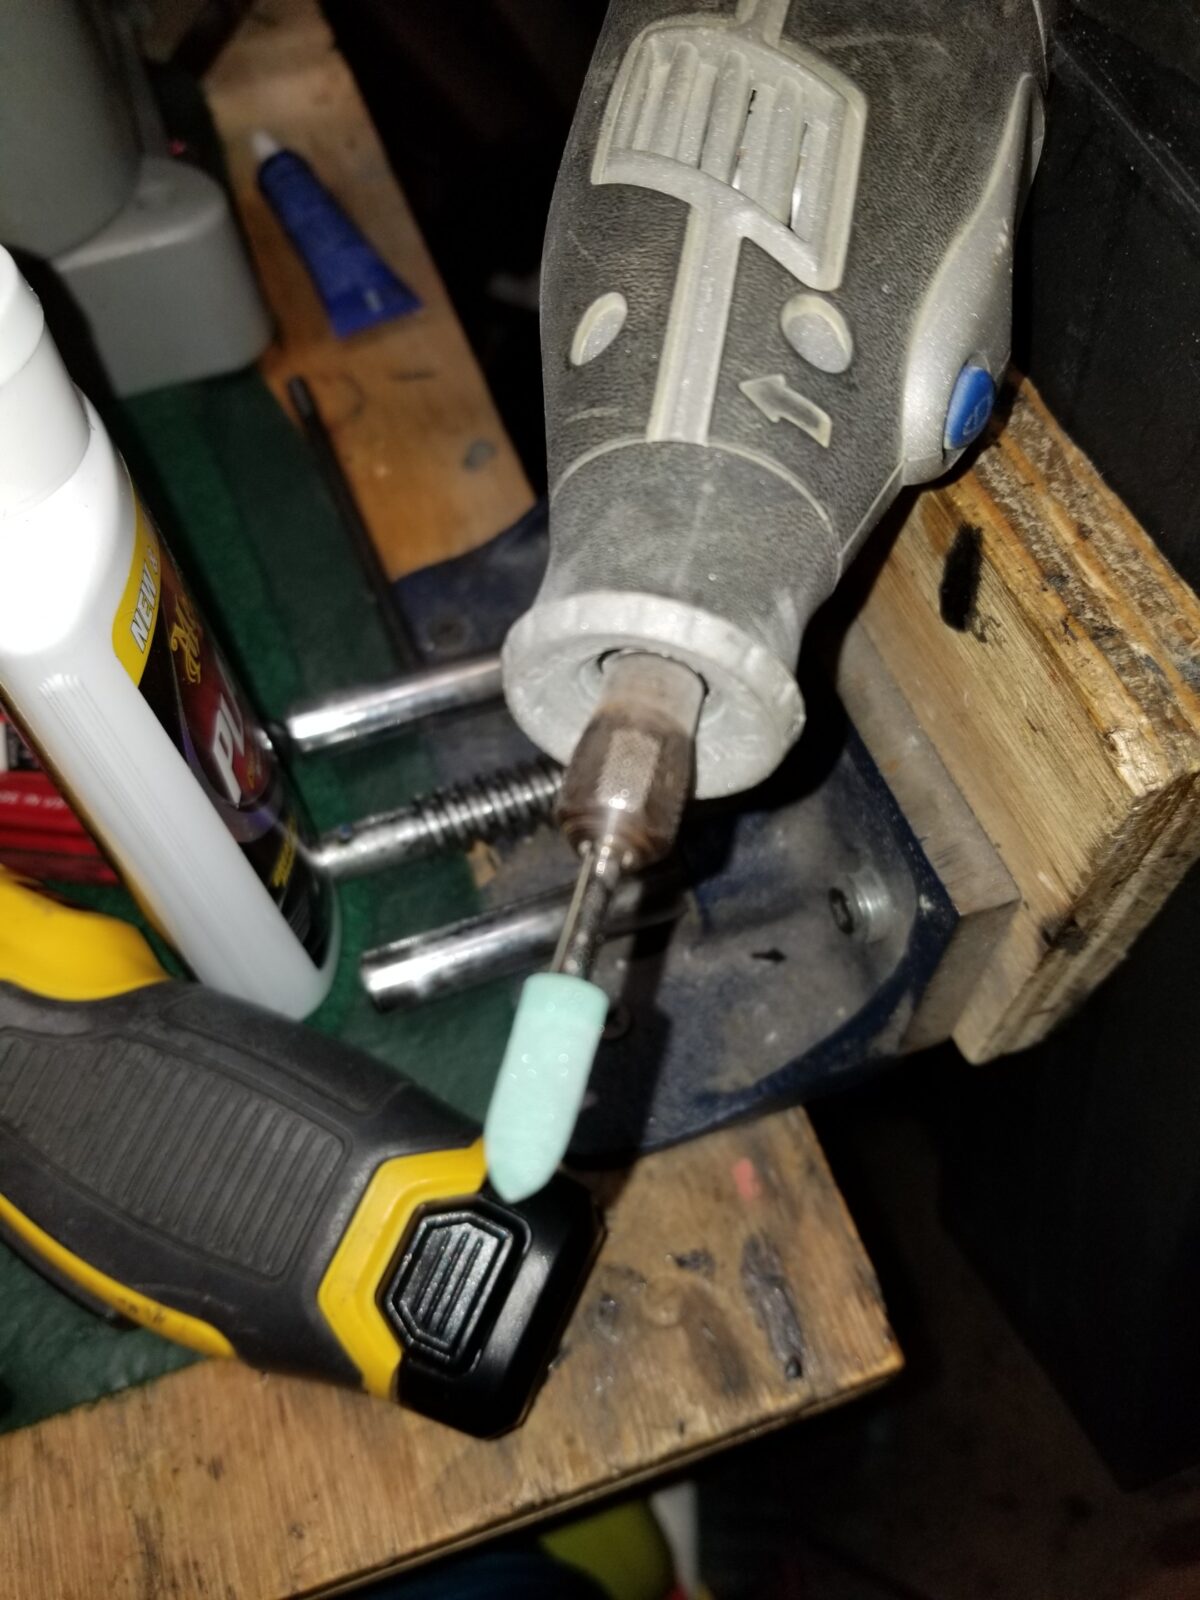
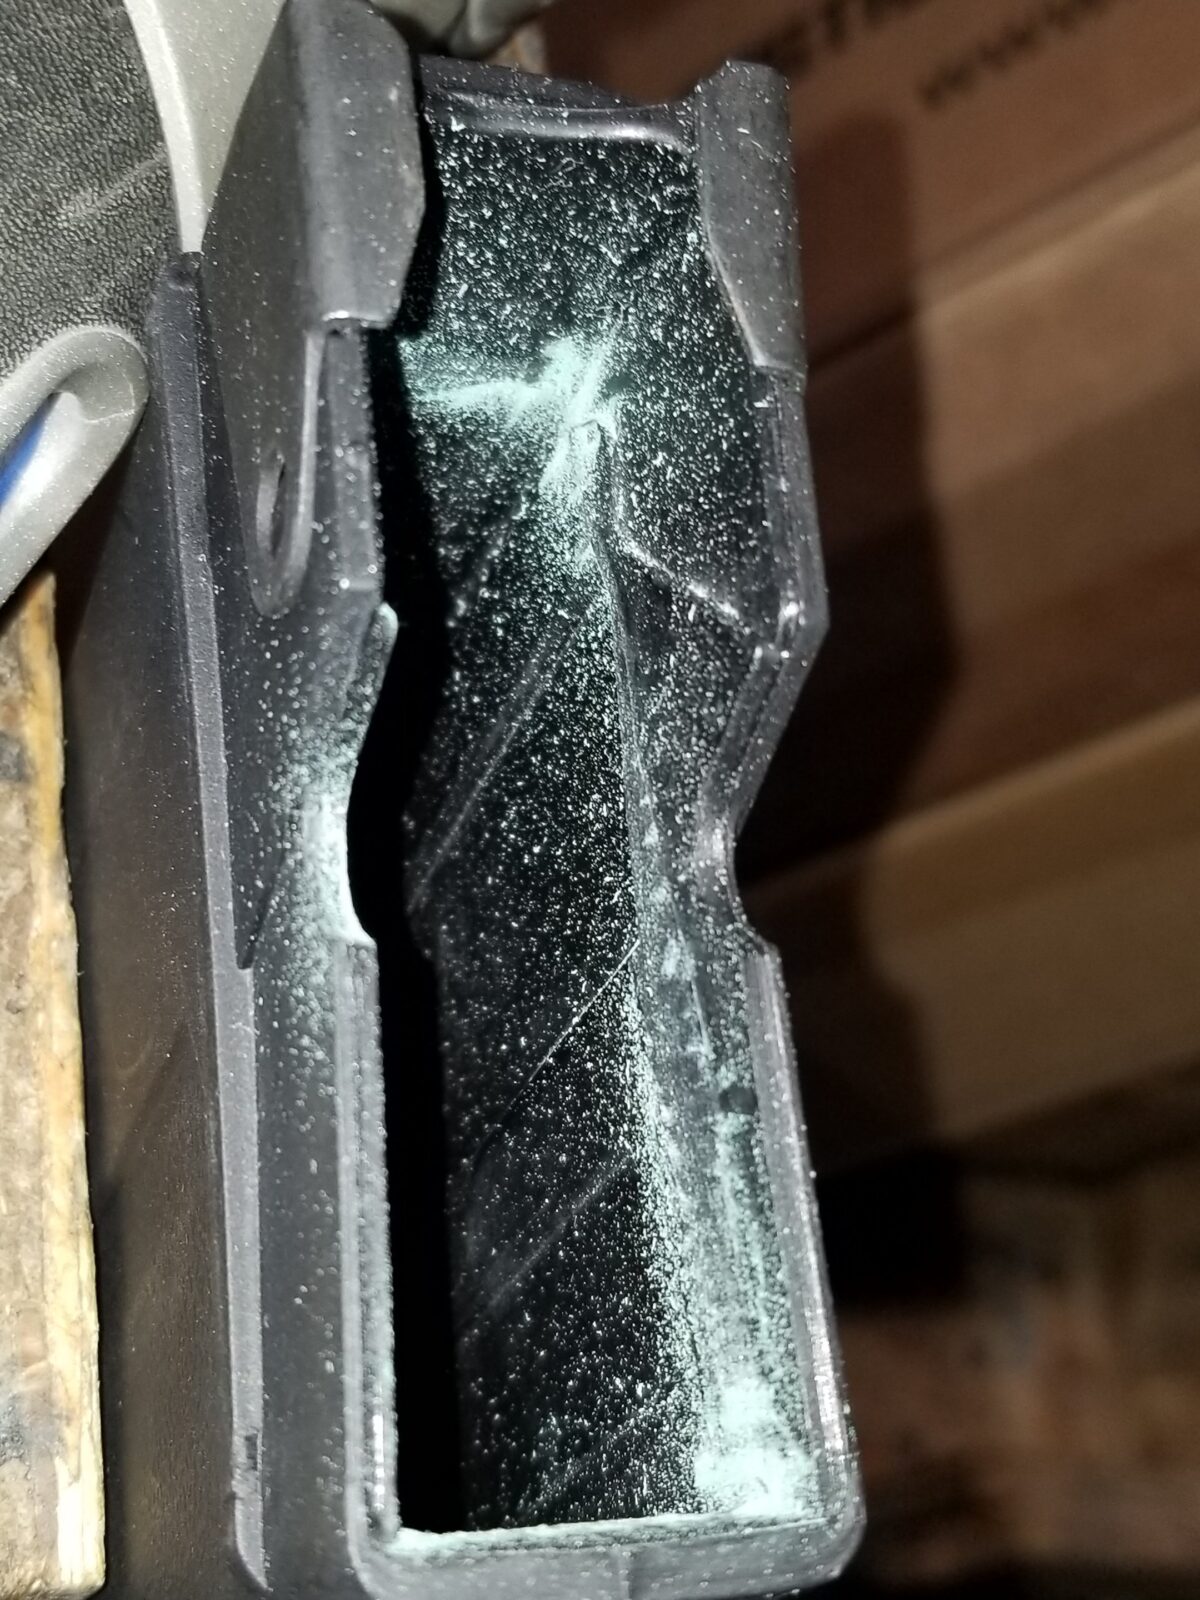
I wound up switching to a bigger rubber abrasive wheel when I did the follower and as far as I could reach in with the bit on the Dremel. The bit is still fine, I would not recommend using anything very aggressive. I used this bit on the follower and the inside of the magazine body. You just need to take a little bit of material off. I went all the way around the magazine body and the follower in that top area. You’ll see just below the scene there is a little elevated area inside the magazine that guides a follower up into position that is too tight.
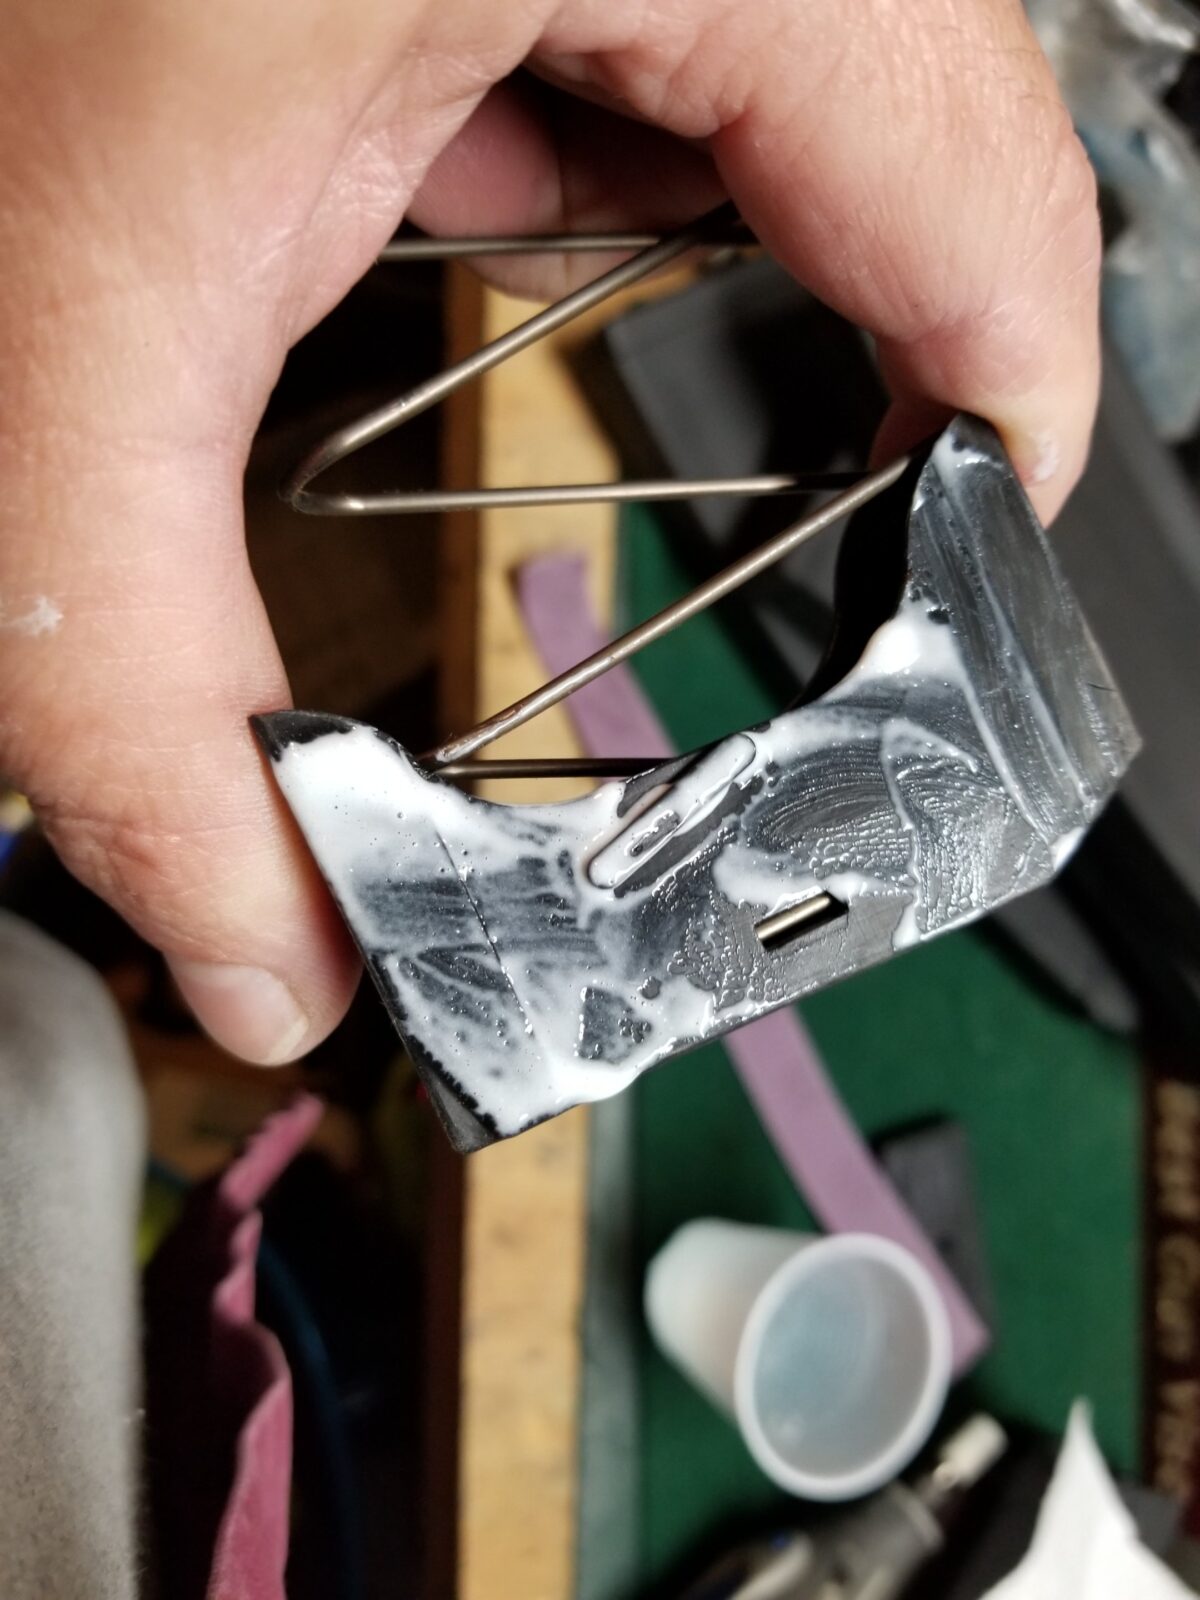
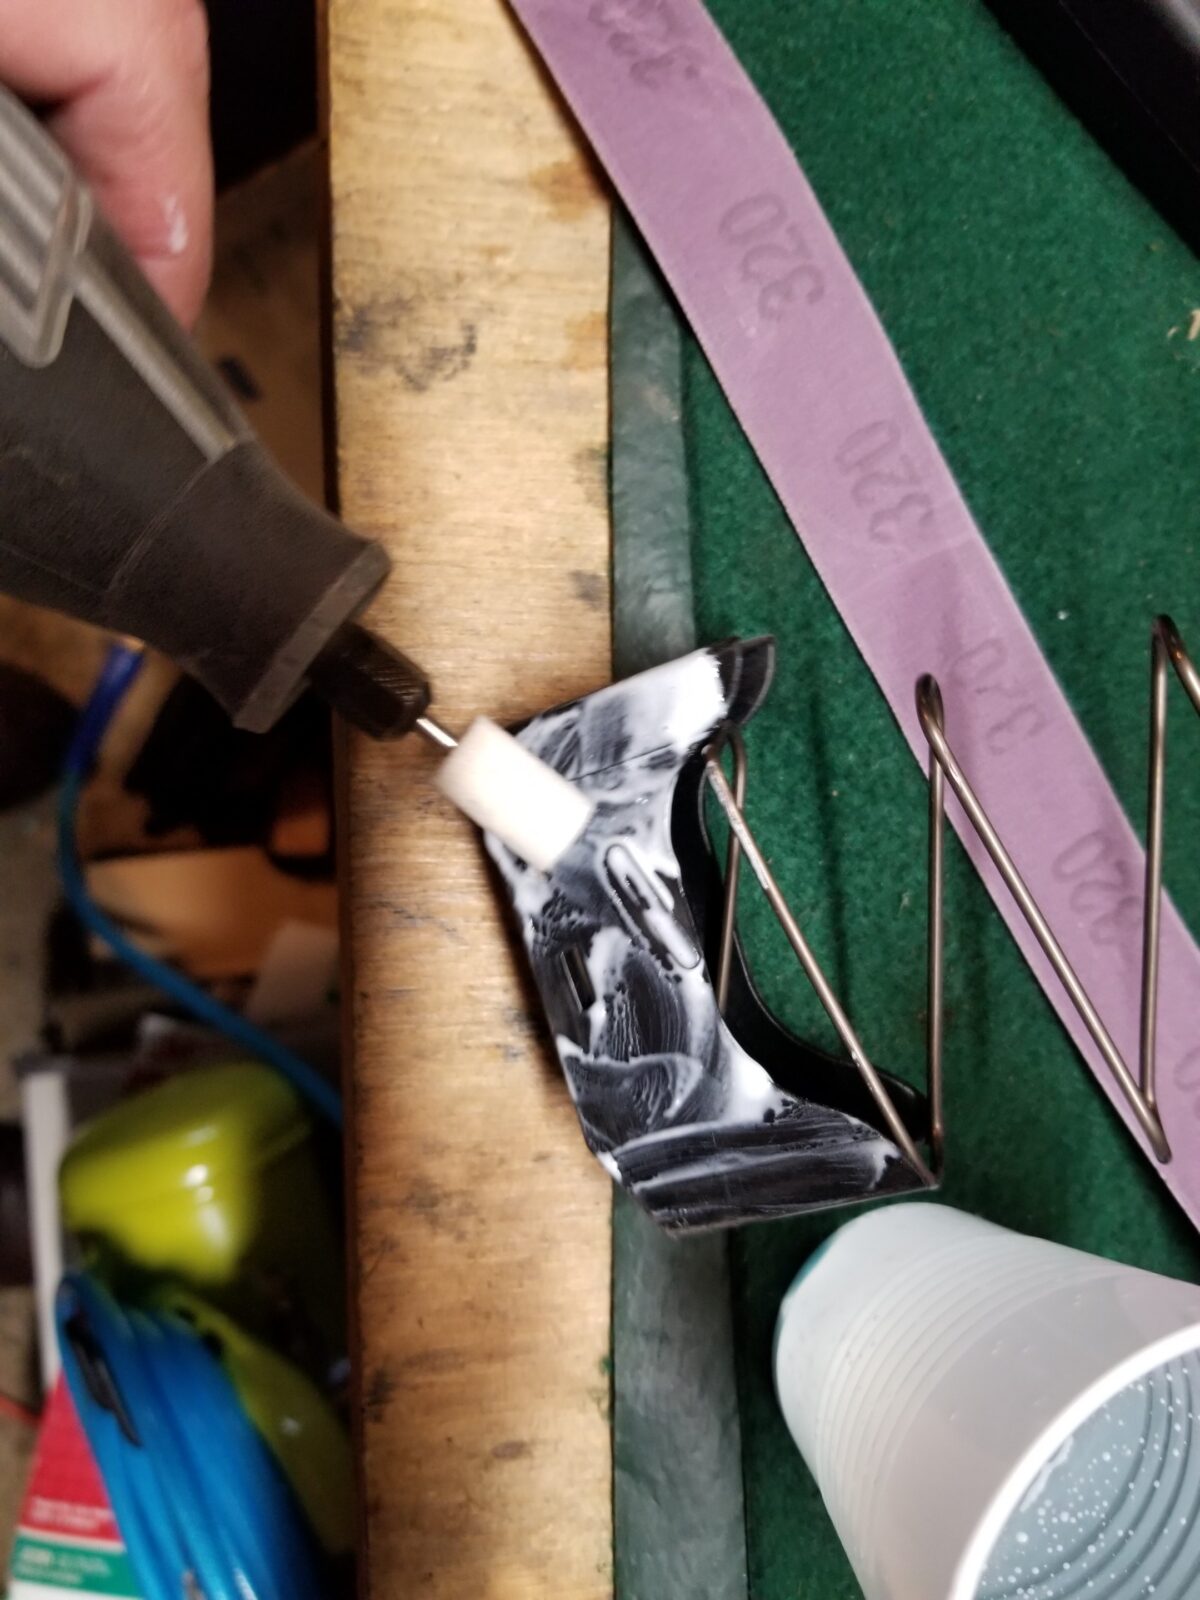
Now I found I needed to do a second step to really smooth things out. The abrasive bit leaves a rough surface and the next thing I did was to use a felt bob/bit with felt on the end in my Dremel along with Plastix polish to finely polish all the surfaces. I tried skipping this step with a couple of the magazines and the end result was so much better that I went back and polished the surfaces I worked on in all of the magazines.
The polishing with the Plastix really made a big difference and I would recommend you do it as well. You could tell the parts were smoother. Definitely wipe everything down and do not leave the grit in the magazine.
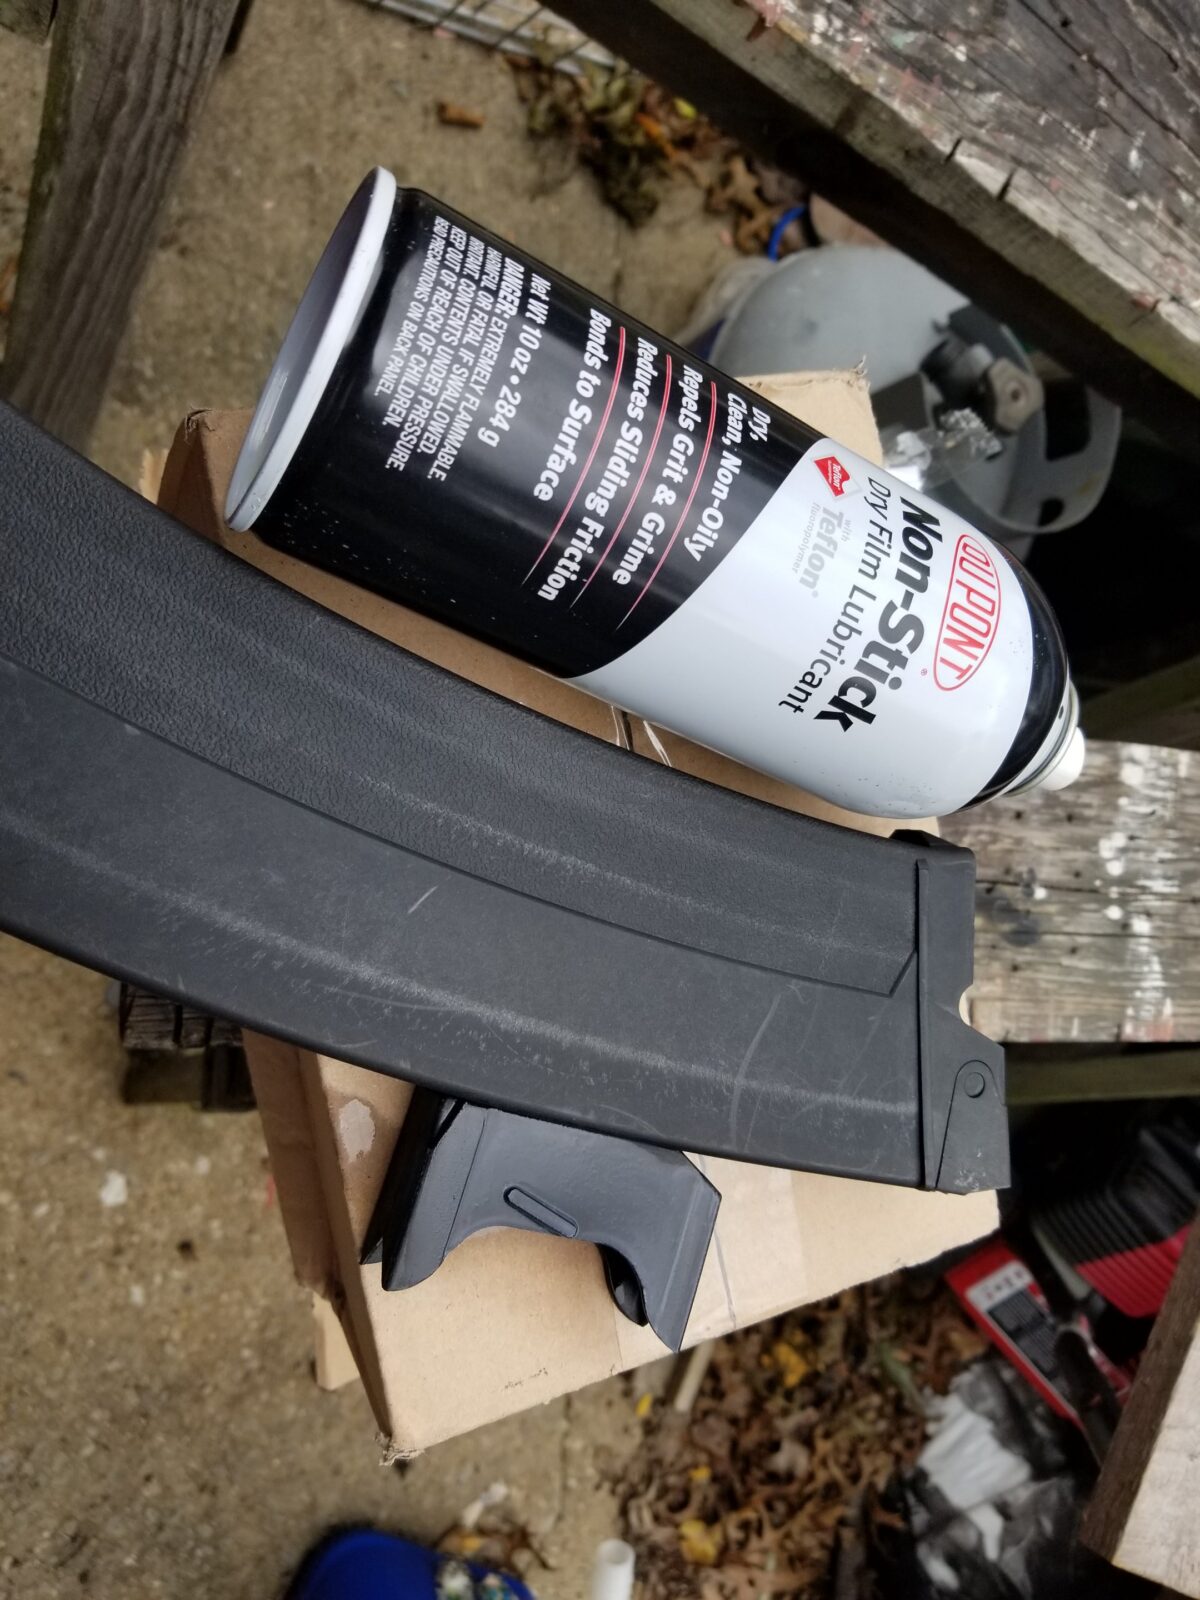
Next, I sprayed the Dupont Teflon dry film lubricant in the magazine body and on the follower. I would not recommend using oil or anything that leaves a residue that dirt will stick to. Instead you want something that is going to leave a dry film behind. This really fixed everything once and for all.
9/21/23 Update: Dupont no longer sells a Teflon spray due to environmental and health concerns. They sell a ceramic-based spray now that I use instead.
I then reassembled the magazines. As mentioned the parts can only go one way. I never took the spring off the bottom plate so I didn’t have to worry about its orientation.
I went ahead and did one final spray of Teflon around the follower and let it run down in. While it is still a liquid, the lubrication will not be very good. You need to let it dry. In my case, it shot up like a rocket. Job done.
End Result
The magazines all seem to work fine now. I think the problem was a combination of the mold seam and that inside area being just a tad too tight. I hope this post helps you out. Small side note to SDS – you really ought to fix this.
10/15/18: First thing this morning SDS reached out to me and is sending replacement magazines. I will test them and report back. They have sold over 3,000 magazines with just a few problems so I might just literally have a bad batch.
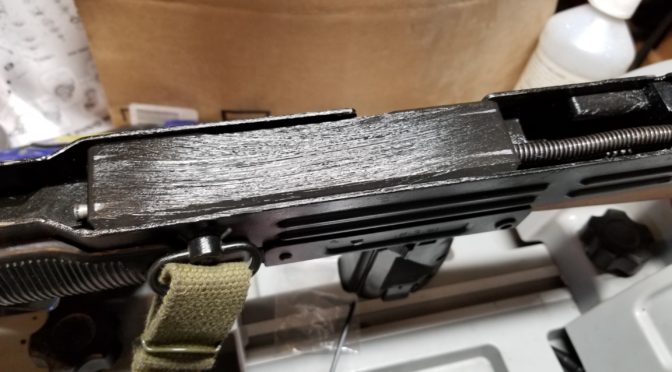
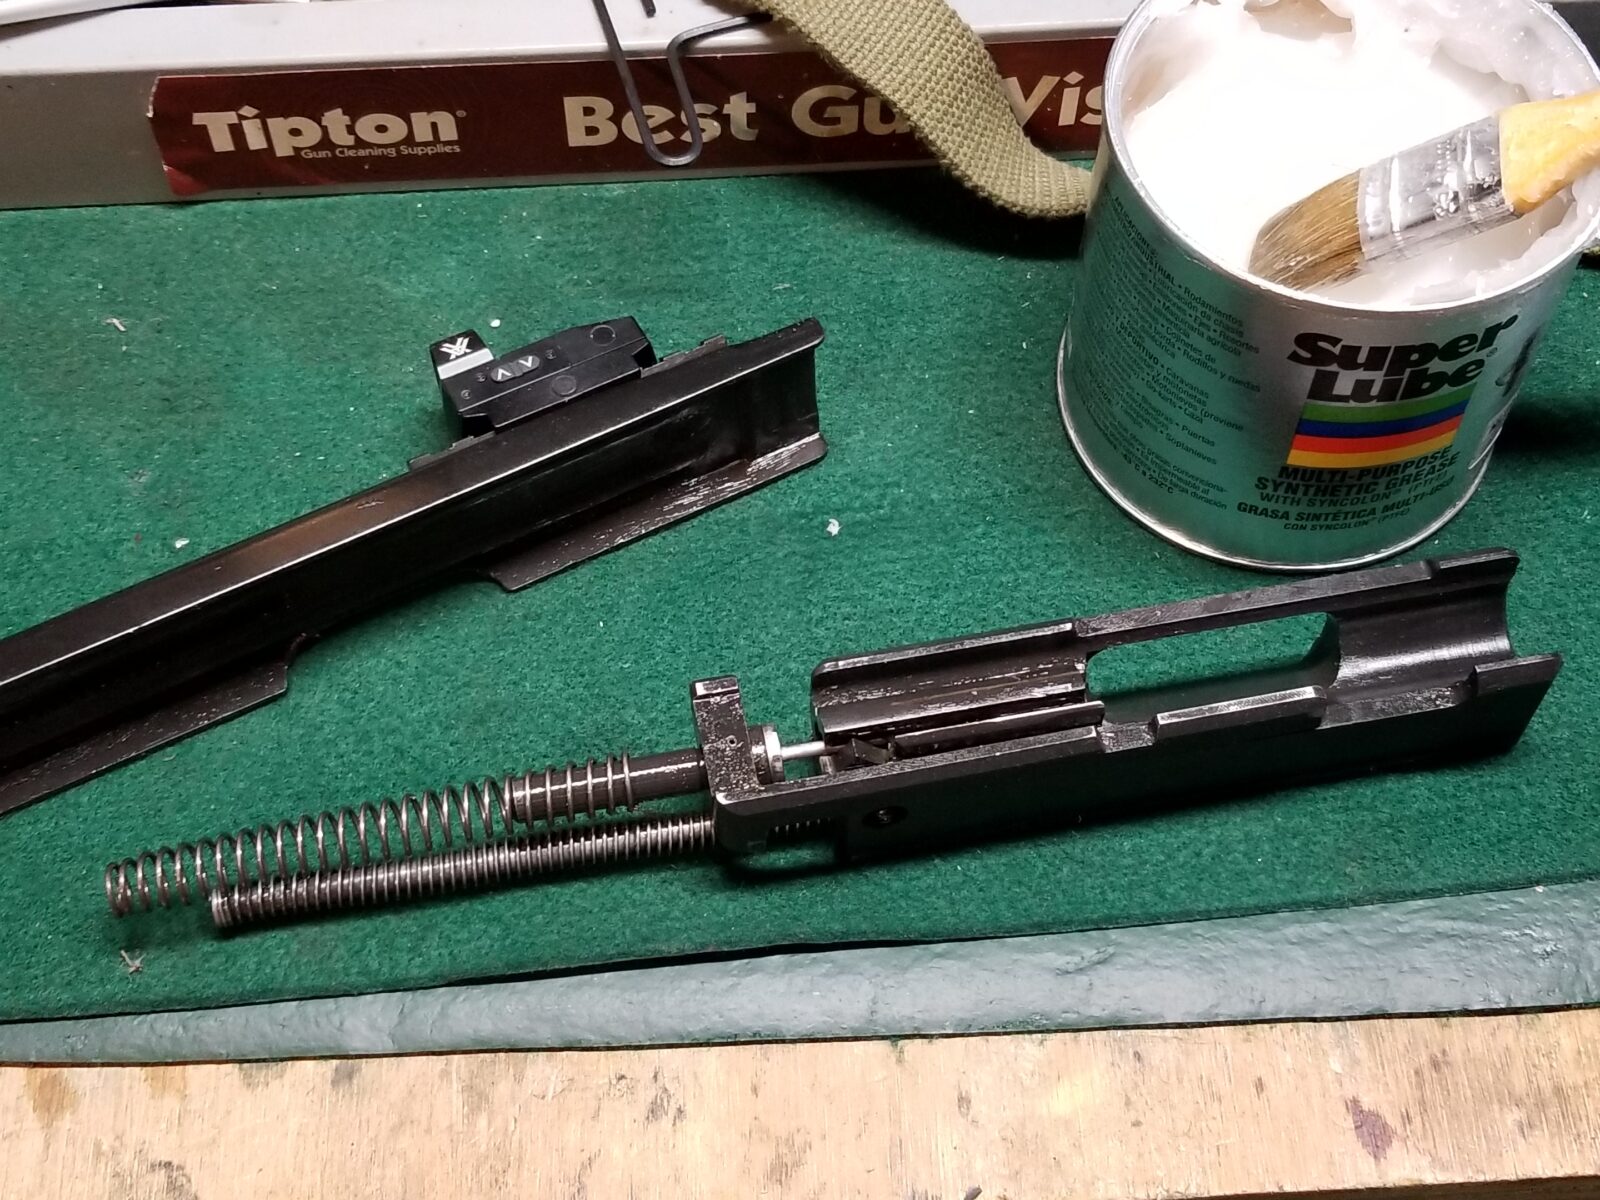
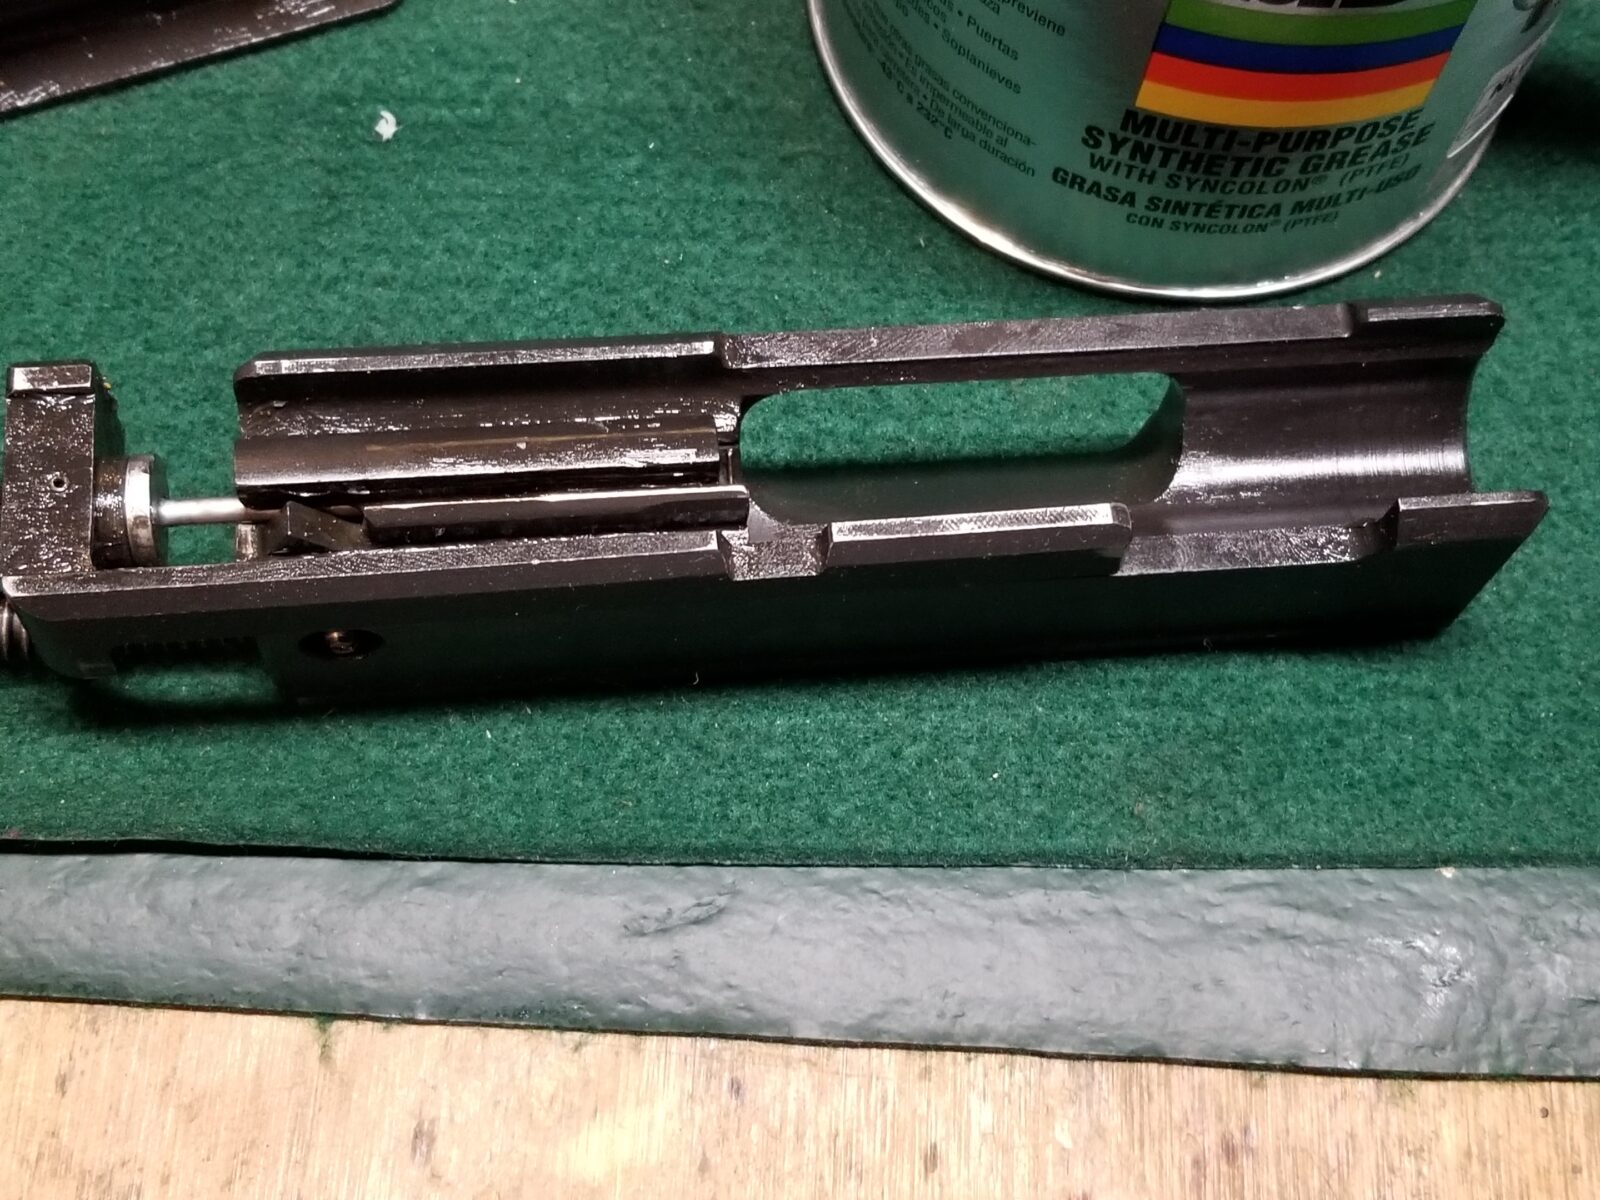
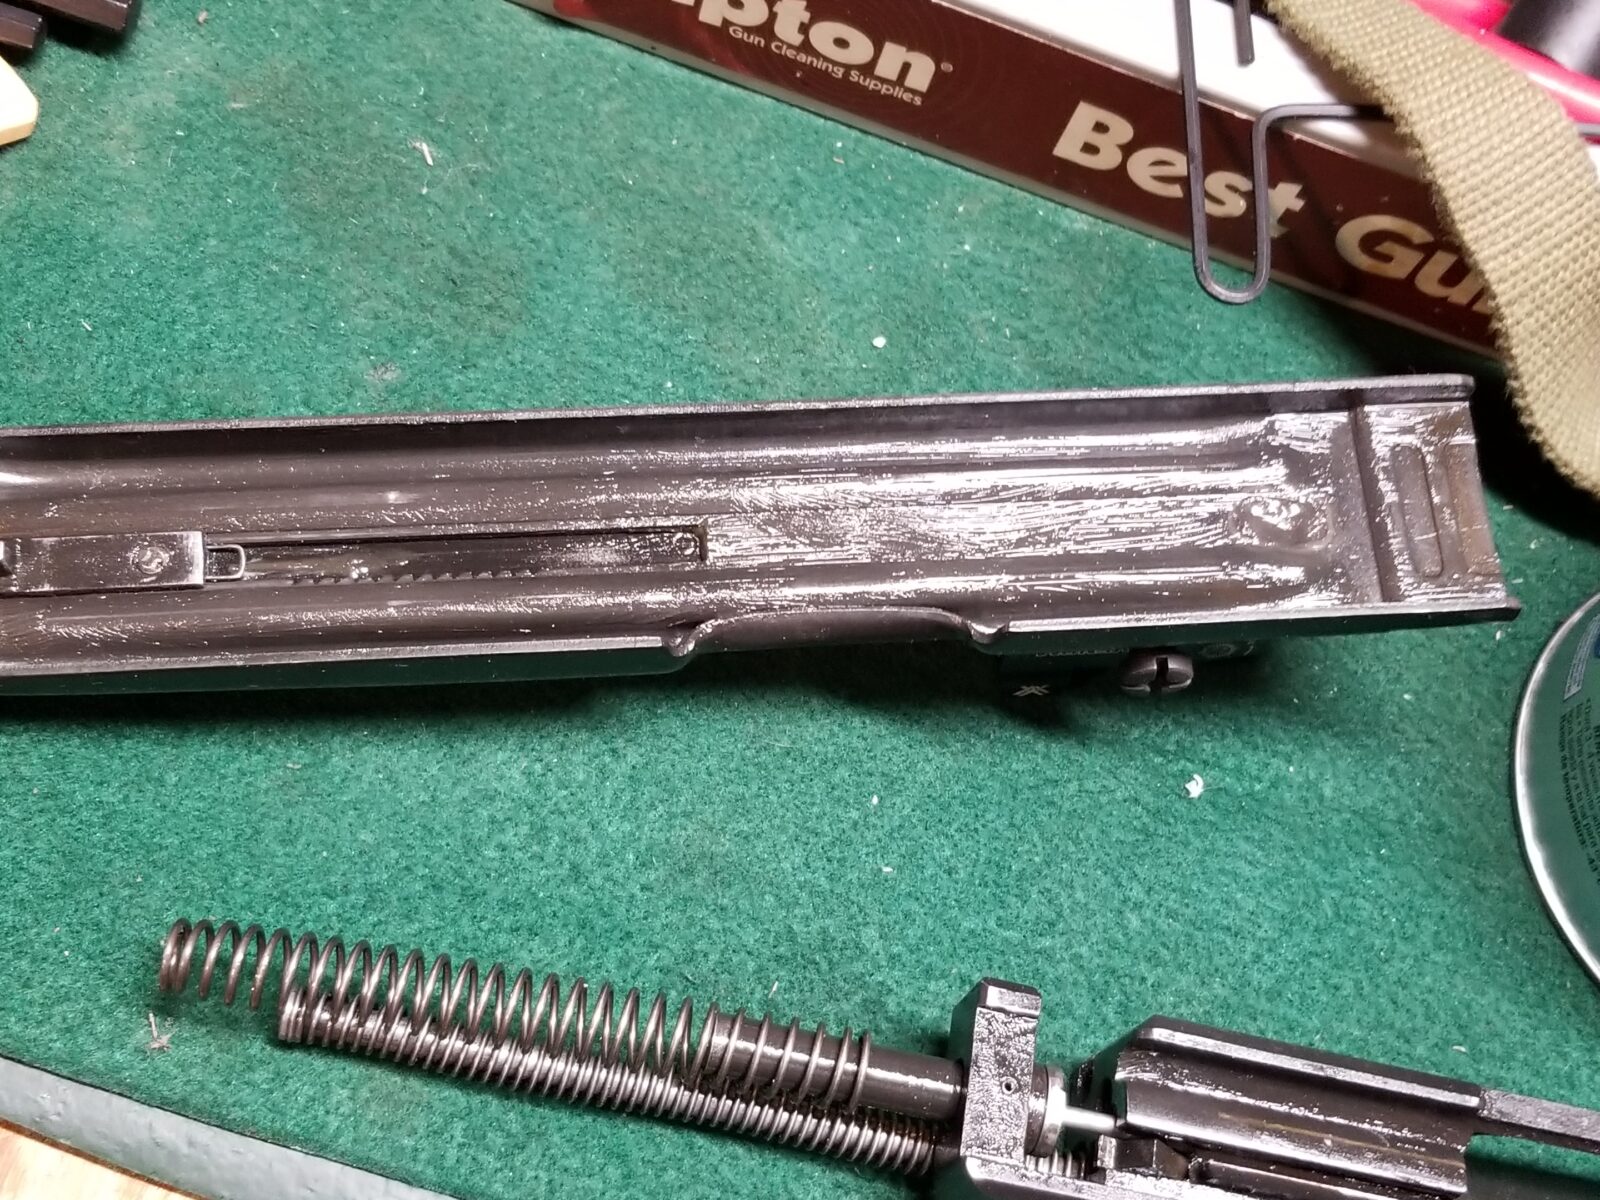
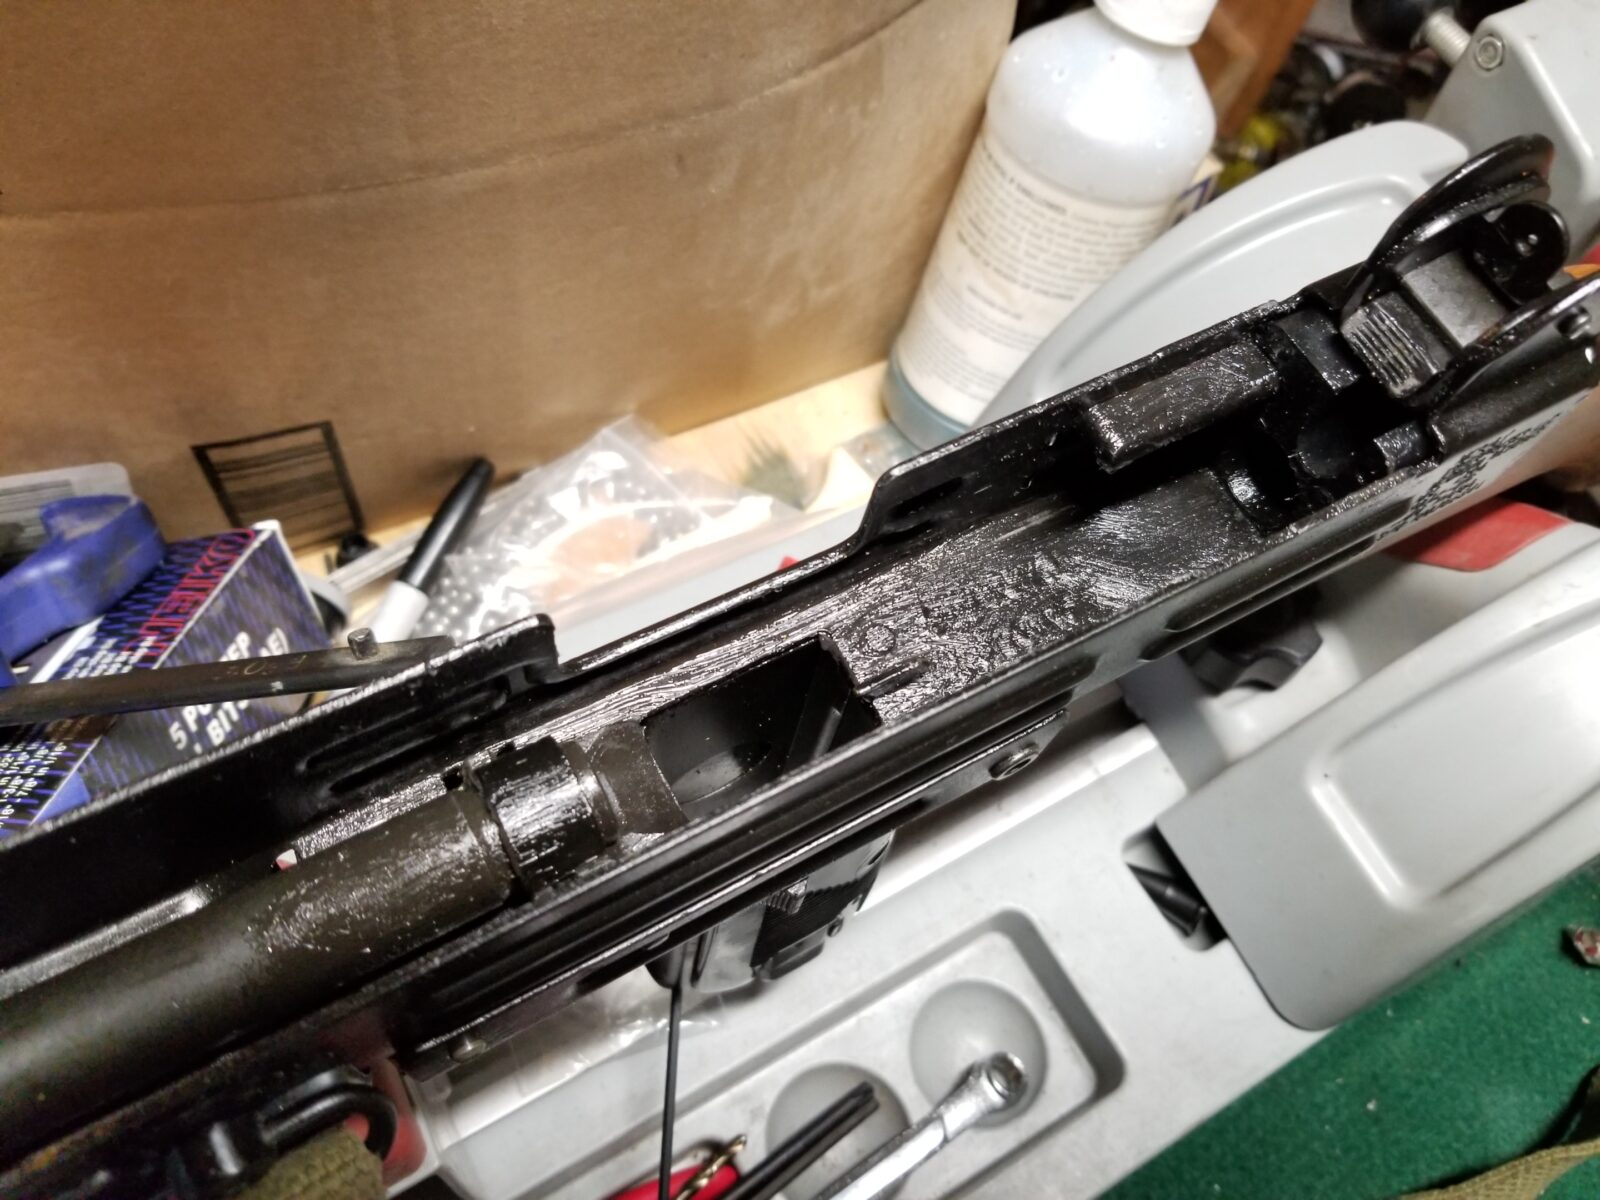
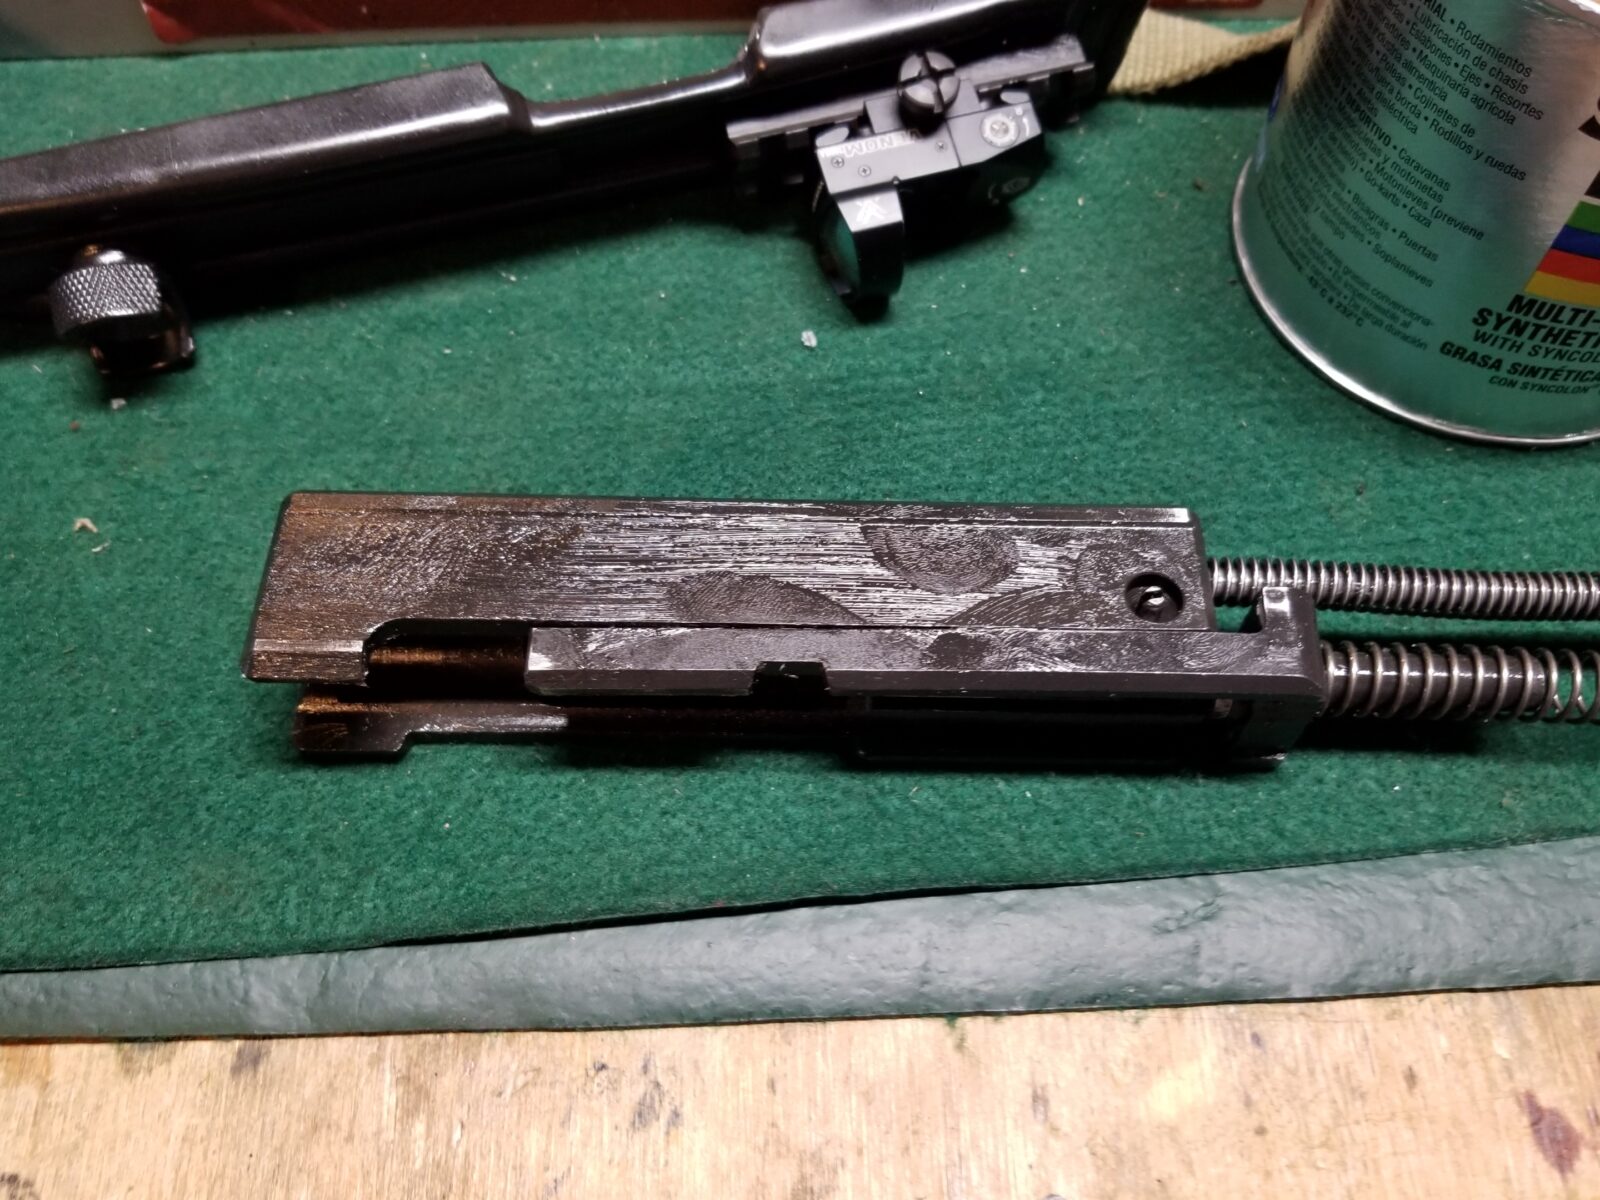
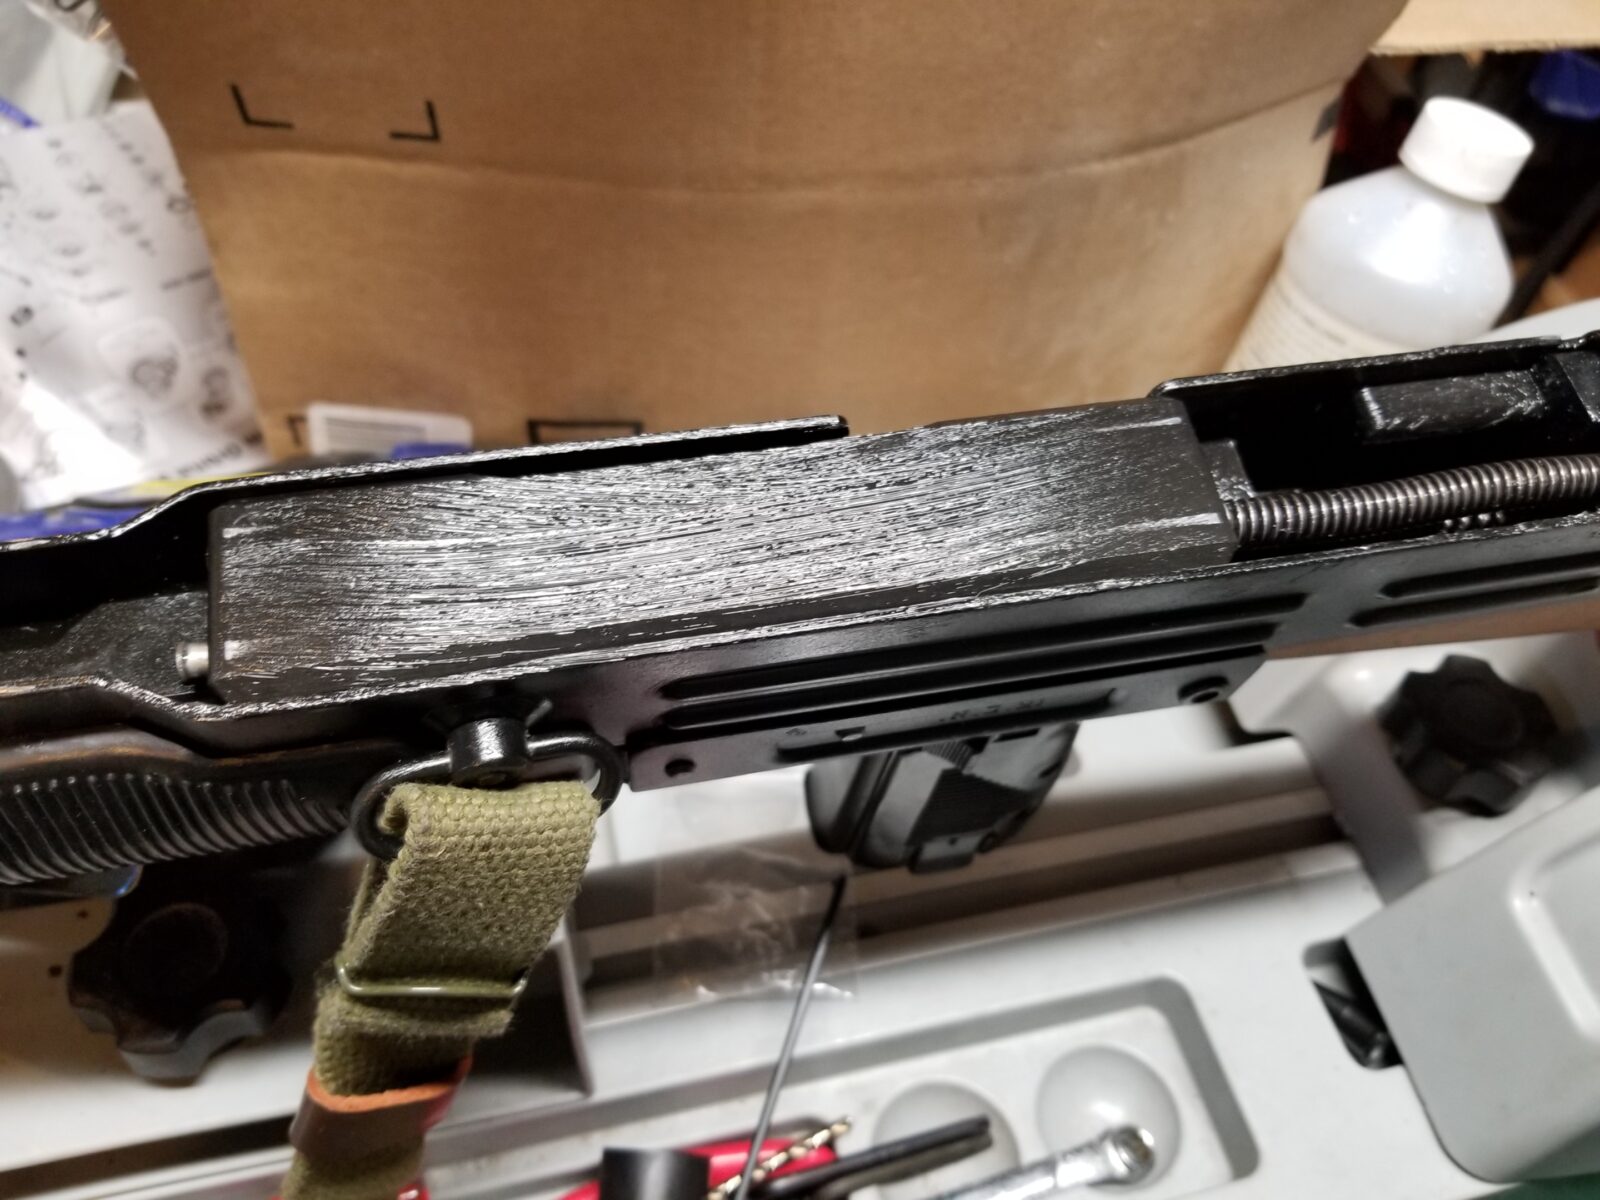
To legally build a semi-auto Uzi, you need to run a closed bolt system vs. the original open bolt. Now the open bolt design was the picture of simplicity albeit with a pretty big bolt. The closed bolt system uses a striker, and while a little more complex, it has a lot of moving surfaces that are parkerized. This means they are relatively rough and need to wear in plus they need serious lubrication during this period.
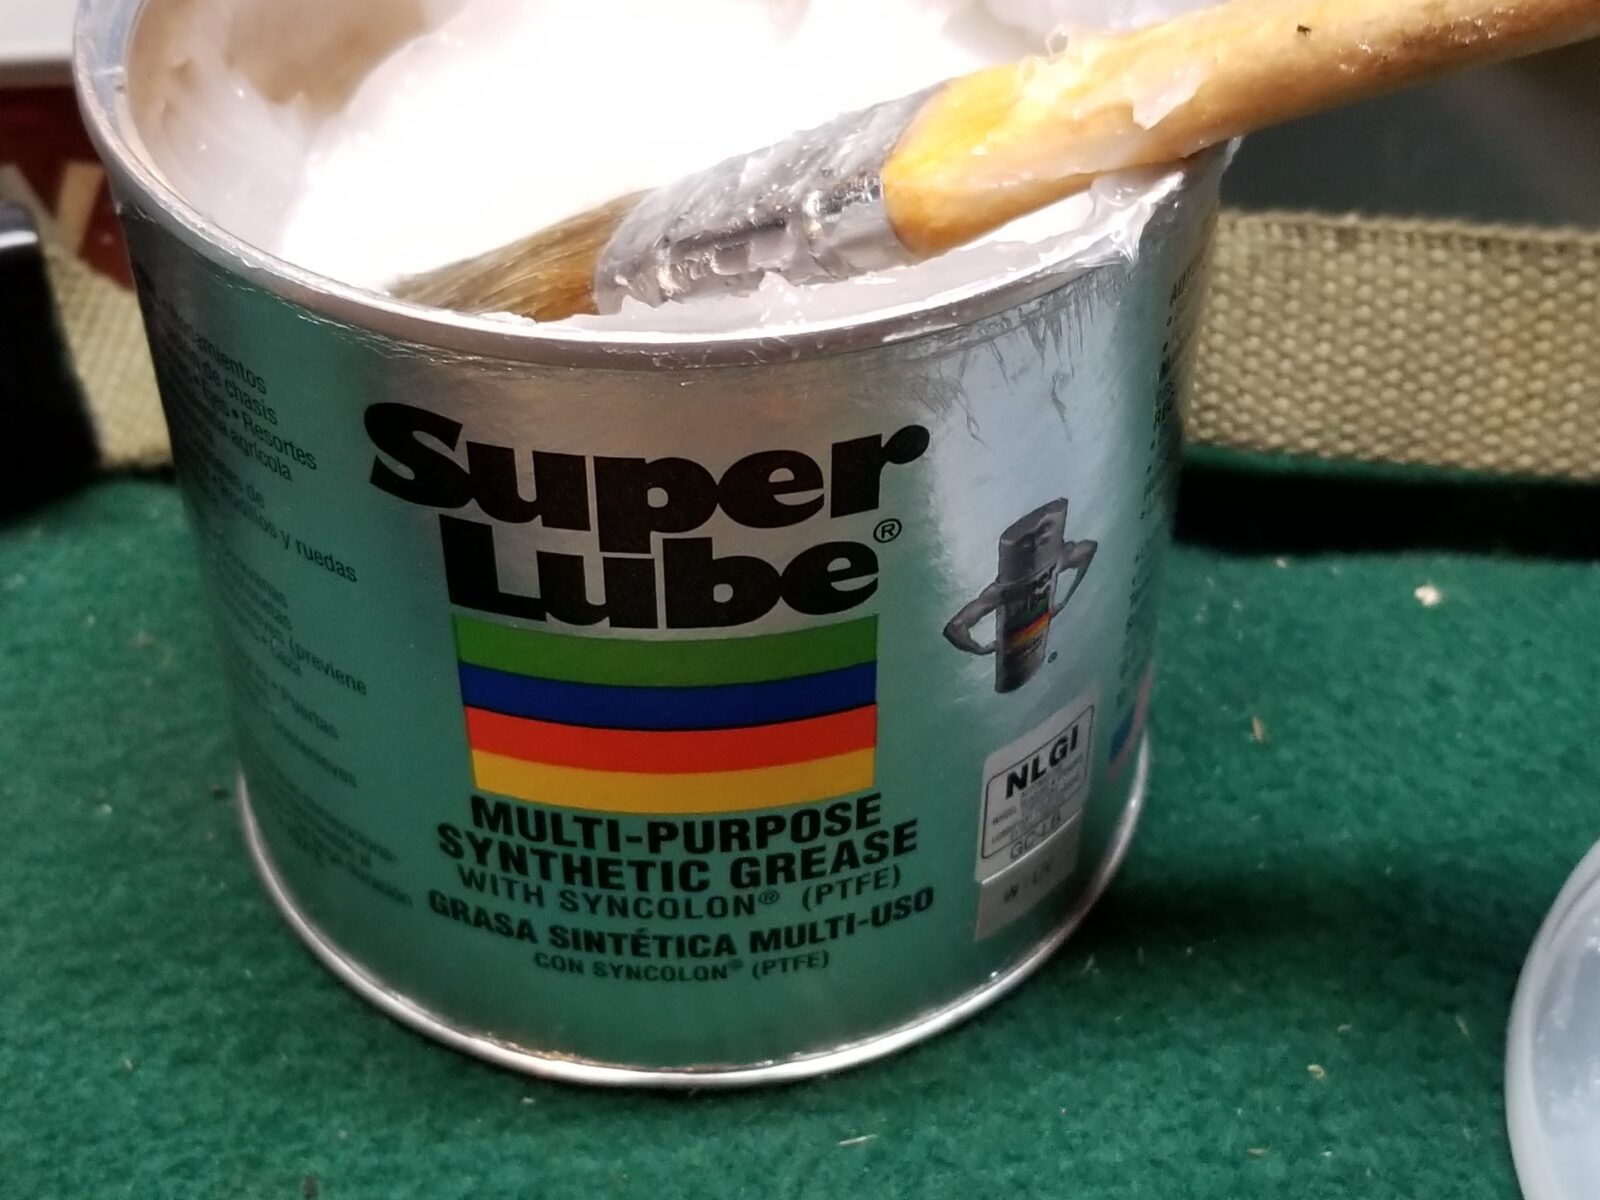
My experience with my Uzi was that oil alone didn’t cut it. Once I moved to using a 1″ chip brush and applying a light layer of Super Lube all over the bolt, striker and insides of the receiver and top cover, the reliability sky rocketed. At this point, it has worn in fairly well and the action cycles very easily.
My recommendation to anyone building a semi-auto Uzi is to use Super Lube Multi-Purpose grease both during break in and for ongoing lubrication of the bolt and striker system. I use regular oil on the fire control group.
I hope this helps you out. It made a world of difference with my Uzi.
I’m always searching for better lubricants. Many of the so-called specialty weapons lubes are just marketing hype with some bulk lubricant poured into their container. In terms of greases, I’ve used quite a few over the years including wheel bearing grease and Tetra Gun Grease. I wanted to find something effective, non-toxic and less expensive.
A name popped up when surfing – Super Lube. To be honest, the first few times I totally dismissed the name because it sounds like some overly-hyped wonder lube that is sold in infomercials. However, the name did keep popping up so I actually started reading up on it.
Super Lube products are made by Synco Chemical Corporation of Bohemia, NU, that was founded in 1980. Their specialization is in the space of synthetic food grade lubricants and hold a number of patents.
There are a number of interesting characteristics about their grease that should be noted:
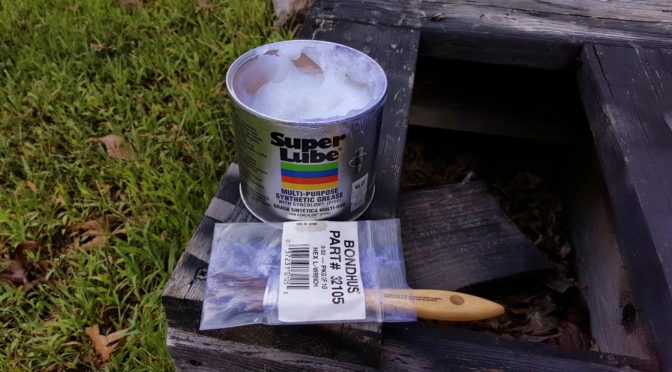
To apply it, I use either a chip brush that I store in a zip loc bag to keep from getting dirty (as shown in the featured photo above) or a small flux / resin brush that I also keep in a baggy.
So, for the last few months I have been testing it. When I cleaned one of my rifles or pistols, I would replace whatever I had been using as grease with the Super Lube Multi-Purpose grease.
I go by the old saying that if it rotates, oil it. If it slides, grease it. That is my rule of thumb so it goes on AK rails, bolt carriers, where the trigger hook grabs the hammer, etc.
It works great! The weapons feel well lubricated after cleaning and they function great. When I take them apart again for cleaning, the Super Lube shows no sign of breaking down, drying out, becoming gummy, etc.
If you are looking for an excellent affordable grease, check out Super Lube. I’m definitely very happy with it.
When I first heard of the .50 Beowulf cartridge, it got added to my bucket list immediately. What’s not to like – the ballistics of the .45-70 cartridge in an AR platform that hits like a freight train. Somewhat humorously, I’d also point out that it drops noticeably at 150 yards and like a pumpkin after 200 yards but boy, does it hit hard when it does.
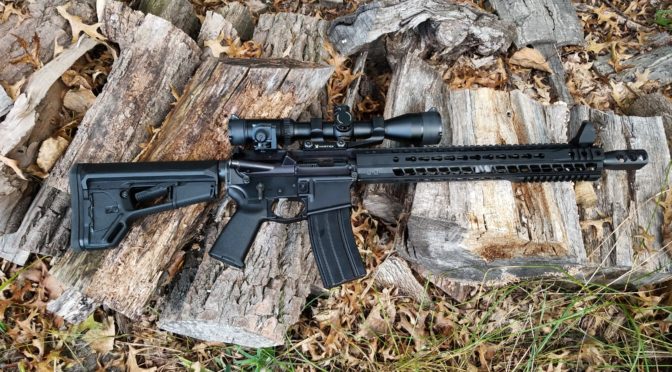
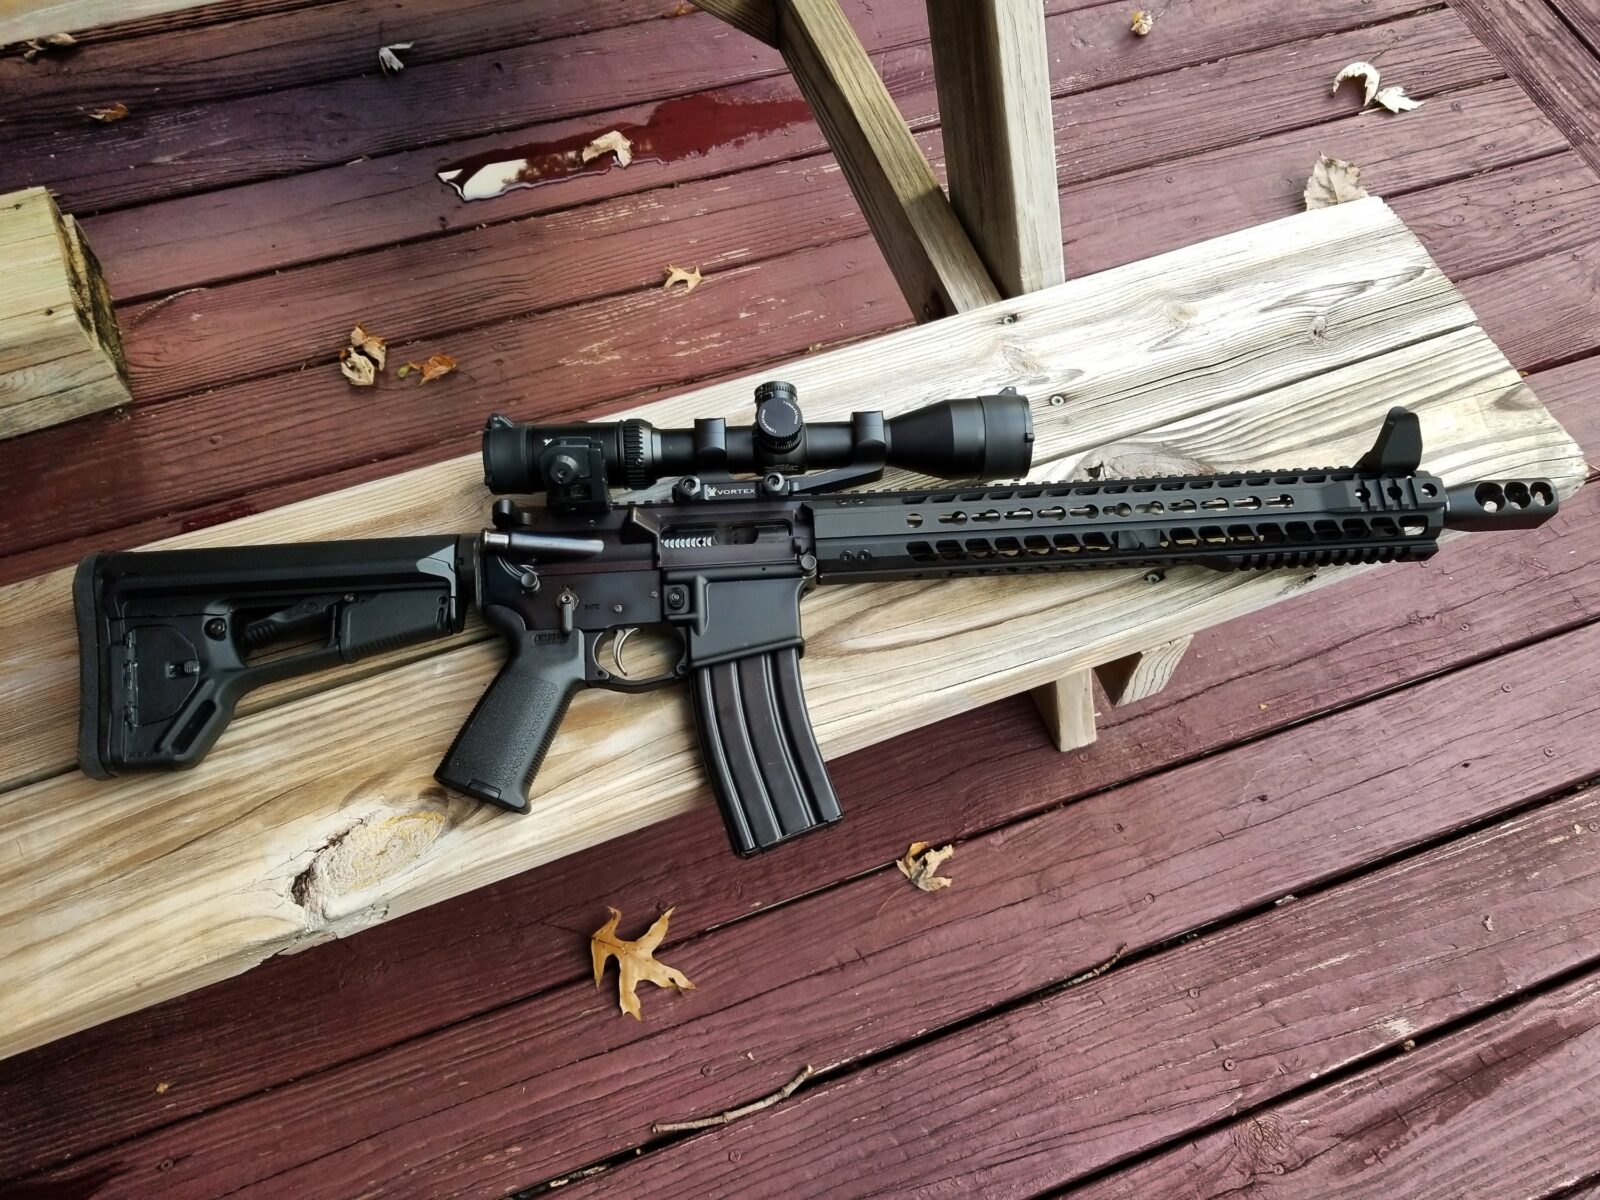
I have fun assembling AR lowers the way I want them and figured I would save time and get an assembled upper. In early 2016, I looked at two different vendors of assembled uppers – Alexander Arms (AA), who was the originator of the cartridge, and Radical Firearms, a discount AR rifle and assembler of uppers and lowers in Texas. A basic AA upper was around $719 that did not have a brake (or threading) and basic handguards. A decent looking Radical unit in the generic 12.7×42 chamber was only $598. It seemed like a no brainer and I went with the Radical unit.
To jump ahead just a bit — I wish I had bought a better AA upper for $923-1190. The Radical upper caused me quite a bit of grief and I am going to chronicle my adventure here because I did get it to work out in the end and was very happy with the results but I had to work for it.
Radical Arms Challenges
When I first ran across Radical, I had high hopes. In an impulse buy, I purchased two 5.56 uppers and the 12.7×42 upper. In case you are wondering why I am listing 12.7×42, that is the generic designation for the .50 Beowulf cartridge that AA owns the intellectual property for. By using the metric designation, Radical could build an upper without paying anything to AA.
When I bought my uppers, Radical was undergoing a huge growth spurt and I had to wait some period of time (4-8 weeks maybe) for the uppers. That was not a big deal to me. The AR uppers arrived and while gritty and needing polishing, they worked. Basically, what you’d expect with relatively low cost mass assembled products.
The 12.7×42 upper was a different story. Sometimes it would cycle and sometimes it would not. Radical took forever to respond to emails and what not so I figured screw it, I’ll just treat the assembled upper as a collection of parts and move ahead. To be perfectly clear, I parted ways with Radical and did not give them a chance to fix it after I got frustrated by how everything was going.
So, I started researching on the web and found that Beowulfs use a bolt head that is slightly different than a 7.62×39 AR bolt. After cycling my rifle by hand over and over, I concluded the cartridge was not seating properly in the bolt face and ordered a true .50 Beowulf bolt directly from Alexander Arms (not Radical). Problem solved. It’s run perfectly ever since. Whether Radical installed the wrong bolt or an out of spec bolt, I don’t know. I threw the offending bolt in the trash and called it even,
Another irritation Radical caused me was when the handguard loosened up because they hadn’t used Loc-tite on the screws. My recommendation is to just use Blue Loc-Tite if you run into this – it worked fine for me. I like the handguard otherwise.
The one thing they got right was the barrel. I heard Satern made the barrel but don’t know for sure. It is wonderfully accurate with the big 350gr XTP hollow point cartridges that AA makes. I am very pleased with that combination.
Yes, I eventually got it to work. No, will not buy from Radical again but I definitely would buy more stuff from Alexander Arms. I dealt with them on the phone a few times for ammo as well as the website. The staff were pleasant to deal with and shipping was always prompt.
Addressing Recoil
I was not impressed by the muzzle brake that Radical supplied and started researching the best brake for the Beowulf. Bear in mind the muzzle has a pretty unique thread at 49/64″-20 threads per inch (TPI). In addition, I knew I would need a jam nut to address the timing so the brake could be level on the barrel and it needed to be steel and not aluminum.
The Timber Creek Beowulf Brake Rocks!
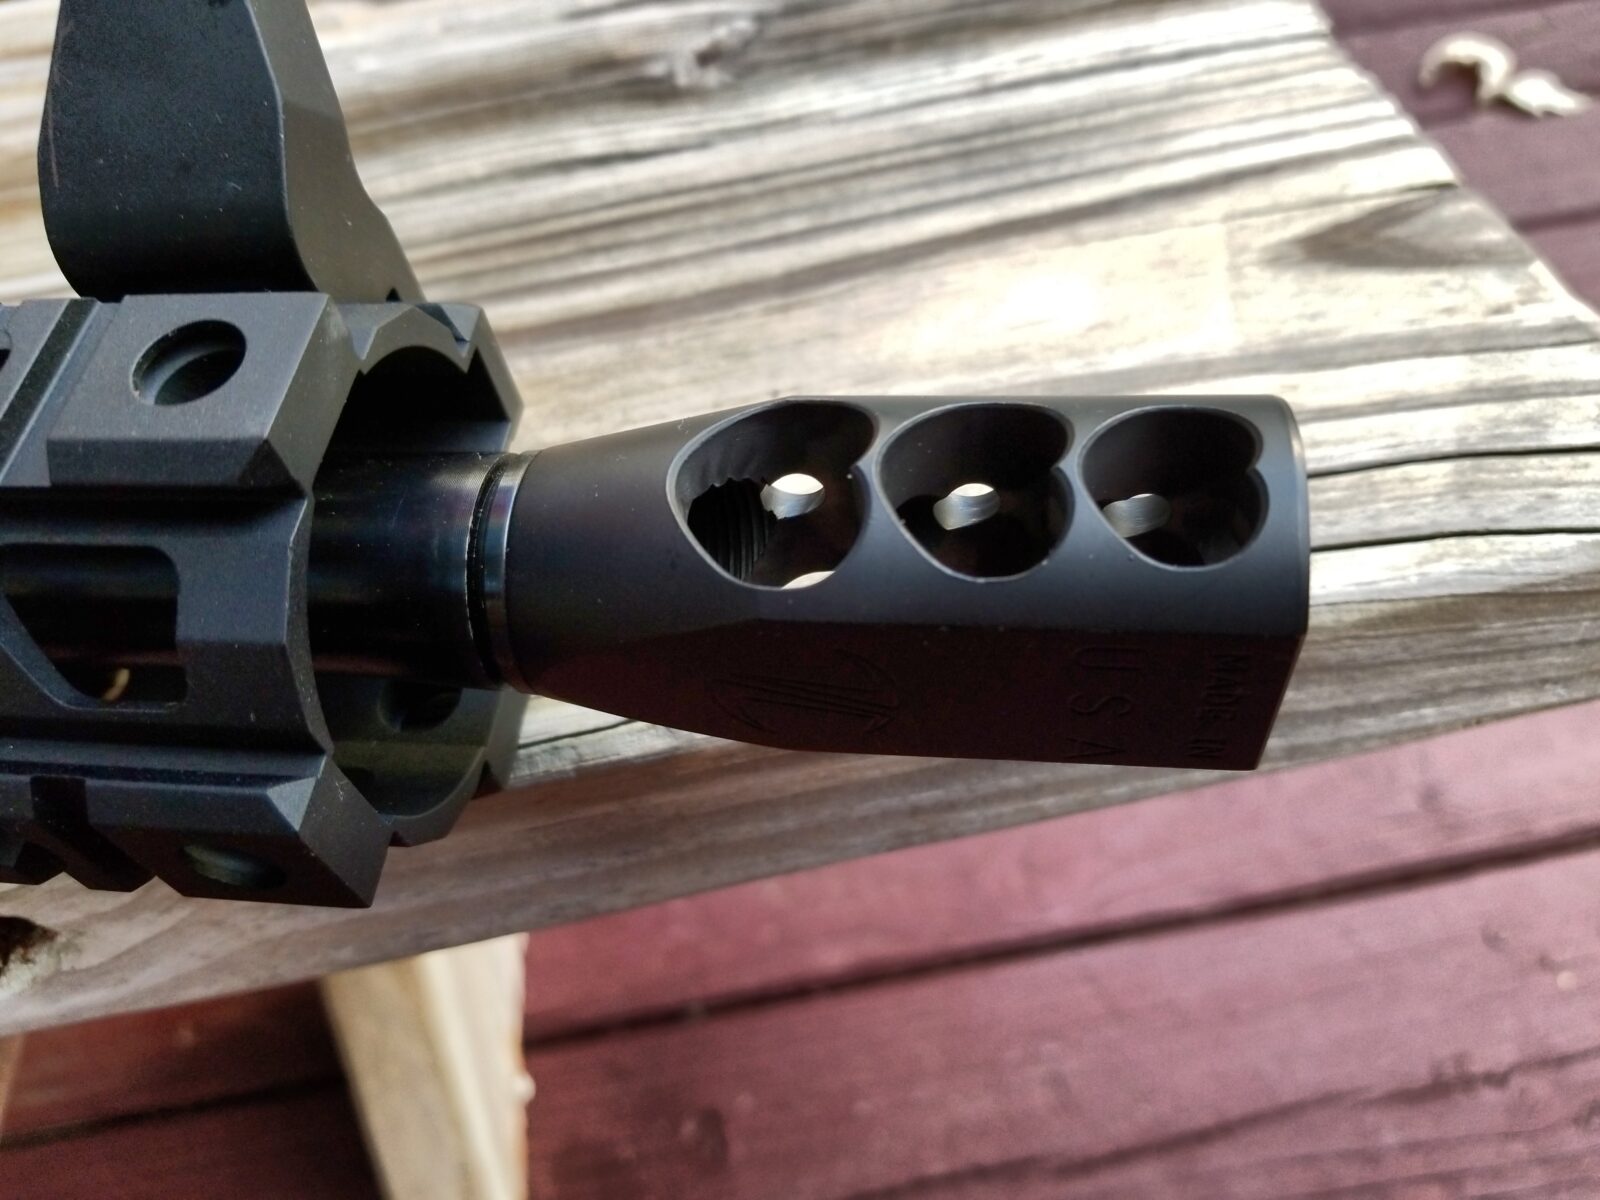
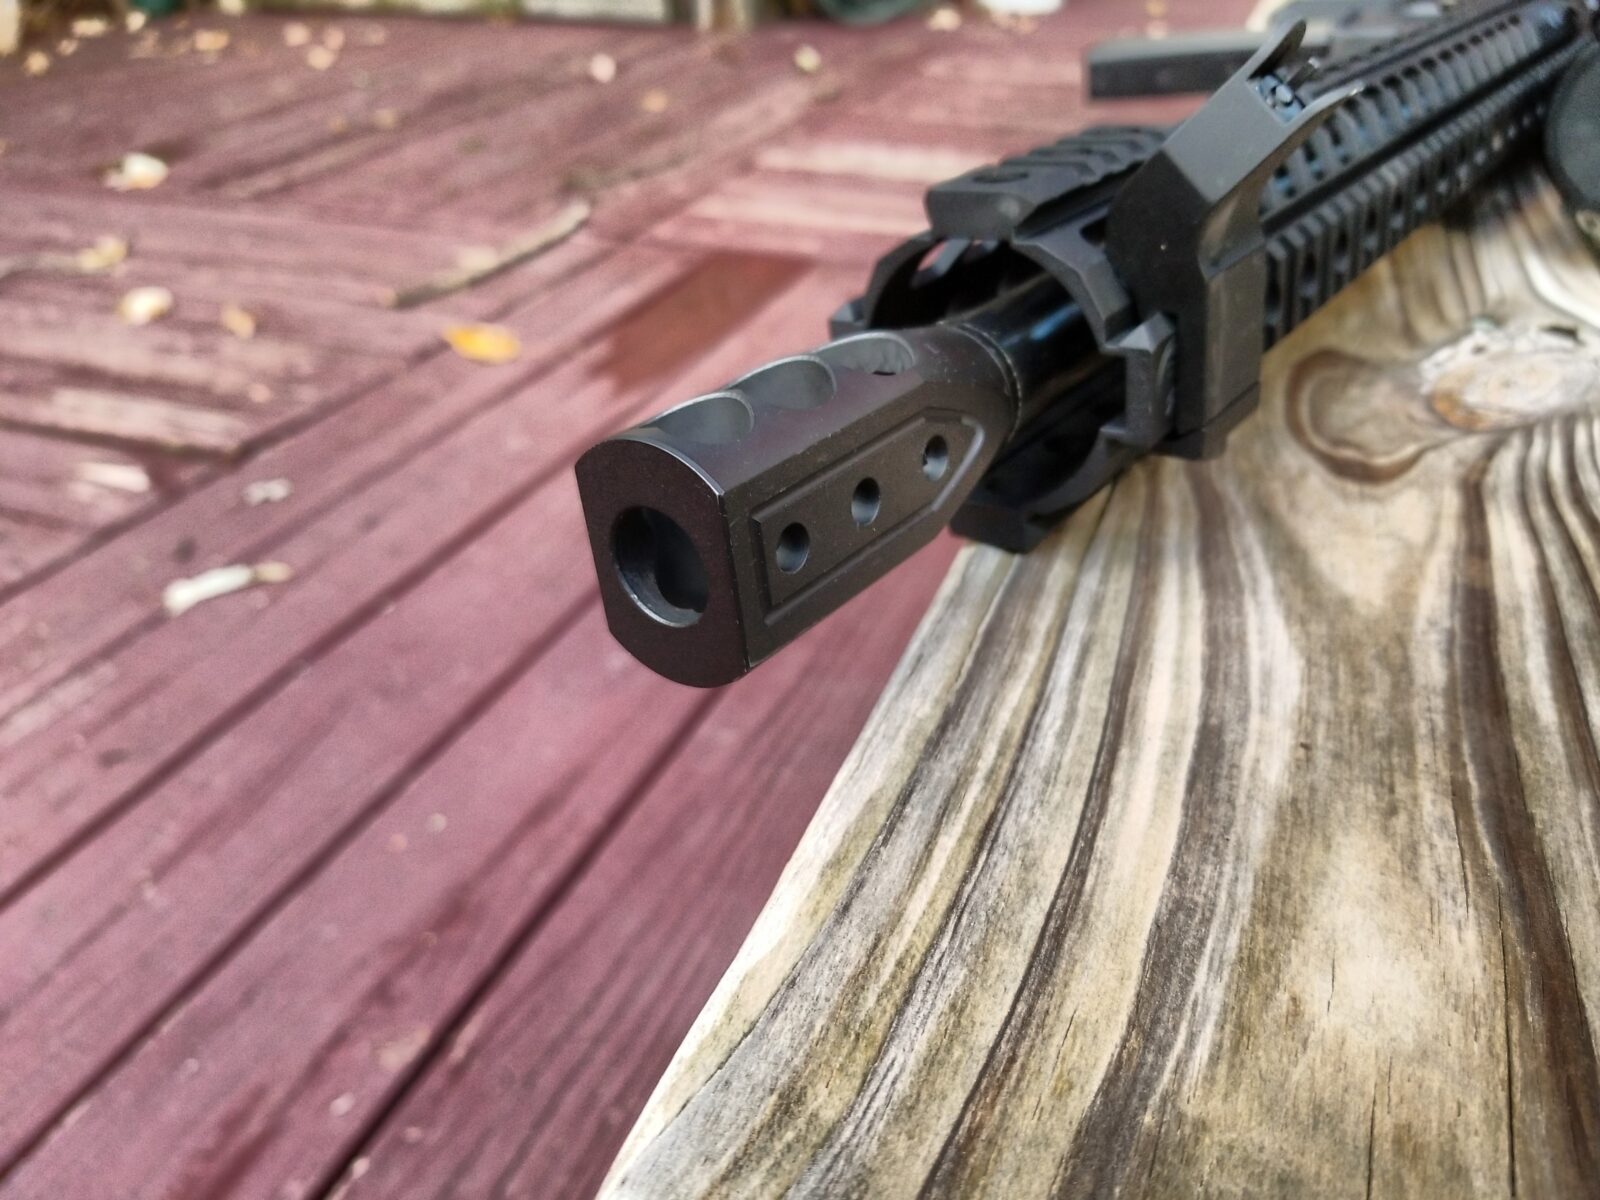
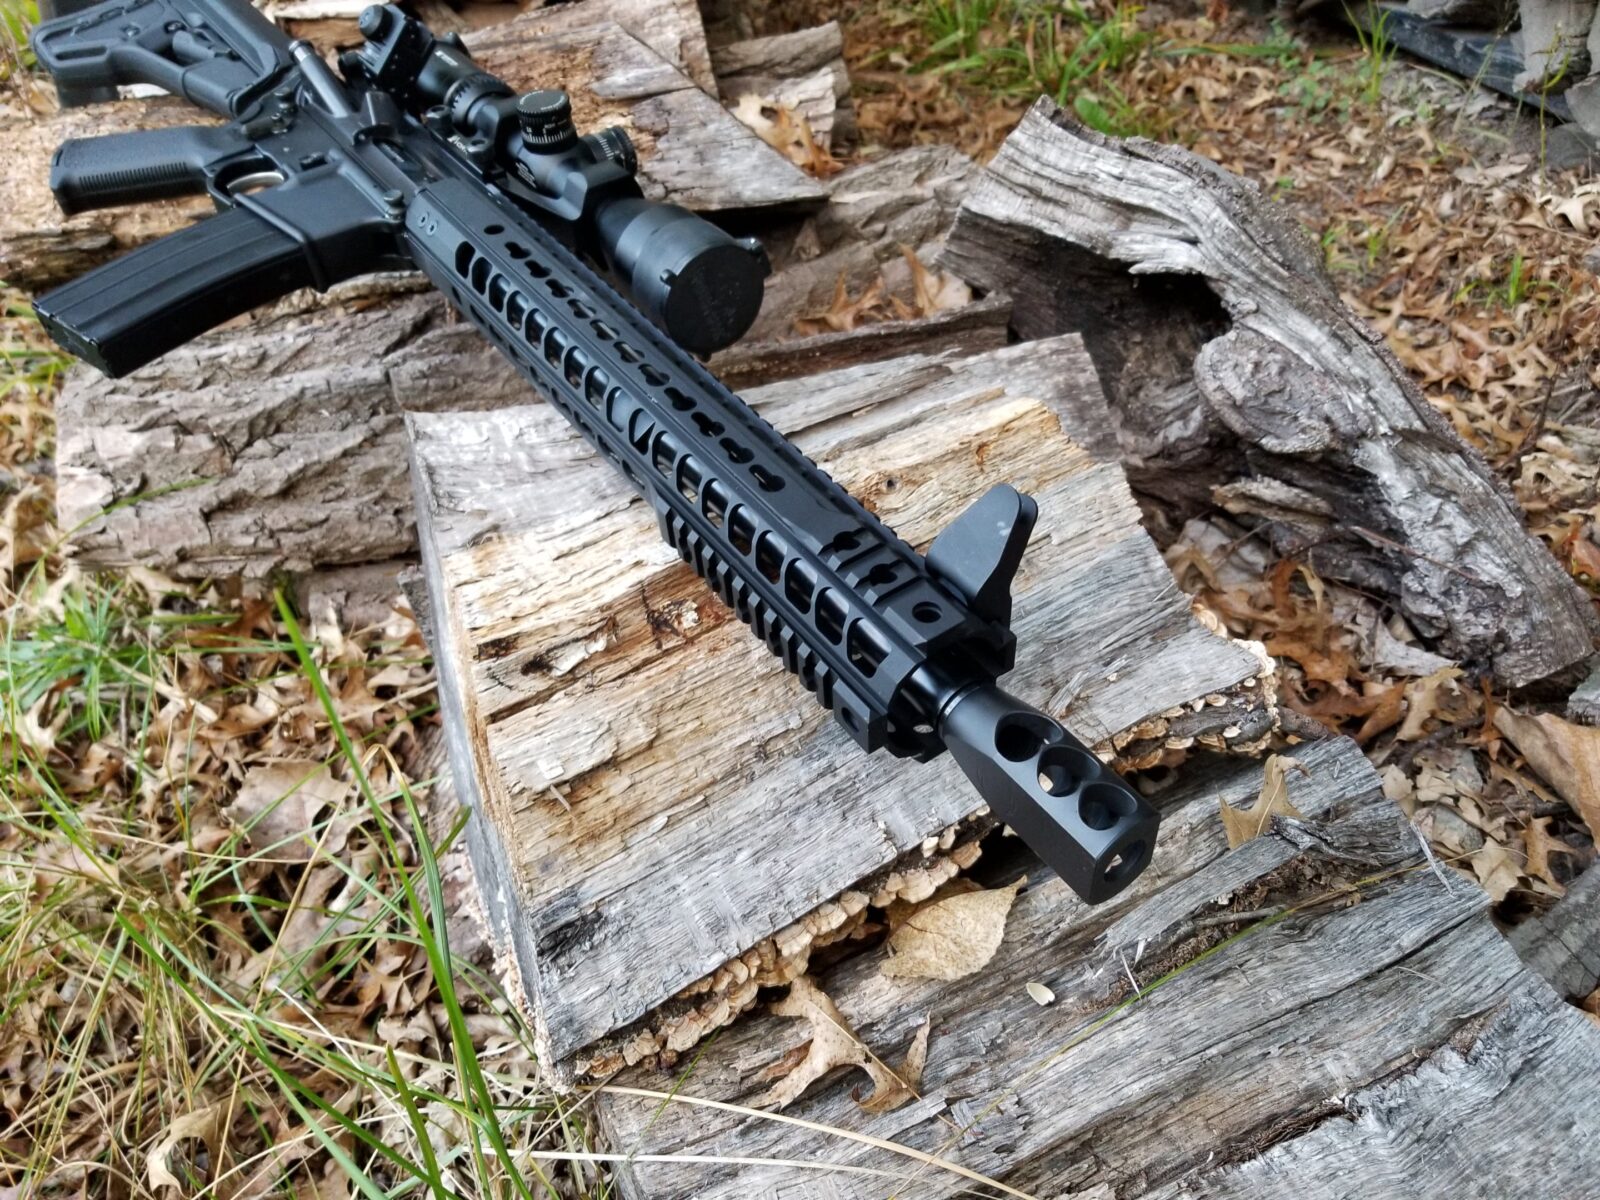
To make a long story short, Timber Creek makes a Beowulf brake that does a great job. It seriously cut the recoil back and made the biggest difference of all my modifications. They make them with two different threads so make sure the one you order matches your rifle.
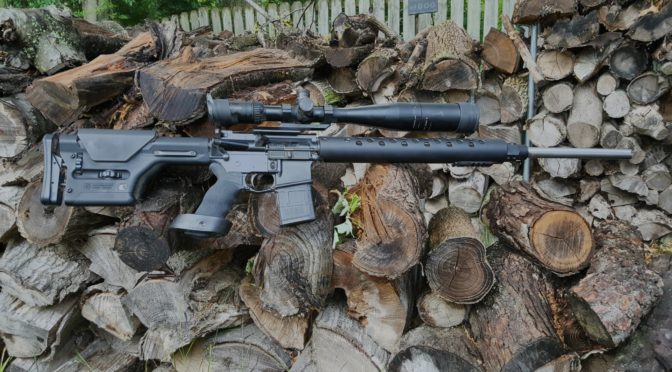
Here it is on my rifle – notice the big ports that redirect some of the gasses backwards:
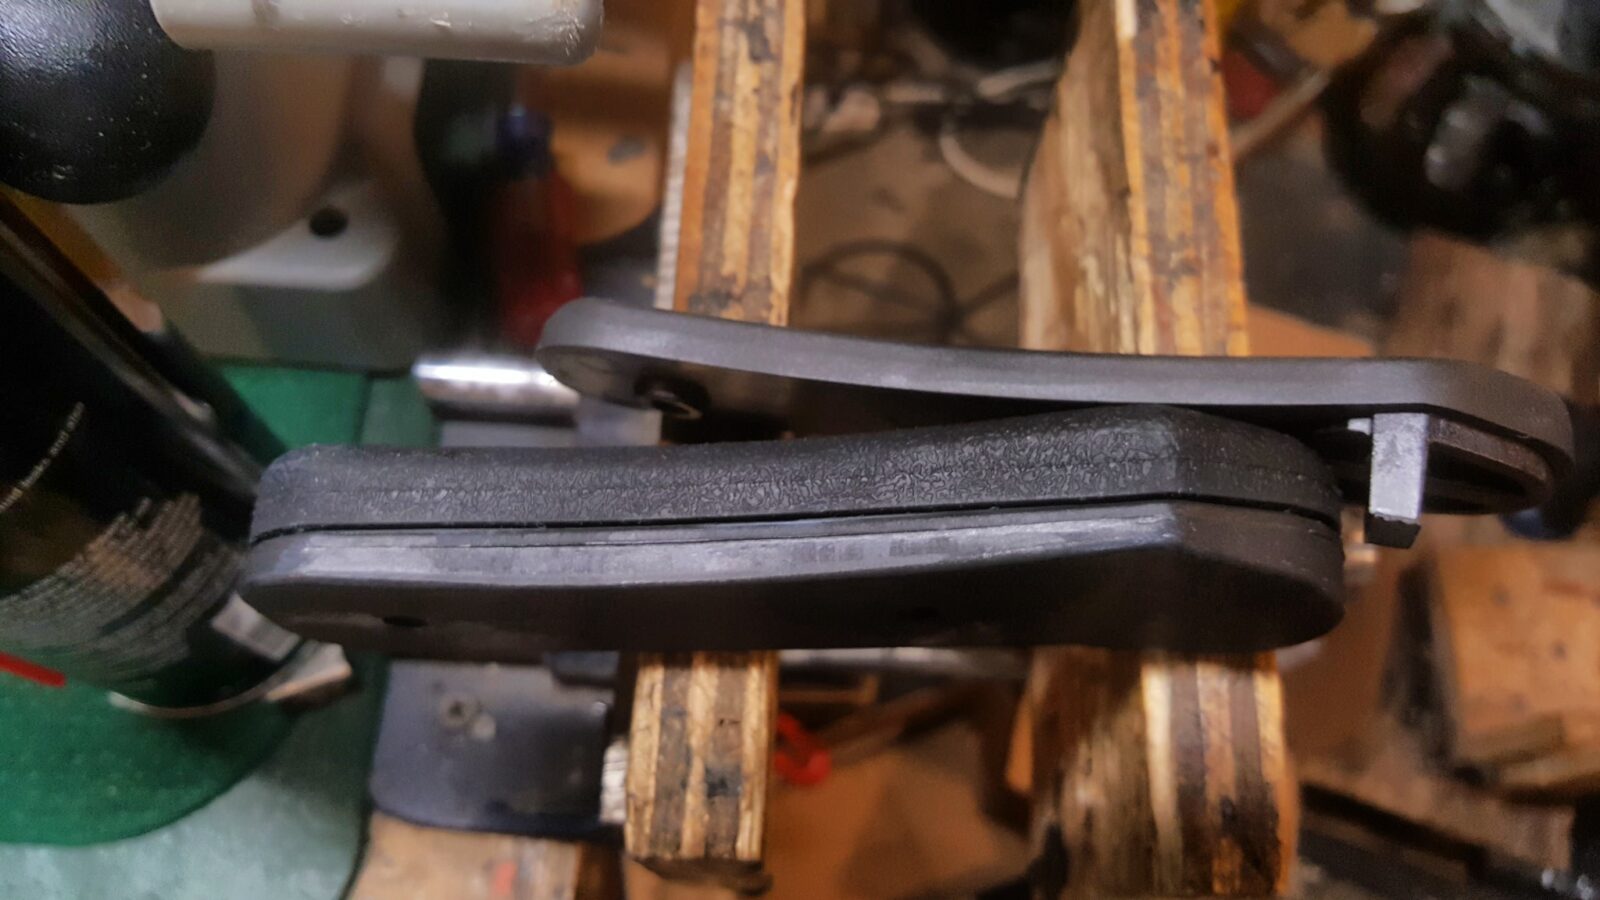
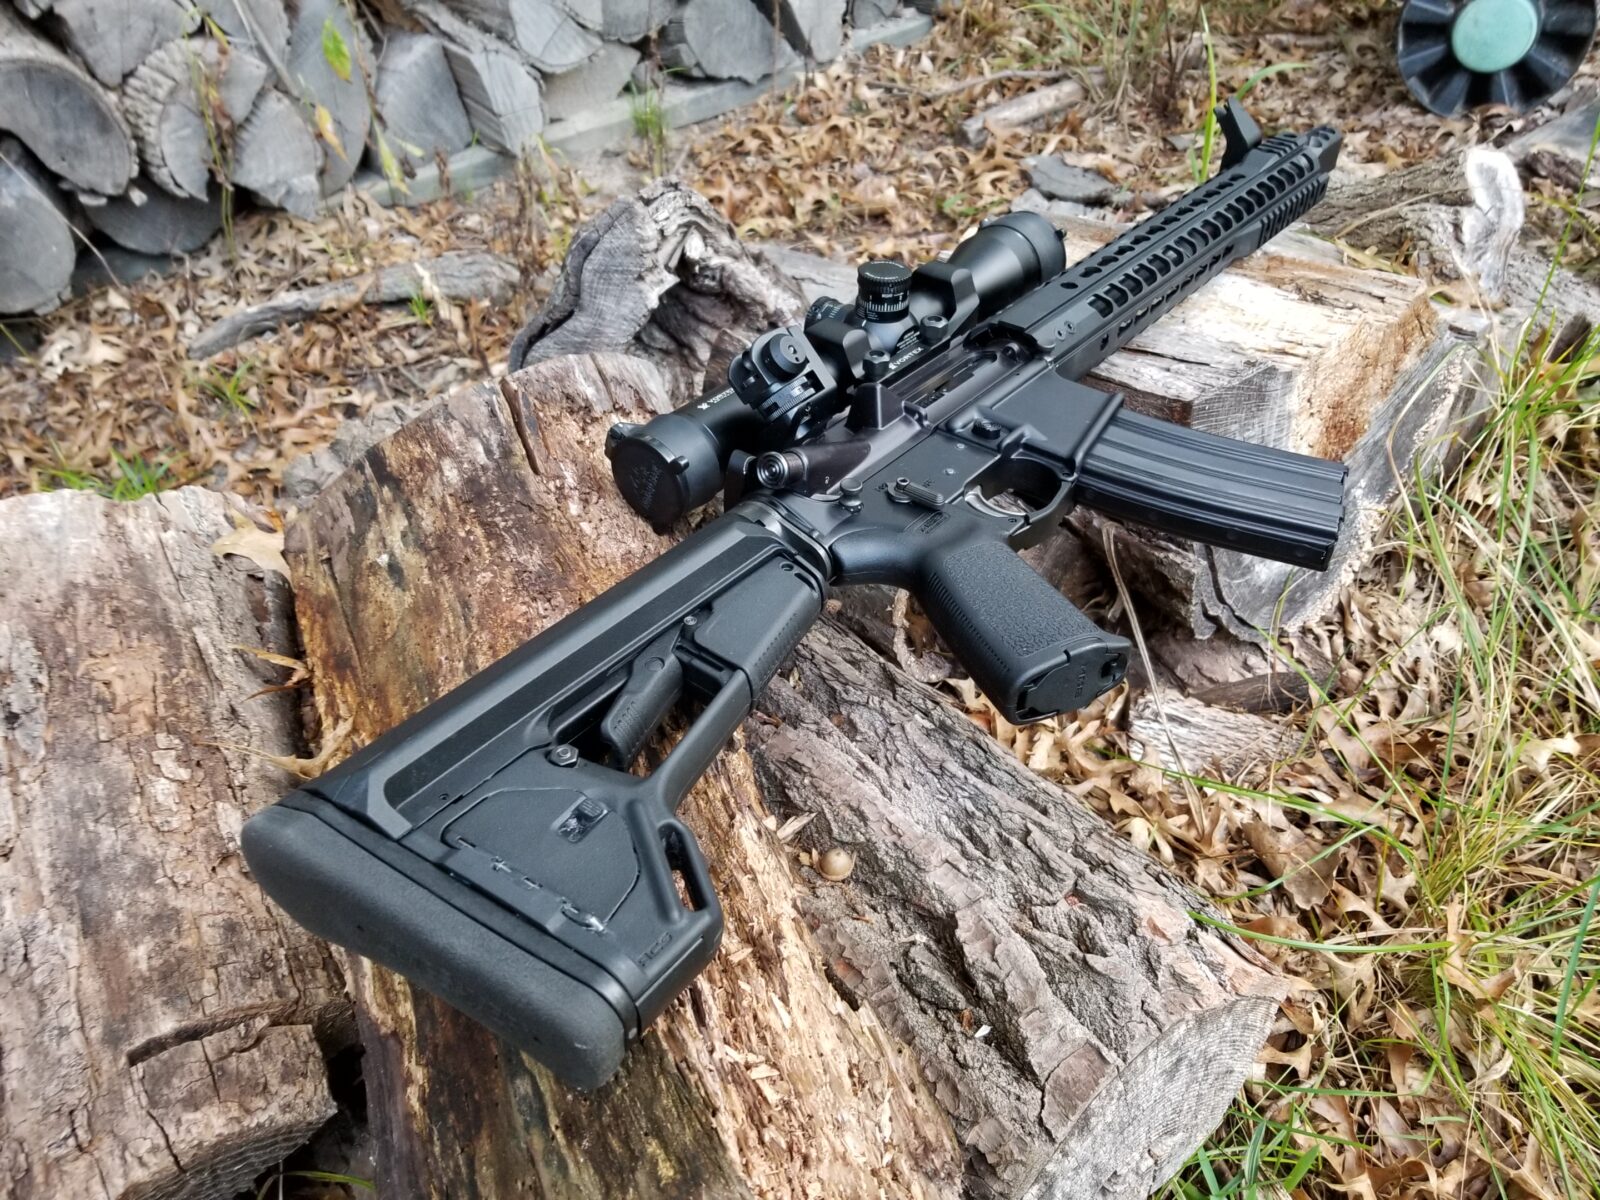
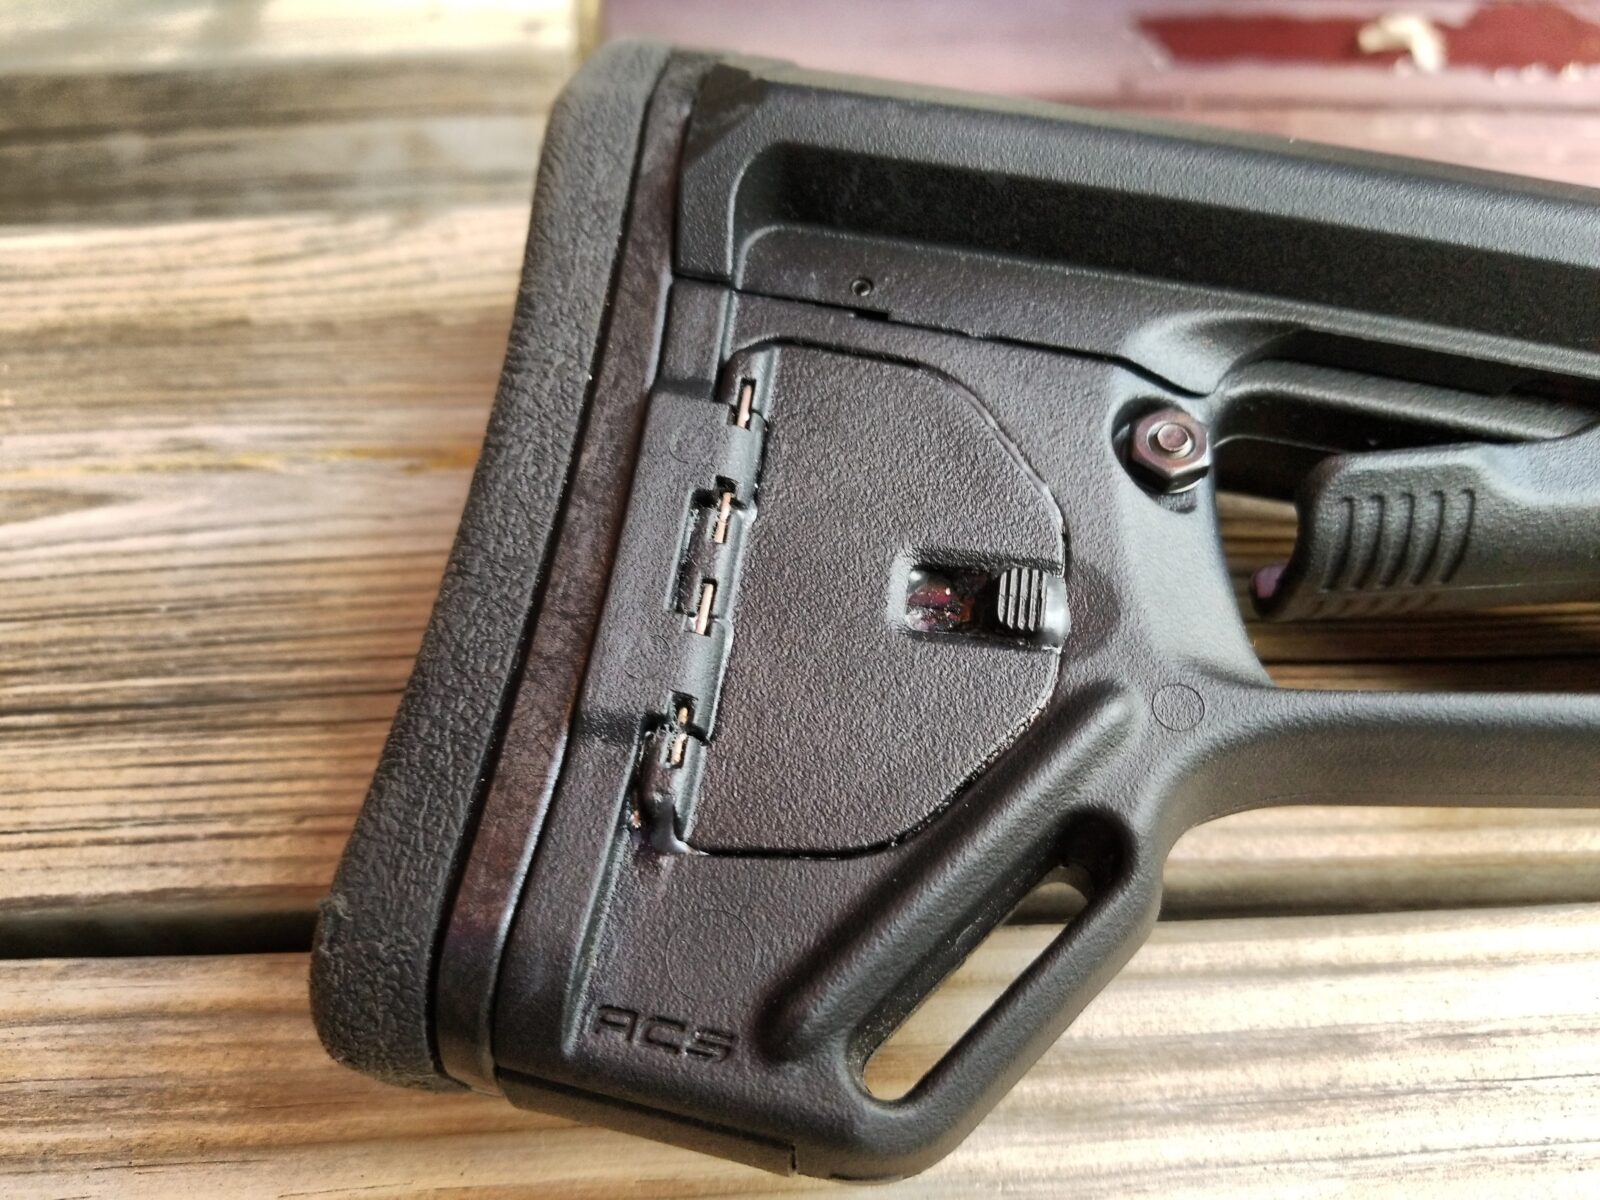
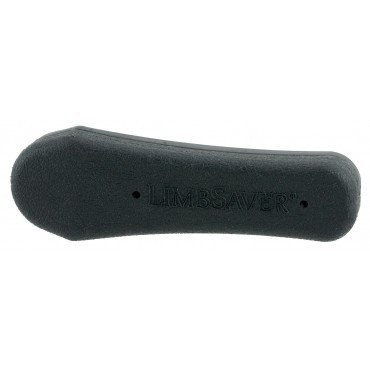
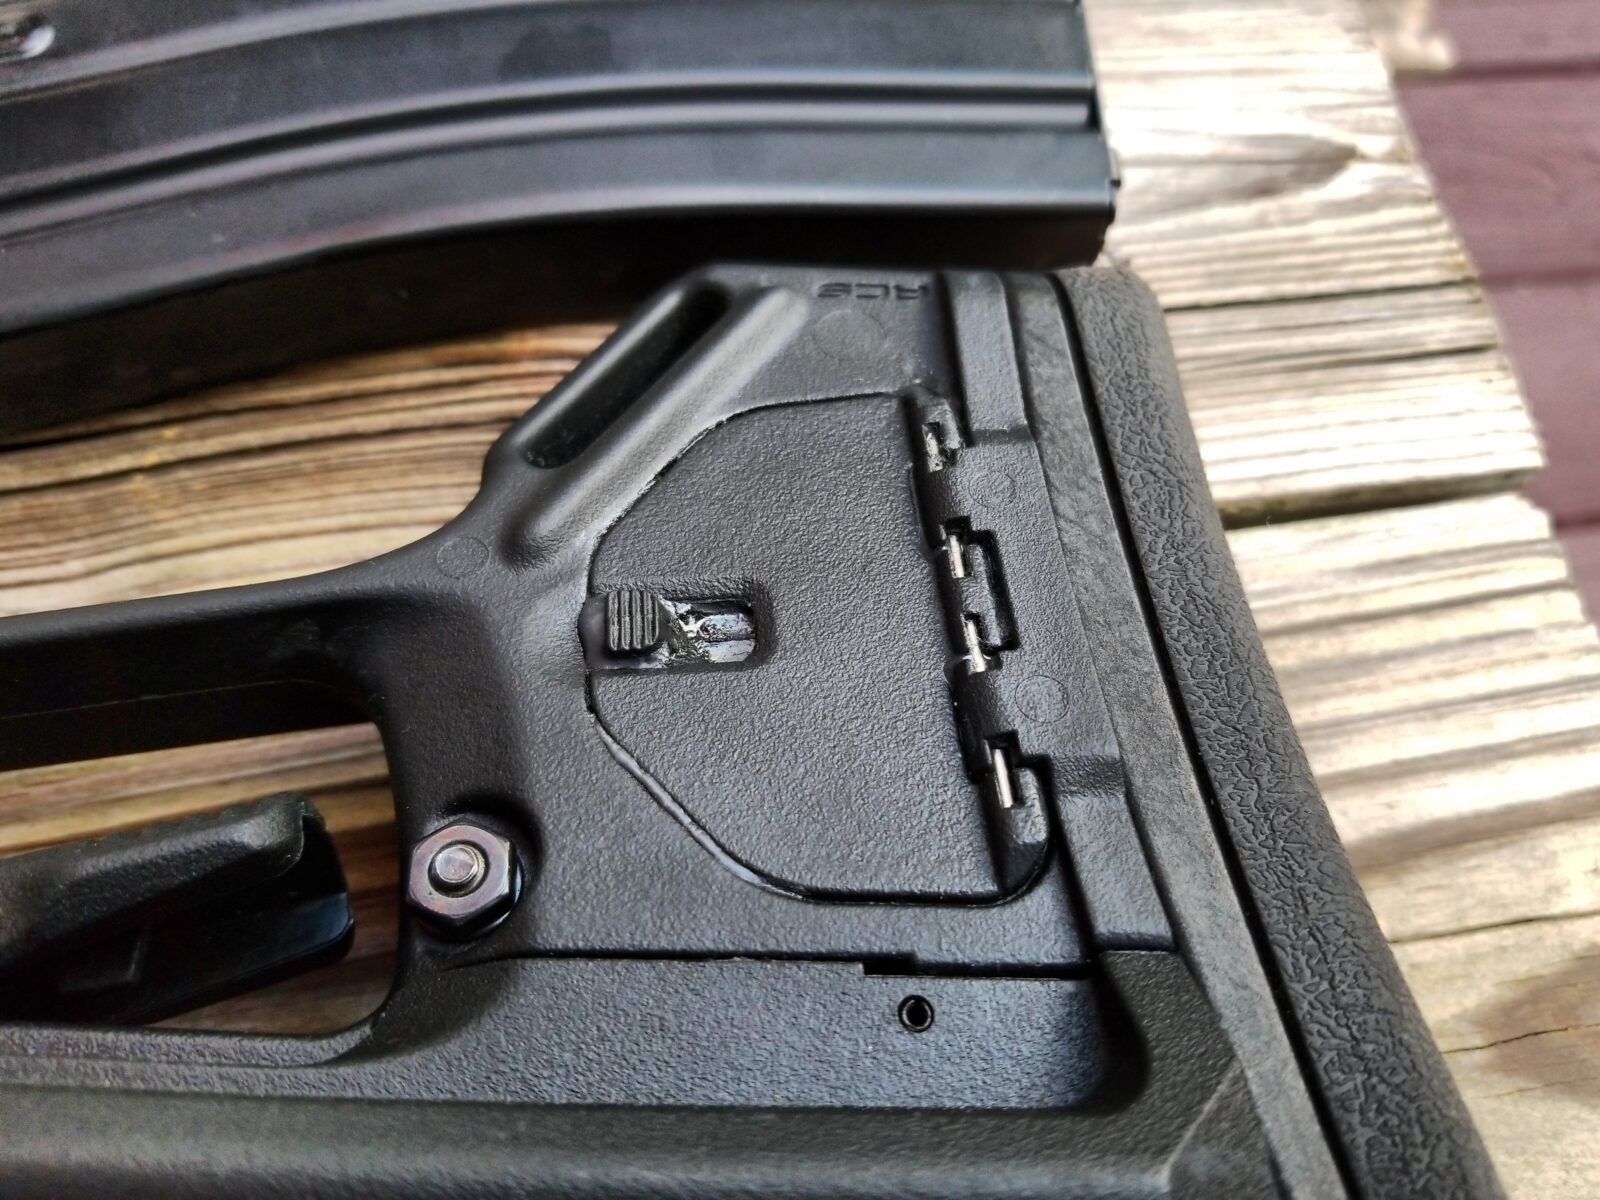
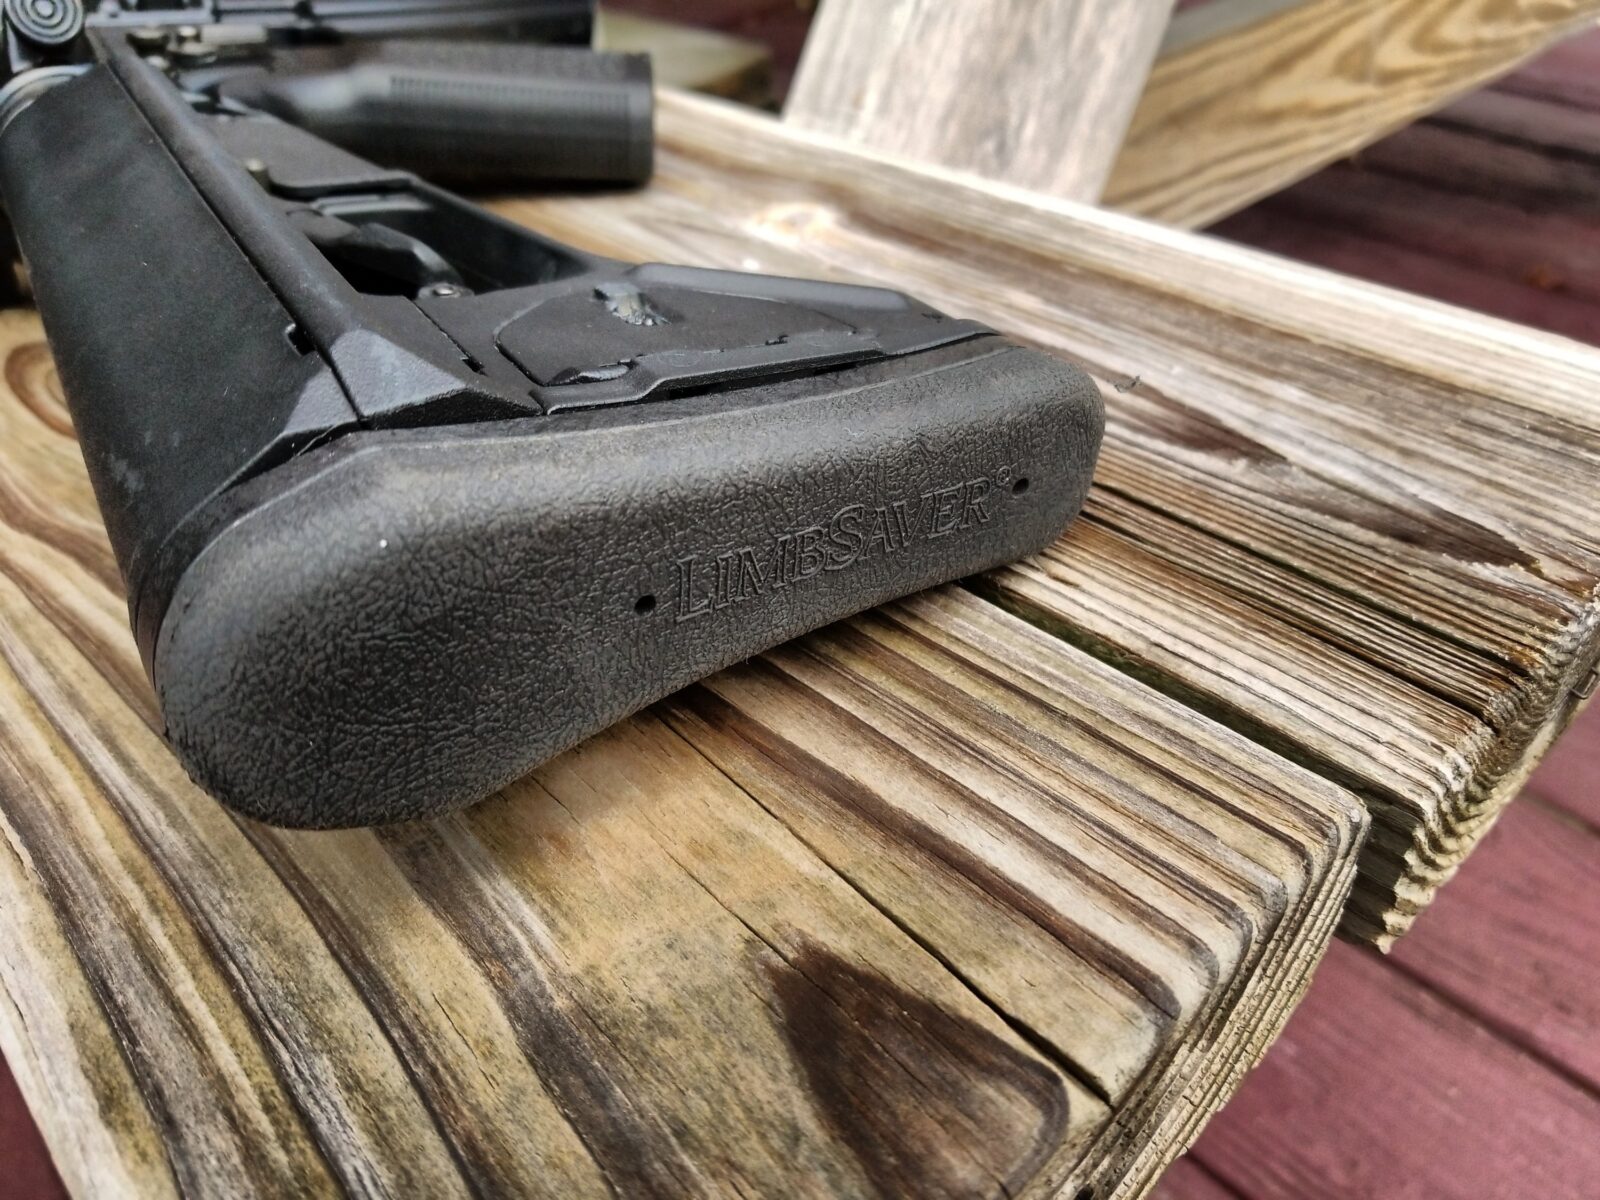
Added a Limbsaver Recoil Pad to the Magpul ACS Stock
The next important element I did to reduce recoil was to add a mixture of bird shot and epoxy into the compartments of the MagPul ACS stock. I just stirred up a mixture of #7 lead bird shot with epoxy, filled all the voids I could and wiped off the excess liquid epoxy checking all the seams until it gelled enough. Here, you can see a hint of it sticking out.
The last thing I did was to try different buffers. Bill Alexander designed the cartridge to work with a normal AR buffer. I went from a normal/H1 buffer to an H2 and finally to an Enedine Hydraulic buffer, which is in it right now. With each step, the recoil seemed to go down a tad but did not make a huge difference.
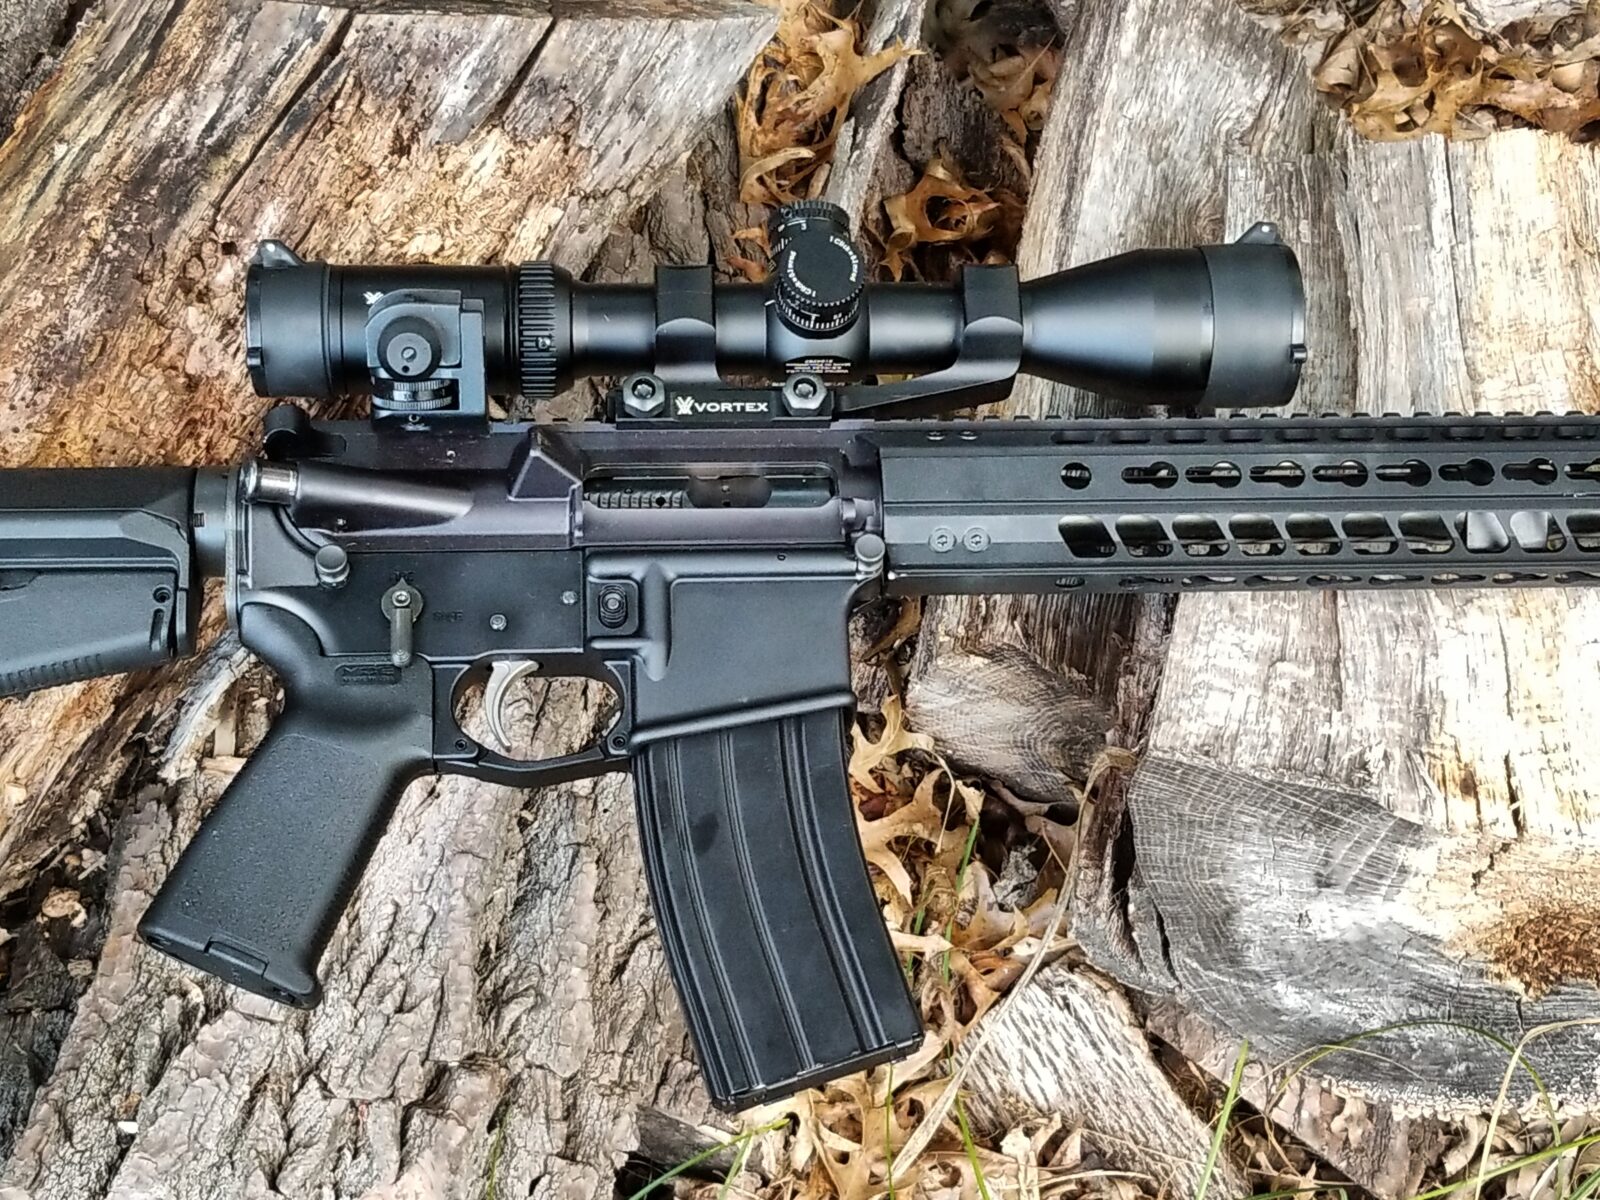
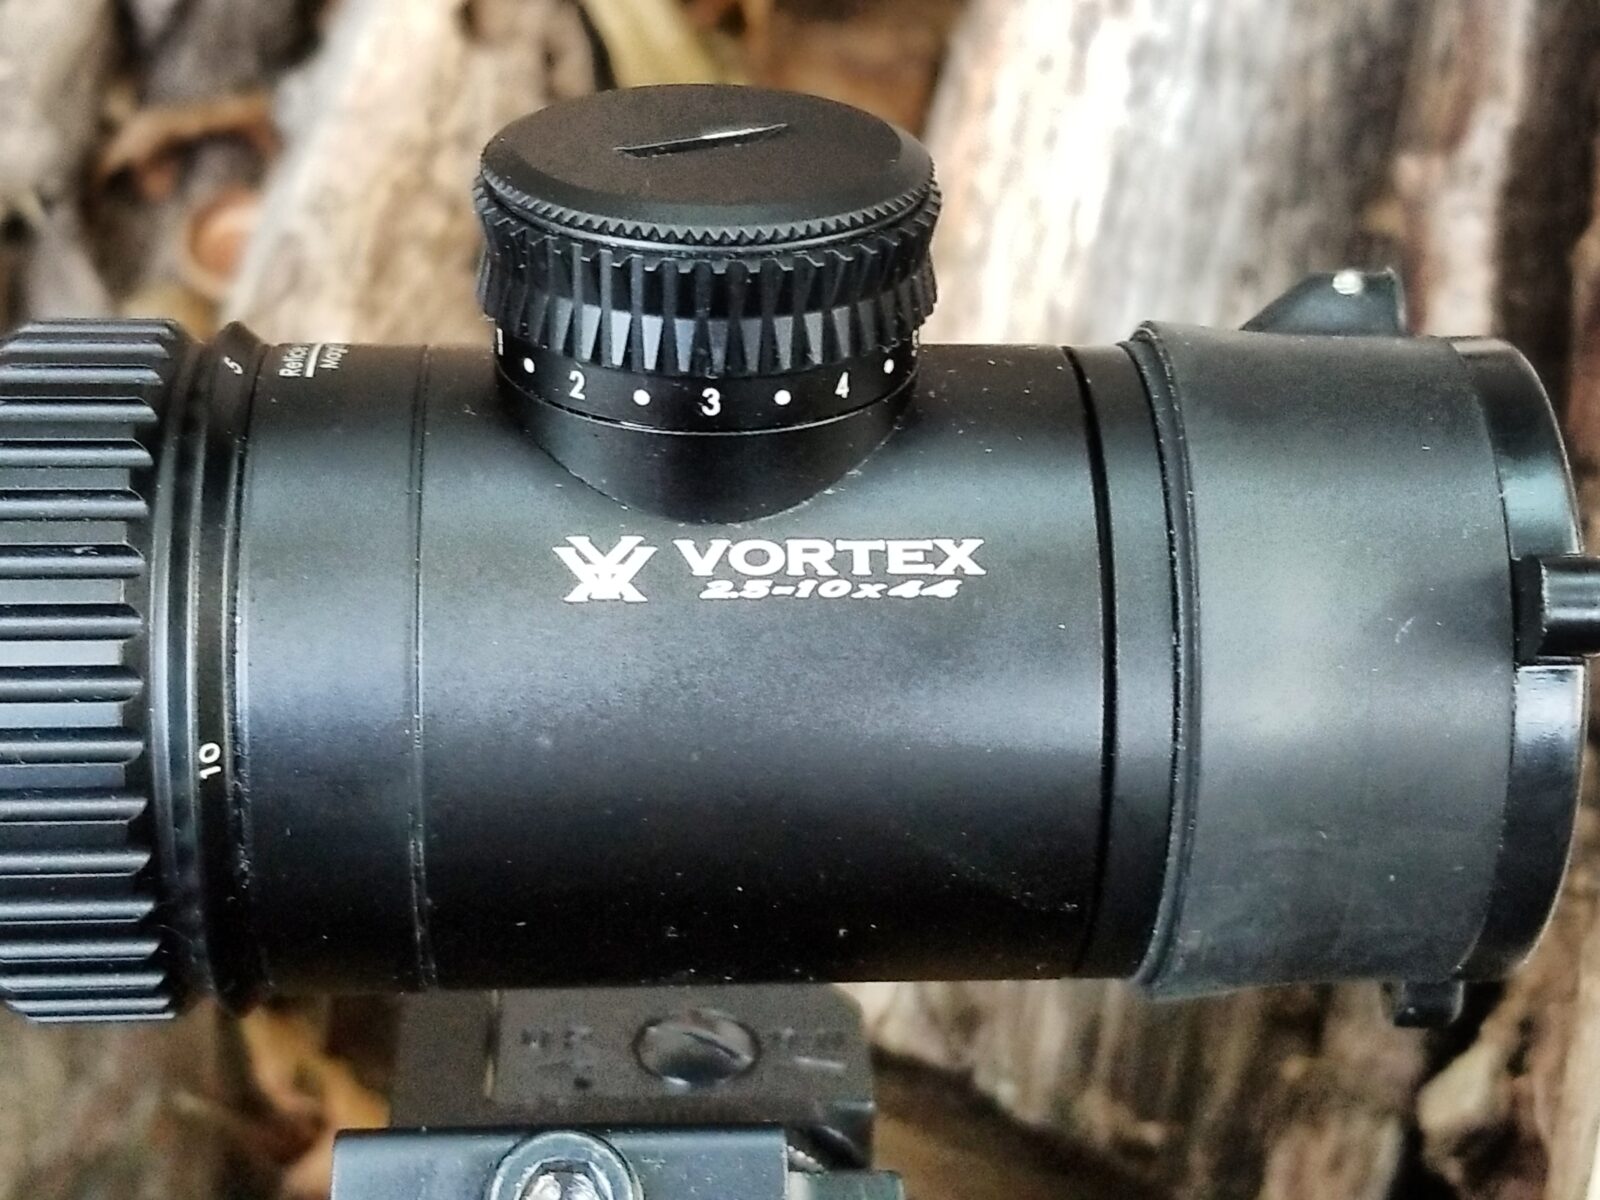
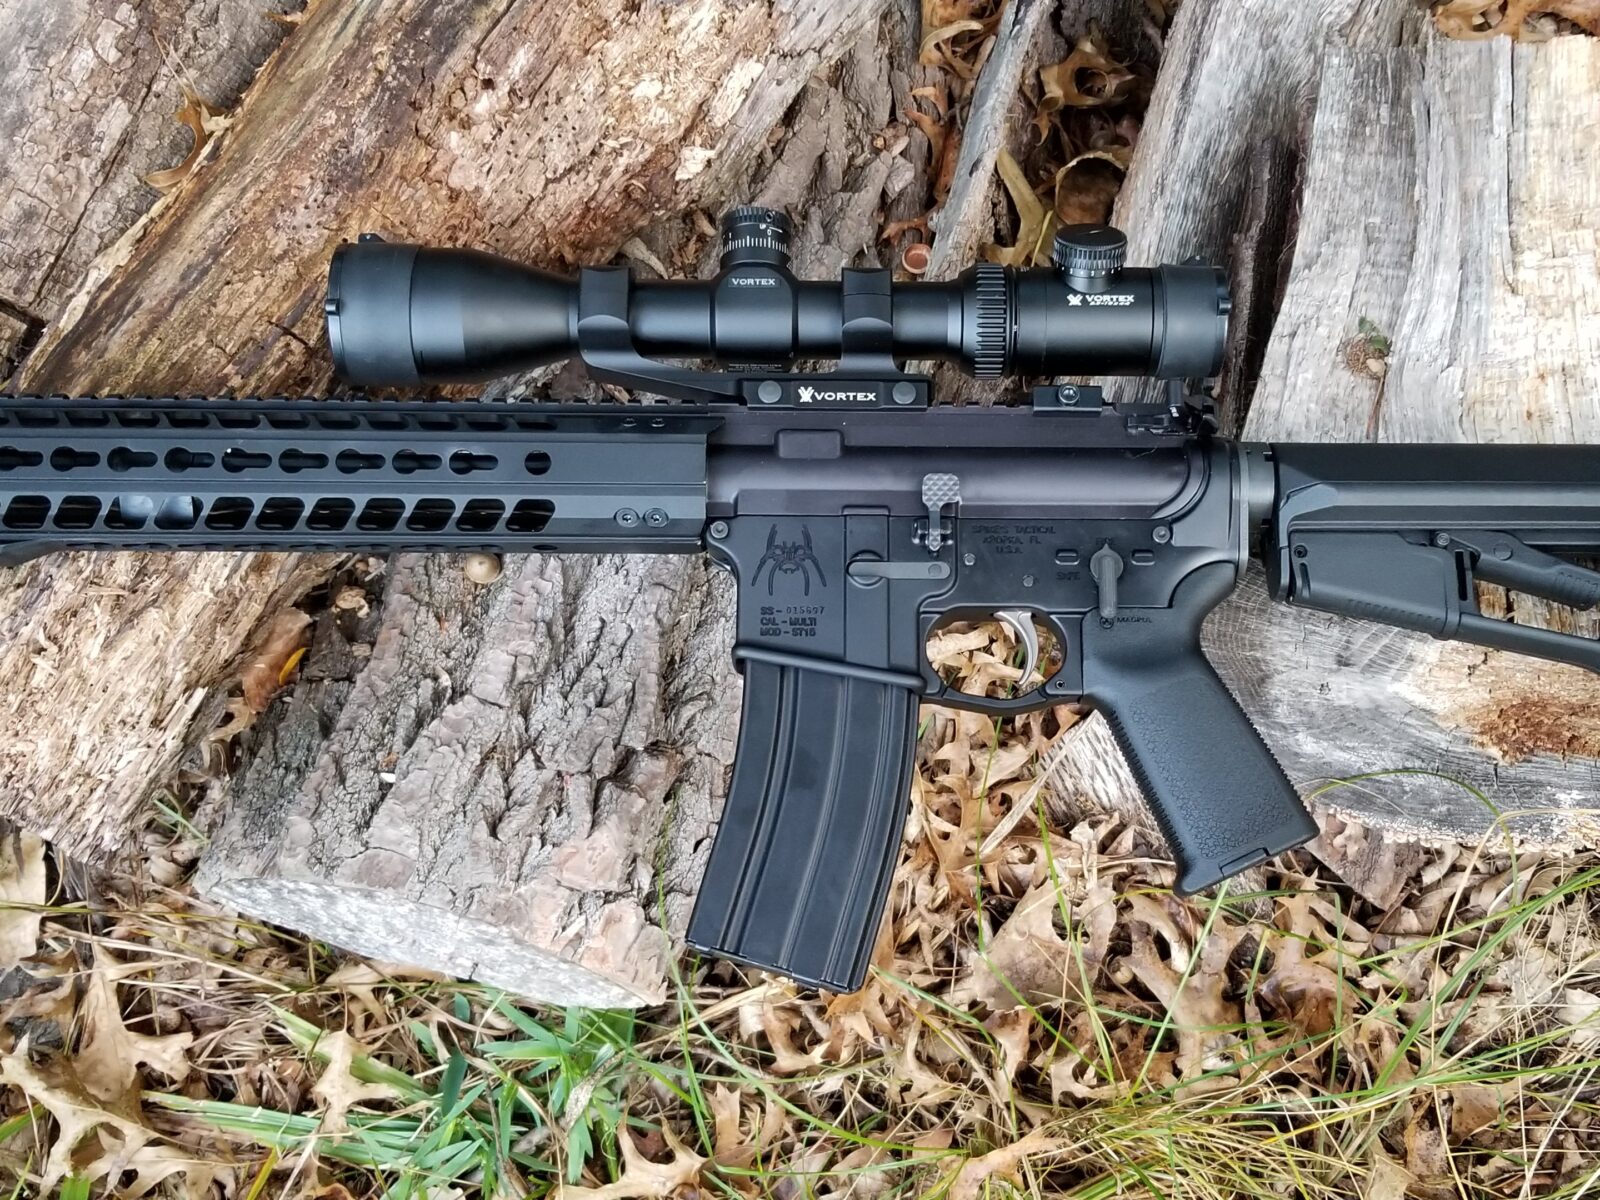
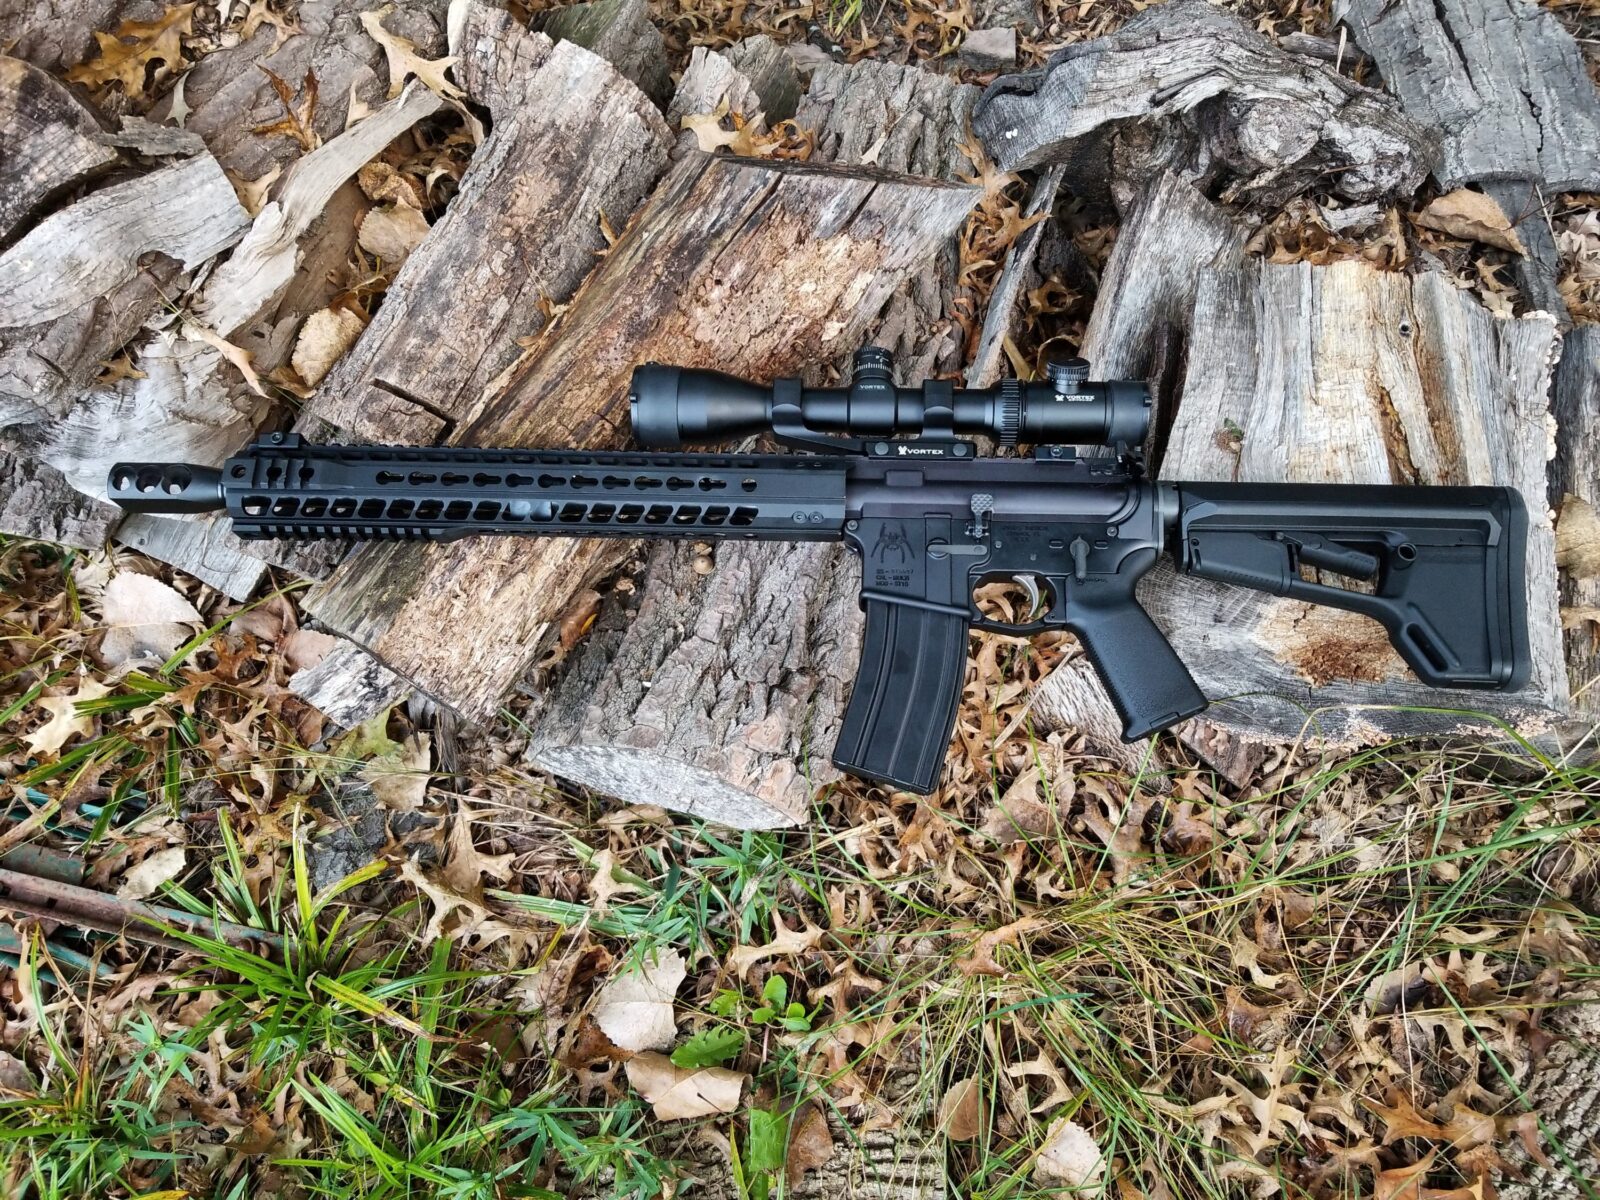
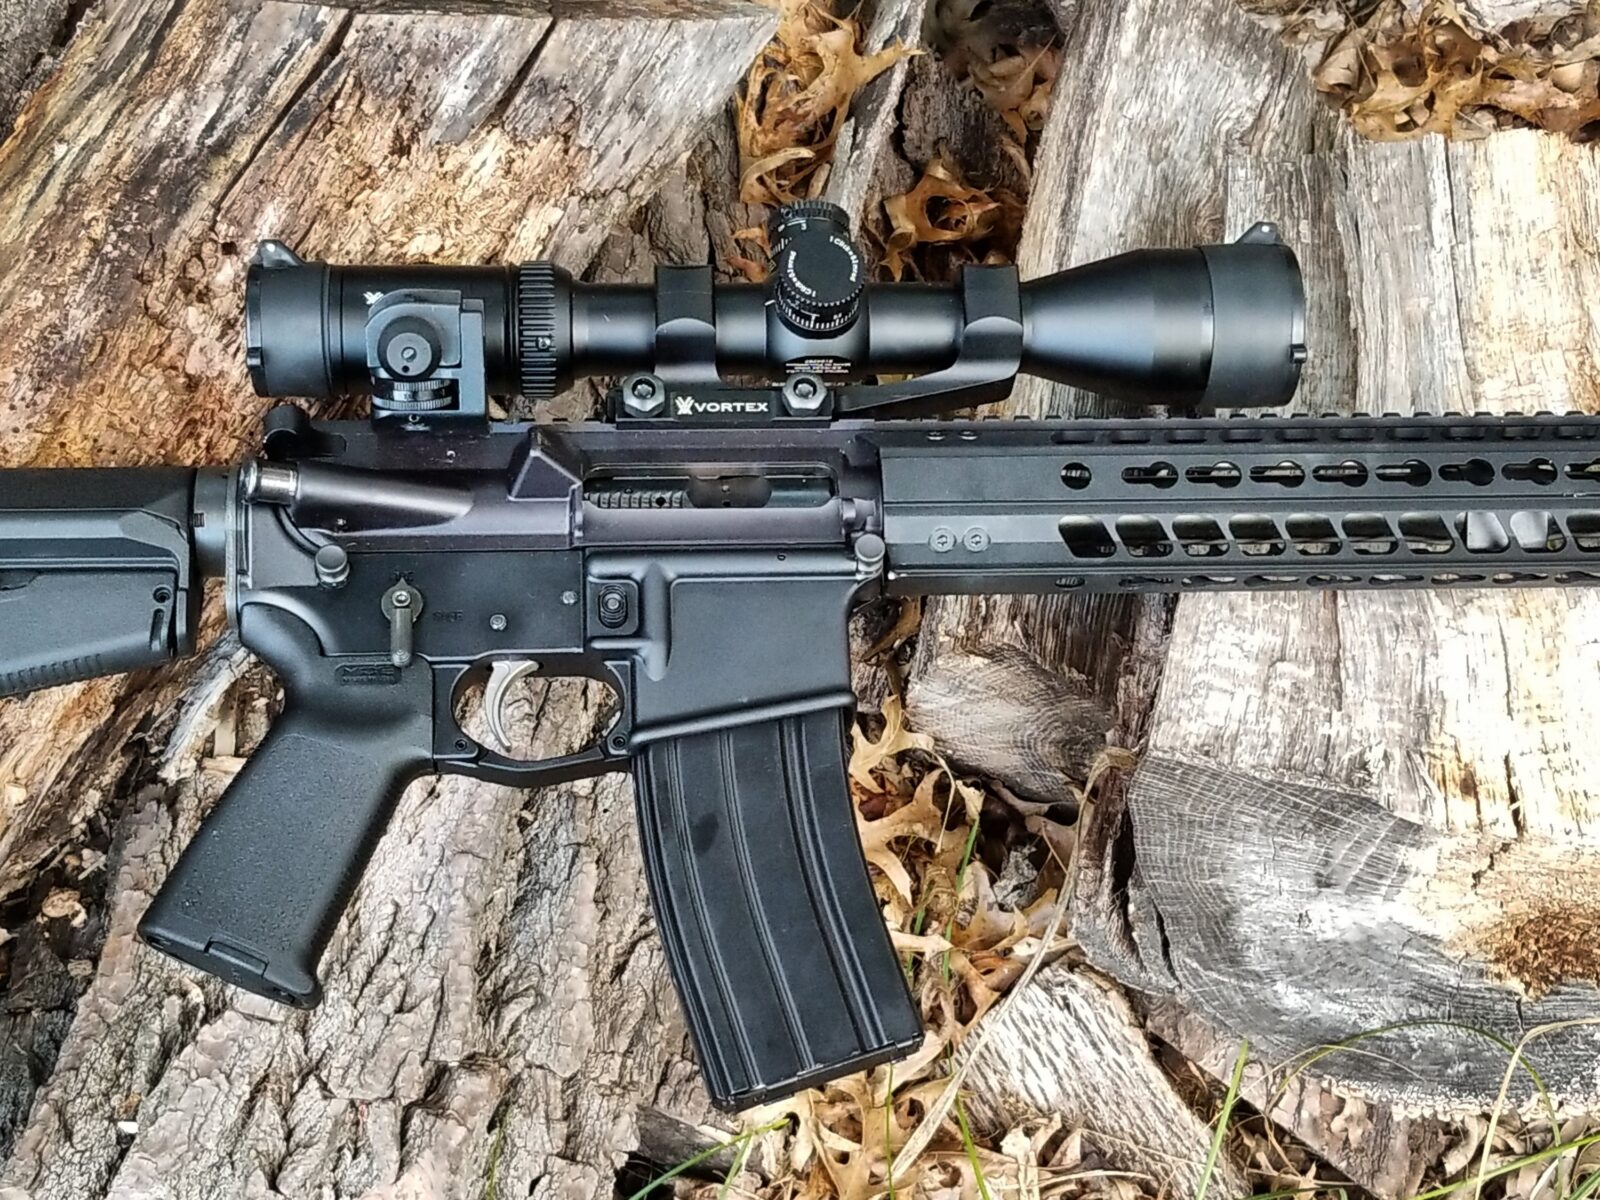
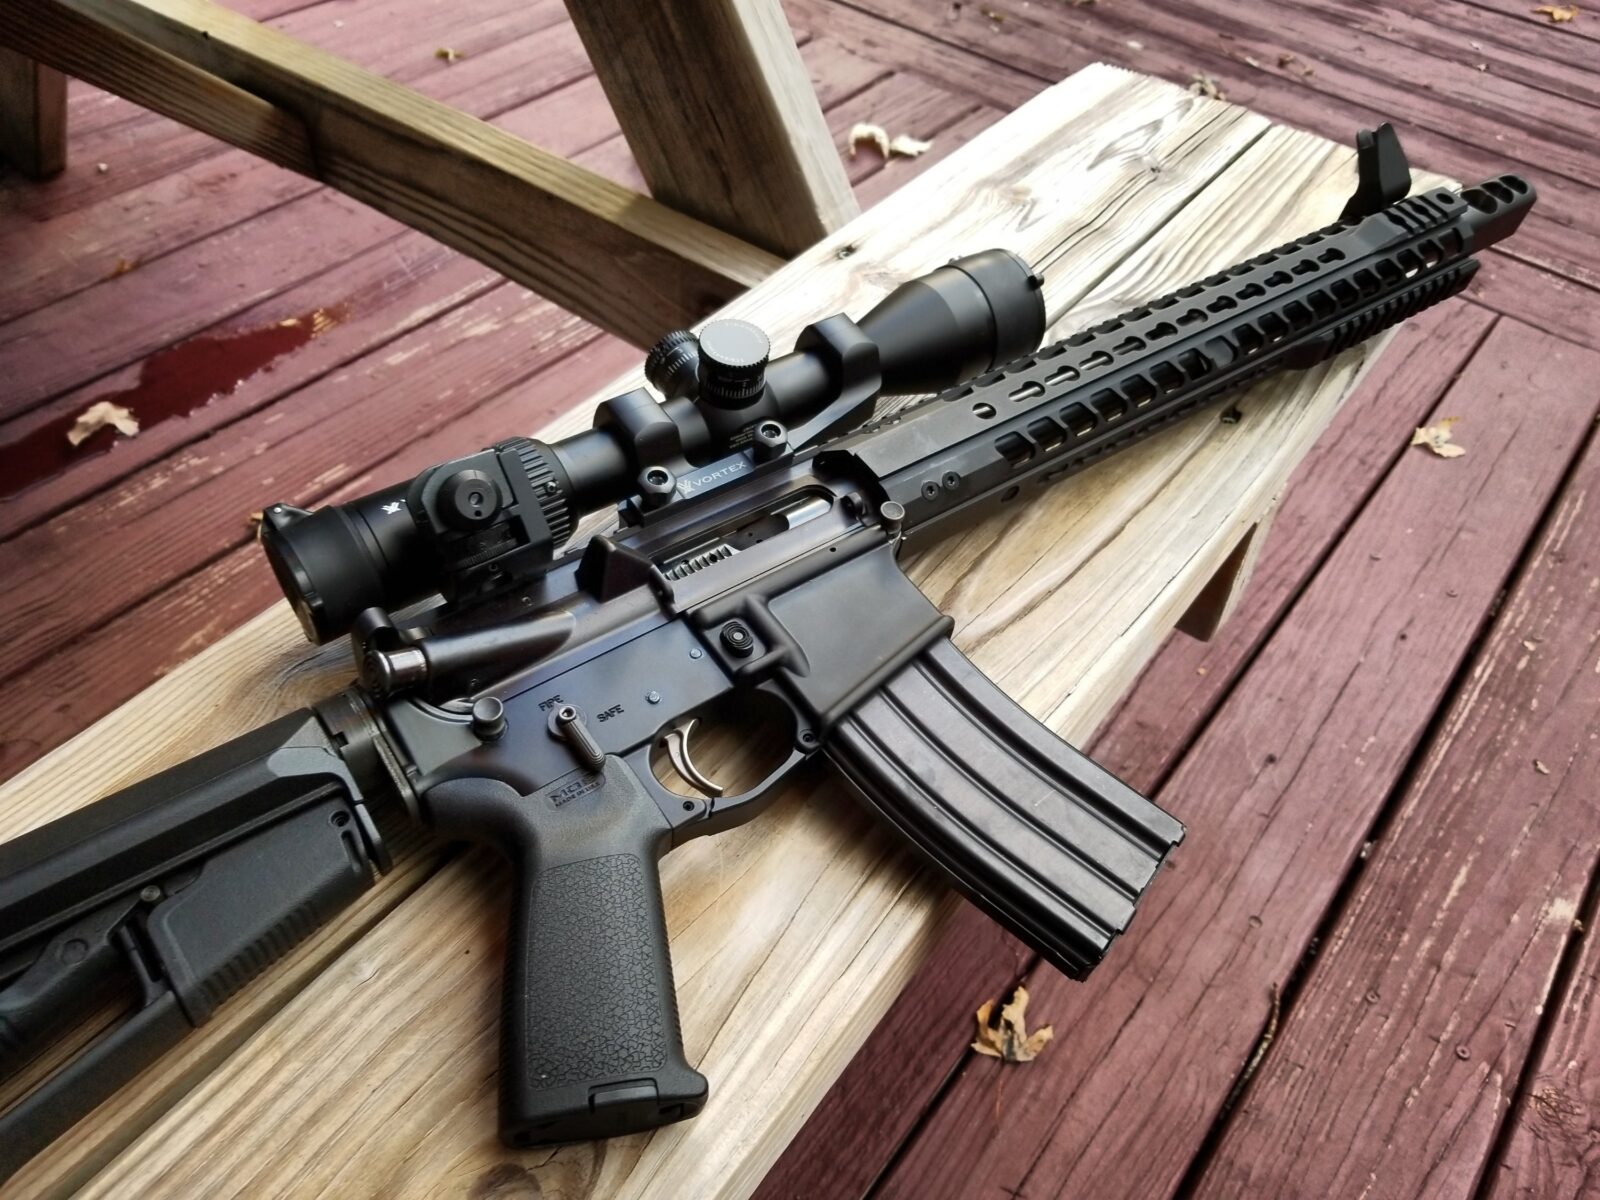
I was thinking about using the rifle either for hogs or deer so I wanted a scope that could go from a fairly wide field of vision at 2.5x all the way up to a decent zoom at 10x. Vortex is always my first choice in scopes so I bought a Viper PST 2.5-10×44 scope and Vortex rings.
This is a wicked combination. I have thoroughly enjoyed this scope on the Beowulf. It holds zero and is nice and bright. You can’t go wrong with Vortex scopes in my honest opinion. Because of the Beowulf’s recoil, use quality rings and be very sure to torque all the screws down to spec so the optic stays put.
By the way, you may scoff at the notion of buying quality rings. A lot of the cheap imported rings are just aluminum. You’ll notice they don’t list a torque spec. Quality rings such as the ones fro Vortex will tell you a torque spec to hit and they often have steel inserts for the threads. You get what you pay for.
Note, in mid-2018 Vortex came out with what they call the “PST Gen 2” series of scopes and this first generation model has been discontinued. The closest scopes now are 3-15×44 and 2-10×32 -I don’t think you can go wrong one way or the other. I’d probably opt for a 2-10×32 MRAD scope to have the widest field of view at a low power.
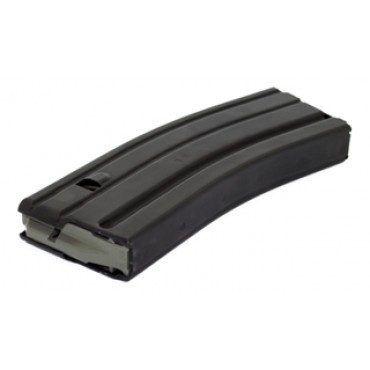
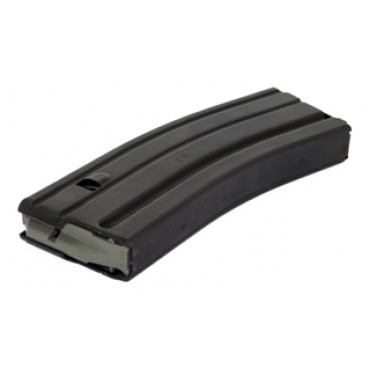
I use the D&H 5.56 30 round magazines at PSA. They are often on sale for only $9.99 and list is $12.99.
End Result
The rifle turned out great. The final “felt” recoil was about that of a 20 gauge slug gun, if that. I could shoot round after round without regretting the kick 🙂
I had fun building and shooting it. As I get older the more I realize I enjoy learning about the engineering and history of arms. The “Wulf” has a new owner now and I hope it serves him well.
My apologies but I have no way to filter out items that the vendors have sold out such as ammo. For example, most places sell out of the ammo fast but you should keep an eye on both Midway USA and going to Underwood Ammo directly – Underwood makes very good ammo by the way. I usually run Alexander Arms ammo but they are sold out most places and while you can place an order directly, you will need to wait quite a while for it to be made and shipped.
When Bill Alexander decided to make the .50 Beowulf round, he really got me excited 🙂 The idea of a heavy thumper round in an AR platform really appealed to me so I bought one and one issue that popped up was where to find magazines that were not really expensive.
D&H 5.56 30 RD Aluminum Magazines are perfect for this.
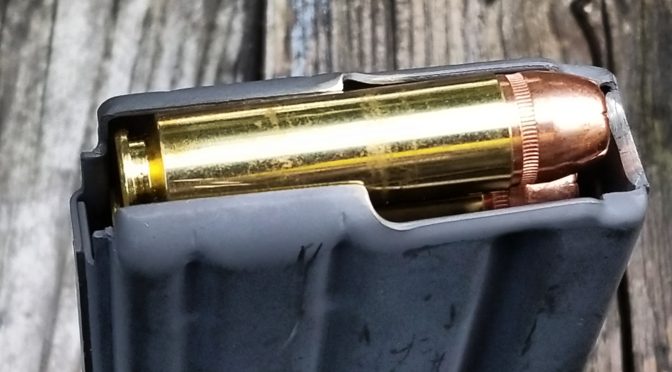
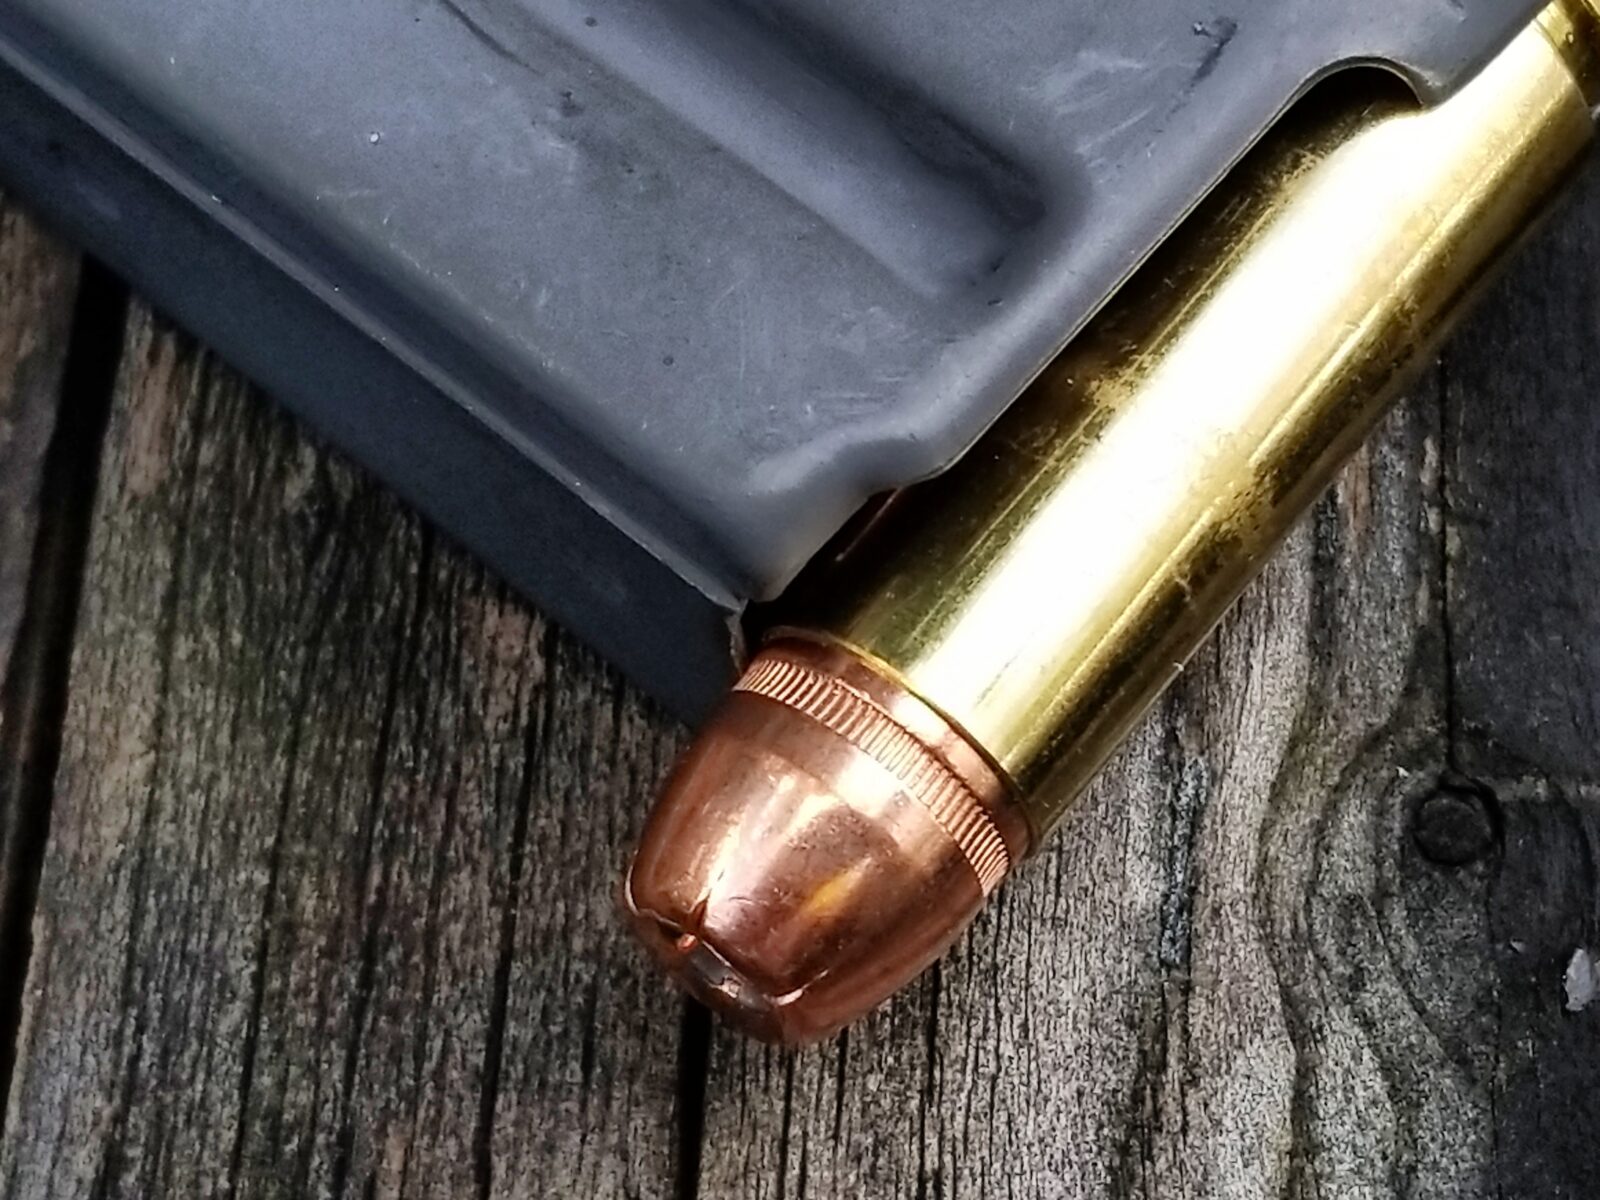
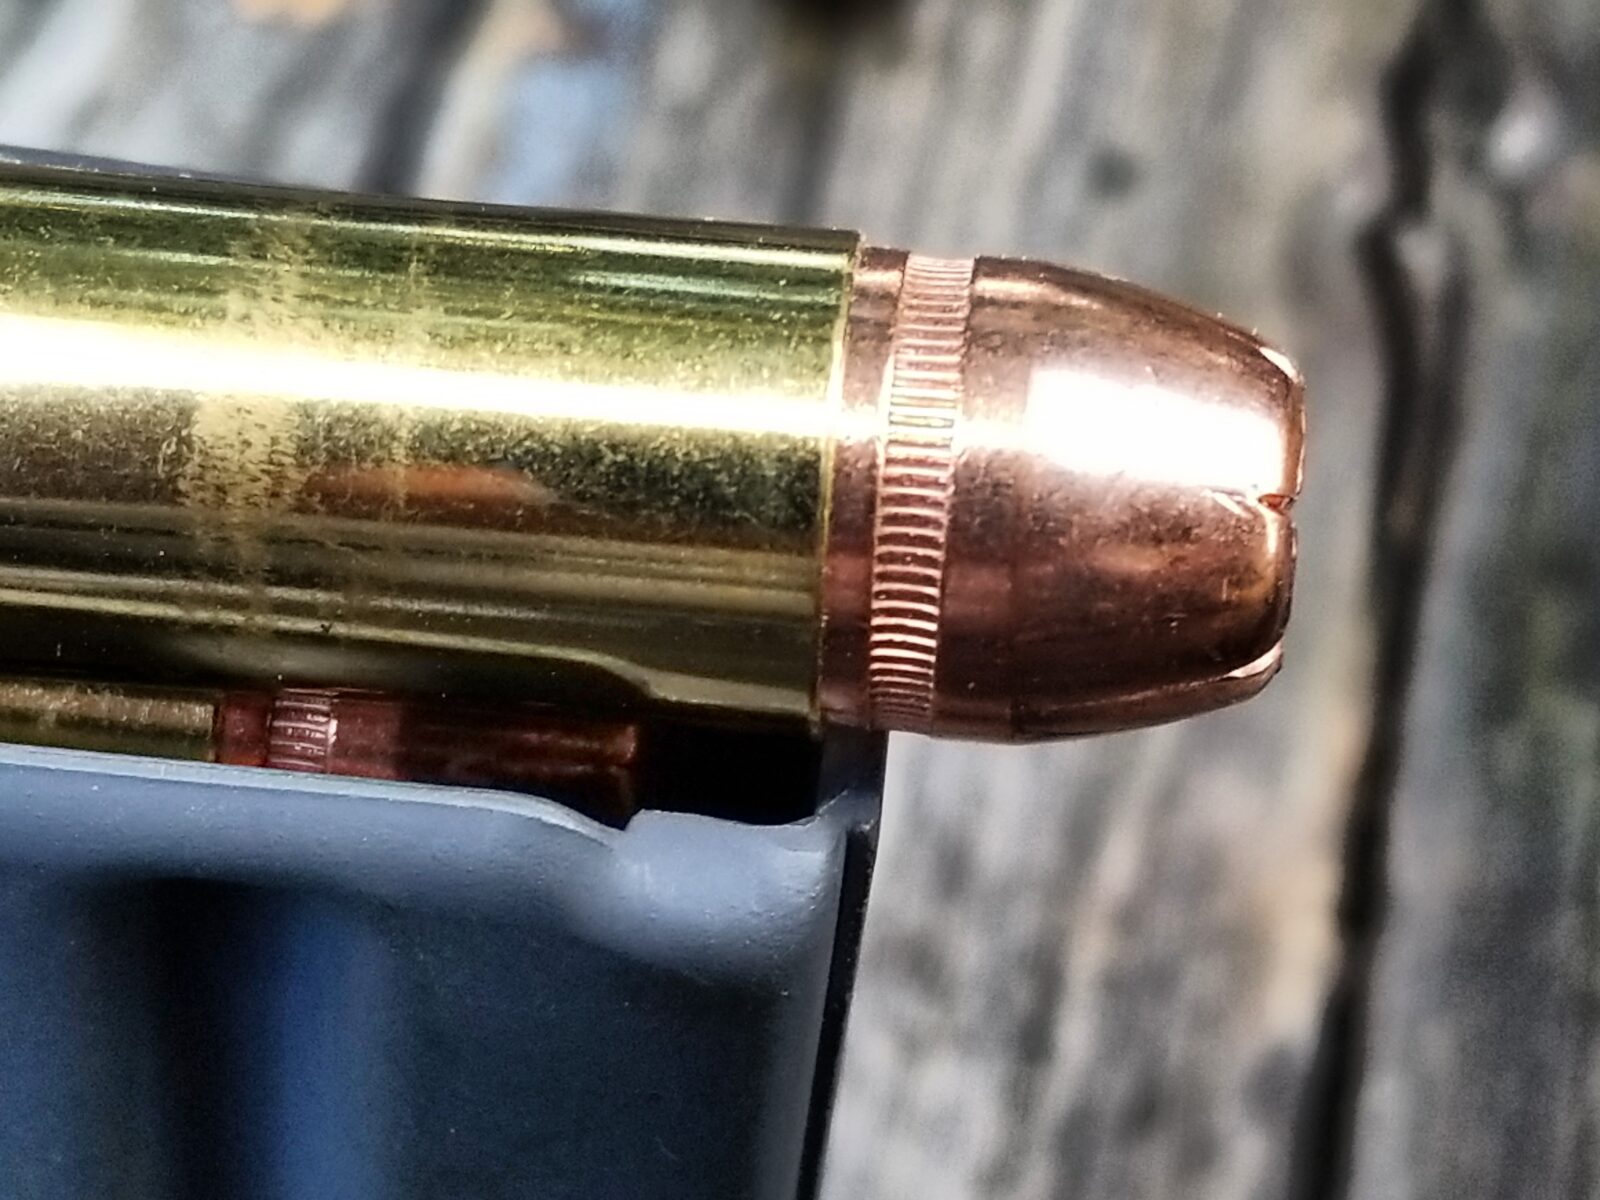
Once in a while the answer is really straight forward and this is one of those times. You do not need to change the feed lips or the follower on a standard 5.56/.223 magazine, you just need to bevel the front lip at about 45 degrees (the exact angle doesn’t seem to be a big deal) so the giant .50 Beowulf bullet goes up and, this is the key part, the leading lip of the brass case hits the little ramp and goes up it vs. hanging. In this next photo – see how the lip of the case will catch? It may catch sometimes or all the time – for me it was practically all the time.
The magazines I convert are D&H 5.56/.223 magazines that Palmetto State Armory sells. They are reliable and well made plus they are very affordable with sales prices starting around $8.99 and normal price around $12.99 for buyers in a rush. They also have regular combo deals such as a case and seven mags for $89.99. You have to love PSA’s deals. Click here to see what they have.
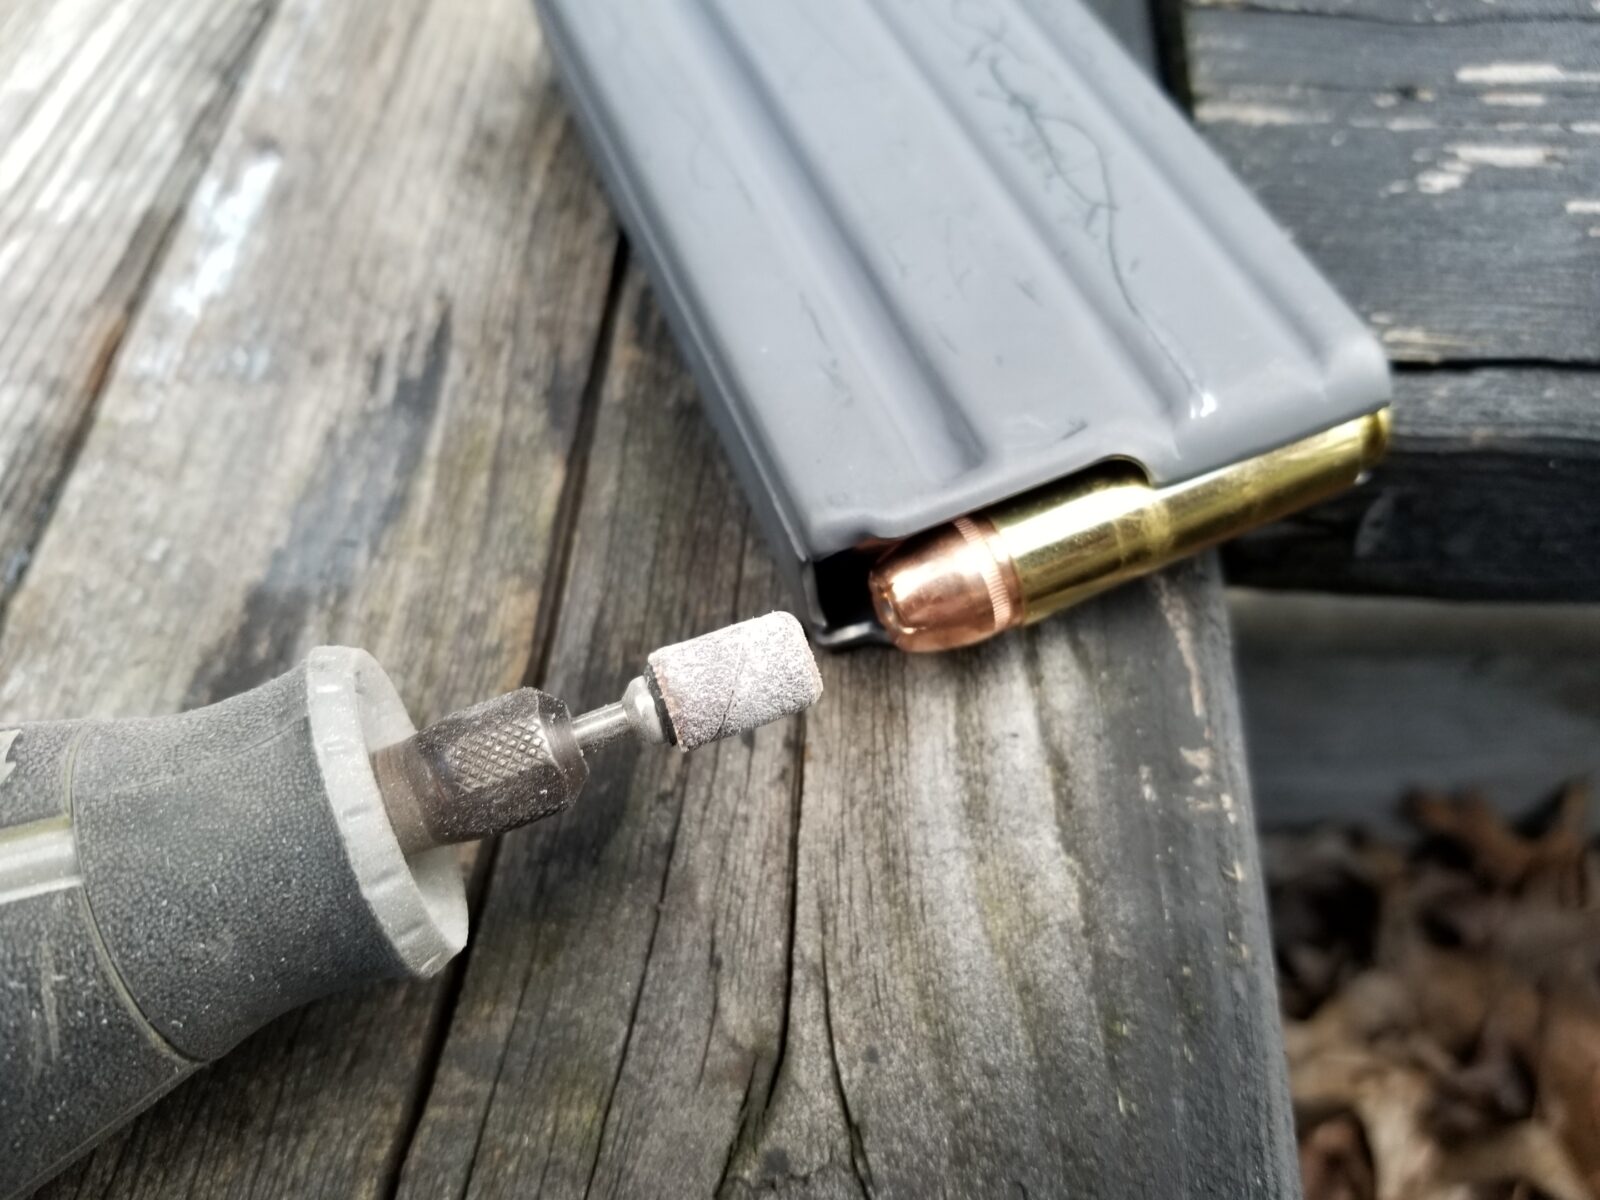
All I did was use a medium grit little sanding drum in my Dremel to bevel the magazine’s front lip – you are basically making an ad hoc feed ramp so the case doesn’t catch. The round you see has the big 350 grain XTP bullet – they hit like a freight train.
Note this is just to show the drum. The magazine is empty when I do the sanding.
This is a really quick operation and you don’t need to take a ton off. I do it with the magazine empty of course, insert a round into the magazine and test then do a bit more. I’d repeat the removal and testing until the round went right up into the chamber. After the first few magazines, I had it down pat.
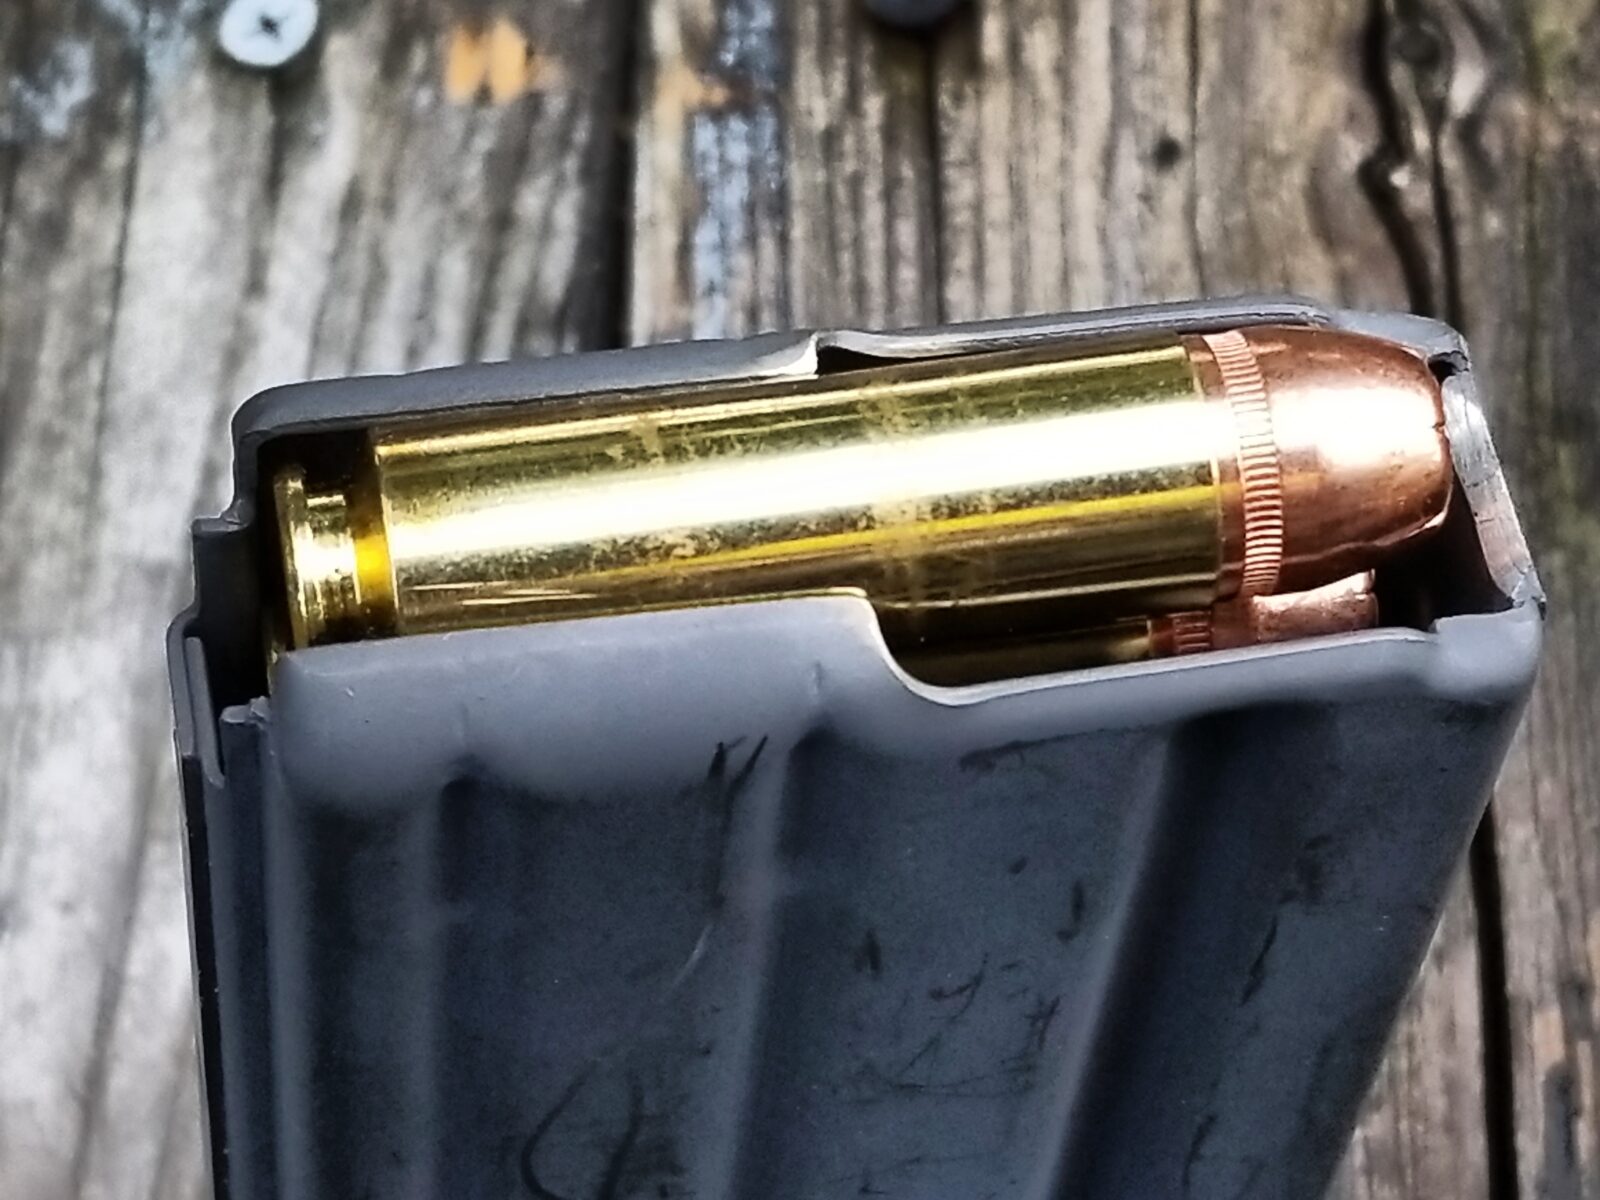
In this next photo, see the shiny little ramp?
That’s all there is to it. I just used quality aluminum magazines and did the tweaking. Polymer mags, such as MagPul take more work and I simply didn’t feel like bothering with them. I did use quality magazines and avoided cheap stuff and I also used the anti-tilt followers – just regular 5.56 followers – nothing special.
In a standard 20 round aluminum 5.56/.223 magazine, you can fit up to seven Beowulf rounds. In a 30 round magazines, you can fit up to 10. I never tried any of the higher capacity magazines so I can’t speak to them at all.
This approach worked great for me and I hope it helps you as well.
I came up with an even faster way to convert the magazines that I wrote about in December of 2019 – click here to read it.