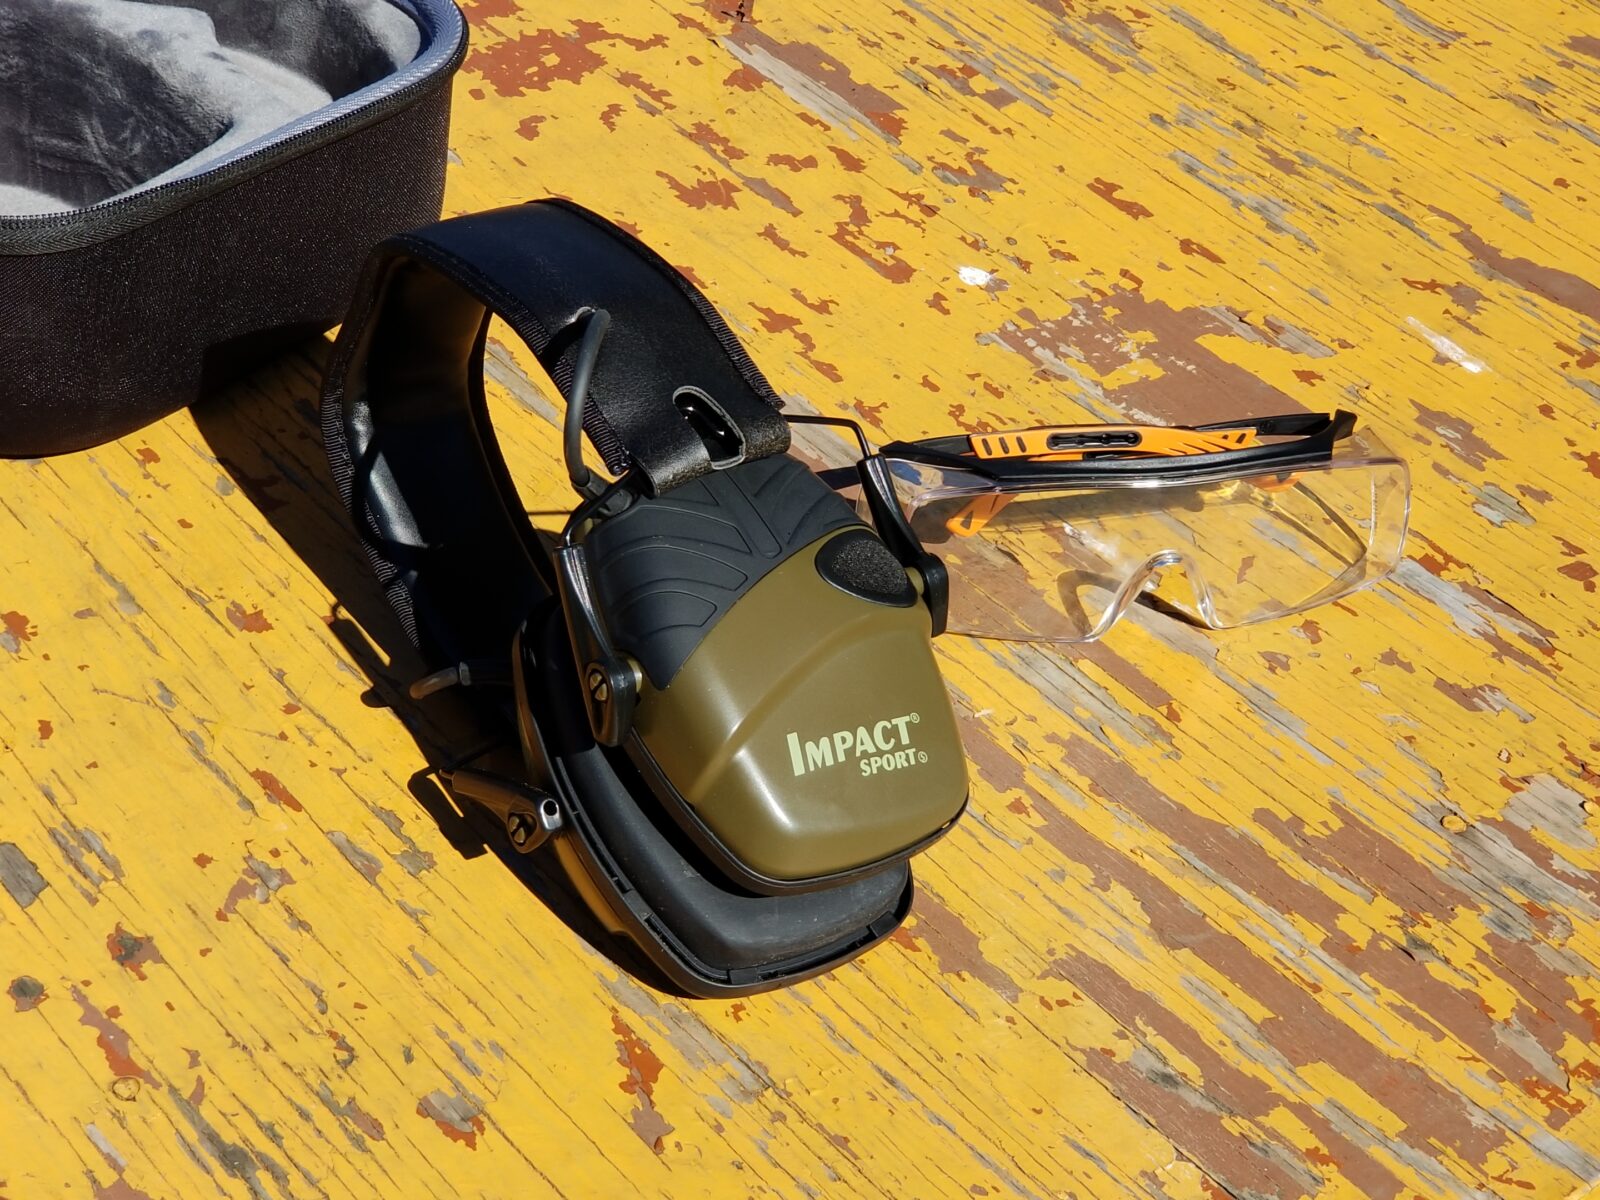
This summer I switched to Honeywell’s Howard Leight electronic earmuffs and absolutely love them. The reason is simple, my hearing is horrible – I sure wish I knew to protect my hearing when I was younger and am paying for it now. When I wear traditional earmuffs, I can’t hear anyone talk. With these, you can turn them on, set whatever amplification you want and they automatically turn off when you shoot.
These things are slick. On one had they have a noise reduction rating of 22 whether turned on or off. Additionally, there are directional microphones on each side of the earmuffs and you have a volume control to turn the amplification/gain up or down. You can get up to an 82db gain in sound and the two AAA batteries can last 350 hours with a 4 hour automatic shut off.
This means I can hear folks talk around me without needing to pull off the earmuffs. I have used these extensively this summer with 12 gauges, 9mm, .40, 10mm, .45, 5.56, 7.62×39, .308 and .338 Lapua Magnum and use them exclusively now. To be perfectly clear, I have no problems with shooting my Lapua with this Honeywell hearing protection and that rifle is a cannon.
Let me caution you on one thing – there are counterfeit copies out there. Be sure to buy from a reputable dealer. In my case, I bought from Amazon directly and not just a third party selling on Amazon. Look under “Sold By” in the listing to see who it is. If it isn’t Amazon, change the seller to either someone you know or to Amazon as the seller.
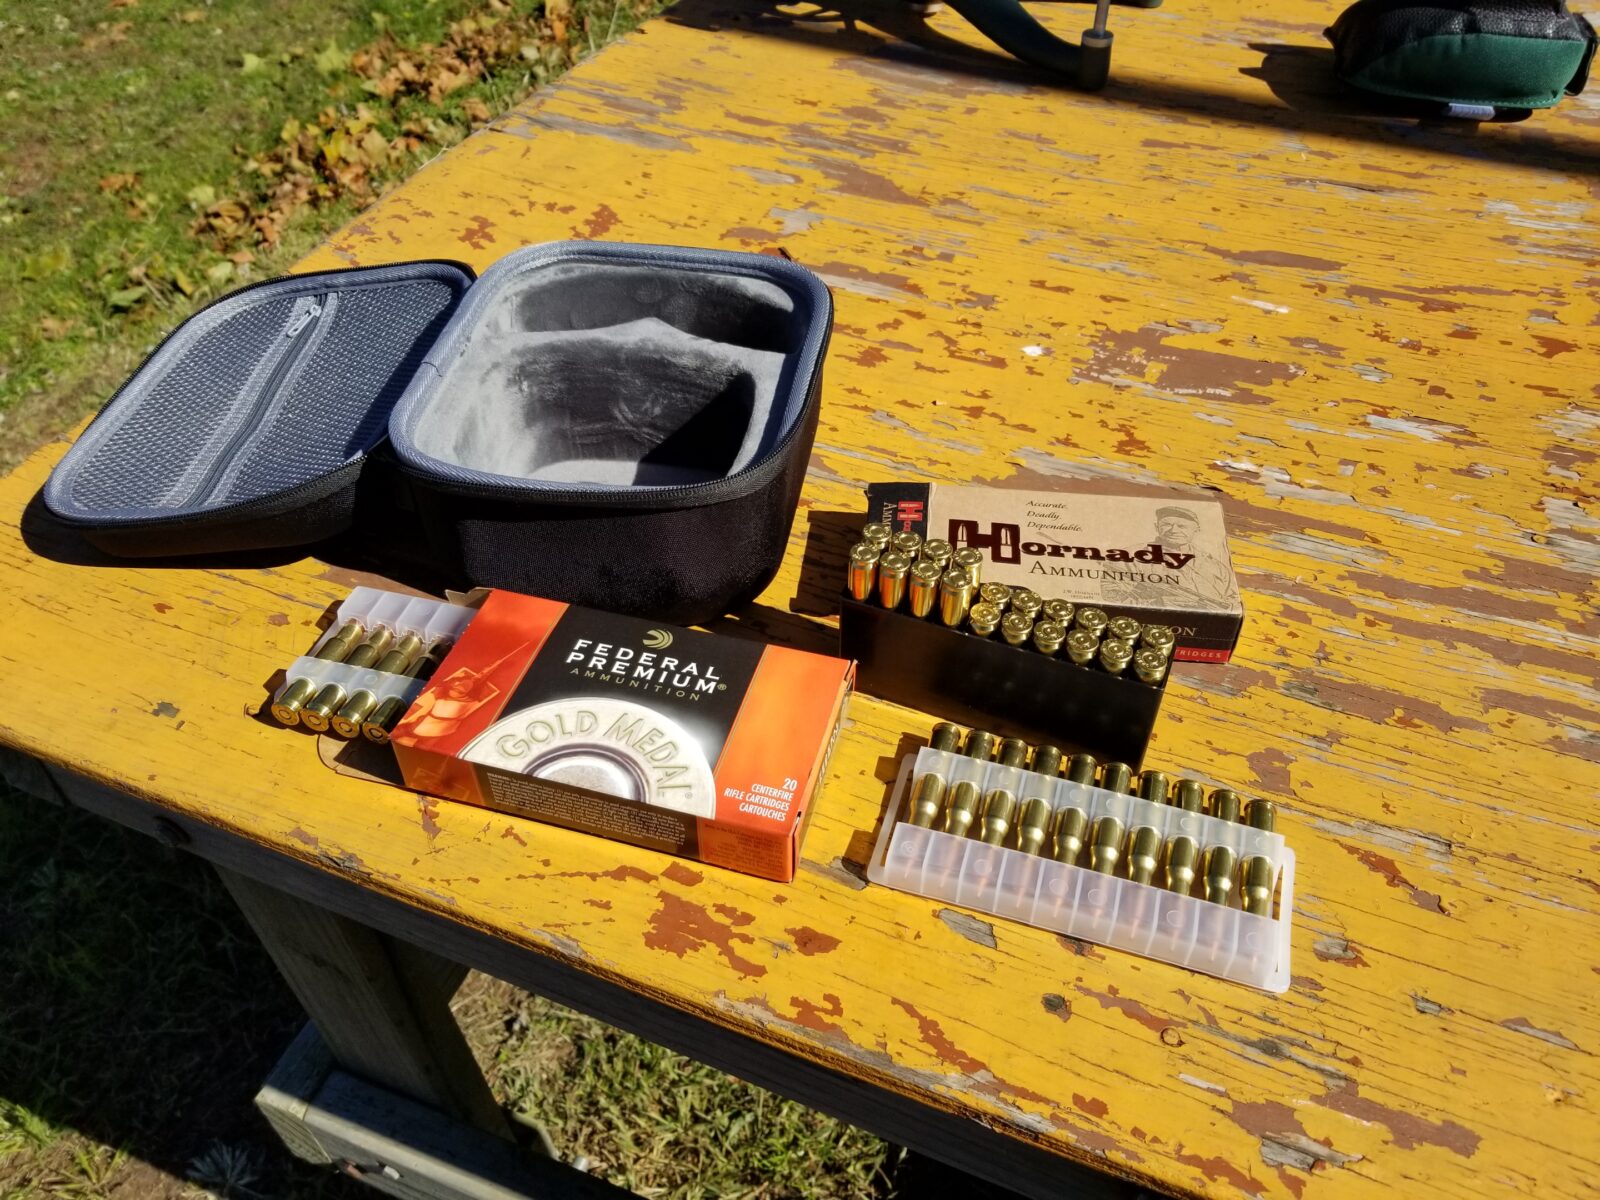
I bought a carry case to hold them and my shooting glasses that has worked out really well.
Note, because I wear prescription glasses, I wear No Cry brand “Over spec” safety glasses that fit over my glasses. They fit well and I store them in the above case also.
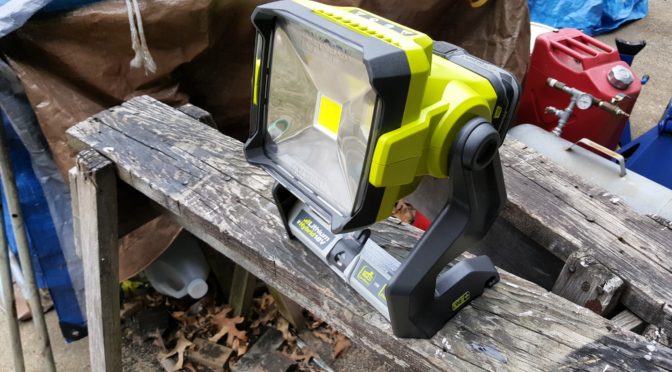
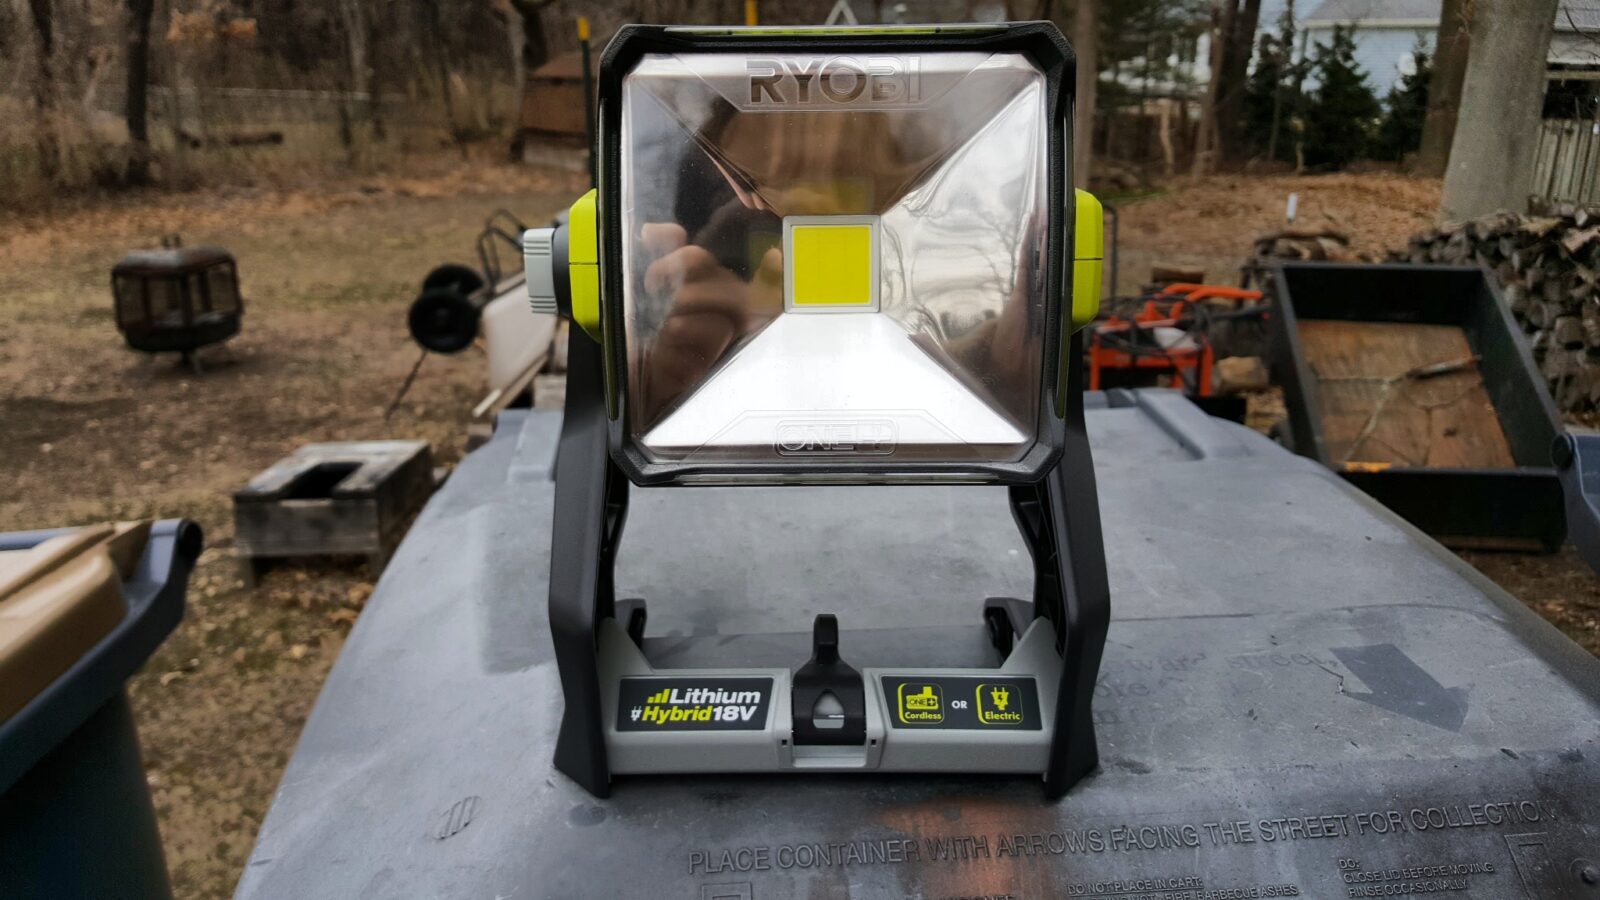
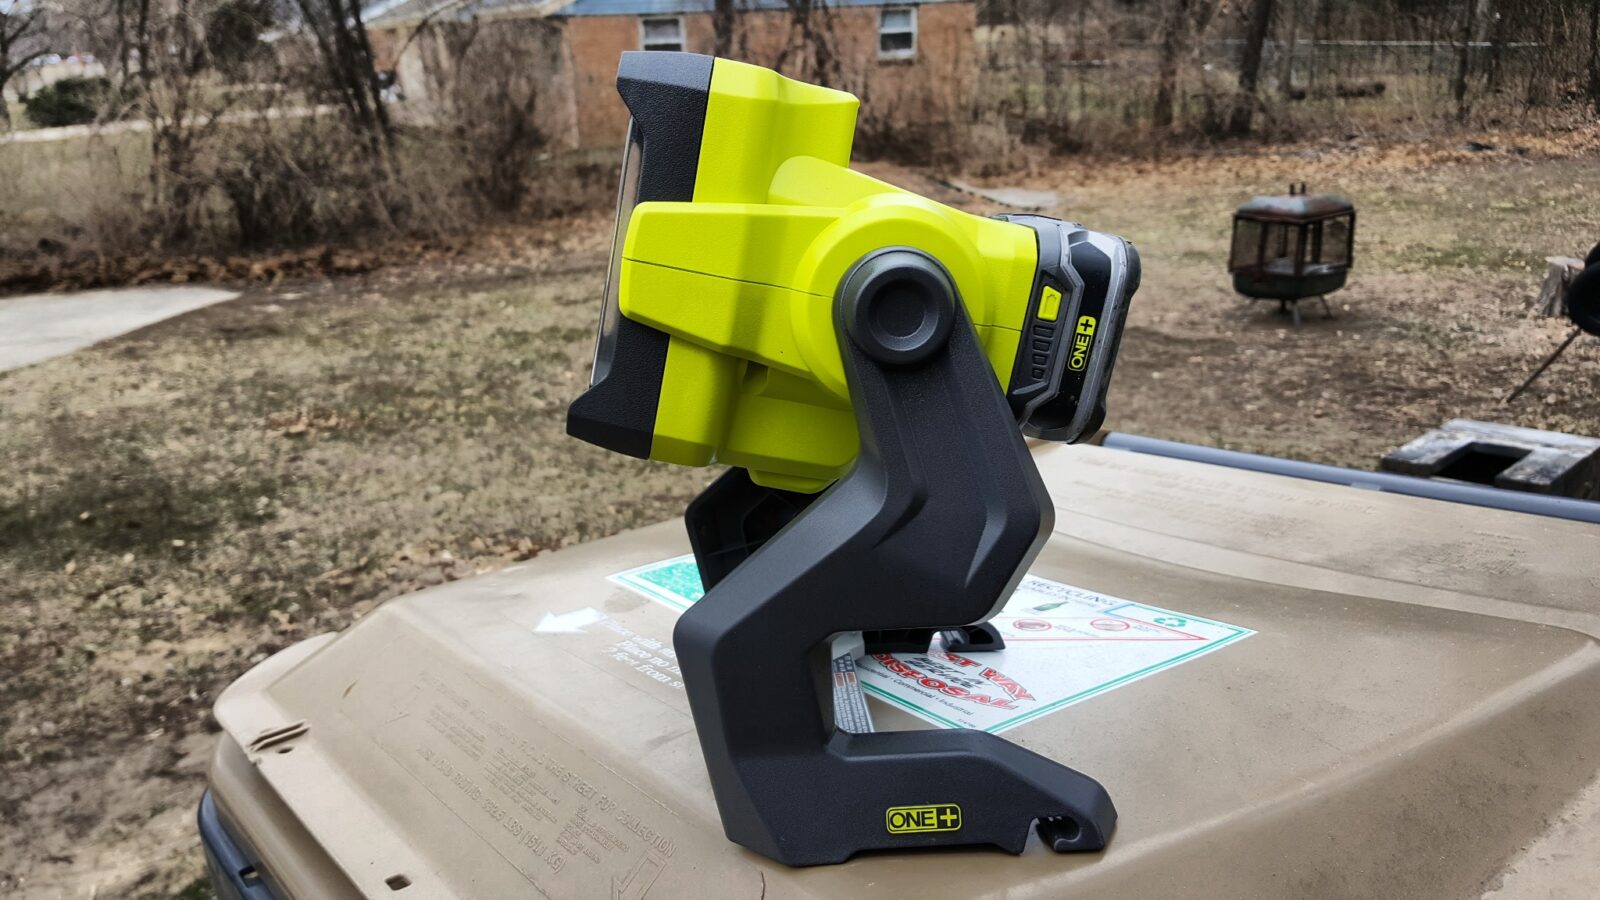
I finally gave up trying to keep my old Ryobi 18 volt flashlights working or converting them to LED. Ryobi sells a 20 watt LED worklight, model # P721 that is really slick and uses their 18 volt batteries. I bought one at my local Home Depot and used it all summer while working on cars, plumbing and electrical work. I must say that I am impressed.
The light has two settings, low and high. When I was working in a room or under a car, the high setting was great. Inside a bathroom vanity it was way too bright and the low setting worked much better. They say the high setting is 2,400 lumen — let me tell you, it’s bright.
The problem I used to run into with incandescent bulbs is that the filament would burn out and I would need to install a new bulb. LED lights do not have that problem. Ryobi estimates the bulb will last 50,000 hours. To put that in perspective, if you ran the light for one year, it would run for 8,760 hours non-stop. Of course you would drain the battery over and over but the point is that it will be a long time before the LED gives out.
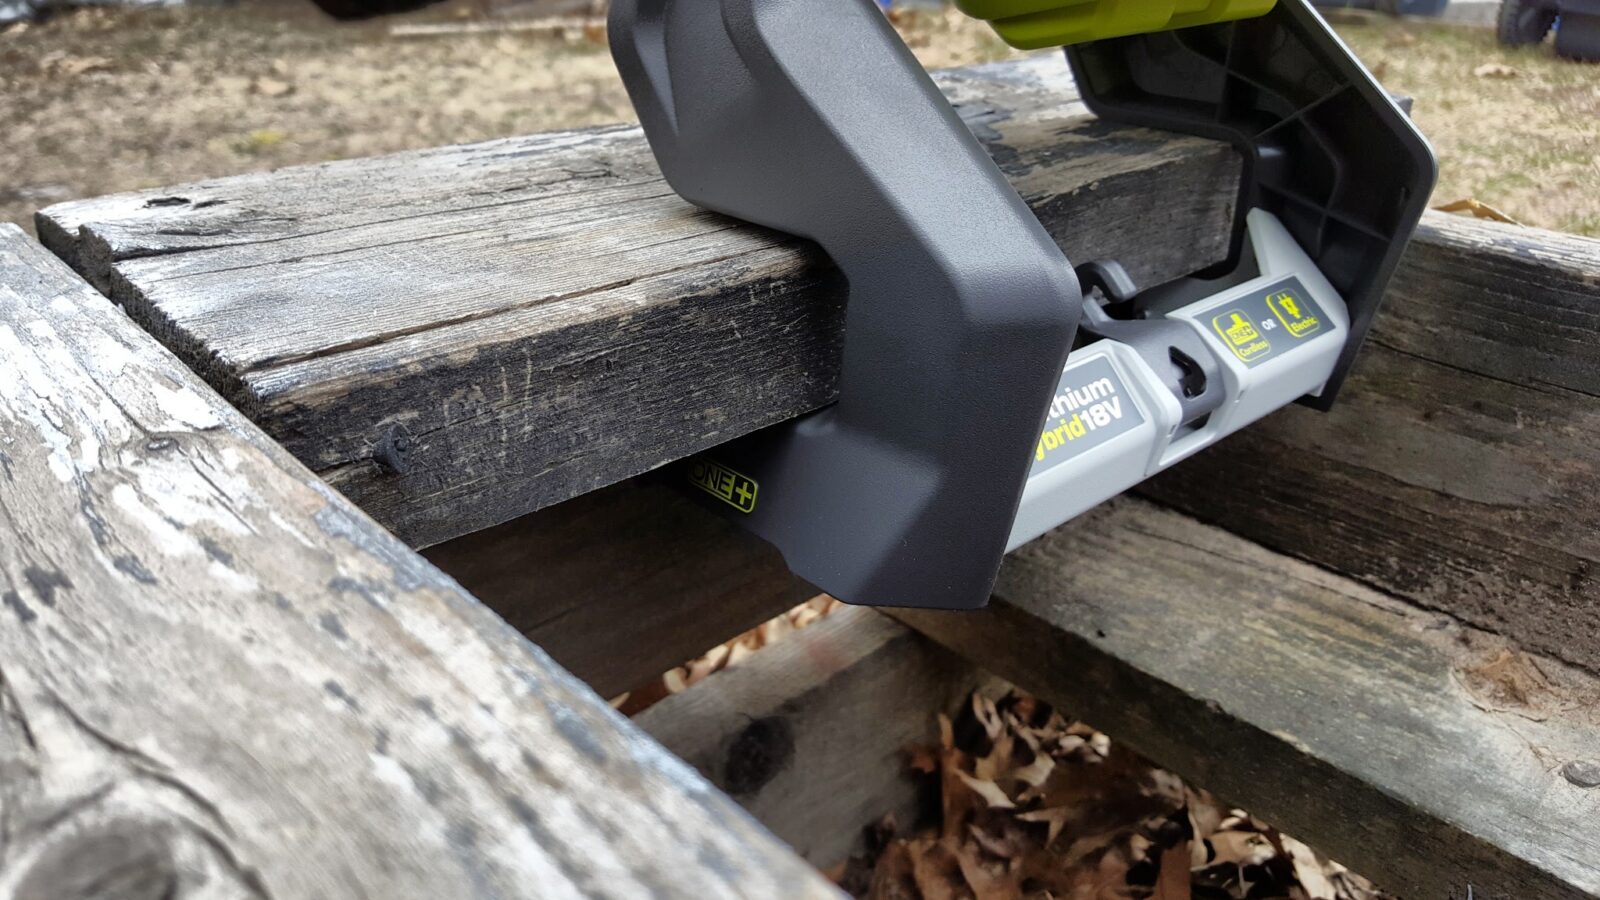
The legs are an interesting design and can hang on a two by lumber such as framing or a floor joist.
They claim 34 hours on one of the big Lithium Ion batteries and I suspect that is the low setting. When I was doing plumbing and electrical work at my mother-in-law’s house, I killed a big battery in less time than that on full power.
All in all, it is a great light. Since I have Ryobi tools and batteries, this purchase was a no-brainer and I plan to buy a second one for ever better coverage while working and the occasional power outage.
2/17/20 Update: Both lights are still going strong. I have used them a ton and it is so handy to have a ton of light available on demand. I still strongly recommend these.
5/30/2019 Update: I did buy a second one and these things are great. For example, I just used them the other night to light up an area outside where my wife and I were working. The batteries last a surprisingly long time on the lower power setting but I can’t tell you for sure how long. Also, that base is so well thought out. You can attach it to two-by lumber or even use the hook to dangle it – which I did from a rope.
The one thing I notice about getting older is that I don’t have the strength to go lugging around as much as I used to not to mention I don’t have a ton of patience either. This issue affects me when it comes to portable compressors.
Because of Ronin’s Grips, I have a big stationary 60 gallon Ingersoll Rand compressor. To work on cars, I run 50-100 feet of 3/8″ air hose to where I am working and life is great, For years I had a portable two gallon compressor that required AC that I sold because it weighed quite a bit and needed an electrical cord.
Last Spring, I started hearing about various tool companies making cordless air compressors that could be used to run nailers, staplers or even inflate tires. That idea definitely caught my attention.
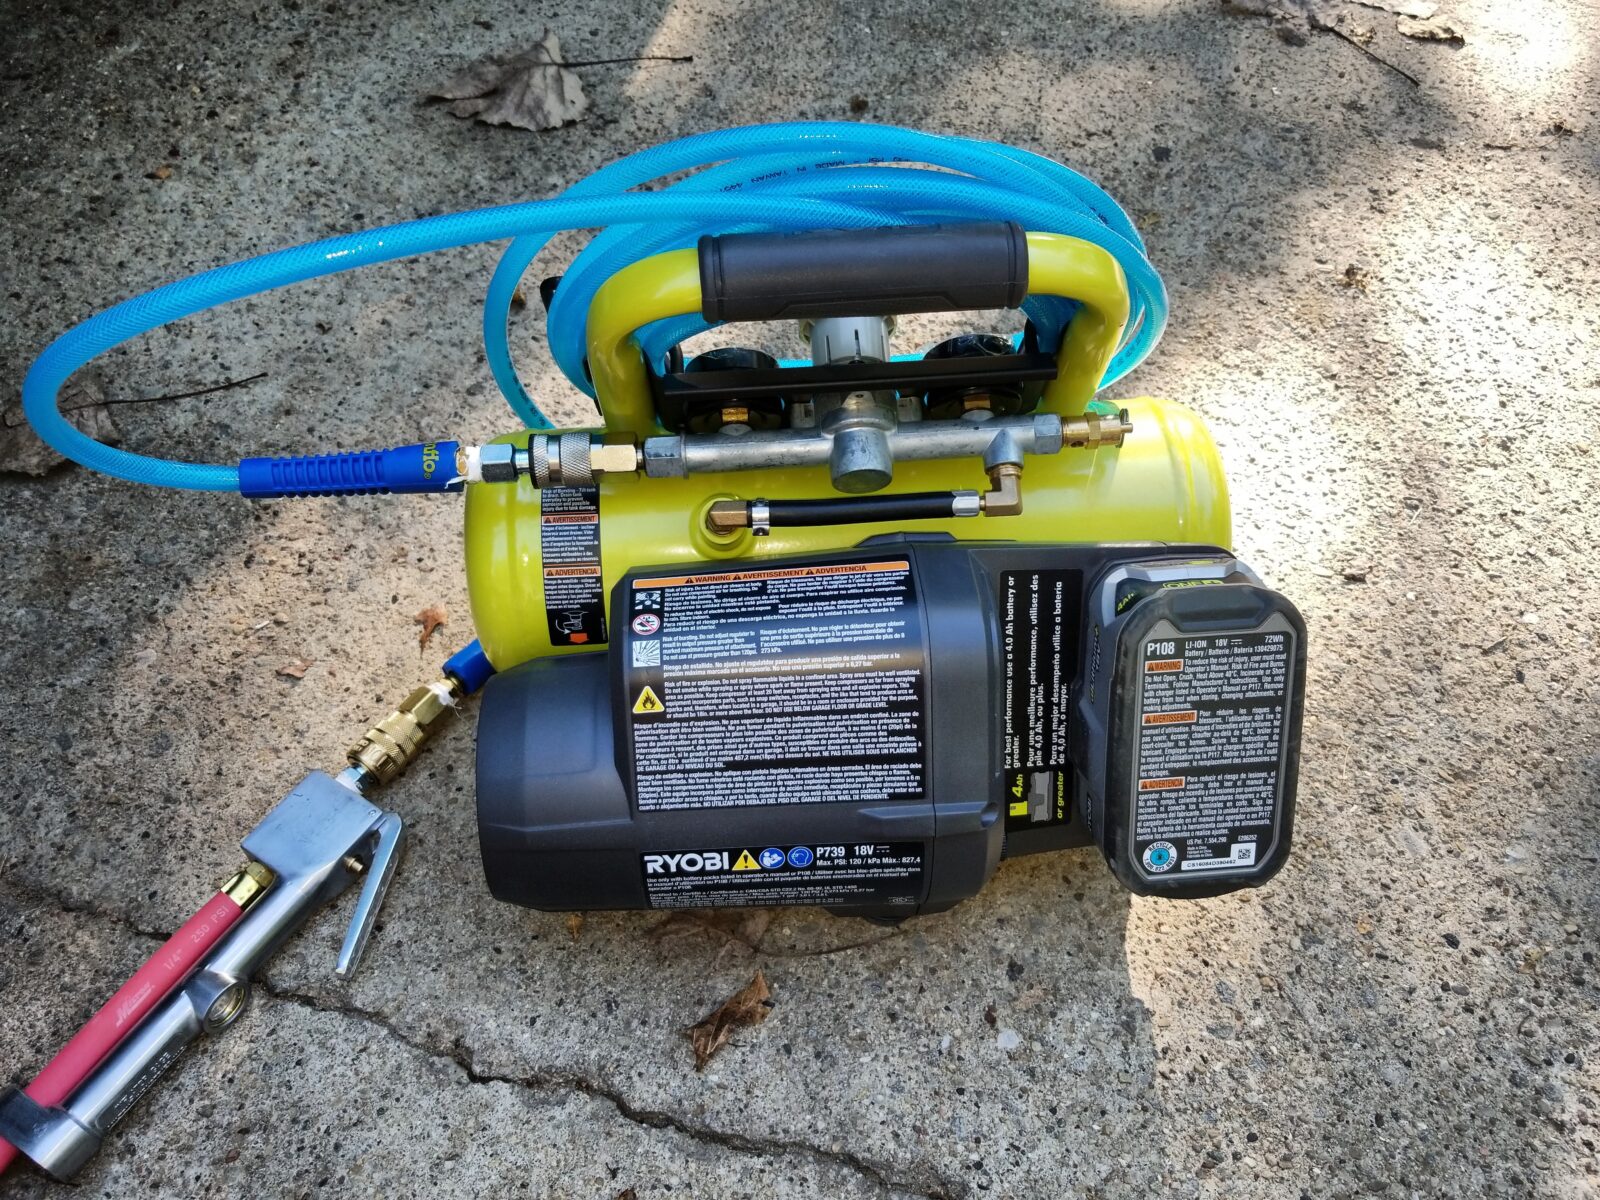
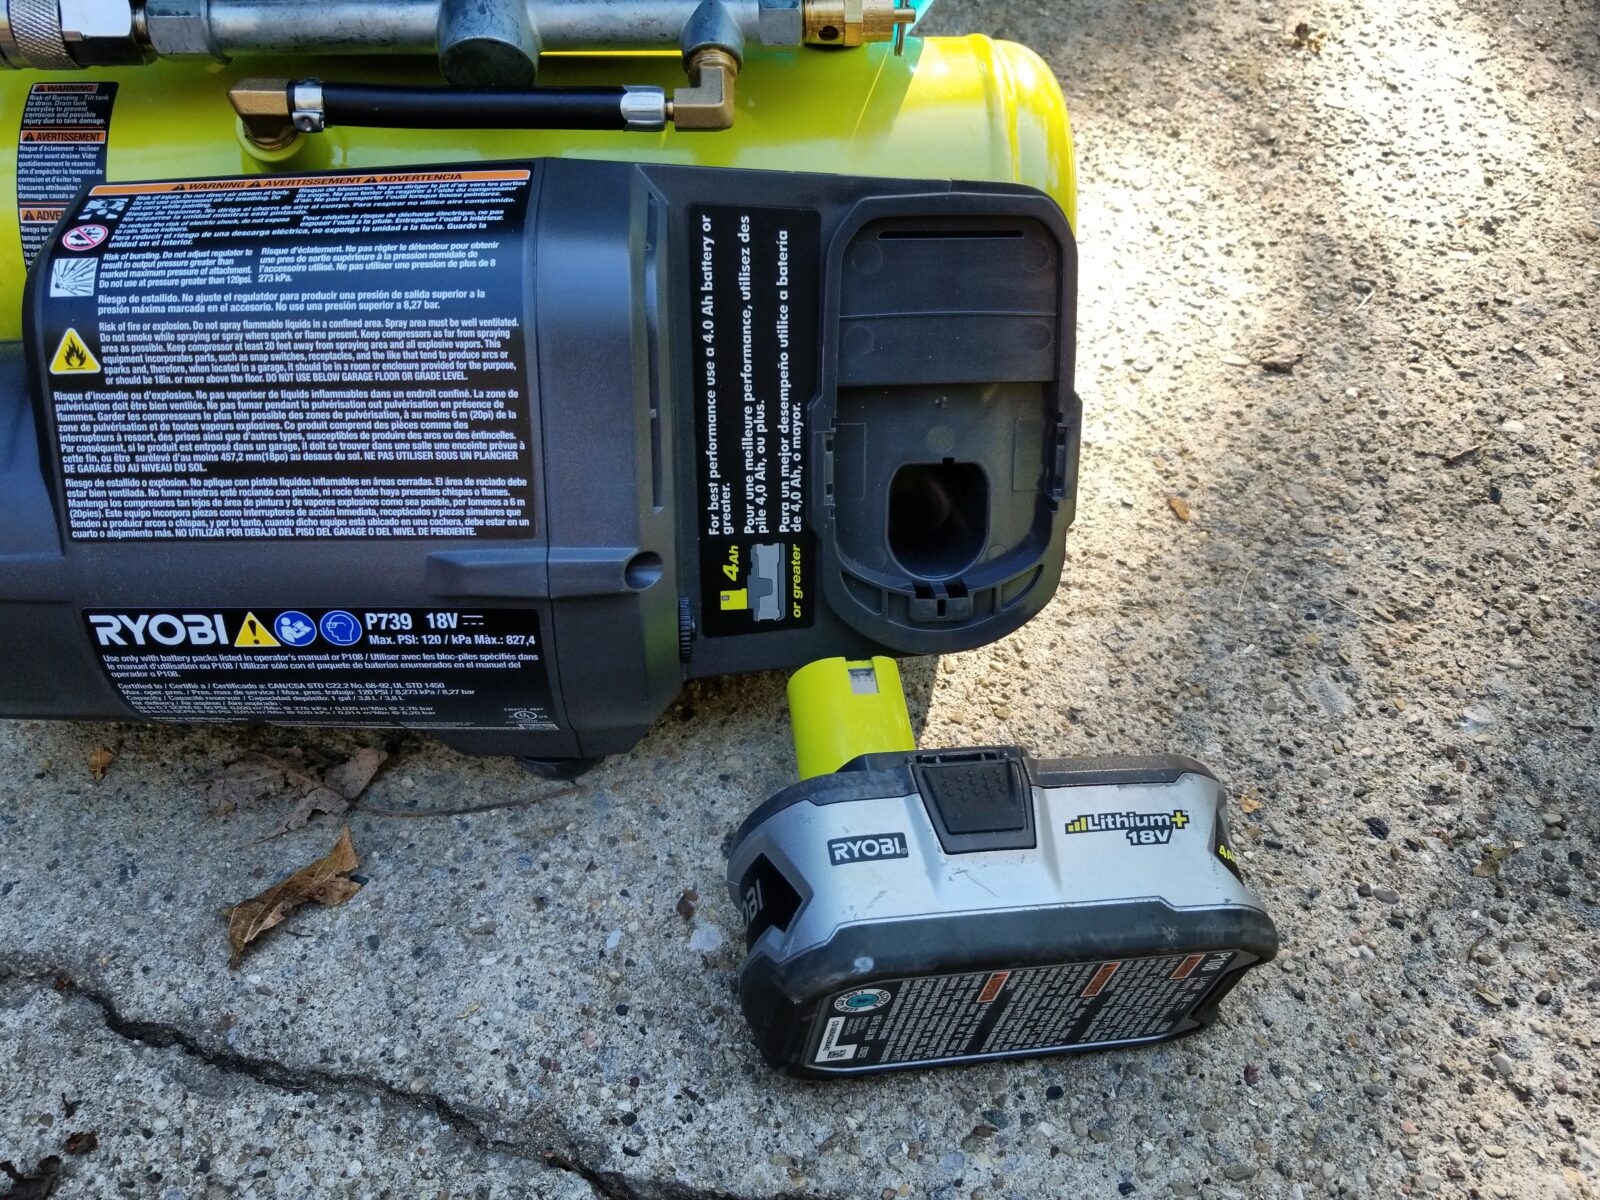
I then read about the Ryobi P739 1 gallon air compressor that uses their common 18 volt batteries. I have a ton of Ryobi tools and batteries so I bought one from www.homedepot.com with home delivery. Note, I specifically bought the model above – there are other previous models but I can’t speak to them. Also, the website will frequently sell different bundles (the unit with a charger and at least one battery) that you will probably not see in a store so at least check the website before you buy.
First off, this is not an inflator that puts out tiny amounts of air. This has a 1 gallon tank that is pressurized to 120 PSI and has an adjustable regulator.
This little compressor is meant for tools that have low air requirements or inflation as it does not put out a ton of air – 0.75 standard cubic feet per minute (SCFM) at 40 PSI or 0.5 SCFM at 90 PSI. Note, I am just going to write SCFM for the compressor because Ryobi says the above is a SCFM rating. CFM is different and click here if you want a pretty good explanation.
Once the tank is pressurized, you’ll have enough air to run a brad nailer, finish nailer or stapler. The question becomes how many nails can you drive before the compressor will need to kick on and refill the tank. The answer unfortunately is “it depends” because of the requirements of the tool. It will never put out enough air for tools that require a lot of air like ratchets, impact hammers, sanders, spray painters, etc. Don’t even consider it for those tools that say they require over 2 CFM. The Ryobi simply was not designed for those use cases and never claimed to be.
This little compressor will probably be great for 10-20 finish nails/staples and then need to run its compressor. If you try to use the tool too fast when it is trying to recharge the tank, odds are you will draw more air than the tool can deliver and the pressure will continue to drop. Remember – the compressor itself is small. When the tank pressure drops and the compressor kicks on, it will need time to recover.
You’ll notice I didn’t mention a framing nailer or even a roofing nailer. Odds are the compressor can do a few of those but it would never keep up. Portable job site compressors for nailers can deliver 3-5 SCFM @ 90PSI and keep up with even several nailers running. If you plan on some quick fix with just a few nails then sure, this would work.
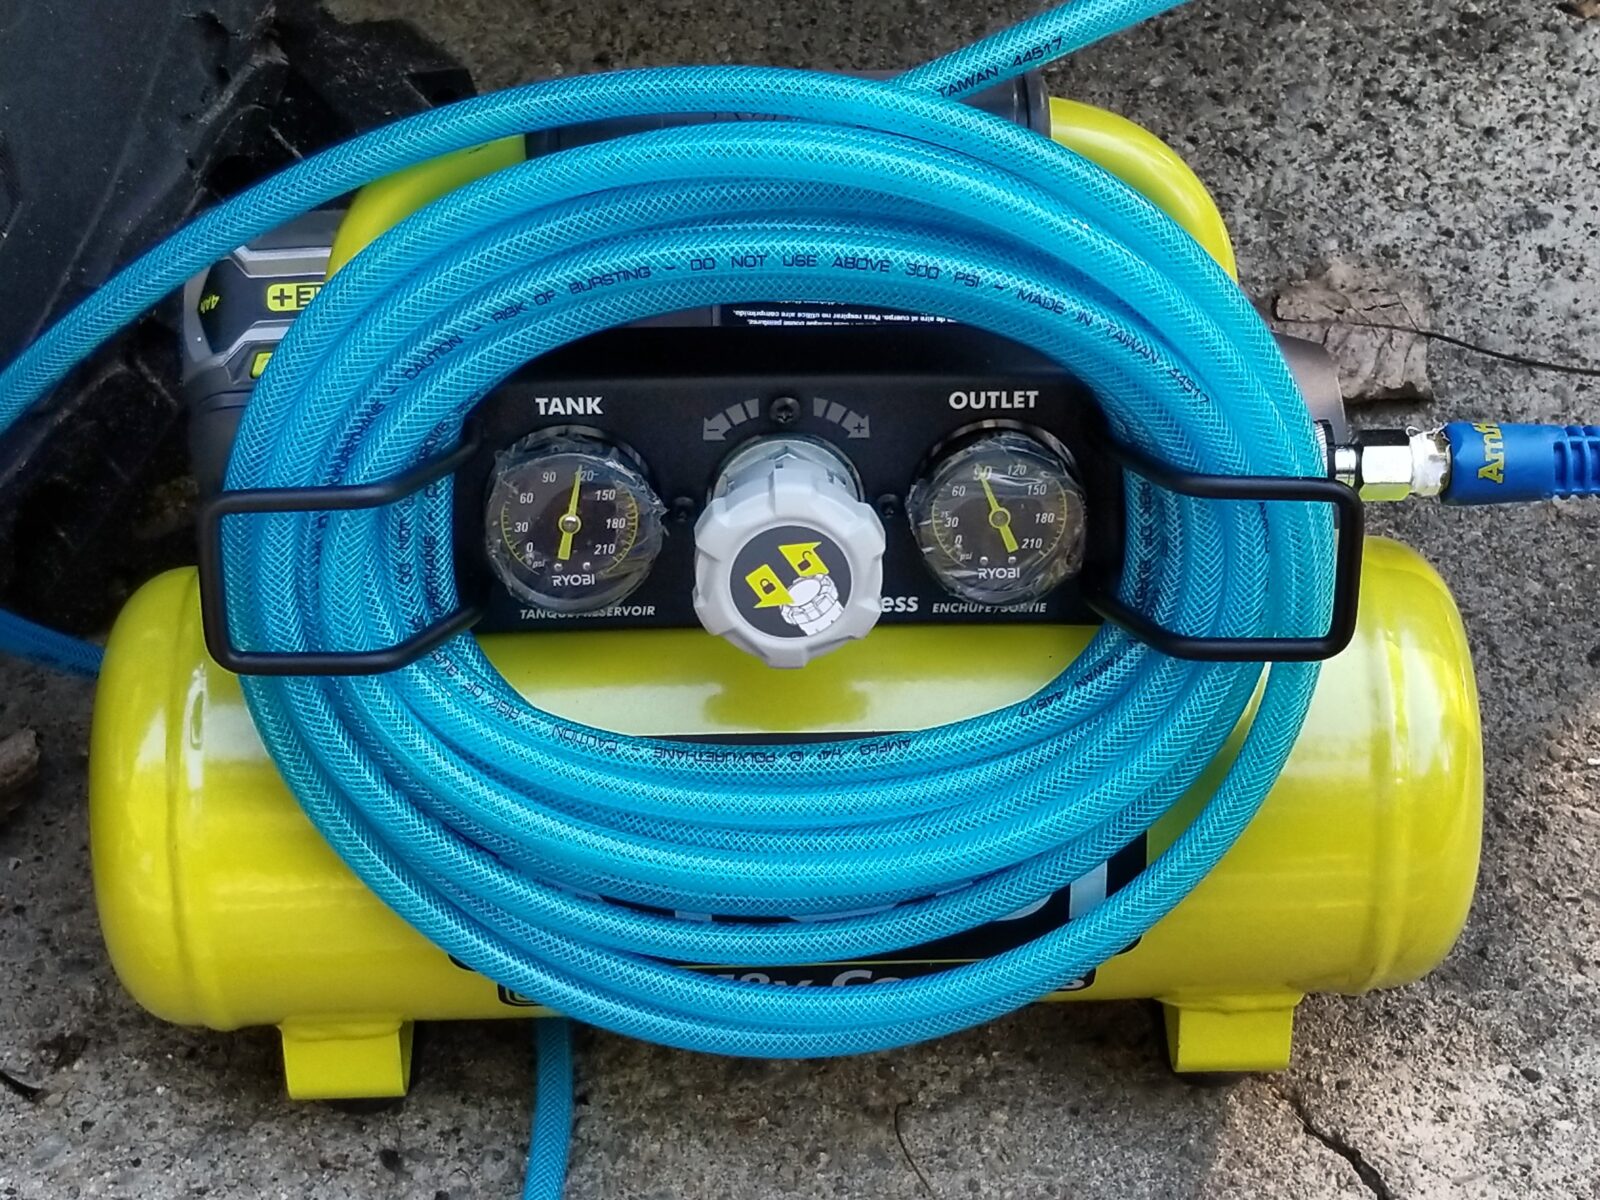
What this little Ryobi brings to the table is portability. It is only about 14 pounds before you add the battery and tools. I use one of the big 4 amp hour Lithium Ion batteries on it and then keep a 25 foot Amflo line on it with Milton 1/4″ quick connect fittings.
I like the Amflo line as it is made from polyurethane and remains flexible even in cold weather plus it doesn’t leave scuff marks everywhere. The old rubber and PVC air hoses are big, bulky and really get stiff. The challenge is keeping all the Amflo hose on the unit when moving it around. Velcro really helps. I started with an oddball strap that I had laying around. It helped but I needed two more to really secure it and used a cool double sided “Velcro” tape that is out now.
I use a hook and loop tape that rocks. The brand name you know is “Velcro” but you will hear people generically refer to it as hook and loop. At any rate, this stuff has the hook one one side and the loop on the other – you cut off the roll whatever length you need and it is simply fantastic for managing cables, or in this case, keeping that Amflo hose on the holder. I use three pieces – on the two sides and one at the top – because most of the time I am using just a short section for topping off tires.
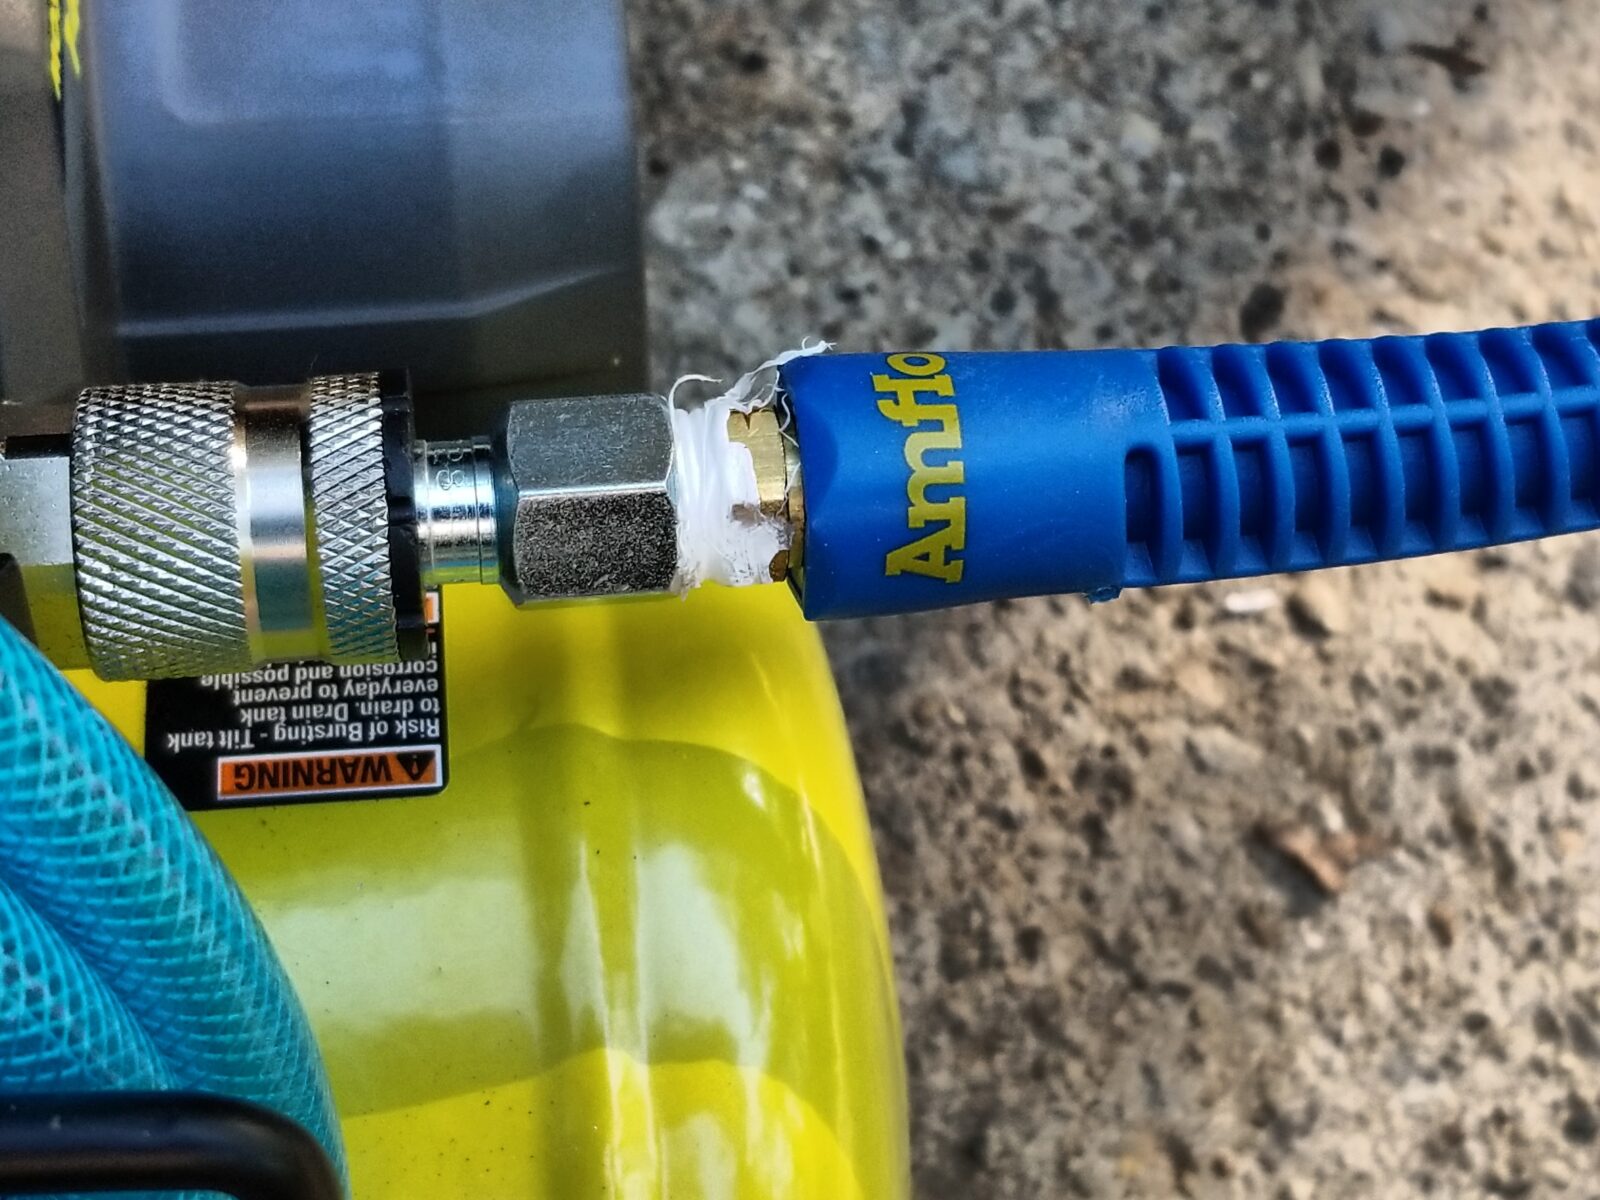
As mentioned in the past, I just use Milton fittings now. Harbor Freight, Home Depot and other discount brands have let me down one too many times including excessive air leaks with wear and even breaking.
One last small tip, use good Teflon tape. The stuff I am using right now is off Amazon and is way thicker than the cheapo stuff you often see.
I have a 16ga NuMax finish nailer and an 18ga Wen finish nailer that work just fine with this plus a Surebonder T-50 Stapler. I have others but these are the ones that I have used with the Ryobi and am happy. Again, I am not doing high volumes – more like small projects, repairs, etc.
It Rocks For Topping Off Tires
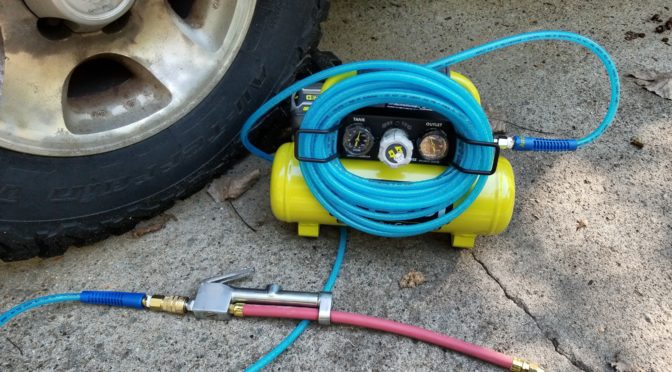
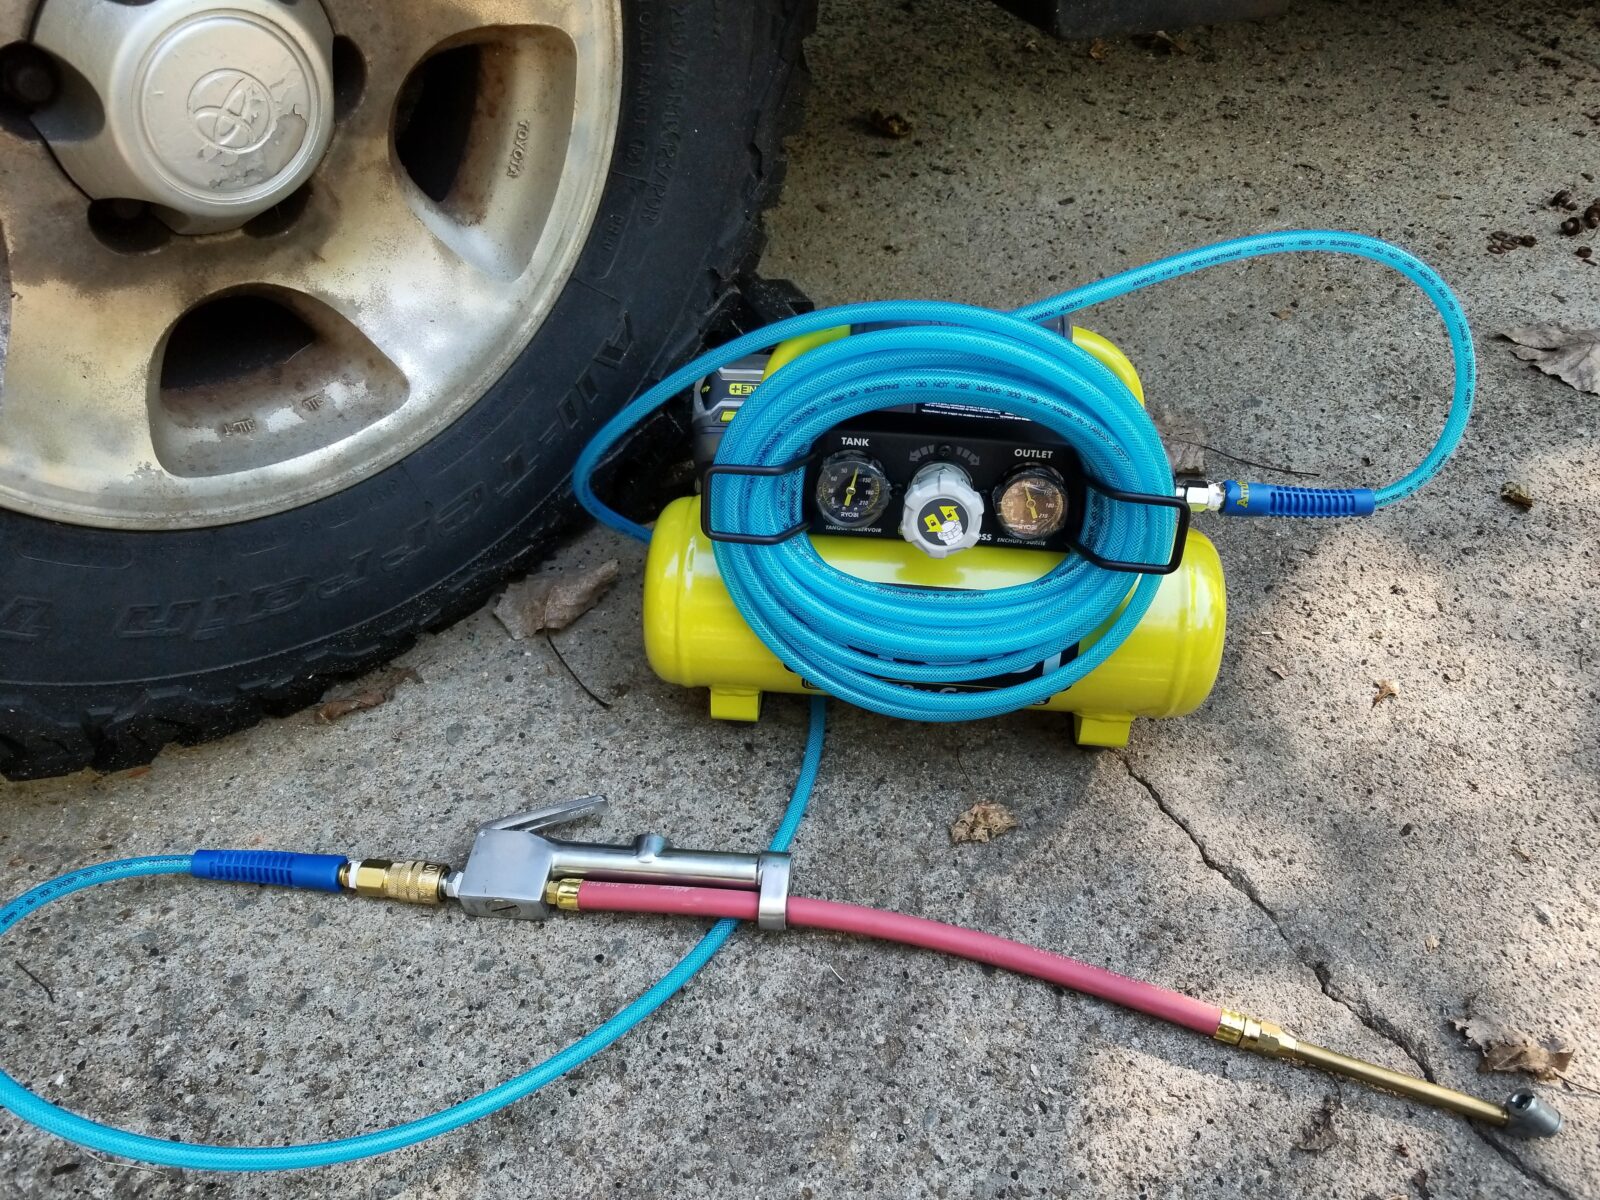
What I use the Ryobi for the most is to top off car and truck tires. It really makes this chore easy. Sure my big compressor is faster but to go around and add up to 5-10 PSI to a tire is easy with this. To give you an idea of size, the next photo shows the unit next to one of my Landcruiser’s good sized 275/70R16 tires.
I used to lug around a portable five gallon tank but it weighs a ton, is cumbersome and I might need to refill it several times before I get done. If I didn’t do that, I would have to pull the car around by my shop, hook up a line to reach it and then fill the tire – that can also be a headache unless the line is already hooked up.
What you see above is a Milton S-506 tire inflator that I keep on it. I have another in the garage that is beat to death but still working. It is so very, very handy to have the inflator and pressure gauge in one unit plus chuck heads at two angles for bikes, tractors, trailers, etc.
To give you an idea, I recently had to add about 2-4 PSI on each tire of my daughter’s 2002 Camry to get them up to 40 PSI. The regulator was set at 90 PSI and it had a freshly charged battery,
Part way into the first tire the compressor turned on and continued running as I did all four tires on the car. The battery’s LED charge indicator dropped one bar out of four. The compressor turned off maybe two minutes after I topped off the last tire.
In summary, I’ve been using this compressor for over two months mainly for topping off tires and that really puts some stress on the little unit. It seems to be holding up just fine. It gets lugged around my shop, the drive way in the trunks of cars and no problems. I can easily go out and check all our vehicle tires and top them off where they sit .
If you use Ryobi 18 volt tools, have the batteries and are in the market for a light duty portable compressor for the uses I outlined above, I’d recommend this one. If you use another brand of 18-20 volt tool, I bet your vendor is making a portable compressor as well that you might want to research.
5/21/2019 Update: This thing has been awesome. I use it at least once a week to top off tires and has been great. I’ve also used it a few times to run staplers and a finish nailer. I really like it. It definitely uses quite a bit of power so if you plan on using it a fair amount, I’d recommend at least 4.0Ah, or even better the new 9.0Ah, batteries you will be using the unit extensively. I always have several batteries with me too.
1/31/20 Update: Still going strong. I can’t begin to guess how many times I have used this to fill tires and no real problems so far. The one tip I would tell you is to not leave a battery in the unit. The battery slowly drains for some reason – it always has and I am not sure why since it has a mechanical on/off rocker switch. It’s not a big deal – I just unplug the battery after each use and then the battery lasts far longer. This little compressor is so handy that I have no qualms recommending it.
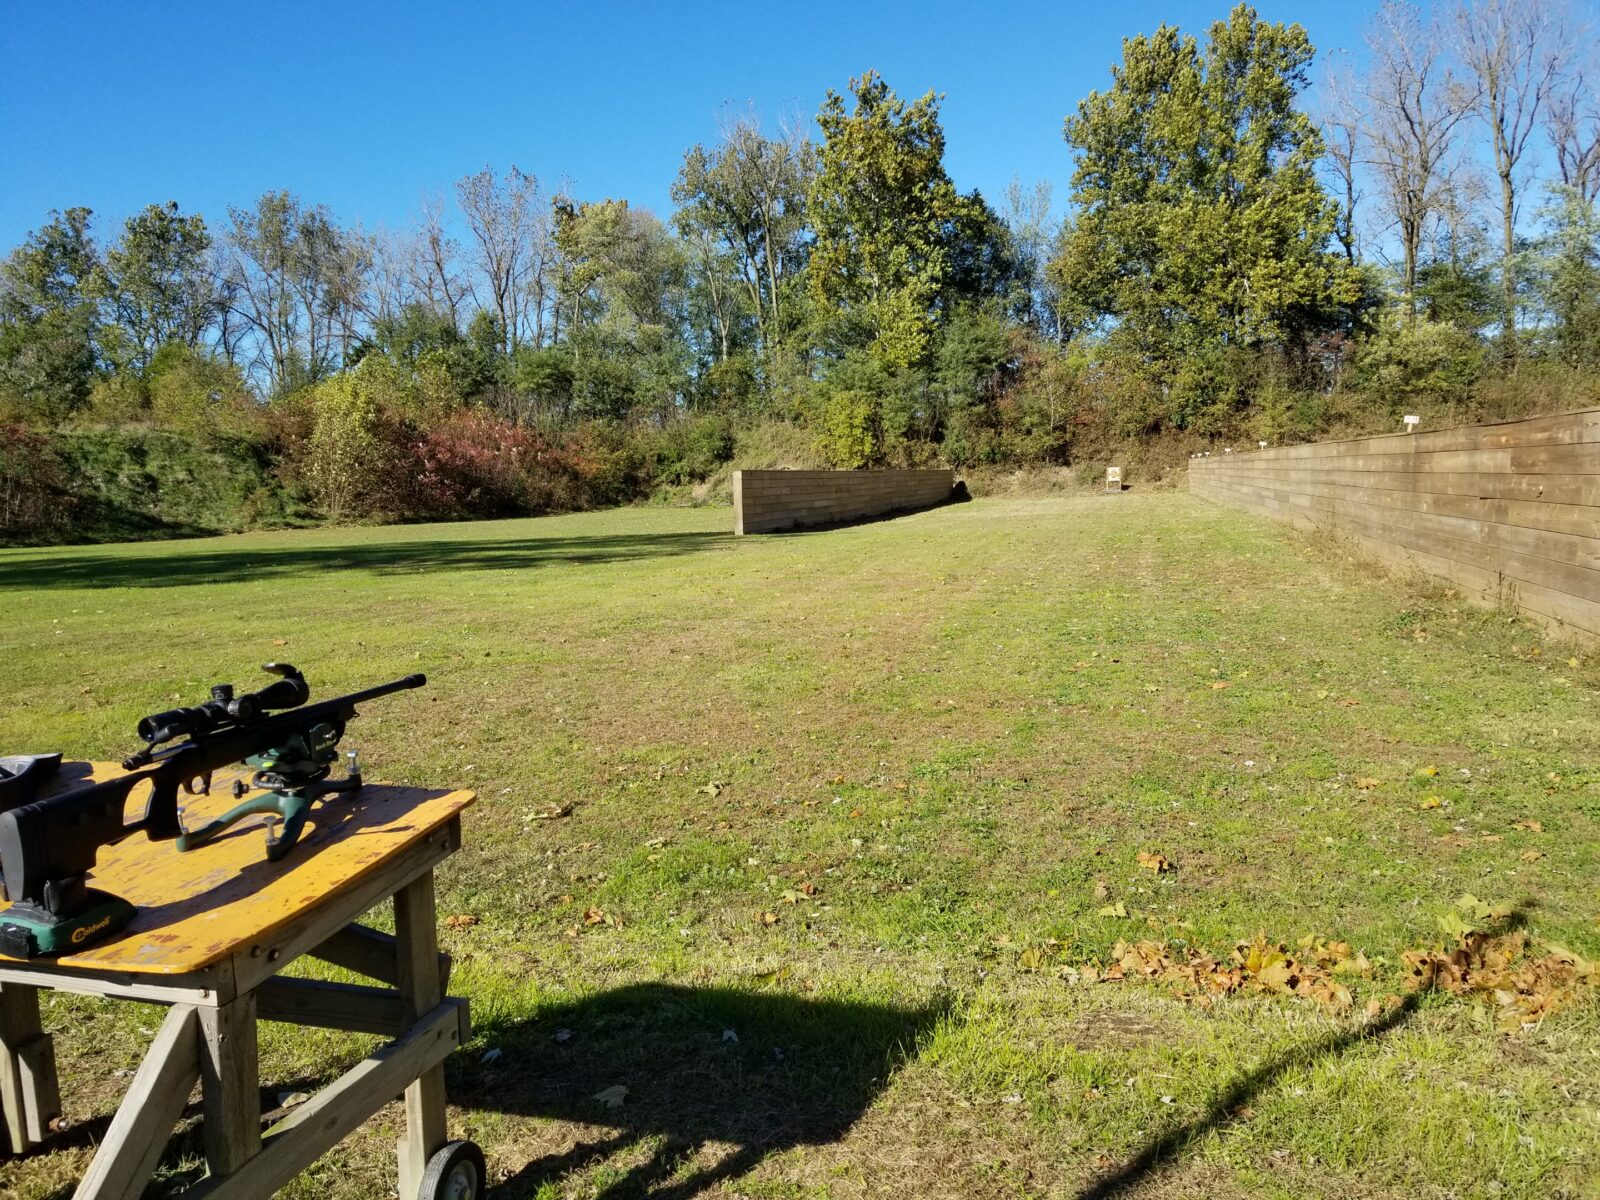
I’d already shot a few rounds through the rifle at a quarry but couldn’t really shoot for accuracy. We put about 10 rounds through it. To shoot it from a bench, I took the Sabatti to the Berrien County Sportsman’s Club’s 100 yard rifle range and set up. I’d already cleaned it the night before to get ready and it was a fine Michigan fall day to do some shooting.
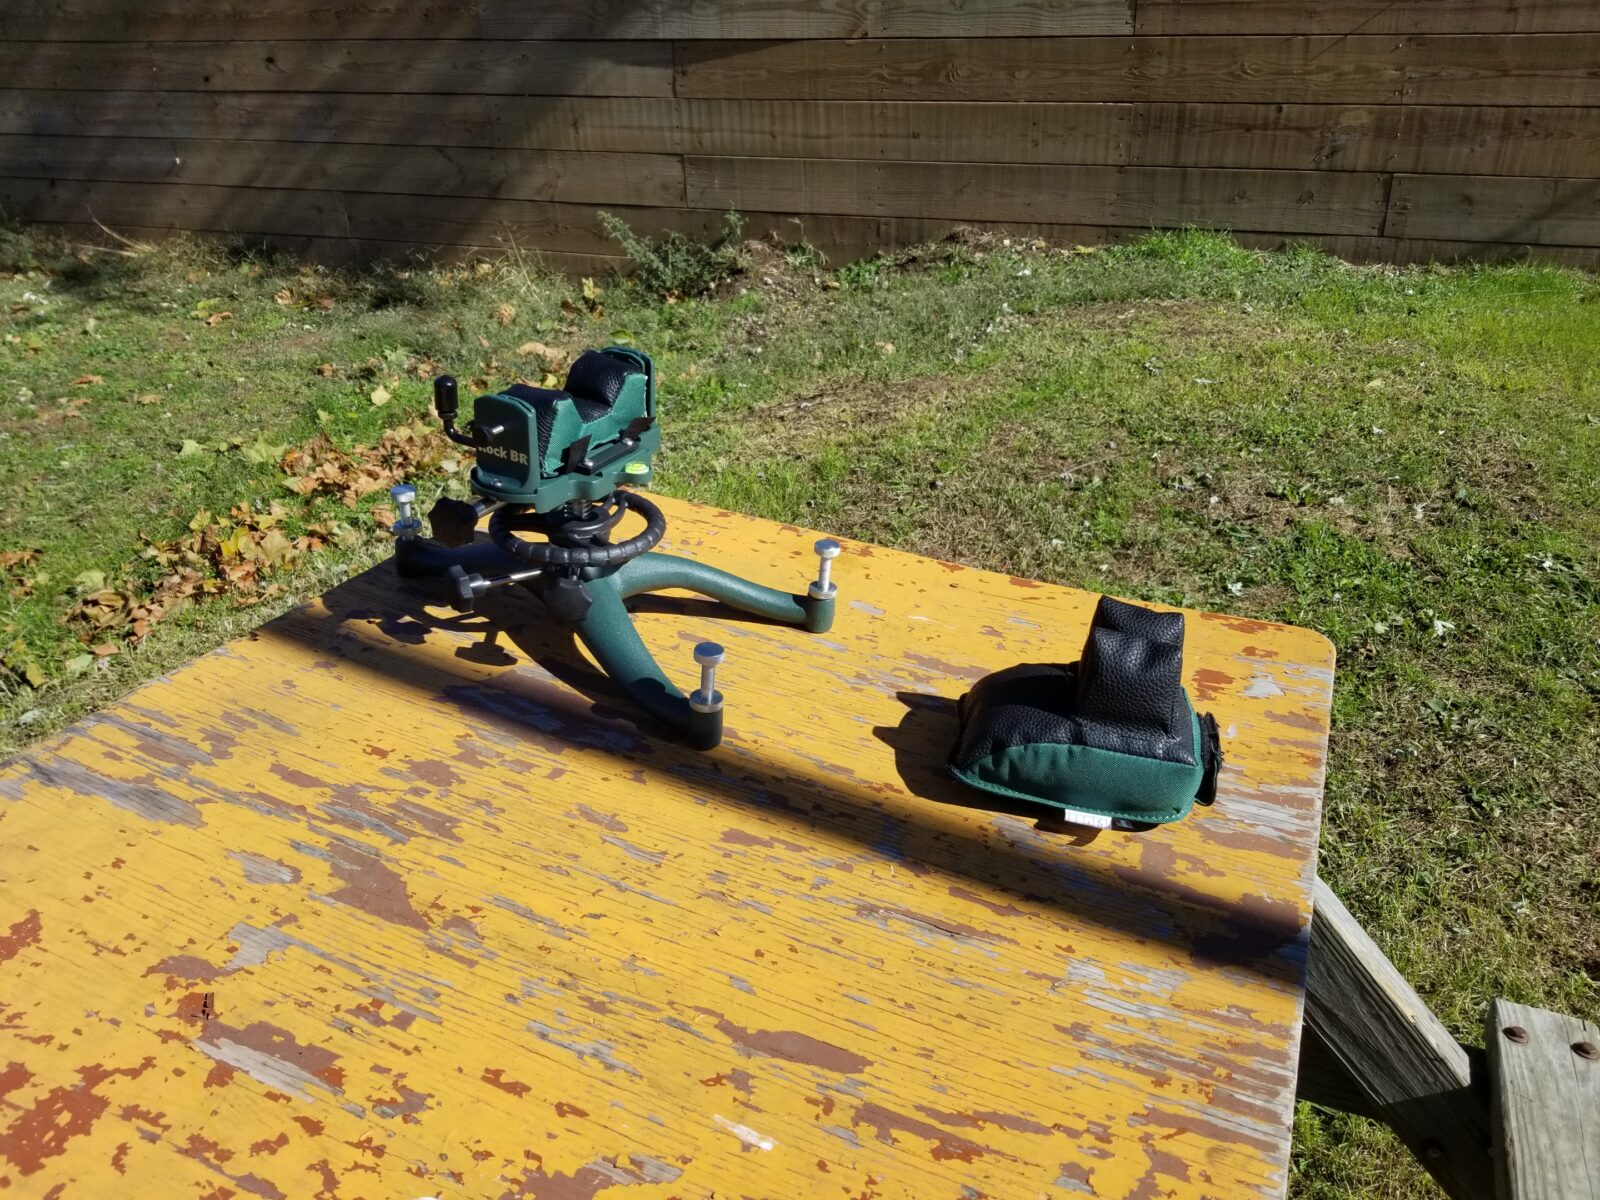
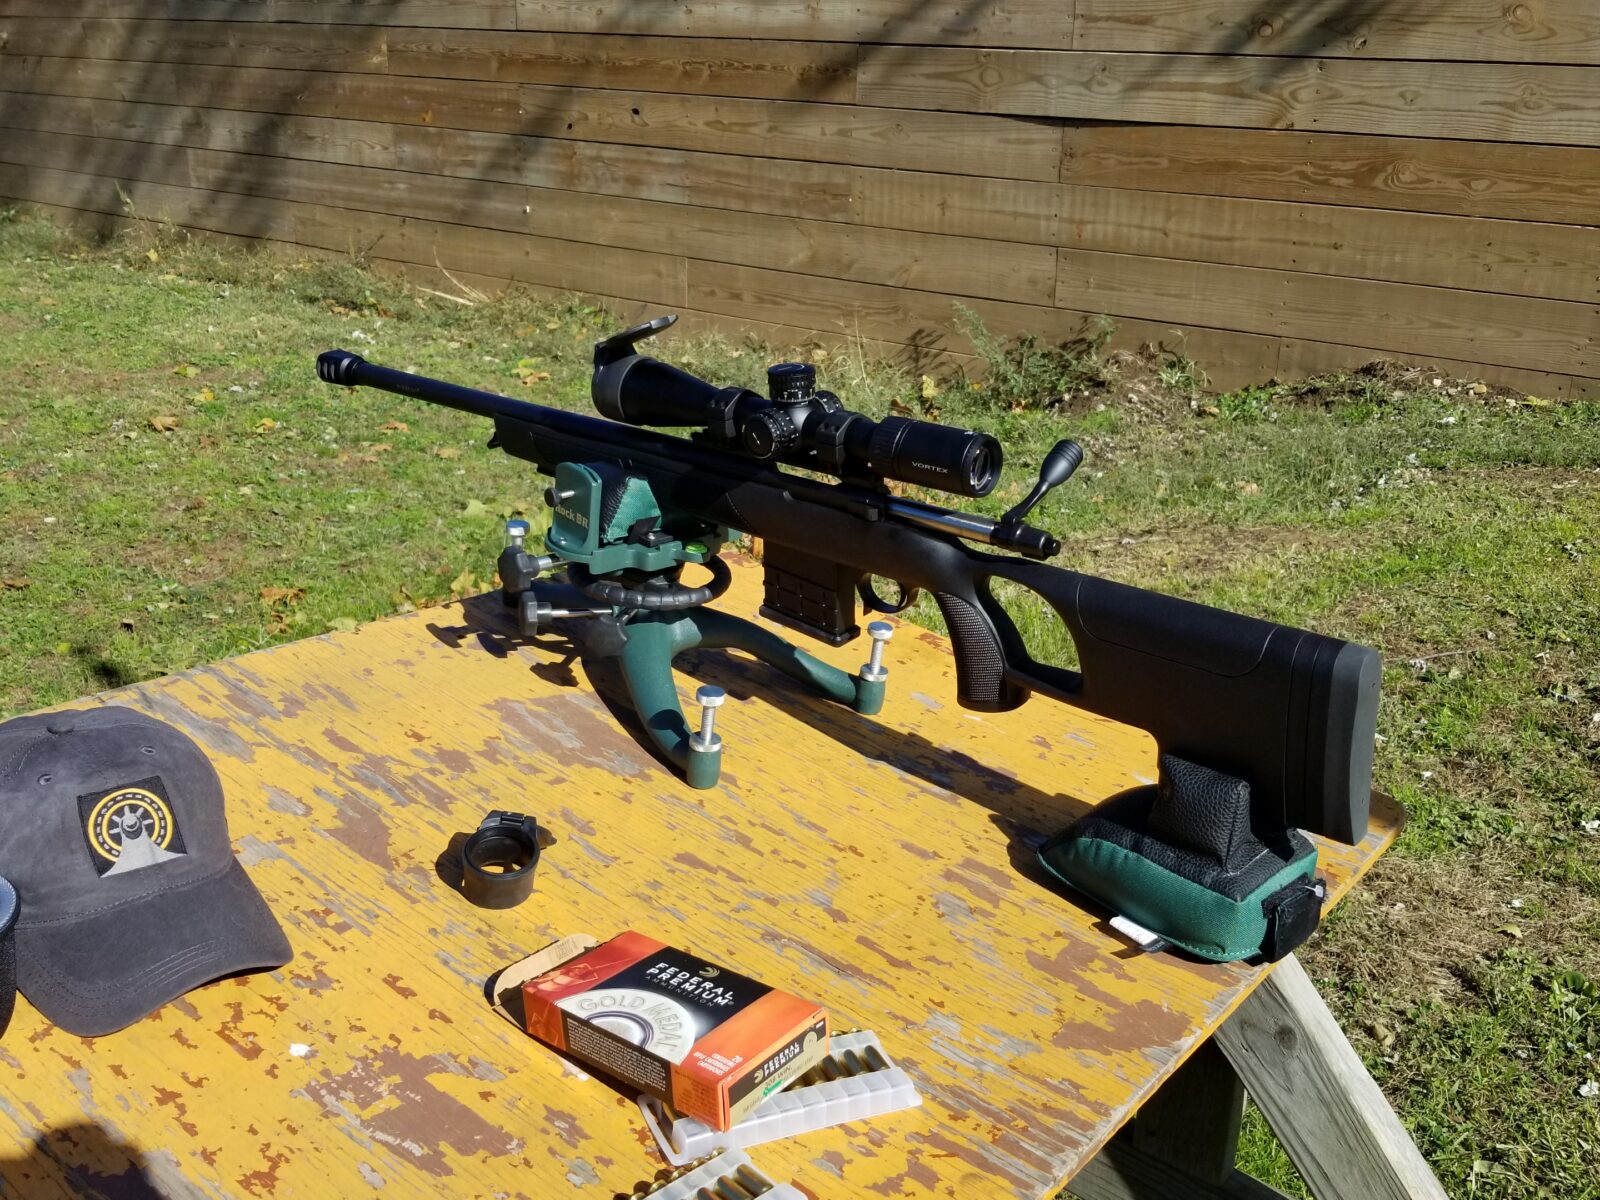
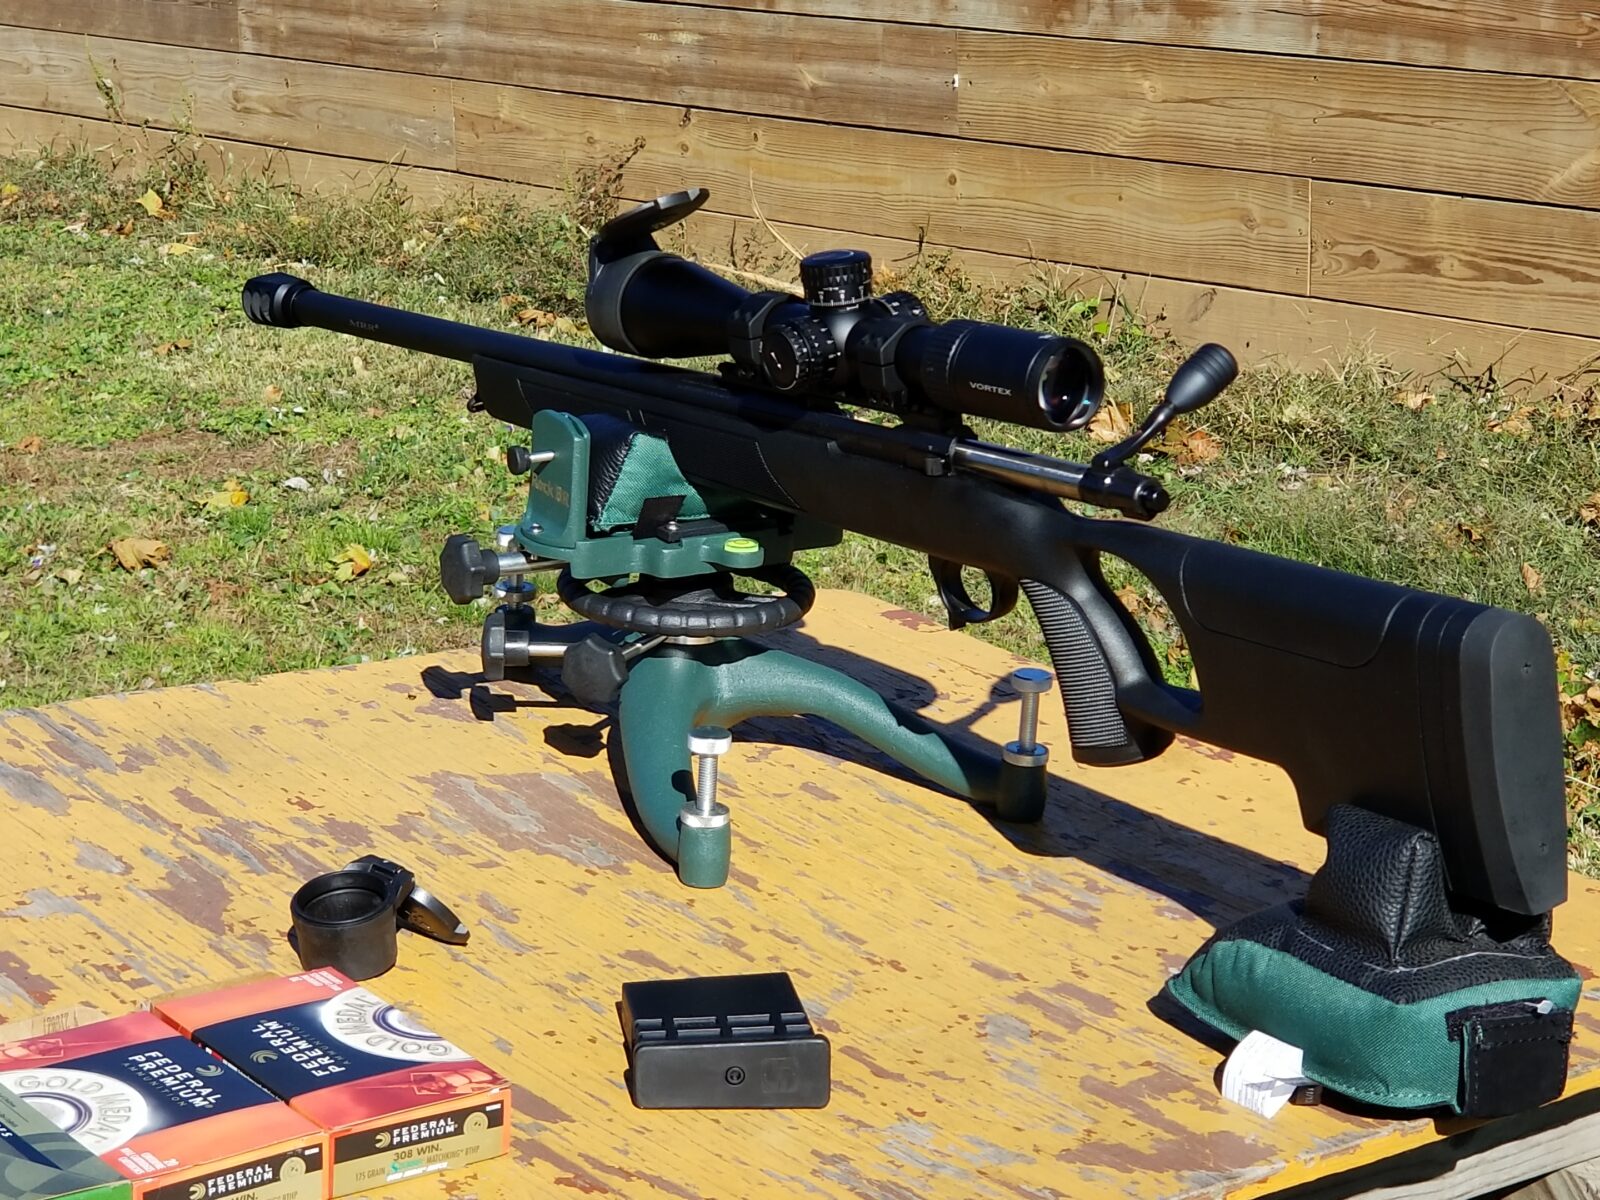
The rifle is being held by a Caldwell’s “The Rock” rest. I really like it. First off it is way heavier than my old Caldwell rest and second it is adjusts very smoothly as you are trying to dial the rifle in.
The buttstock is held by Caldwell’s Universal Rear Shooting Bag and I bought it filled. They have on that is unfilled if you prefer to use your own material and also determine how full to make it.
For hearing protection, I switched to Honeywell’s Howard Leight electronic earmuffs and absolutely love them. The reason is simple, my hearing is horrible – I sure wish I knew to protect my hearing when I was younger and am paying for it now. When I wear traditional earmuffs, I can’t hear anyone talk. With these, you can turn them on, set whatever amplification you want and they automatically turn off when you shoot.
This means I can hear folks talk around me without needing to pull off the earmuffs. I have used these extensively this summer with 9mm, .40, 10mm, 5.56, .308 and .338 Lapua Magnum and use them exclusively now.
I bought a carry case to hold them and my shooting glasses that has worked out really well.
Note, because I wear prescription glasses, I wear No Cry brand “Over spec” safety glasses that fit over my glasses. They fit well and I store them in the above case also.
For targets, I started with a big 18×24 Splatterburst target as I dialed the scope in better and then I broke out some smaller Orange Peel targets with four circles per 8.5×11 page.
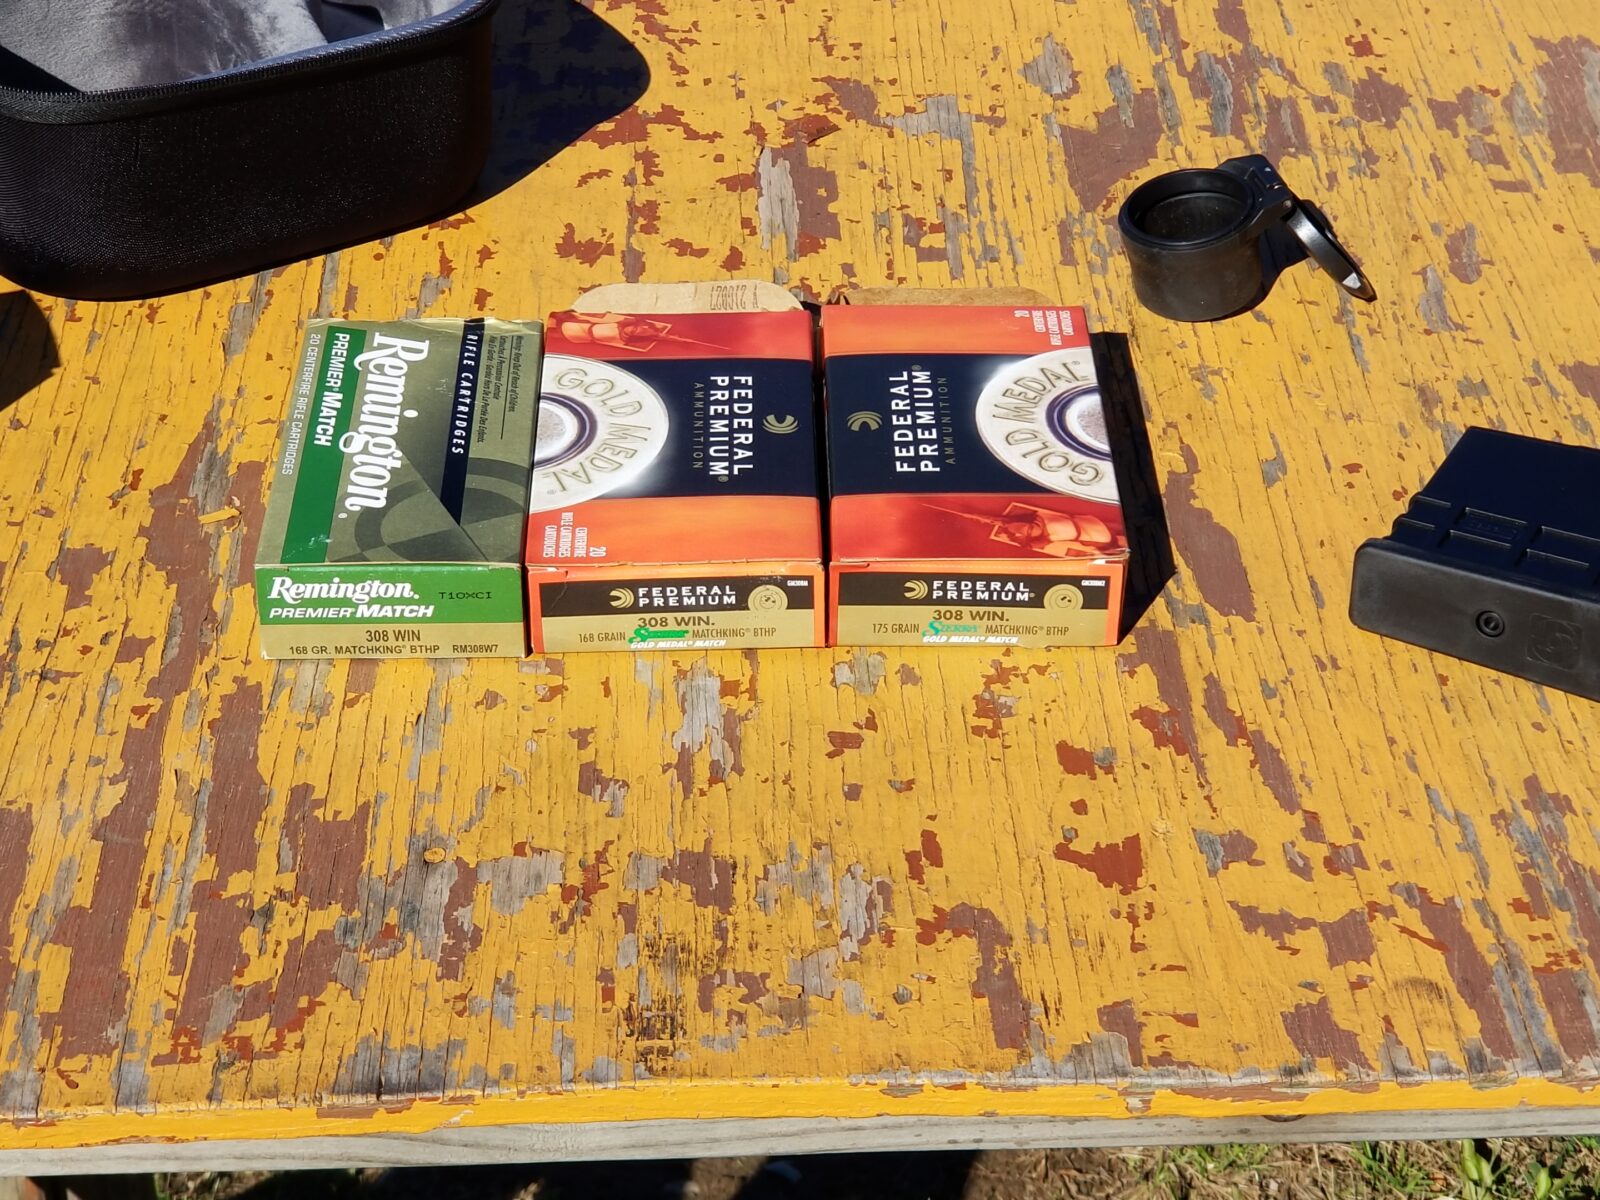
I did the sighting in with the balance of the Hornady ammo and then settled in to test with Federal 168 and 175 grain BTHP Match ammo as well as Remington 168 grain BTHP match ammo,
A problem popped up at this point that I did not expect, a slight wind had picked up and was causing the target holder to sway back and forth a bit. I’m sure it affected results a bit but it’s hard to say how much – I think the results are pretty darned good.
For each type of ammo, I would let the rifle cool down to ambient temperature and then fire two five round groups, let it cool and then the final two groups. Yes, I intentionally let it heat up and I did not clean the barrel at all during this range session – it was cleaned prior to the session.
Here are the results:
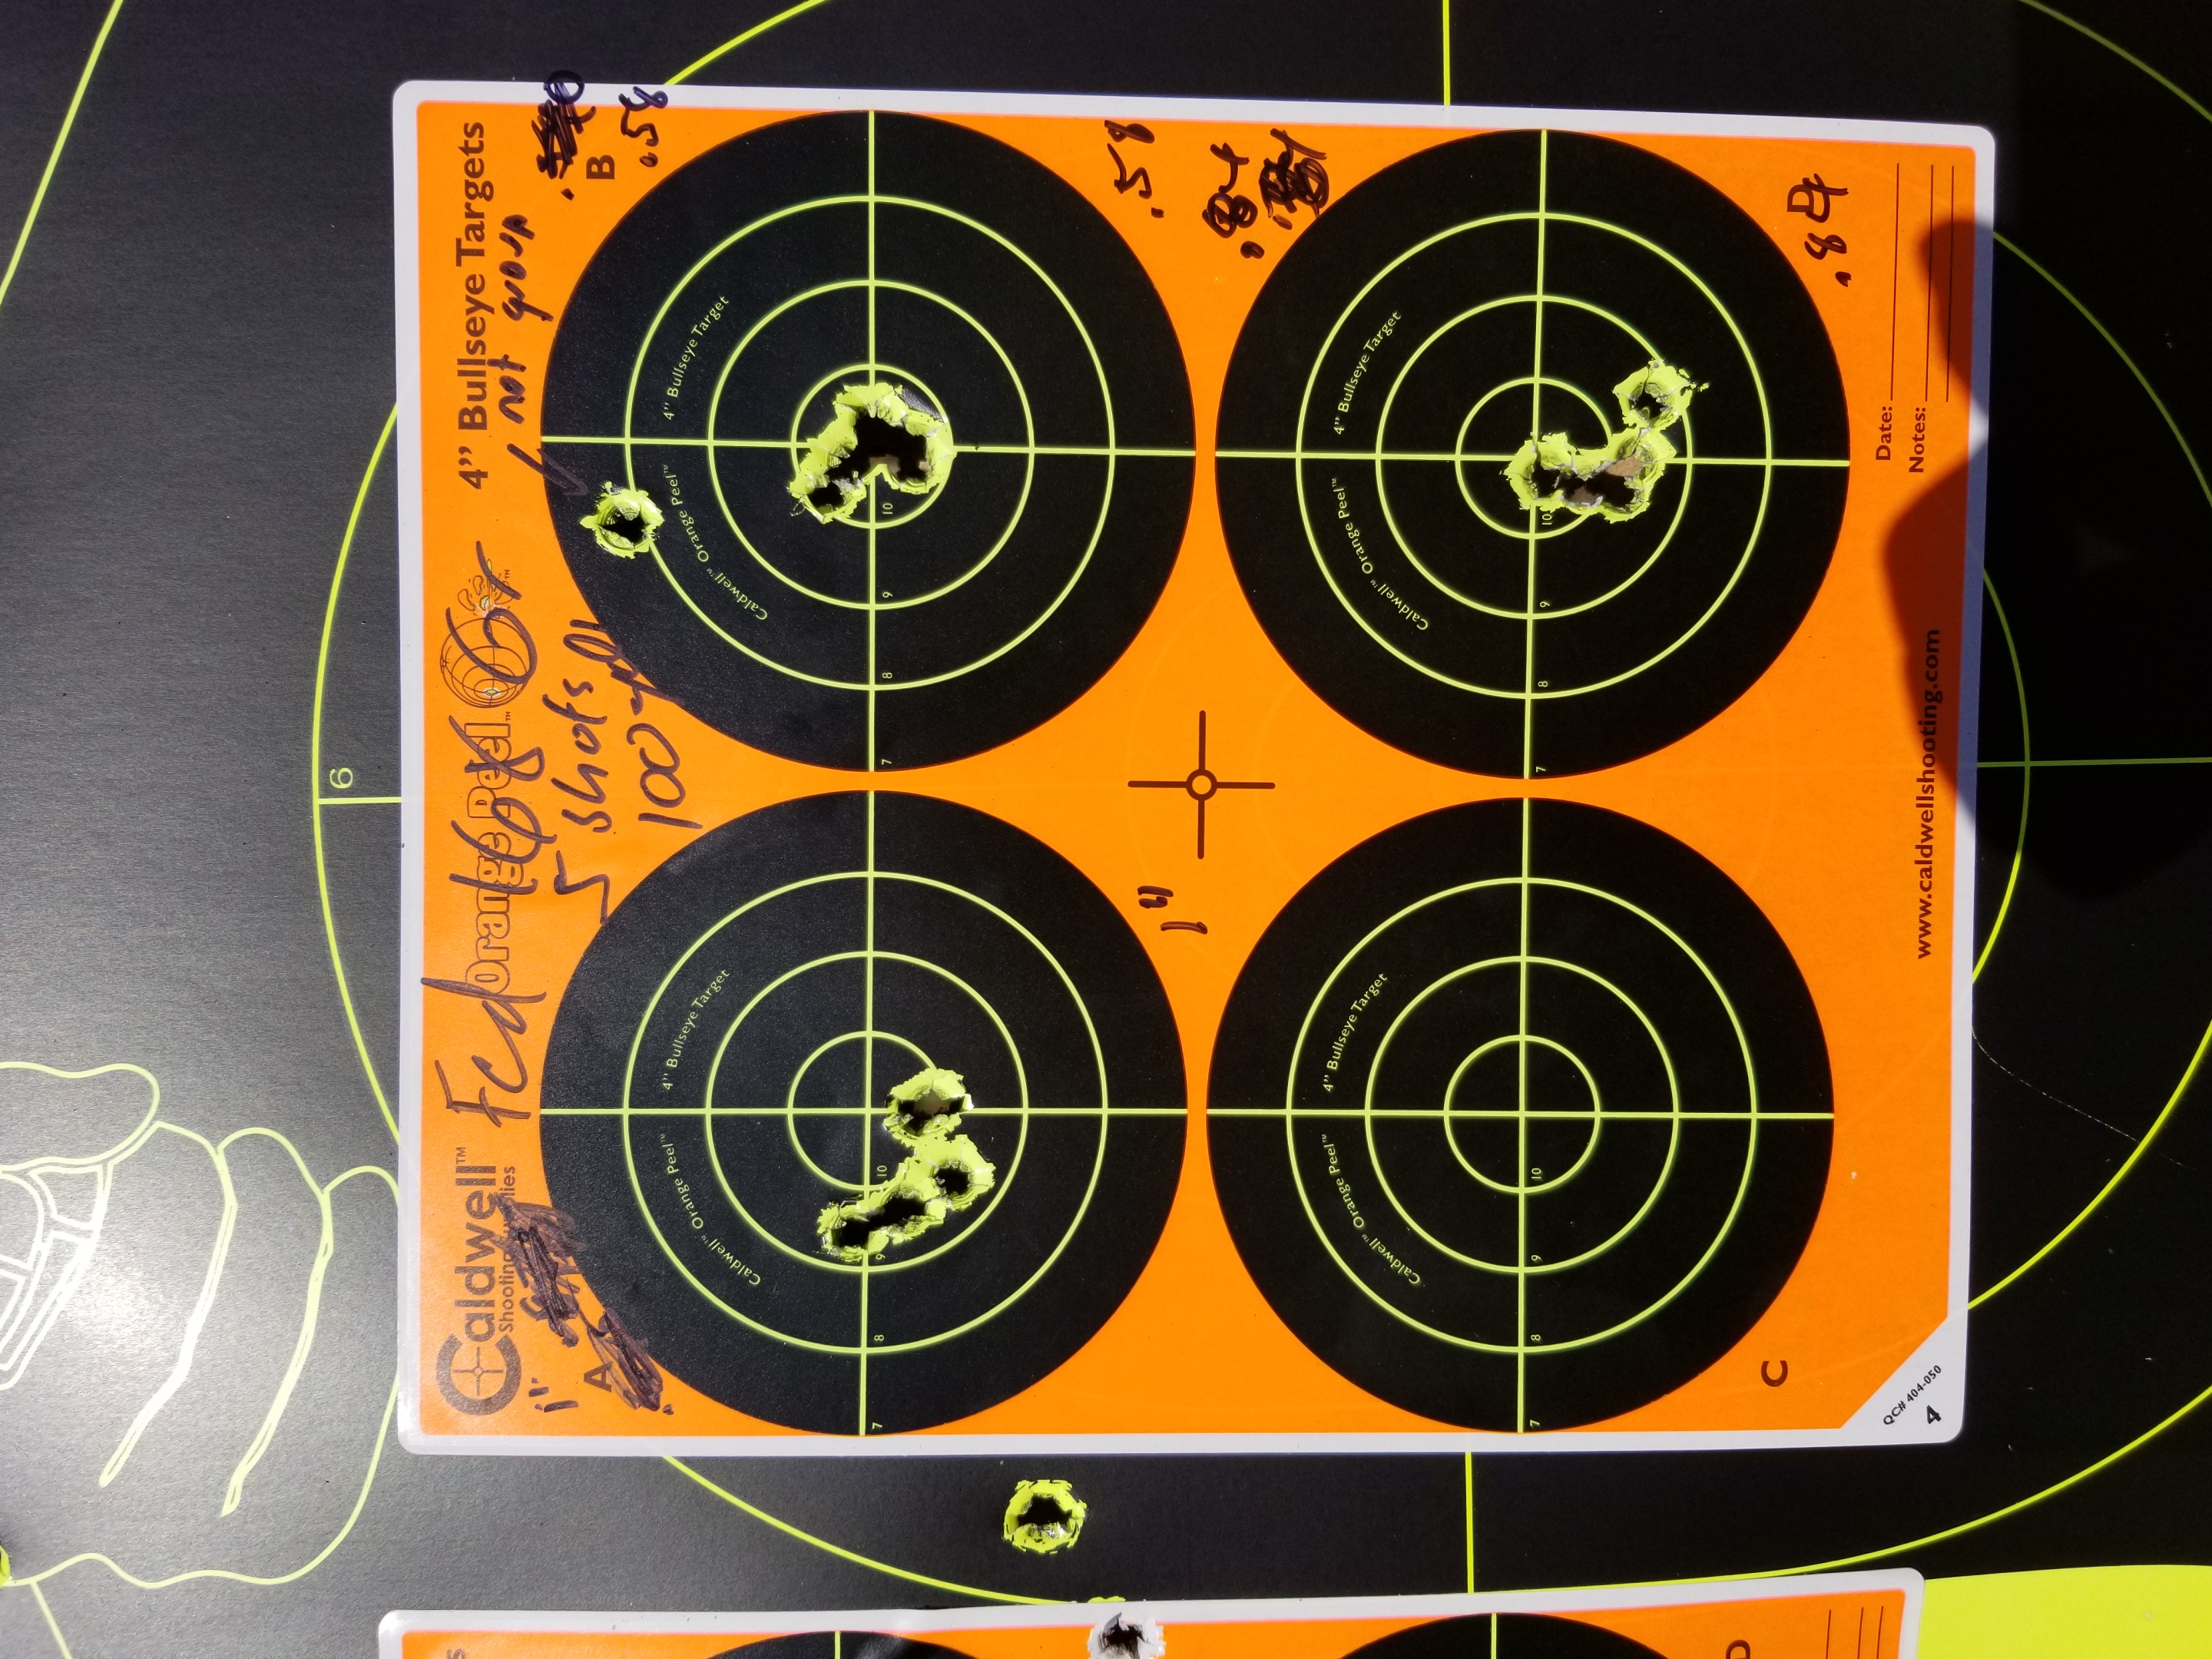
Federal 168 grain BTHP Match
This is the only one where I only fired three groups. I ran out of Hornady ammo while sighting in, switched to Federal and then set up the targets once the rifle was ready to go.
The three groups are: 1″, 0.54″ and 0.84″. The odd bullet hole at the top right was from when I was setting up – it was not part of the five shot group. The average here is 0.793″ — that’s pretty good.
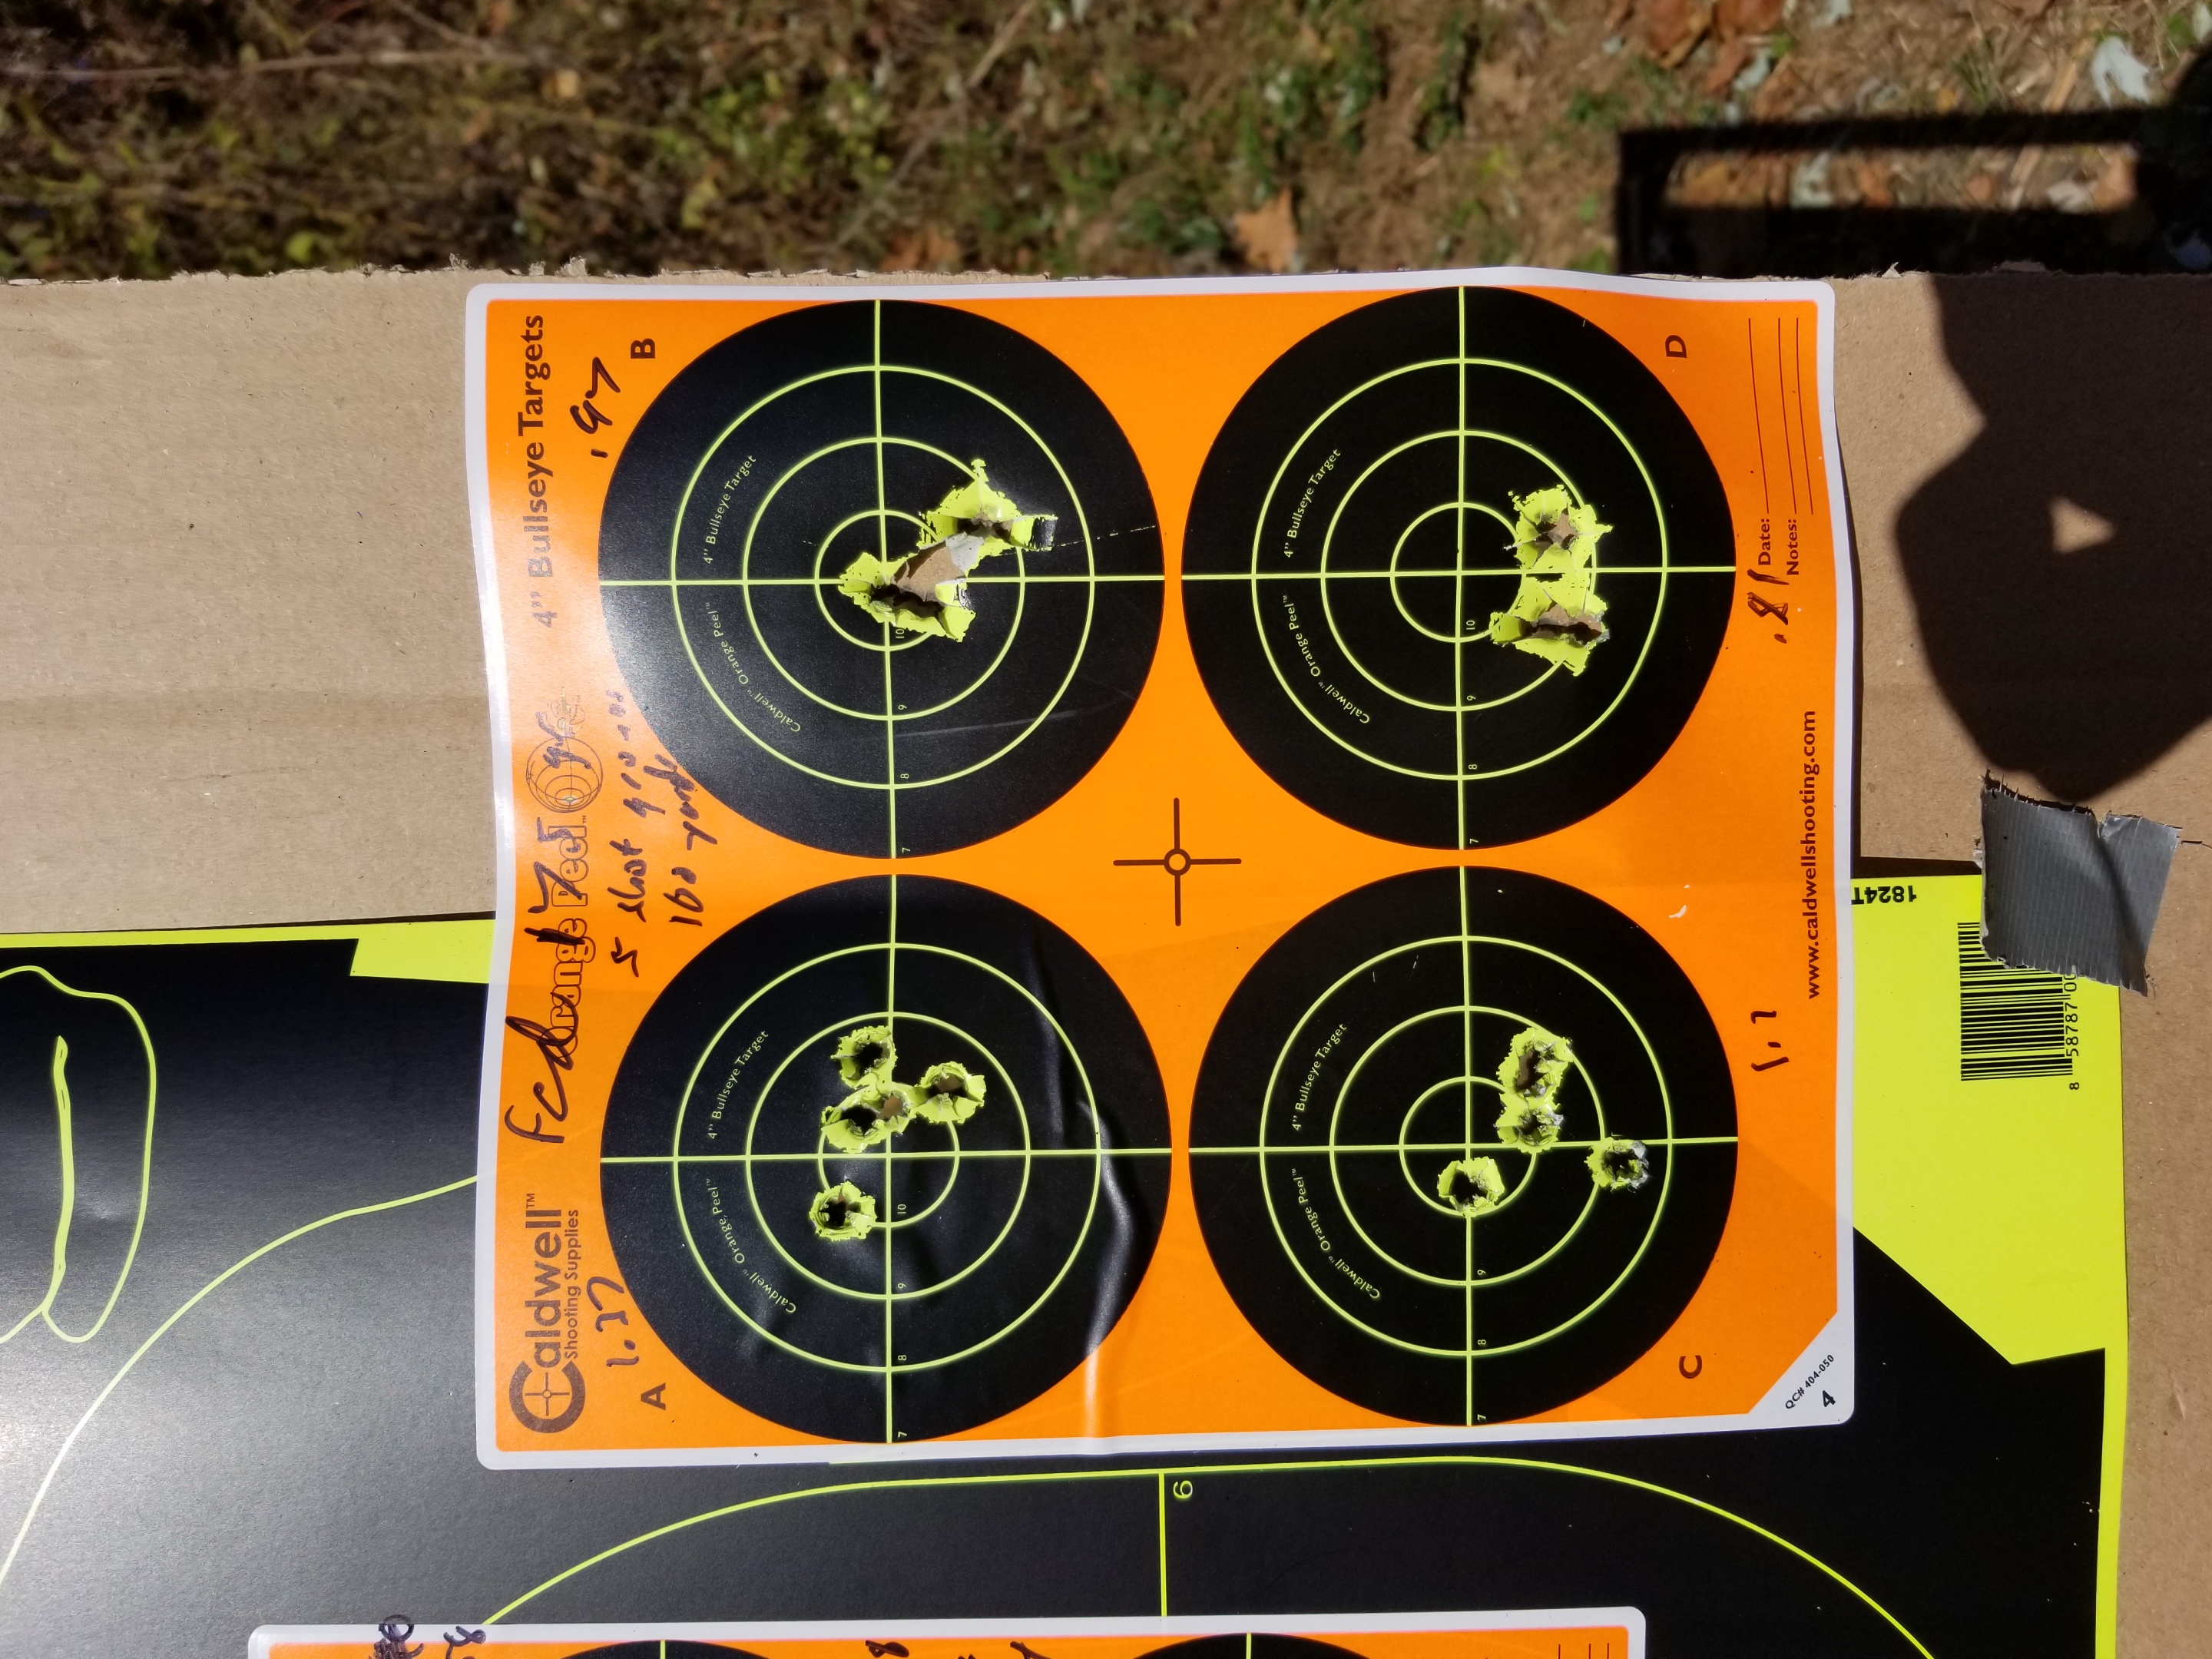
Federal 175gr BTHP Match
Here are four groups: 1.37″, 0.97″, 1.1″ an 0.81″. The average here is 1.06″. Both the A and C targets look like I had a flier as part of the group. In other words, I bet it was me making a mistake vs. the rifle or the ammo.
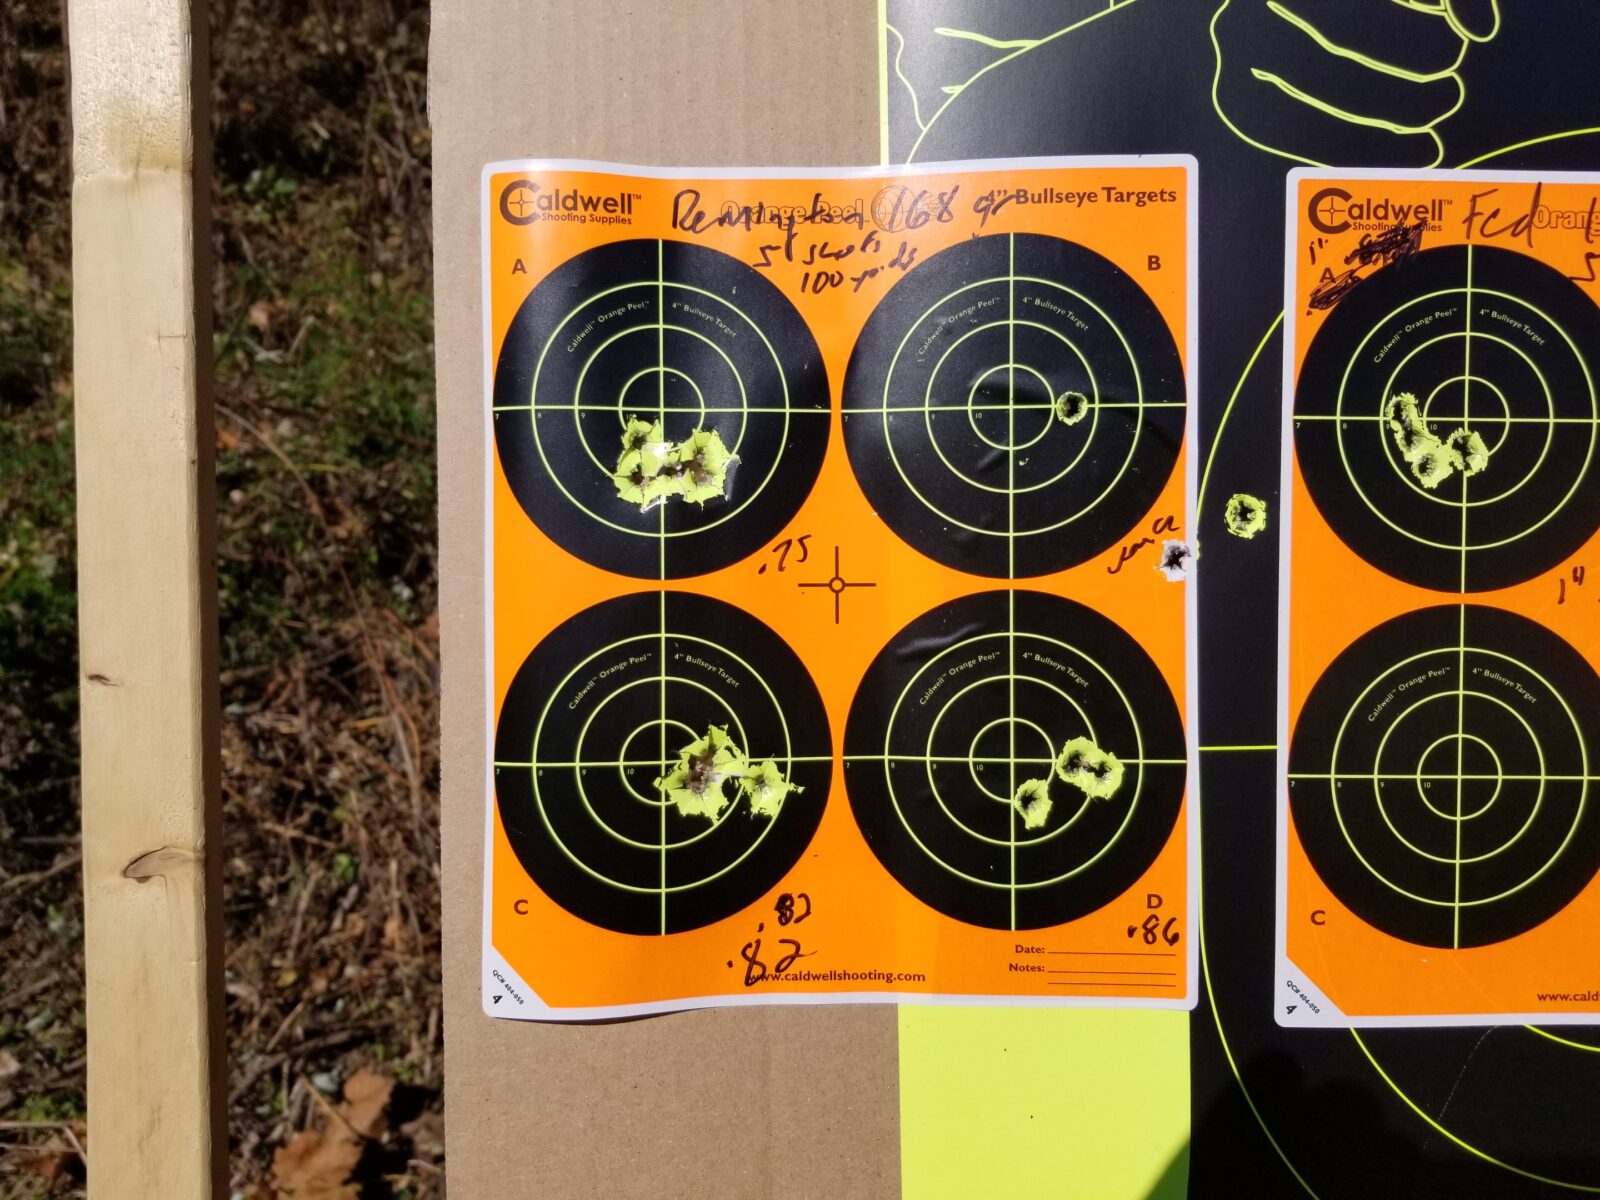
Remington 168gr BHTP Match
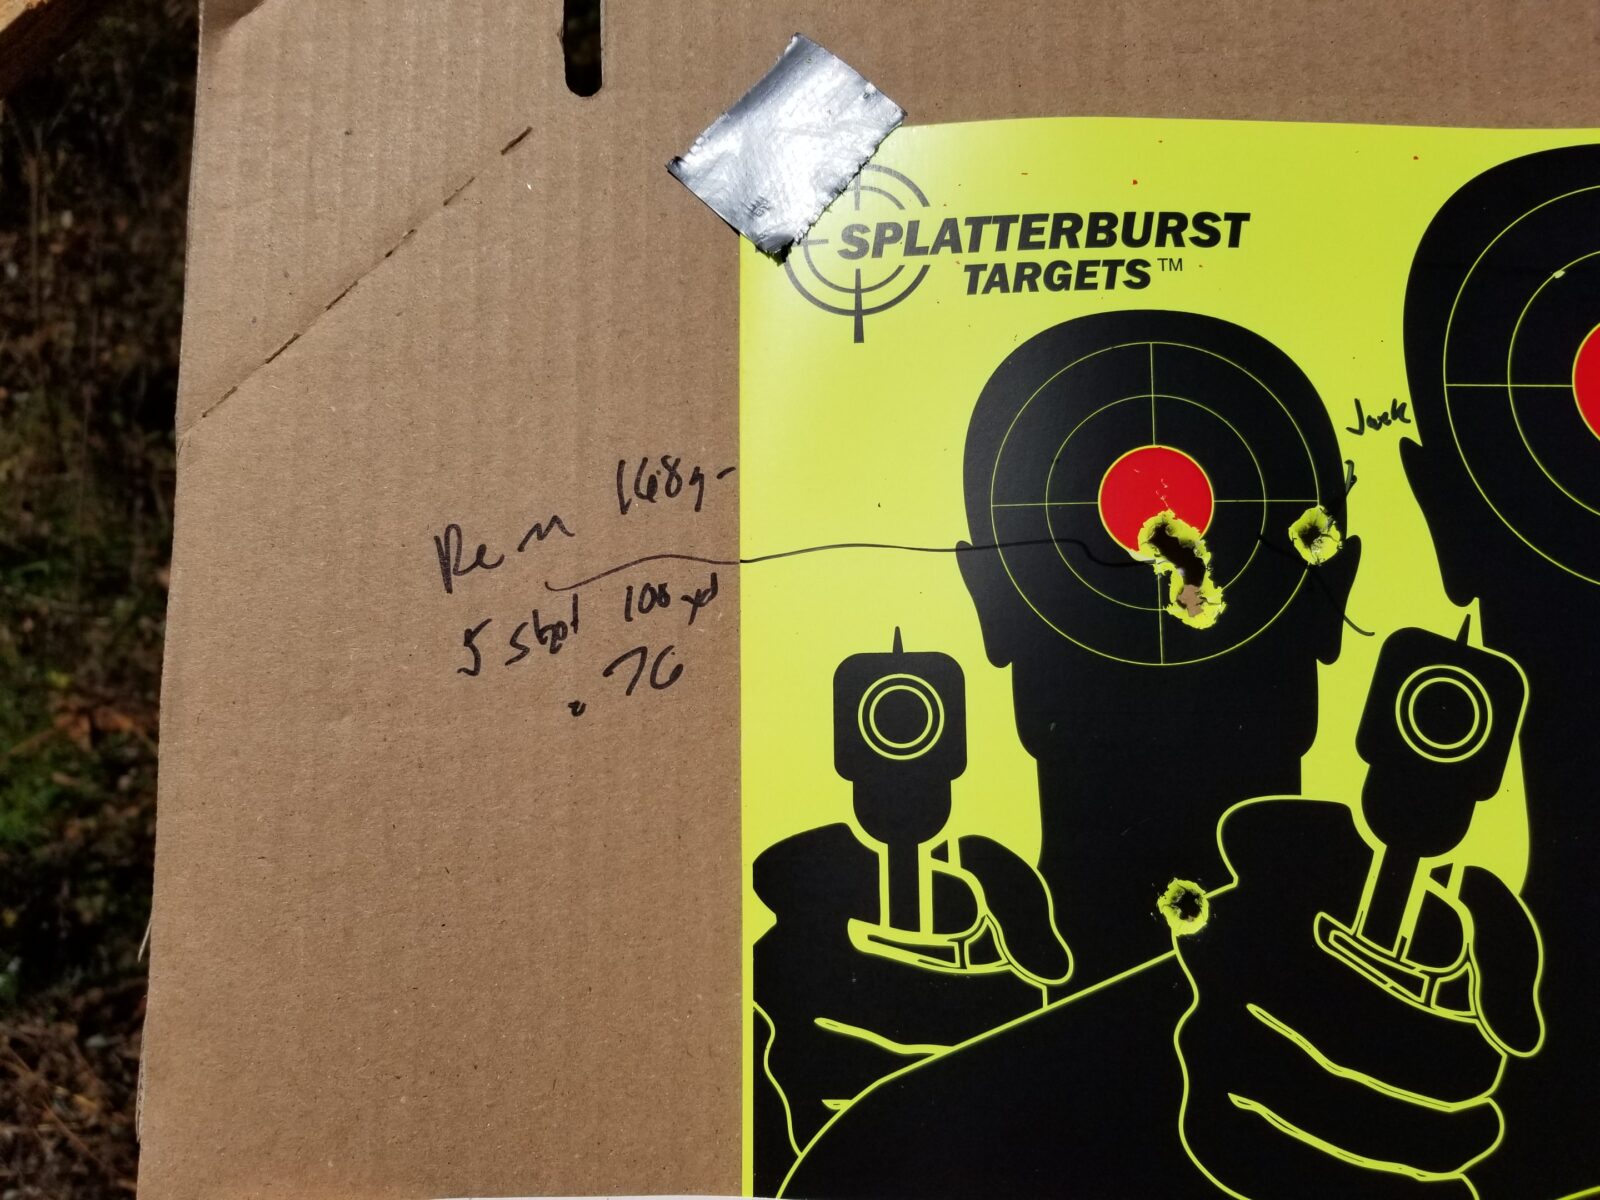
The Remington ammo was shot on two targets because I had an oddball hole from when I was setting up. — The groups are: 0.75″, 0.82″, 0.82″ and 0.76″. The average was 0.79″ — the winner for smallest group.
I asked Justin Todd, with Italian Firearms Groups (IFG) what he heard about accuracy. He said my results are very typical and he knows handloaders who are getting 0.15-0.25″ groups.
Tell you what, I really liked the rifle. It had mild recoil due to the effective brake. The trigger was really nice at 3-1/8″ pounds and the bolt cycles easily. I did not have any problems with reliability and the accuracy sure is there.
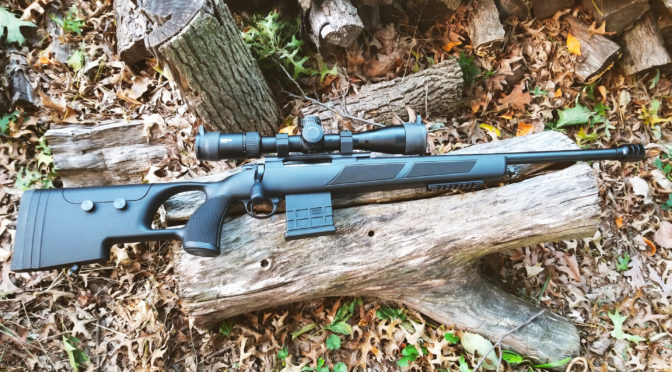
If you are looking for a solid tactical rifle to engage targets within 400 meters, I really think you ought to give the Sabatti Urban Sniper a serious look and consider pairing it with a good scope like I did with the Vortex PST.
Travis always asks if I want a Minute of Angle (MOA) or Mil-Radian (MRAD) reticle. I understand the MRAD system and stuck with that. They have a really cool reticle for the scope known as the EBR-2C. What I like is that it looks like a Christmas tree and as you get near the bottom it has marks for the offset right there. Vortex provides an excellent guide on how to use the EMR-2C reticle.
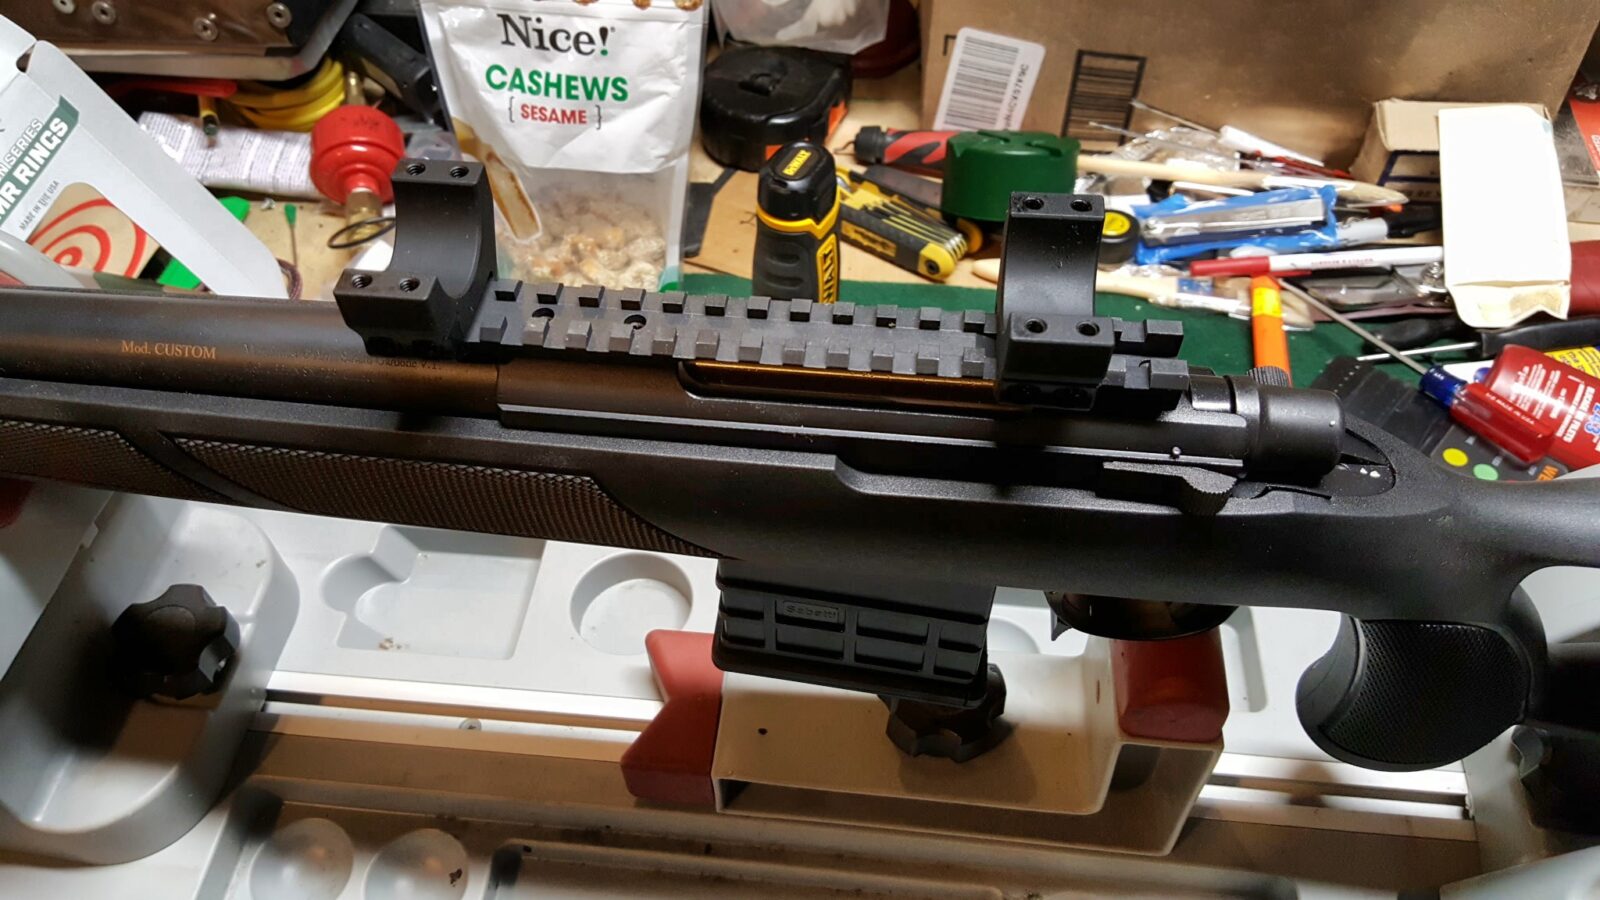
I paired the scope with Vortex Precision Series rings – PMR-30-126. They are for 30mm tubes and are 1.26″/32mm high. In other words, they hold the center of the scope 1.26″ inches off the base. My goal is to get the scope as close to the bore as possible to reduce parallax plus the PMR rings have some advantages:
They are machined as a pair and are held to a 0.0005″ tolerance. No need to do hand lapping to get a precise fit.
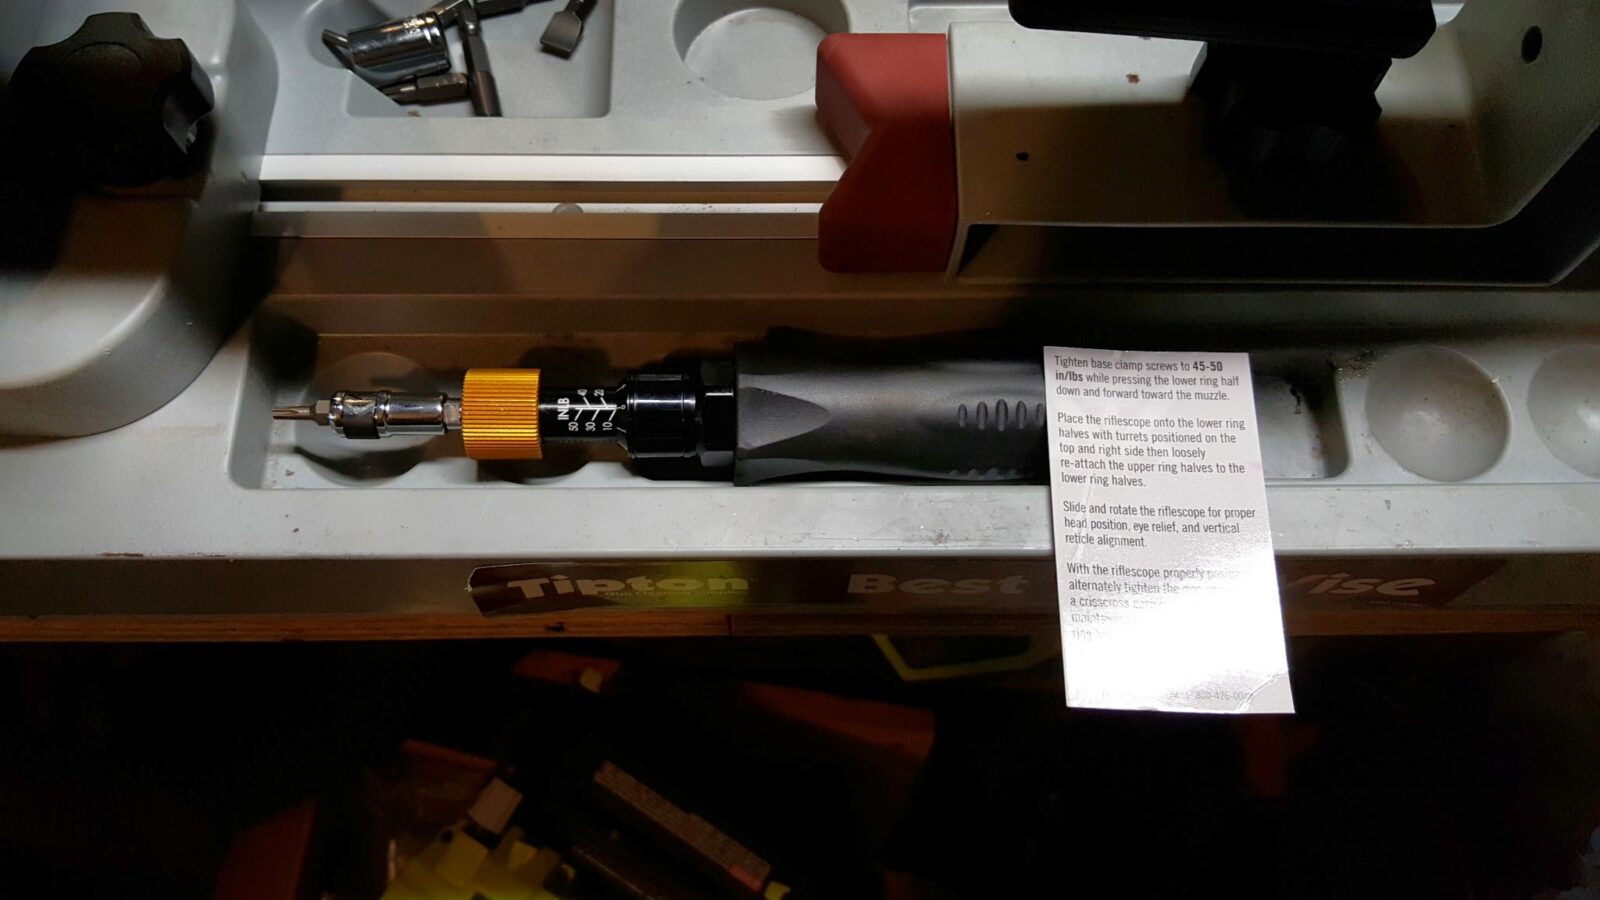
They can be torqued down to spec. The base clamp screws are 45-50 in/lbs and the ring screws are at 15-18 in/lbs. The reason so many cheap rings lack torque specs is because they simply threaded soft aluminum and they will strip out.
They are beautifully finished with a Type 3 Hardcoat.
You have so see and use a pair to get an idea how slick these are. I switched to Vortex precision rings in 2017 and have never regretted it. I also always use their offset mounts on my AR-optics too.
Mounting the Scope
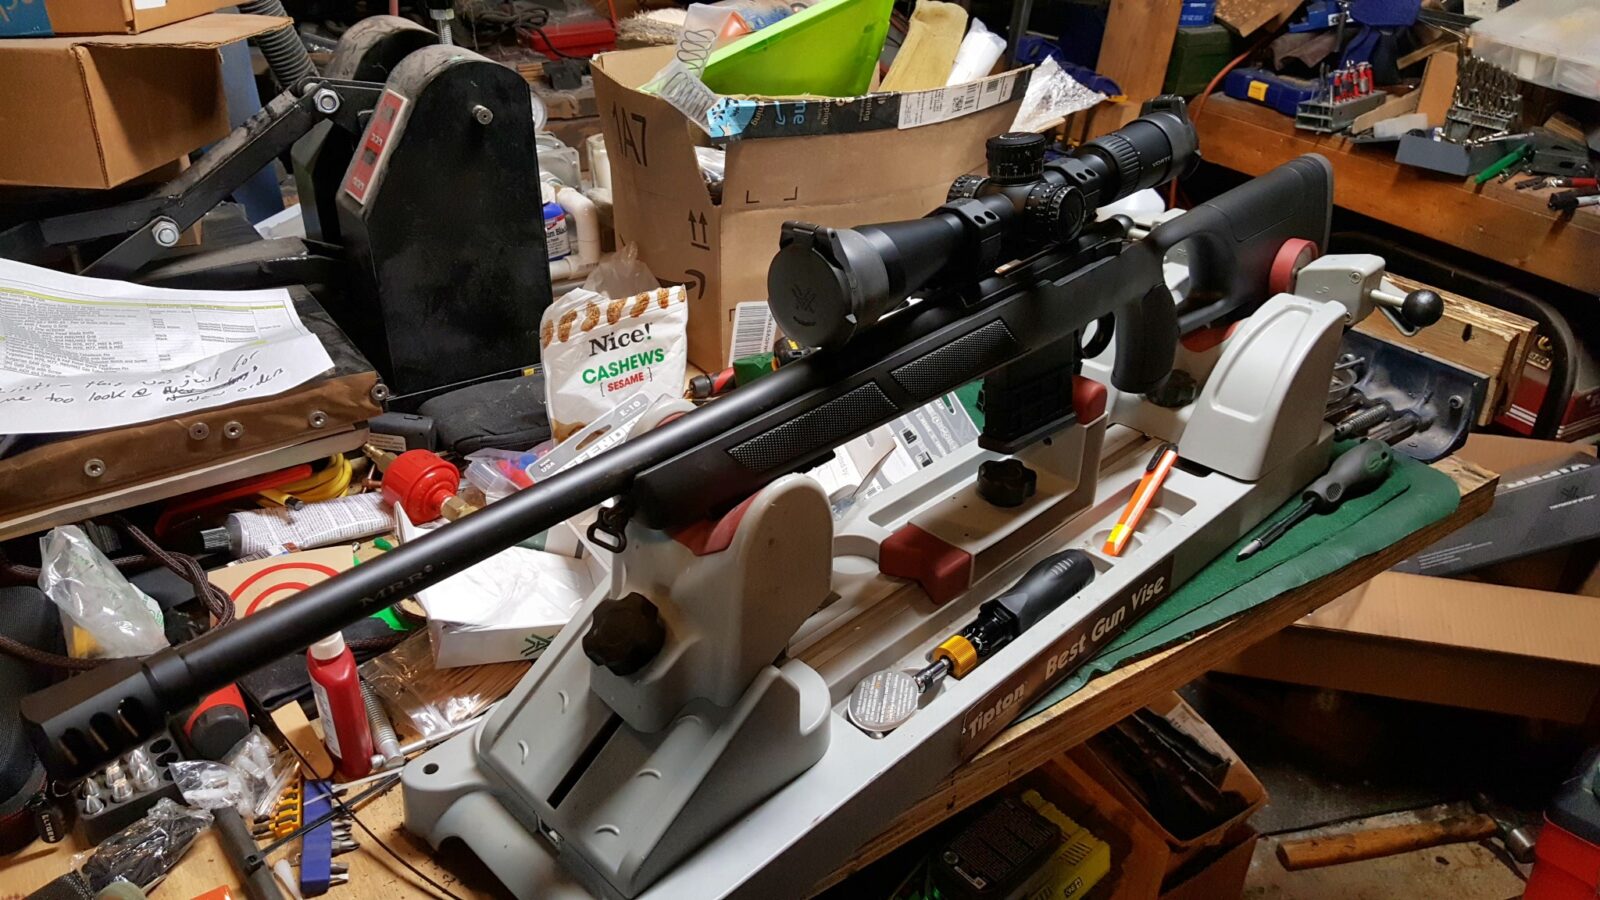
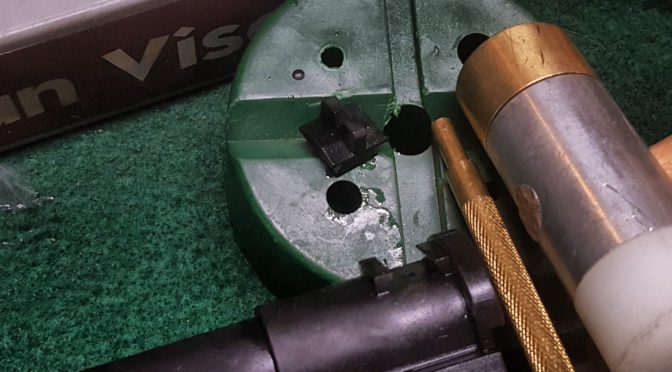
I placed the Urban Sniper in my Tipton “Best Gun Vise”. Yeah, the name makes me choke a bit but I actually really like it. It’s a work stand with an adjustable clamp for the buttstock that lets you adjust the hold on the rifle until the top rail is flat/horizontal per a level.
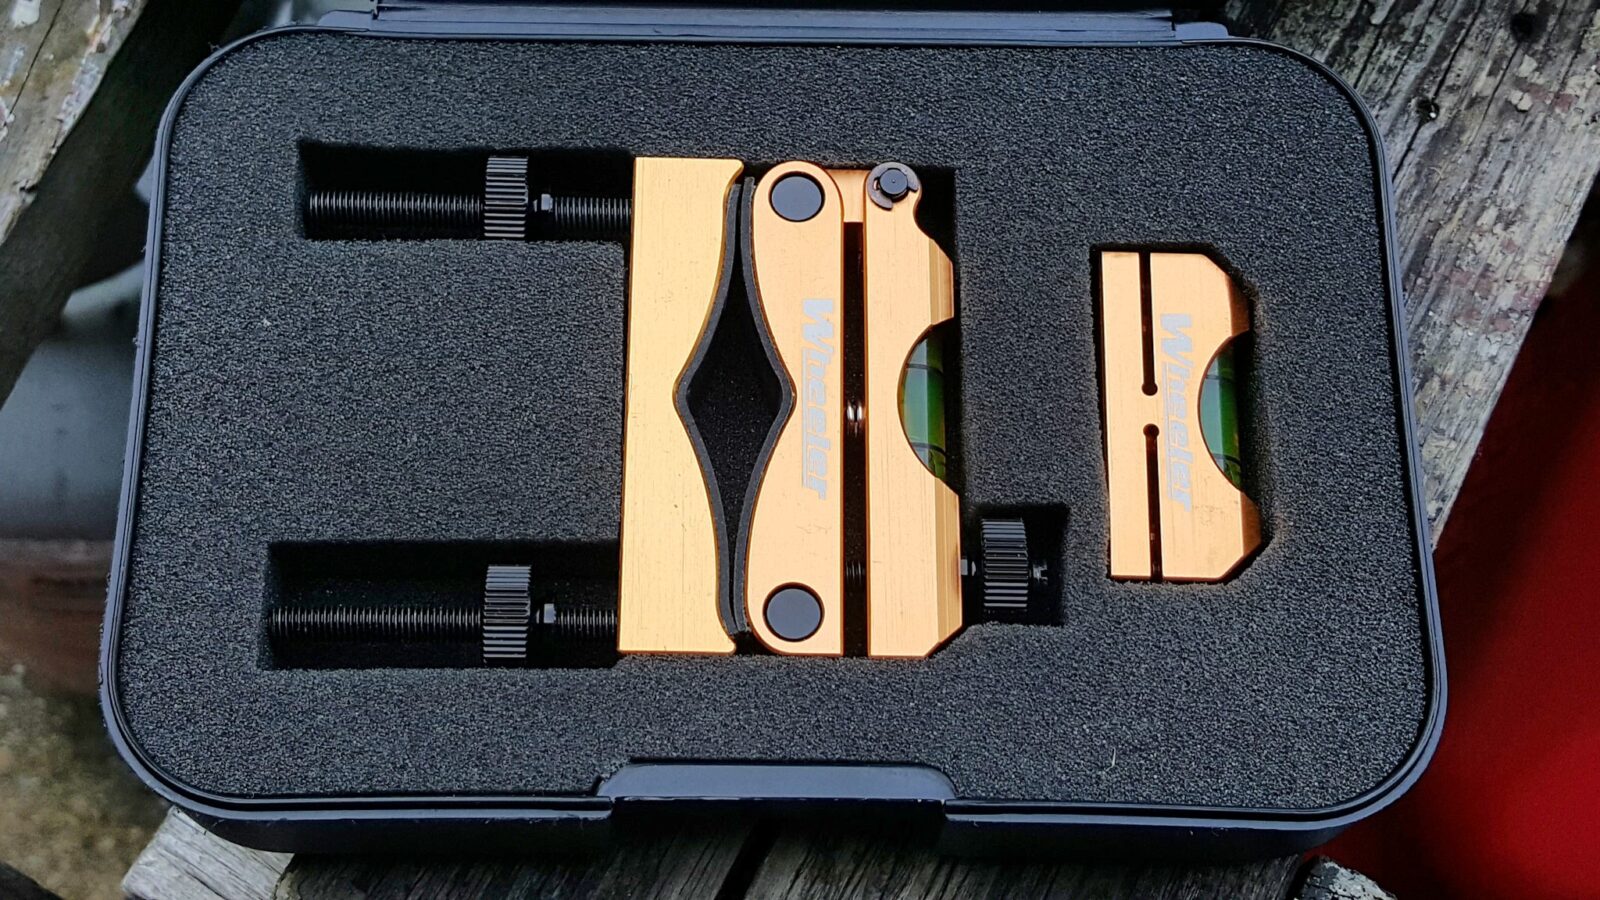
This is where a photo would really be nice but the two I took turned out to be out of focus. Let me try and explain what I do. I use a Wheeler Scope Leveling System. It is very simple and contains two parts. The first is a simple flat bottomed level that you put on the base while you adjust the vise until the rifle is level.
Next, to ensure it stays level, you attach the barrel mounted level and true it up with the other level. At this point, both levels should be saying the same thing – that the rifle is level. You then remove the little level from the base and install the rings.
I use the driver to tighten the base down to 45 in/lbs first. I then set the scope on the rings and install the top parts of the rings /the caps very lightly so I can still move the scope with just a little effort. I then make sure I have the eye relief right when I bring the rifle up to my shoulder. I then make sure the rifle is level again based on the Wheeler level on the barrel.
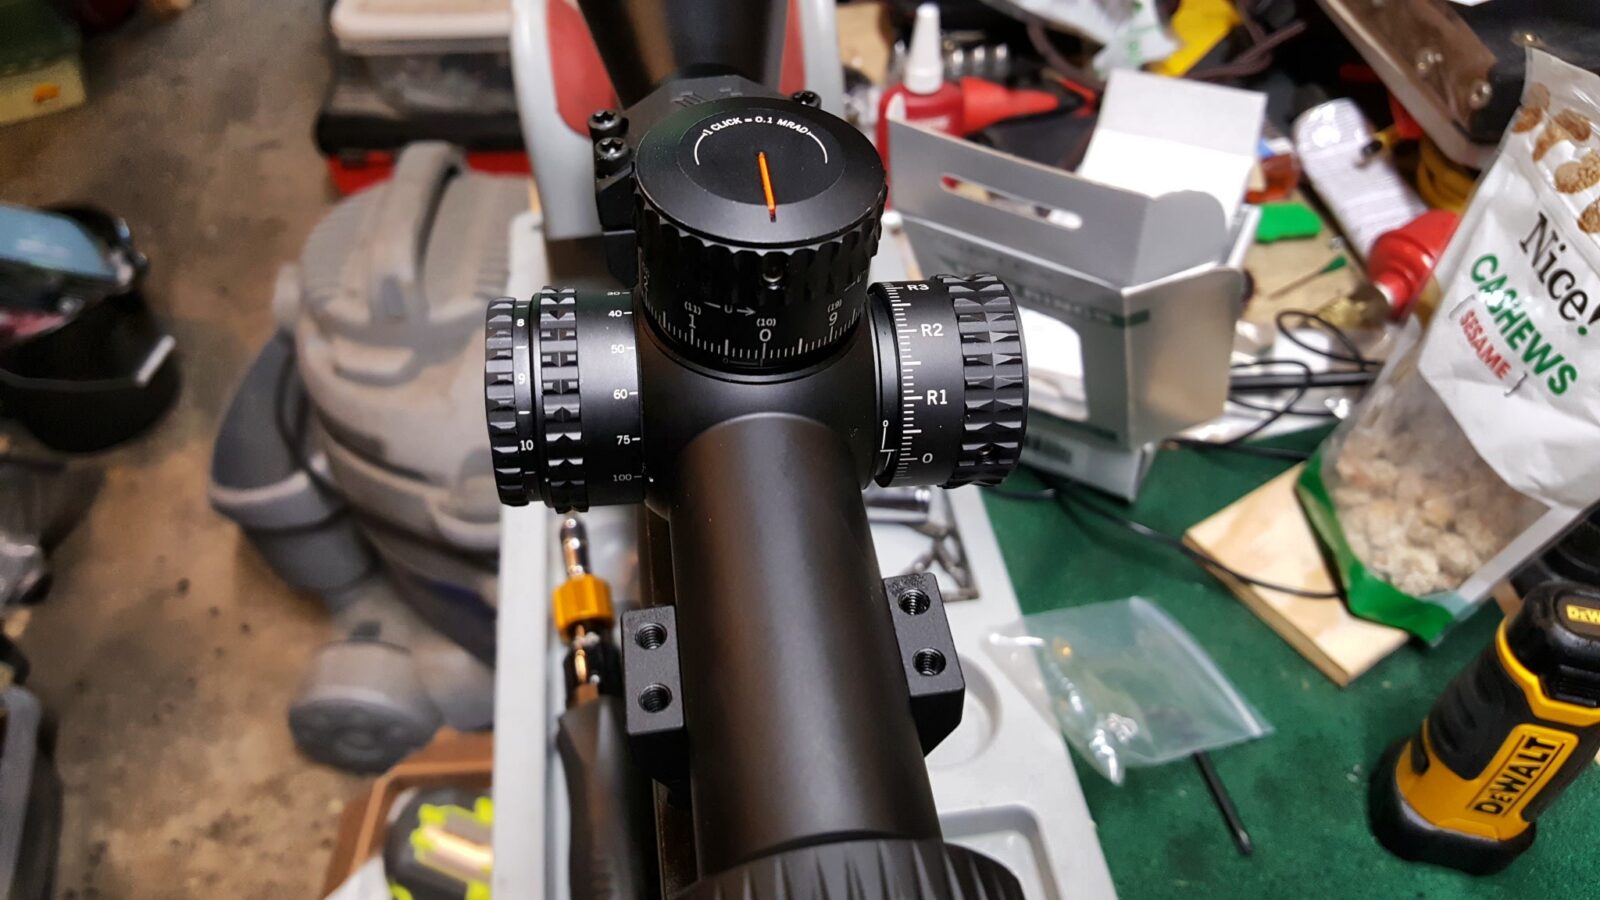
I then put the small level from Wheeler on the top scope elevation knob and adjust the scope left or right until the scope level and the barrel level match. Once it is good to go, I torque the ring screws down to 15 in/lbs. Call me paranoid but I target the lower end of the spec on all of the screws – base clamp and caps. I’ve not had a set shoot loose yet doing this and I’ve done this on 5.56, .308 and .338LM rifles.
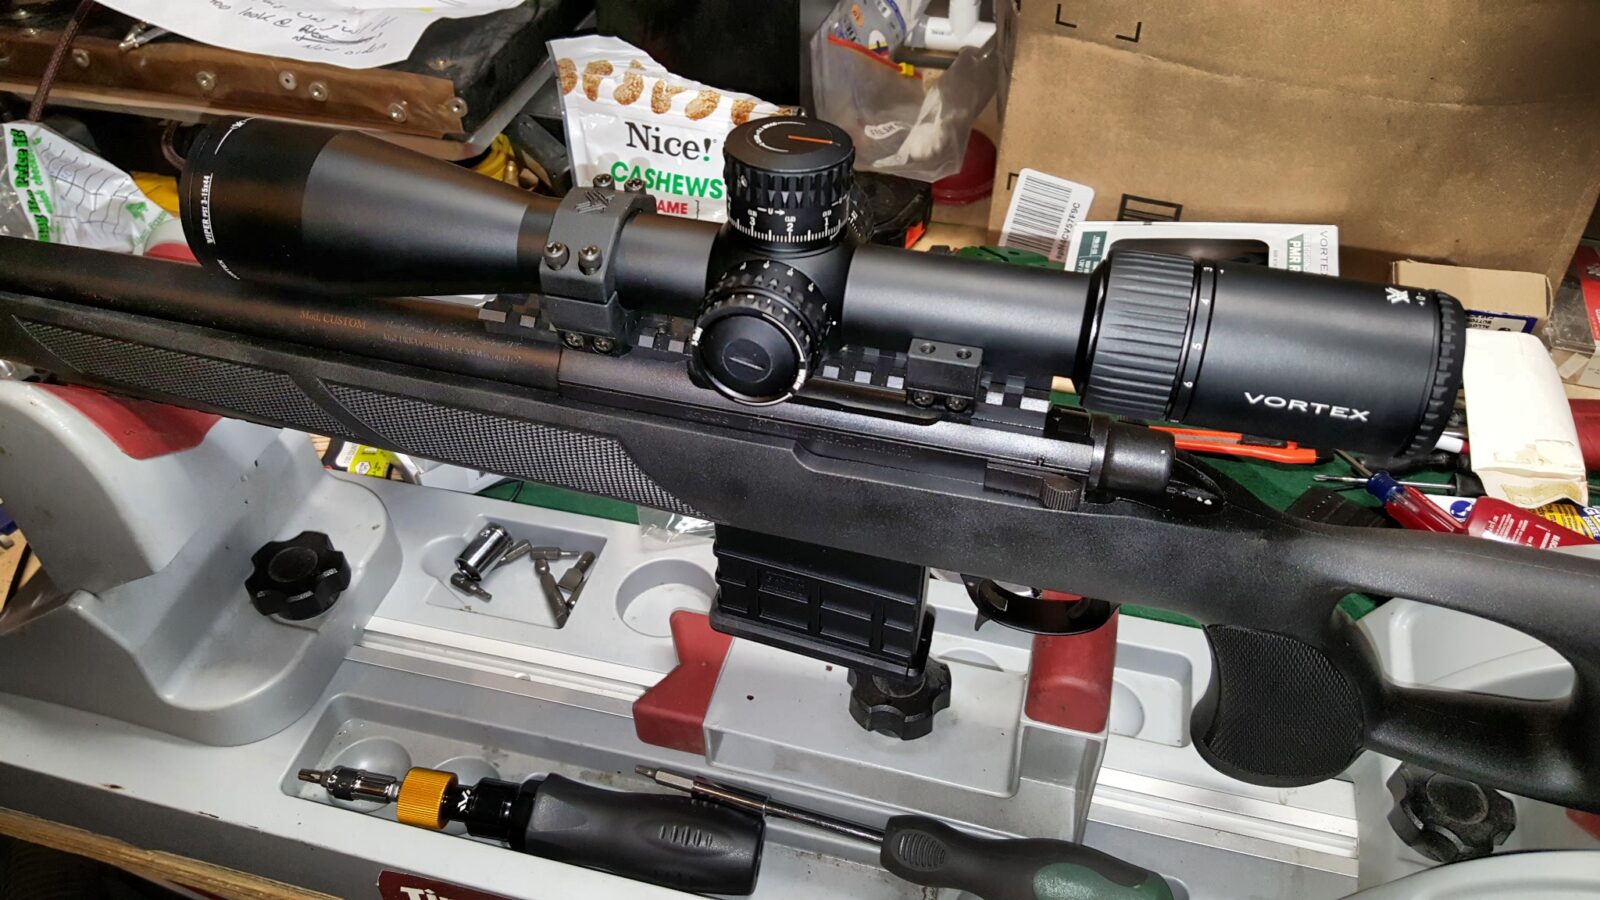
In this next photo you can see the scope installed with the Vortex Defender lens caps. You can also see that my shop really needs a good cleaning as I have a ton of junk on my bench.
Plano All Weather Case – Model 108180
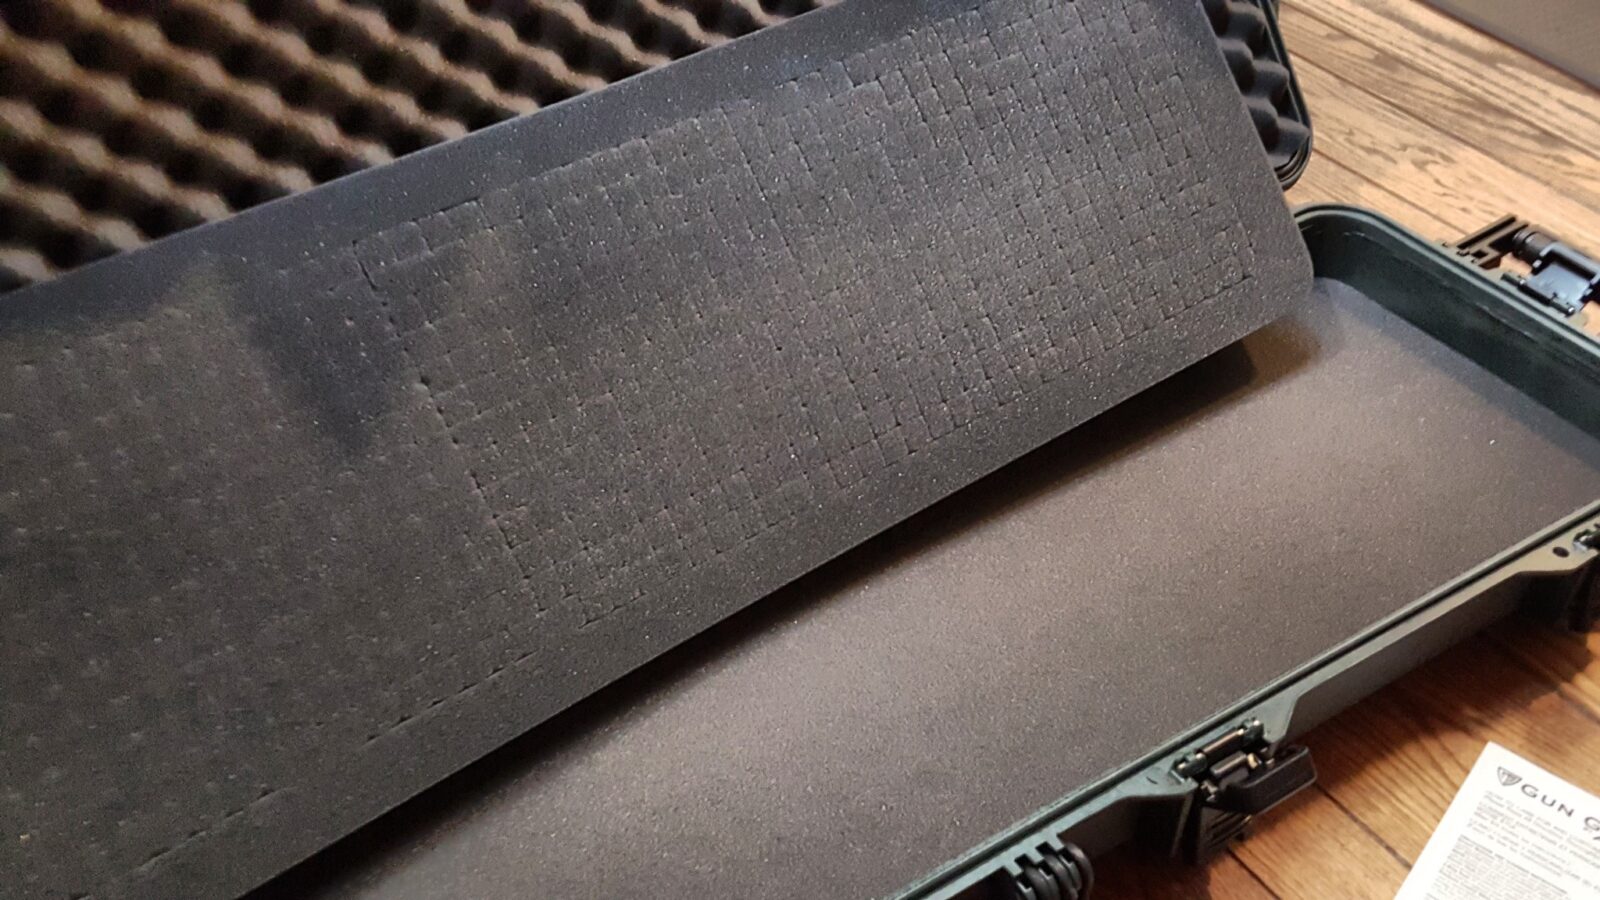
Egg crate foam requires no fitting but I really do not trust it to protect a heavy precision rifle. I can’t tell you how many times over the years I have dropped a case with the egg crate style foam and then found the rifle and other accessories had all shifted/slammed down in the direction of the drop. Thus, I don’t use it any longer instead opting for custom fitted hard cases.
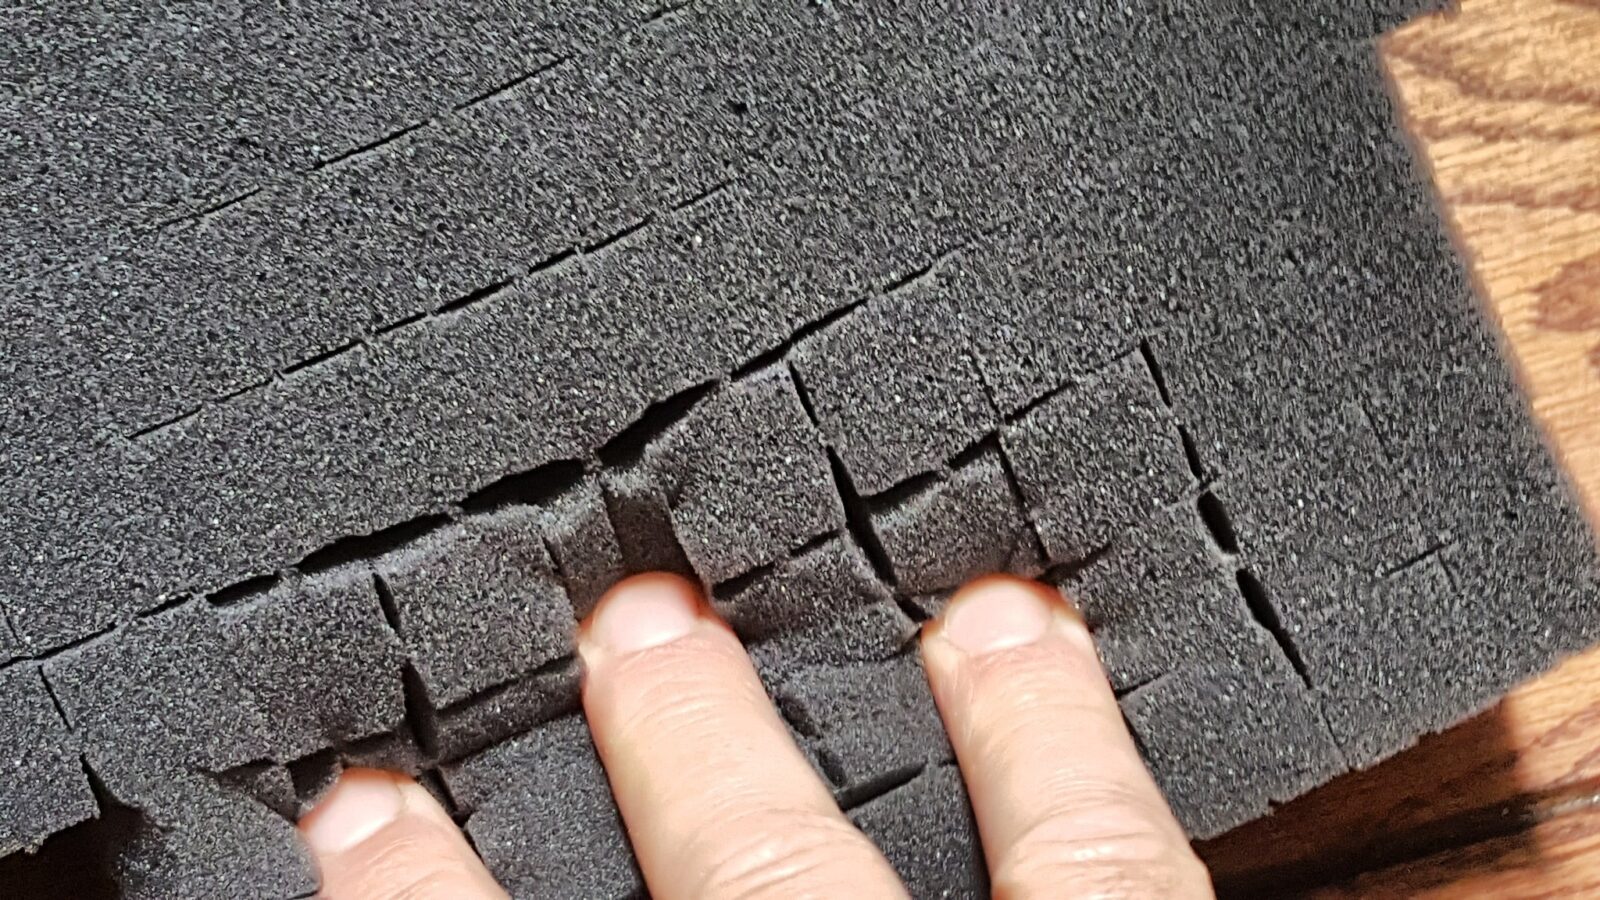
I go back and forth on two styles – foam that requires cutting or pluckable. To be honest, I think the foam that requires cutting (or melting if you have a hot wire system which I do) is the best. Pluckable foam is pre-scored to be pulled, or plucked, out to fit the contents of the case. The problem with it is that even if you use a spray adhesive to secure it to the bottom of the case, it wears at the top as the weapon and accessories hit the edges when they are placed in the case. You can’t make it as tight fitting as a result. On the plus side, a pluckable case is easy and fast to do.
With that said, I’ve been using Plano cases for the last few years. They are less expensive than a Pelican case and, if you want my honest opinion, Plano has really upped their game in terms of turning out some very rugged cases.
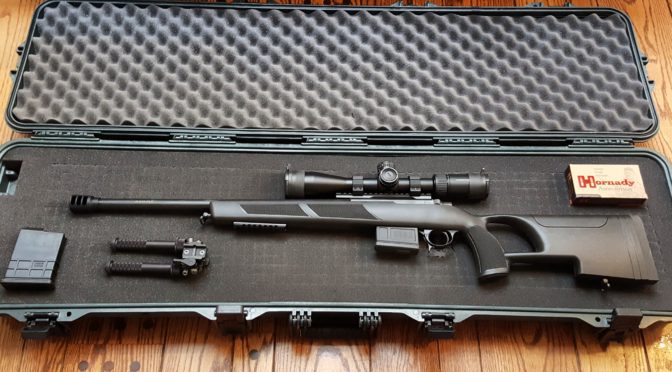
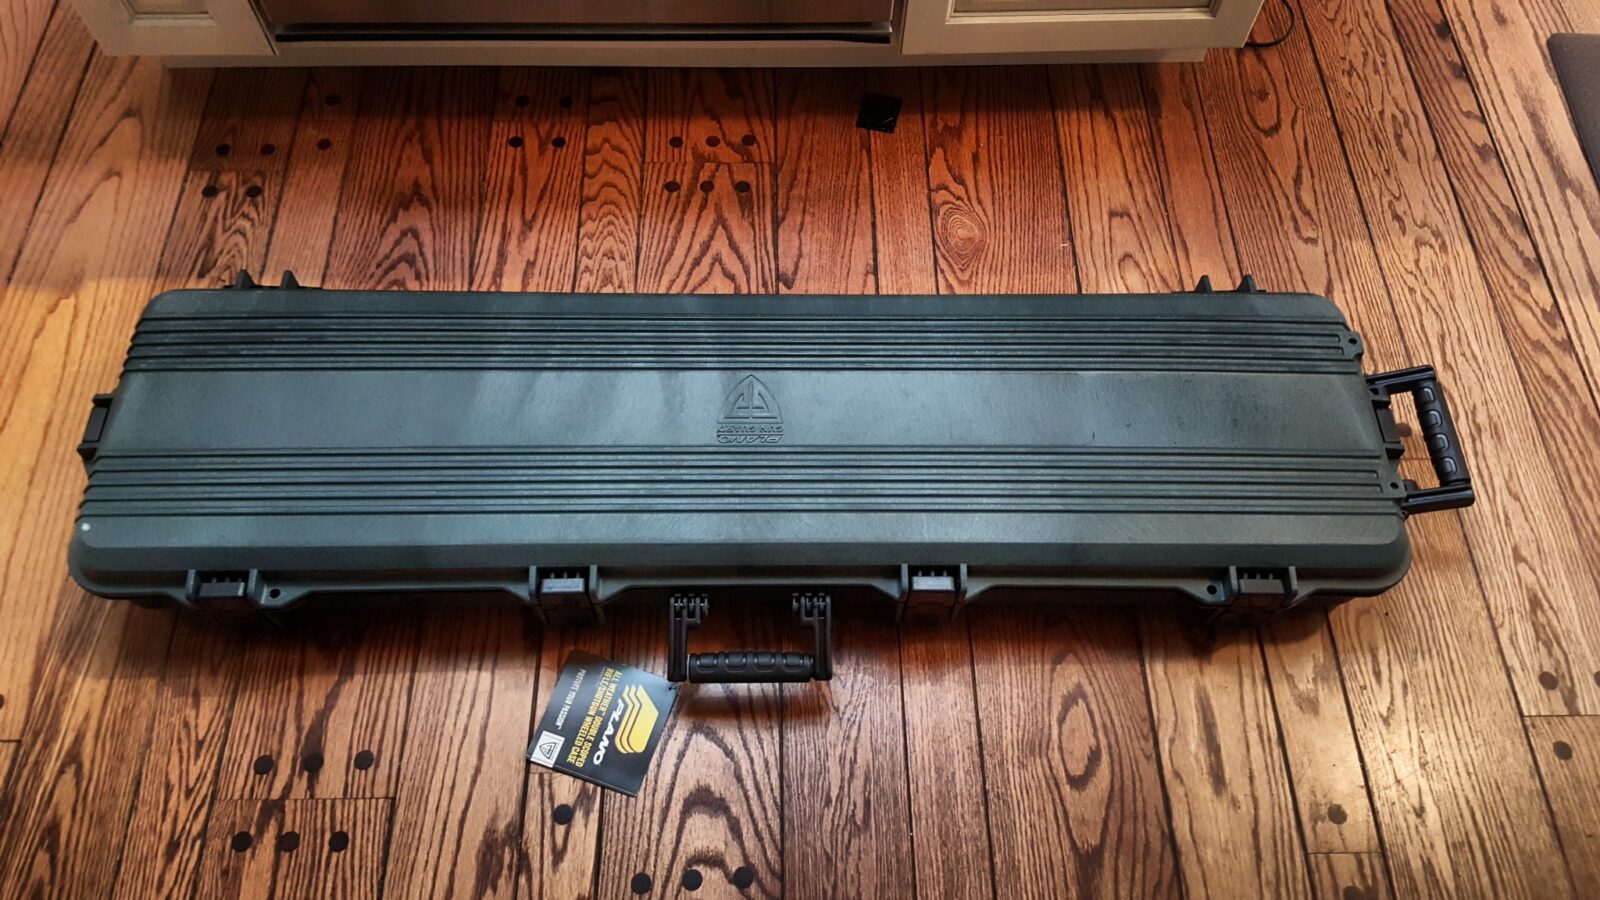
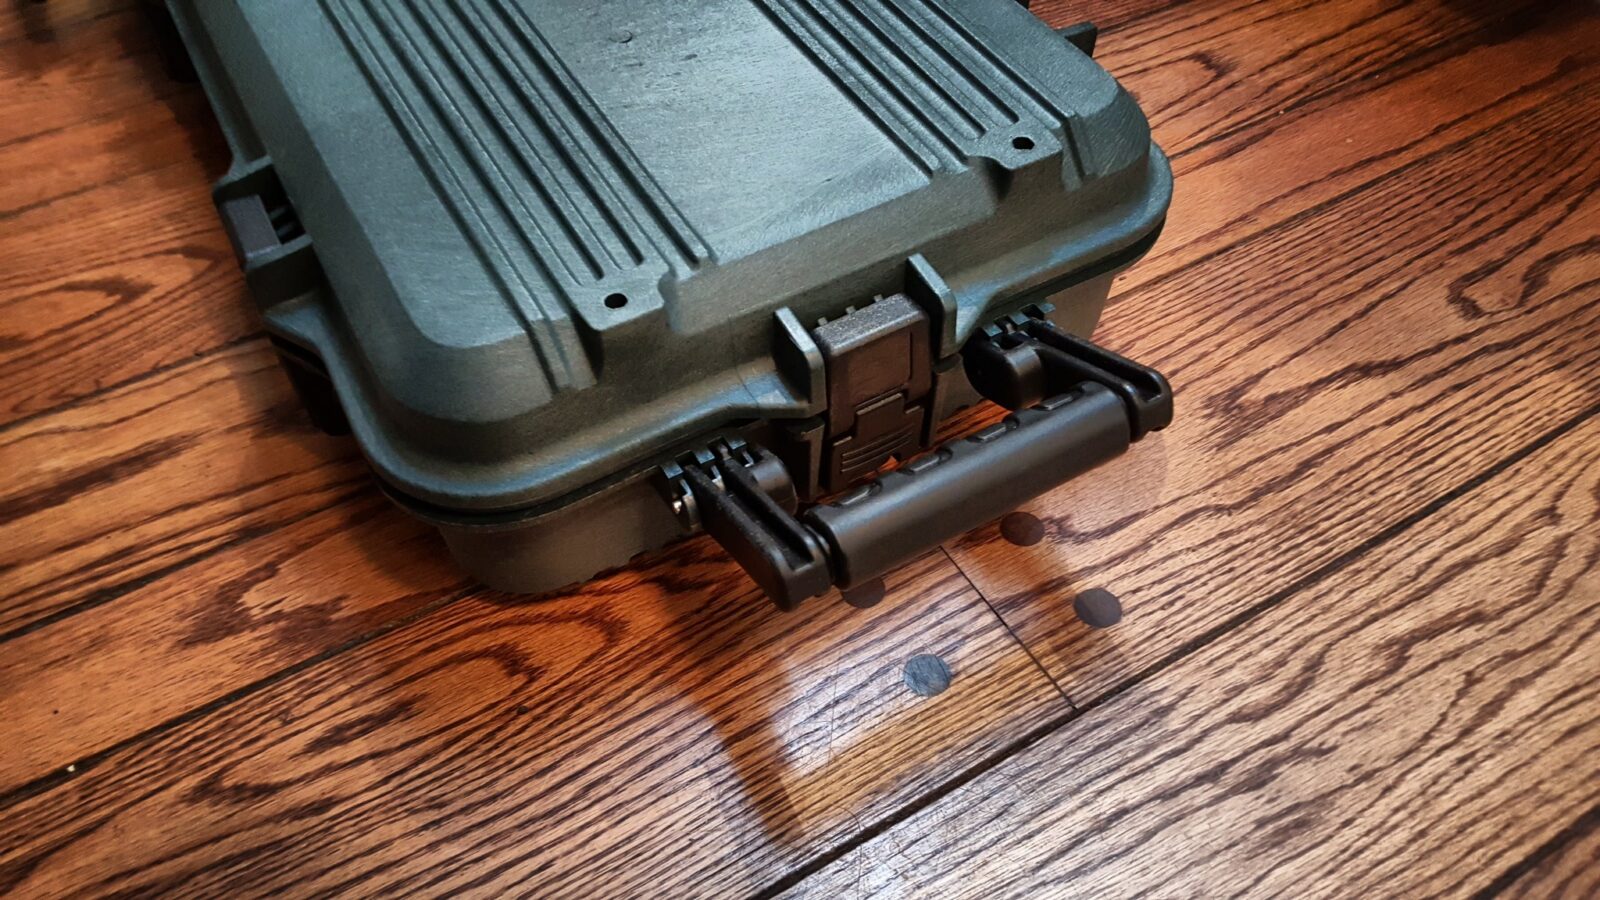
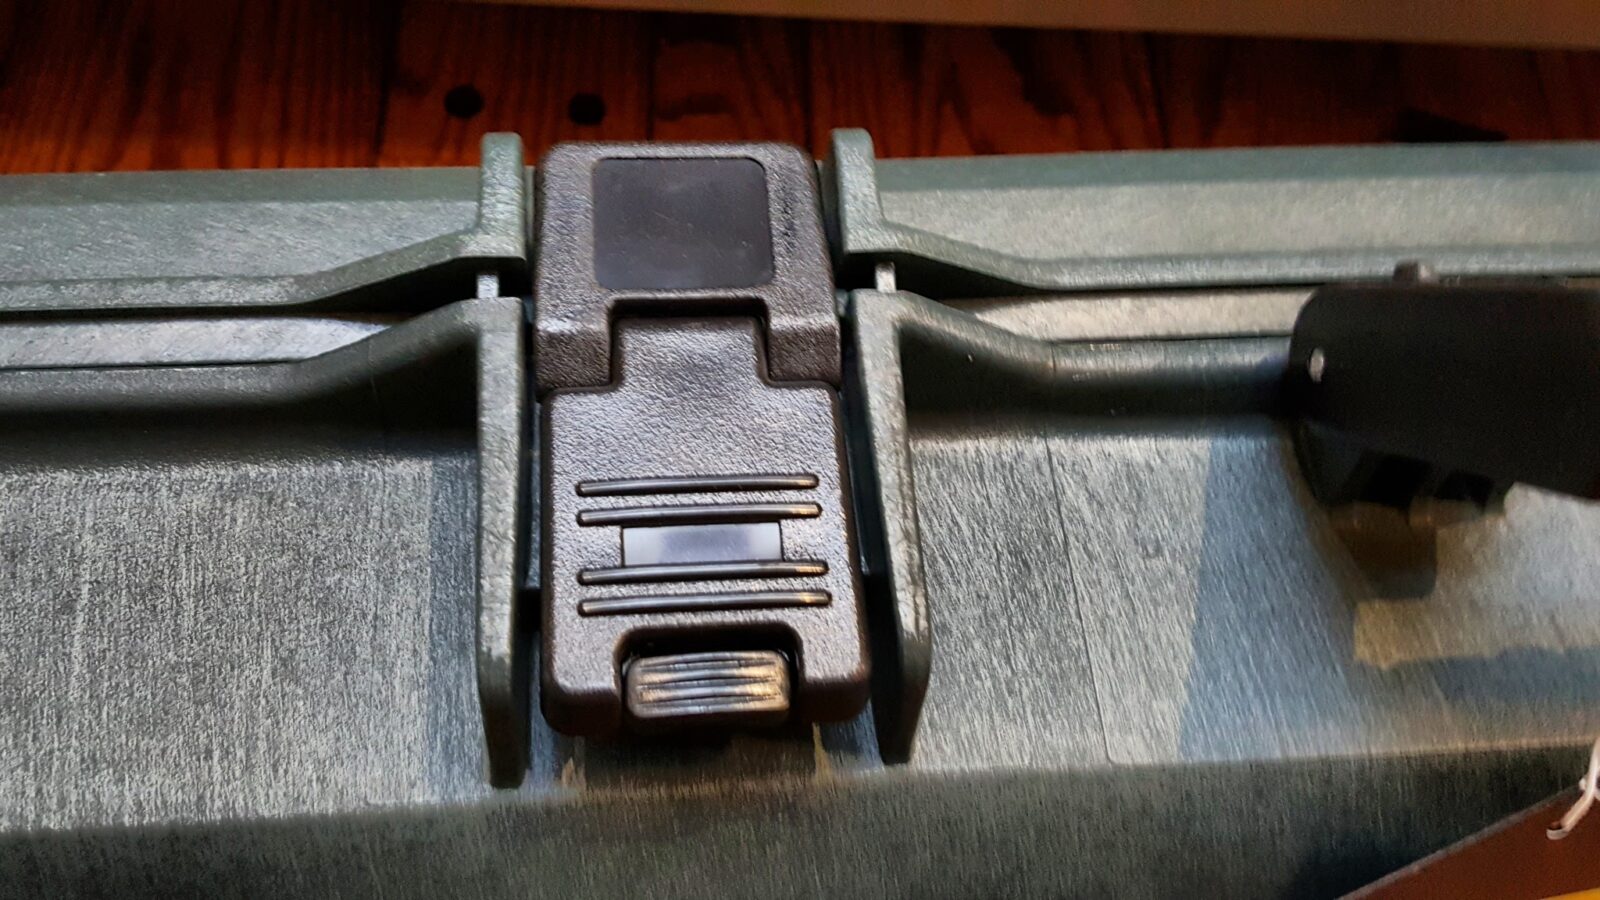
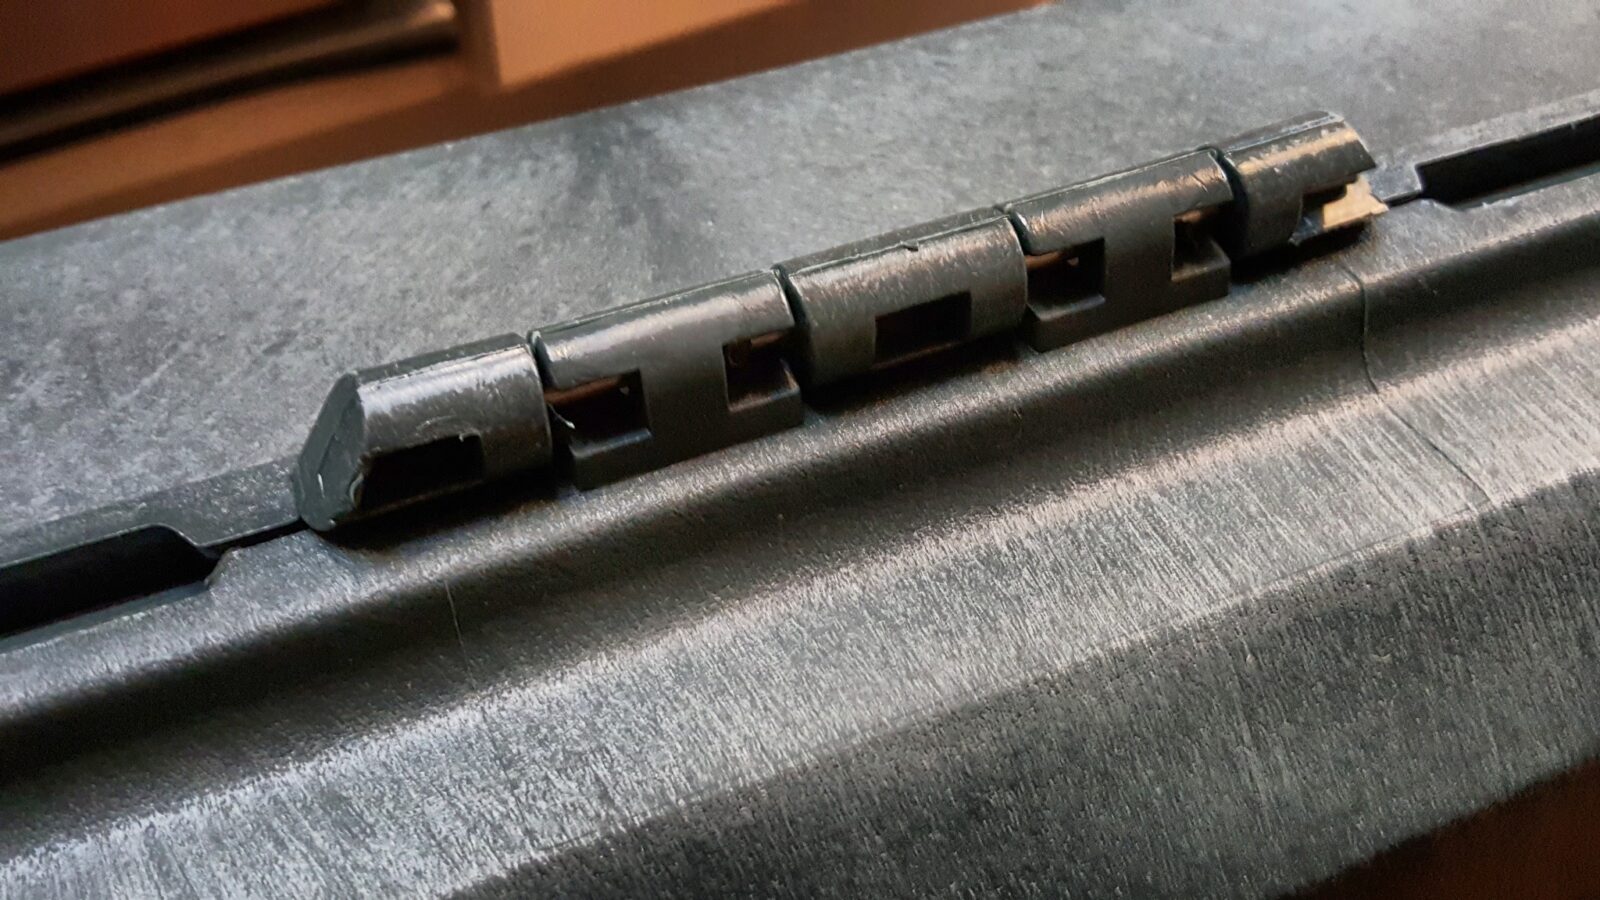
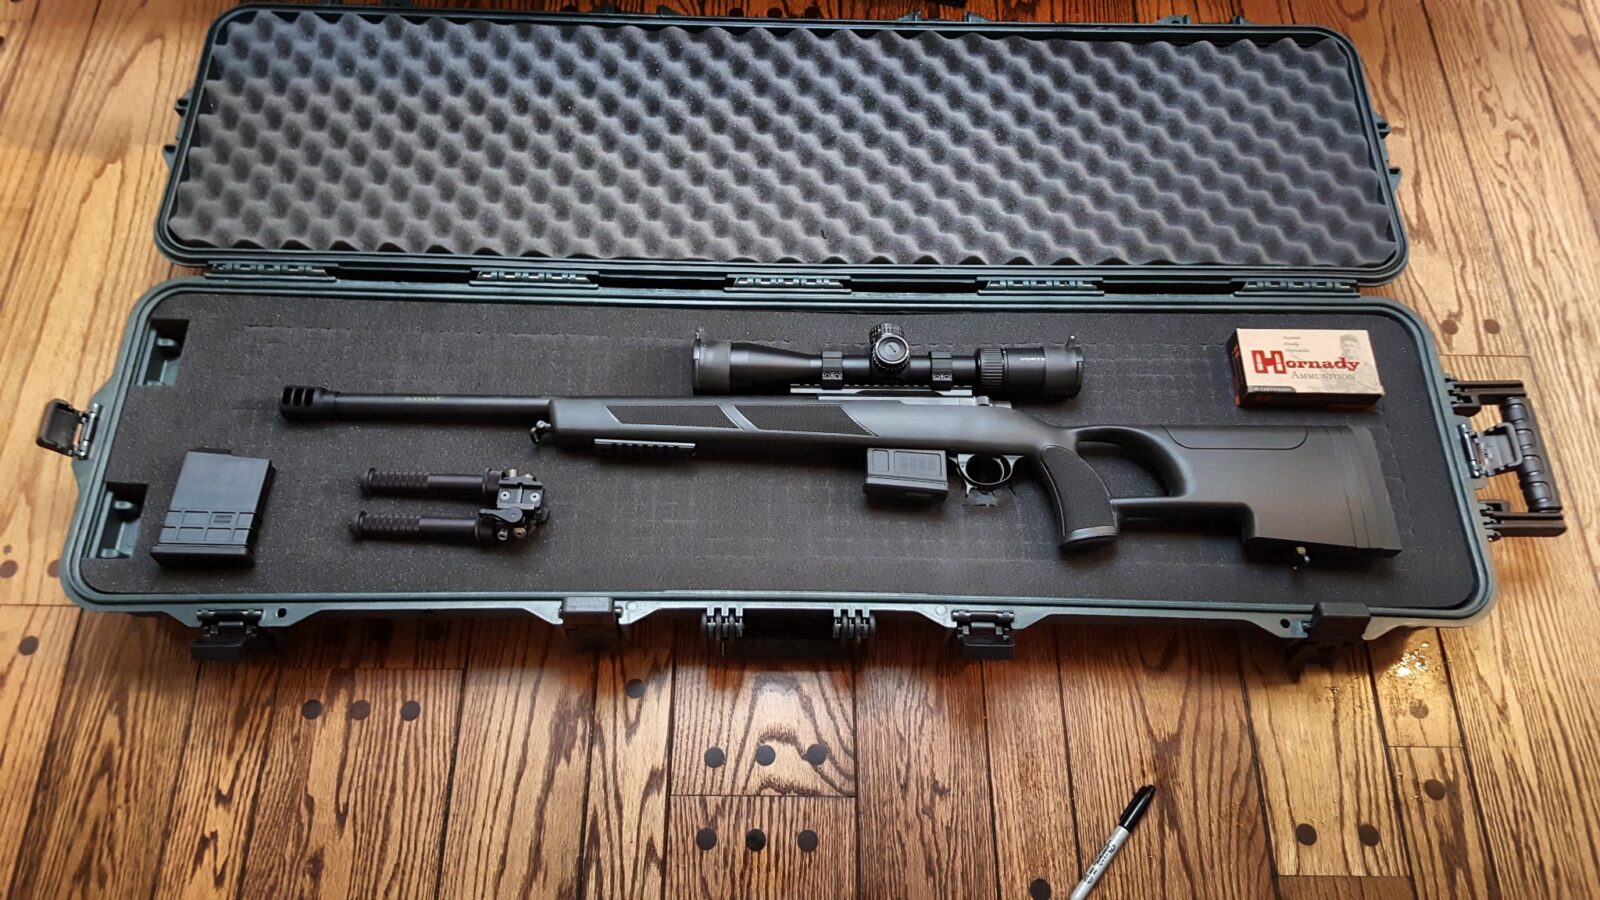
I purchased a Plano All Weather model 108180 in green. The green was partly to pay homage to the original green hardcase the rifle came in from Sabatti and also to help me visually spot it quickly. When you have a bunch of black cases, life can get interesting.
External case dimensions are: 54.625″ x 15,5″ x 6″
Interior case dimensions are: 51.5″ x 12.63″ x 5.25″
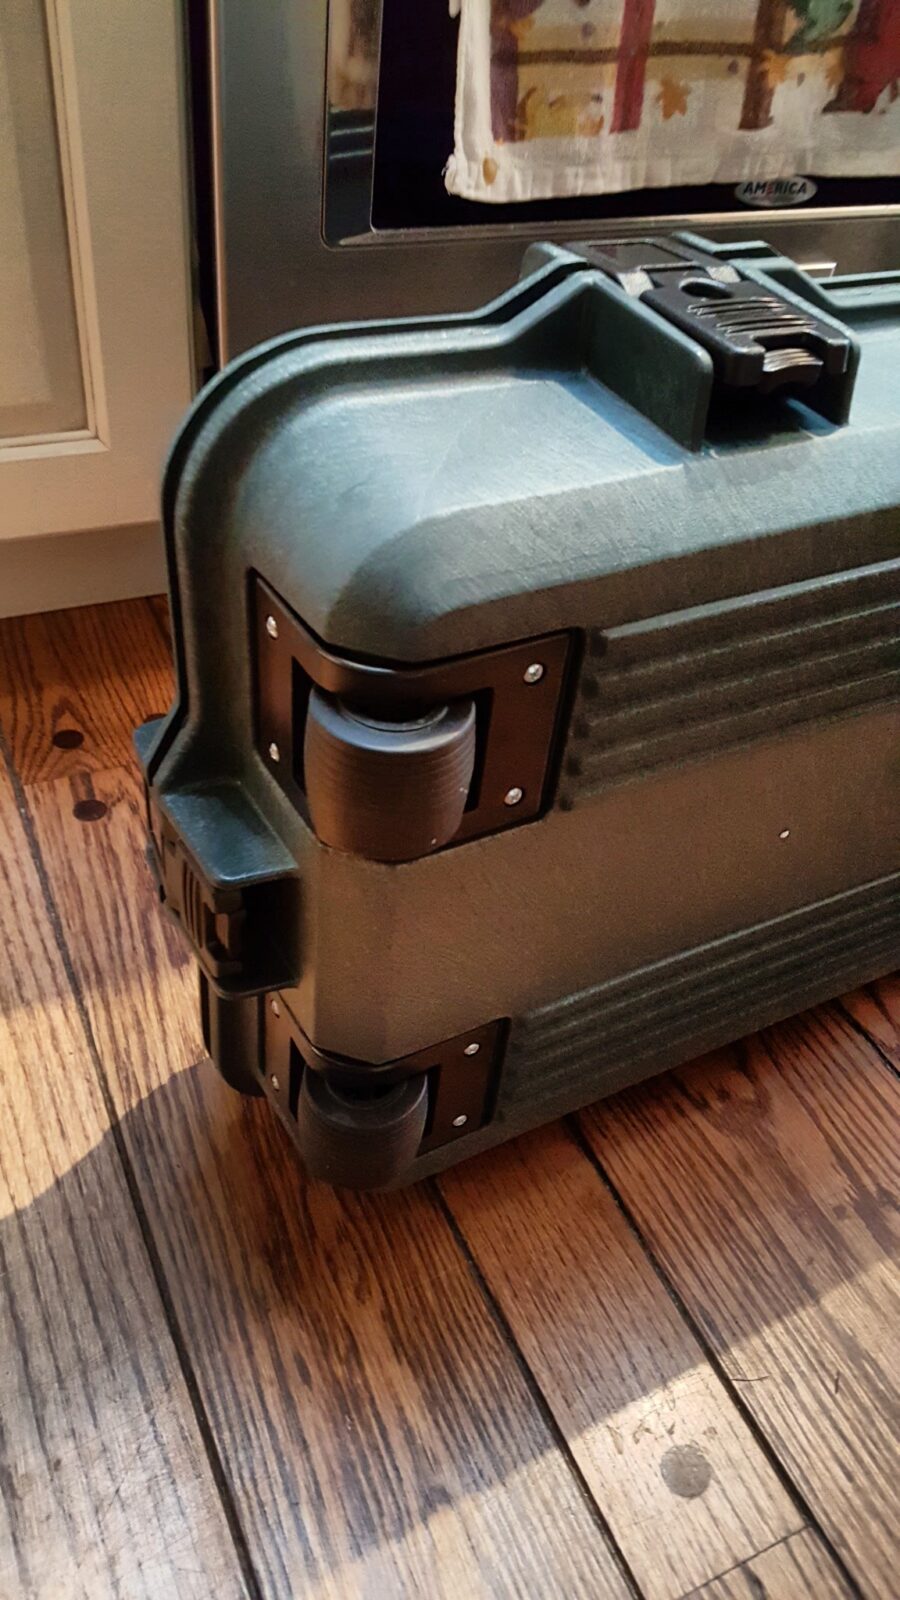
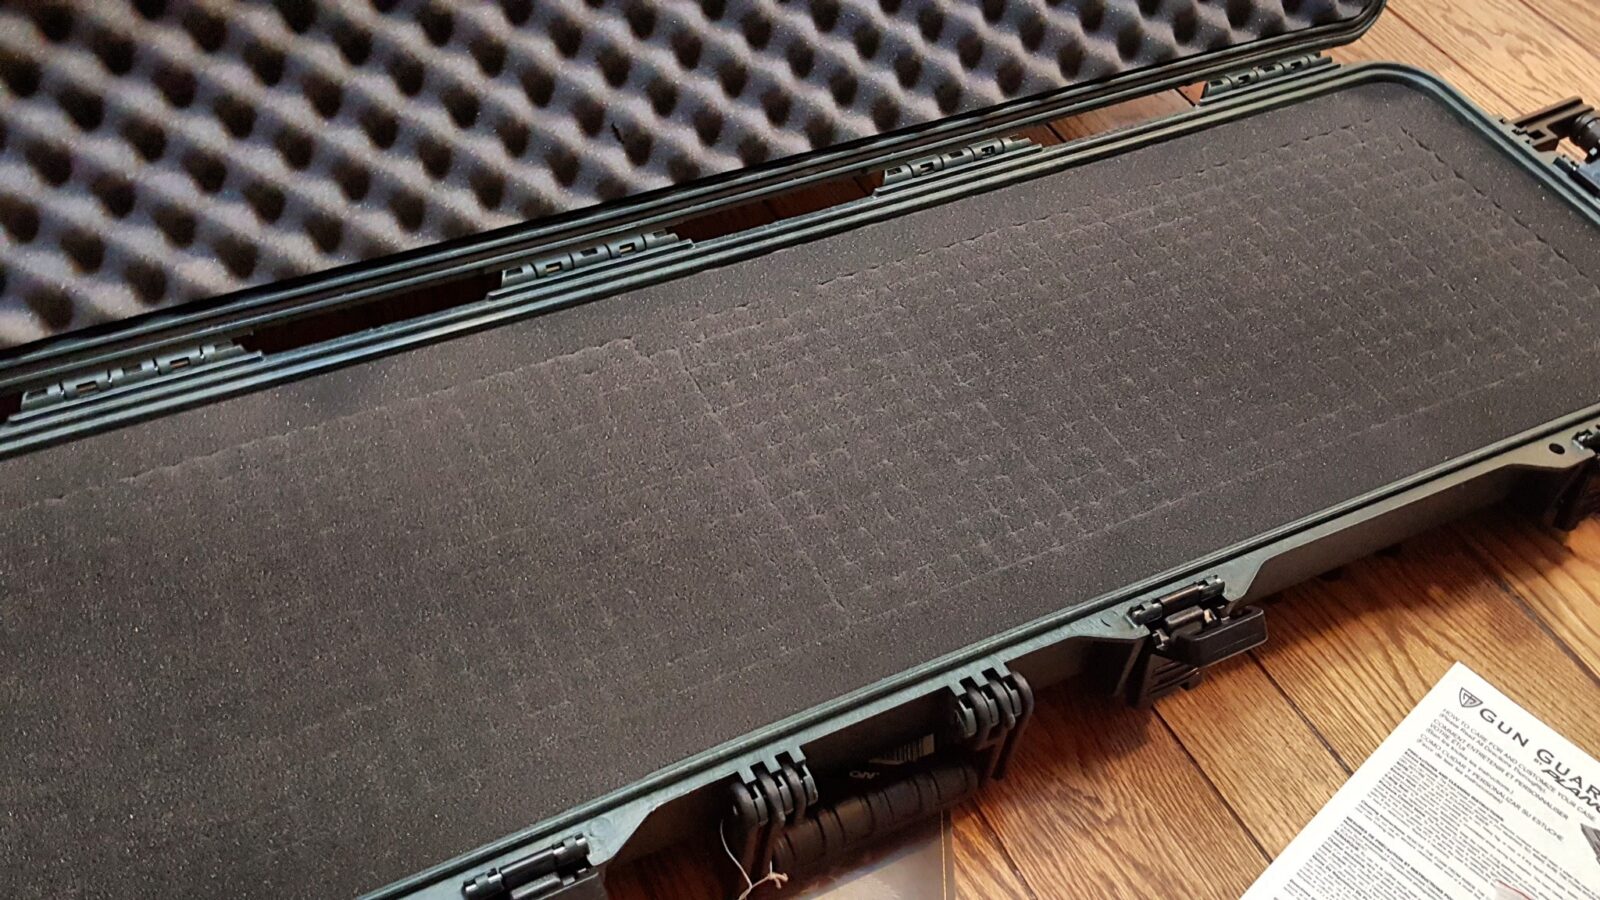
The All Weather series have pluckable foam, a gasket to help keep out water, and wheels on one end for pulling it.
These are solid cases. My intent in explaining the shortcomings of pluckable foam was for you to know the pro and the con. You’ll note that I did buy this case for this rifle — end of the day, it is a quick way to build a pretty good case to protect your rifle and scope.
Next Up Was to Fit the Plano Case
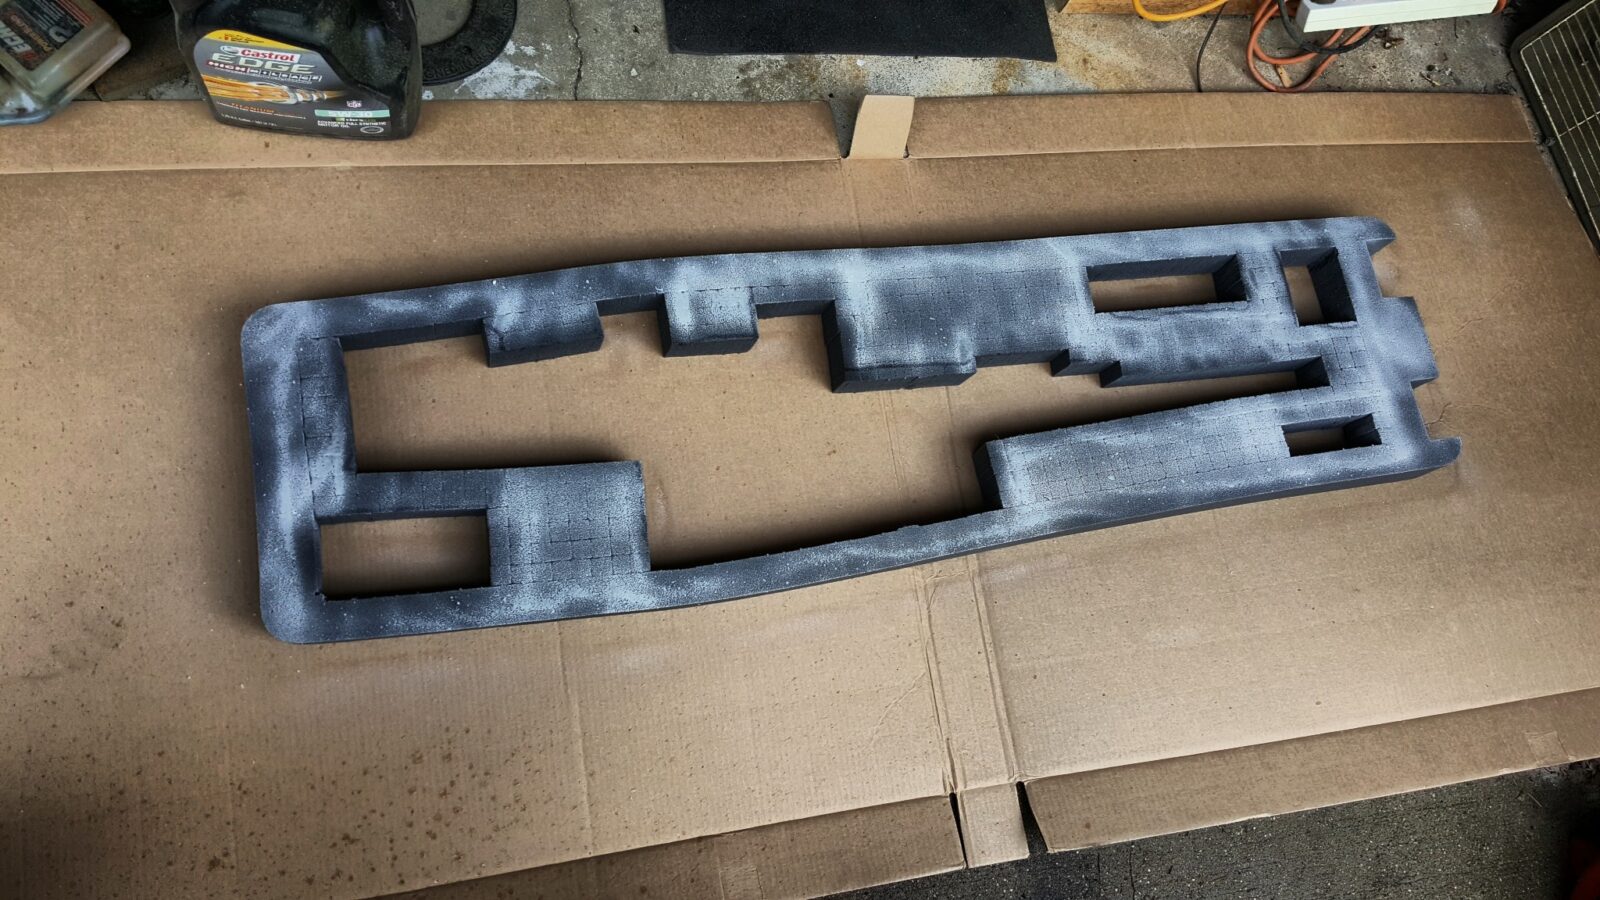
Okay, most pluckable foam cases have three layers – an egg crate top, a pluckable middle and a foam bottom. We will be working on the middle piece and do note you can order replacement foam should you ever need to.
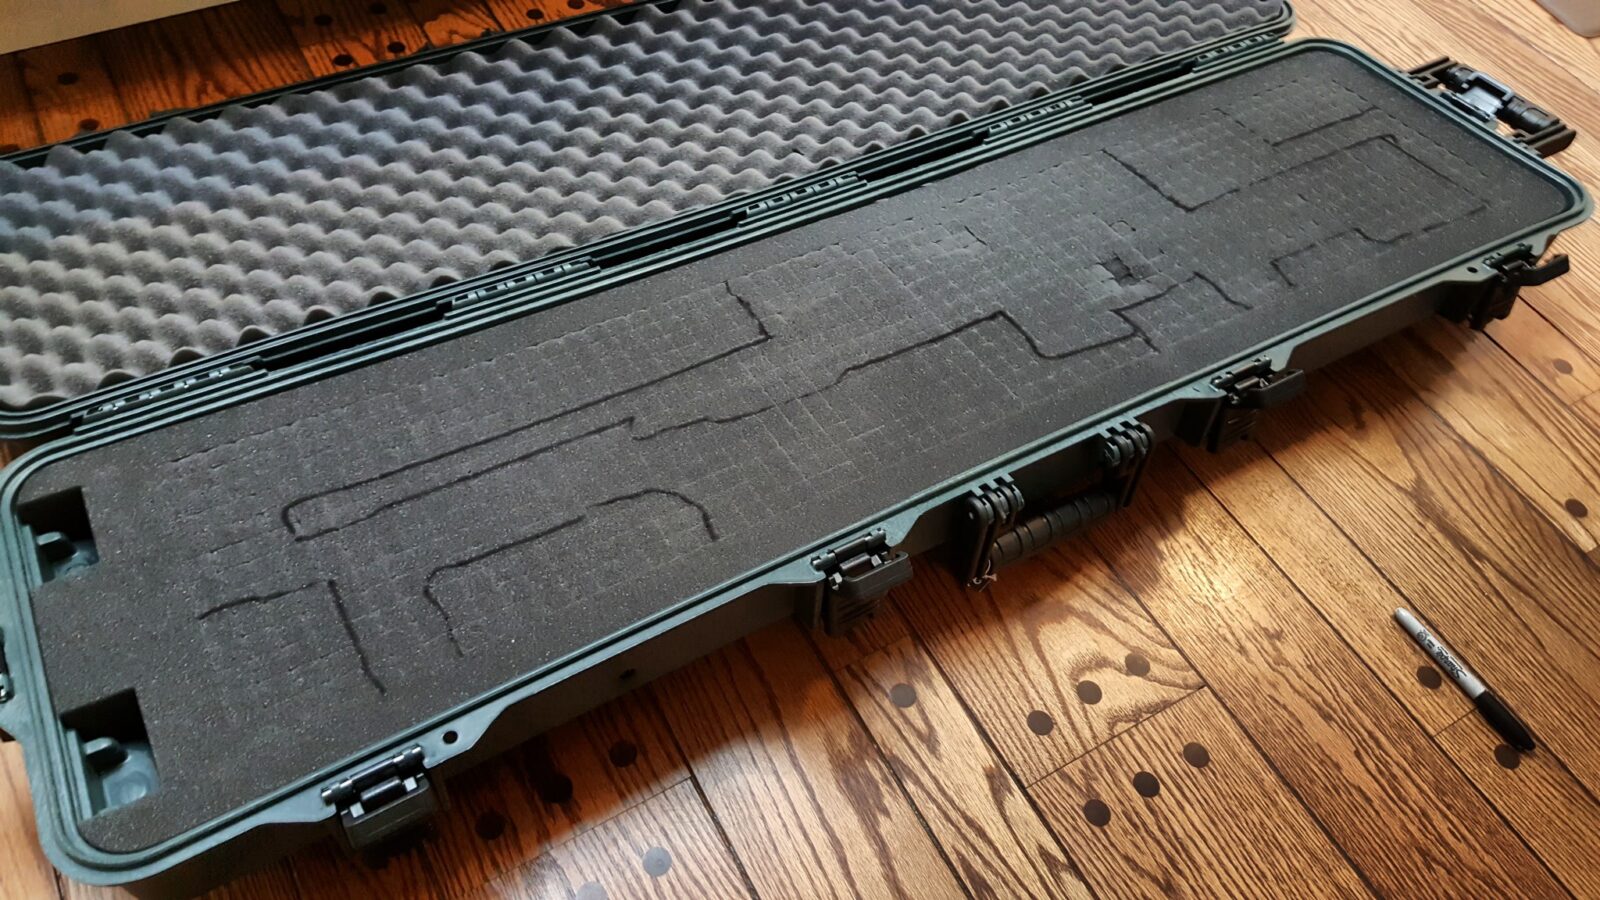
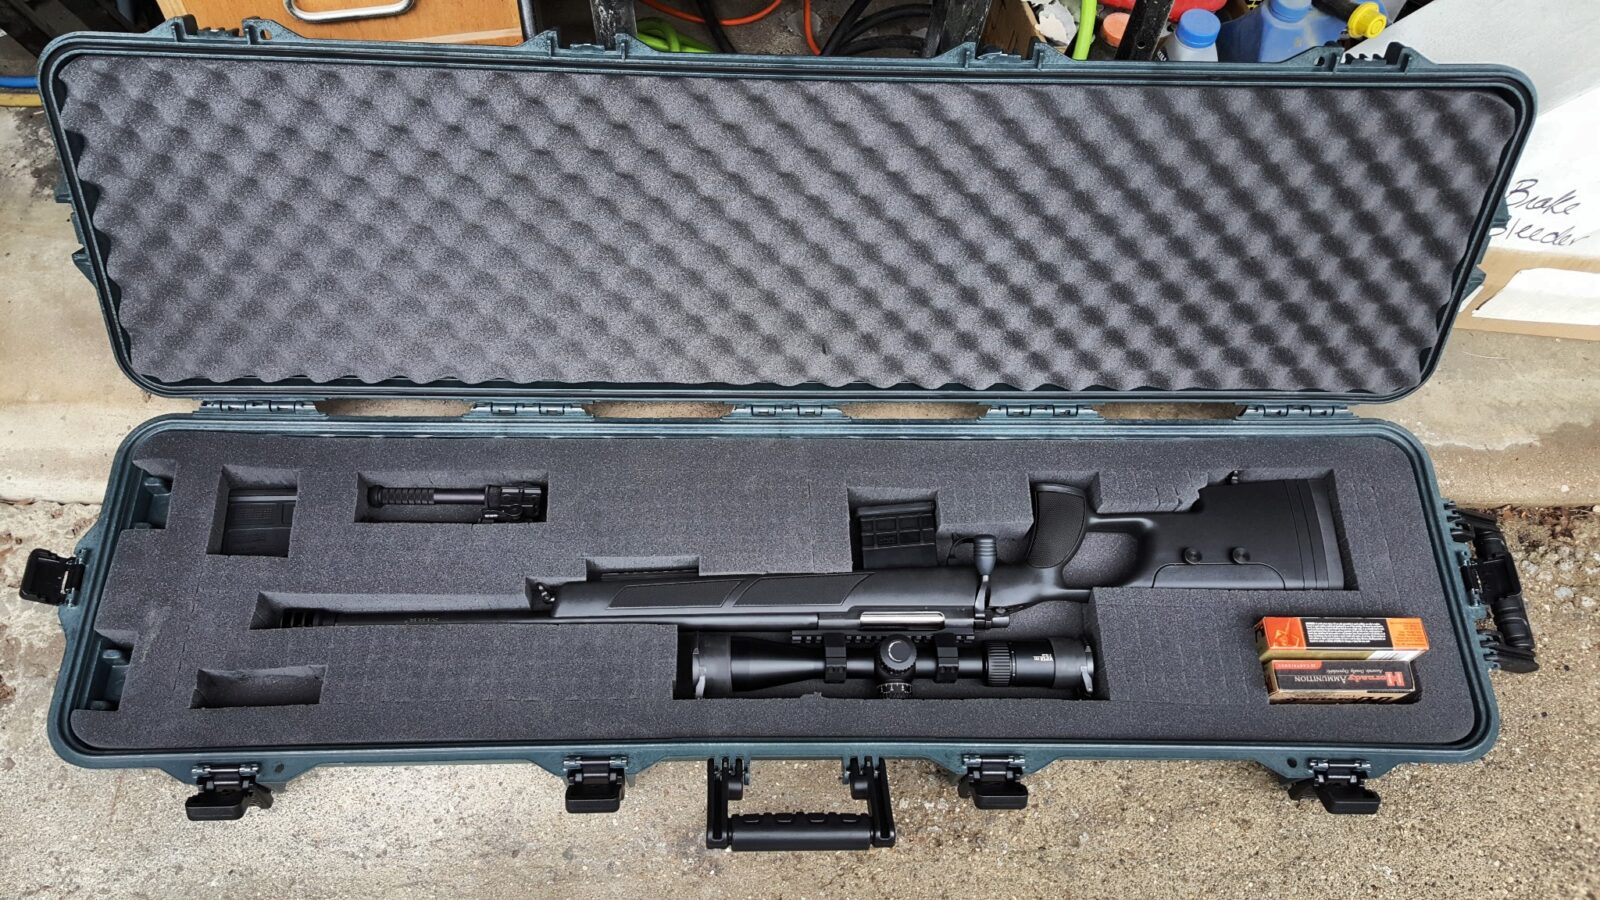
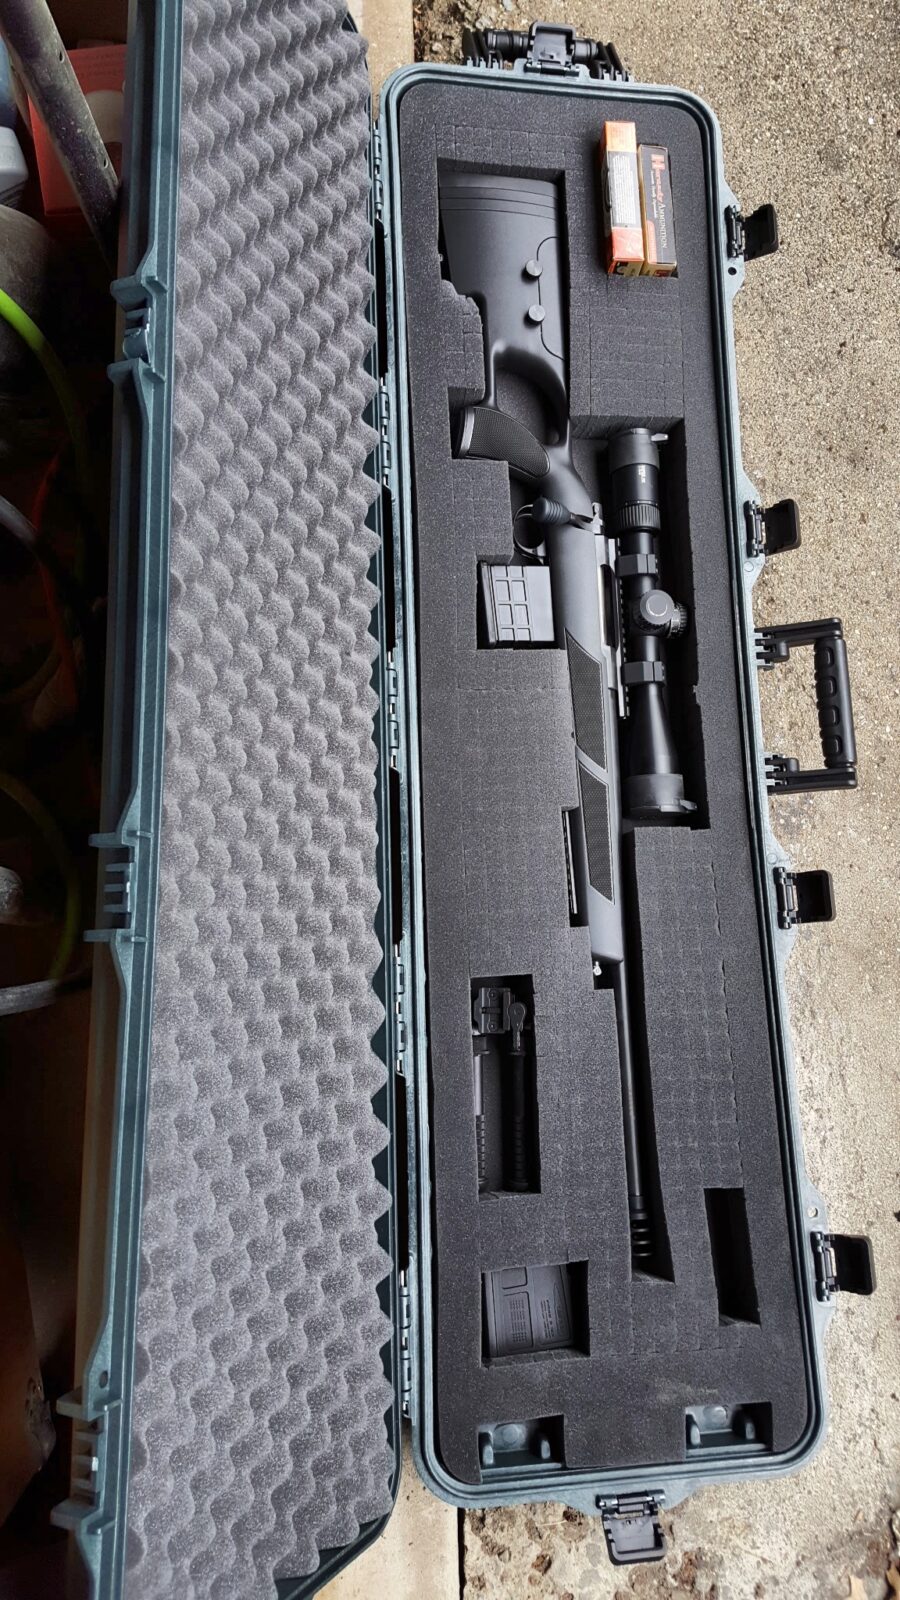
I lay things out that I want in the case in a mirror image. I really want the scope to be located at the top by the carry handle vs. down by the ground. The rationale is that the scope will take less stress this was as we usually set a case down on the hinged “bottom” and not on the top with the handle.
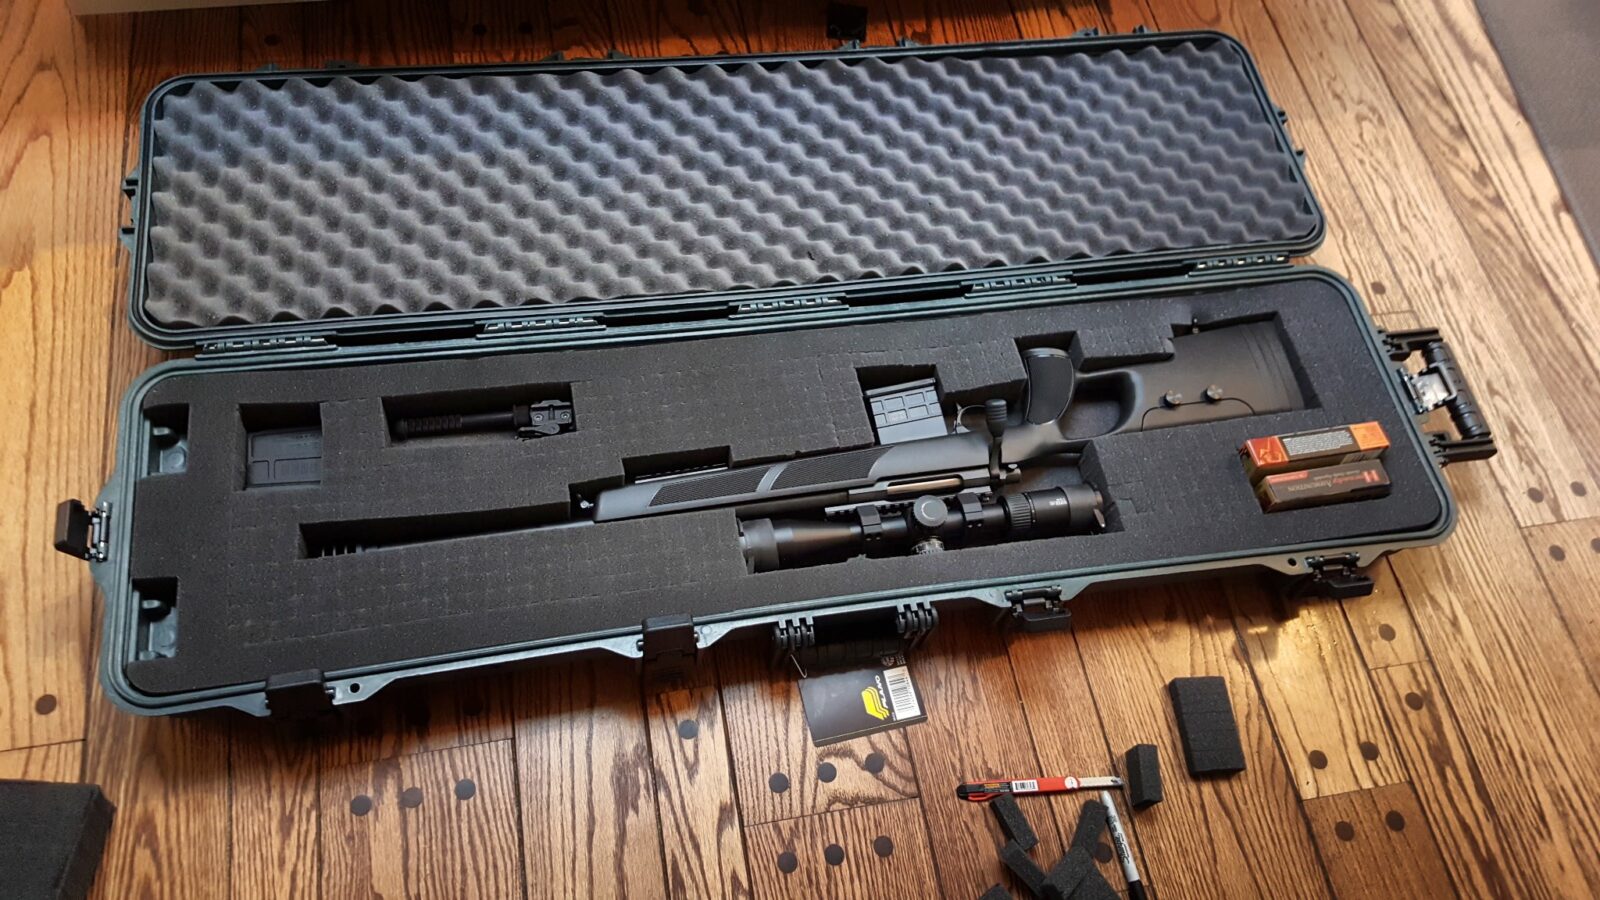
I also like to have a spare magazine, the bipod, ammo and space for any special tools, batteries for the scope, etc. My first aim in the layout is to try and keep the rifle as far away from the sides as I can. As you can see in this case, the fit is pretty close and I don’t have as much spare room as I would like at the top of the scope but I still think it will be protected.
Again, this is a mirror layout so that I can pluck out the foam and not worry about the permanent marker lines being left behind. I needed to remember the wheel cutouts were there also.
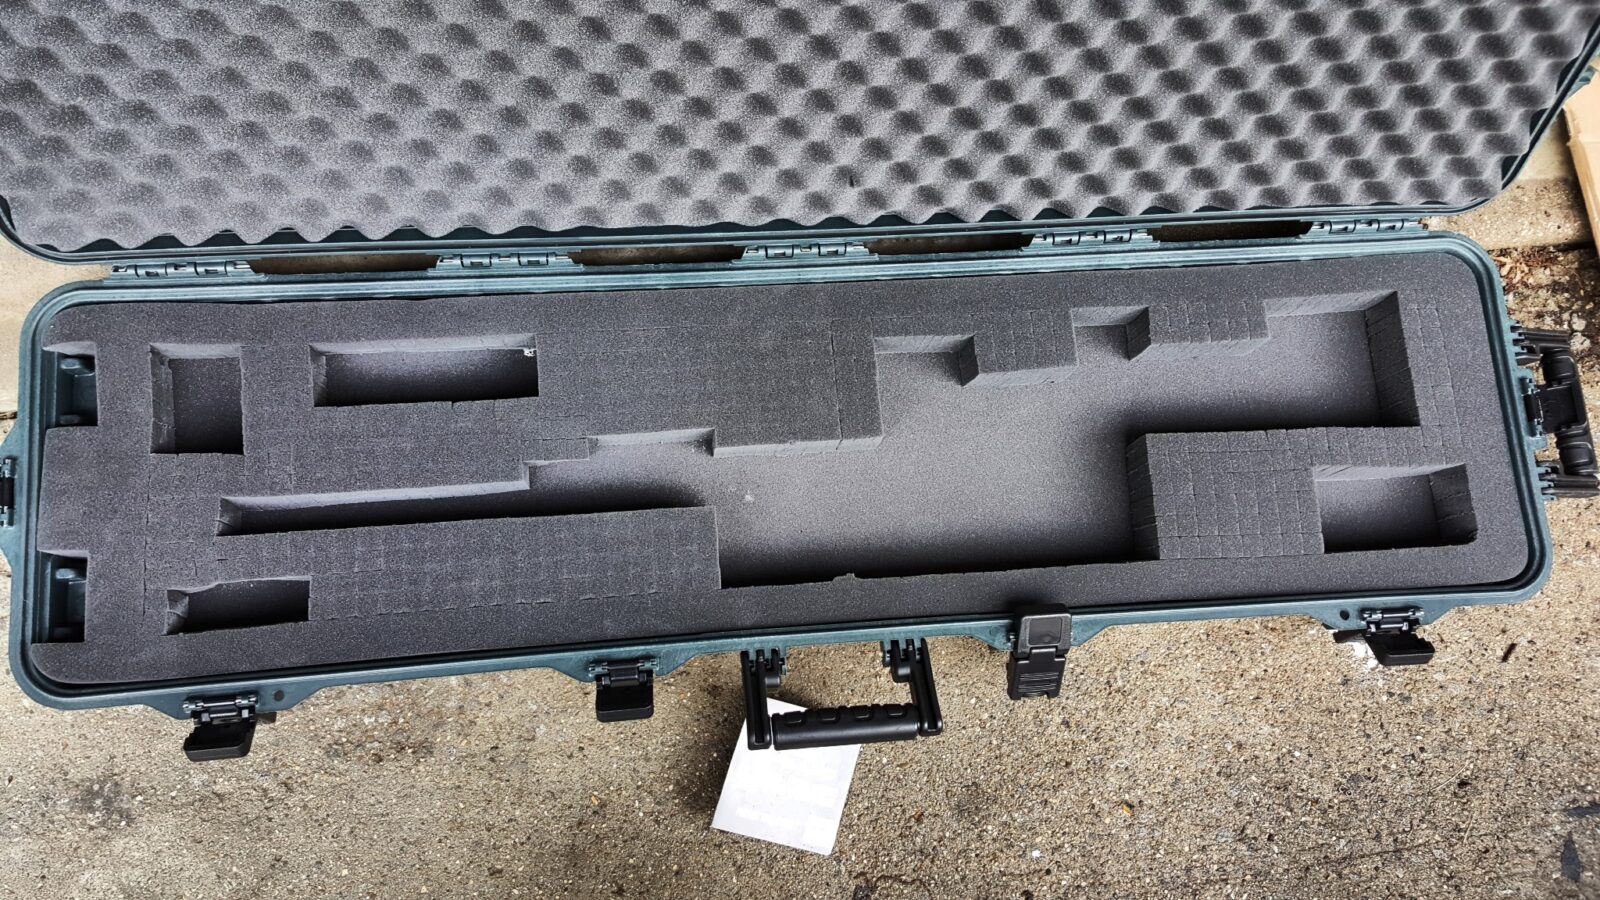
So once you have your lines drawn, you start pulling the scored little rectangular sections out. I use a small razor blade box cutter on any that don’t want to pull apart the way I want them to.
I always draw my lines and then pluck tight. You can always remove more if you need to. You need to test your fit several times to make sure you have it just right.
I then take the insert outside and carefully make sure I spray adhesive on the side that is going down. Notice how I point that out! Guess who did the wrong side once years ago 🙂
I spray a heavy coat of adhesive on the insert and the parts of the lower piece that will not be exposed. Note that I use 3M Super 77 Spray Adhesive. It was recommended to me years ago and I have used it ever since to bond case foams together.
If you need to remove overspray, use mineral spirits, Goo Gone, turpentine, etc. before it dries. I wear nitrile gloves when spraying to avoid getting my hands sticky.
Follow the recommendations on the can. You want to let the stuff get tacky then carefully reinsert the foam into the case. Watch the orientation!! Don’t put it in facing the wrong way. Also, don’t worry about adhesive getting in the wrong place – just clean it up as mentioned above. The stuff sets quickly but takes a while to cure.
Let it dry overnight or longer if cooler. I can pretty much guarantee you will have some stick on your rifle, etc. If you do, it will come off with the aforementioned solvents plus stuff like penetrating oil, etc. I would not put oil on the foam so I didn’t mention it earlier.
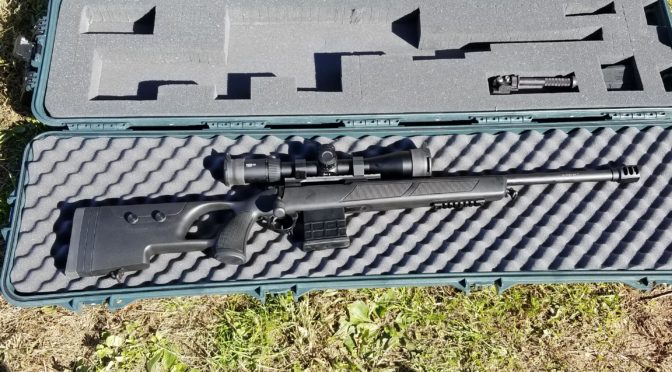
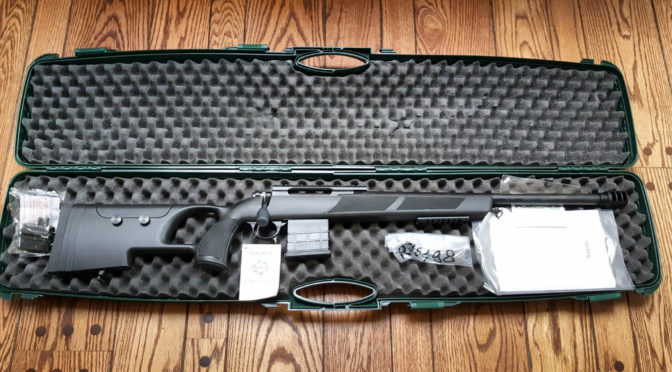
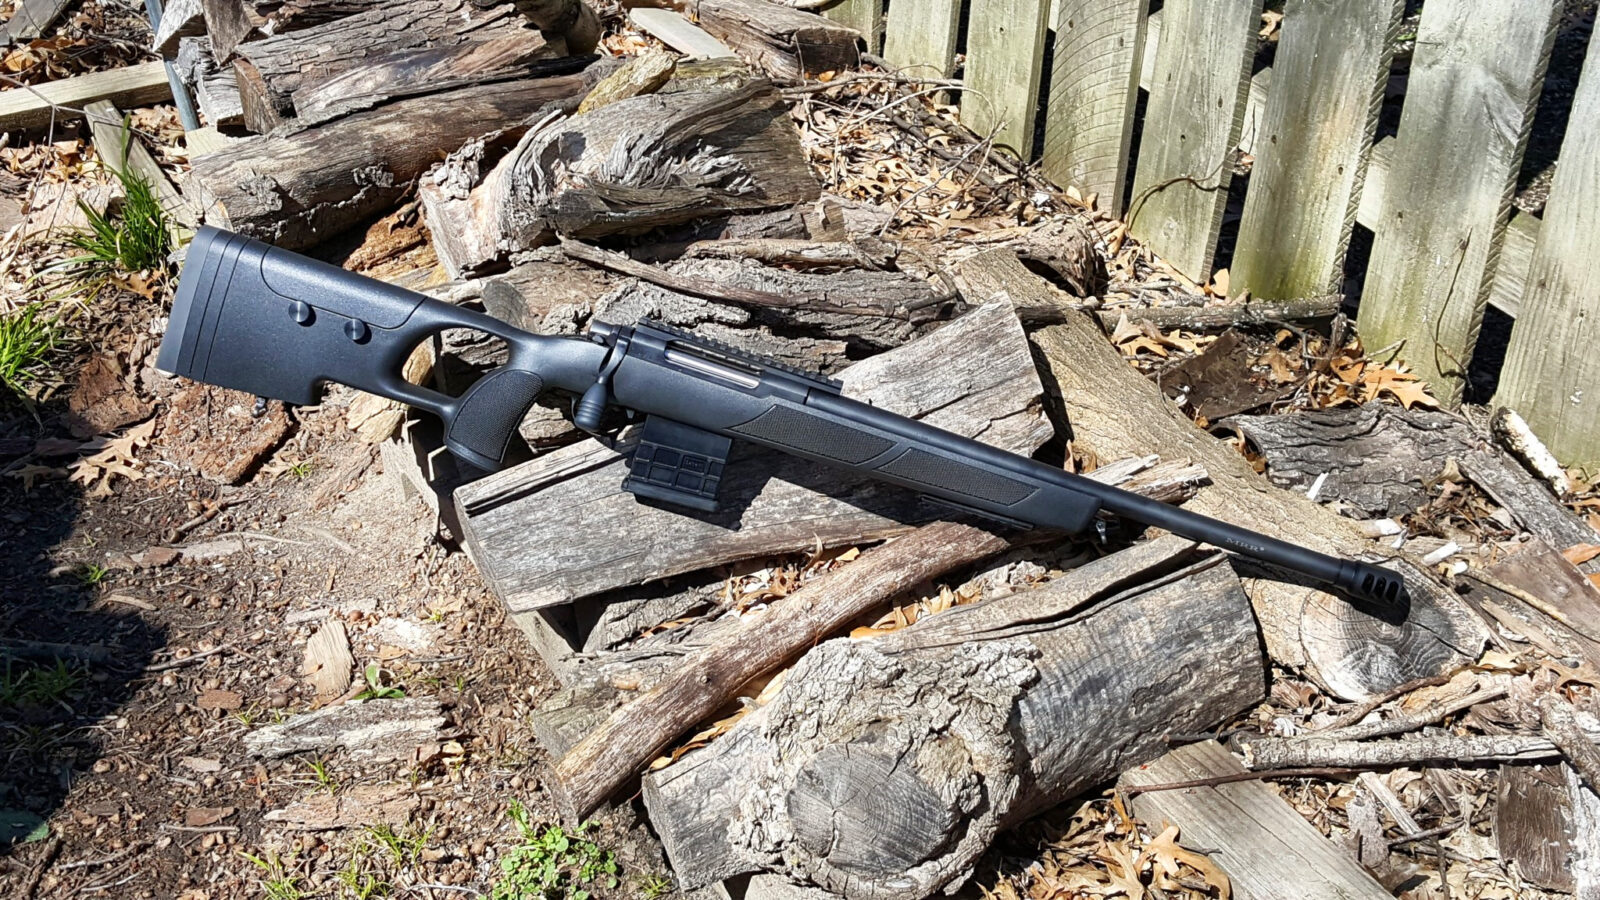
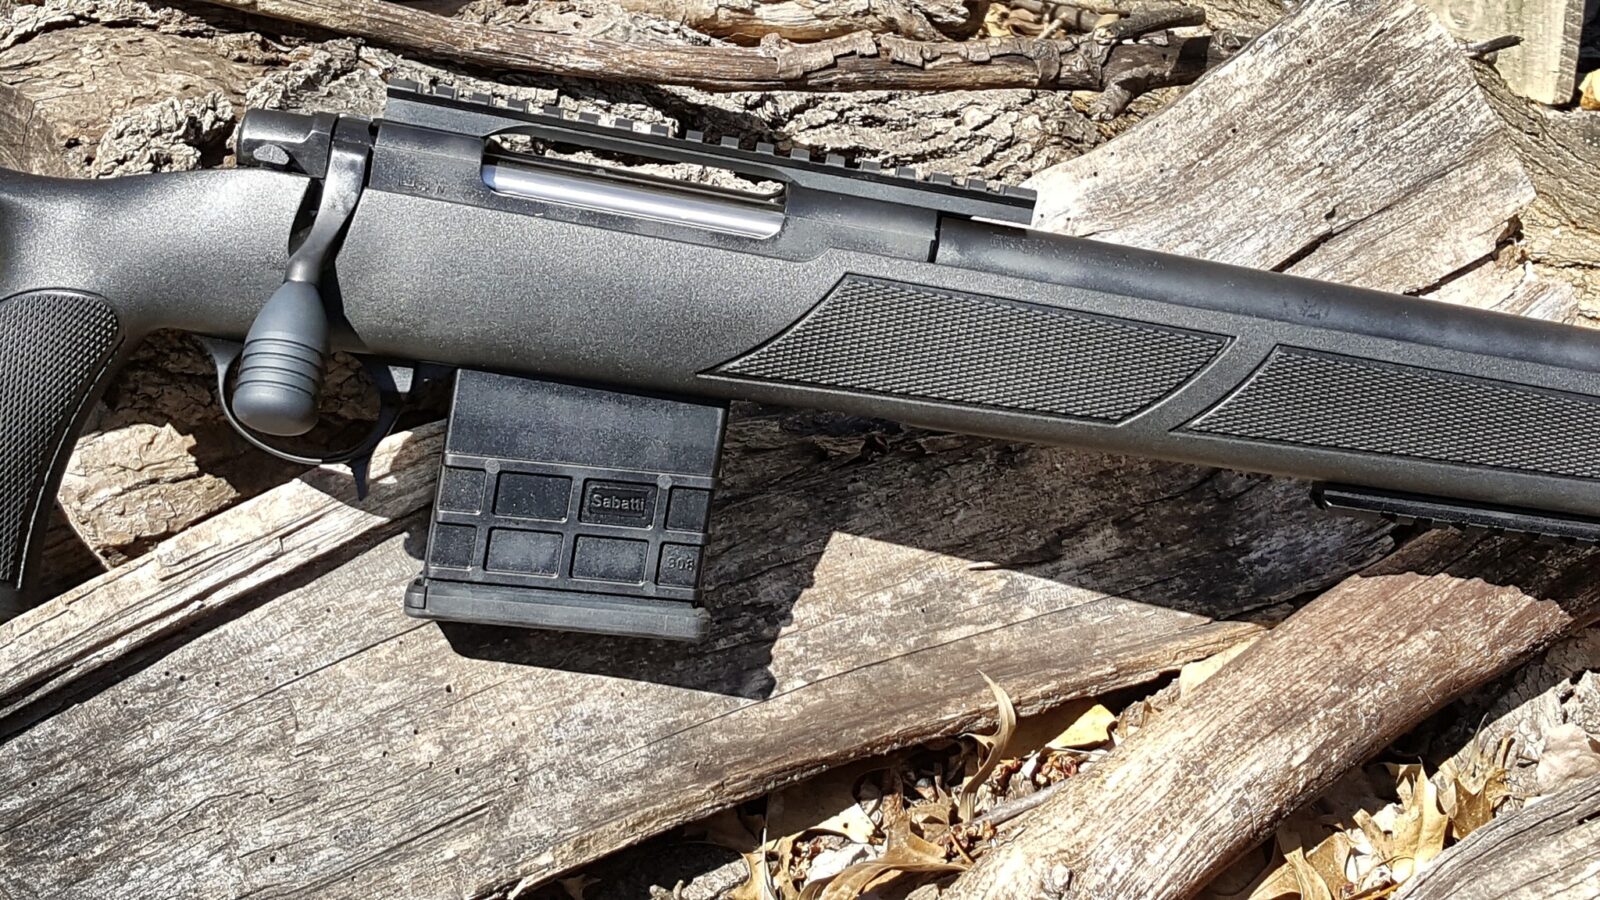
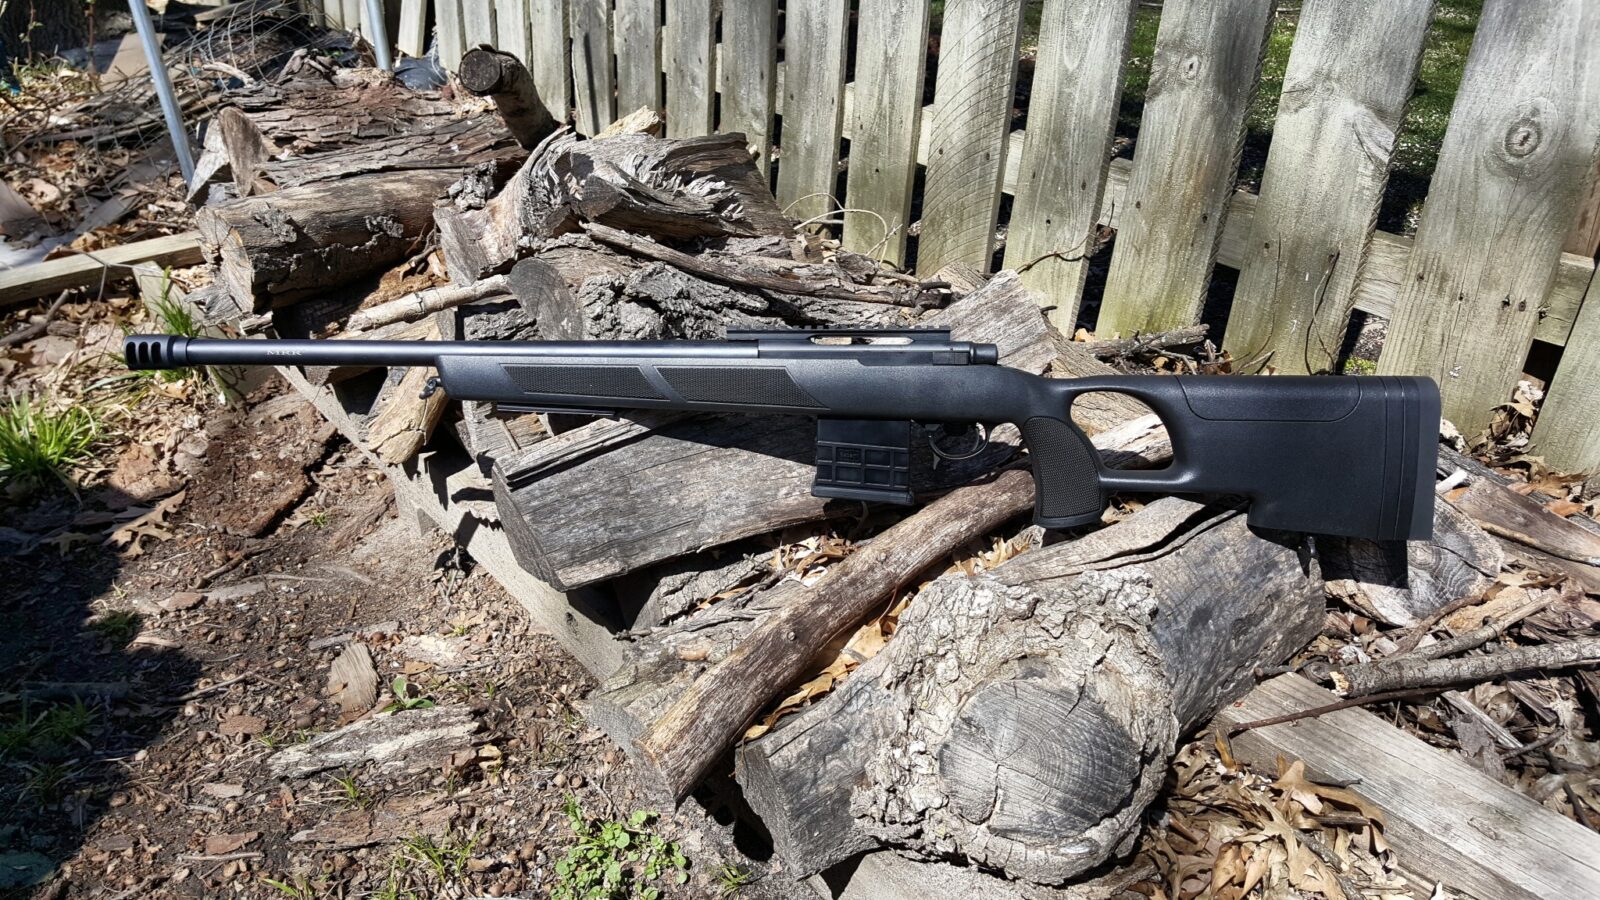
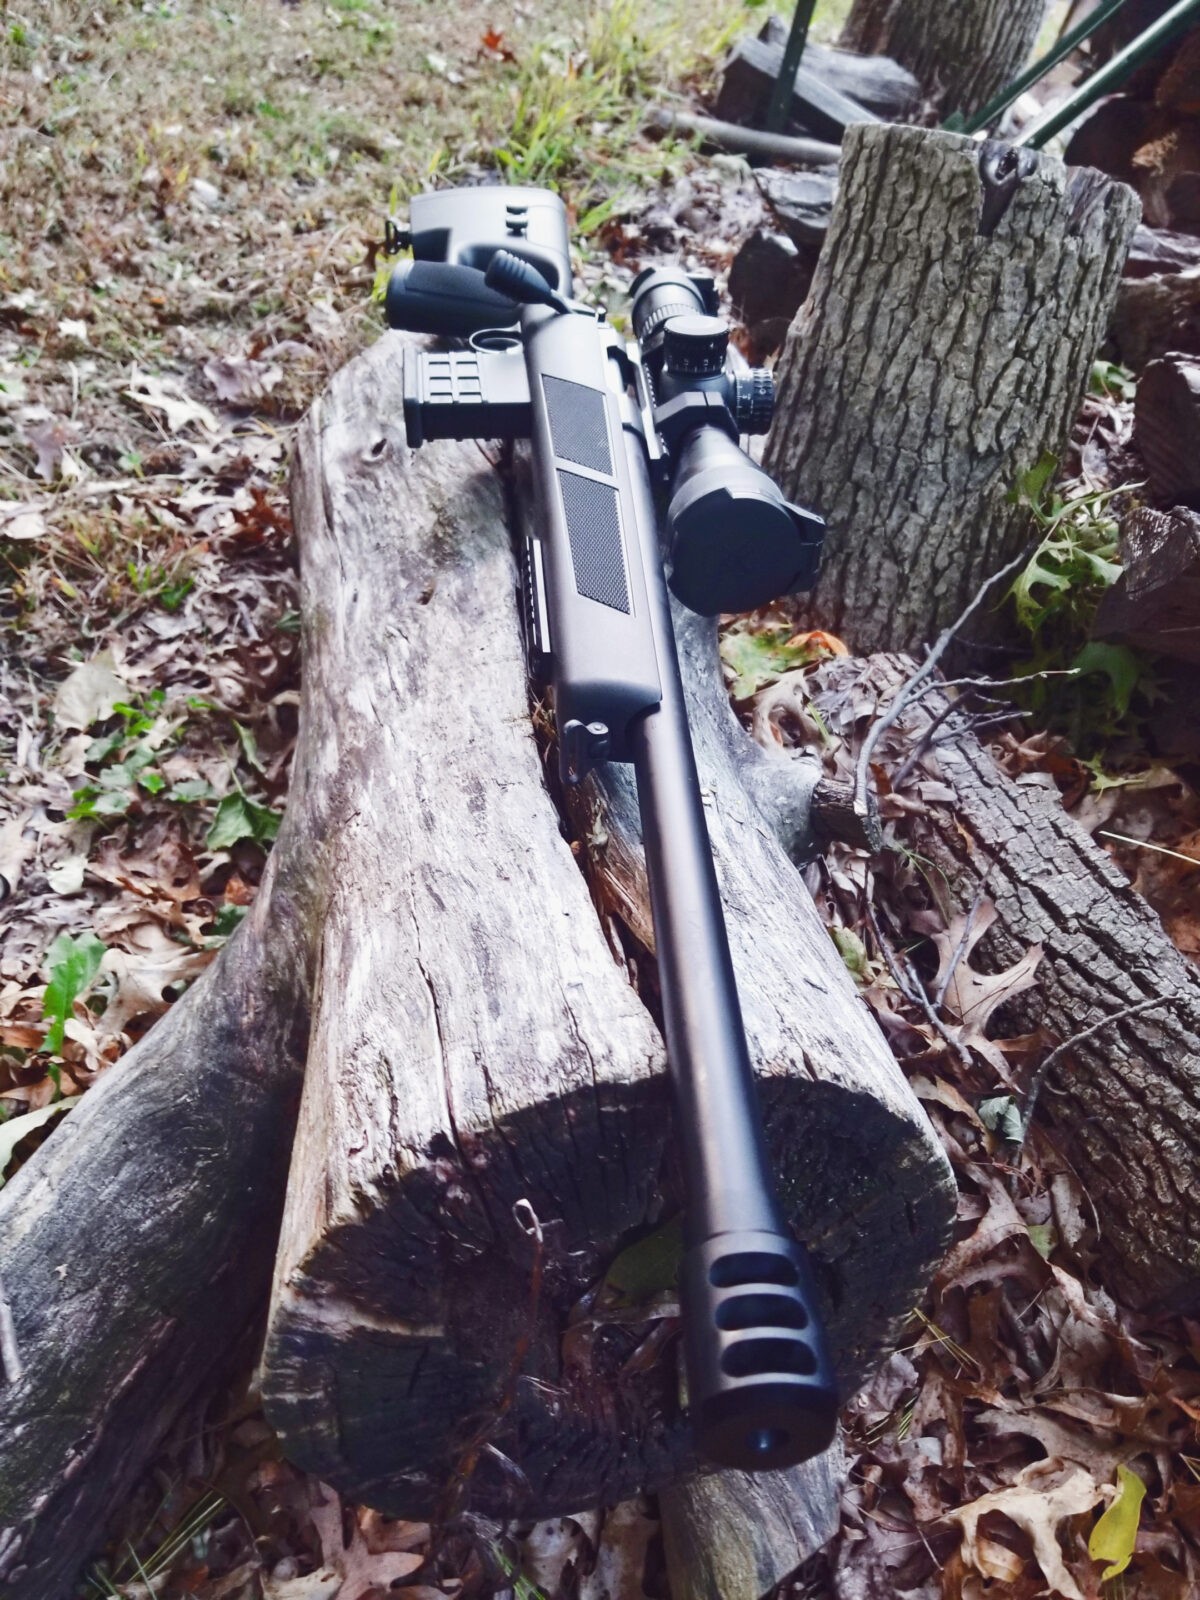
The rifle was quite striking. I immediately liked the heft, balance and features. It’s 41-3/4″ including the removable brake. Weight of the empty rifle is about 8-3/4 pounds.
It comes with the green hardcase with eggshell style foam interior that you see in the photos. Note it is really just for shipping as there isn’t room for an optic. Not a big deal but worth noting. I think most guys will want to get a better case anyways – I always make a case for my precision rifles to protect them and their optics better plus carry whatever accessories I want securely.
Let’s start our review at the back
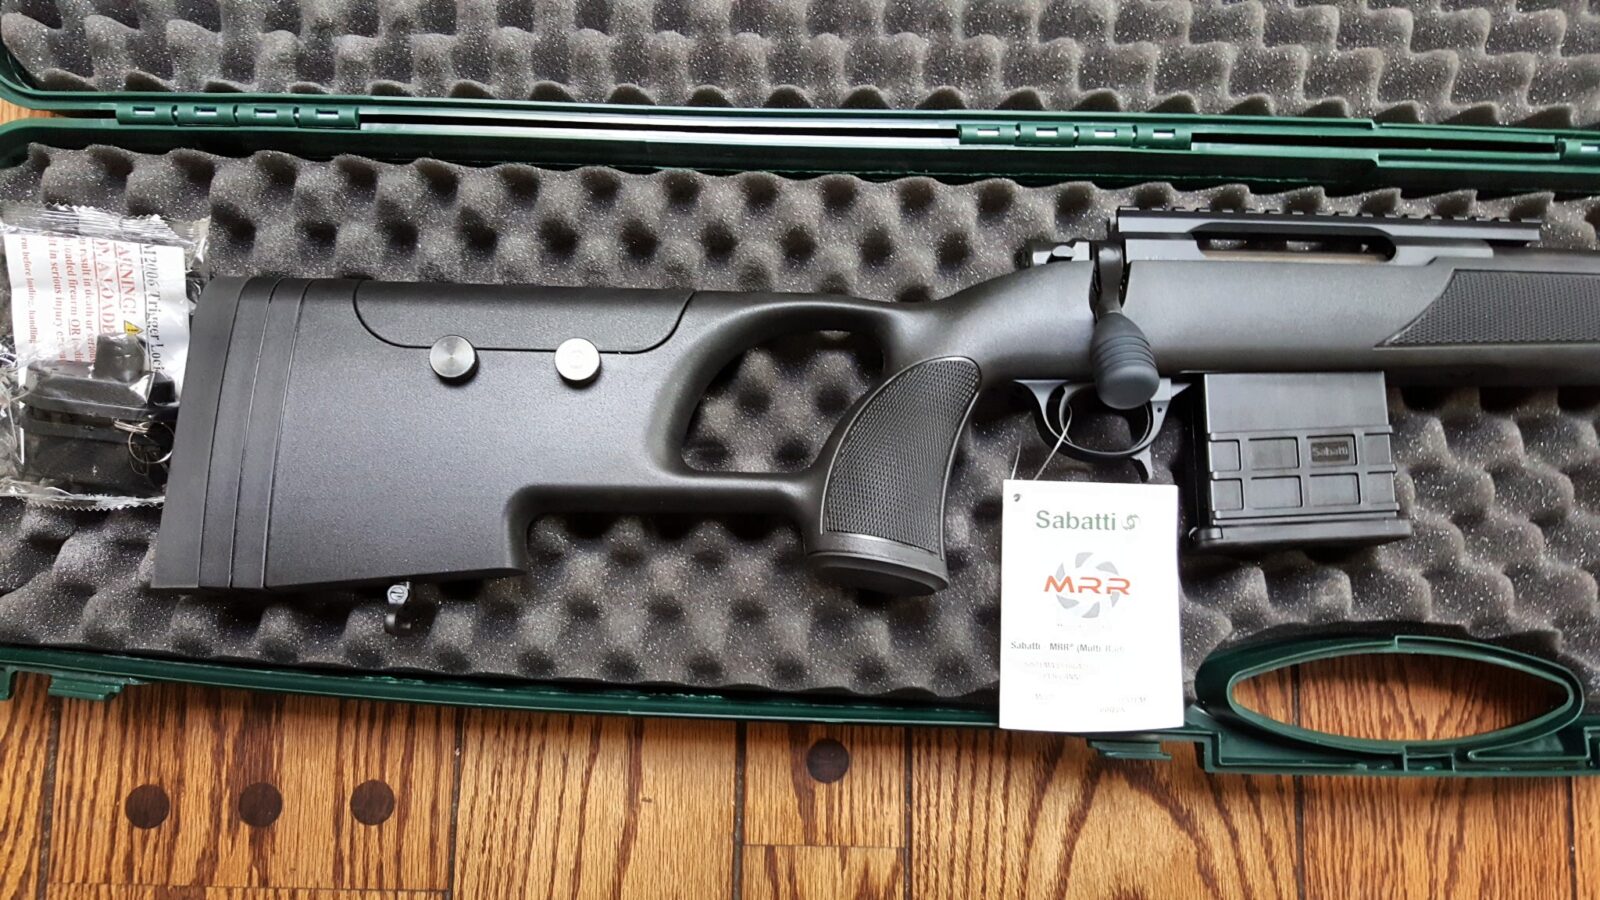
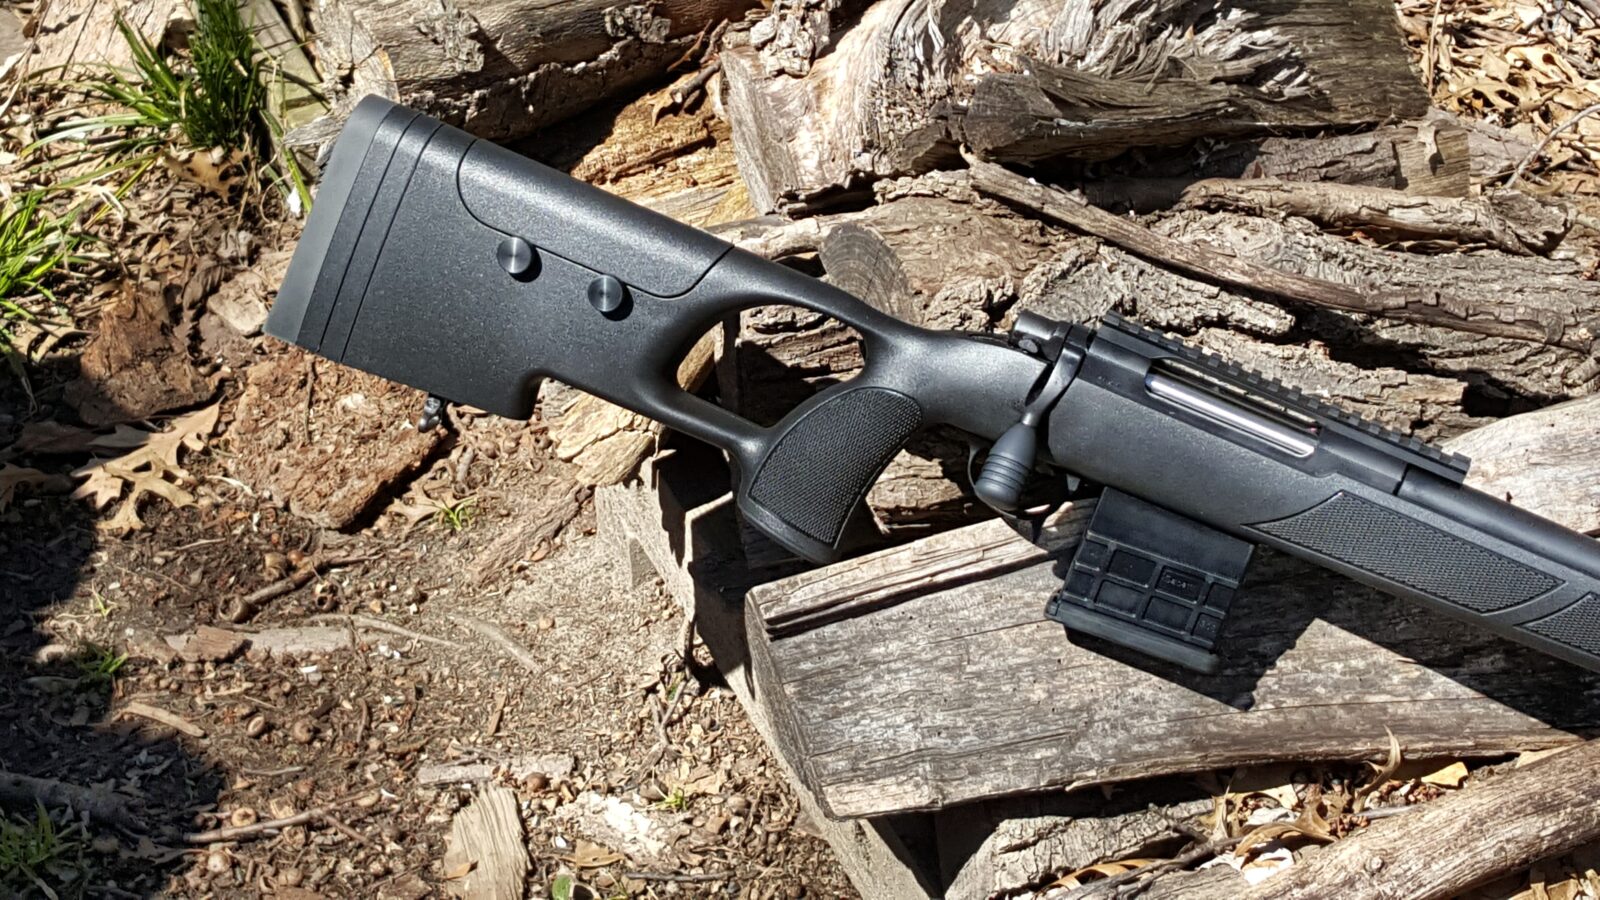
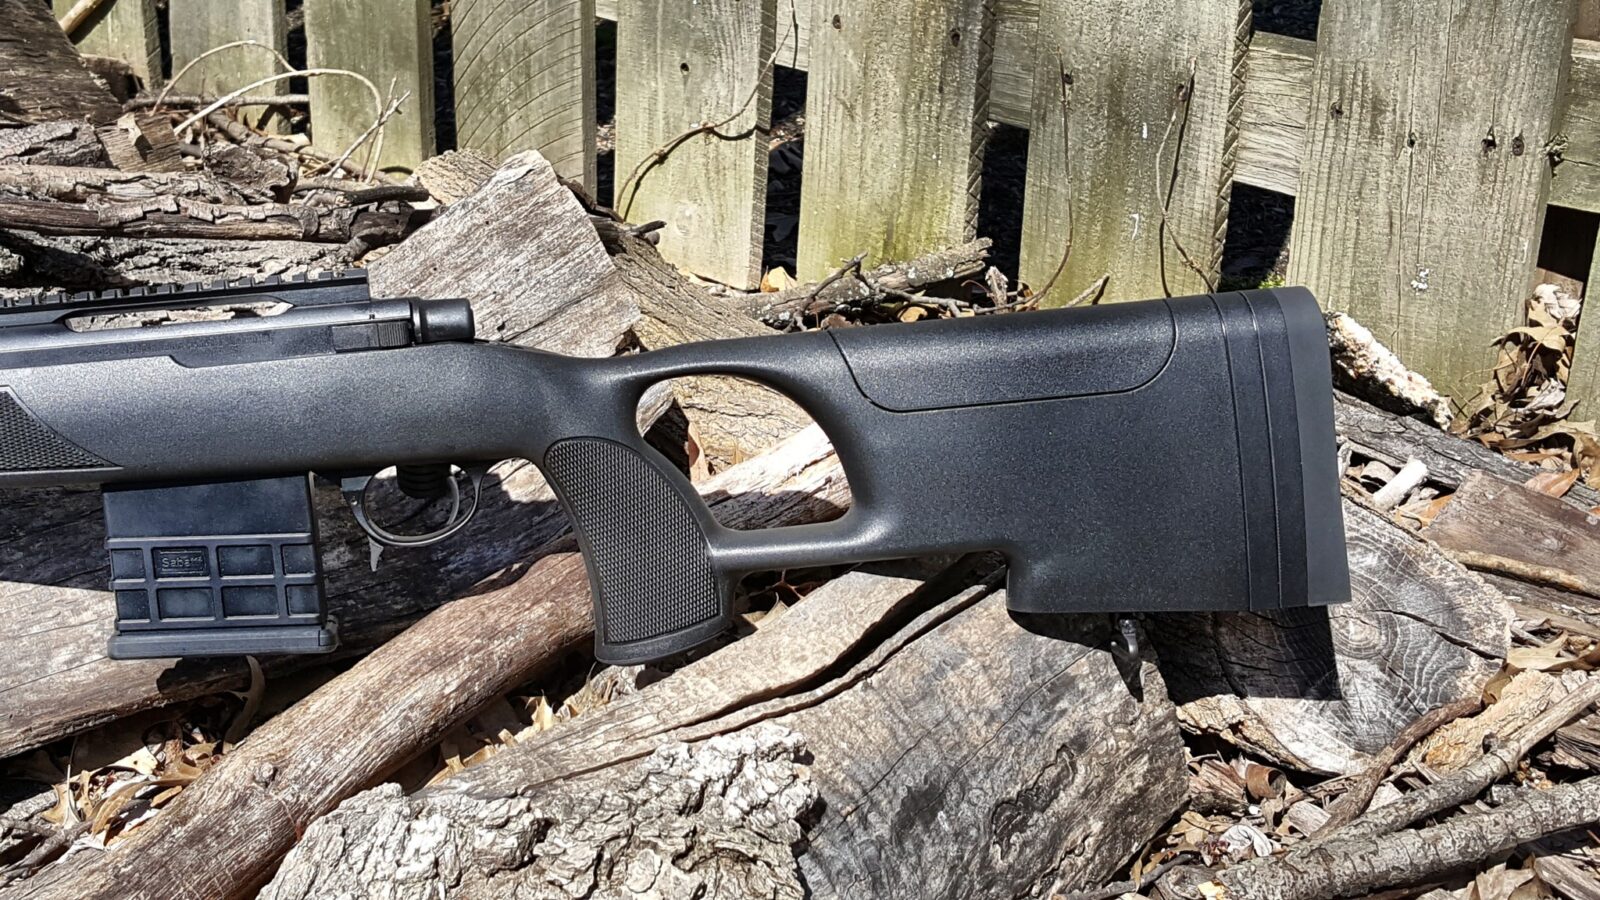
The glass reinforced nylon stock caught my eye right away. I like polymer stocks and this is very well executed. There is a nice recoil pad and then two half-inch spacers that you can remove if so desired. The cheek piece allows for tall scopes. I found that I did not need to adjust it. I would recommend applying Vibra-Tite 213 VC-3 to these so they don’t shoot loose under recoil (Vibra-Tite stays flexible/gummy so it can be reused vs. many thread lockers being one time use).
Back to the stock, there is a comfortable hook for the supporting hand and the pistol grip is quite comfortable for me. Note, I wear XL sized gloves. Someone with small hands might find it too big. My bet is that if you wear at least a medium glove you will be ok.
Now, let’s look at the middle
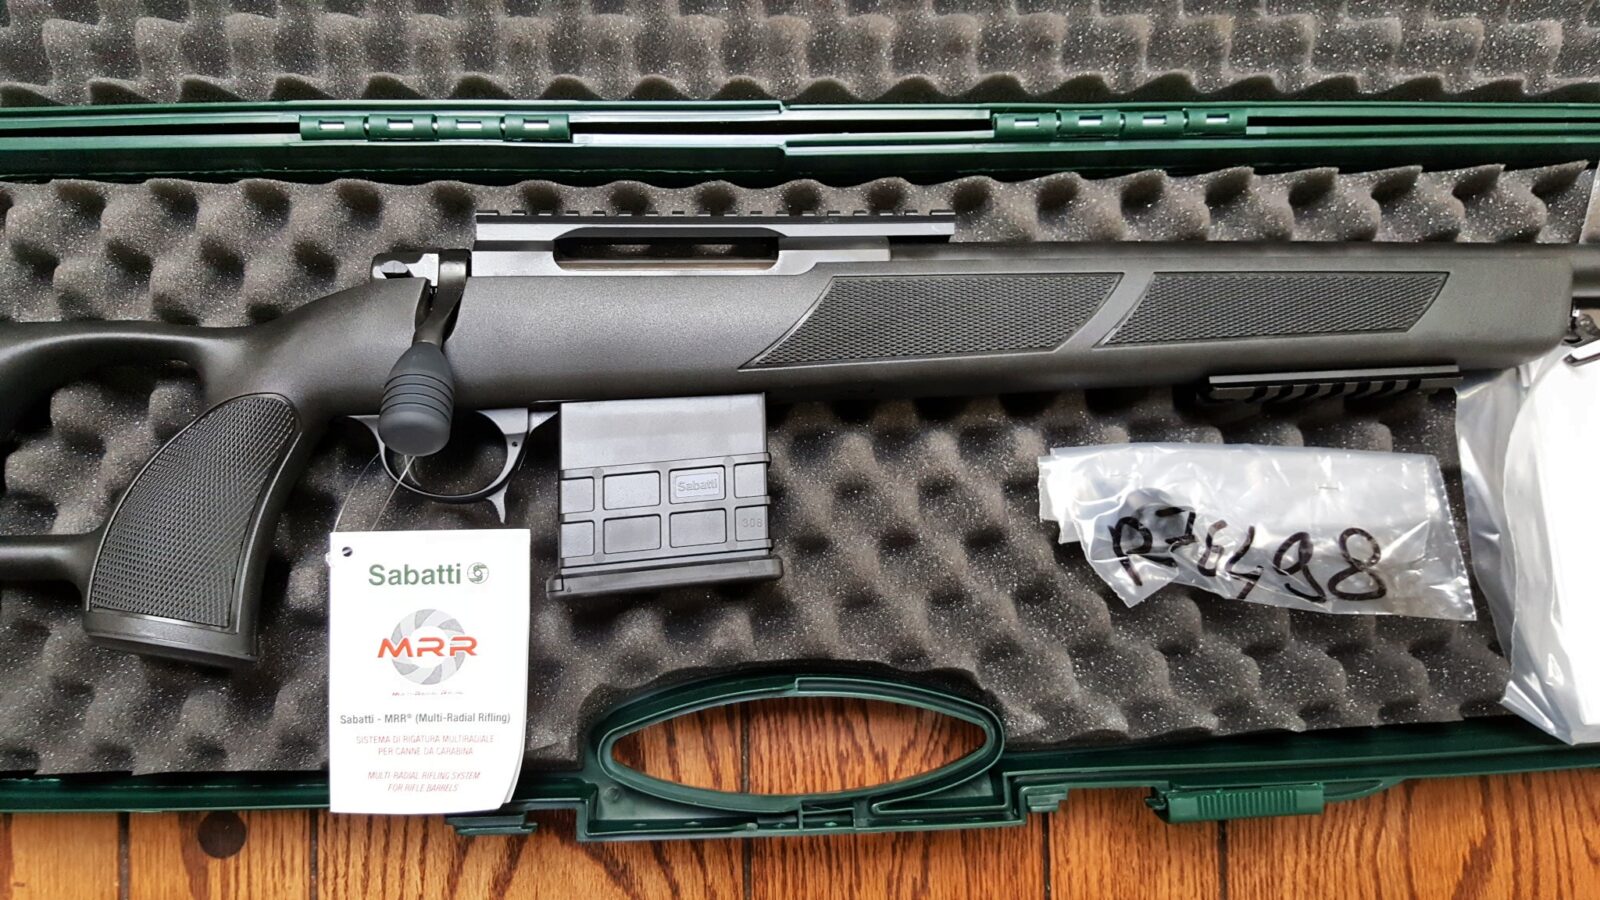
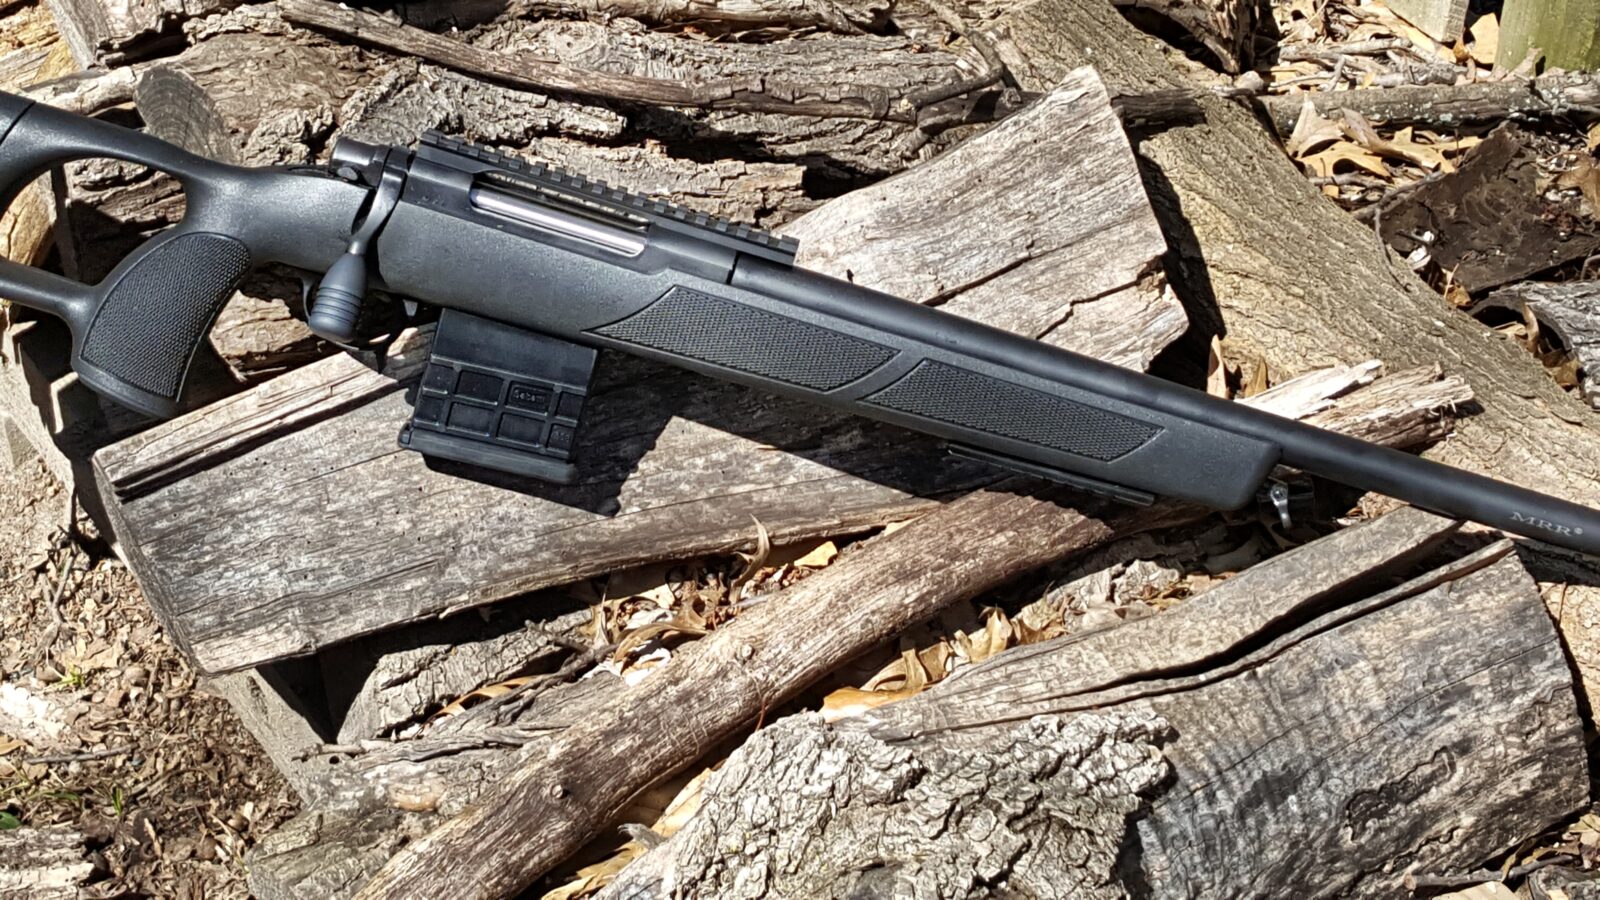
On top, the rifle comes with a Picatinny optics rail, which is great. The bolt has an oversize screw on knob. The trigger is crisp with very little travel. I used a Lyman digital trigger gauge and 15 consecutive pulls and it averaged about 3-1/8 pounds. The bolt release is on the other side and is a small lever you actuate to remove the bolt.
The magazine is an AICS pattern and a 10 round unit comes with the rifle. The magazine release is on the front of the trigger guard. I found it a bit awkward at first but got used to it.
You’ll note the lower Picatinny rail at the front ready for a bipod.
Let’s look at the front
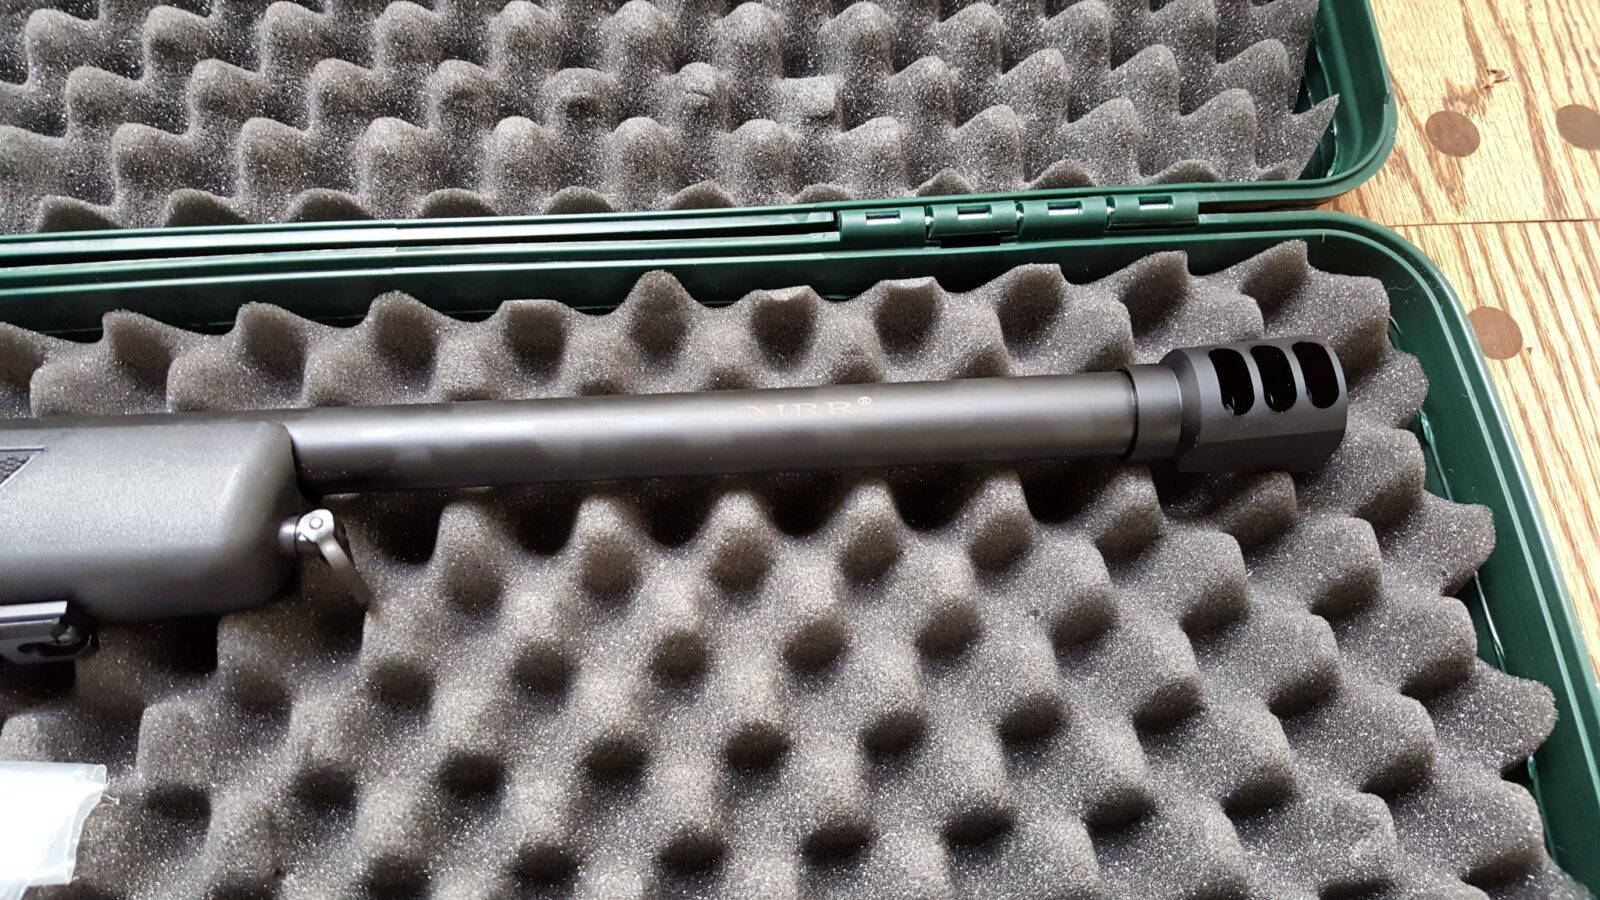
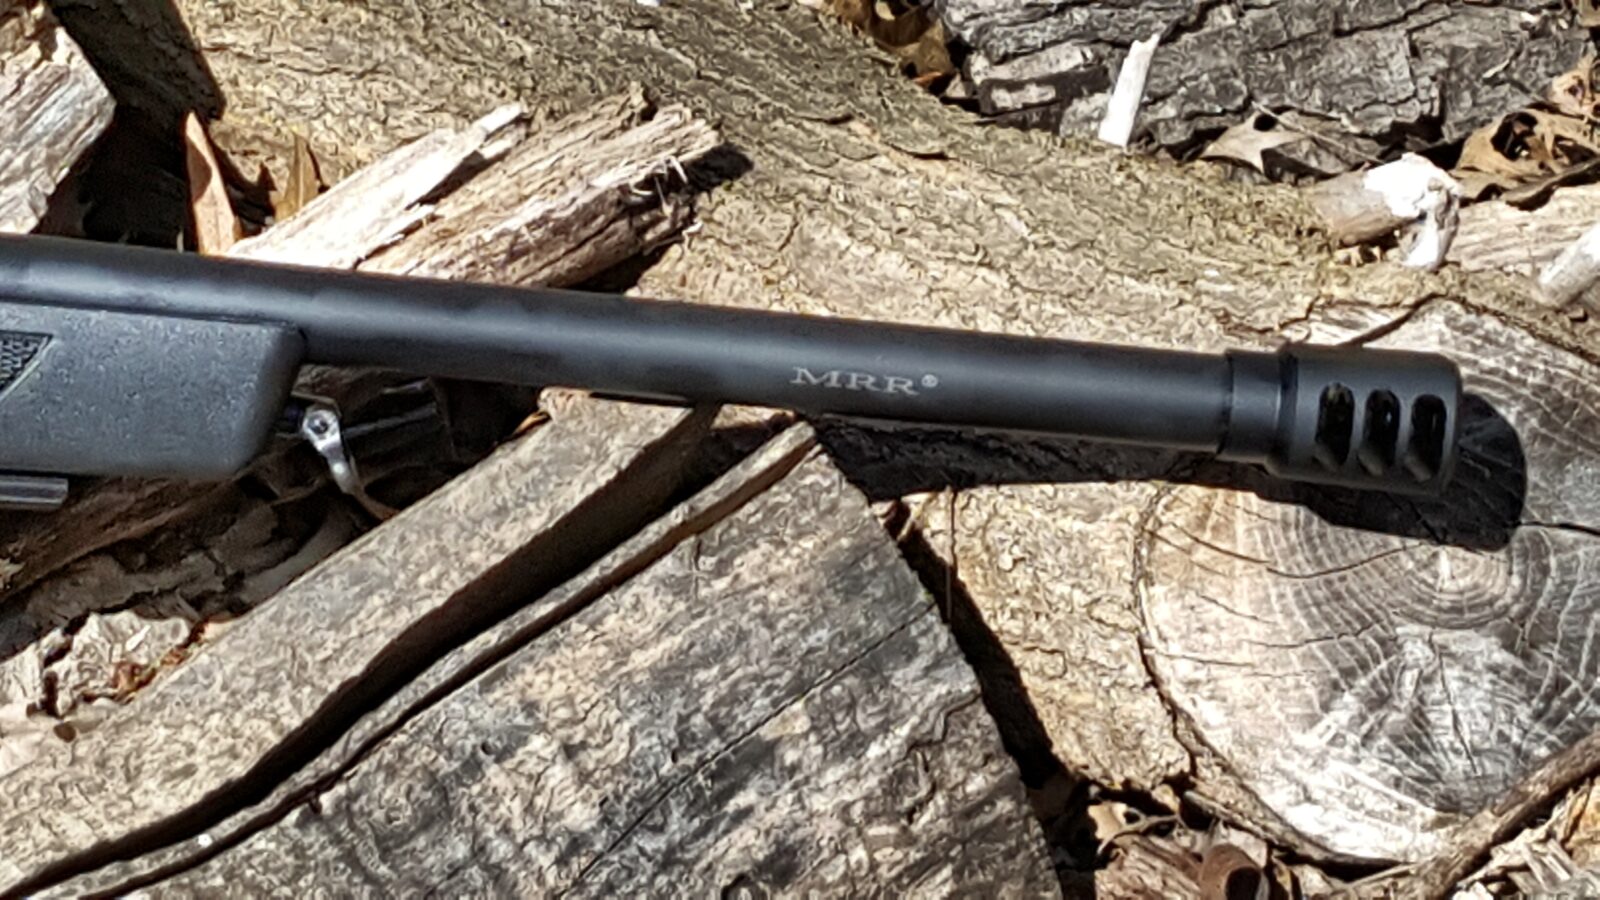
As you can see, it has a short thick bull barrel — it is 20.47″ (510mm) long and measures .86″ (22mm) at the muzzle. It has 1:11.5 twist rate and you can just make out the “MRR” logo for Multi Radial Rifling on the barrel.
I immediately had high expectations of it! The barrel is threaded 5/8″-24 and comes with a muzzle nut protector you can install if you would rather not have the brake. Let me jump ahead a bit, the weight and the brake really do a great job of controlling the .308’s recoil.
Last comment, note the front swing swivel that is out of the way of the rail. I thought that was a nice touch.
The Verdict?
I was very impressed to say the least. This rifle can be found on Gun Broker and other websites for under $1,200 and has an impressive list of features for the price.
It’s interesting that a 400+ year old Italian firearms company is relatively unknown in the United States. In the early 1700s, Mr. Ludovico Sabatti was making flint lock pistols and barrels. Subsequent generations developed specialized barrel making capabilities as well as other parts. It’s worth noting this history – they have been making barrels for four hundred years!!
Following WWII, Antonio Sabatti formed a partnershp with Giuseppe Tanfoglio to make hunting arms and began to build semi-automatic pistols in 1956. By 1960, the two parted ways and the children of Antonio Sabatti formed what would become Sabatti today based in Trompia, Italy.
Today, Sabatti makes a wide range of firearms for target shooting, hunting. upland game and competition plus some niche tactical rifles including the Urban Sniper that will be covered in this post.
Italian Firearms Group
Of course, when you have a foreign manufacturer such as Sabatti, you need an importer and that’s where the Italian Firearms Group (IFG) enters into the picture. IFG was created in 2014 and represents four respected Italian gunmakers – F.A.I.R, Sabatti, Pedersoli and FT Italia.
I spoke with Justin Dodd, IFG’s Chief of Operations about their philosophy. He related to be that the US partners came out of the oil field service industry where customer service meant everything. It is critical to them to bring “…unprecedented levels of customer service to this industry – something we felt the industry as a whole was lacking.” I think most of us can readily agree with Justin on that – the US firearms industry is not known for great customer service in general.
I asked him what brought Sabatti to their attention. It turns out that Sabatti and the other three gun makers listed above were looking to create a sales, service and support hub in the USA. For Justin personally, the double express rifles in 450/400, 450, 470 and 500 NE were the initial draw.
Of course, I had to ask Justin why the Sabatti name was not better known in the US. His reply struck me as very pragmatic – “The past few years have been spent making sure the guns met with the USA’s standards. Historically, they have done quite well with their rifles in Europe but the features on those rifles did not sit well with the US consumer. For example, we started threading muzzles, shortening barrels, adding more US styled features like bolt knobs, sling swivel cups, and switching to the new bottom metal / magazine system. Now that the guns are where we want them, the marketing push will begin.”
The Urban Sniper
What caught my eye was a product announcement for their Urban Sniper rifle. It is a relatively compact rifle at 41-3/4″ overall, is chambered in .308 and 6.5 Creedmor and claimed sub-MOA accuracy from a 20″ (510mm) barrel. They claimed to be using a proprietary rifling method known as “Multi Radial Rifling” (MRR). Sabatti also said it was intended for use within 400mm.
My very next thought was “what the heck is MRR”? So I started digging on the WWW and found numerous posts and attempts at explaining it. Justin finally helped me sort it out – imagine polygonal rifling but without the points – that gives you an idea now let’s look at a cross-section of a barrel in a photo Justin sent me:
To make a long story short, I bought an Urban Sniper in .308 because I have quite a bit of .308 match ammo to try it out including rounds from Federal and Remington.
One of the challenges when starting out working on guns is building your tool collection. It’s hard to find cost effective tools so you wind up making do with stuff, creating tools ad hoc, etc. Interestingly enough, this is where eBay just might help. While I’m not happy with their anti-gun position, there are a lot of tools that pop up there – ranging from low-end Chinese stuff all the way to some beautiful vintage tools.
So, I want to show some example searches with 20 live feeds from each section:
Gunsmith and Gunsmithing Tools
The trick is in the searching. For example, here are the top 20 matches for gunsmith tools or gunsmithing tools and you will probably see a mix:
Of course there are brands I will steer away from such as NCStar and others that I will look closer at such as Brownells, Lyman, Tipton, Weaver, etc. I also read the ratings of the seller. If a seller has a good rating and more than 30 sales, that’s a good sign. Less than that and you are taking a gamble.
Vintage Gunsmith Tools
“Vintage” seems to be a popular term for “used”. You tend to find a lot of unique stuff that was made by a gunsmith to fit a special need as well as high-quality tools that were made with care vs. mass produced. Be careful though. I’ll zoom into the photos as much as I can plus look at the seller’s description and the rating of the seller to try and decide if the tools are in good shape or beat to death.
Brownells has been around a long time — they were founded in 1939 and have always been known for their quality tools, parts and supplies to gunsmiths. Because they have been around for so long, you tend to see a fair amount of Brownells stuff hit eBay by name so that is worth searching. Still look at the photos closely and the seller’s rating to play it safe. By the way, if you have never read their Gunsmith Kinks books – be sure to pick them up.