Okay, once in a while I watch a video and my jaw drops. Larry Vickers visited Russia and got to shoot a new AK-107. Unfortunately, it’s unlikely we will ever get to see this amazing piece of engineering on this side of the pond thanks to politicians.
The AK-107 is a chambered in 5.45×39 and uses a novel balanced gas system and the AK designator does not mean Avtomat Kalashnikova as we are so used it. Instead, it means Alexandrov/Kalashnikov.
Larry dumped a 97 round magazine and I was stunned to see how little the rifle moved. That is some seriously controllable accurate firepower. The AK-107s rate of fire is rated at 850 rounds per minute and he dumped the drum!! Seriously – wow!!
Watch this video:
Just a parting comment – They also make an AK-108 in 5.56×45 NATO and a lesser known AK-109 in 7.62×39. I’m a huge fan of 7.62×39 and can only imagine what that round must be like coming from that mechanism – wow.
Here is the link to Larry’s book on AK rifles that he is selling directly and not through Amazon.
Wytwornia Broni Jacek Popinski (WBP) is a privately owned firearm manufacturer located in Rogów, Poland. Some folks assume it is the old government Radom armory with a different name but it is not.
In the US, we know about WBP because of the efforts of Arms of America (AoA) to import high quality Polish AK kits and, recently, firearms. I ordered my first kit from AoA a tad over a year ago and ordered a number of other things from them including a demilled Radom kit that I want to build this Winter.
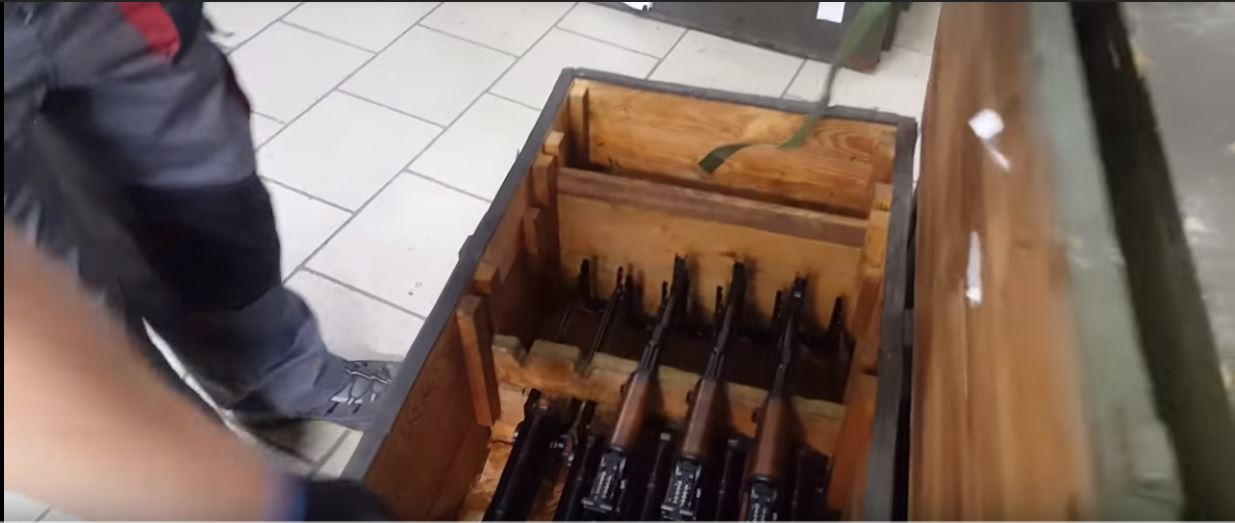
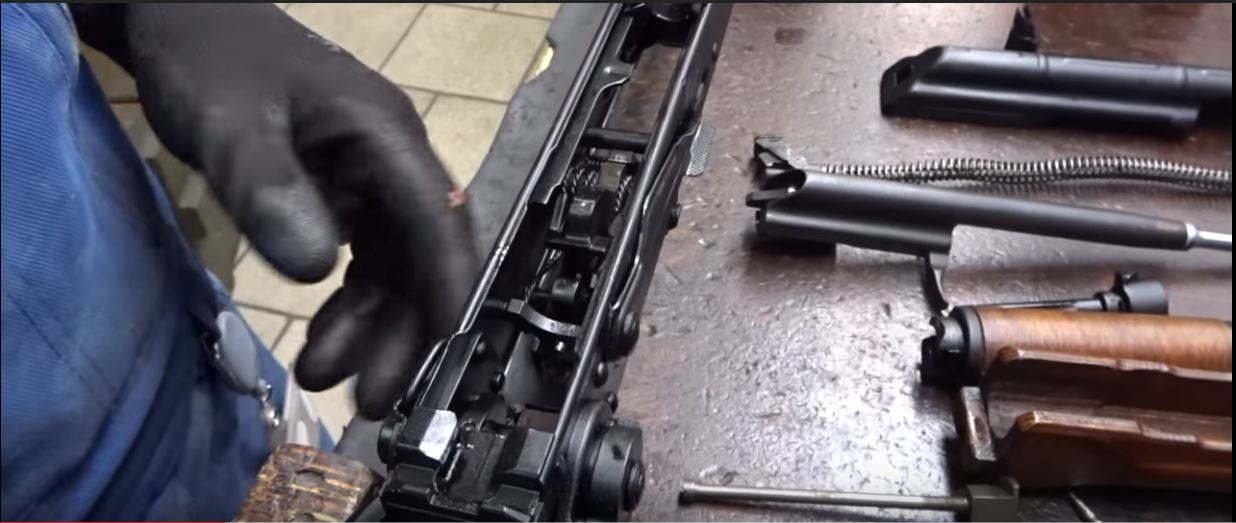
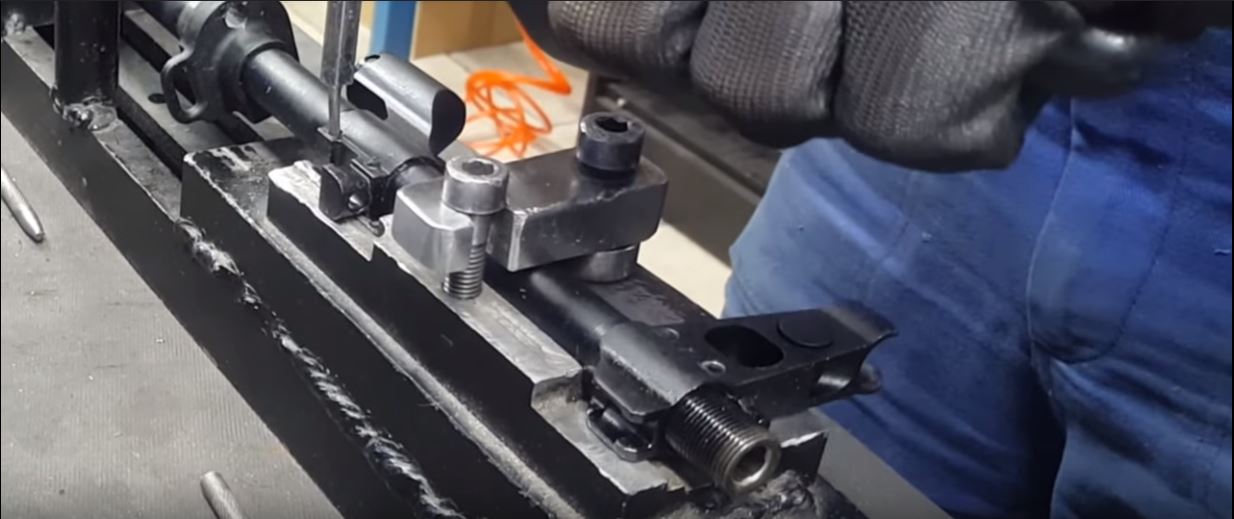
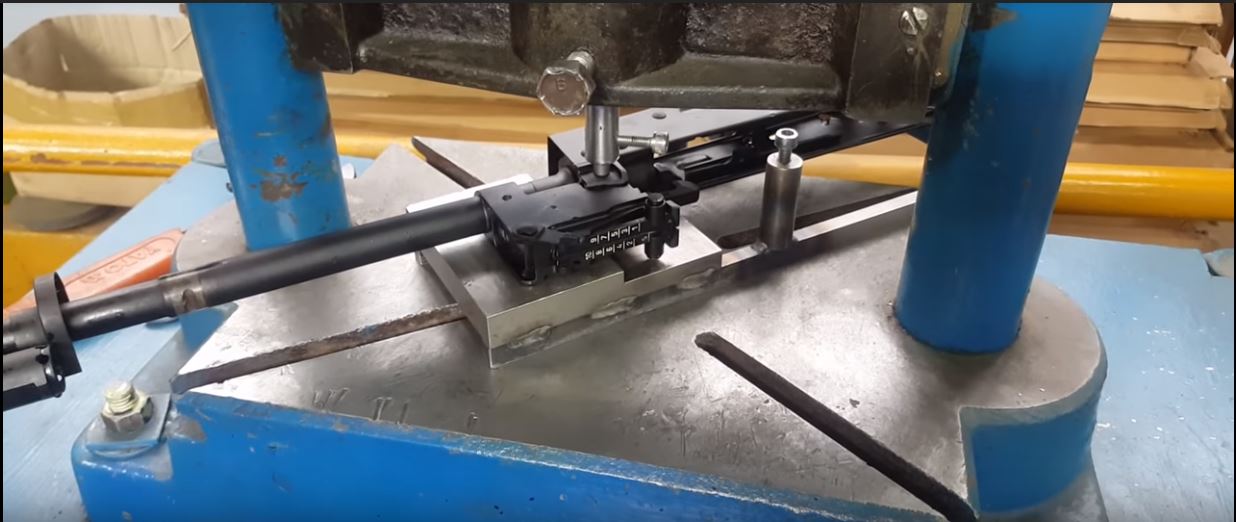
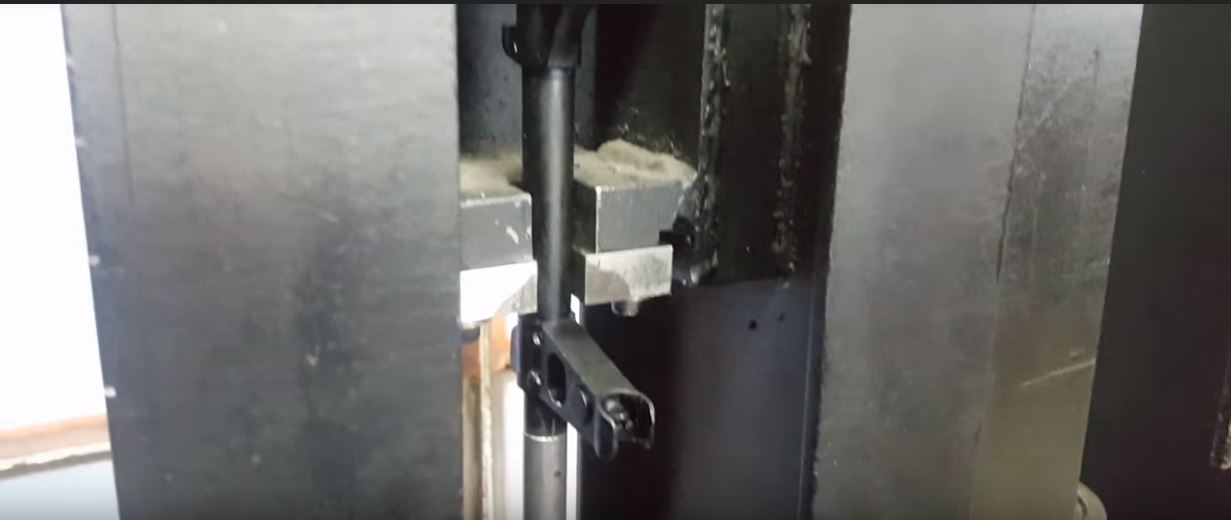
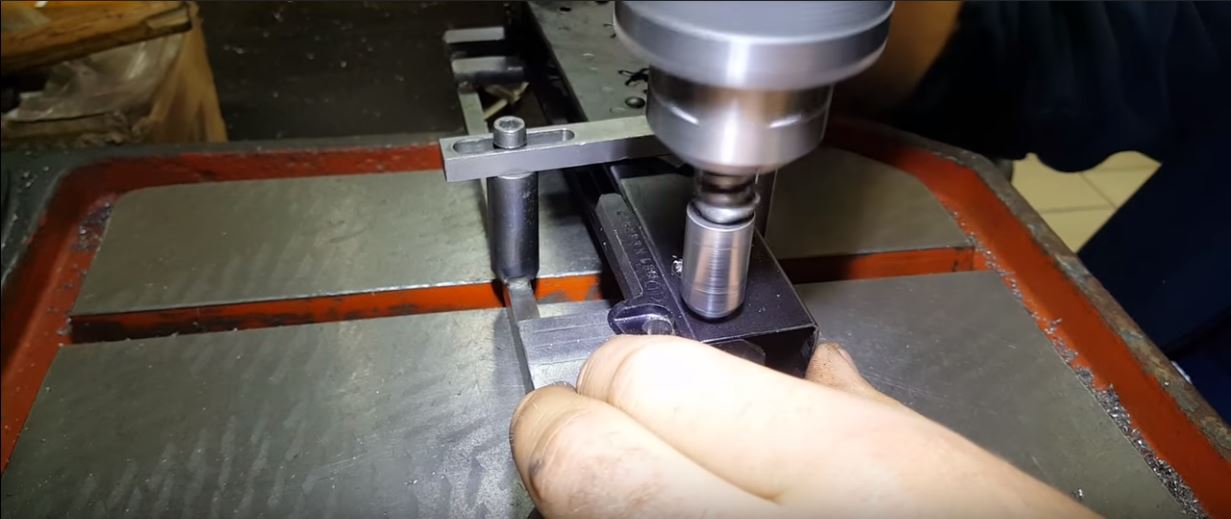
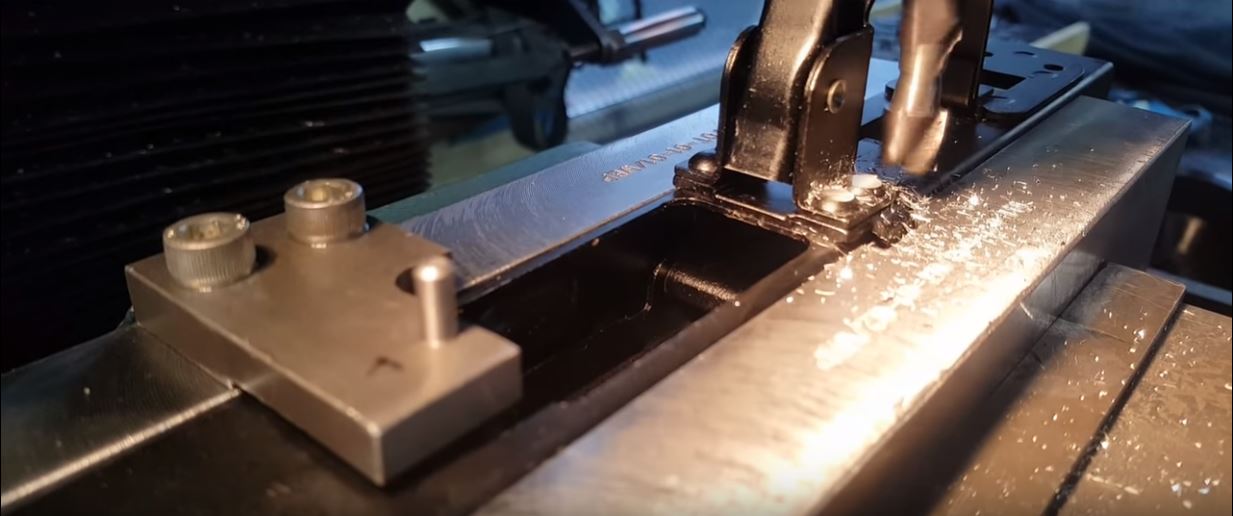
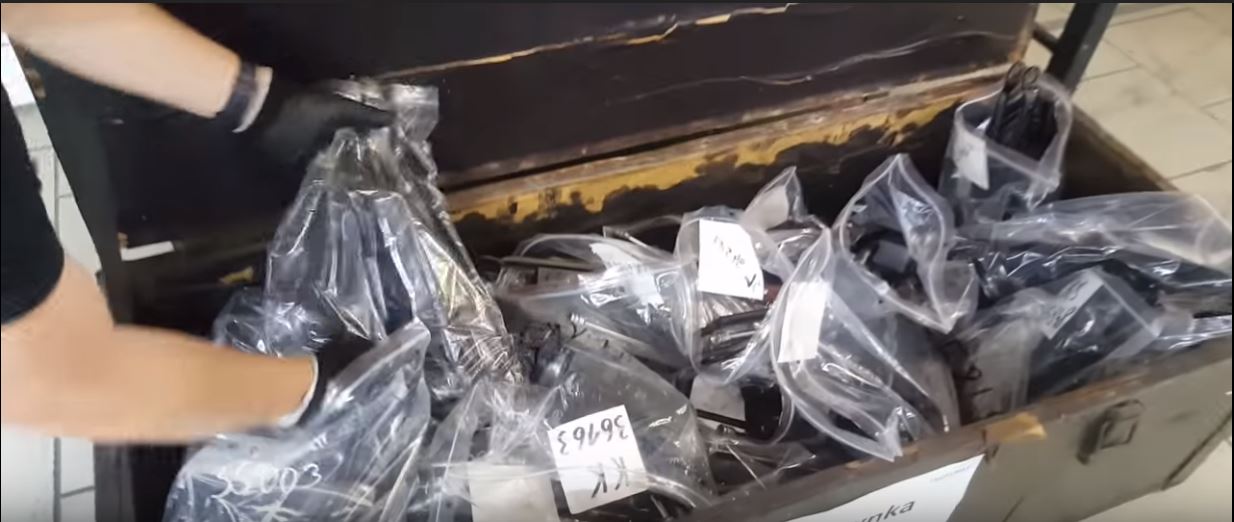
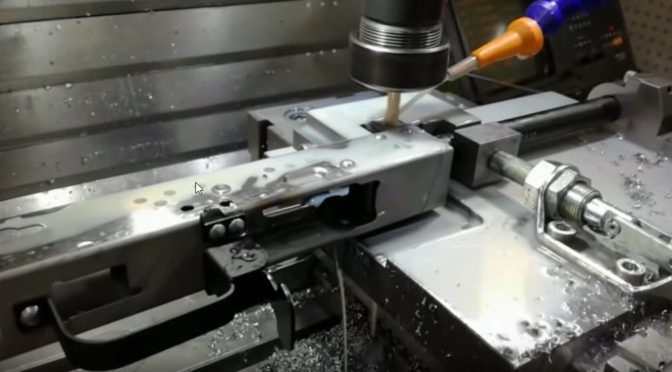
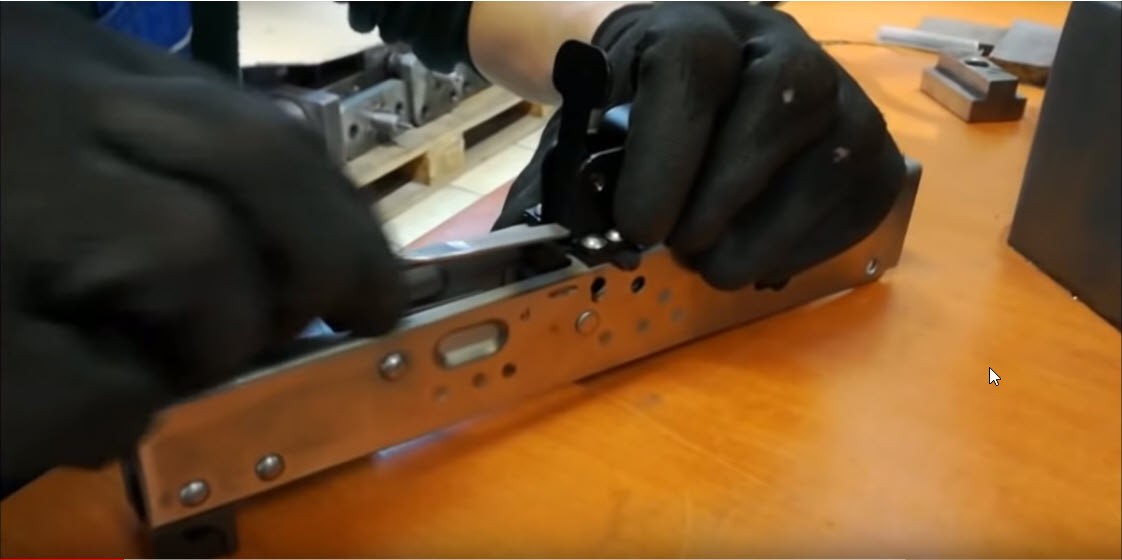
In usual form, I was surfing around and found this video that WBP had posted showing them demilling a Circle 11 underfolder. Part of me is always sad to see one of these fine guns being cut up just to enable importation into the US but another part of me is also happy because at least this way we get to enjoy them.
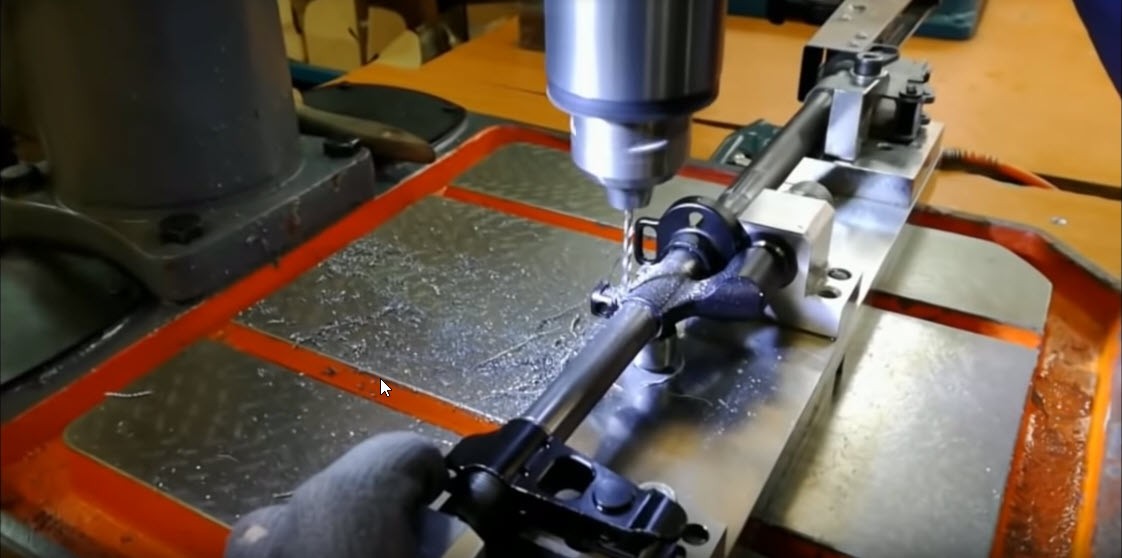
This is a brief video and I was pretty intrigued towards the end watching how they remove the blocks from the barrel and drilled out the rivets. Having demilled a lot of kits in the past, I’ve always found the rivets to be tedious.
Here’s the brief video that’s just under 10 minutes and I hope you enjoy it:
Palmetto State Armory (PSA) has a stunning array of Kalashnikov firearms now. AK-47s, AK74s, 100 series, rifles, pistols … it’s impressive. Click here to go to their main AK menu.
Please note that all images were extracted from the video and remain the property of their respective owner(s).
I’m more knowledgeable about the Soviet AK-47 than I am the German Sturmgewehr 44 (StG 44). The main reason I even known about the StG 44 is from reading about it in books that cited it as being an inspiration to Mikhail Kalashnikov and his design team. But was it really – I’ve heard some heated debates about this.
I had some time and watched this brief video where Ian McCollum of Forgotten Weapons has a Chinese Type 56 sitting next to a StG 44 as he talks. They were both on loan from the James D. Julia auction company.
Ian gave a very interesting perspective that the AK-47 was essentially designed as a more powerful replacement for the Soviet’s PPS-43 that fired the 7.62×25 Tokarev pistol round.
In constrast, the Germans were wanting a controllable automatic fire weapon that would increase the firepower of soldiers especially during tactical withdrawals. They had the German 7.92×57 bolt action K98 and the famous MG42 belt fed machine gun also in 7.92×57 but they needed something different hence the StG 44.
Now, I have no doubt Kalashnikov and his design team got ideas from the StG 44. Any good engineer would take an existing design and learn from it. The Soviets needed to build up a hero so there is a lot of myth mixed in with history so I am not sure where to draw the line myself.
The video shows you the two rifles and actually shows live firing of the two so you can see how the StG 44 was actually more controllable. I thought this was really cool because the slow motion really shows the difference.
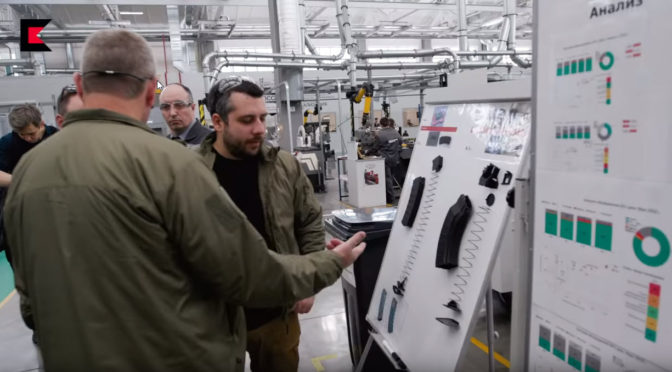
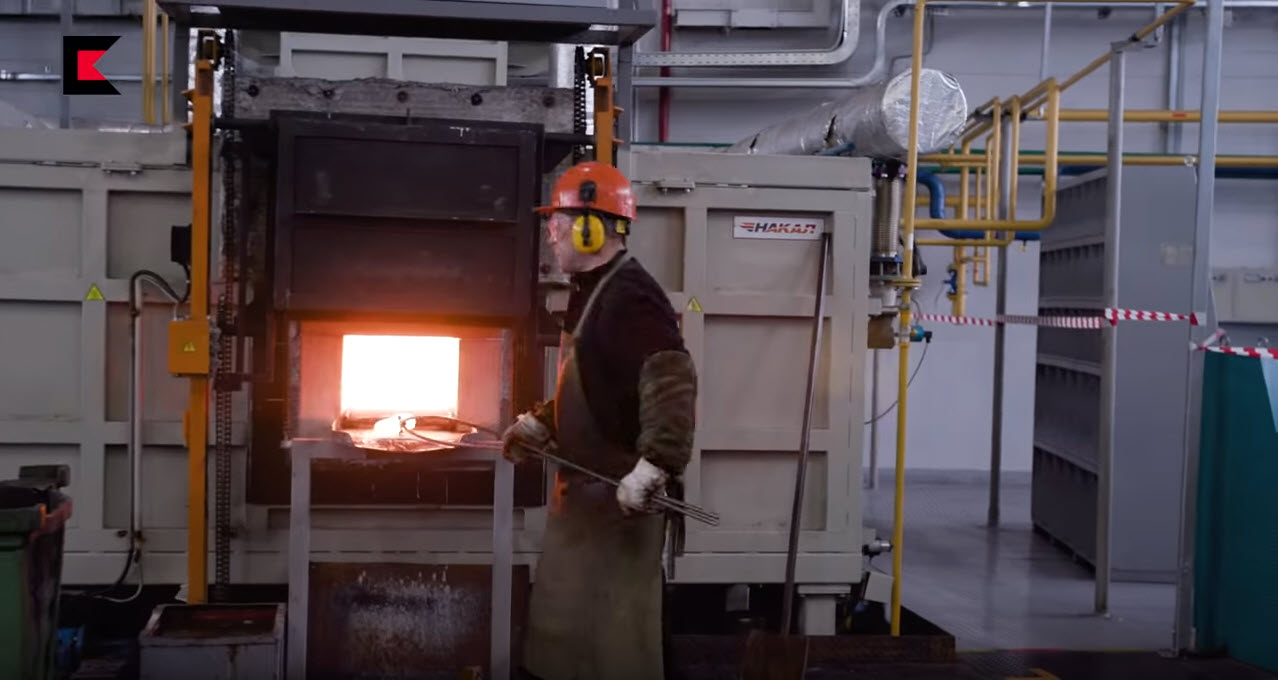
In April 2018, Larry Vickers visited the Kalashnikov Concern factory in Izhvesk, Russia. Given that armory was established on the orders of Russian emperor Alexander I in June 1807 plus most Westerners having mental images of antiquated machines and dimly lit dirty facilities, one might make some very, very wrong assumptions about the modern JSC Kalashnikov Concern.
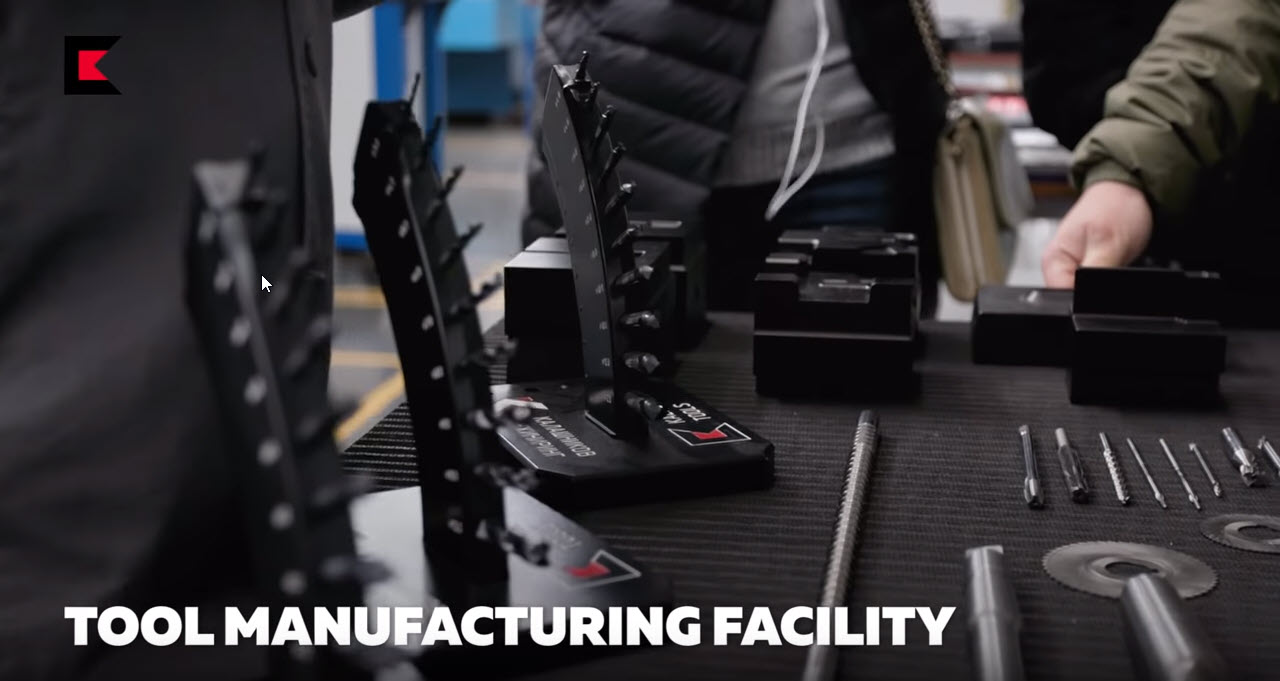
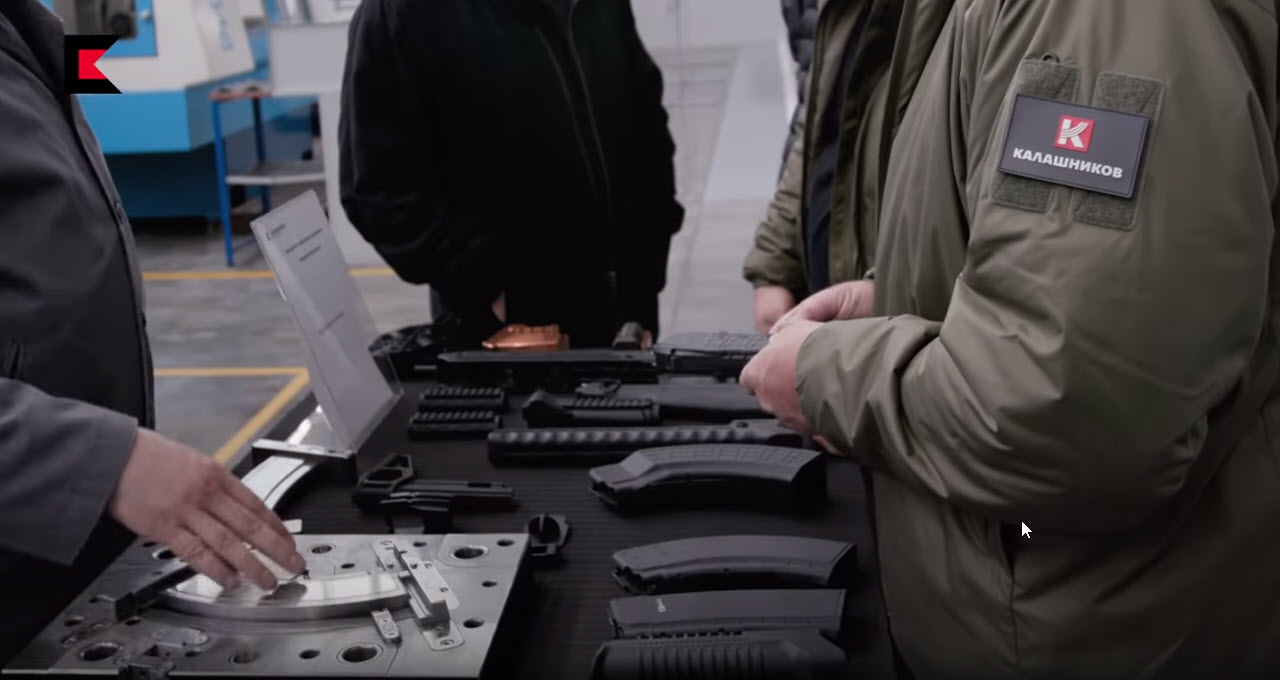
The very modern Kalashnikov Concern facility is brightly lit, clean and using world class machines. I thought it was interesting seeing all the quality boards and neatly arranged tooling.
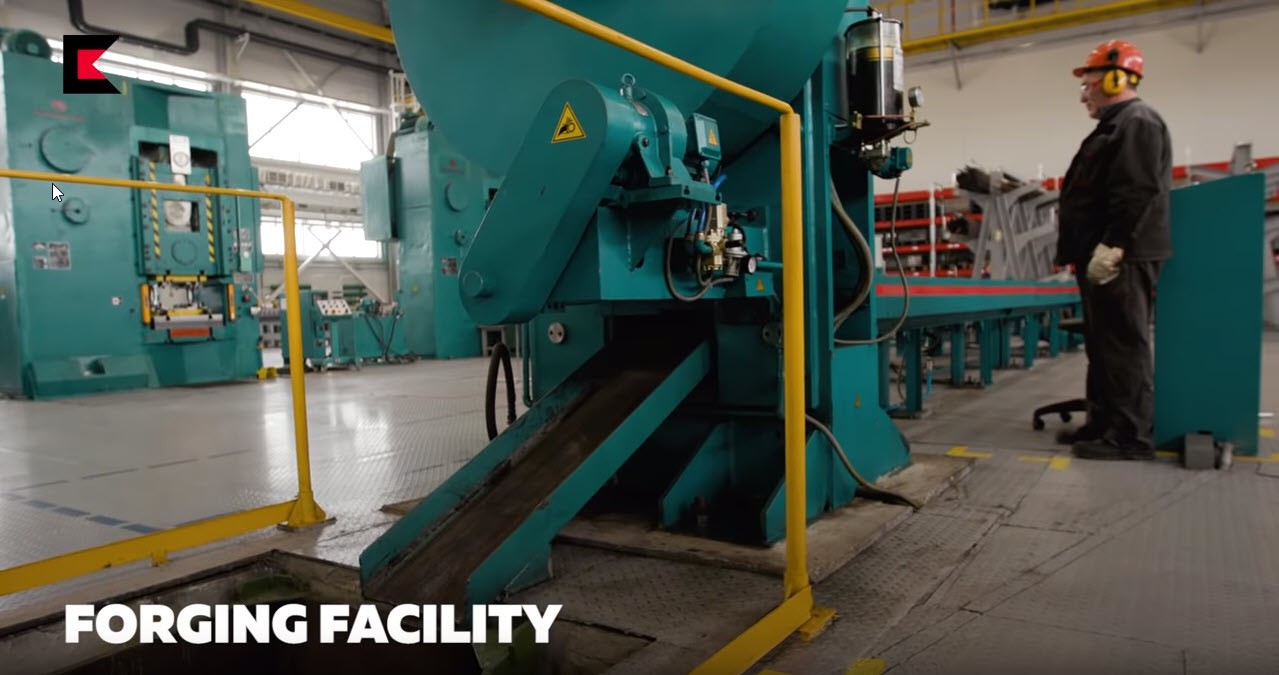
Also worth noting was Larry’s observation that with many AK manufacturers trying unsuccessfully to product cast trunnions and bolts that Kalashikov still forges those parts and there is a reason for it – durability.
At any rate, it’s a cool but brief 6 minute video.
Here is the link to Larry’s book on AK rifles that he is selling directly and not through Amazon.
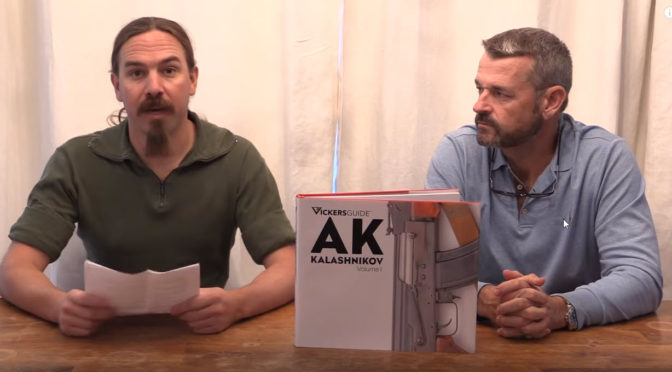
Two guys I really respect, Ian McCollum of Forgotten Weapons and Larry Vickers discuss the history of the AK-47 and also show Larry’s new book on AK rifles. They cover a ton of information through questions submitted by Ian’s followers. For people into the history of the Kalashnikov rifle, this is well worth your time.
Here is the link to Larry’s book that he is selling direction and not through Amazon.
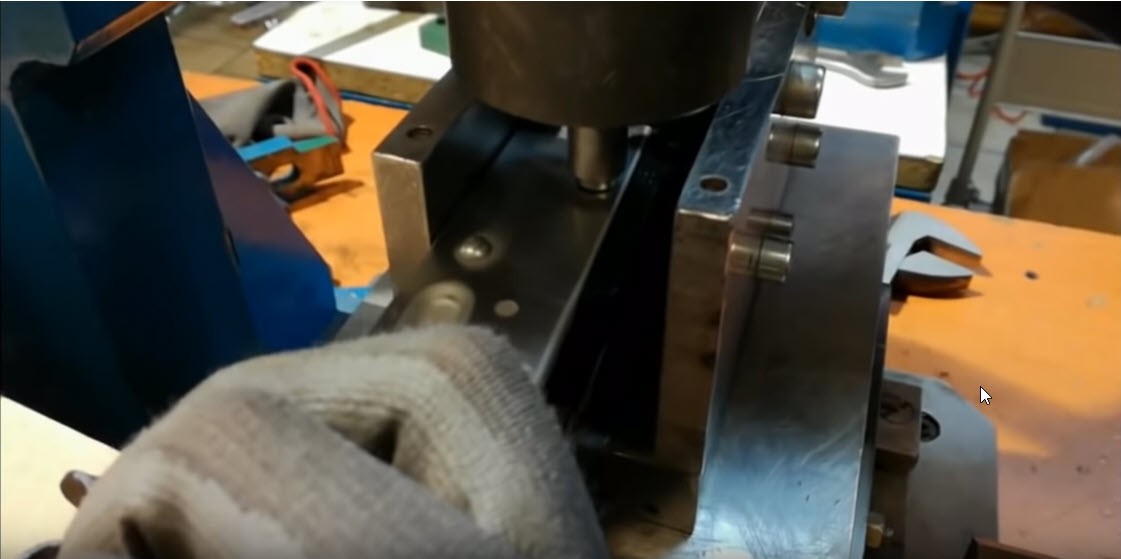
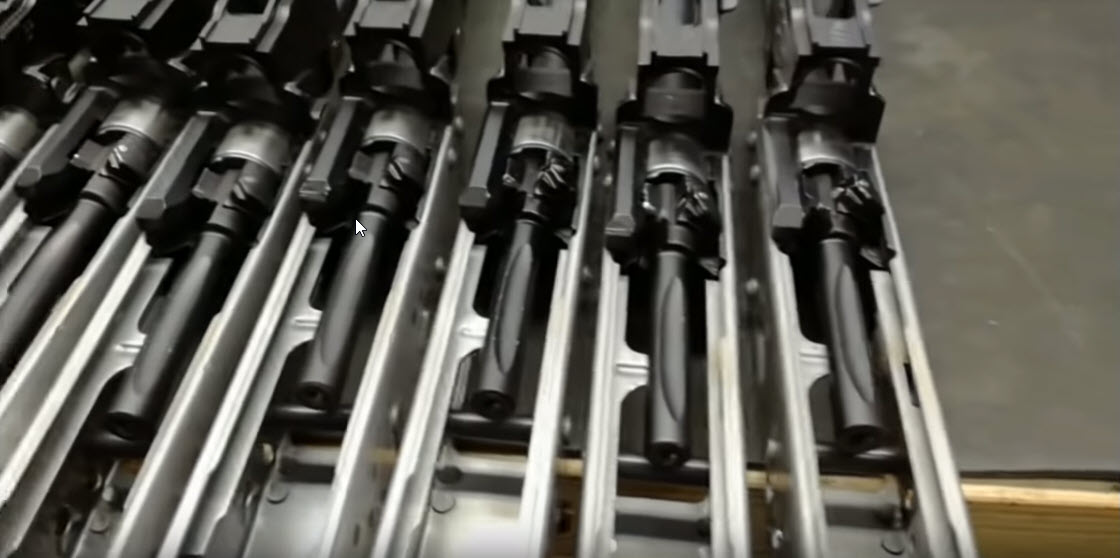
This past Spring I built a Polish Beryl inspired rifle from a WBP kit imported by Arms of America and was very impressed by the quality. I was surfing around on Youtube and ran into this really cool video posted by WBP Rogow showing how they build an AK. I found all the specialized tooling fascinating and was also a bit surprised by the amount of hand fitting – they are putting some craftsmanship into those rifles.
So, I would highly recommend you watch this video if you are considering buying one of the imported Polish WBP rifles or pistols, one of their kits or you are just interested in how AKs are built in general.
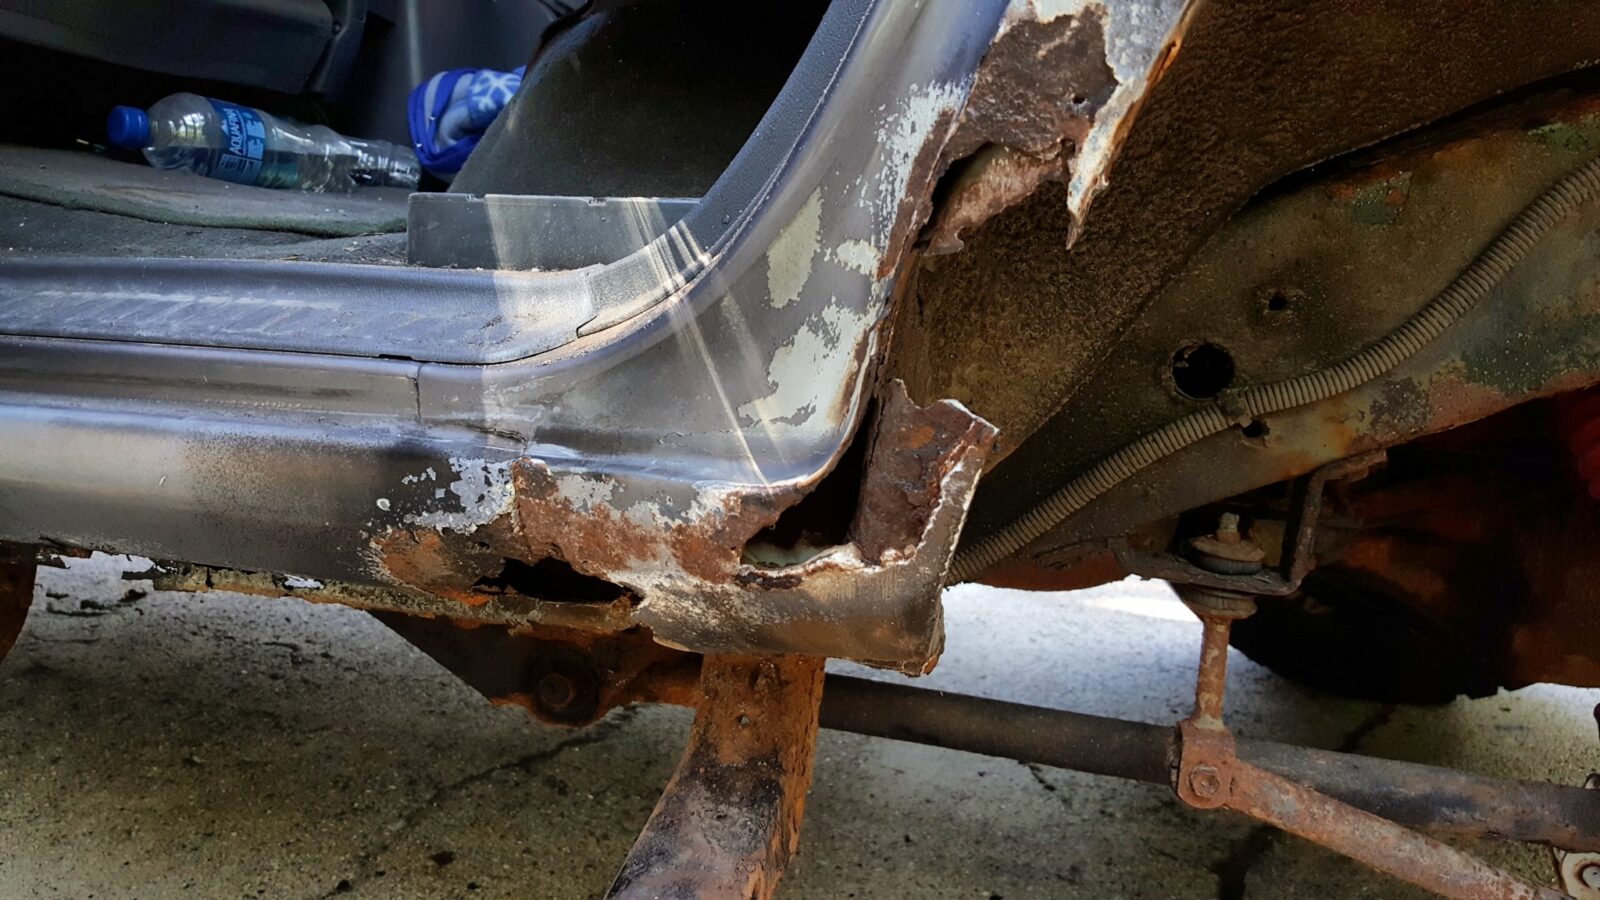
One of the things you learn in Michigan when you have to work on cars is how to deal with rust. Most cars after 10 years in Michigan look like they were dipped in the ocean and then allowed to rust like crazy. It’s pretty much inevitable. The older the car the worst shape they will be in. This year while working on my 1996 Landcruiser I decided to invest in a needle scaler to go faster and save my hands.
Historically, I would use chisels, screw drivers and wire brushes to remove loose rust from part still on the car. This was time consuming, my carpal tunnel would flare up and my hands would ache.
A friend helping restore an old submarine told me about how he bought a needle scaler to help remove rust faster, I had never seen one at the time and filed it away for future reference. One day in Harbor Freight I finally saw one but I really wasn’t keen on buying one of their tools. I’ve had one too many HF tools die at the wrong time and have slowly moved away from them for most tools.
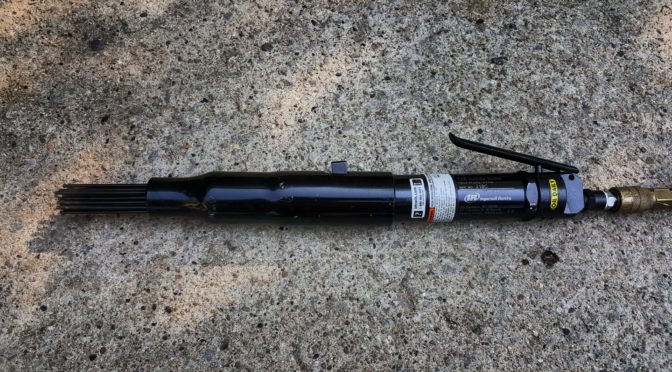
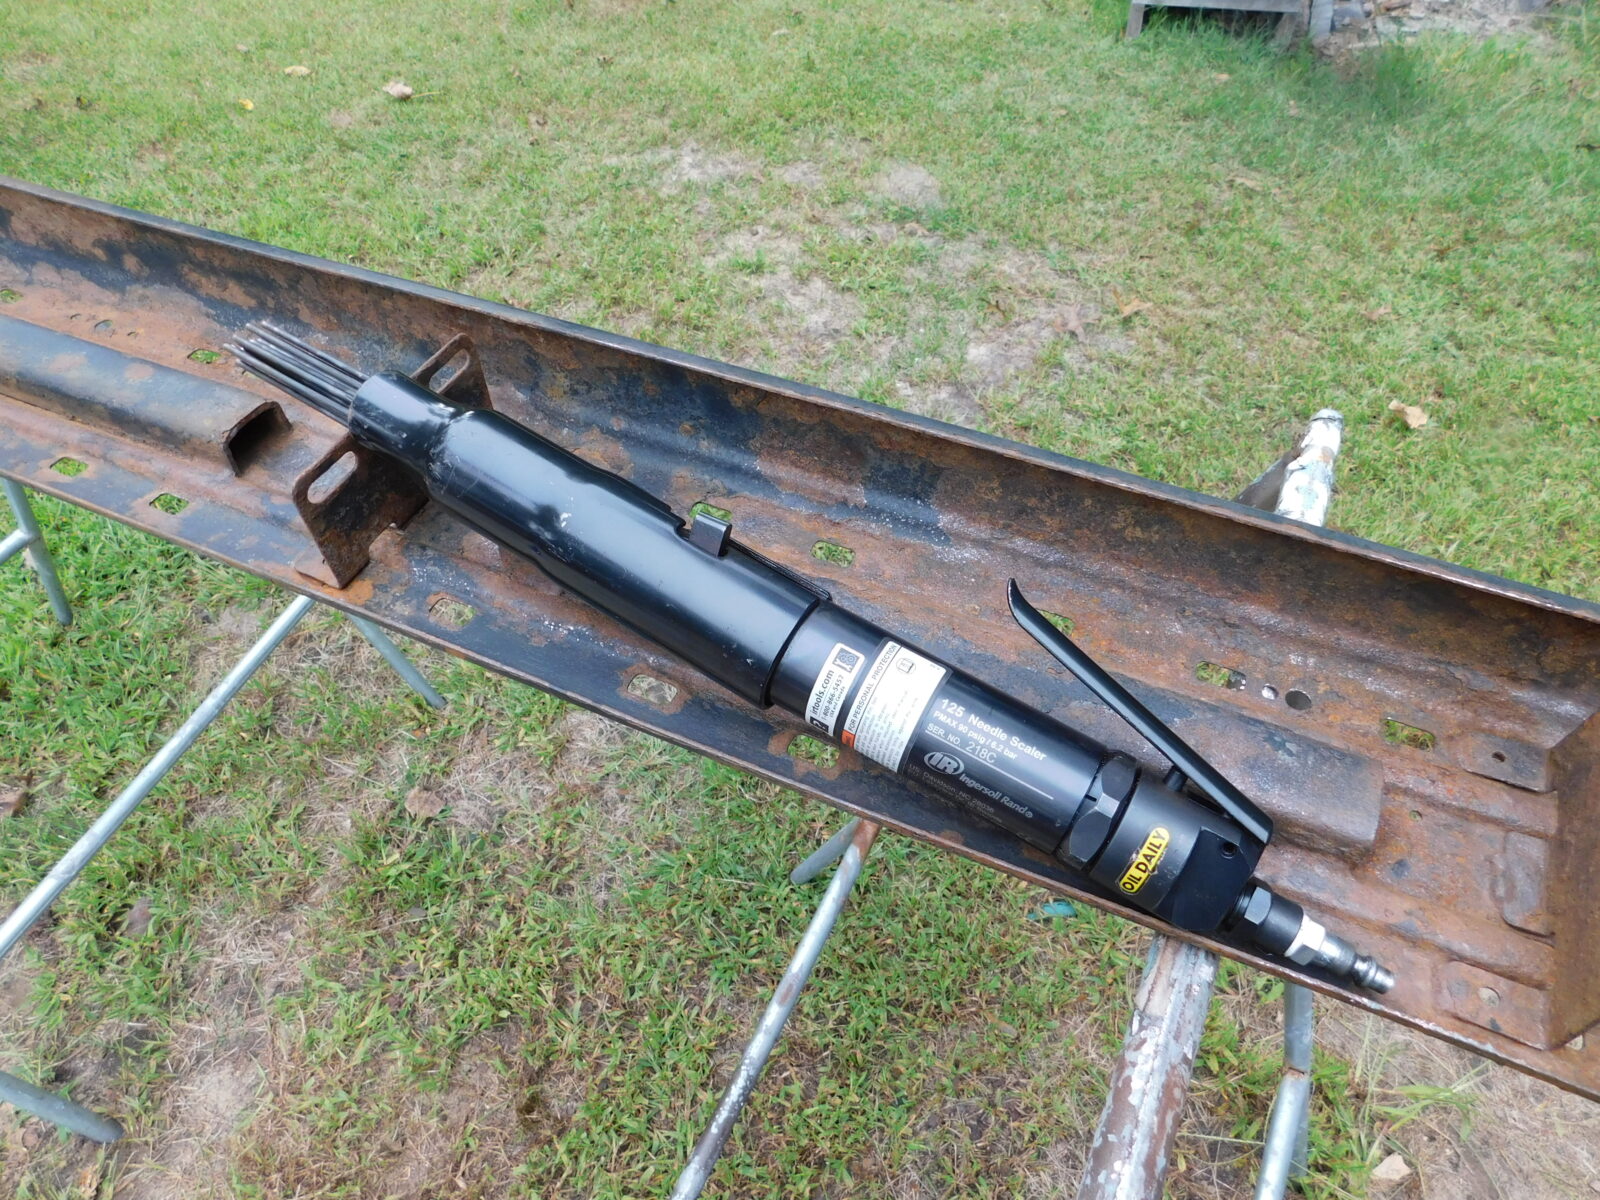
At any rate, I like Ingersoll Rand air tools and read up on their model 125 needle scaler. It has 4.5 stars out of 5 stars on Amazon with 73 reviews. So I read up more about it.
It generates 4,600 blows per minute using 15 CFM at 90 PSI. It has a rubber seal on its throttle to reduce leaking and you can disassemble the unit to clean or replace needles without tools. To stress that next to the last point – you can buy replacement needle packs for the unit.
So, I took the leap and ordered one from Amazon.com and it showed up in two days courtesty of Amazon Prime. My wife now grills me when Amazon boxes show up 🙂
Out of the Box
It arrived fully assembled both longer (about 12″ without the quick coupler fitting) and also heavier than I expected at about 6.8 pounds, also without the coupler.
The first thing I did was install a quality Milton quick connect male plug. These are case hardened steel and not soft brass like you find at Harbor Freight and the big box discount retailers like Home Depot and Lowes. I swear by Milton now because I haven’t had one fail yet (I’m sure they will eventually) but I have replaced countless Harbor Freight, Home Depot and Lowes air fittings over the years.
I also use quality PTFE/Teflon tape. I’ve also given up on the cheap tape. Ace brand tape is pretty good and lately I’ve been using this AntiSieze Technologies brand heavy duty tape and really prefer it.
Taking it Apart
There apparently is a secret society of air needlers who protect the world from very much information being given about these tools. I kid you not, 90% of the manual is legal disclaimers, safety notices and useless boiler plate. I am seeing this trend over and over with the tool companies.
Since I can’t point you to a page, let me try and explain. At the end of the day, an air needler is an impact tool. Inside the body is a 1″ piston that is driving an “anvil” up against the base of the needles 4,600 times per minute. It’s pretty much what you would expect to see if you pulled apart an air hammer except the body is a straight line vs. a pistol-like configuration.
Why is it long? My guess is that it helps the unit get into tight spaces by reaching further.
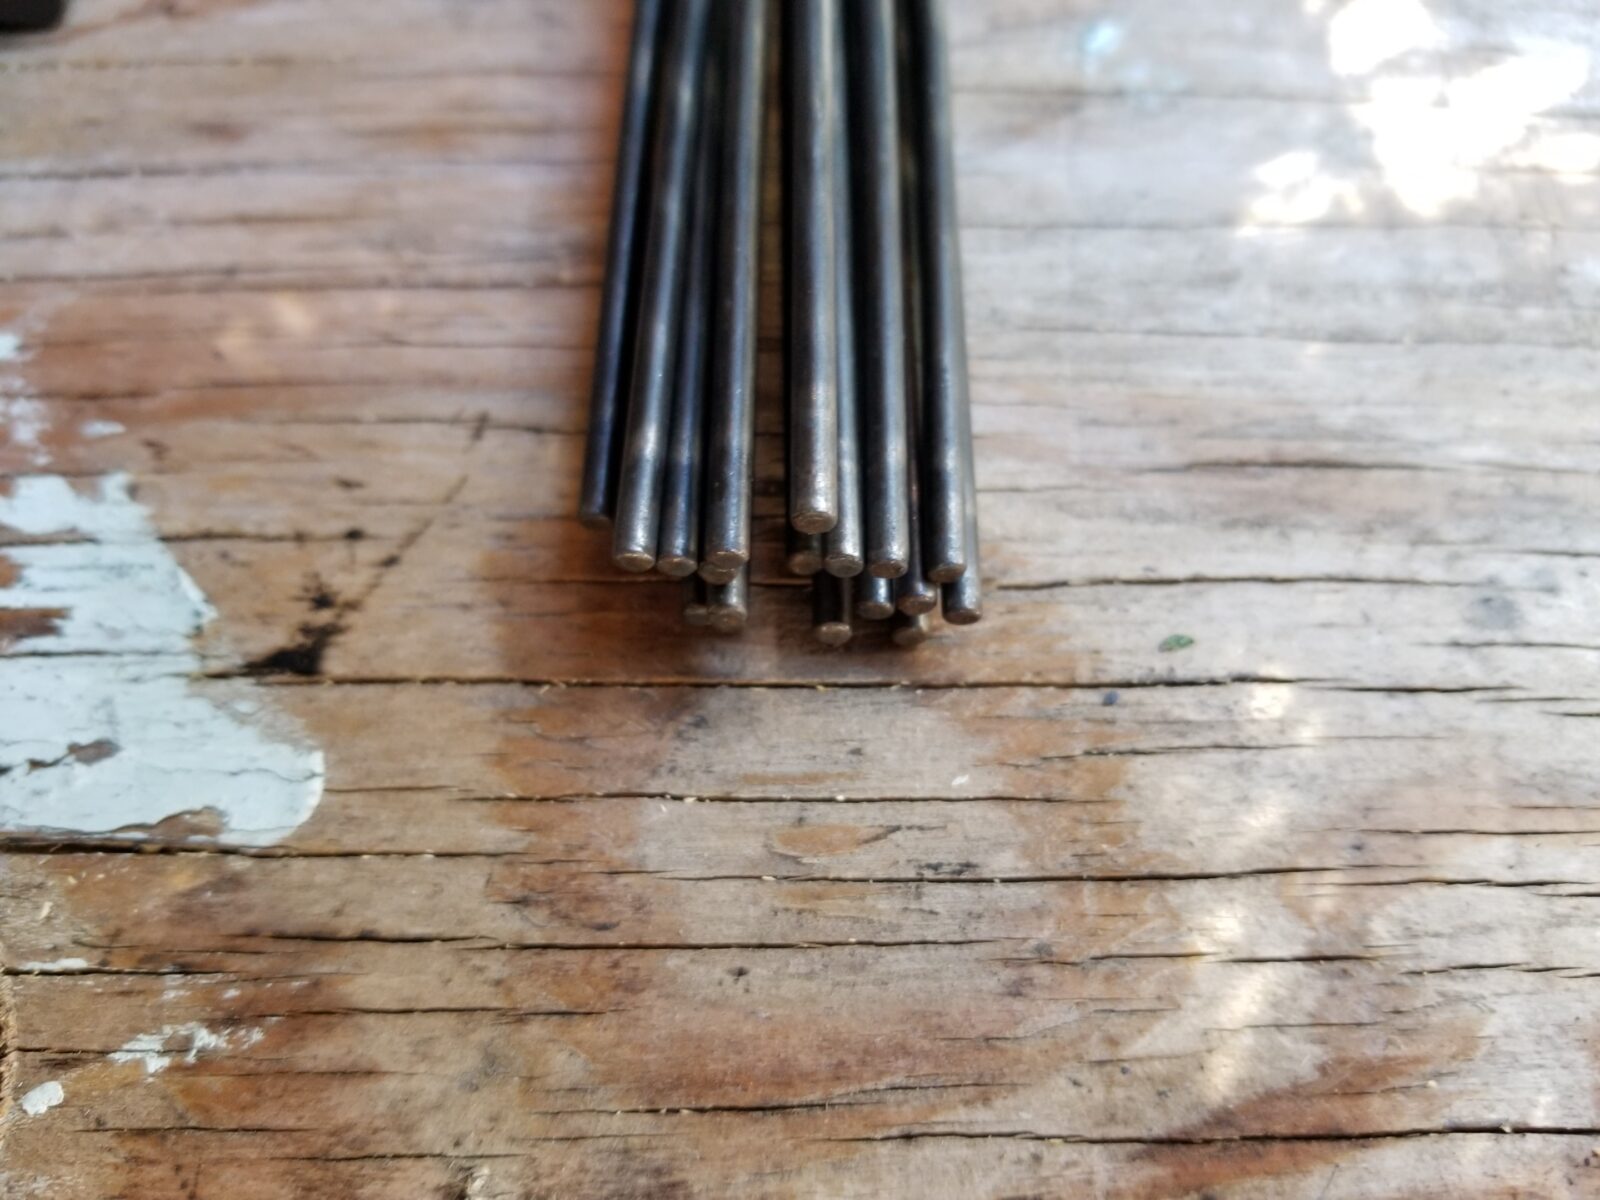
Now, the needles are really 1/8″ diameter hardened steel rods. These “needles” are really good at getting under rust flakes and popping them up and off the steel surface. It’s a loud tool but it does its job amazingly well.
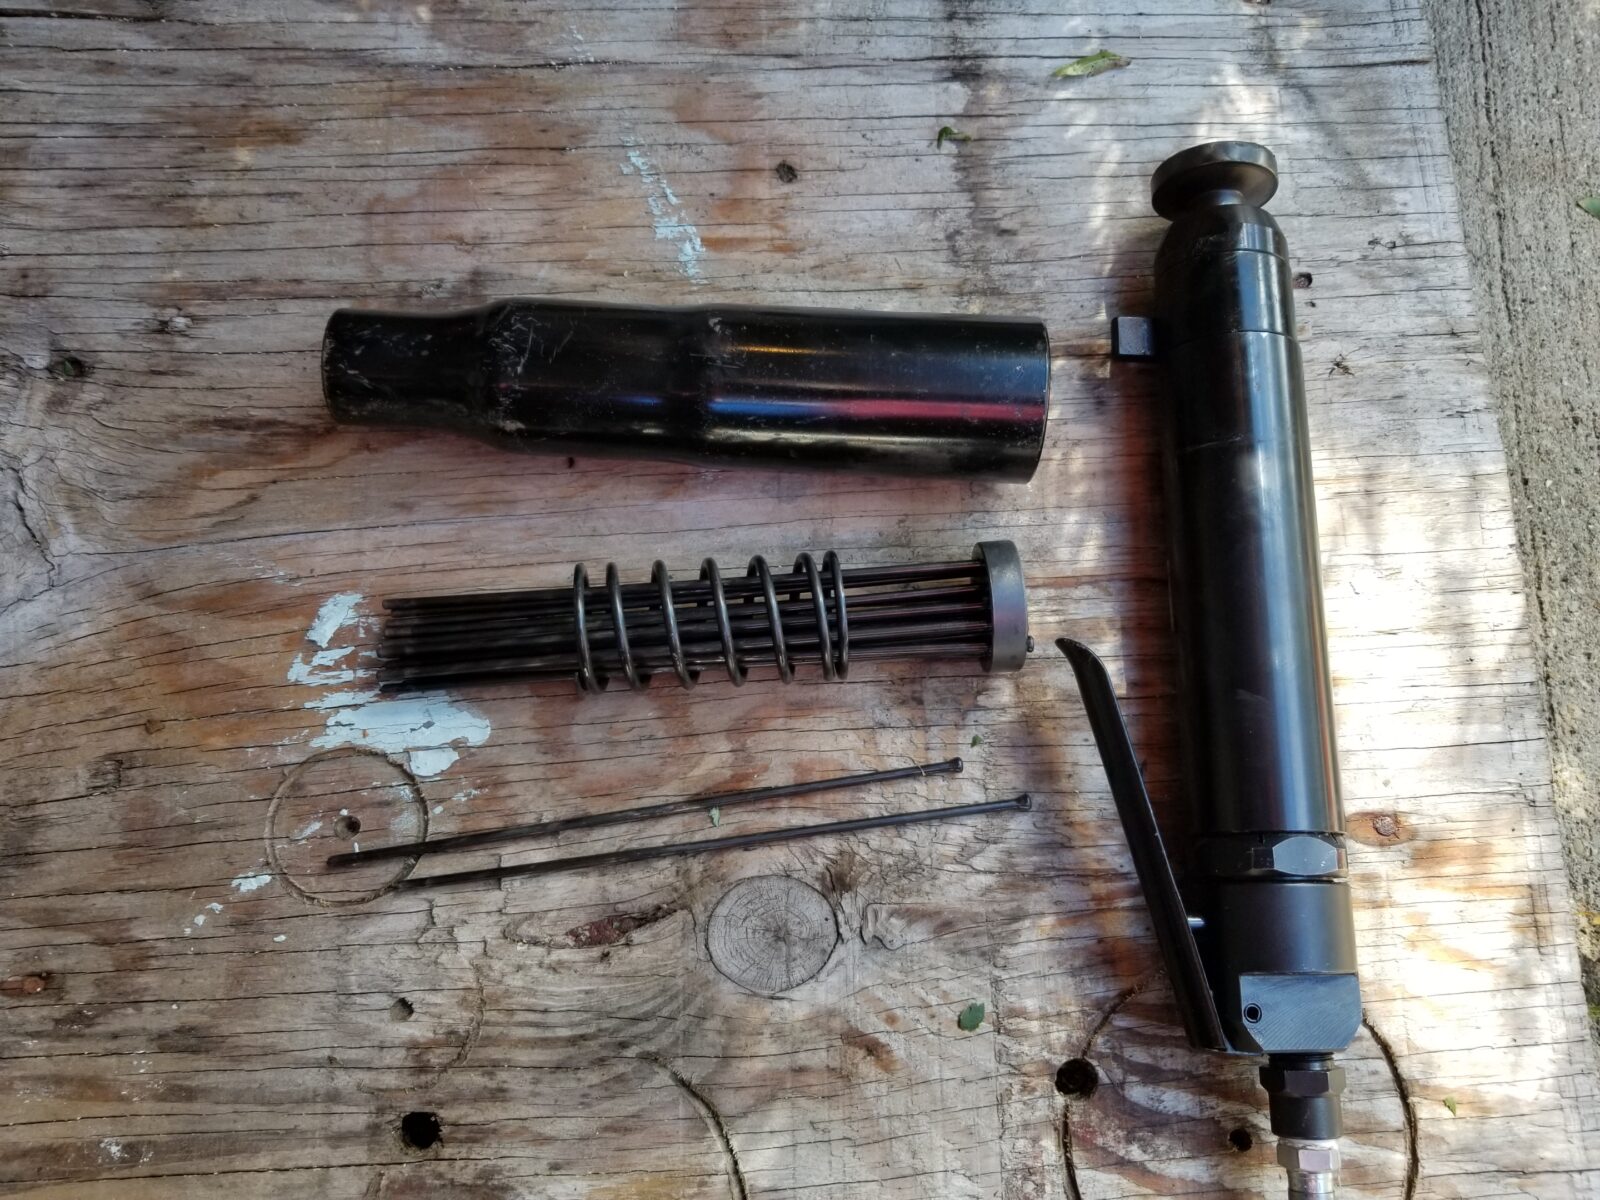
So you rotate the black color and it will pull straight off the machine and you can see the three groups. The main tool is on the right, the color is on the top left and the needle assembly with two needles removed for you to see are in the lower right of the next photo:
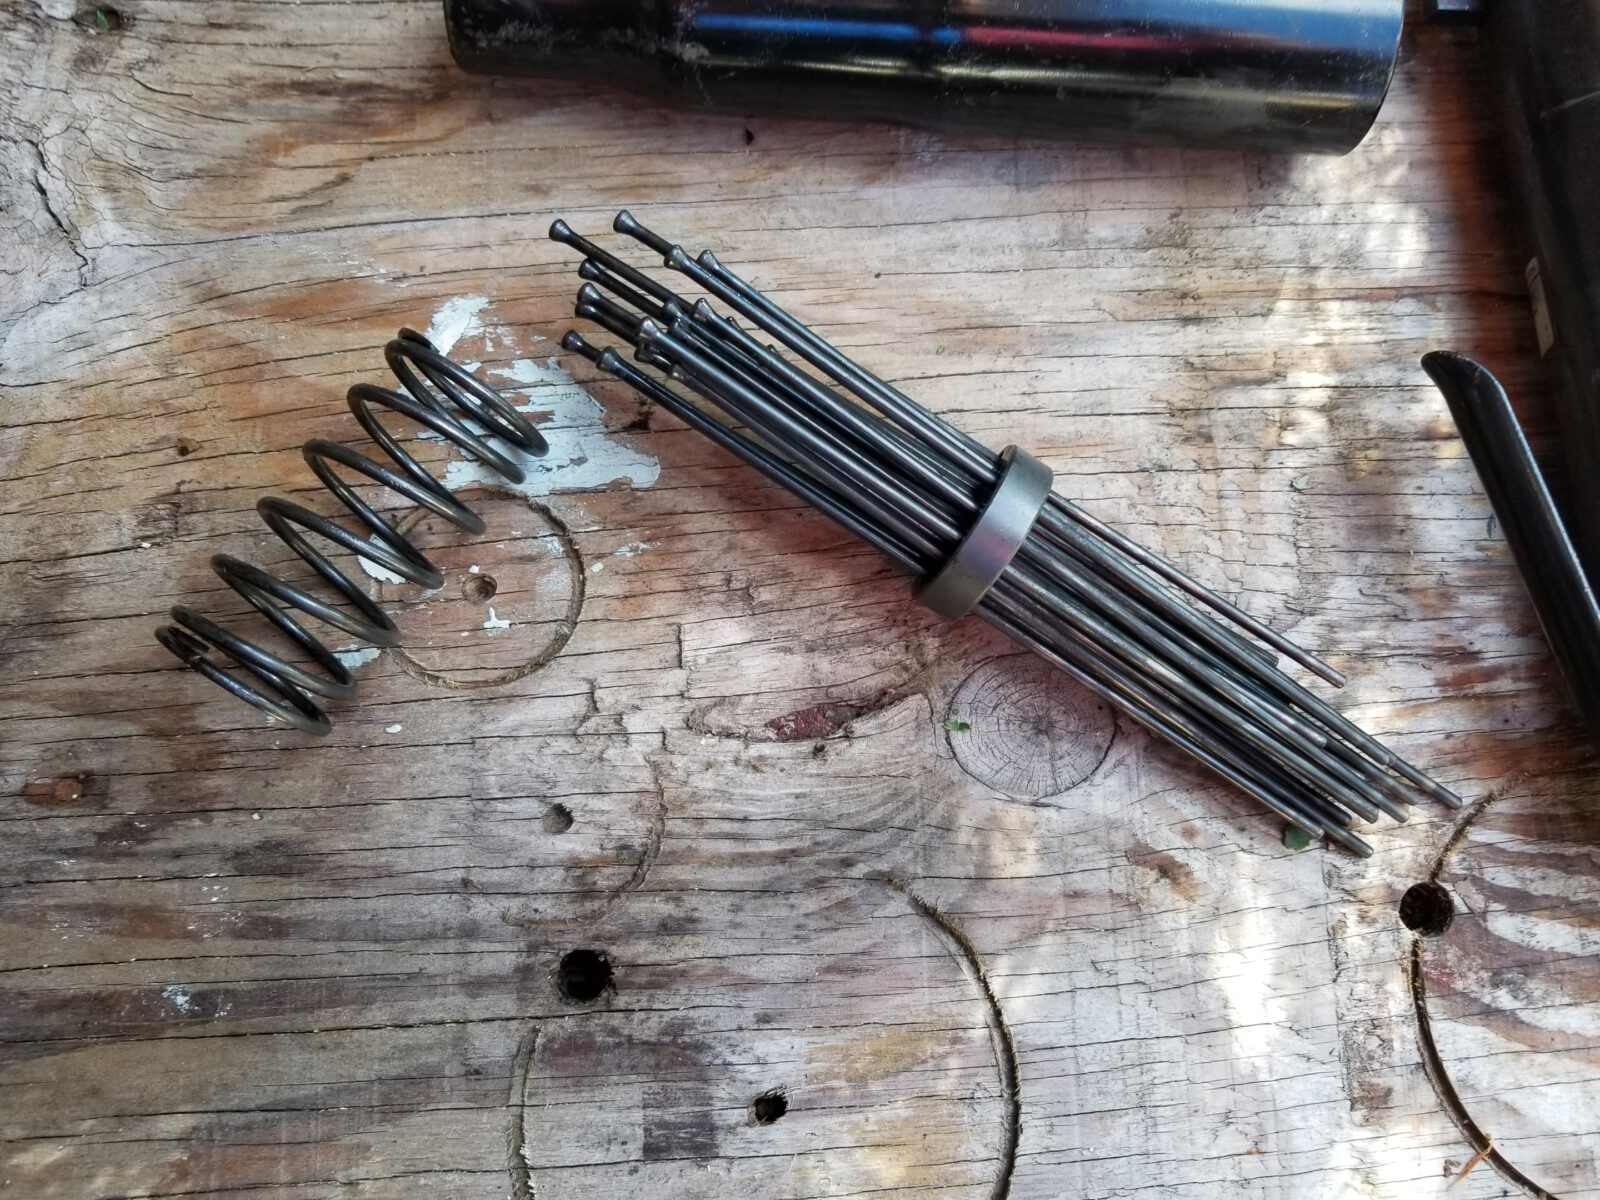
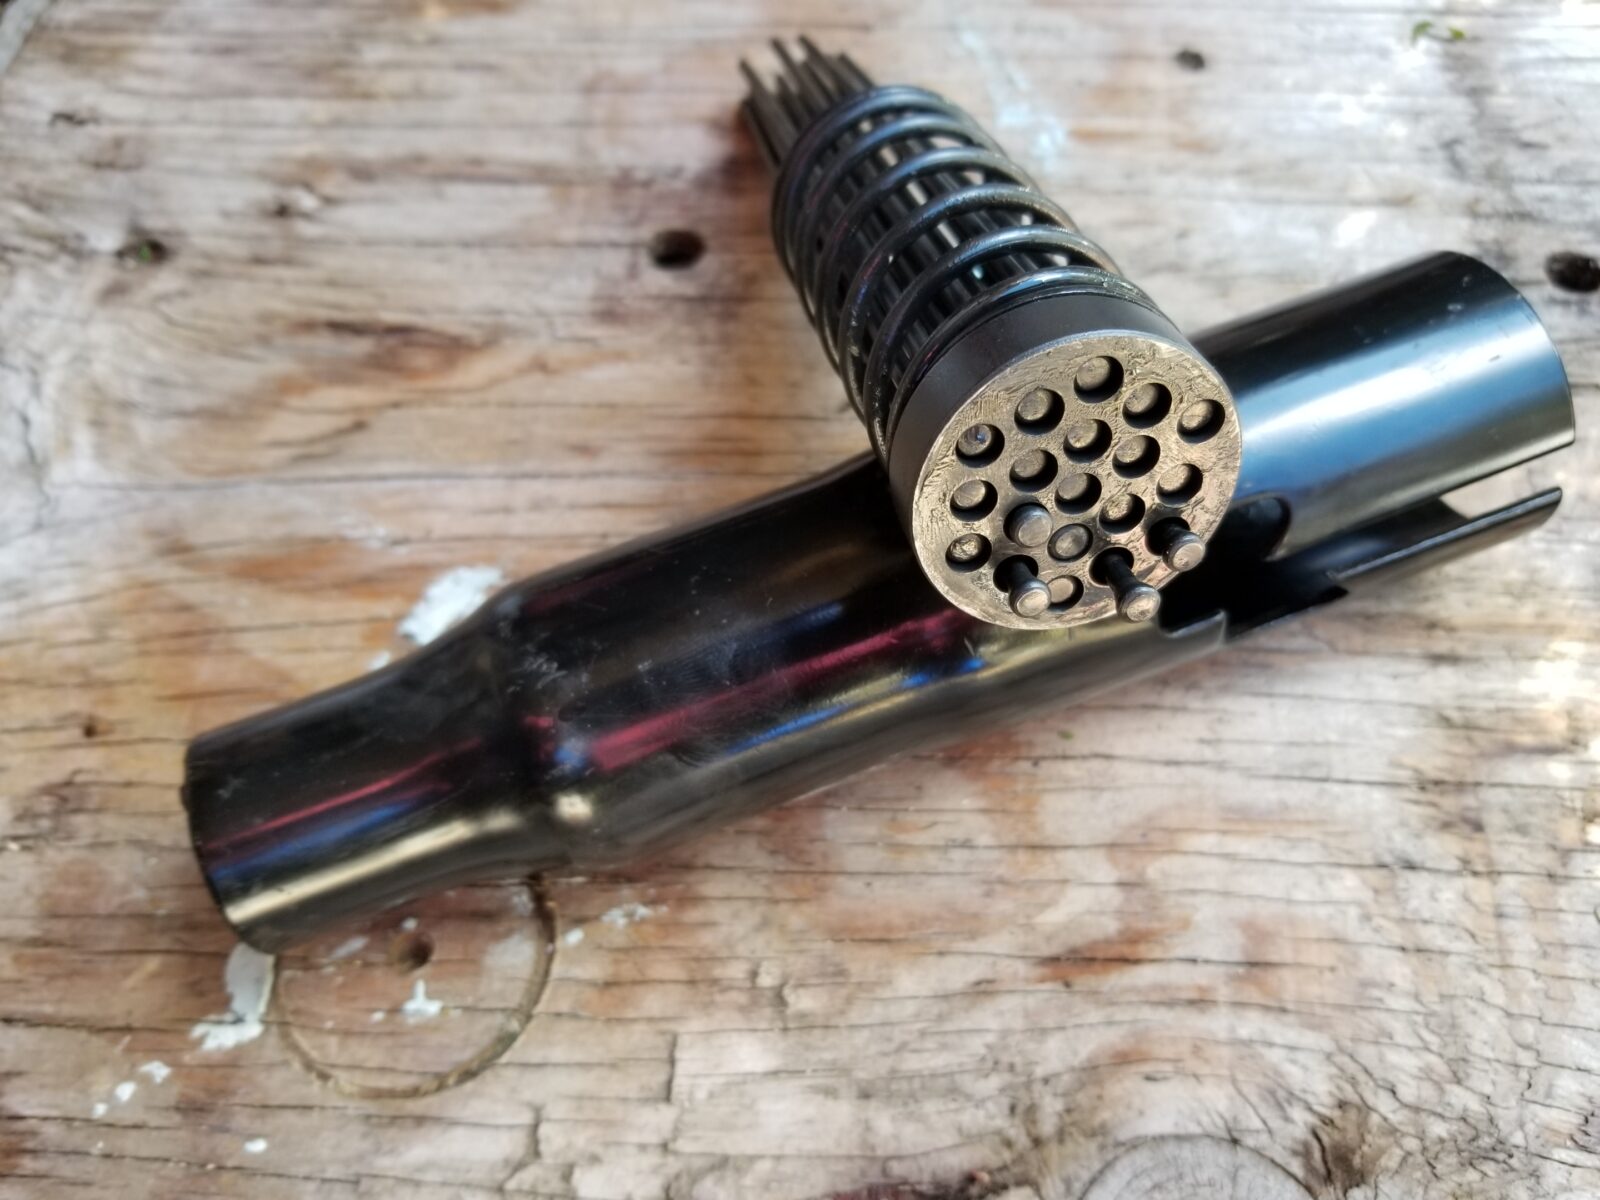
The needles are held in position by a disc with holes to position each needle and a heavy spring shoves the needles back against the anvil to enable the hammering effect.
Here’s a better photo of the disc with some of the needles pushed out for you to see:
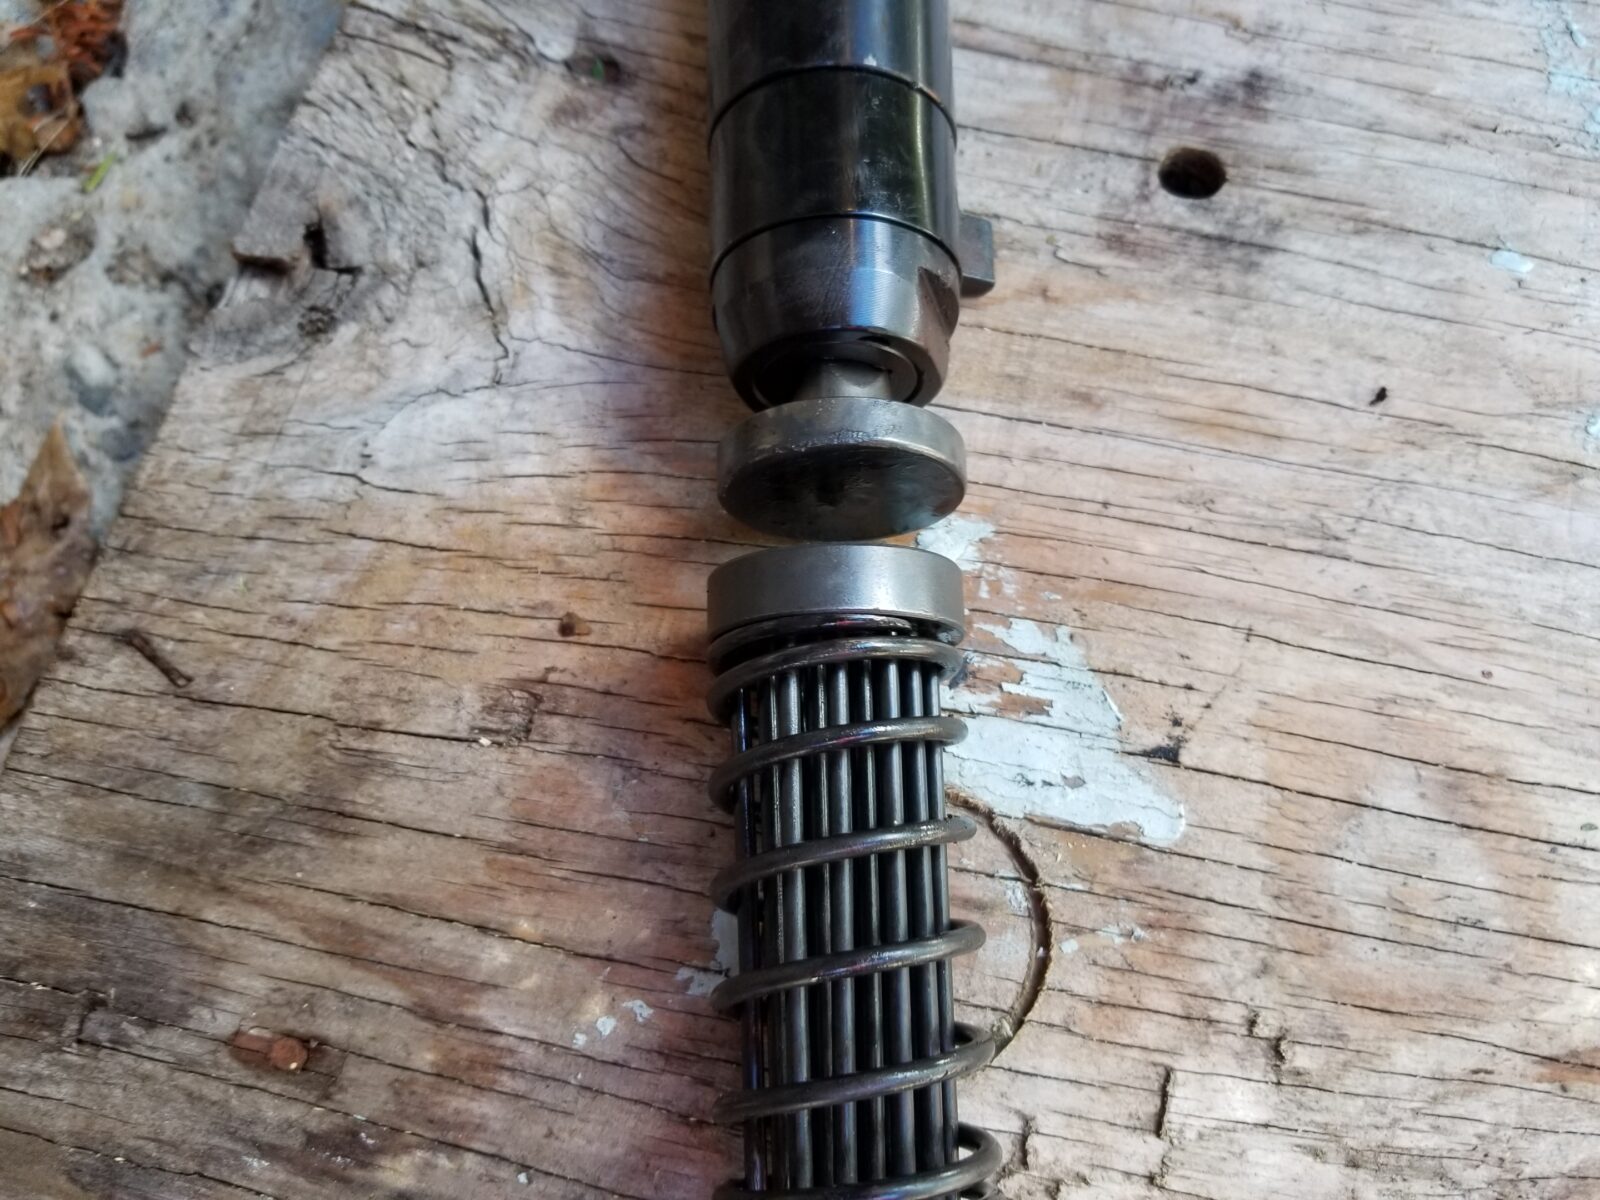
This photo shows how the needles and disc would line up with the piston if head when the collar is in place:
All in all, it is a pretty straight forward tool. You will want to take it apart to clean periodically – at least I do. I take and hose the needles and collar down with brake cleaner and then apply a light oil to the needles.
Also, be sure to keep the air tool lubricated. I do not run inline oilers due to my plastic work and need for clean dry air. Instead, I add 4-6 drops of air tool oil (not regular engine oil) in through the quick connect coupler.
I did think it was interesting that IR listed the exact ML of oil to pour in before running the tool. I just counted off 20 drops of air tool oil before I ran it for the first time and called it even — it’s ran just fine by the way.
The Results
I am really pleased. I used the model 125 a ton on my old Land Cruiser this summer that had flaking rust all over the place including the running boards that were in tough shape. One was salvageable and the other I had to make a replacement. Other parts of the truck were just covered in rust. This needle scaler allowed me to do the work much faster and more thoroughly than ever before.
I ran it at 90 PSI through about a hundred foot of 3/8 inch air line with 1/4″ quick connect fittings. I had no trouble whatsoever blasting through anything that could be removed.
It will definitely dent the hell out of thin sheet metal but I was not worried about that. I just wanted to get rid of the rust scale. I also found that I could use it to hammer on places that I was worried about and if it punched through I knew I had an area I needed to work on. For example some of the fenders while they still had paint had rusted really badly from the inside and we’re paper thin.
What I found interesting was that after a ton of work, none of the needles showed wear when I was done with the truck.
I definitely recommend this Ingersoll Rand model 125 needle scaler. I think it did a superb job and will definitely be using it on future projects.
I bet you did not expect to see me do a post about carpet shampooers or as some call them “carpet cleaners” or “carpet cleaning machines”. We’ve owned dogs and had kids for years plus we have light colored carpets. Keeping them clean is no easy matter and maybe 4-6 times per year we shampoo them – plus occasional touch ups if something gets spilled, etc. It makes a HUGE difference.
We used to rent Rug Doctor carpet cleaners and while they do the job you have the expense and hassle of having to rent one. Back in the early 2000s we bought our first Hoover. We went with one from Sam’s Club if I recall right. One of the big selling points over the competition at the time was that the clean water reservoir was built right into the unit whereas some models make you run a hose way back to a bathroom, utility or kitchen sink. That just would not work the way our house was laid out.
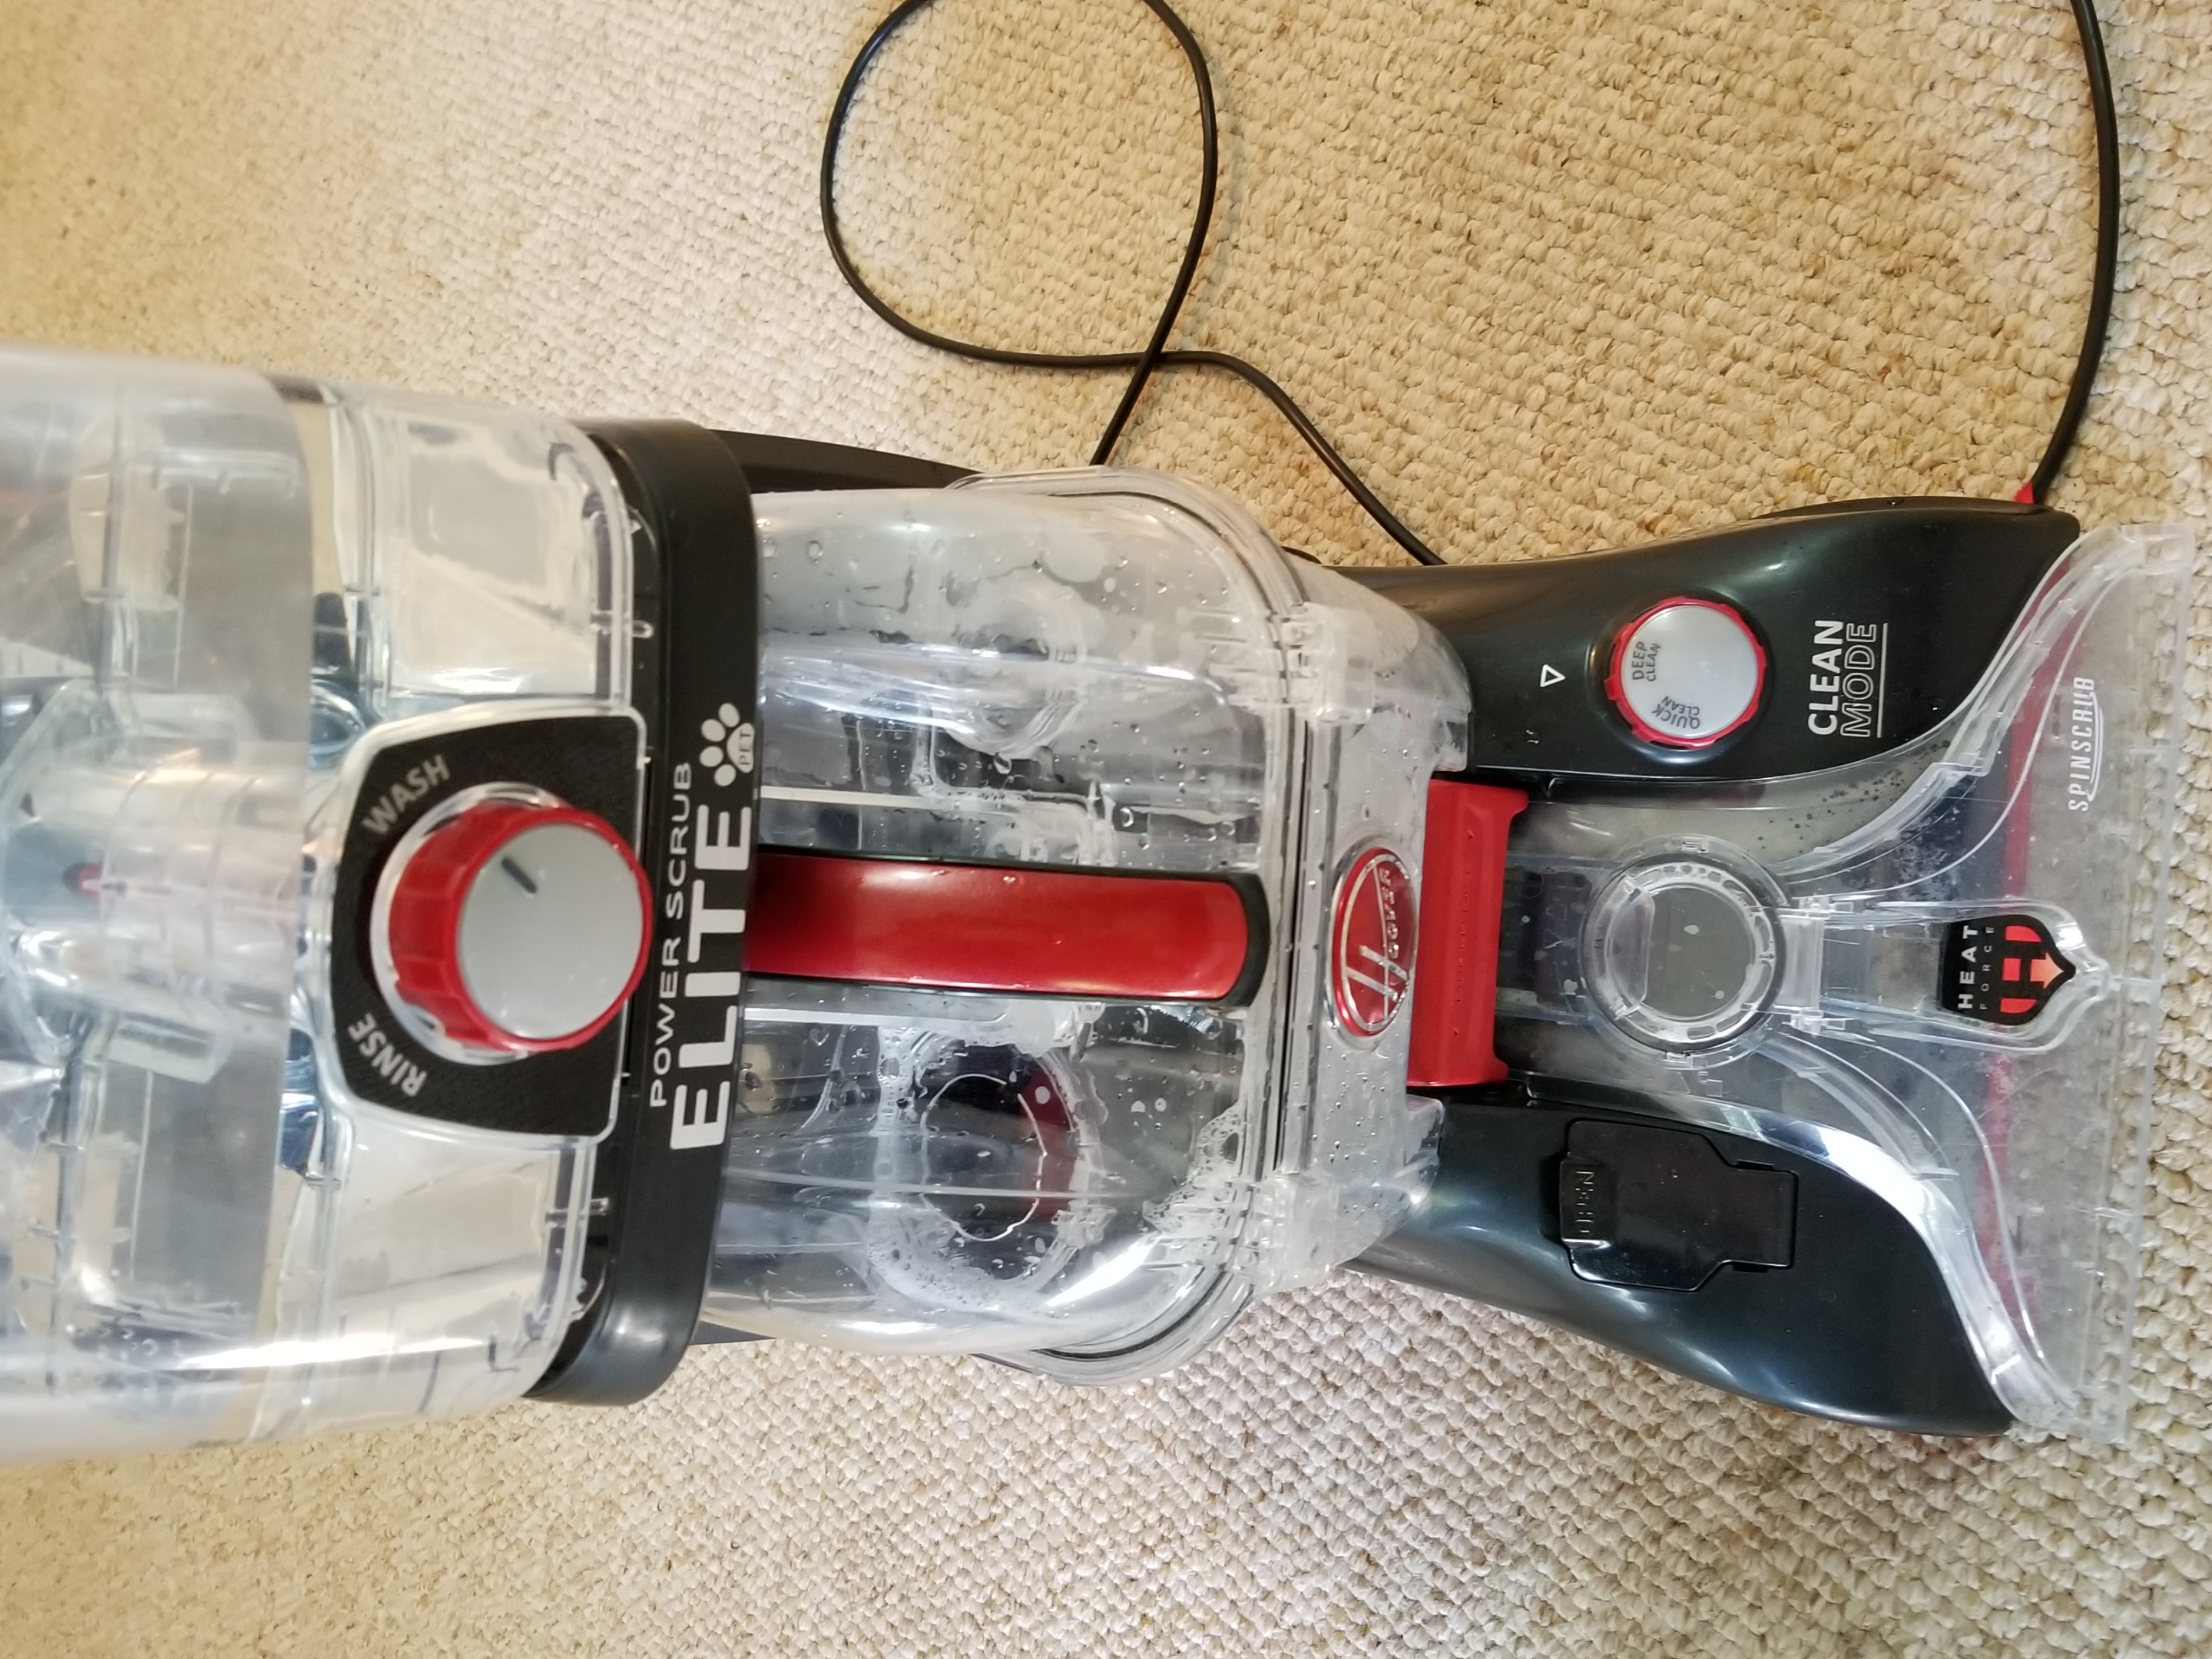
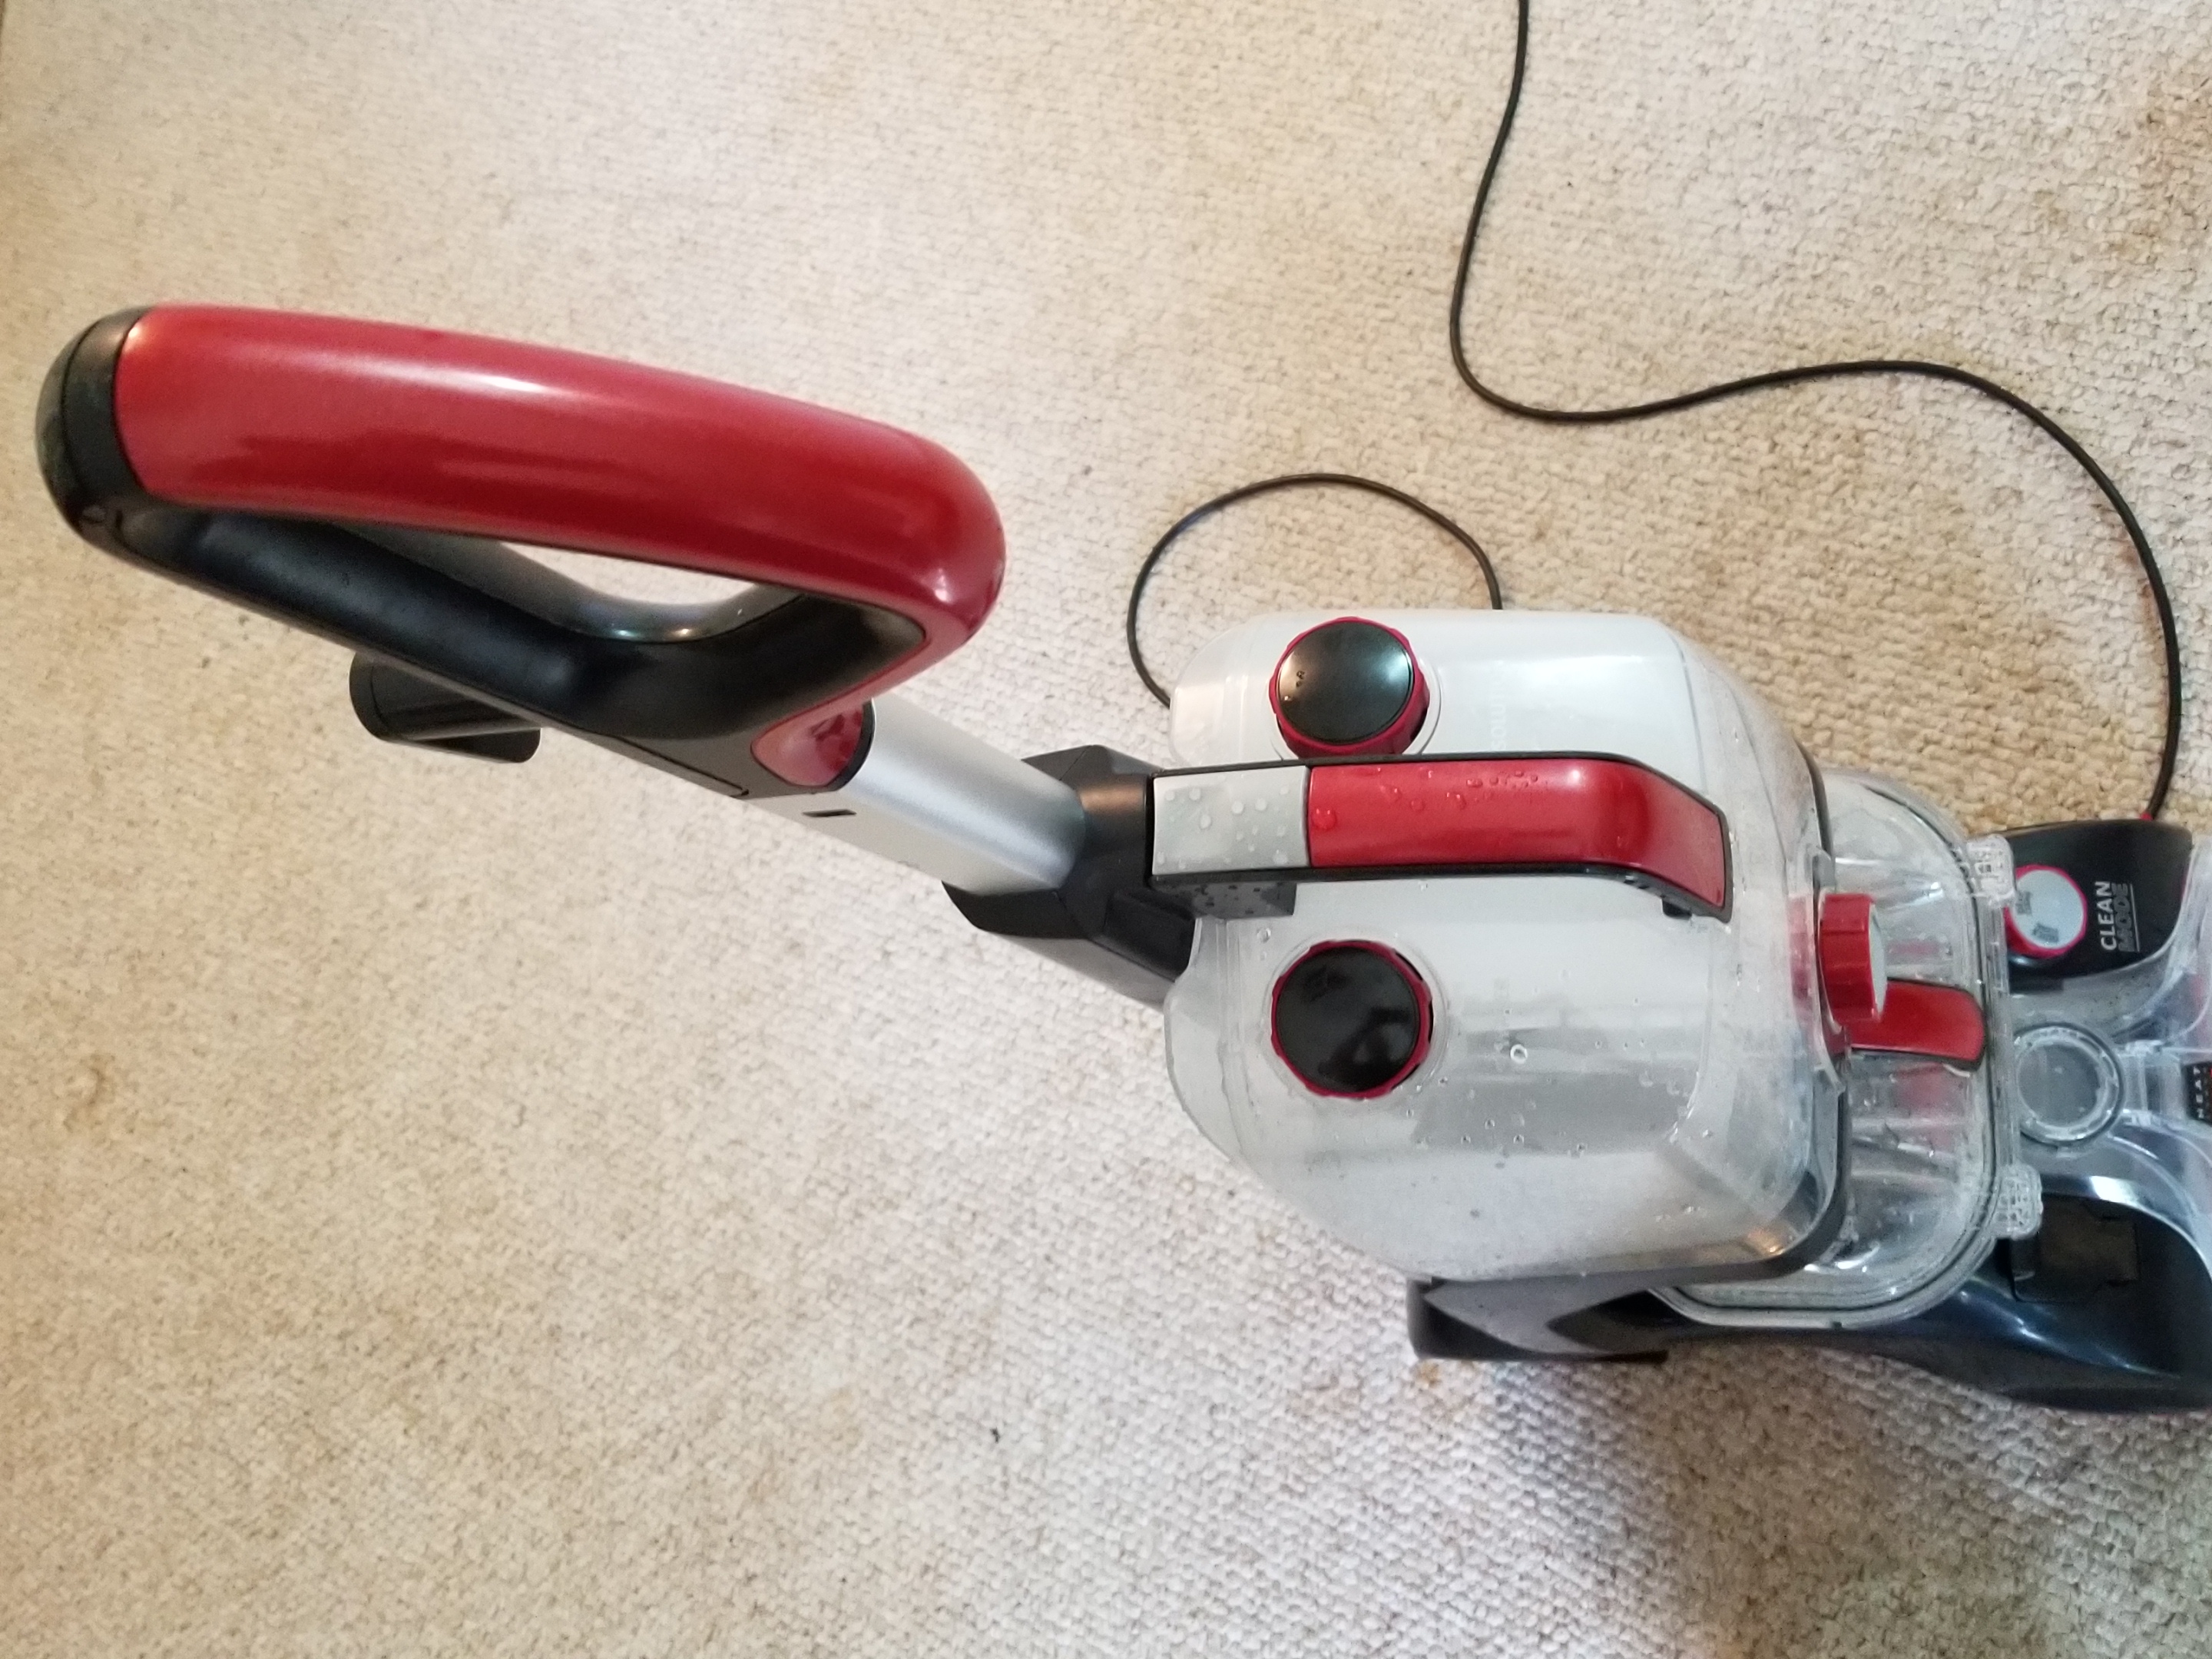
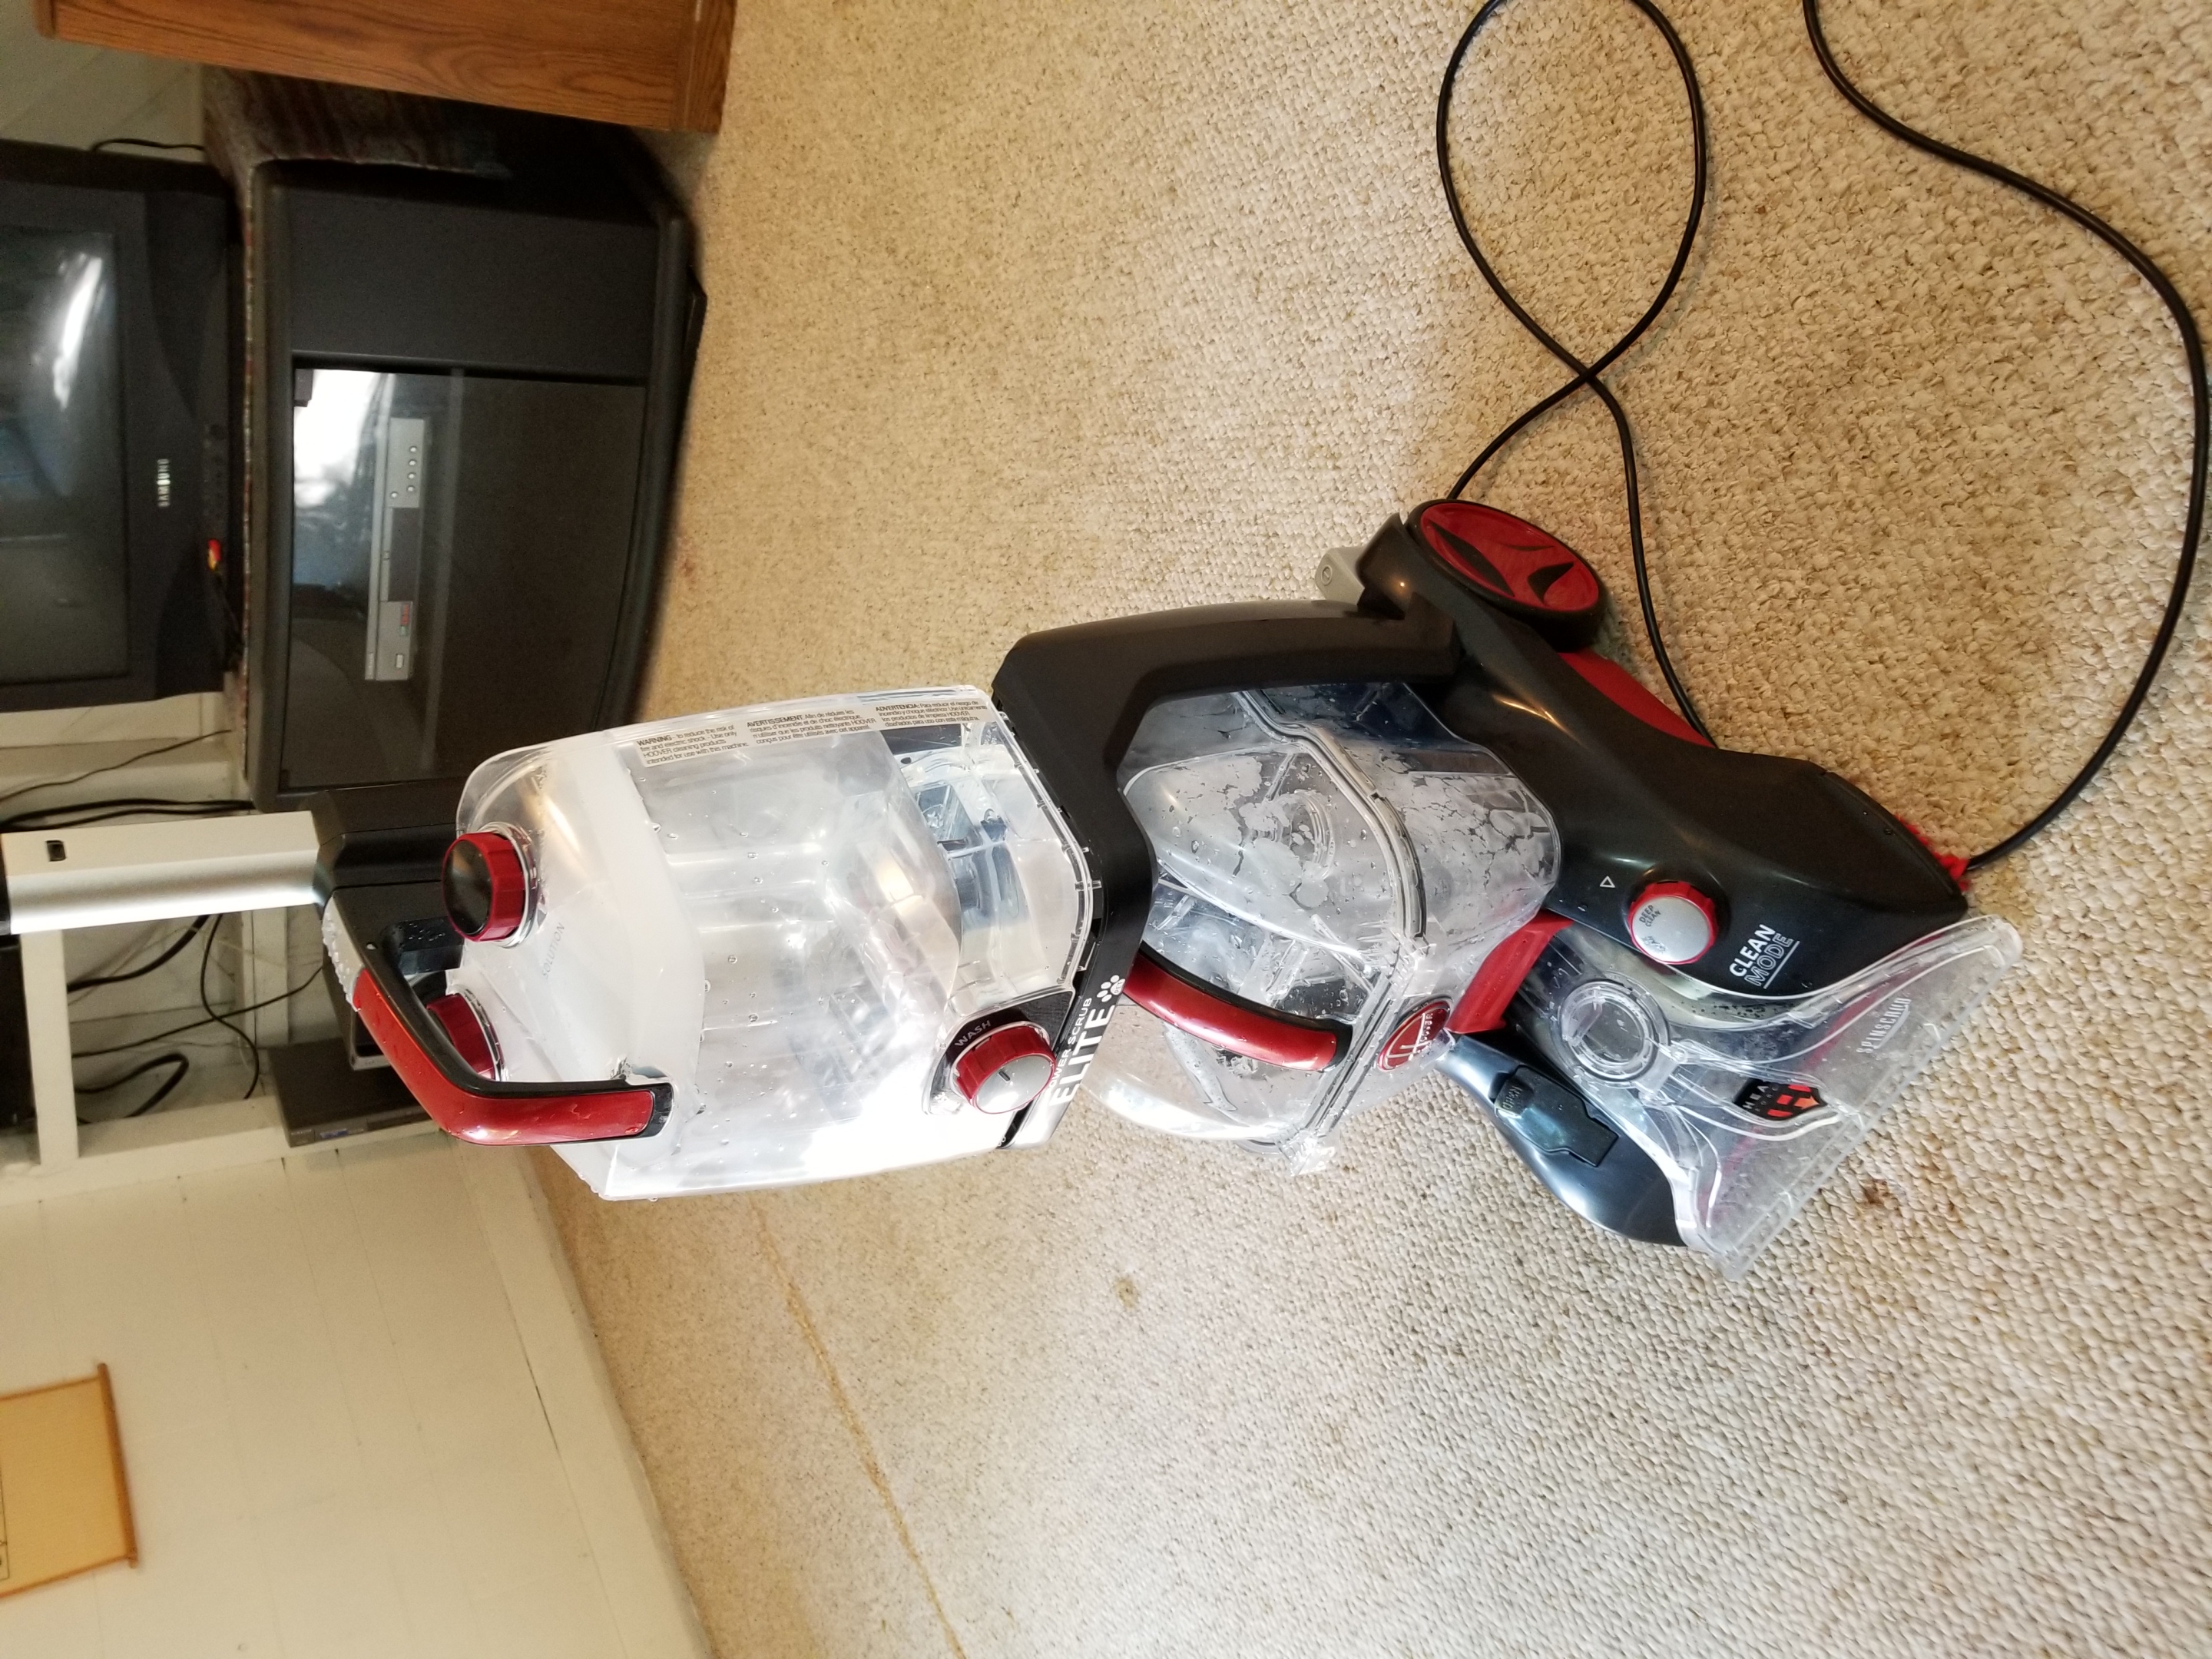
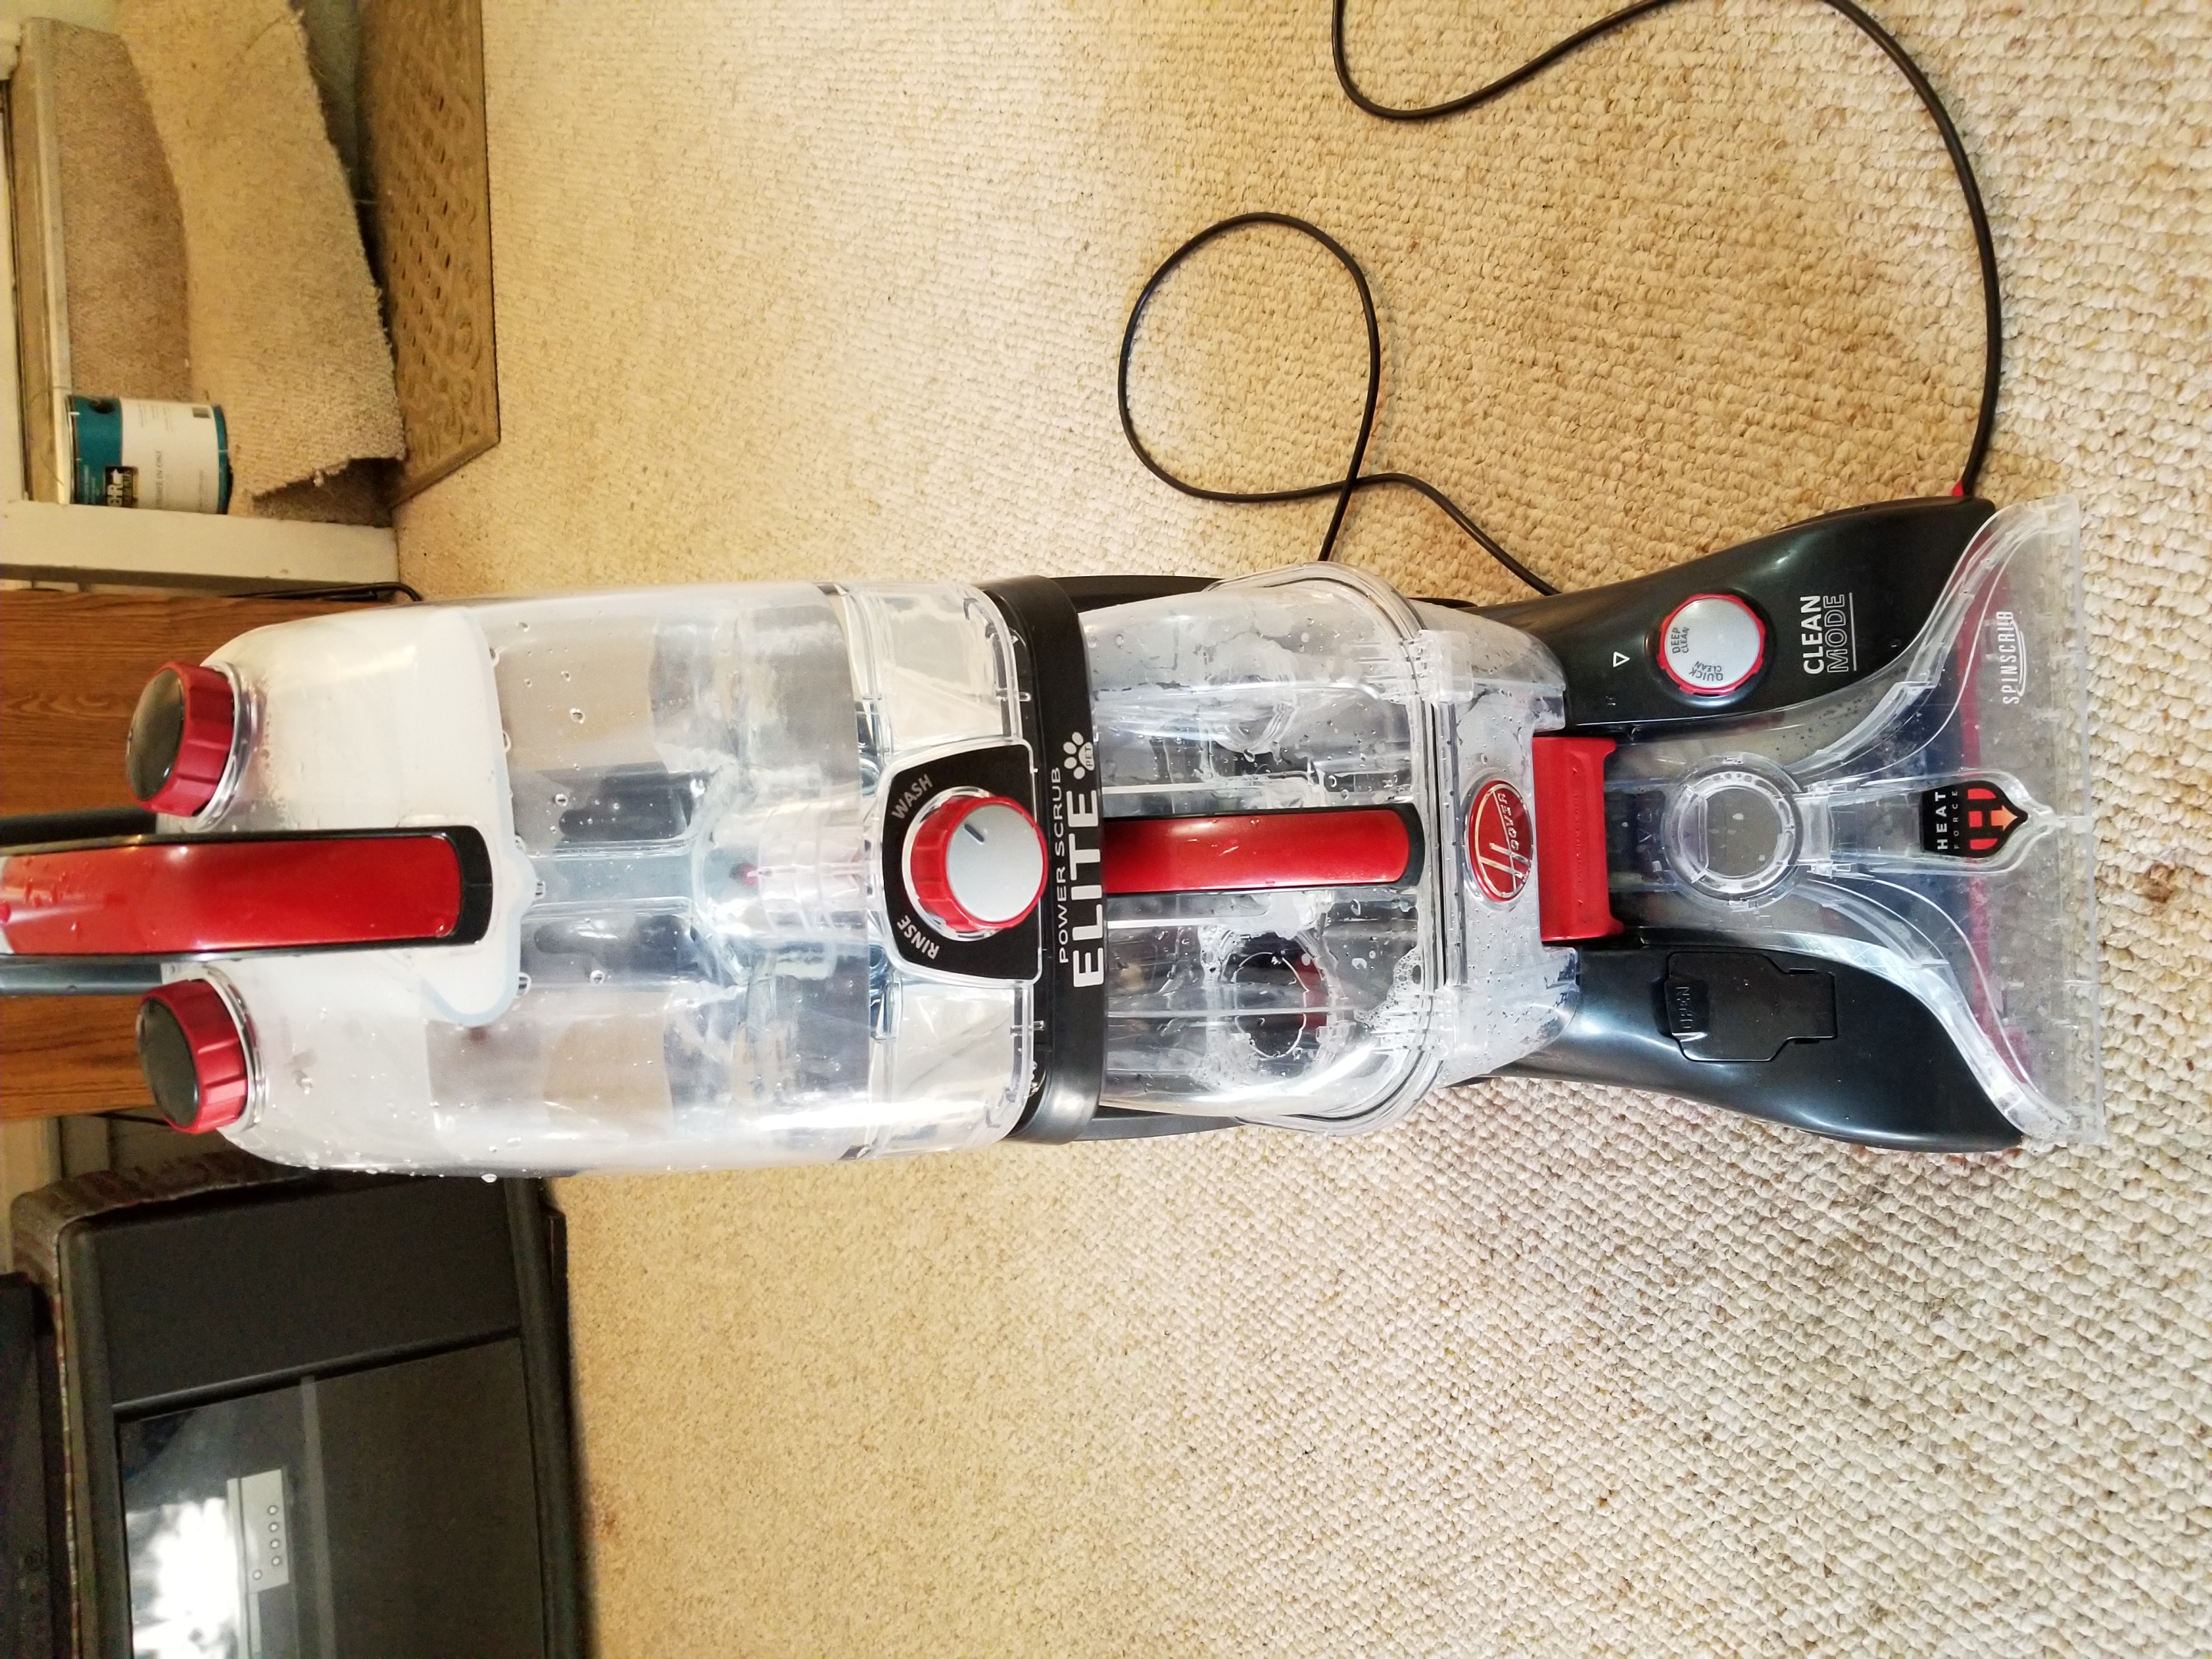
We wore out our first unit in probably 5-6 years — it last quite a while and did a ton of cleaning with it. We then bought a newer model that we are still using and just got a brand new model to do my mother-in-law’s home after it flooded. It is a FH50258 “Hoover Professional Series Power Scrub Elite Pet Plus Upright Carpet Cleaner”. That is a mile long model name but it really did a fantastic job.
Why Did We Get It?
Thus summer we had a crazy storm that just parked over our town and dumped a ton of rain for two days, Pretty much everybody had problems with water coming into their basements including my mother-in-law. We were super busy and other than helping move stuff out of the way and putting a dehumidifier down there, we had to wait a bit to do the cleaning and restoration.
One of the reasons we bought a cleaner for her house was to leave it there in case of future problems plus we can use it for shampooing. Something we found out many years ago is that a shampooer can suck up water from a carpet like there’s no tomorrow. If you have water come in and get carpet wet, a heavy shampooer will suck a ton of water our compared to a light Ship-Vac wand and hose.
This new unit is lighter than our old one plus the tank appears much more ruggedly made. We busted the tank on both previous units – the “ears” that would clamp the lid to the tank would bust off way too easily – they fixed that design flaw with this model. They also say the unit is blowing heated air to help with cleaning and drying – I can’t speak to that. We use hot water from the tap to begin with.
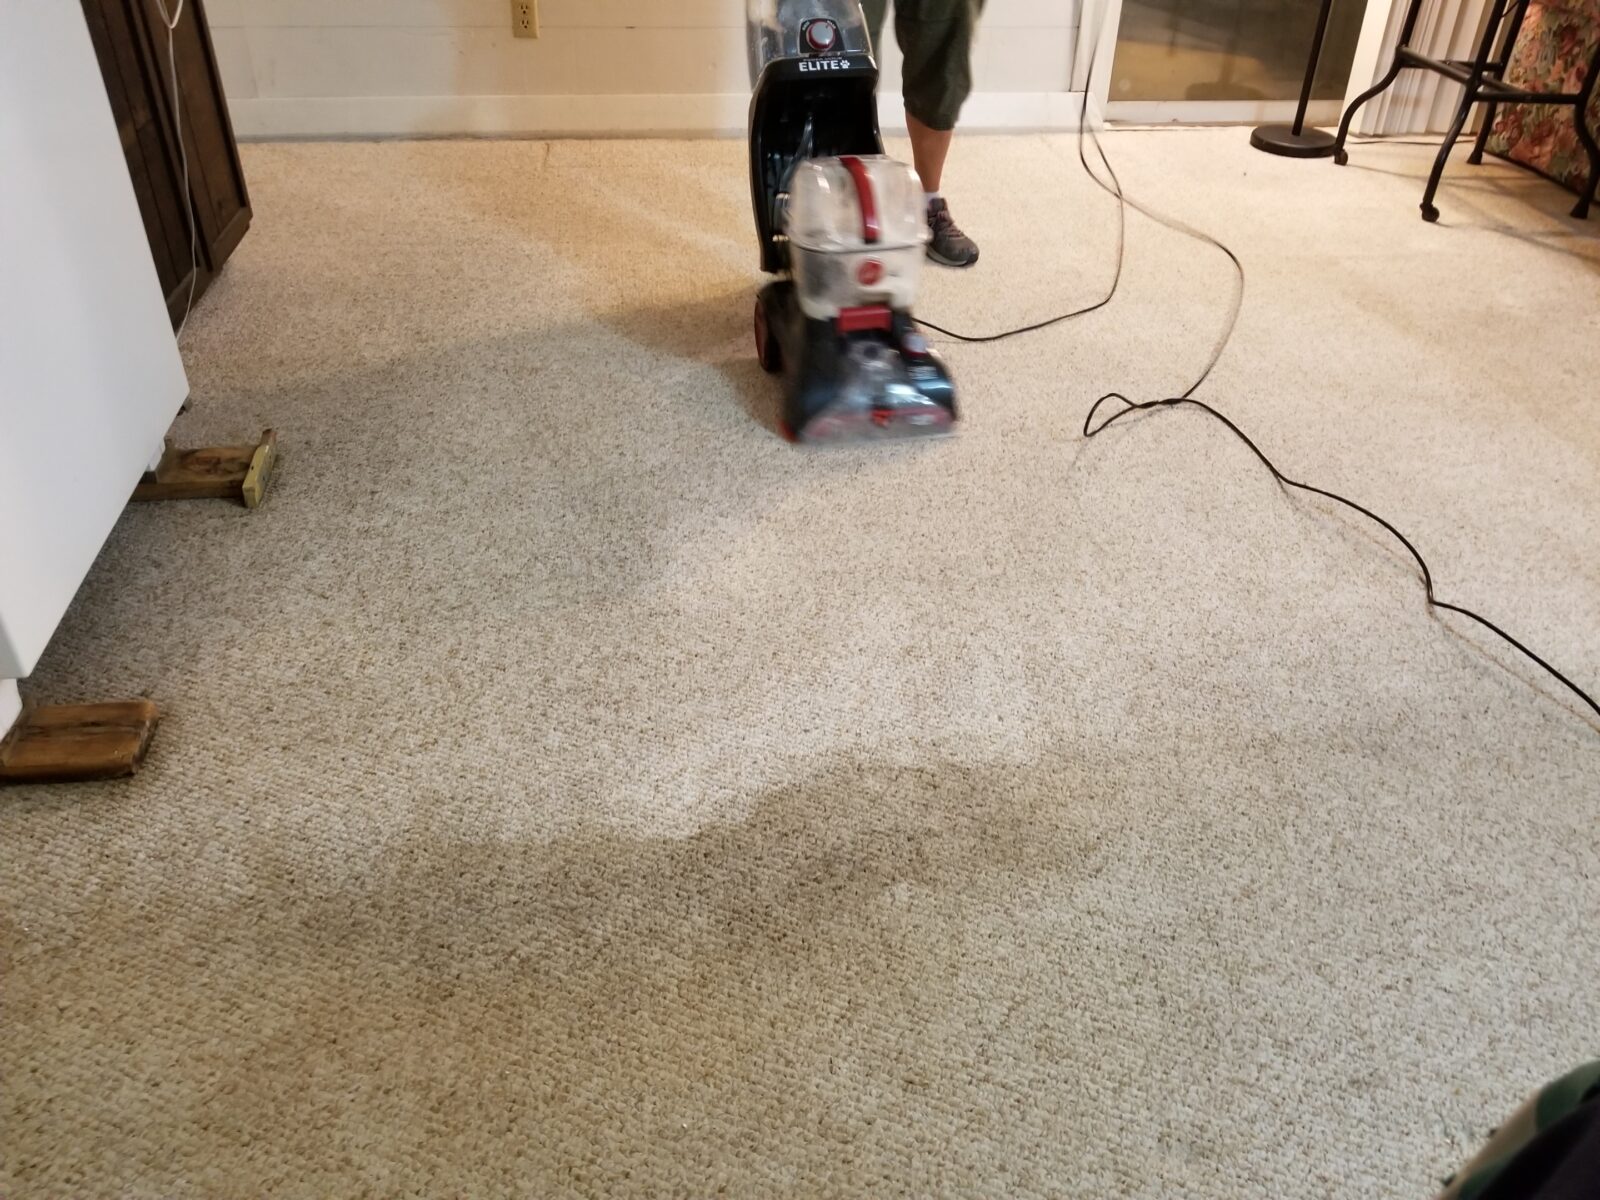
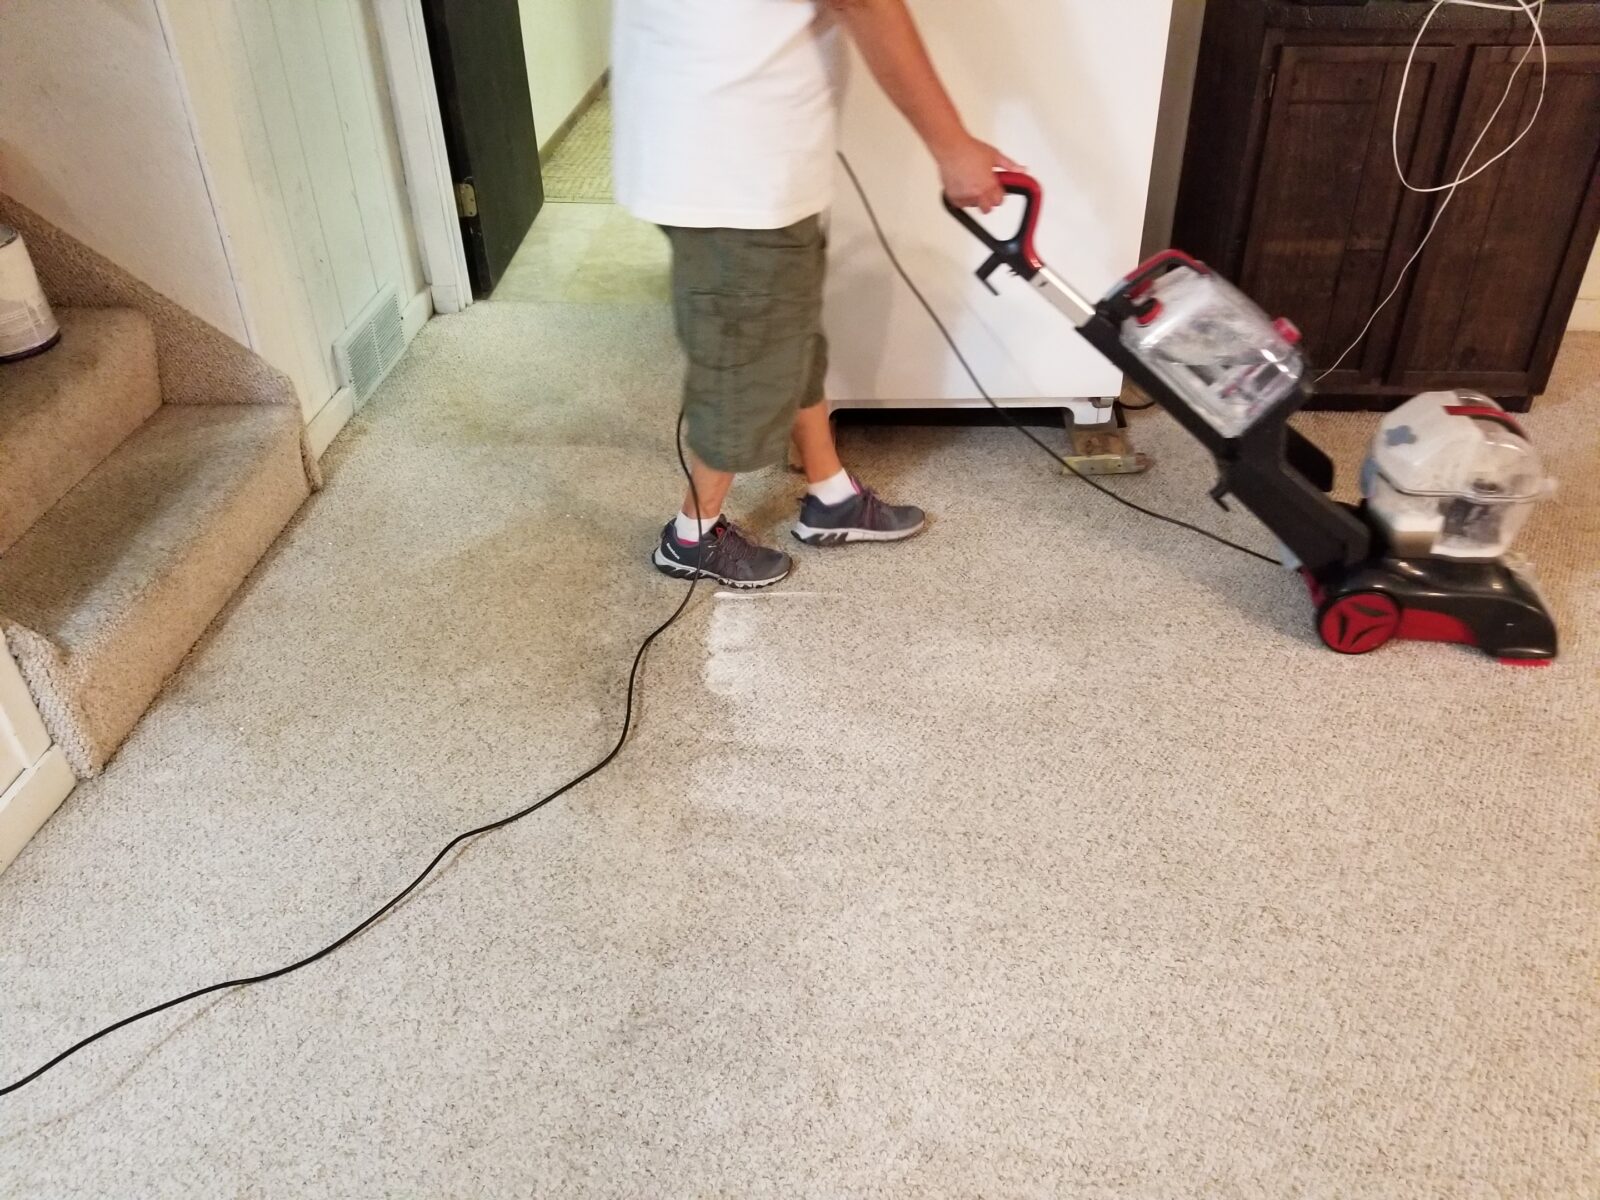
Here are some photos of the new unit:
In the next photo, you can see the reservoirs pretty clearly. The main reservoir on the top is for the clean water – again, we always use hot water to help clean and dry faster. The smaller top right reservoir holds the soap. The big tank under the black bar with “ELITE” on it holds the waste water. It is easily detached and you can pour the filthy waste water down the toilet.
Our Approach
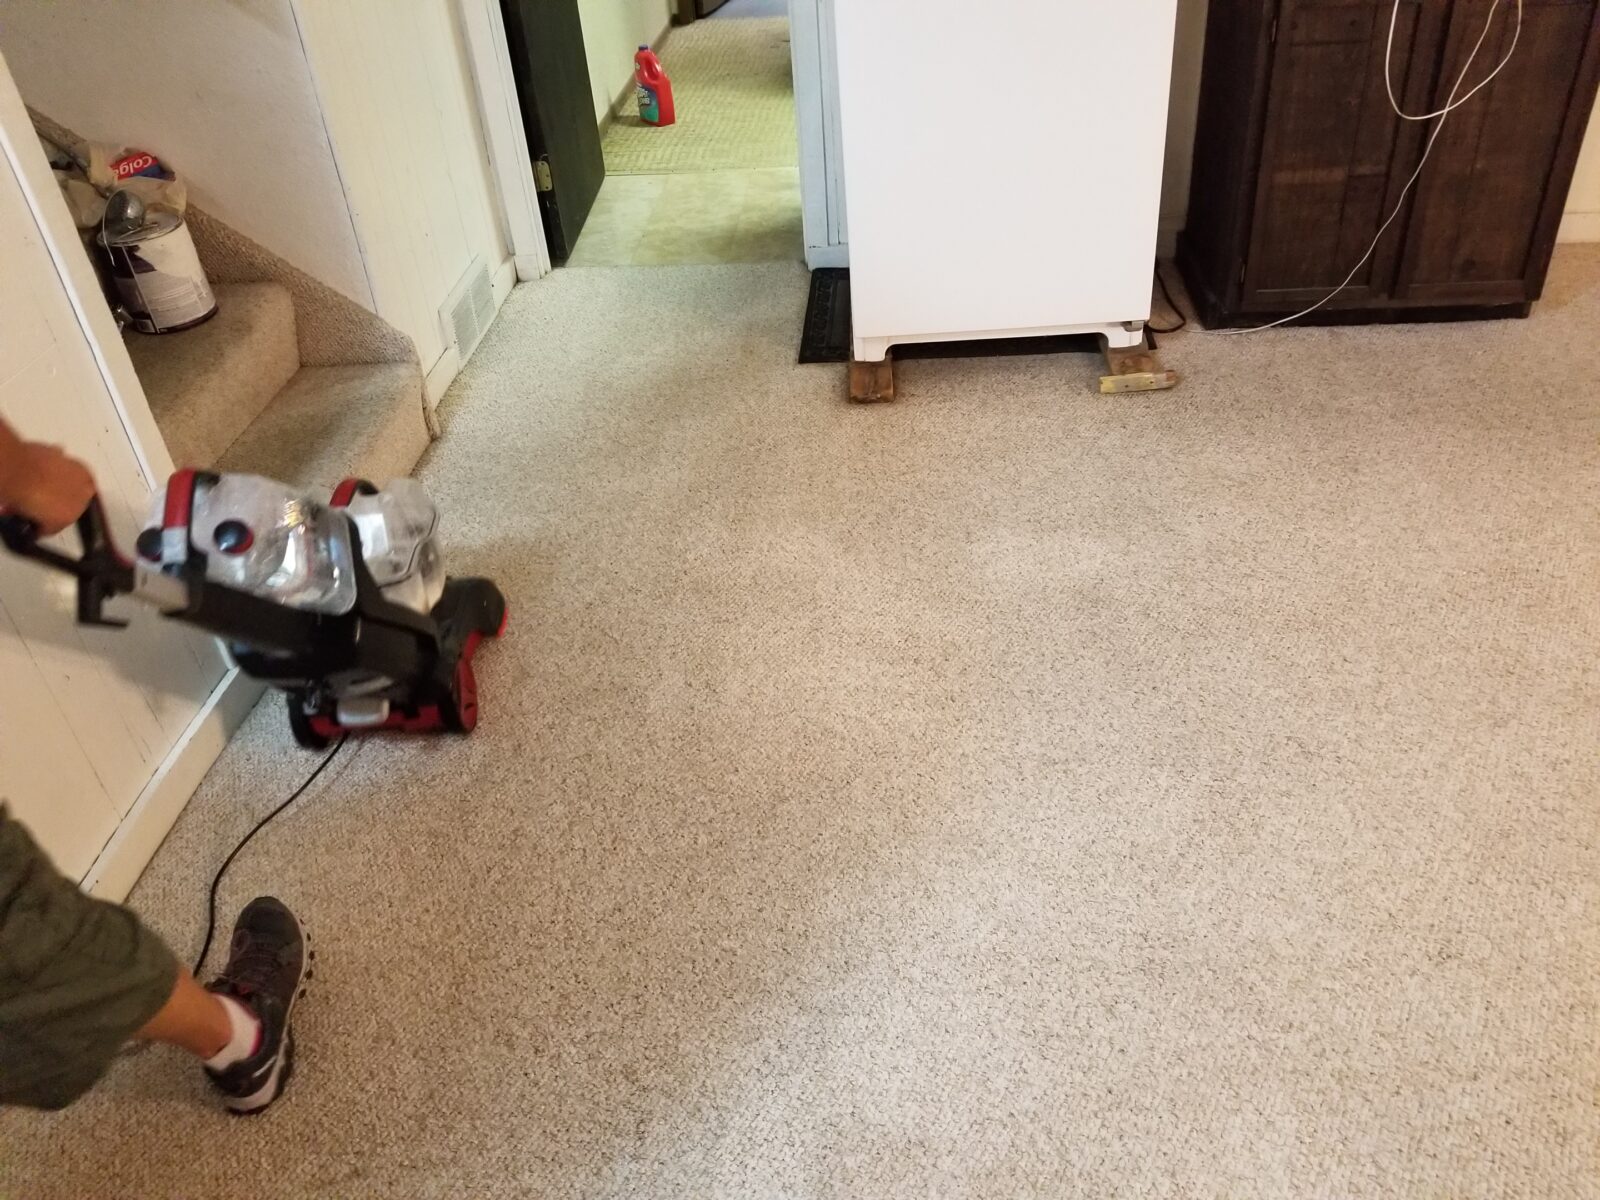
At any rate, mama had lived there for about 10 years and it had never shampooed her basement so it was worn to begin with. Add in the water and she had stains all over the place. My wife used hot water and plenty of carpet shampoo to clean the carpet.
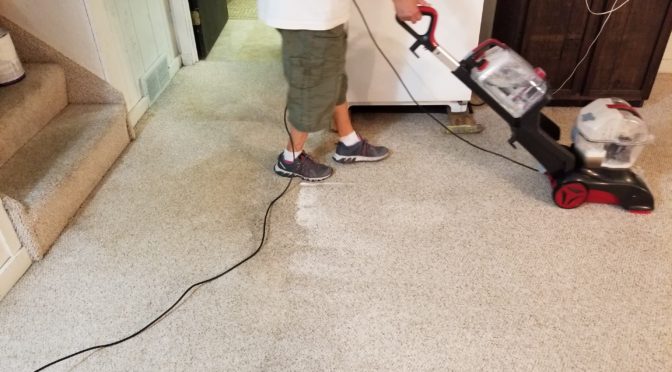
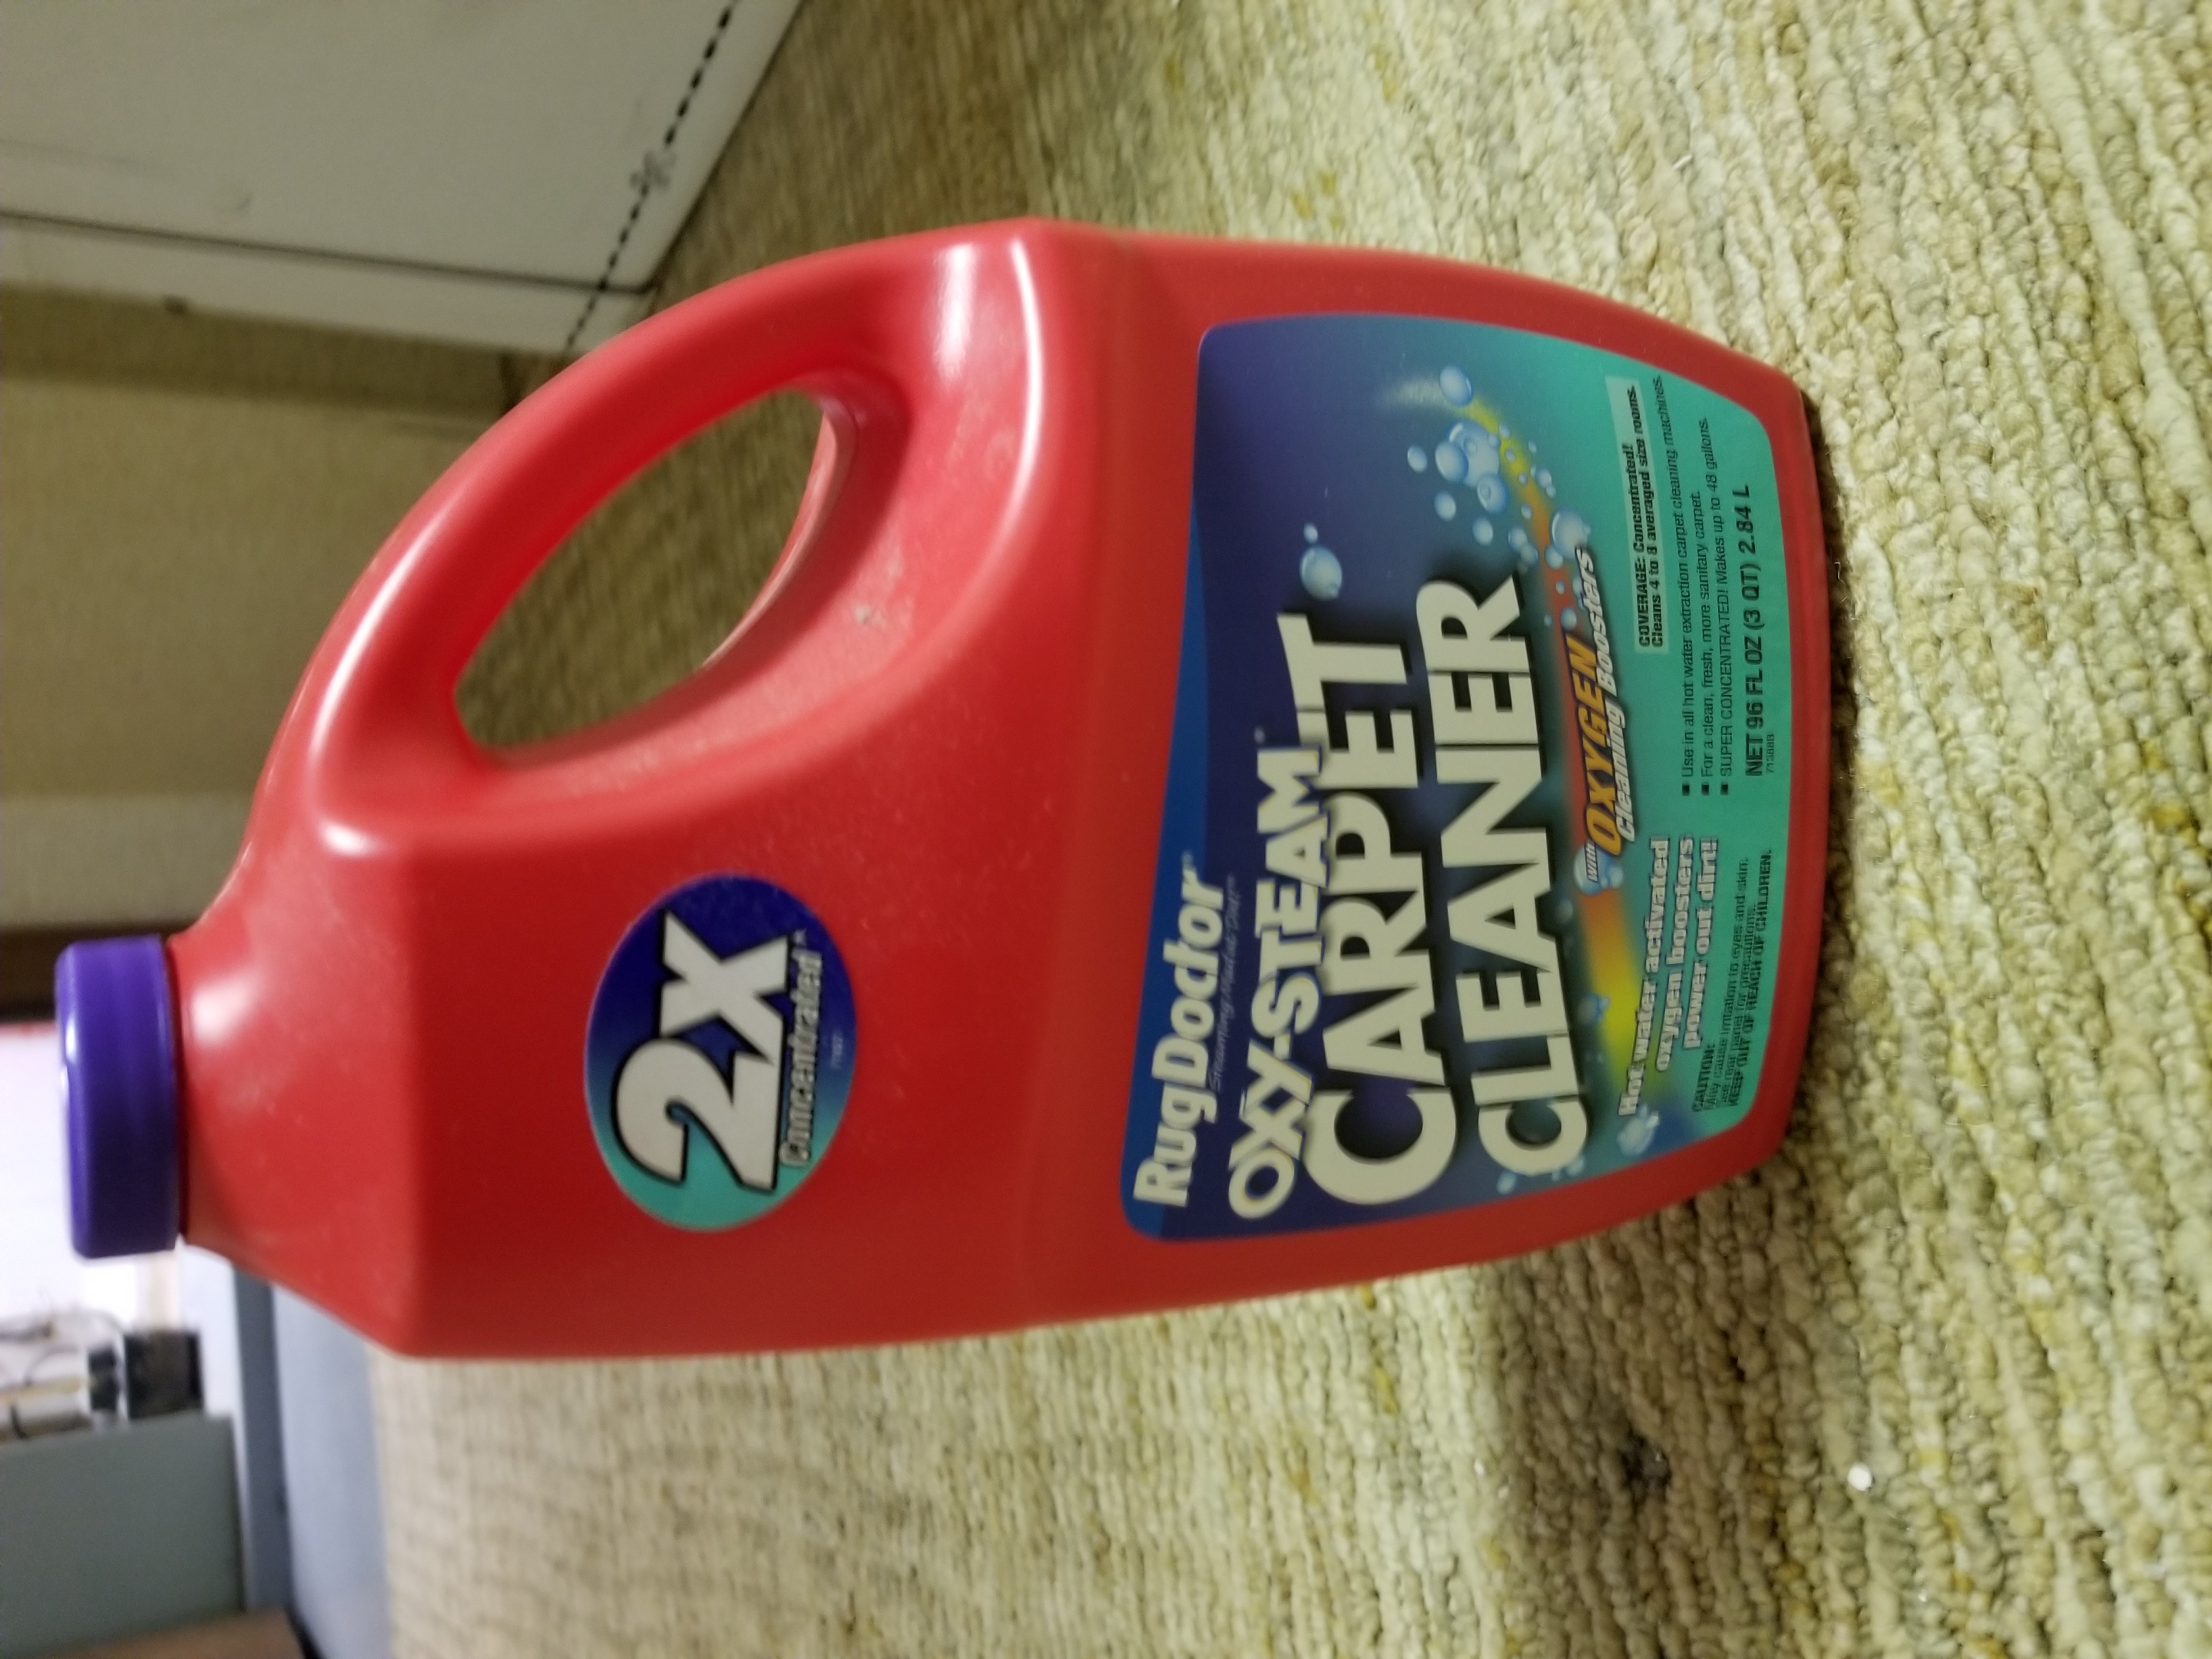
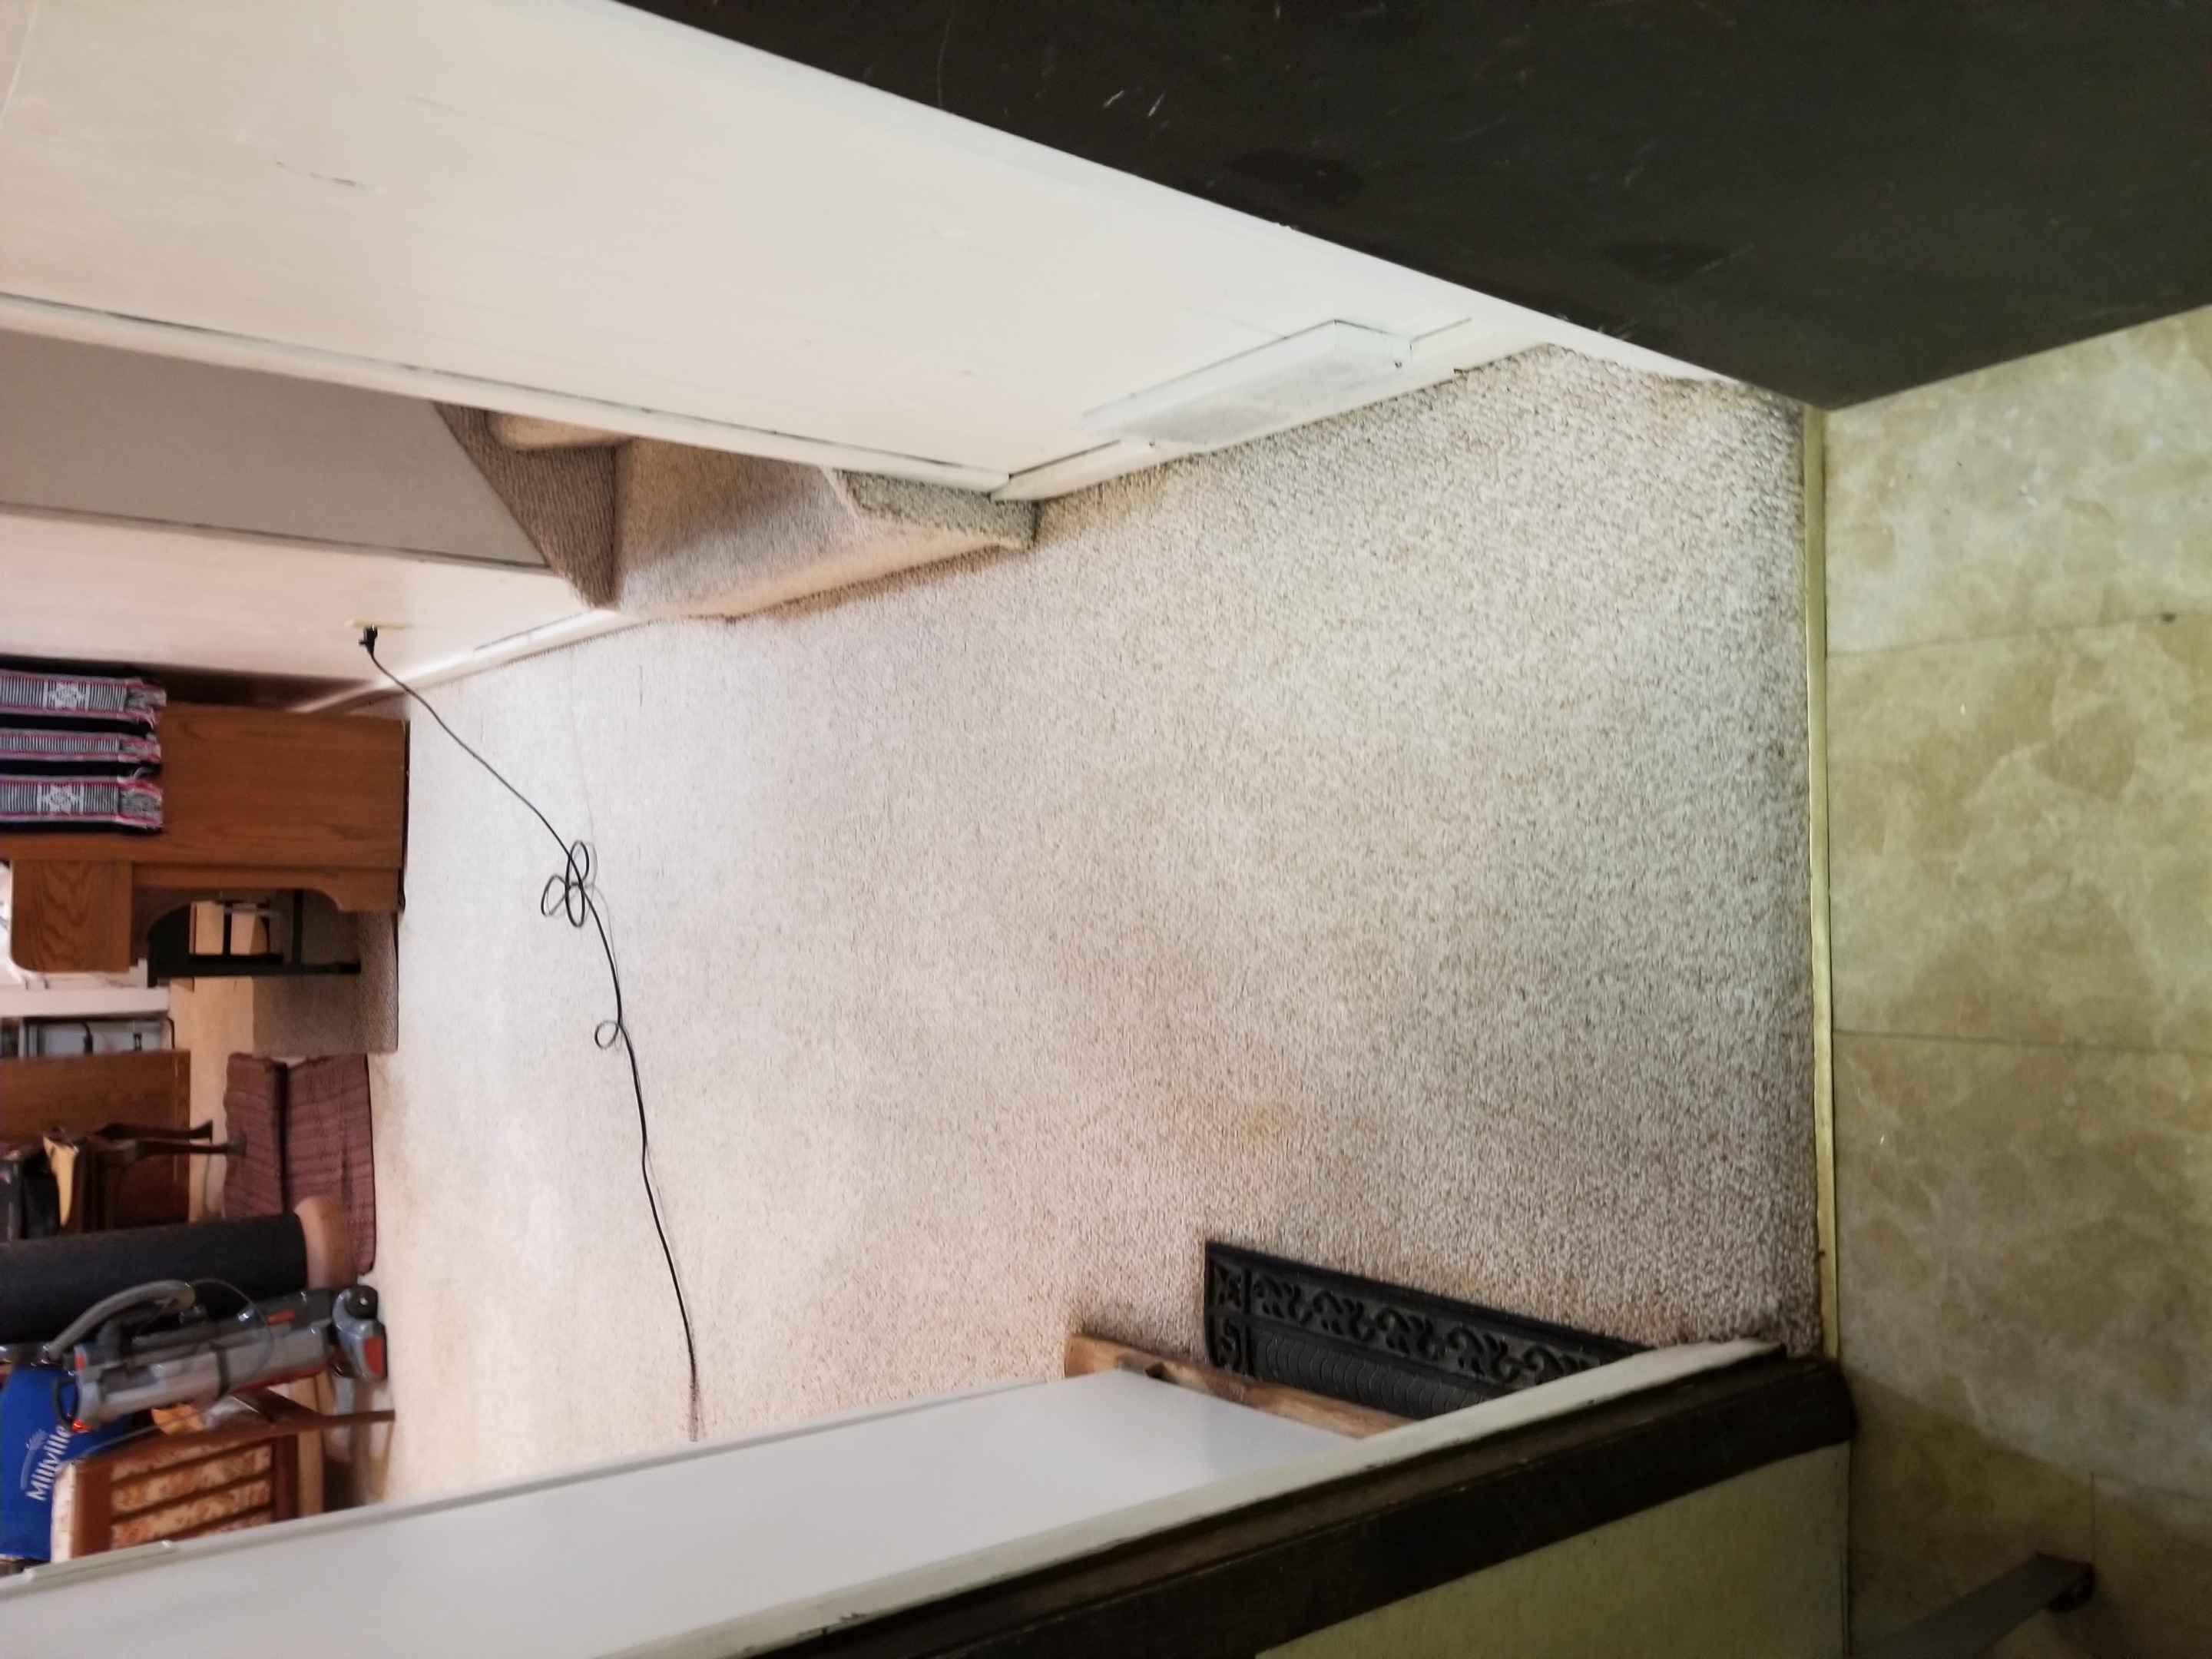
In the above photos, you can see where she already cleaned and what was still dirty pretty clearly. We tend to use either Rug Doctor or Bissell shampoo. For the above we were using Rug Doctor shampoo. My wife has worked out a method that works well – she shampoos the carpet twice and then does a third pass just rinsing. We’ve found that carpets seem to attract dirt less if we rinse them and make sure no sticky/gummy residue remains.
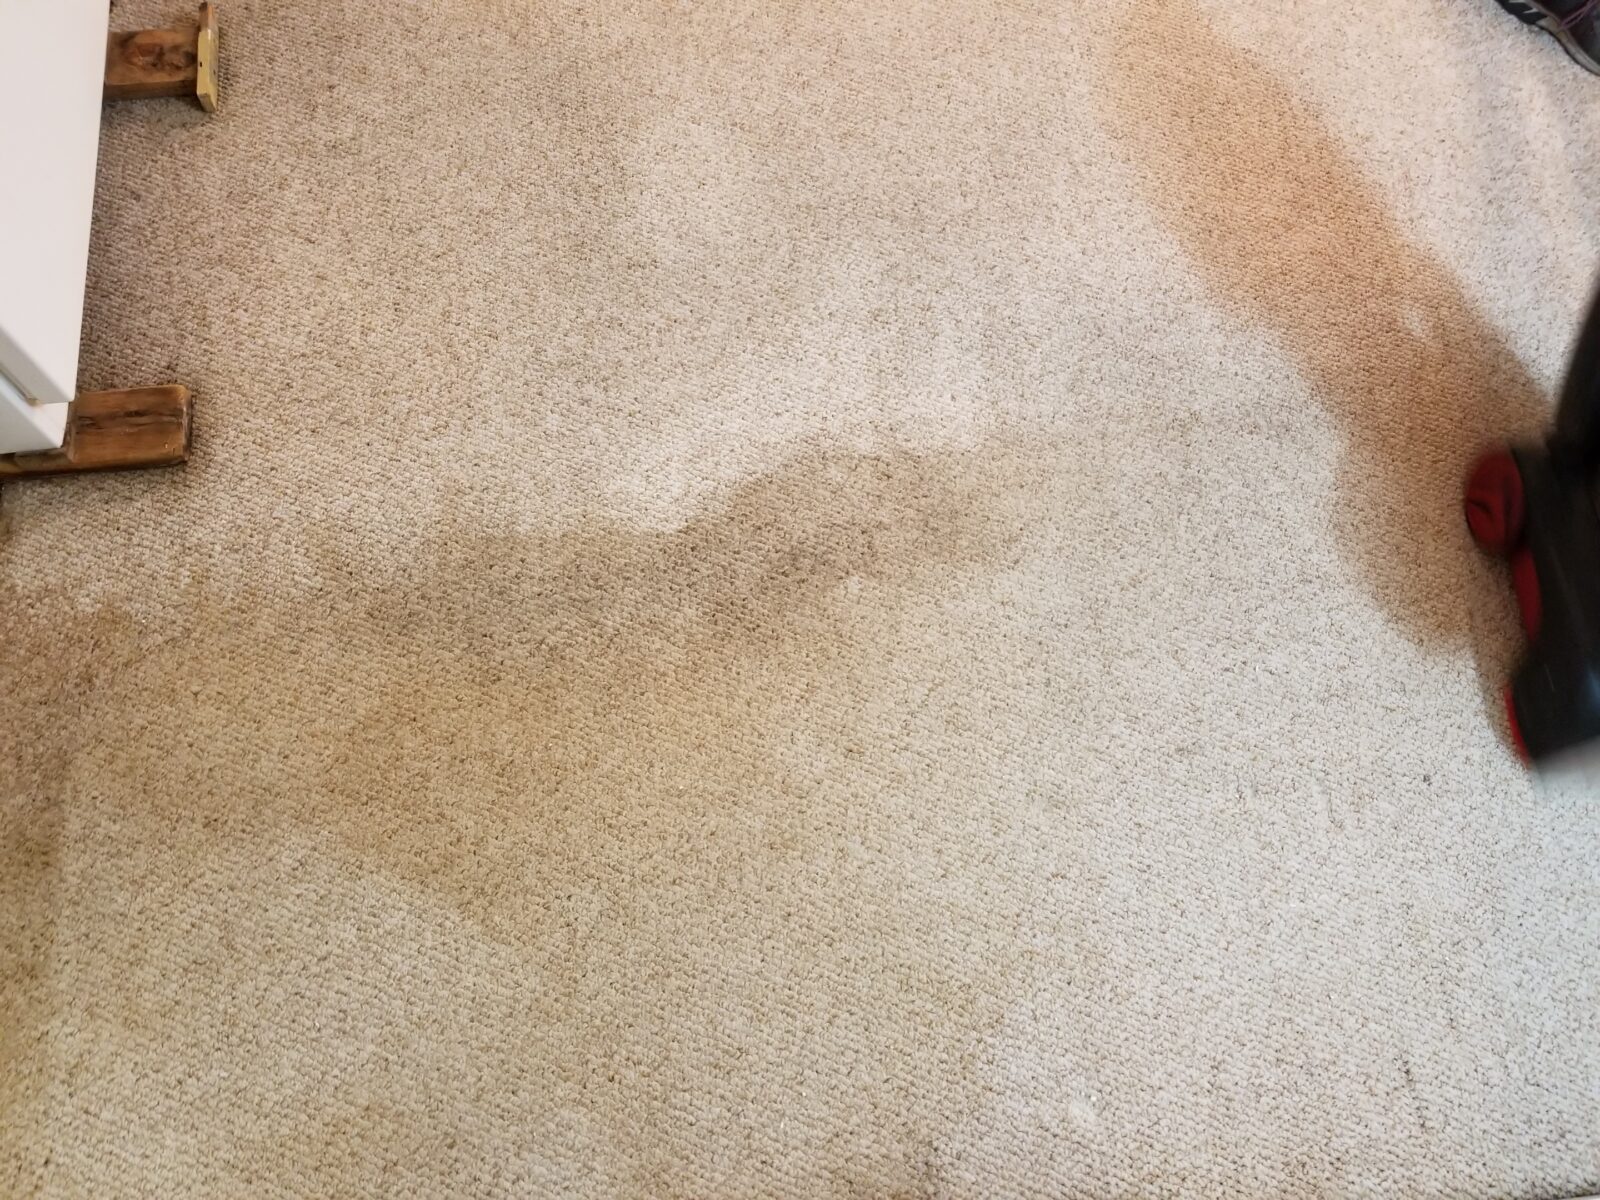
Look at the example area below. We had shampooed the lighter areas already but you can see the dirty carpet pretty clearly:
This is during shampooing:
And this is the end result
After we shampooed the carpets, we ran fans a dehumidifier to dry things out. The shampooer did a great job and I figured it would be worth it to pass along the word. We bought the exact model above at Home Depot for $149. We did mama’s house and were so impressed that we bought a unit for ourselves. I’d say we get at least five years from our older models so you can do the math as whether you want to continue to rent or buy a shampooer.
For us, the shampooers have been very worthwhile. We have always liked the quality of the results and we don’t have to rush and rent a unit if family is coming over, we need to clean up an accident or even clean in general – we can just do it whenever we want.
As mentioned, this is the third Hoover we have owned/used and were very impressed. If you are interested, check the various Hoover models and see what is getting good review on Amazon, Home Depot, etc. and also falls in your budget.