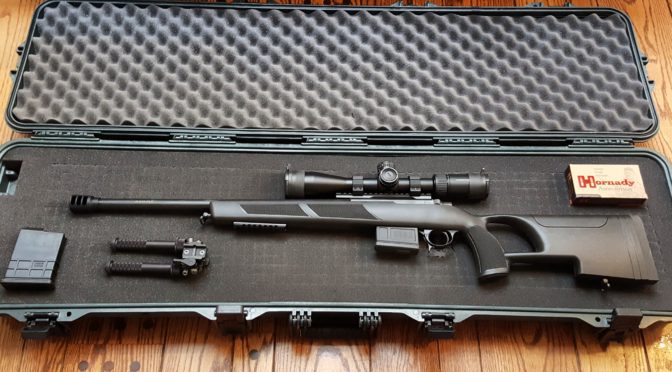
In my previous post, I gave you my out of the box impressions of the Sabatti .308 Urban Sniper. In this post, I’ll give you an overview of the scope I went with, mounting it and the Plano hardcase.
A Vortex 3-15×44 FFP PST Gen 2 Scope and PMR Rings
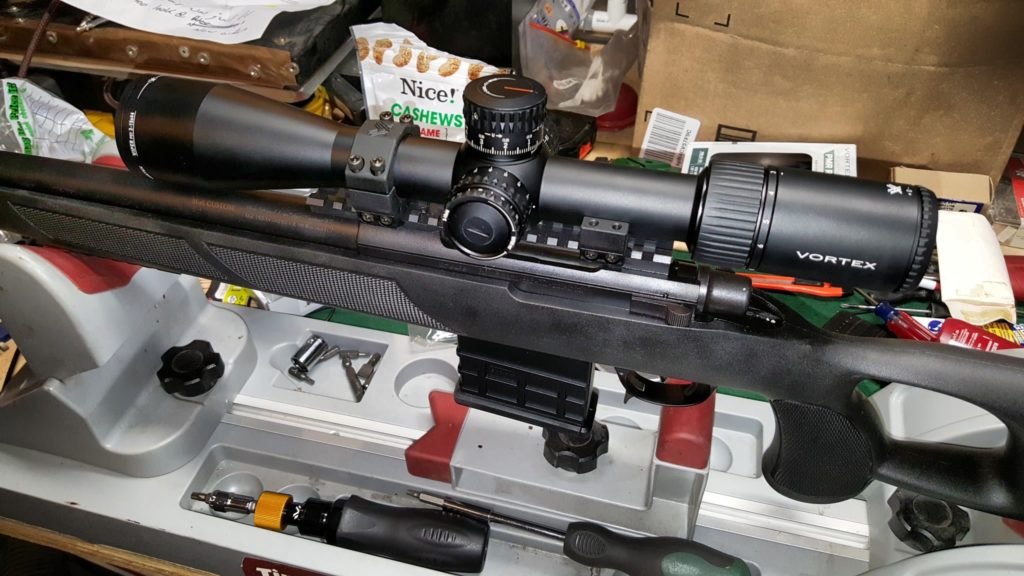
I contacted Travis Boran, a fellow I have grown to respect over the years at Vortex Optics. I told him about my plans and asked what scope he would recommend for a precision .308 rifle that was to be used within 400 meters. My first thought was to get another PST scope and Travis recommended that I go with the new 3-15×44 Front Focal Plane (FFP) second generation scope. PST scopes are built like tanks so that sounded good to me.
Travis always asks if I want a Minute of Angle (MOA) or Mil-Radian (MRAD) reticle. I understand the MRAD system and stuck with that. They have a really cool reticle for the scope known as the EBR-2C. What I like is that it looks like a Christmas tree and as you get near the bottom it has marks for the offset right there. Vortex provides an excellent guide on how to use the EMR-2C reticle.
I paired the scope with Vortex Precision Series rings – PMR-30-126. They are for 30mm tubes and are 1.26″/32mm high. In other words, they hold the center of the scope 1.26″ inches off the base. My goal is to get the scope as close to the bore as possible to reduce parallax plus the PMR rings have some advantages:
- They are machined as a pair and are held to a 0.0005″ tolerance. No need to do hand lapping to get a precise fit.
- They can be torqued down to spec. The base clamp screws are 45-50 in/lbs and the ring screws are at 15-18 in/lbs. The reason so many cheap rings lack torque specs is because they simply threaded soft aluminum and they will strip out.
- They are beautifully finished with a Type 3 Hardcoat.
You have so see and use a pair to get an idea how slick these are. I switched to Vortex precision rings in 2017 and have never regretted it. I also always use their offset mounts on my AR-optics too.
Mounting the Scope
I placed the Urban Sniper in my Tipton “Best Gun Vise”. Yeah, the name makes me choke a bit but I actually really like it. It’s a work stand with an adjustable clamp for the buttstock that lets you adjust the hold on the rifle until the top rail is flat/horizontal per a level.
This is where a photo would really be nice but the two I took turned out to be out of focus. Let me try and explain what I do. I use a Wheeler Scope Leveling System. It is very simple and contains two parts. The first is a simple flat bottomed level that you put on the base while you adjust the vise until the rifle is level.
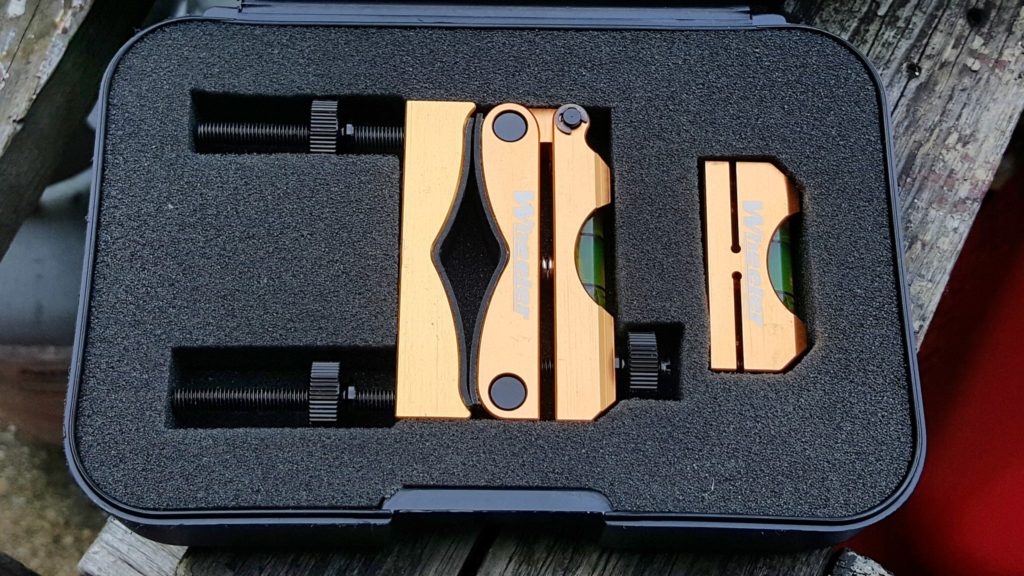
Next, to ensure it stays level, you attach the barrel mounted level and true it up with the other level. At this point, both levels should be saying the same thing – that the rifle is level. You then remove the little level from the base and install the rings.
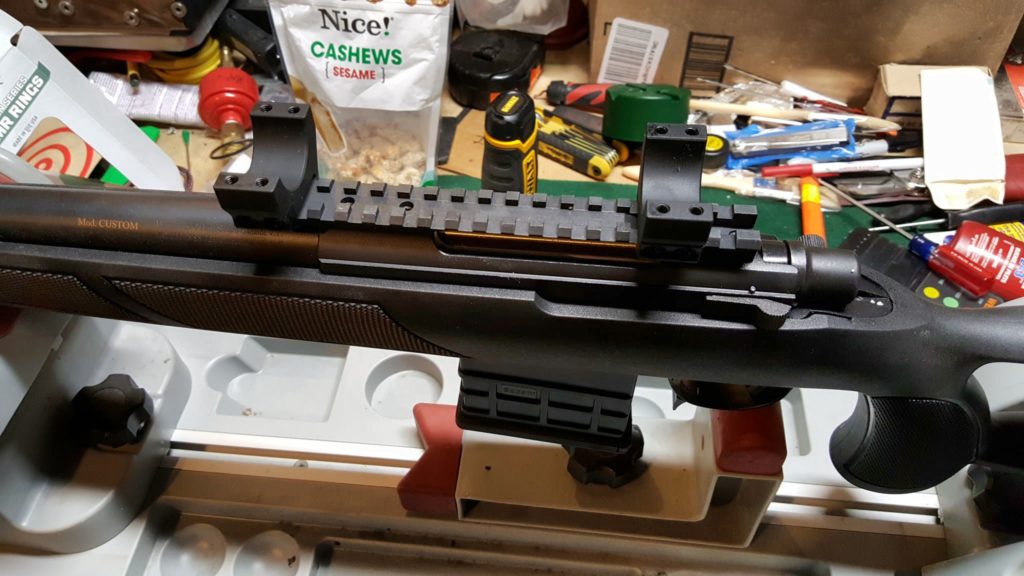
To install the rings, I use a Vortex torque driver. I actually wrote a post up on his model because I am so impressed. They are a quality calibrated instrument that performs excellently.
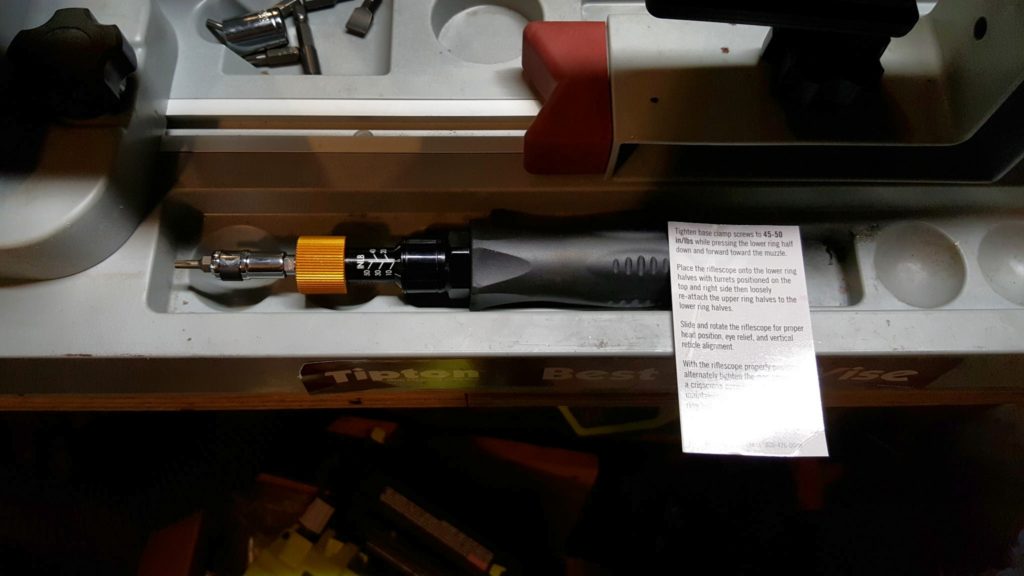
I use the driver to tighten the base down to 45 in/lbs first. I then set the scope on the rings and install the top parts of the rings /the caps very lightly so I can still move the scope with just a little effort. I then make sure I have the eye relief right when I bring the rifle up to my shoulder. I then make sure the rifle is level again based on the Wheeler level on the barrel.
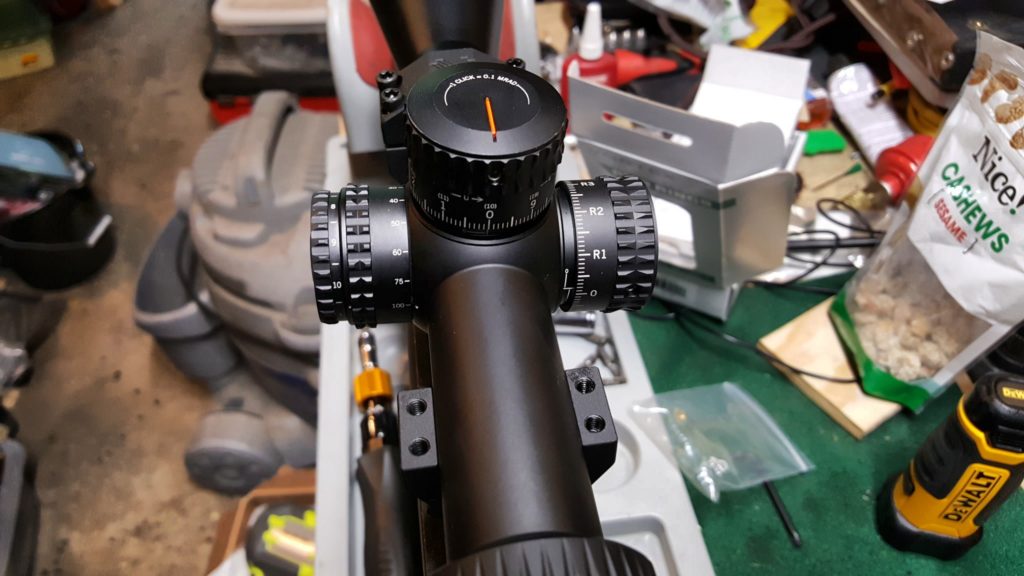
I then put the small level from Wheeler on the top scope elevation knob and adjust the scope left or right until the scope level and the barrel level match. Once it is good to go, I torque the ring screws down to 15 in/lbs. Call me paranoid but I target the lower end of the spec on all of the screws – base clamp and caps. I’ve not had a set shoot loose yet doing this and I’ve done this on 5.56, .308 and .338LM rifles.
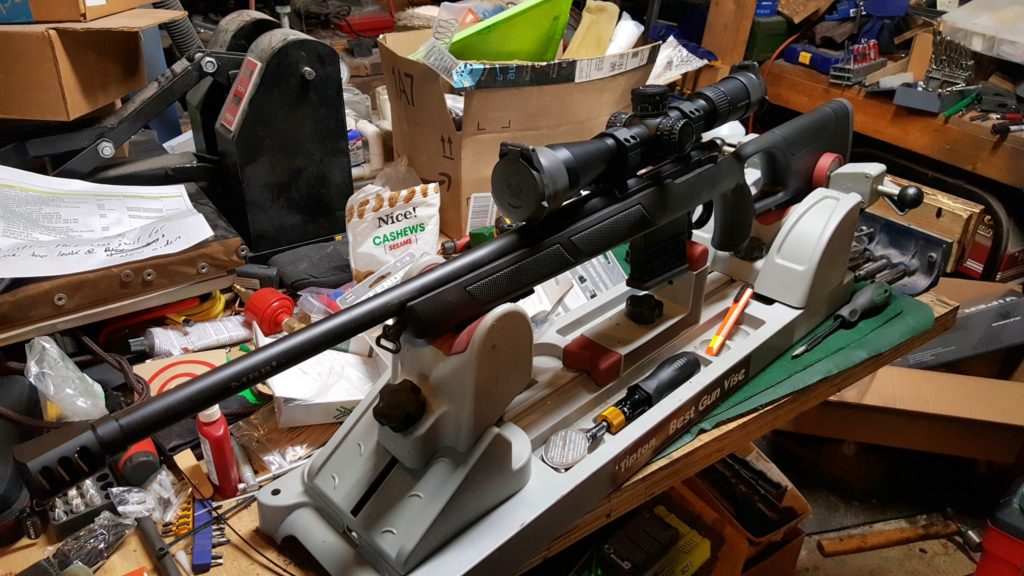
In this next photo you can see the scope installed with the Vortex Defender lens caps. You can also see that my shop really needs a good cleaning as I have a ton of junk on my bench.
Plano All Weather Case – Model 108180
Egg crate foam requires no fitting but I really do not trust it to protect a heavy precision rifle. I can’t tell you how many times over the years I have dropped a case with the egg crate style foam and then found the rifle and other accessories had all shifted/slammed down in the direction of the drop. Thus, I don’t use it any longer instead opting for custom fitted hard cases.
I go back and forth on two styles – foam that requires cutting or pluckable. To be honest, I think the foam that requires cutting (or melting if you have a hot wire system which I do) is the best. Pluckable foam is pre-scored to be pulled, or plucked, out to fit the contents of the case. The problem with it is that even if you use a spray adhesive to secure it to the bottom of the case, it wears at the top as the weapon and accessories hit the edges when they are placed in the case. You can’t make it as tight fitting as a result. On the plus side, a pluckable case is easy and fast to do.
With that said, I’ve been using Plano cases for the last few years. They are less expensive than a Pelican case and, if you want my honest opinion, Plano has really upped their game in terms of turning out some very rugged cases.
| The Plano All Weather cases are really nice plus Plano makes a variety of other cases – click here to see them on Amazon. |
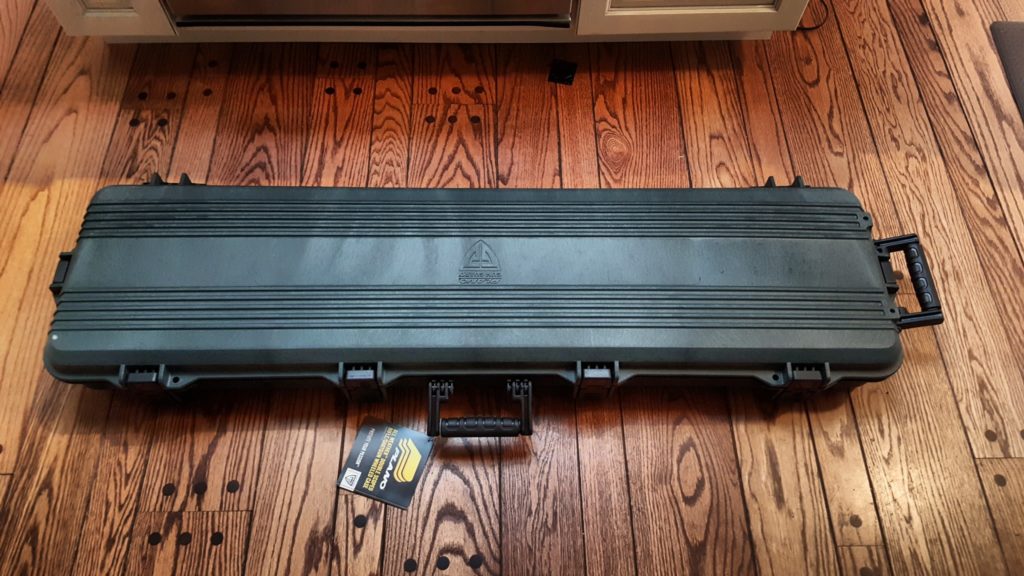
I purchased a Plano All Weather model 108180 in green. The green was partly to pay homage to the original green hardcase the rifle came in from Sabatti and also to help me visually spot it quickly. When you have a bunch of black cases, life can get interesting.
External case dimensions are: 54.625″ x 15,5″ x 6″
Interior case dimensions are: 51.5″ x 12.63″ x 5.25″
The All Weather series have pluckable foam, a gasket to help keep out water, and wheels on one end for pulling it.
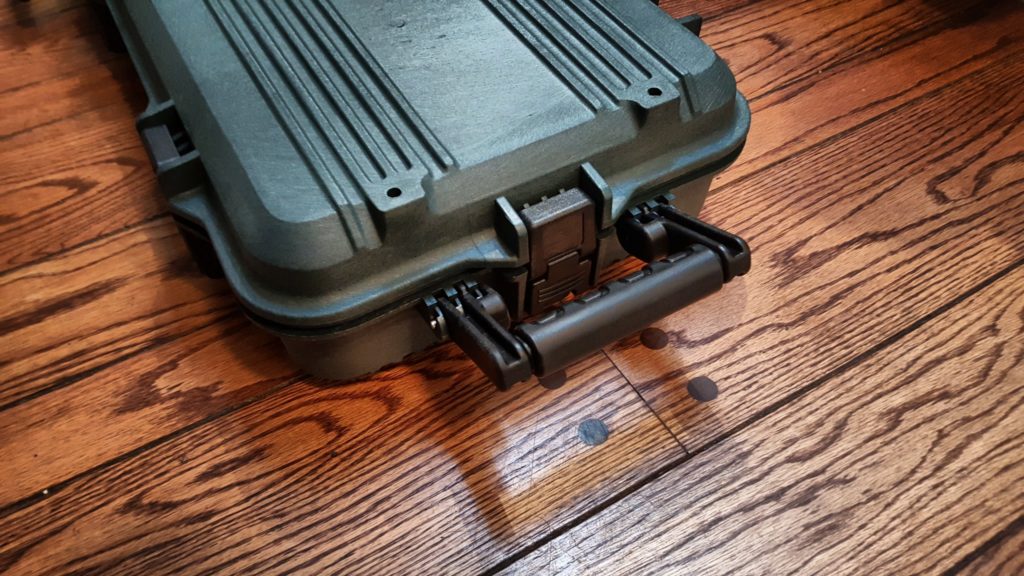
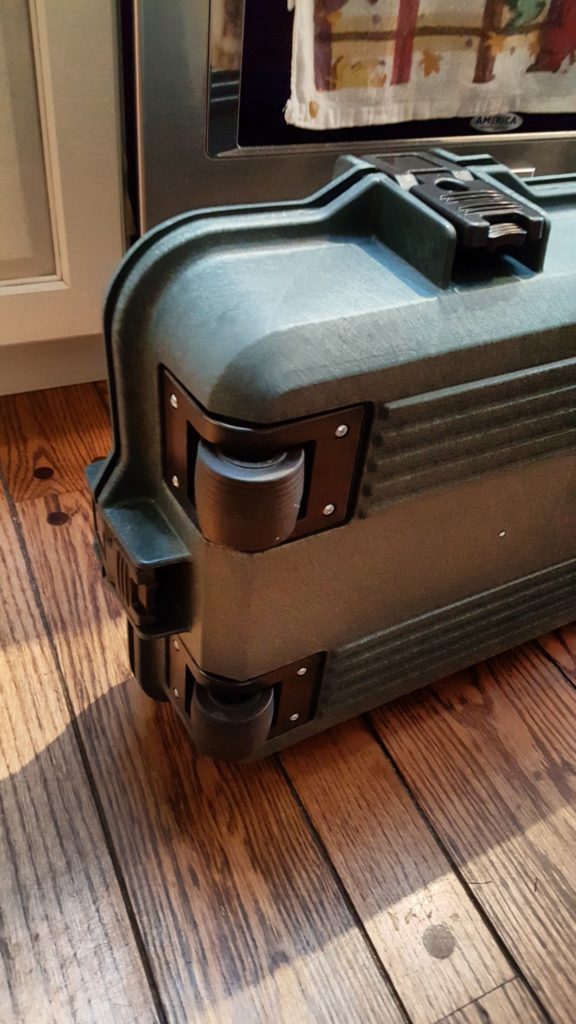
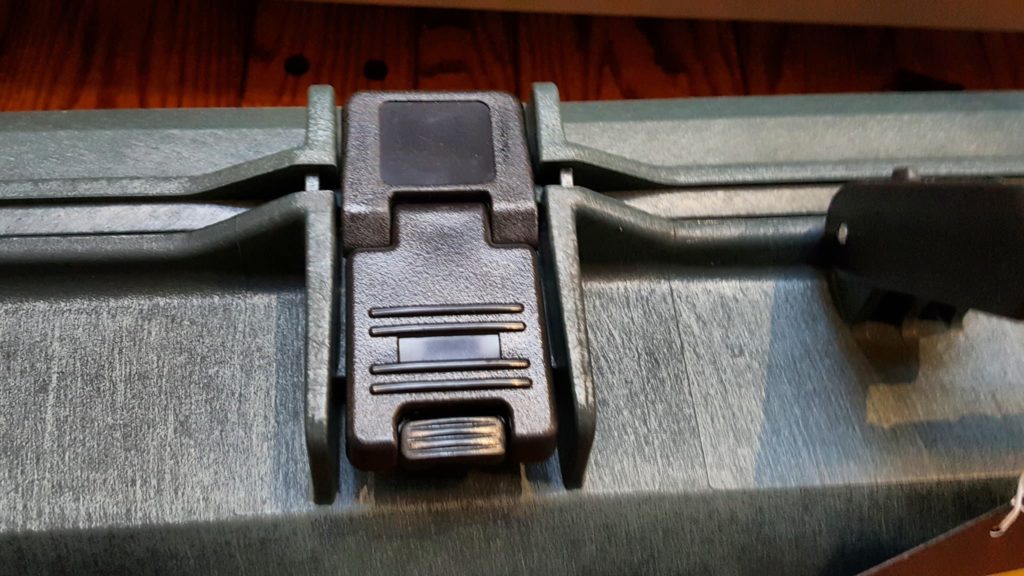
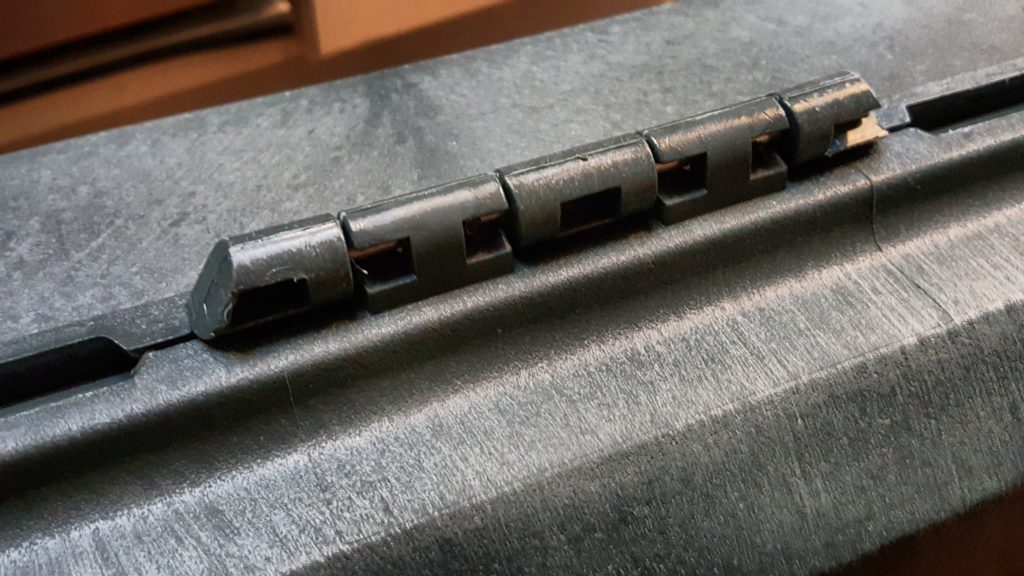
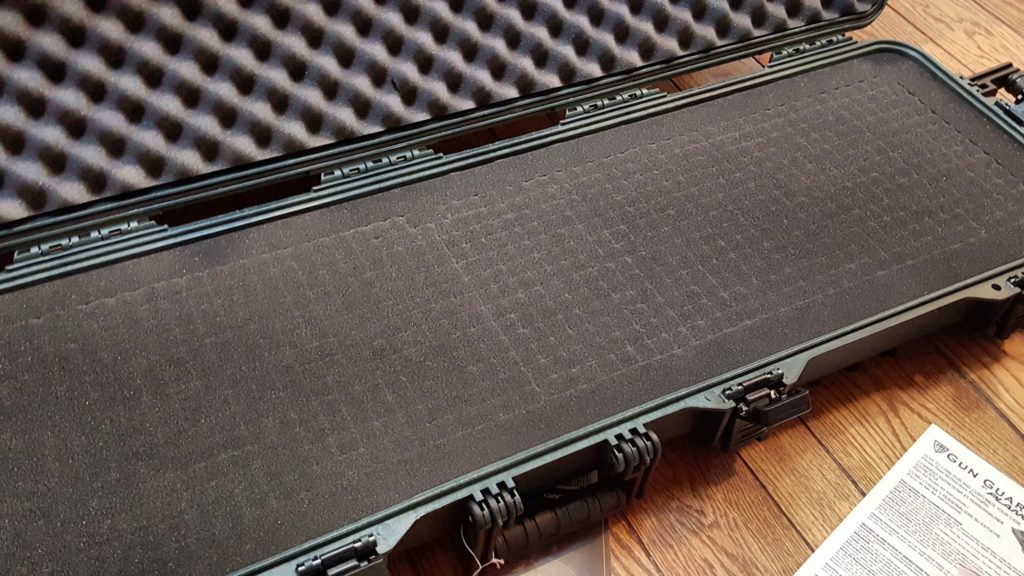
These are solid cases. My intent in explaining the shortcomings of pluckable foam was for you to know the pro and the con. You’ll note that I did buy this case for this rifle — end of the day, it is a quick way to build a pretty good case to protect your rifle and scope.
Next Up Was to Fit the Plano Case
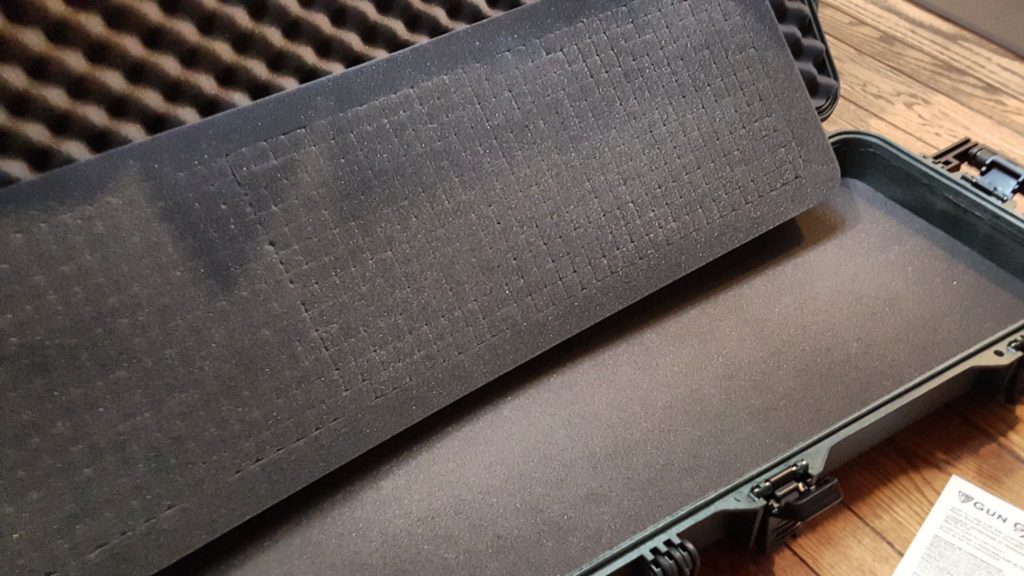
Okay, most pluckable foam cases have three layers – an egg crate top, a pluckable middle and a foam bottom. We will be working on the middle piece and do note you can order replacement foam should you ever need to.
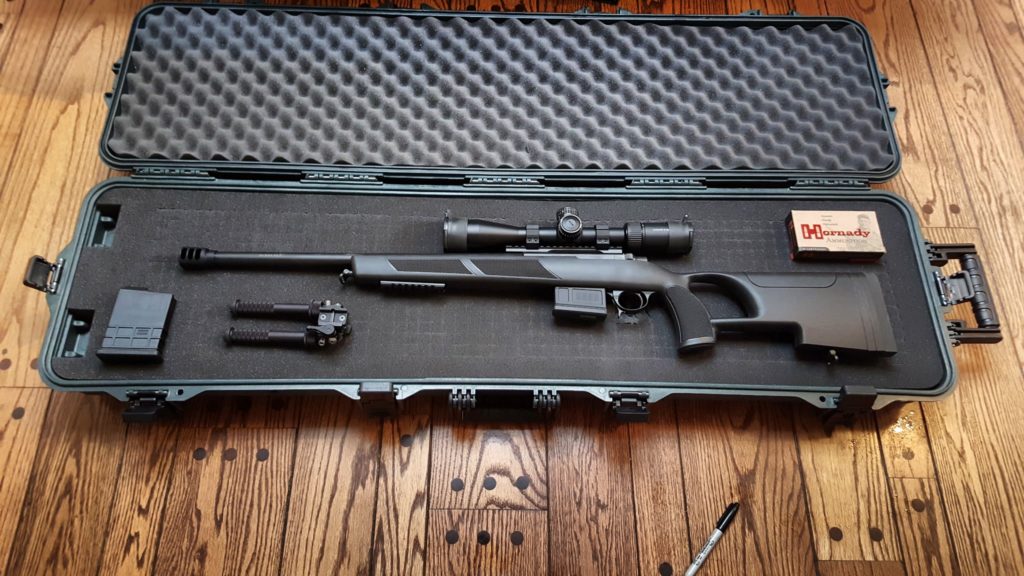
I lay things out that I want in the case in a mirror image. I really want the scope to be located at the top by the carry handle vs. down by the ground. The rationale is that the scope will take less stress this was as we usually set a case down on the hinged “bottom” and not on the top with the handle.
I also like to have a spare magazine, the bipod, ammo and space for any special tools, batteries for the scope, etc. My first aim in the layout is to try and keep the rifle as far away from the sides as I can. As you can see in this case, the fit is pretty close and I don’t have as much spare room as I would like at the top of the scope but I still think it will be protected.
Again, this is a mirror layout so that I can pluck out the foam and not worry about the permanent marker lines being left behind. I needed to remember the wheel cutouts were there also.
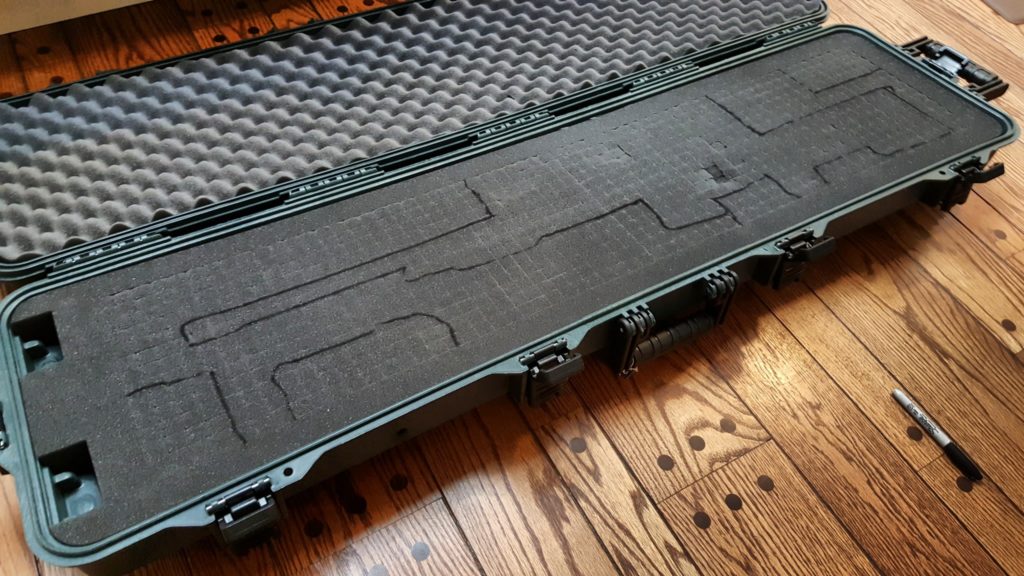
So once you have your lines drawn, you start pulling the scored little rectangular sections out. I use a small razor blade box cutter on any that don’t want to pull apart the way I want them to.
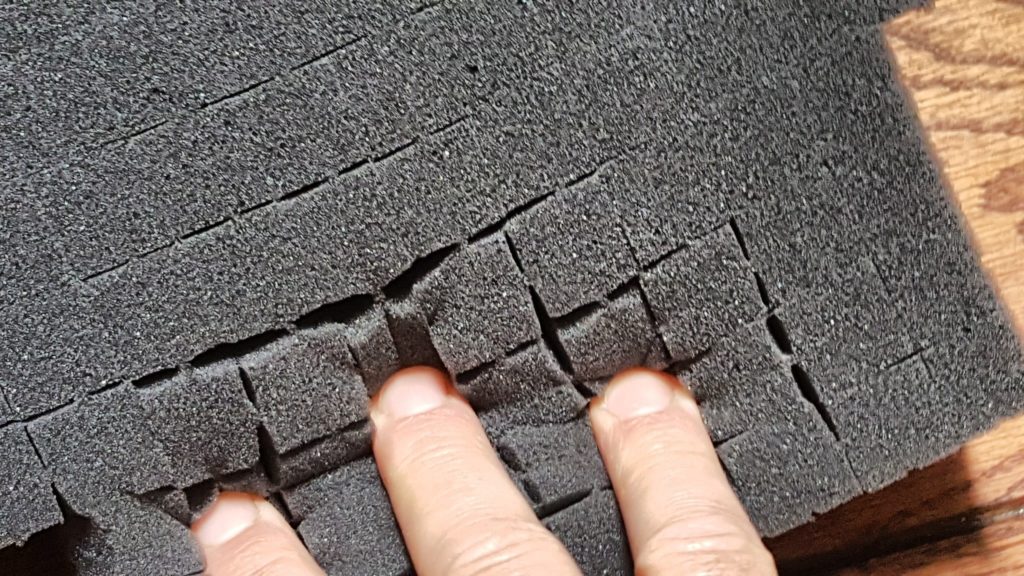
I always draw my lines and then pluck tight. You can always remove more if you need to. You need to test your fit several times to make sure you have it just right.
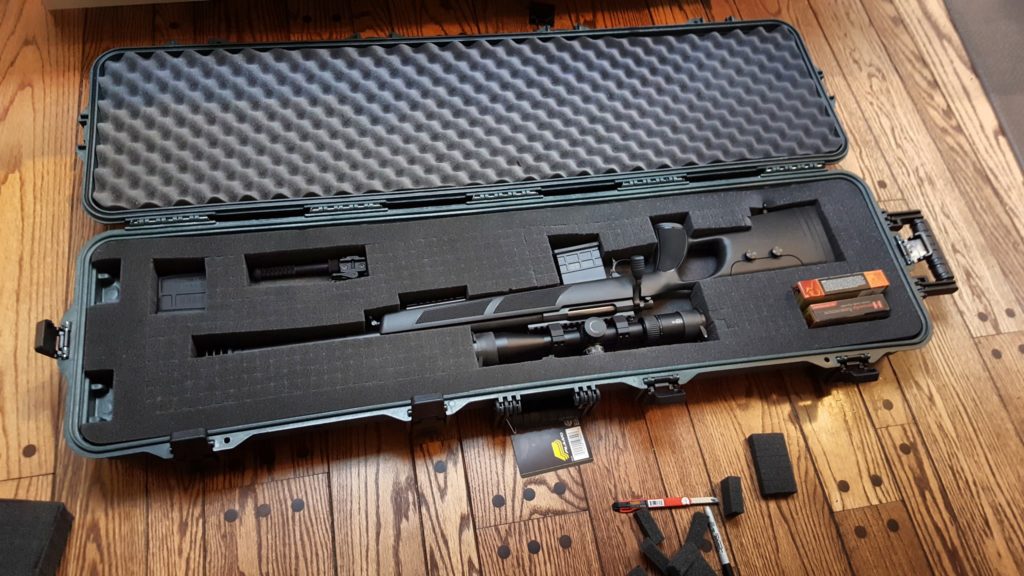
I then take the insert outside and carefully make sure I spray adhesive on the side that is going down. Notice how I point that out! Guess who did the wrong side once years ago 🙂
I spray a heavy coat of adhesive on the insert and the parts of the lower piece that will not be exposed. Note that I use 3M Super 77 Spray Adhesive. It was recommended to me years ago and I have used it ever since to bond case foams together.
If you need to remove overspray, use mineral spirits, Goo Gone, turpentine, etc. before it dries. I wear nitrile gloves when spraying to avoid getting my hands sticky.
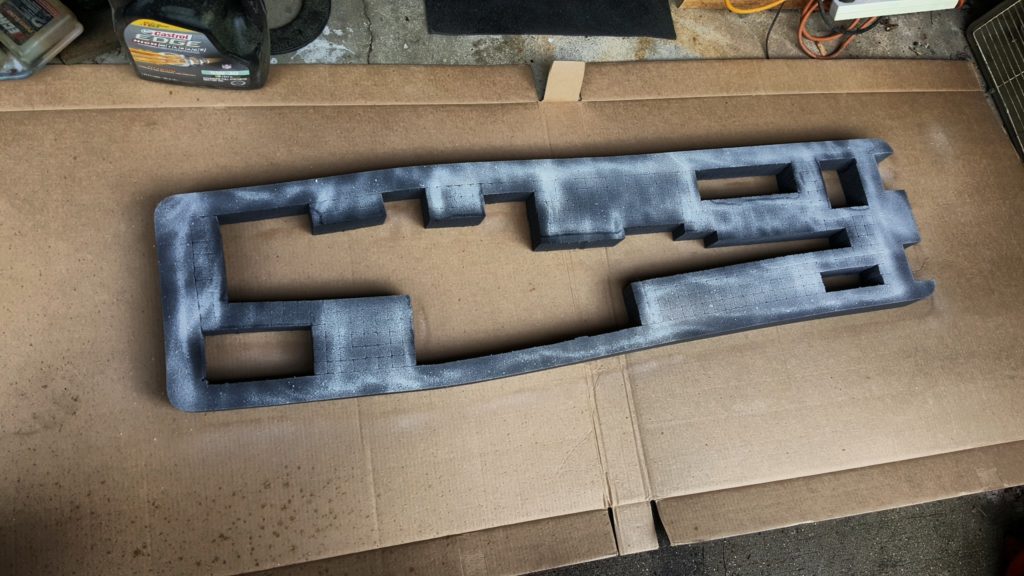
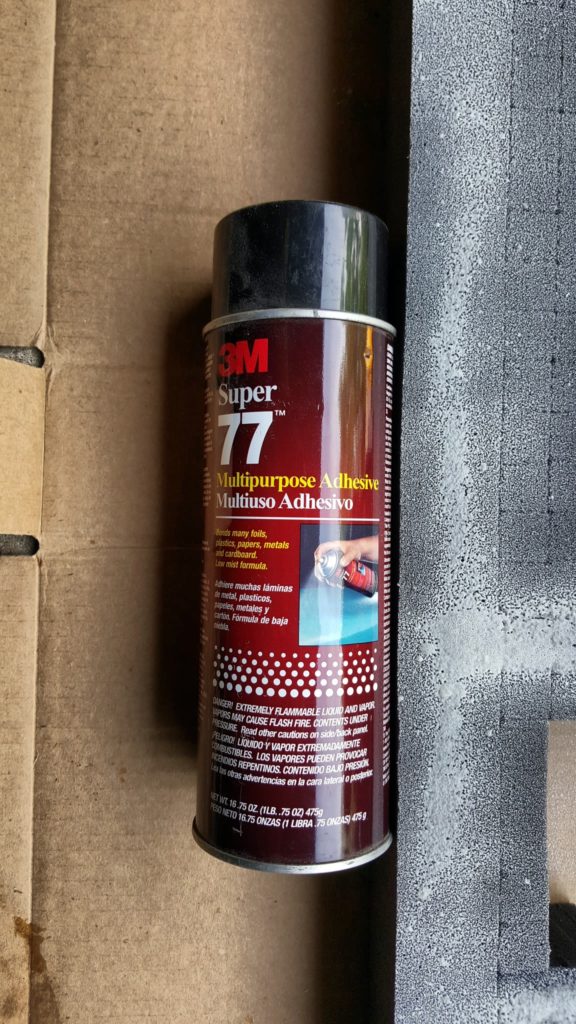
Follow the recommendations on the can. You want to let the stuff get tacky then carefully reinsert the foam into the case. Watch the orientation!! Don’t put it in facing the wrong way. Also, don’t worry about adhesive getting in the wrong place – just clean it up as mentioned above. The stuff sets quickly but takes a while to cure.
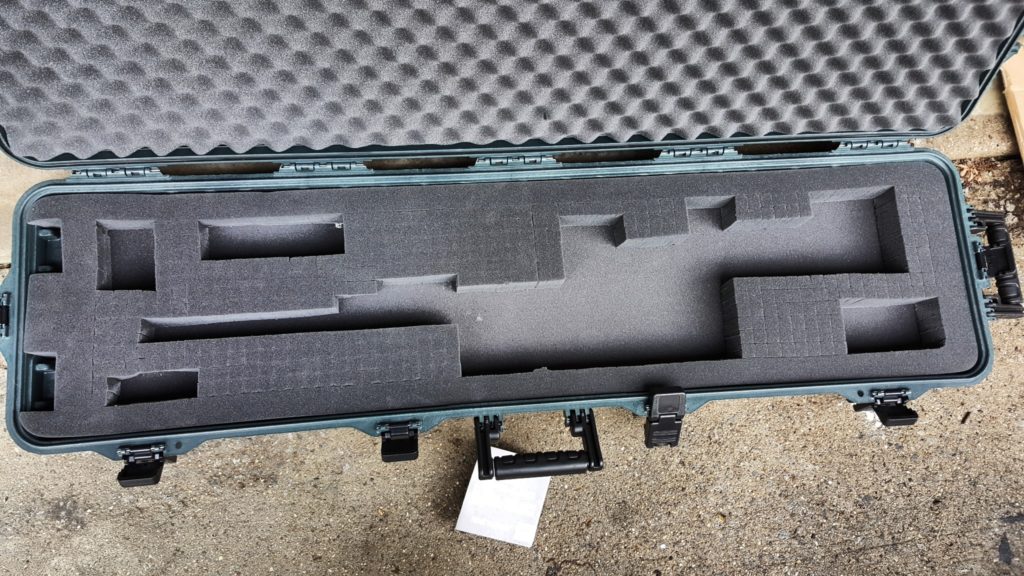
Let it dry overnight or longer if cooler. I can pretty much guarantee you will have some stick on your rifle, etc. If you do, it will come off with the aforementioned solvents plus stuff like penetrating oil, etc. I would not put oil on the foam so I didn’t mention it earlier.
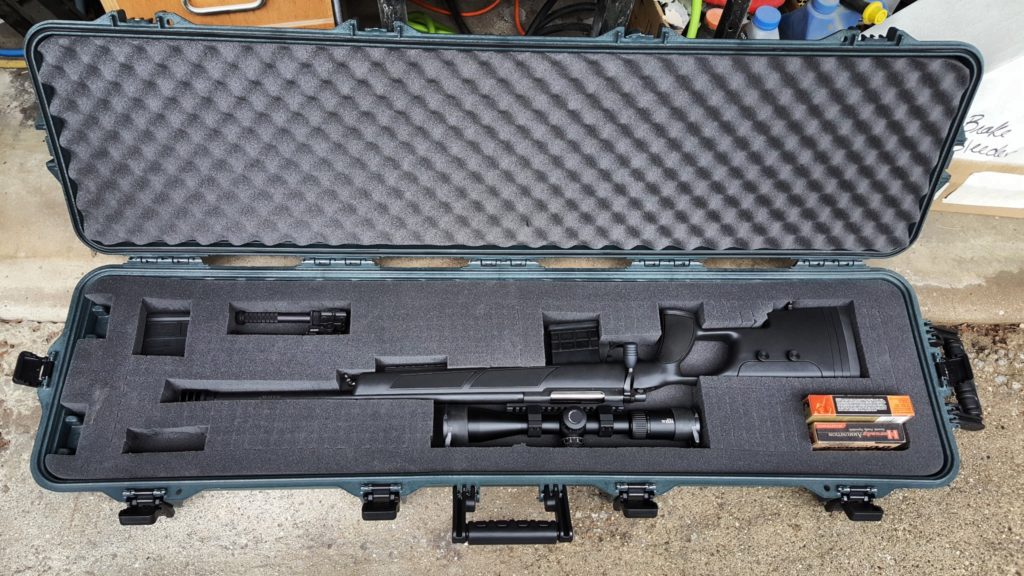
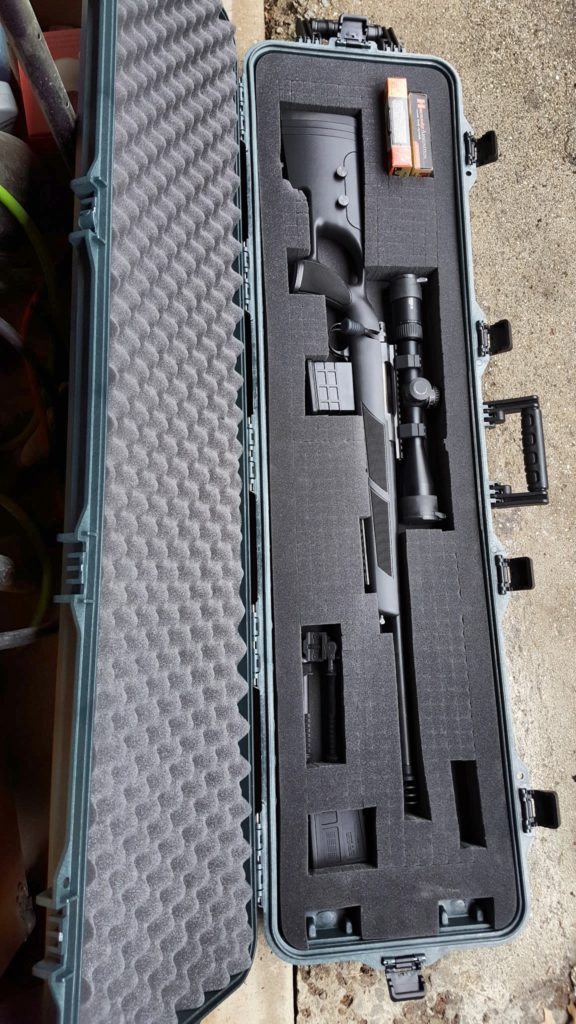
So that’s it. Now I bet you are wondering how it shoots. It’s very impressive and we’ll talk about that in the next post.
If you find this post useful, please share the link on Facebook, with your friends, etc. Your support is much appreciated and if you have any feedback, please email me at in**@*********ps.com. Please note that for links to other websites, we are only paid if there is an affiliate program such as Avantlink, Impact, Amazon and eBay and only if you purchase something. If you’d like to directly contribute towards our continued reporting, please visit our funding page.
