
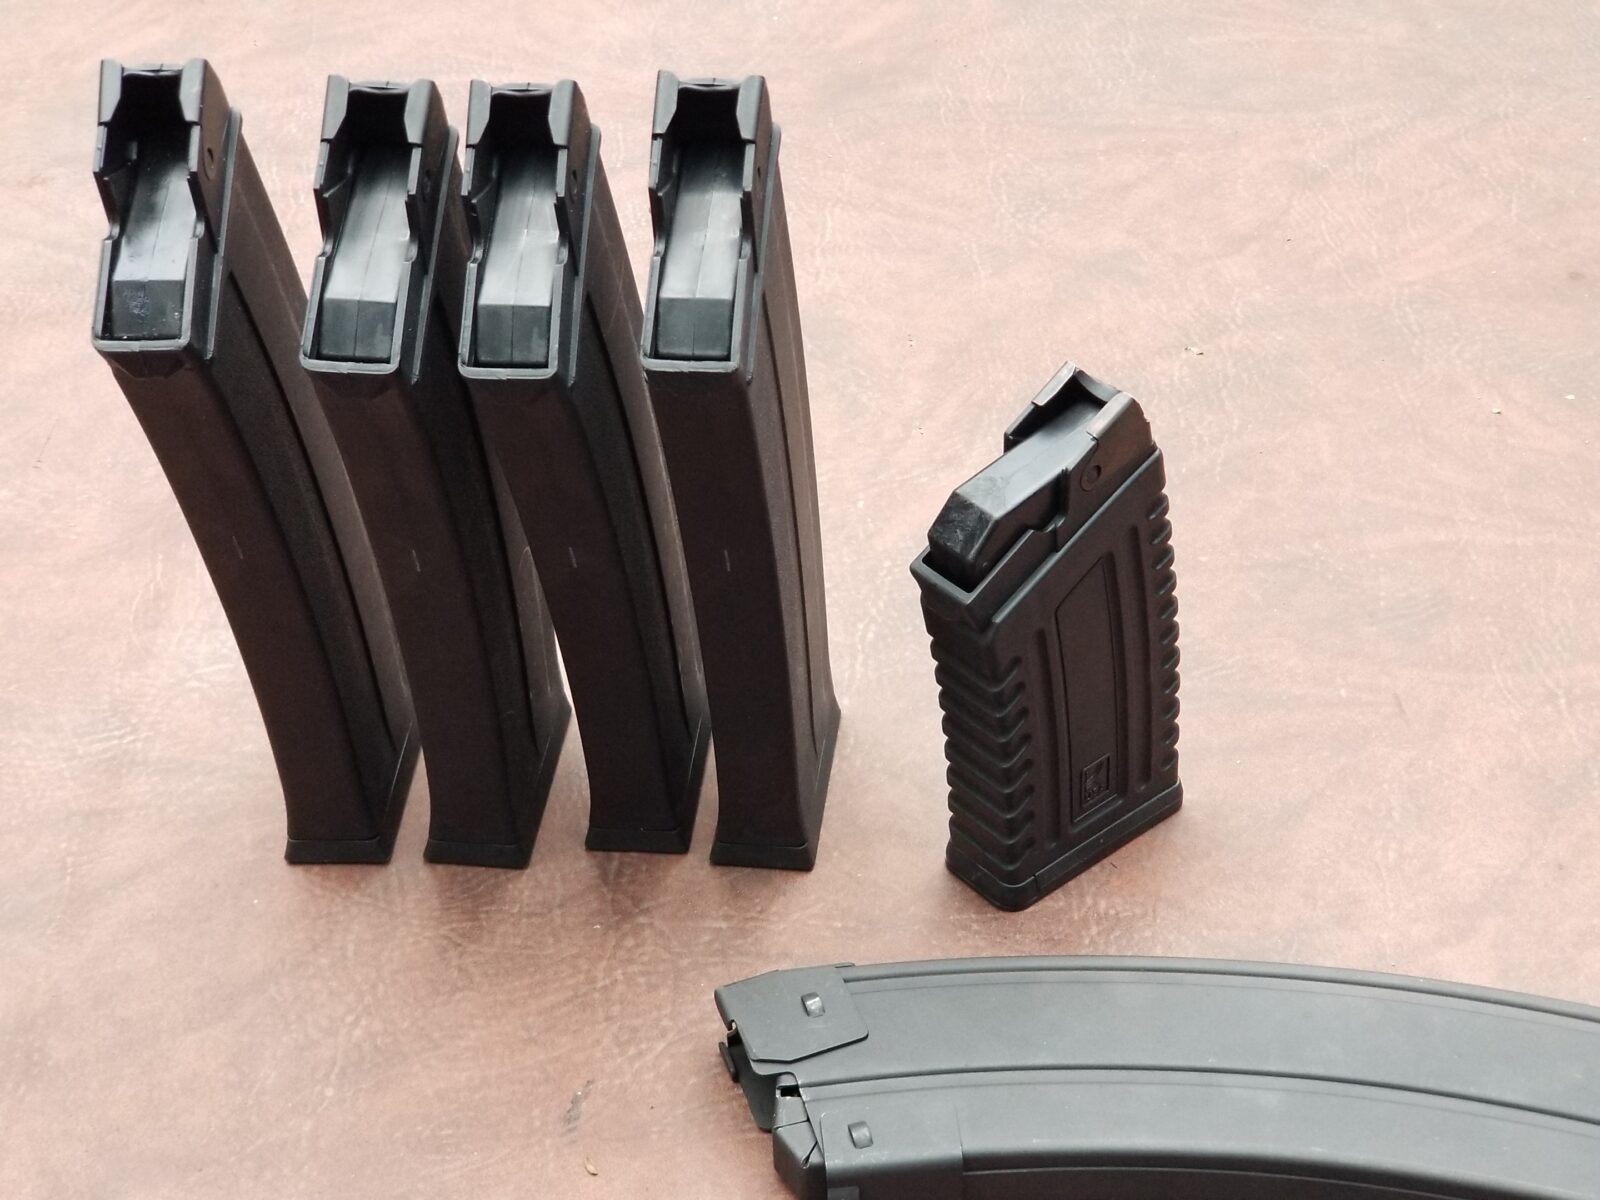
Well, Scott, Brooks and I went shooting a few weeks back. I was really excited to take my new SDS Lynx out and I had bought four brand news SDS 10 round magazines that I took out of the wrapper and threw in my range bag. That turned out to be a mistake. The photo above is of Scott trying to clear yet another jam from the Lynx with one of the 10 round magazines inserted – they had feed failures constantly.
One of the things I was told years ago was to test everything before you rely on it. Now granted I was just going to the quarry to shoot with my friends but I really should have tested those magazines. Of the four, only one kind of worked. The followers were all hanging up about an inch from the top. The five round SDS magazine that came with the shotgun ran great but five founds at a time is not the most exciting thing. It was frustrating and disappointing at the same time.
The Lynx and the mags went back in the gun case and I felt pretty stupid for not checking the mags before going. On the other hand, they were brand new and should have worked. I was more than a bit miffed also – clearly there was a manufacturing issue, Followers should spring to the top of a magazine like a rocket – not get stuck part way down. A person should not need to buy magazines and then tune them inside – getting them to fit an AK-style weapon, sure that happens all the time, but not needing to redo the internals.
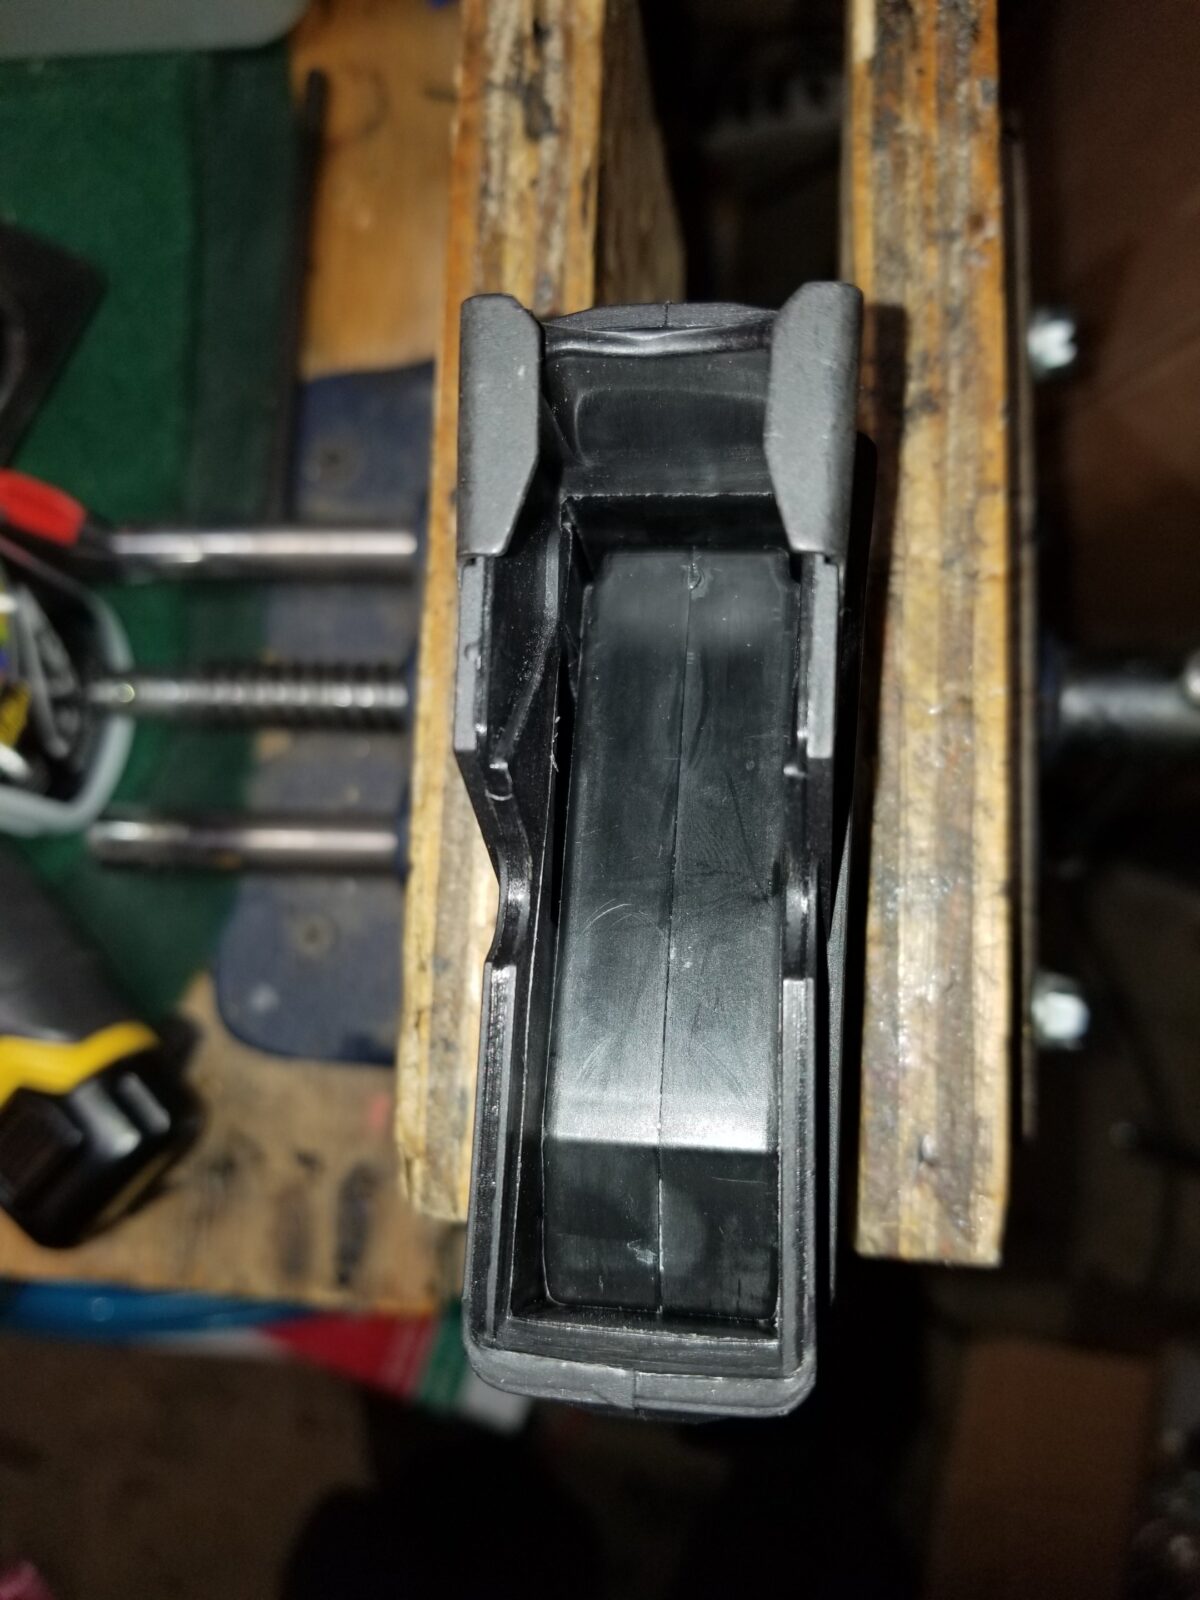
In the following photos notice how the followers are not all the way to the top compared to the small 5 round magazines.
At that point I made a decision – the SDS magazines really did look well made and rather than send them back, I decided to tune them and document what I did to share with others.
The Lynx shotgun uses Saiga magazines so this design is common and writing up what to do might very well help others out. So with my mind made up, it was just a matter of finding the time to do it.
A couple of weeks went buy before I could dig in but finally the time came. I’m going to try and show you what I found and explain what you need to do to correct it. You’re going to need a Dremel (or similar rotary tool), rubberized polishing bits, felt/wool polishing bits, and a plastic polish – I use Plastix a lot but even toothpaste would work. Yes, toothpaste is a very fine grit polish – you can even use it to polish plastic headlights.
Disassembling a SDS Magazines
The SDS magazine comes apart just like any AK magazine – you push the button on the bottom with a screw driver and slide the floor plate off of the magazine body. Now take a look at it. It can only push off one. All of the magazine Parts in the SDS can only go one way.
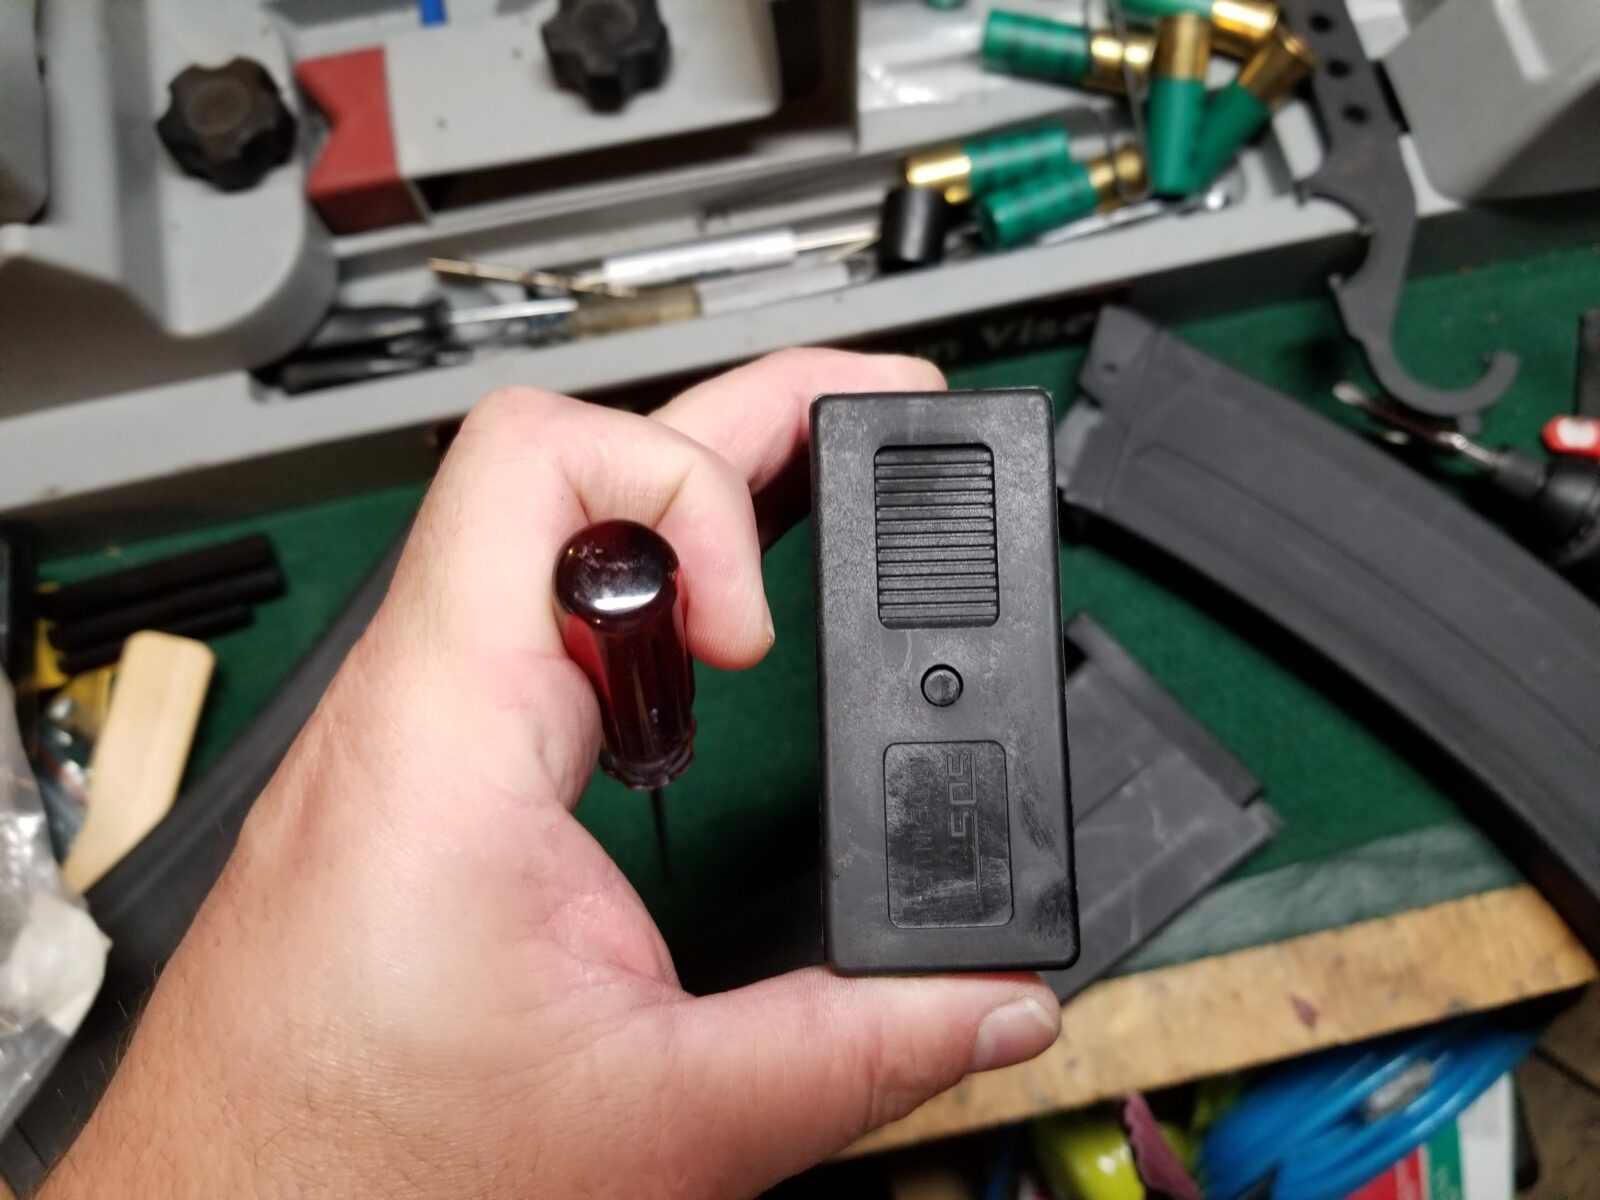
So push the button down and shove the floor plate in the direction of the opening. You may need to use a small Mallet or something hard to give it a little bit of a whack to get it started.
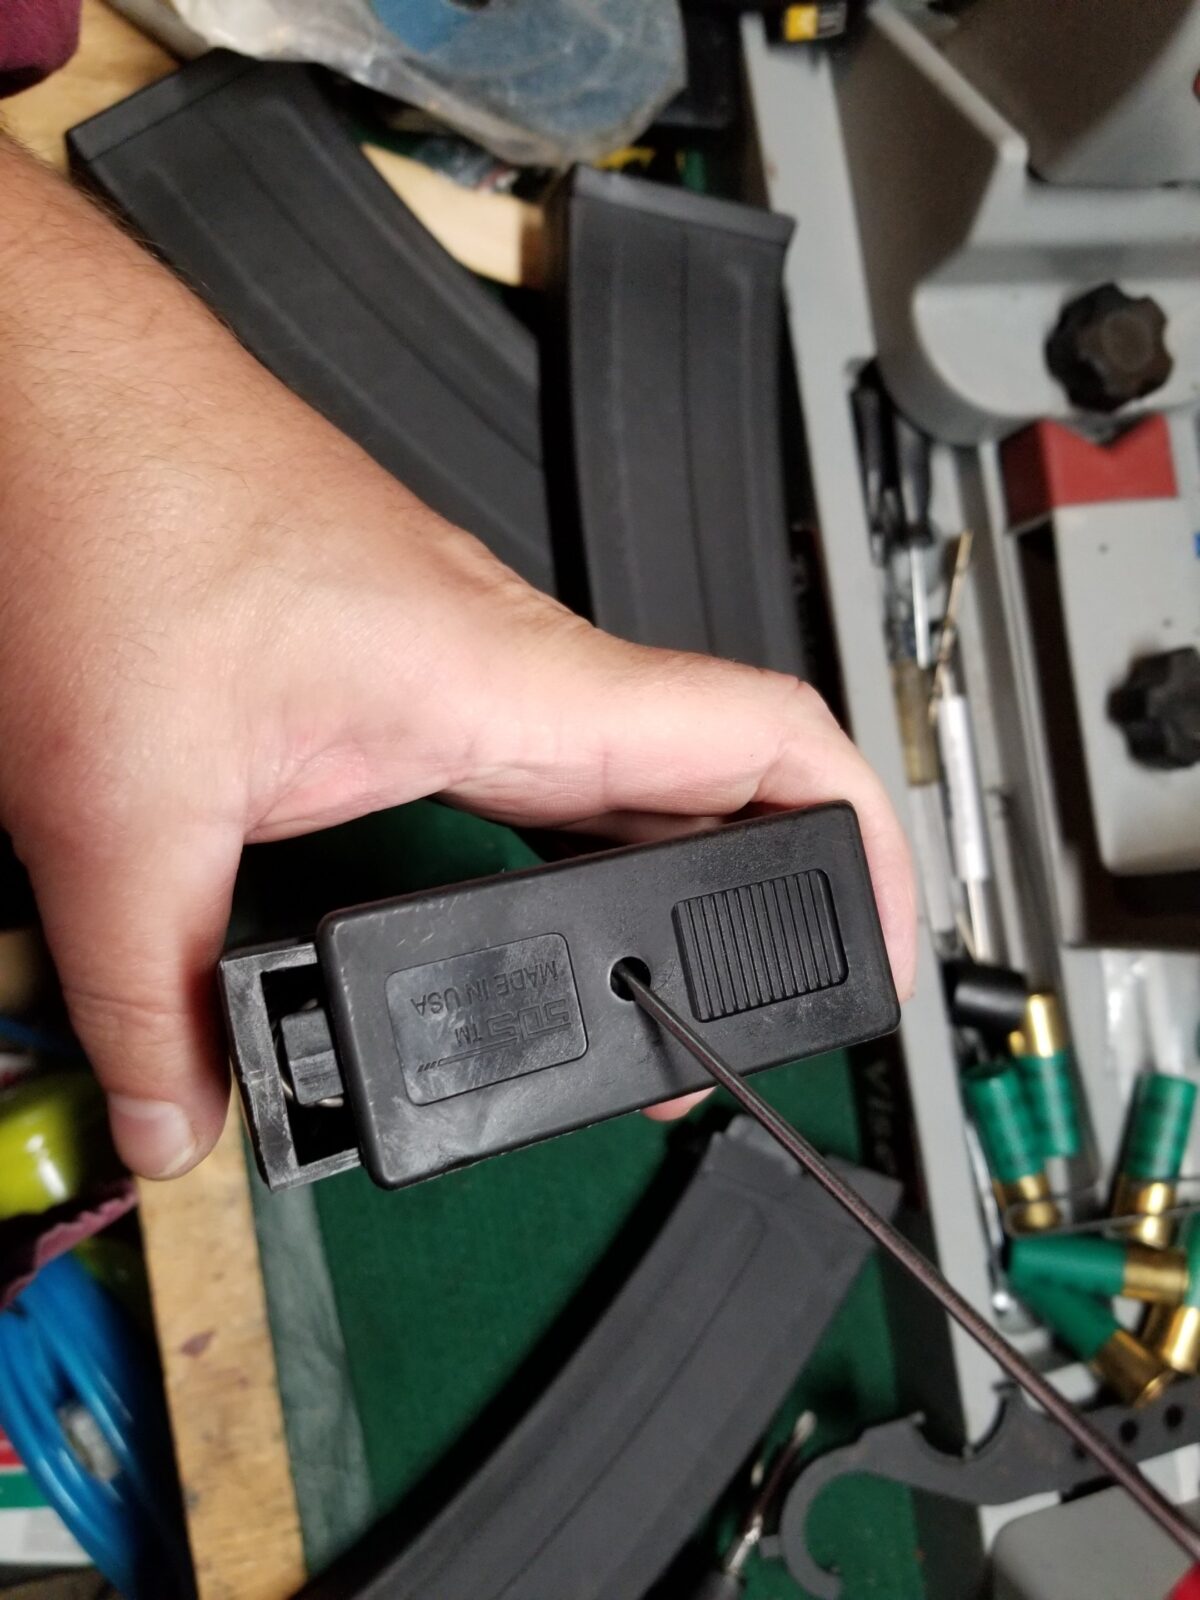
Now once you get that floor plate off the rest is going to want to spring out so use your thumb to keep it from flying across the room or in your face.
Fixing The Problem Area
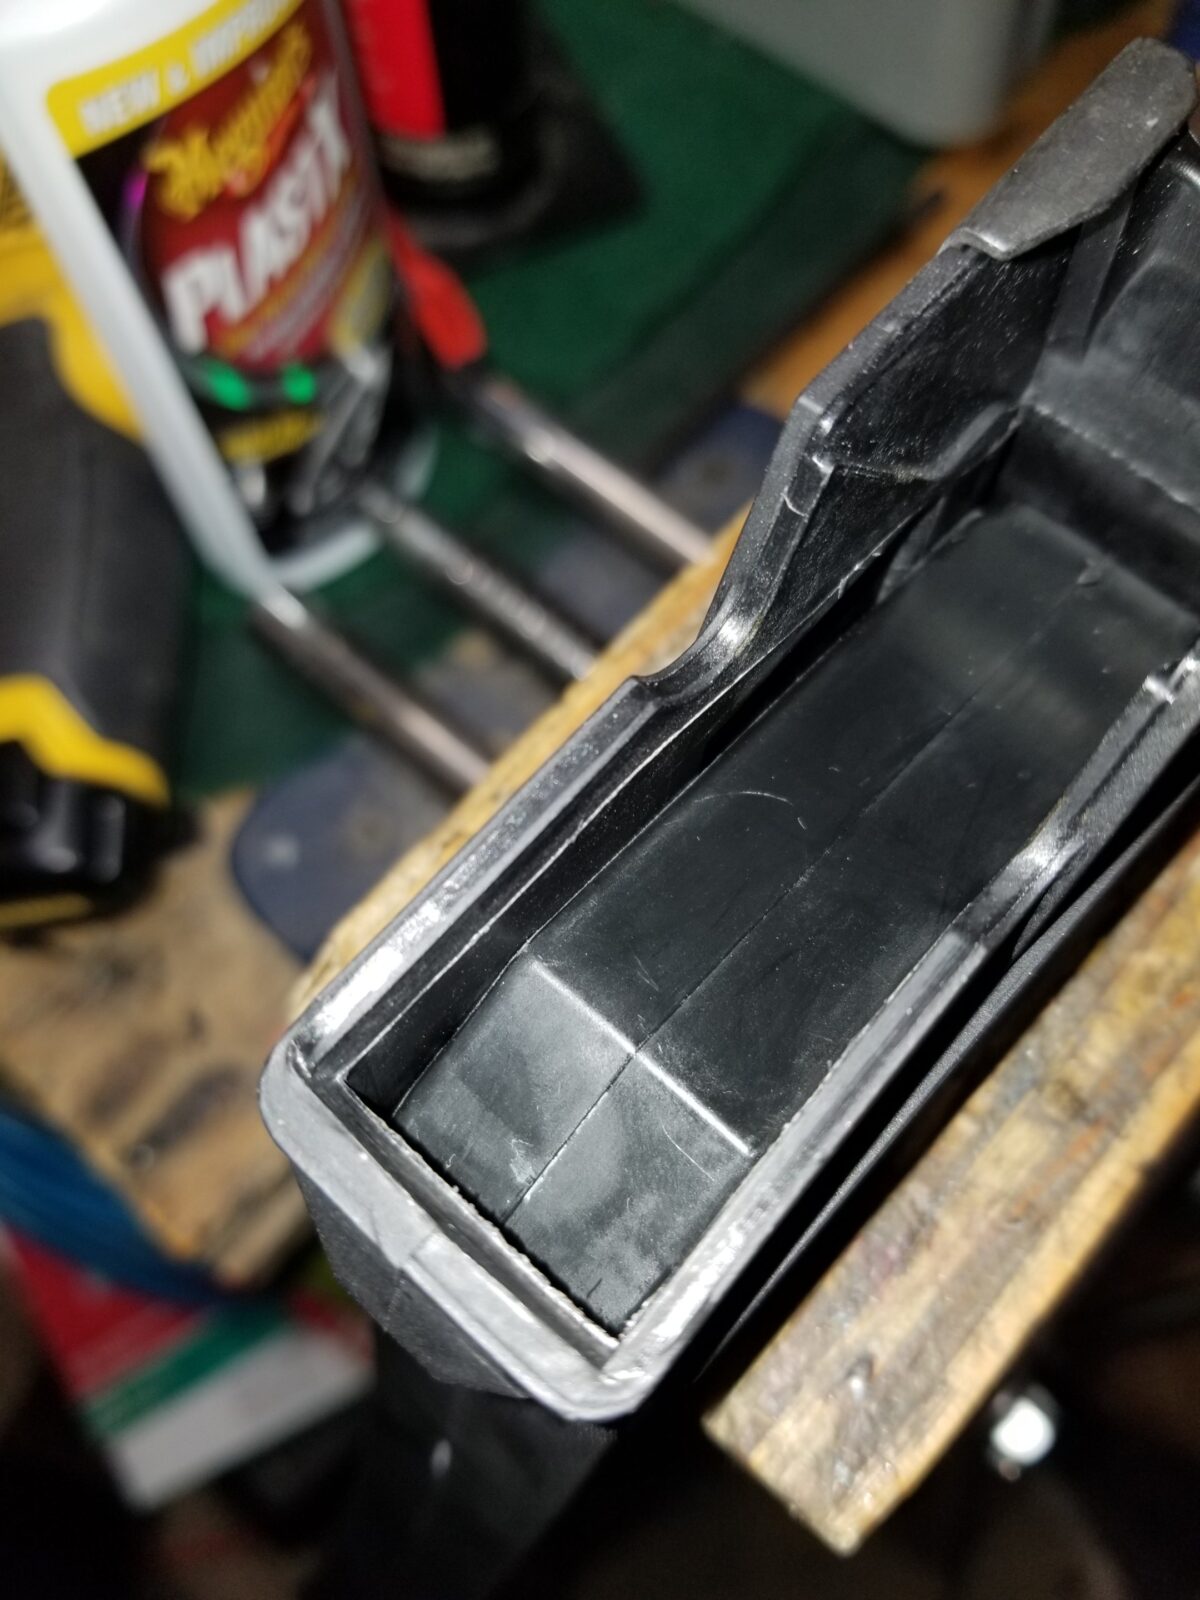
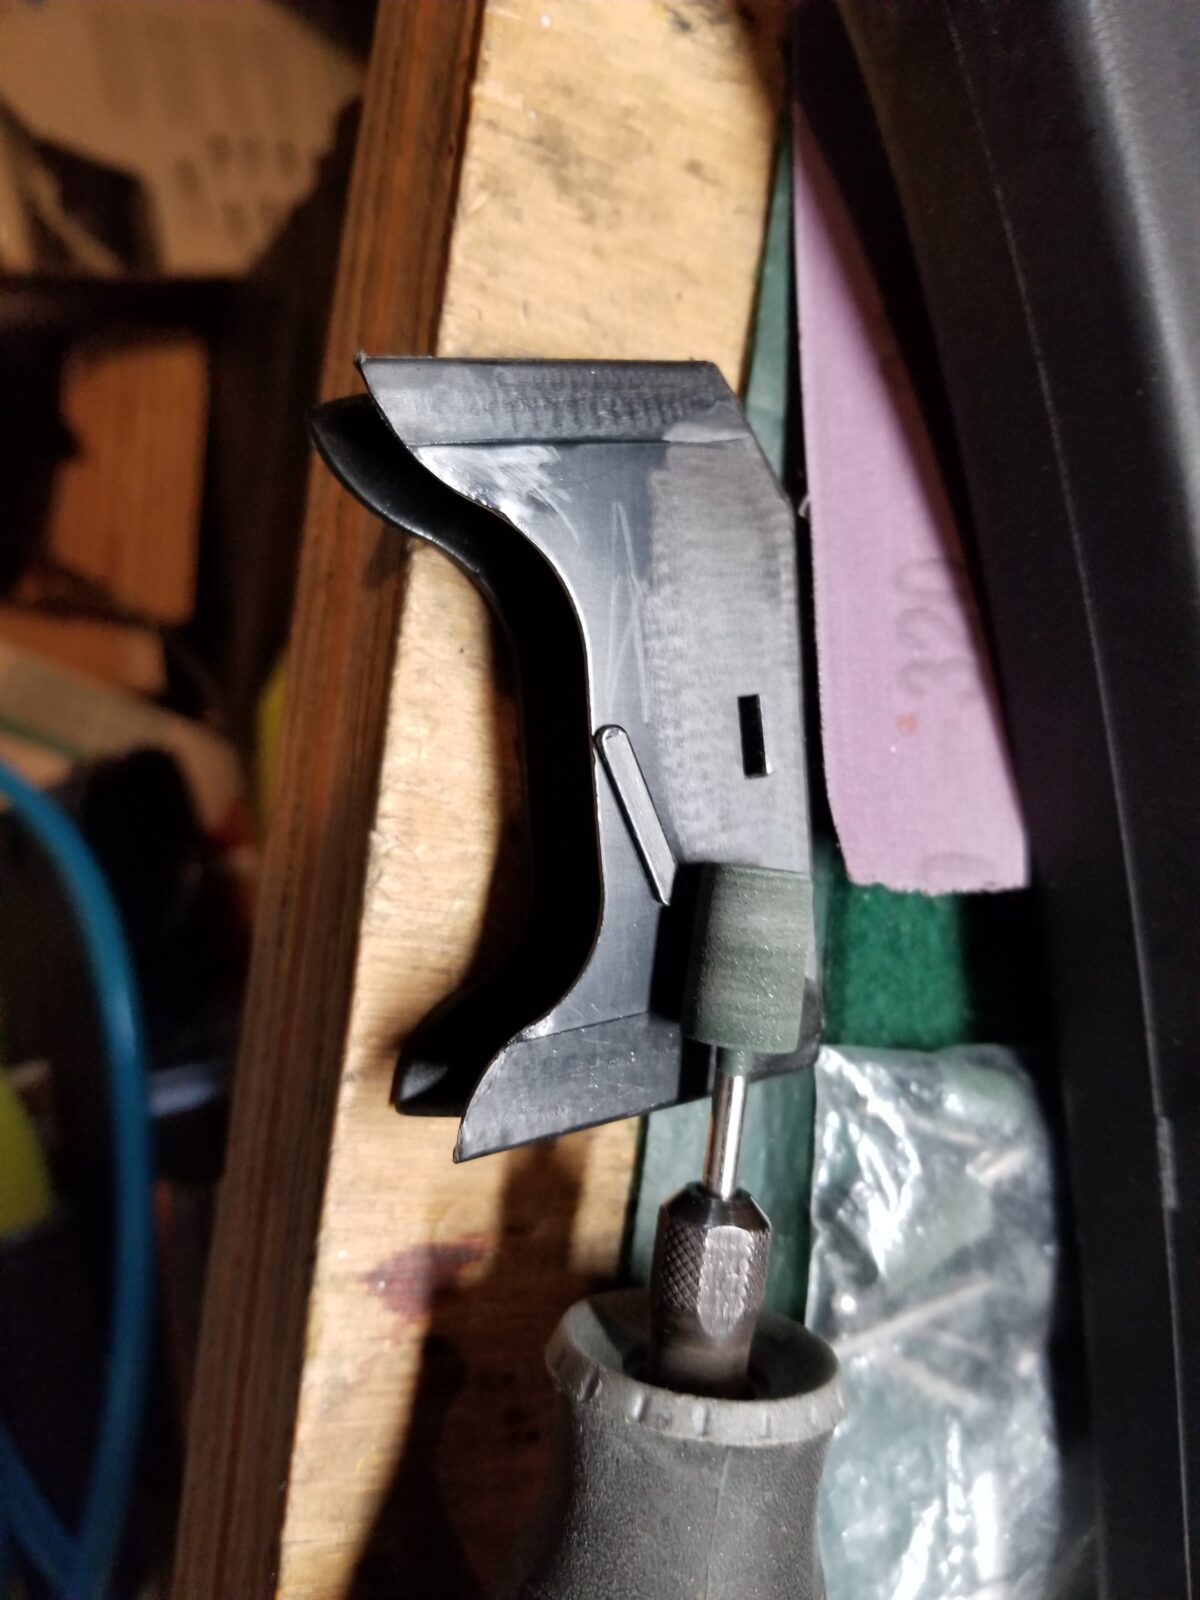
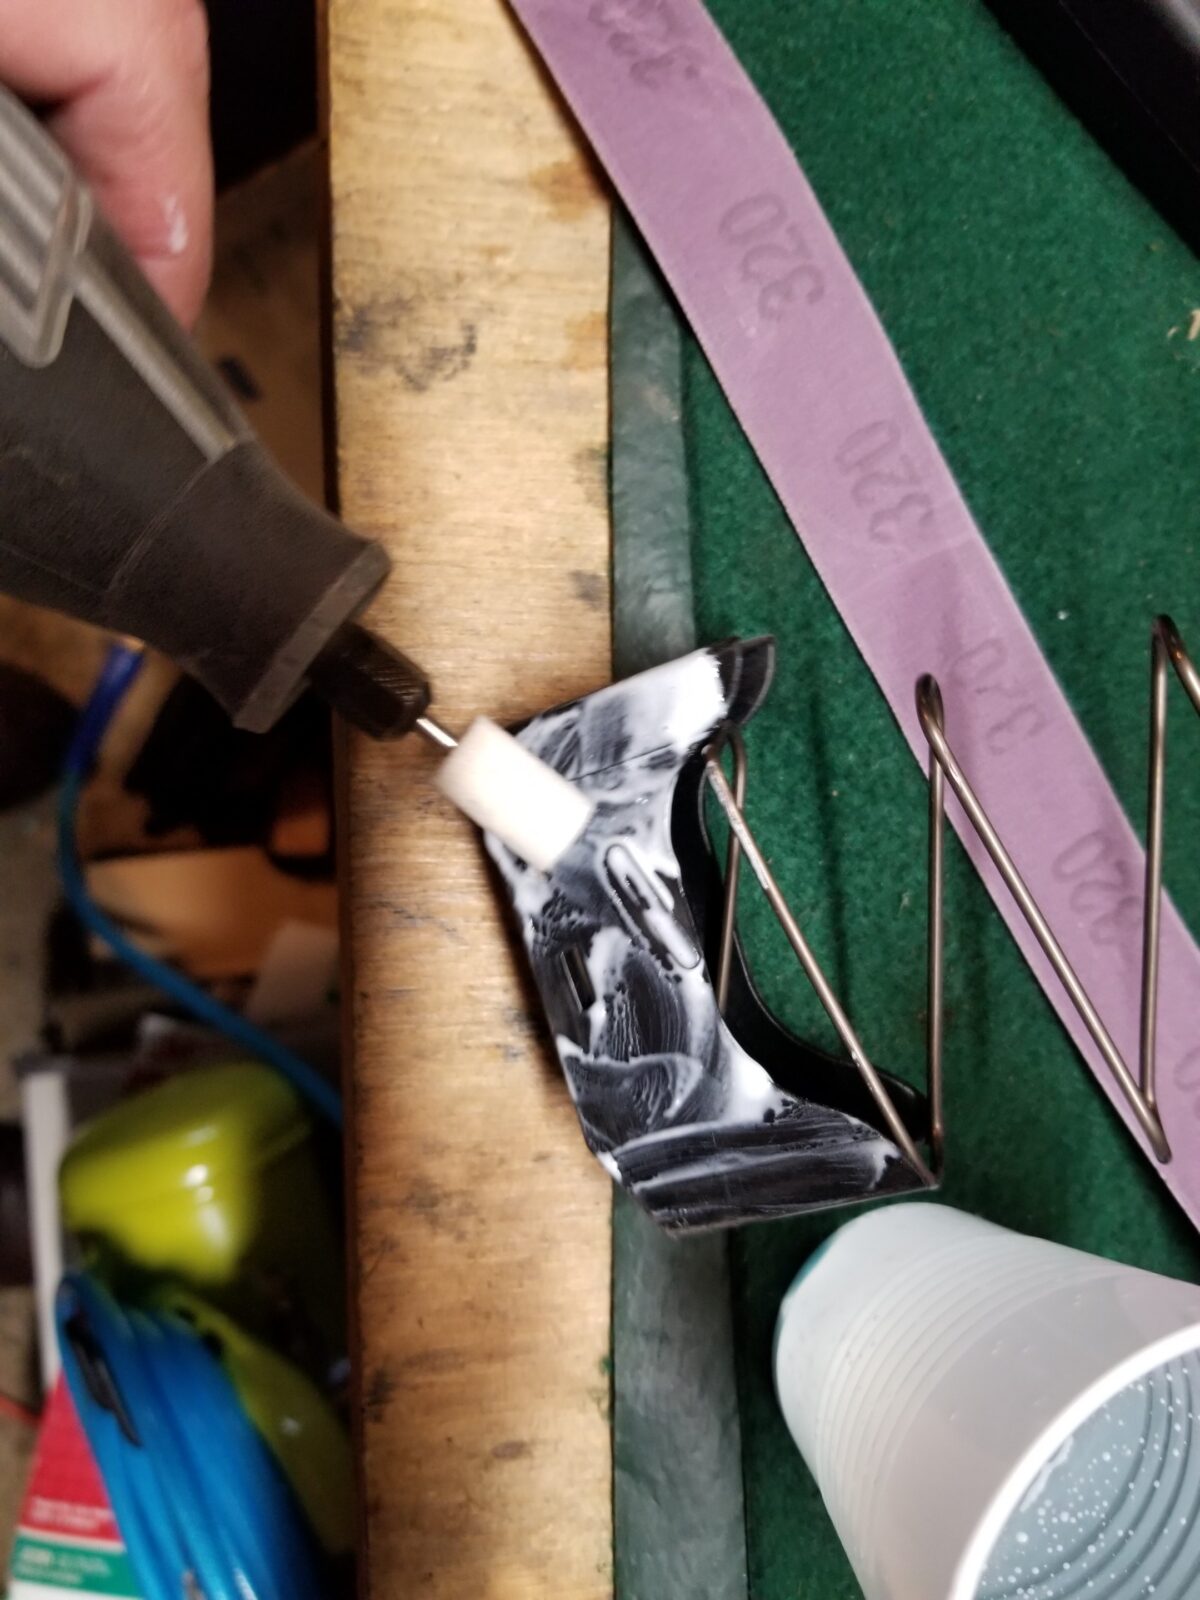
The problem area in the magazines seem to be in the upper inch to inch and a half. You’ll see a mold seam that needs to be erased using the Dremel tool with the rubberized abrasive tips as well as it being tight in general all the way around.
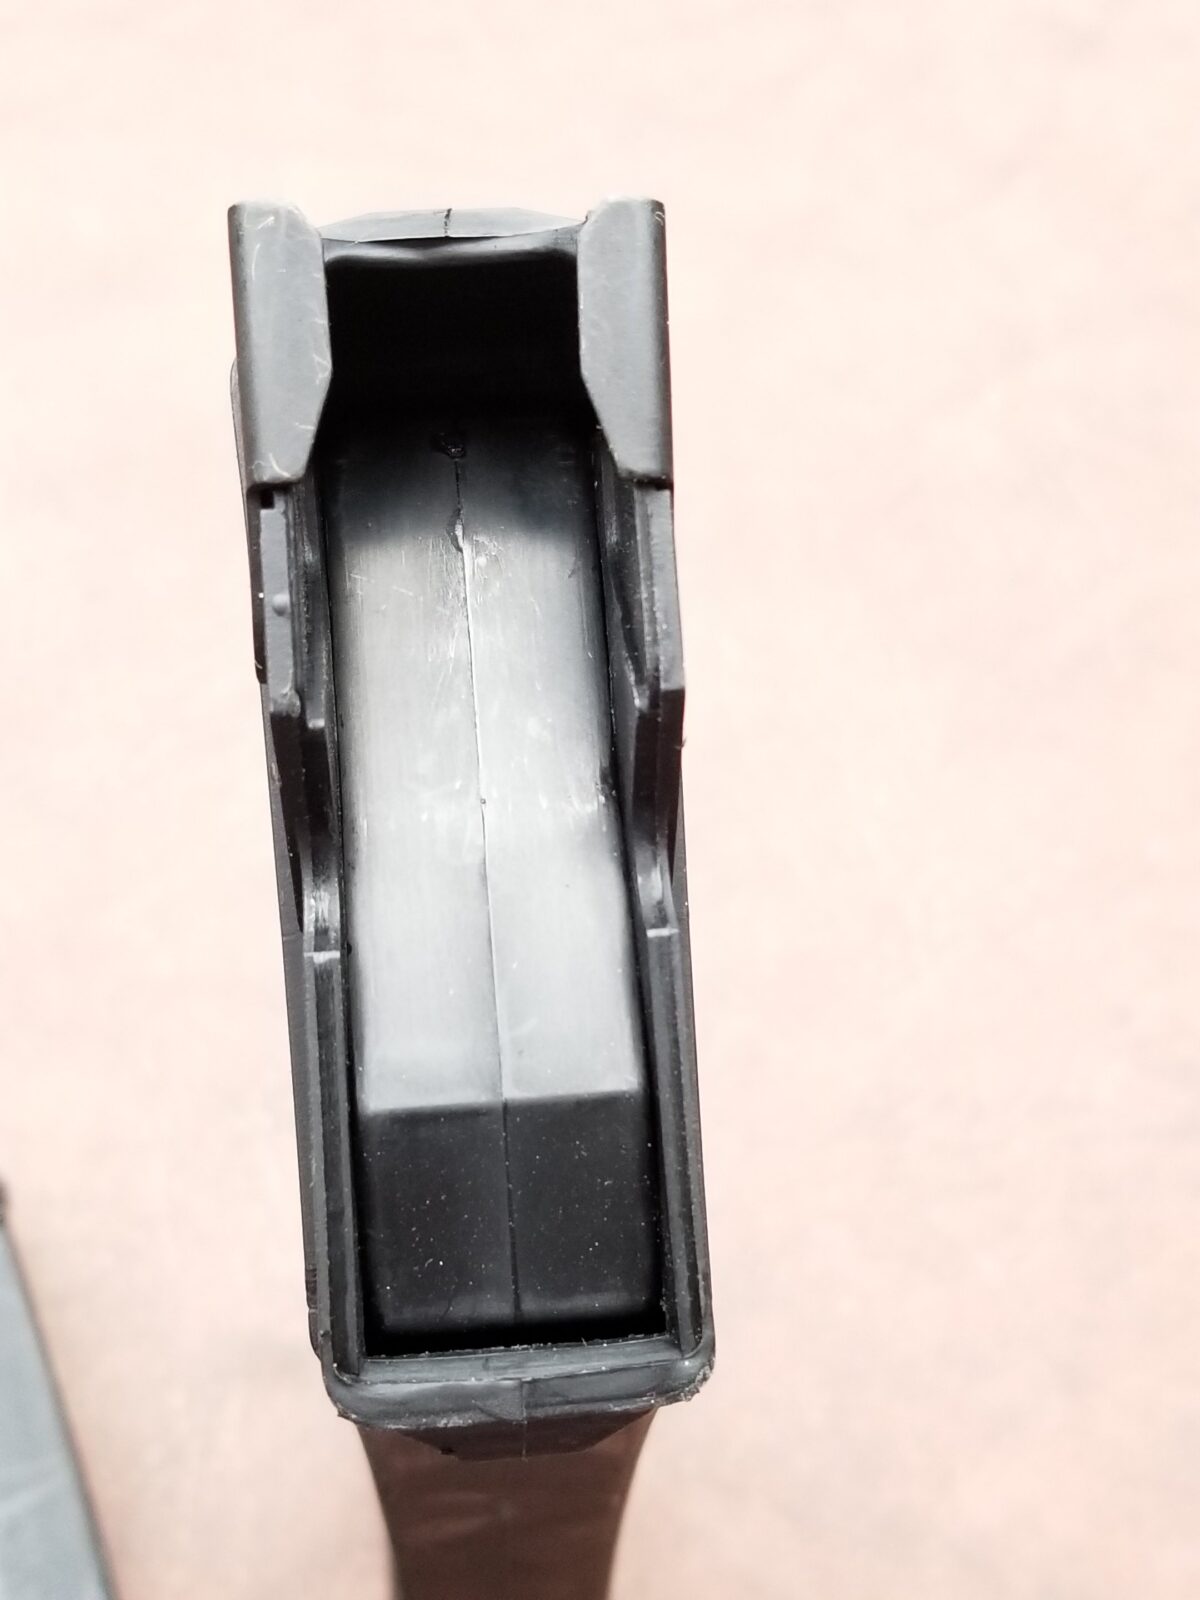
So the first thing I did was to use a small rubberized abrasive tip to erase the mold seemed entirely that runs around the inner area of the magazine. In the next two photos you’ll see a shiny protruding lip inside the magazine that is just above the follower — that is the mold seam I am speaking of. It’s important to note that the follower is binding even before getting to that seam.
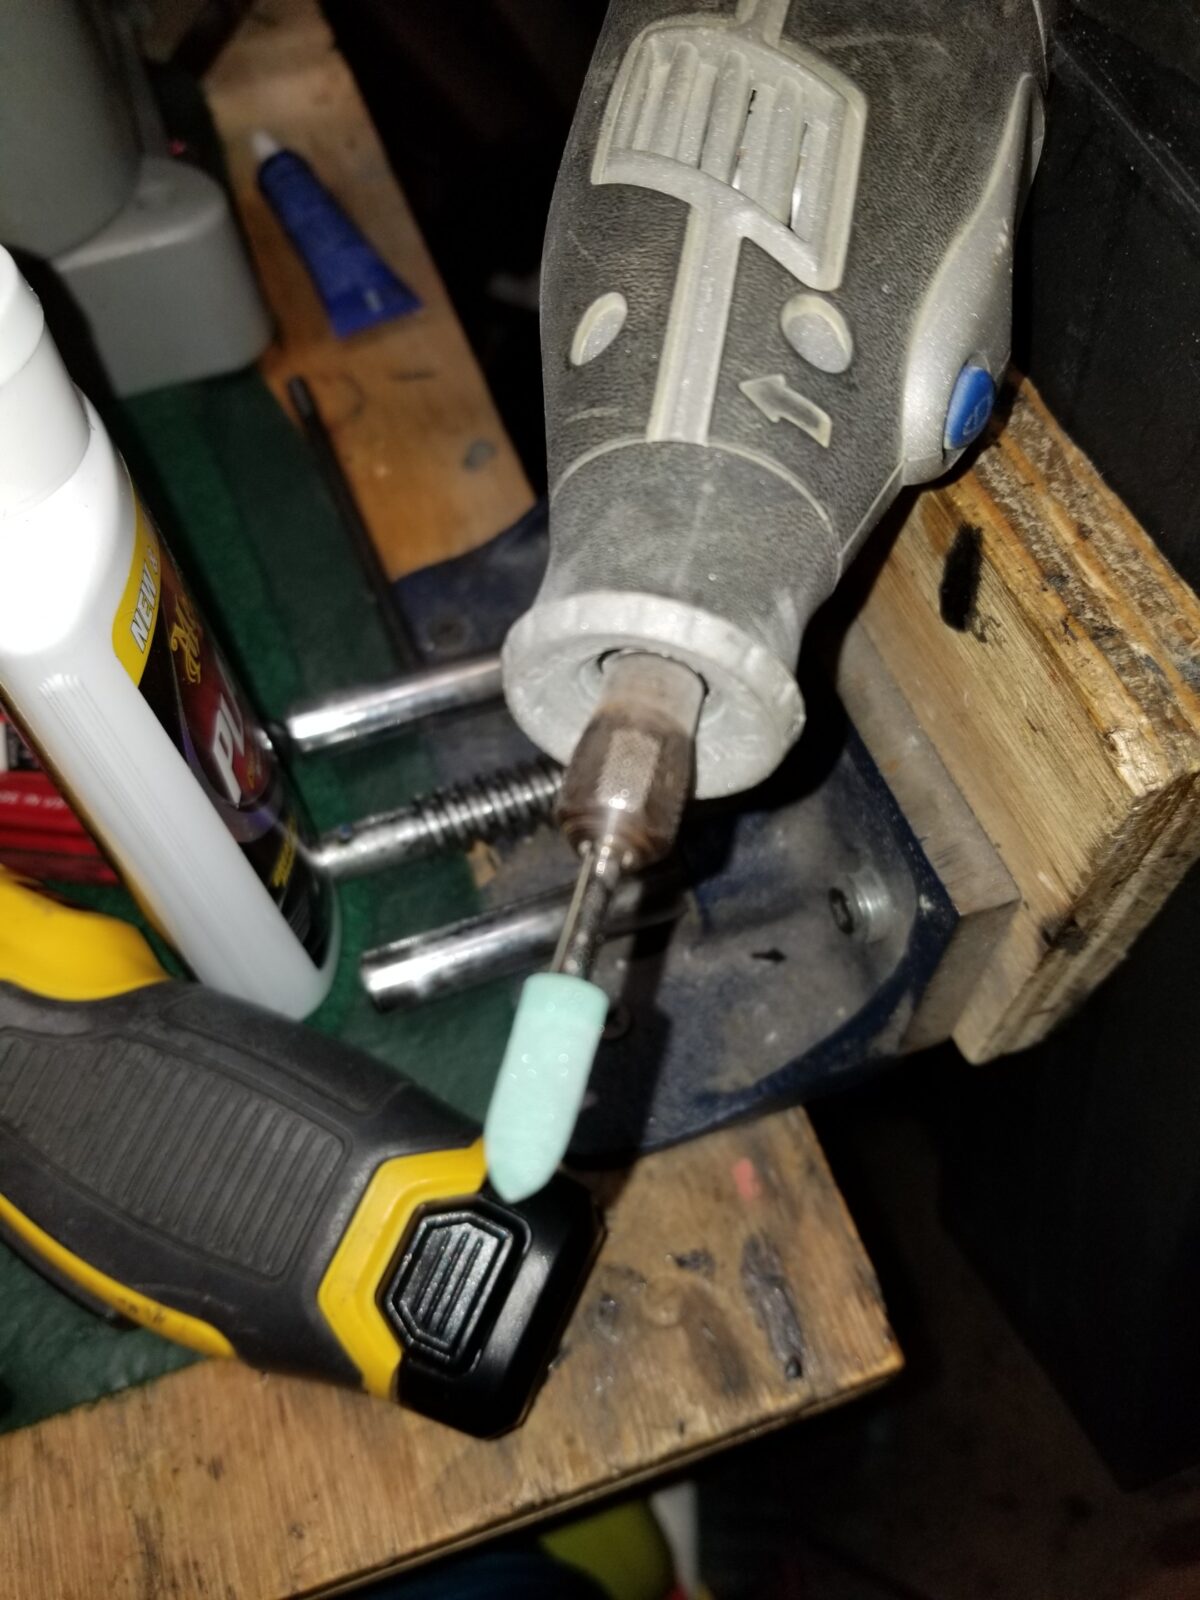
I used a small rubberized fine abrasive tip in my Dremel to literally erase the mold seam flush with the rest of the mold body.
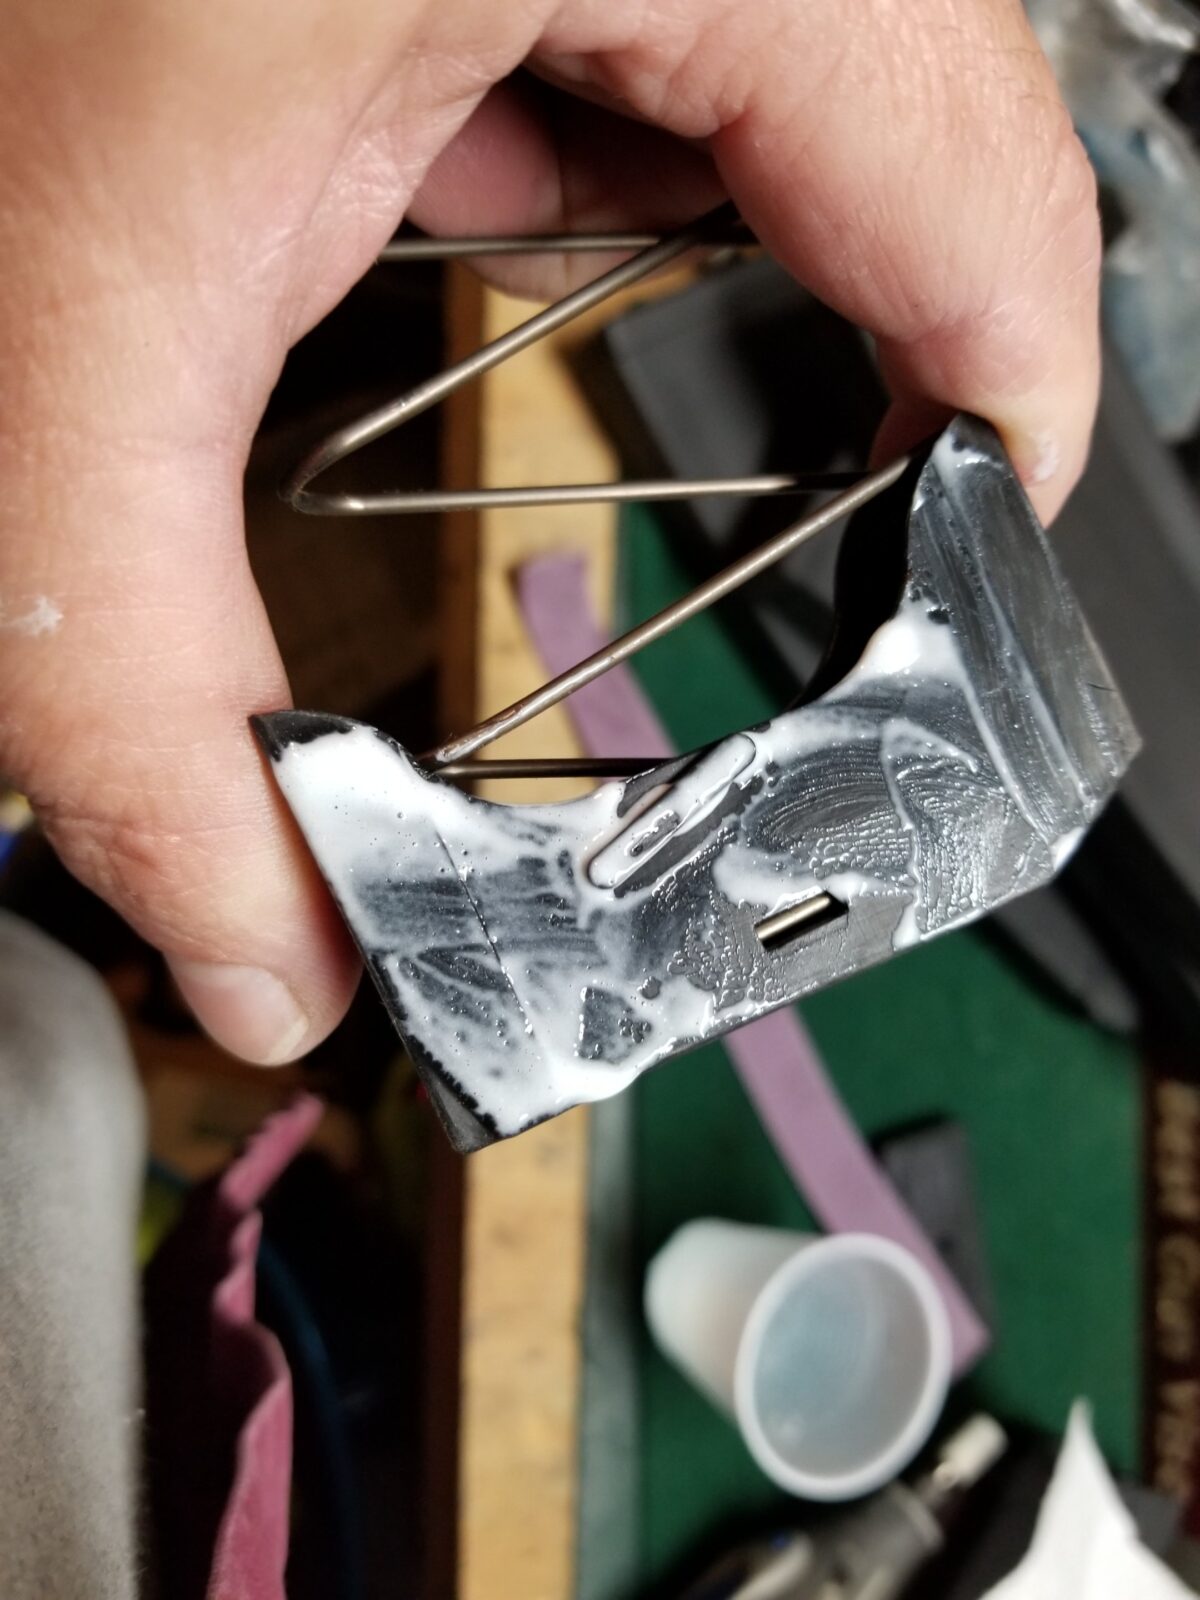
At this point I blew out the magazine body with compressed air and the overall fit of the follower to the magazine body was just too tight. It and the body needed to be thinned a bit – not a bunch, just a bit.
In terms of the trimming, I would definitely recommend that you use the abrasive tip to remove just a little and test over and over. I can’t stress this enough – don’t try to do it all at once. As the saying goes, it’s easier to take more material off than to try and put it back on.
I wound up switching to a bigger rubber abrasive wheel when I did the follower and as far as I could reach in with the bit on the Dremel. The bit is still fine, I would not recommend using anything very aggressive. I used this bit on the follower and the inside of the magazine body. You just need to take a little bit of material off. I went all the way around the magazine body and the follower in that top area. You’ll see just below the scene there is a little elevated area inside the magazine that guides a follower up into position that is too tight.
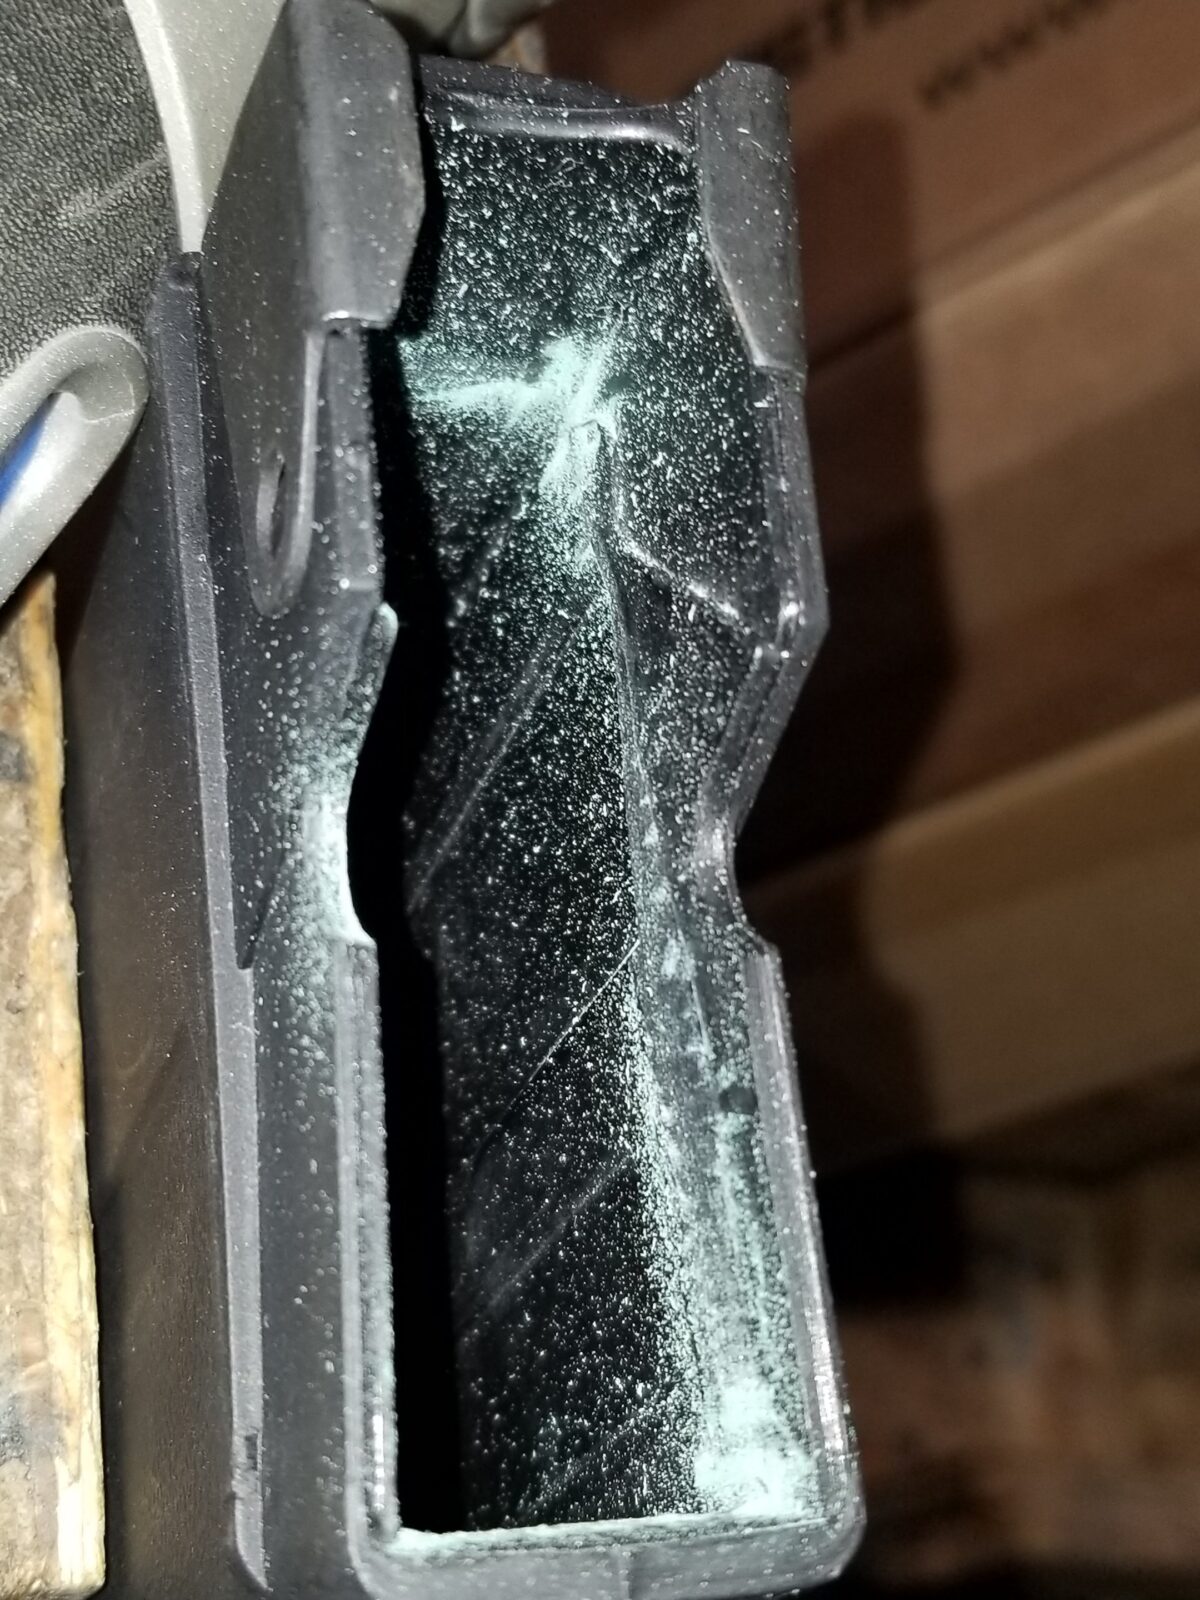
Now I found I needed to do a second step to really smooth things out. The abrasive bit leaves a rough surface and the next thing I did was to use a felt bob/bit with felt on the end in my Dremel along with Plastix polish to finely polish all the surfaces. I tried skipping this step with a couple of the magazines and the end result was so much better that I went back and polished the surfaces I worked on in all of the magazines.
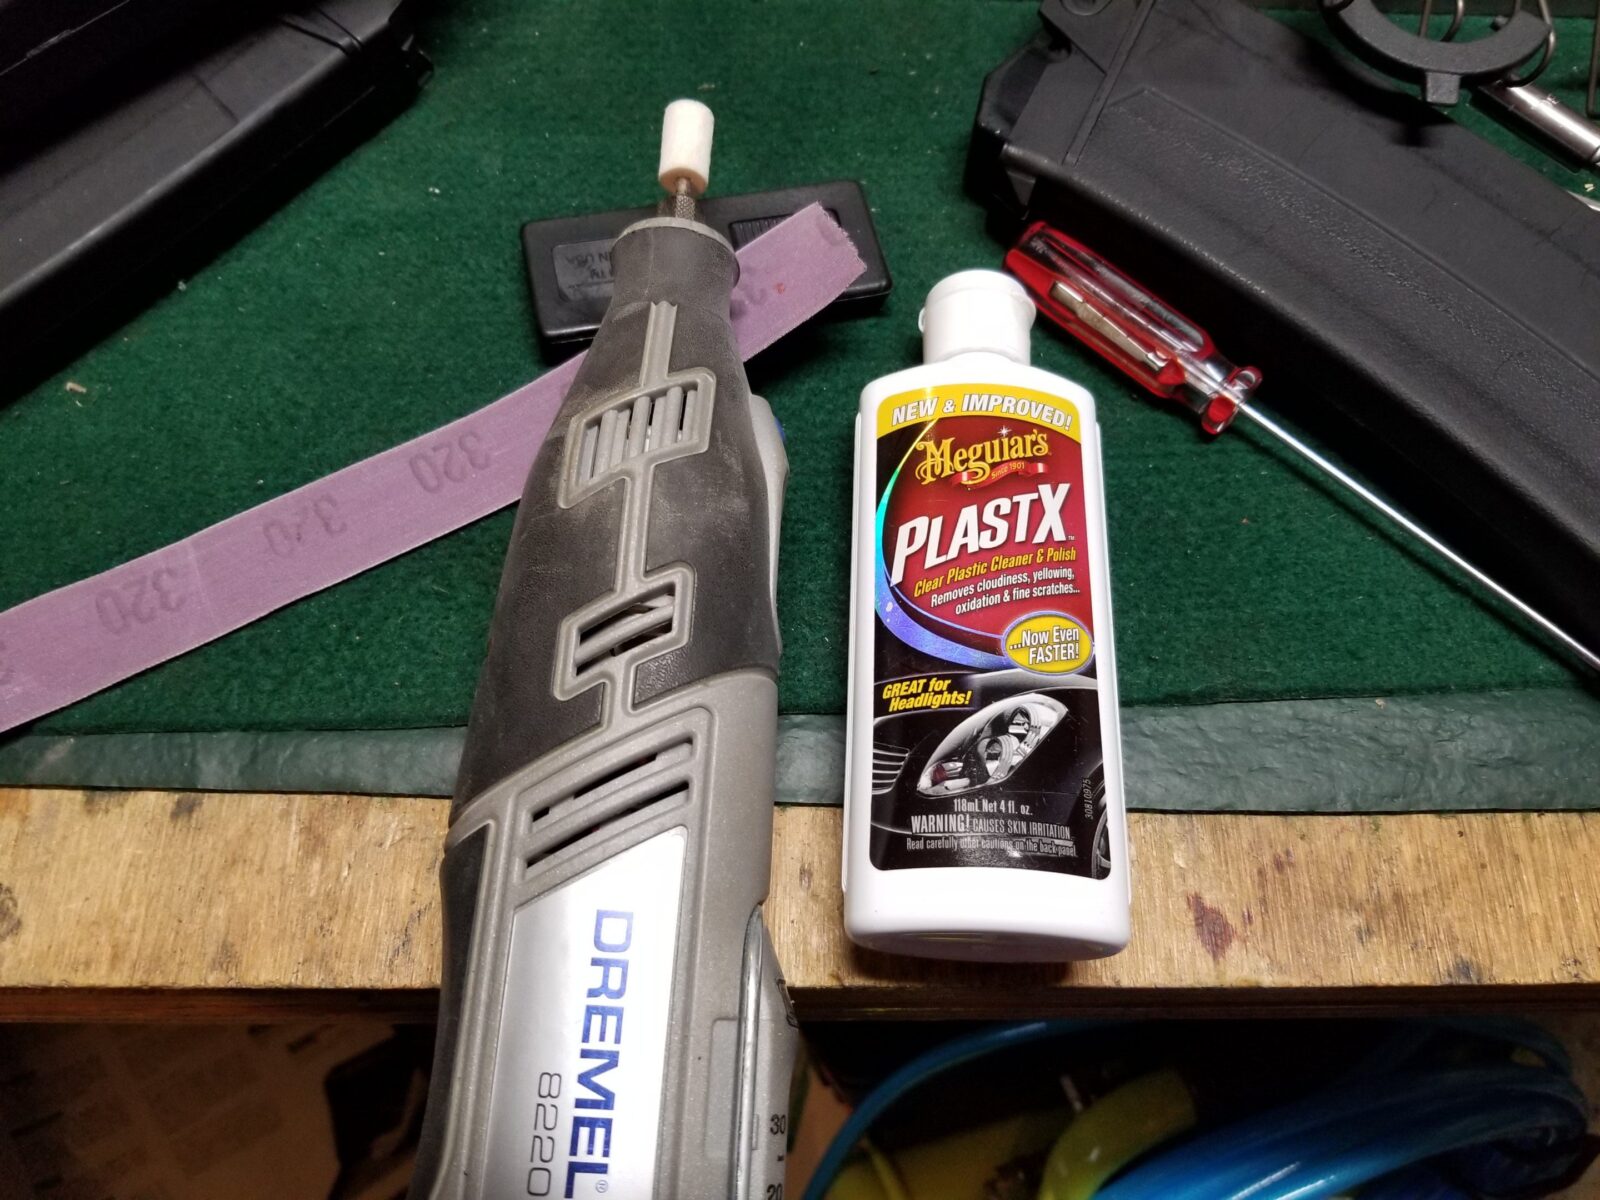
The polishing with the Plastix really made a big difference and I would recommend you do it as well. You could tell the parts were smoother. Definitely wipe everything down and do not leave the grit in the magazine.
Next, I sprayed the Dupont Teflon dry film lubricant in the magazine body and on the follower. I would not recommend using oil or anything that leaves a residue that dirt will stick to. Instead you want something that is going to leave a dry film behind. This really fixed everything once and for all.

9/21/23 Update: Dupont no longer sells a Teflon spray due to environmental and health concerns. They sell a ceramic-based spray now that I use instead.
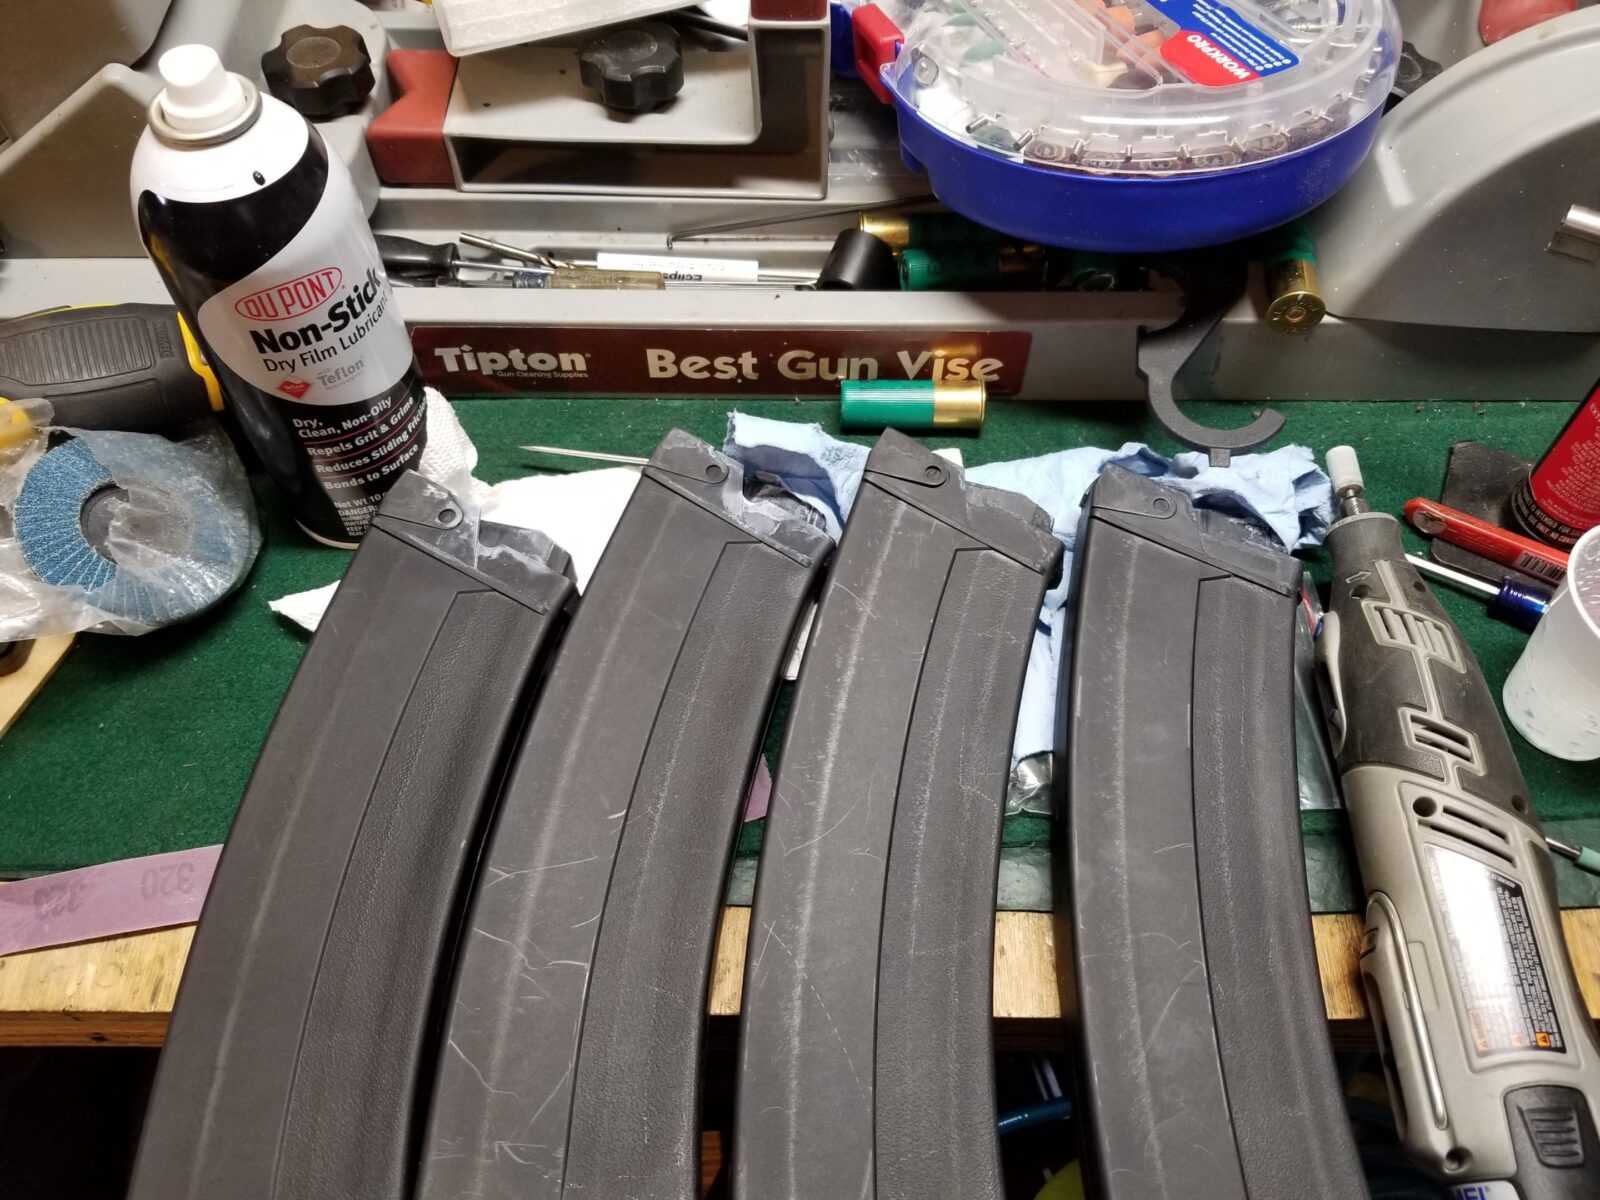
I then reassembled the magazines. As mentioned the parts can only go one way. I never took the spring off the bottom plate so I didn’t have to worry about its orientation.
I went ahead and did one final spray of Teflon around the follower and let it run down in. While it is still a liquid, the lubrication will not be very good. You need to let it dry. In my case, it shot up like a rocket. Job done.
End Result
The magazines all seem to work fine now. I think the problem was a combination of the mold seam and that inside area being just a tad too tight. I hope this post helps you out. Small side note to SDS – you really ought to fix this.
10/15/18: First thing this morning SDS reached out to me and is sending replacement magazines. I will test them and report back. They have sold over 3,000 magazines with just a few problems so I might just literally have a bad batch.
Please share the link on Facebook, Forums, with colleagues, etc. Your support is much appreciated and if you have any feedback, please email us in**@*********ps.com. If you’d like to request a report or order a reprint, please click here for the corresponding page to open in new tab.