The PTR PDWR – A Compact .308 Powerhouse

As you know, I really like AK firearms but I also like firearms based on the HK roller lock design.  Maybe 3-4 years ago I owned a PTR-KMF4R and it was very accurate and I also learned a lot in terms of maintenance, tuning, etc.  Of course, I had to mess with it and add a PRS stock, new trigger, and scope but it really was very accurate.  As my interests changed, that rifle was sold to fund other projects but I was impressed.

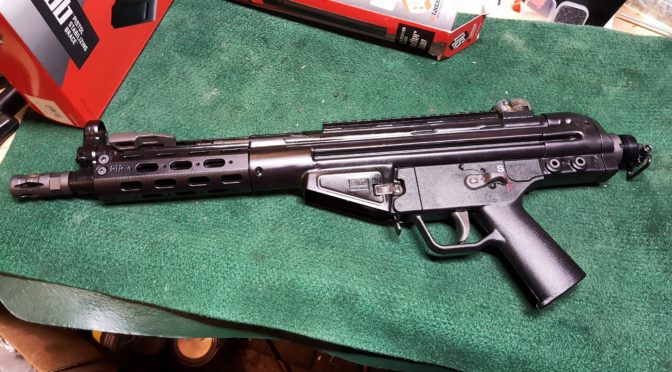
With the reversal of the ATF position on arm braces, I again found myself looking at heavy big pistols that needed braces.  I really like the maneuverability of these weapons.  While looking at options for my next project, I ran across the PTR-105, also known as the “PDWR“.  This thing’s specs rock and I figured out quickly this was my next project.

CNC Warrior M92 PAP Picatinny rail mounts: black polymer and silver aluminum
  • 8.5″ heavy bull barrel with a 5/8×24 thread and 1/10 twist
  • 23.5″ overall length
  • 8.1 pounds empty
  • Milled aluminum handguard that uses proprietary removable rails.  Note, the PDWR actually uses MP5 handguards so you have a ton of options if you want to try different models.
  • It has both button and paddle mag releases
  • The trigger is a lawyer friendly 9-10 pounds
  • 7.5″ welded top rail for optics, which means no additional optic rail is needed as you typically do with non-PTR firearms.
  • It has a swivel cap on the end that is actually a short tube that is the same diameter and pitch as an M4 buffer tube – which means putting on a buffer tube for a brace would be easy plus not come loose.

To this, I should add that you are basically looking at a cut down semi-automatic HK G3/91.  This means you have tons and tons of options for magazines and parts not to mention know how.  I buy my HK-related parts from either HKParts.net or RobertRTG.

You can avail of the various books and manuals out there such as the  HK G3 Armorer’s Manual or either of these operating manuals – an HK91 Scanned Copy or this HK G3 Green Scanned Copy

Also, for those of you unfamiliar with PTR – they have been around for a while now.  They are currently made in Aynor, South Carolina with their original tooling and designs coming from an HK G3 licensed factory in Portugal that they bought in 2003.  This helped them really get started and they have been refining their products ever since.

So, I did some shopping around and ran into Kelley Enterprises via Gunbroker.  They had great reviews there so I also visited their website and met Chuck, the owner.

Chuck is one of those guys who really knows guns, likes his job and likes to talk with folks.  I called him once to talk about MP5 clones and had a great experience with that (which is a blog series for another time) and then when I wanted to find out about this PDWR, he gave me a great price.

Folks, how often do you run into somebody who does exactly what he says, follows up and even sends texts with all the tracking info?  I have nothing but good things to say about Chuck and have now ordered two roller locks from him (this PDWR and a POF-5). You can either visit his website, email or call him at  (305) 923-6560.

Chuck shipped the rifle to my FFL – Scott Igert of Michigan Gun Exchange.  Another man of integrity and deep knowledge that I profoundly respect and recommend to anyone who is looking for an FFL in the Southwest Michigan or Northwest Indiana area or is considering buying one of the many unique firearms that passes through his shop in Benton Harbor, MI.

So, I ordered early in the week, Scott had it by Friday and I was there on Sunday to pick it up.  The two first things I noticed were the weight and the big magazine for holding the .308 (7.62×51) rounds.

I’ll tell you what I did to the pistol in the next post but I will say this – it ran like a top.  Not one single problem after almost 200 rounds but that is a story for another day.


Please share the link on Facebook, Forums, with colleagues, etc. Your support is much appreciated and if you have any feedback, please email us in**@*********ps.com. If you’d like to request a report or order a reprint, please click here for the corresponding page to open in new tab.
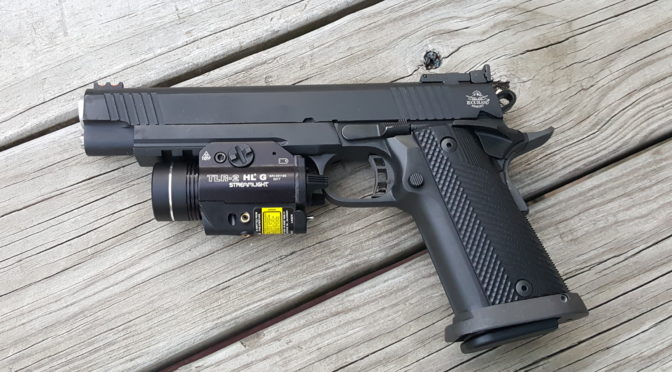


Improving the Feed Reliability of the Rock Island 52000 10mm 6″ High Cap Pro Match Pistol

As some of you may know from a previous post I did, my Big Rock would not feed Underwood 10mm ammo. Neither Armscor/Rock Island nor Underwood helped resolve my issue though Armscor did take the pistol back and tell me there was nothing wrong with it – probably with FMJ ball ammo.

At any rate, the solution came from a discussion with my friend and FFL, Scott Igert, of Modern Antique Firearms, about the mechanics of the 1911. A lot has to come together correctly for a 1911 pistol to work correctly. In watching the pistol jam, I could see that it always hung on the pronounced shoulder edge of the Underwood 10mm ammo right on the edge of the chamber.

Any 10mm ammo that did not have that pronounced shoulder fed just fine. In doing some digging, I elected to do two things.

First, I polished the feed ramp. To do this, I fieldstripped the Big Rock and removed the barrel for easy access.

CNC Warrior M92 PAP Picatinny rail mounts on wood surface

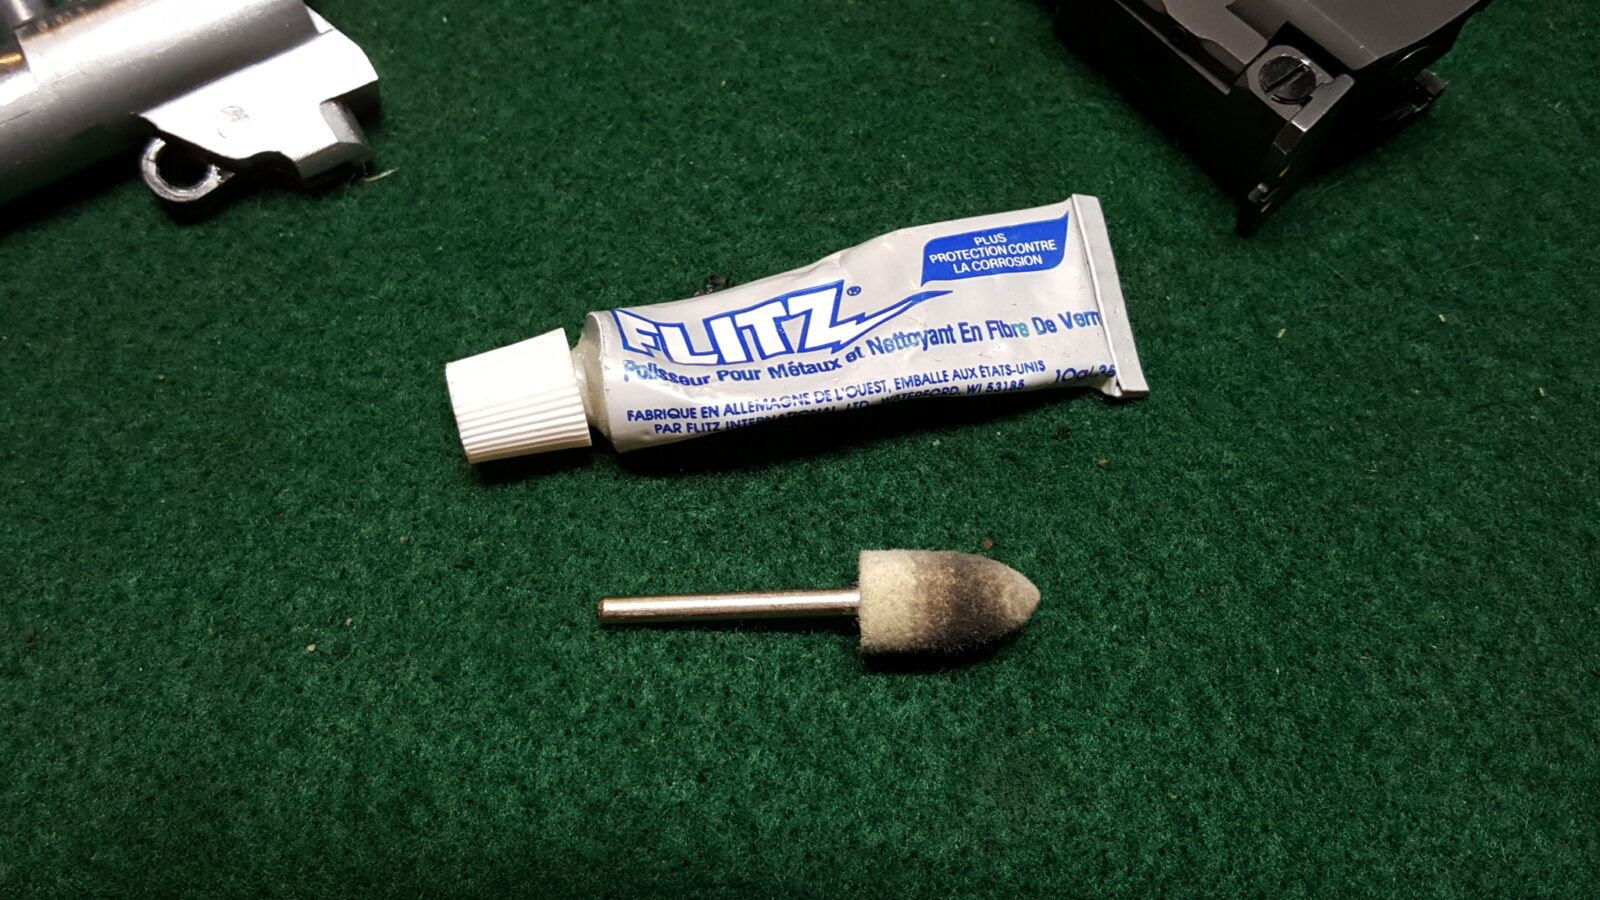
I then used my cordless Dremel with with a felt bob and Flitz polish to give the feed ramp a mirror polish.

CNC Warrior M92 PAP Picatinny rail mounts on wood surface

Second, I used one of the fine rubber POLISHING tips in my Dremel to polish the edge all the way around the chamber. To be clear, I am talking about light polishing and not removing a ton of material. Do not use a sanding wheel or you may take off too much material in the blink of an eye. Take your time and be patient. My goal was to enable the 10mm case’s shoulder to slide over and into the chamber vs. hanging. My recommendation is to always go light, test and repeat as needed.

Close-up of CNC Warrior M92 PAP picatinny rail mount detail

After the polishing, I then used some of the big 10mm cleaning Q-Tips called “RamRodz” repeatedly along with visual inspection to make sure all the grit was gone and not mess up the testing. Yeah –the RamRodz look goofy because they are huge and caliber-specific but they sure make cleaning easy.

Close-up of CNC Warrior M92 PAP picatinny rail mount detail

For me, it just took one try – even I was surprised. Whatever the case was catching on was either gone or rounded over. The feed problem was solved – round after round cycled perfectly with no more jamming.

A few months after this I decided to sell the Big Rock to move on to other projects. I can’t say that Armscor’s support impressed me given I had one of their top of the line pistols. I gave them a very elaborate explanation of what was happening and they did not resolve the problem whereas a good talk with someone with a lot of 1911 knowledge, Scott, did. It definitely shows there are benefits to having a smart friend.

In closing, I will go back to a recommendation I always make. Before you rely on a pistol, definitely practice with the ammo you plan to use to make sure everything works the way you want. The Big Rock liked S&B FMJ, SIG HPs and further crimped Underwoods from Scott but not the factory-direct Underwood 10mm ammo until I did the above tuning.

7/9/2021 Update: We make and sell magazines for the double stack 10mm and .40 S&W RIA pistols Click here for the listing in our store.


Please share the link on Facebook, Forums, with colleagues, etc. Your support is much appreciated and if you have any feedback, please email us in**@*********ps.com. If you’d like to request a report or order a reprint, please click here for the corresponding page to open in new tab.


How to Remove Old Cosmoline and Grease or Even Free Up Rusty Parts The Easy Way

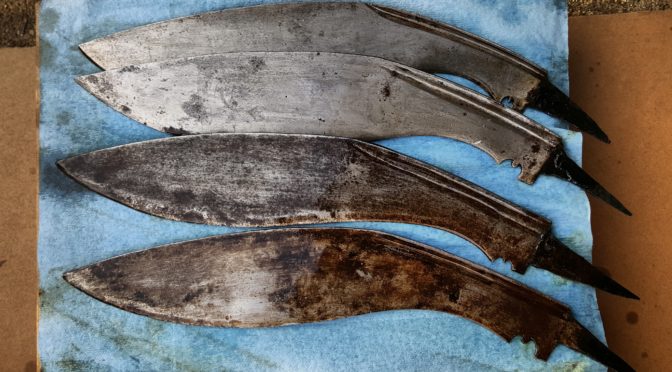
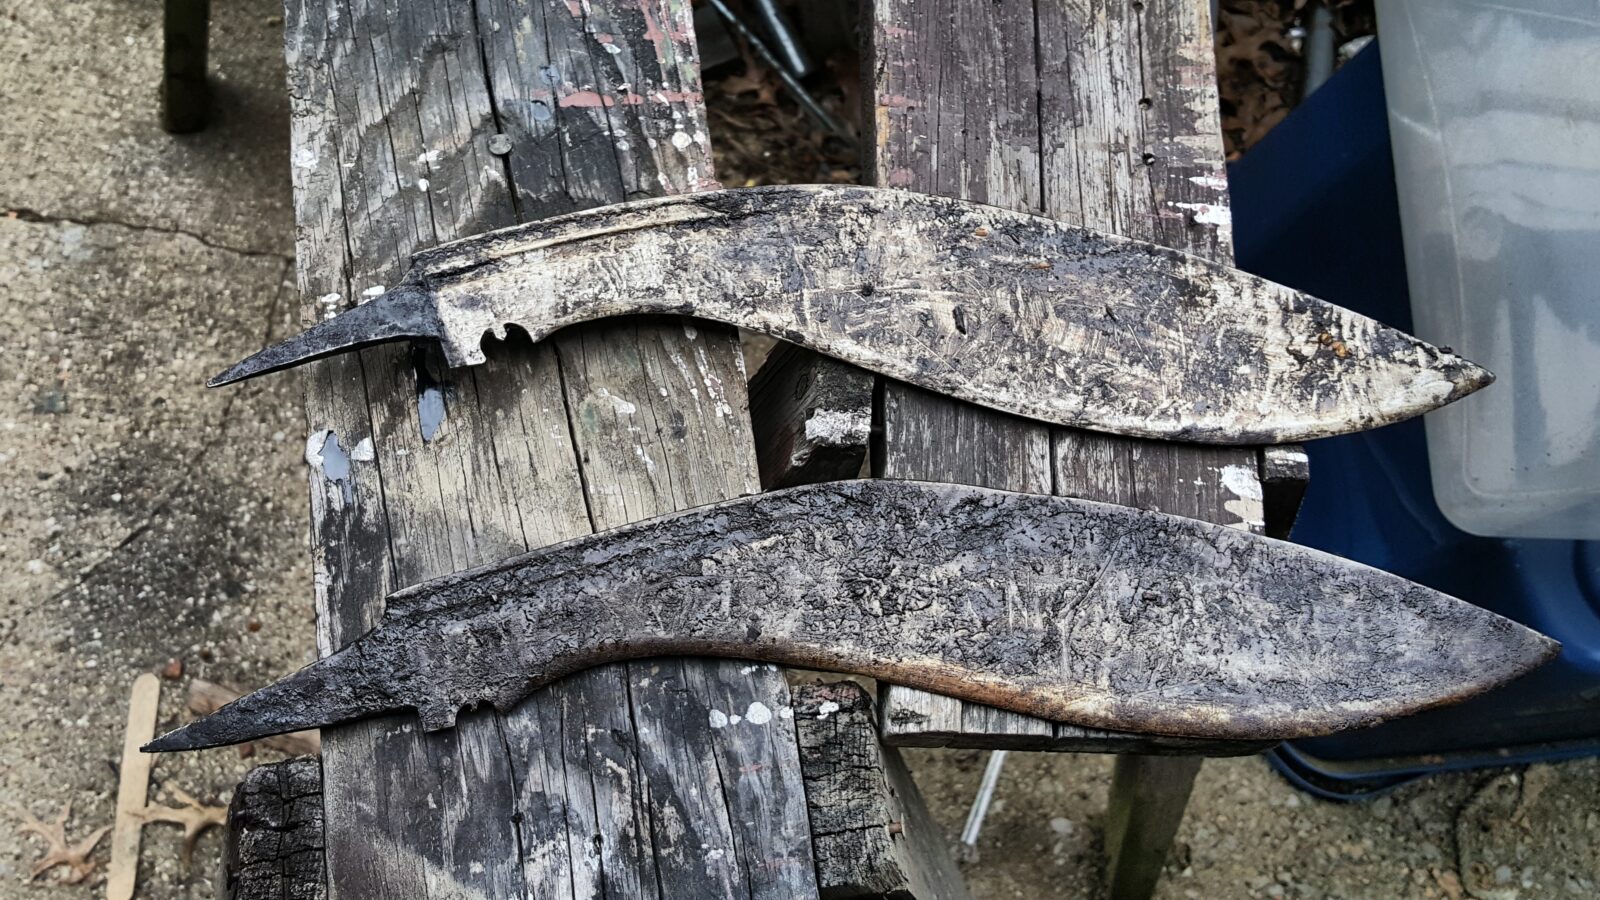
We’ve all had parts come in with really dried out preservative on it such as grease or cosmoline.  I bought some 100 year old khukuri blades that were coated in dried out grease and realized this was a great time to take some photos.  There’s a way to get all this crud off very easily – most will practically wipe off!Two cosmoline-covered kukri knives on a wooden surface

Four old, greasy, and rusty kukri knife blades in a row

I learned the following trick years ago after a friend was worried I would blow myself up using gas, brake cleaner, etc.  In hindsight I must admit it was risky but I rationalized it because I needed to get the parts clean – this is not only effective but also way safer.

Take a 5 gallon pail with a sealable lid on it.  In the photos you see a basic Ace Hardware plastic bucket with it’s lid that has a waterproof gasket.

I first learned about this years ago for firearms and it is a cleaner known as Ed’s Red and I’ve used it ever since.  The formula was developed and shared by a gentleman named “Ed Harris” and it works great for dissolving grease, cosmoline and even penetrating rusty parts.

The basic formula is:

  • 1 part Dexron III or better
  • 1 part deodorized kerosene
  • 1 part mineral spirits
  • 1 part acetone

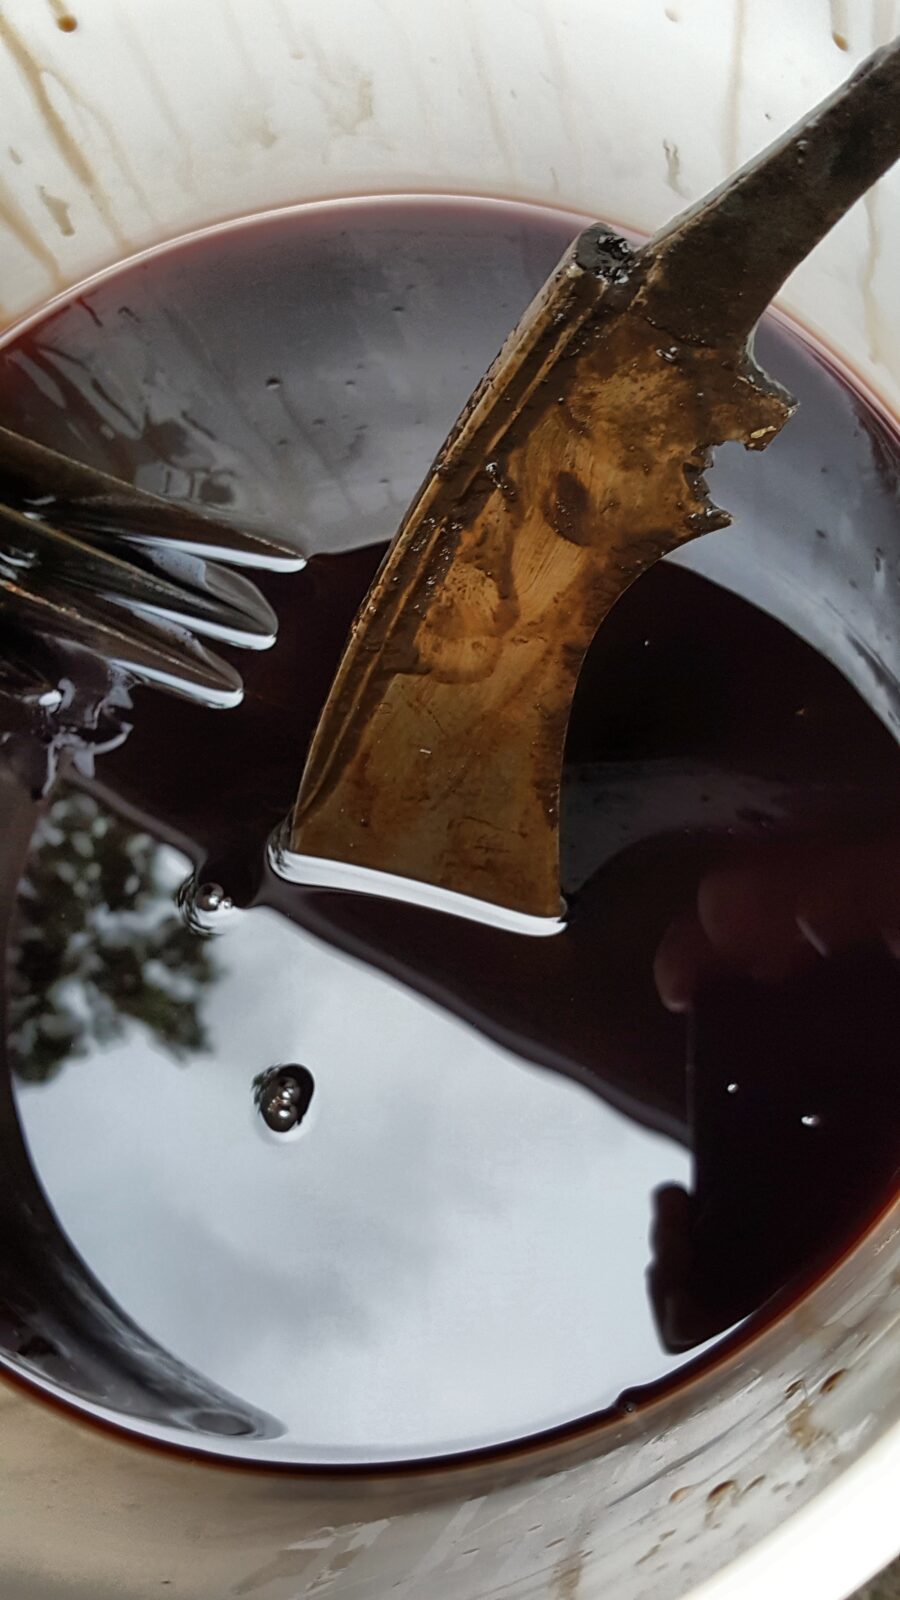
I use it over and over, which is why I recommended the lid.  I’ve been using this bucket for probably 3-5 years now.  If it gets really gross or seems to stop working then I will change it but it’s fine so far.

Bucket of dark liquid, possibly cosmoline or grease remover, for cleaning parts.

So, I set the blades in the ATF and liberally coated the sides and let it sit.  I periodically would reverse the blades so they could be immersed.  If they were smaller parts, I’d drop them in there and let them sit for a few days.

Tool cleaning cosmoline and grease from rusty parts Rusty parts soaking in degreaser to remove cosmoline and grease Rusty knife being cleaned in dark liquid to remove cosmoline and grease Part soaking in a bucket of dark liquid, removing cosmoline or grease. Fork coated in dark cosmoline and grease, being removed from a container.

What I wold so each time when I turned them was to rub the blades down and try and get the softened/dissolved grease off.  A lot of it would wipe right off with no scrubbing.

So here they are a couple of days later simply wiped down.  I left a thin film of ATF on them to reduce the odds of rust but all the old dried grease is gone.

Rusty parts being cleaned from cosmoline and grease

Rusty knife blades on blue shop towels, ready for cosmoline removal.

Rusty and greasy blades being cleaned on a blue towel

When I am done, I put the lid back on and move the pail out of the way.  I do keep wet parts out of the cleaner as I don’t want to contaminate it with water but other than that, I’ve soaked all kinds of greasy, oily, rusty, dirty parts in this.  The crud settles to the bottom of the pail over time.  I’ve learned that if I stir it up there is a lot of debris.  If it gets too bad, it will be time for a new batch.

I mentioned it in passing but this is also great for penetrating rusty parts so you can take them apart.  I can’t begin to guess what all I have soaked in this bucket over the years but it sure includes gun parts, blades, rusty car parts, etc.  It’s a huge time saver and I hope it helps you out as well.

P.S.  If you want to read more on Ed’s formula, click here for his original article that is in the public domain.


Please share the link on Facebook, Forums, with colleagues, etc. Your support is much appreciated and if you have any feedback, please email us in**@*********ps.com. If you’d like to request a report or order a reprint, please click here for the corresponding page to open in new tab.


Firearms Lube Tip – Use Mobil 1 Synthetic 5W-30 Oil and The Right Dispenser

I’ve been experimenting with different lubricants for a year now because a lot of the firearm “oils” are 99% marketing and 1% oil at a premium price.  You’ll notice that how to lube a firearm is a religious argument for many and I’m not going to get into that.

After doing a lot of digging, I bought two different types of automatic transmission fluid (ATF) (Dexron III and ATF+4) and Mobile 1 Full Synthetic 5W-30 engine oil.  I then loaded up a bunch of squeeze bottles that have needle dispensers on them, labeled each and proceeded to try them out.

Mobil 1 5W-30 oil in labeled bottles with precision oiler pens for firearms.

Here’s the big secret – they all work.  Of the three, I like the Mobil 1 mainly because it doesn’t have a red color or the smell of transmission fluid.

I’ve now used it to lubricate my AKs, RPK, Uzi, POF-5/MP5 and PTR PDW and am very happy with the results.  It works just fine and a quart will last you forever.

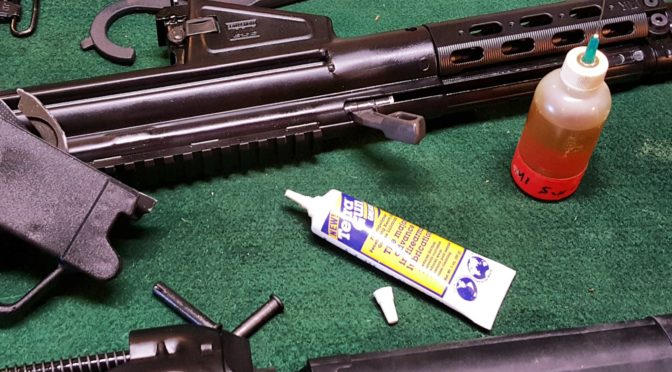
I still prefer Tetra Grease where sliding parts are involved.  As the old saying goes, “if it rotates then oil it.  If it slides, then grease it” has always worked for me though I do admit to reading armorer manuals to see their recommended lube points.

The Right Dispensers Make a Huge Difference!

Regardless of the oil you use, having the right dispenser really helps.  Growing up, we used engine oil out of the tried and true cans with the finger squeeze pumps.  I really don’t use that type of dispenser on firearms but do when I work on cars and what not where a large volume is needed.

With firearms, you’ll notice that you often need to get the right lube to the right place.  In the shop, I use the squeeze bottles.  The dispenser pens are something I take in the field as they don’t leak and will not make a huge mess if crushed — let me assure you the bottles will do just that so that is why they stay in the shop.

Mobil 1 5W-30 oil bottle and dispenser for firearm lubrication
Firearms lube tip: Gaunt Hypo-25 dispensers with colored oils and Mobil 1 oil.

You can get both of these dispensers very easily off Amazon.  Be sure to read reviews as some brands leak and others don’t.  The ones I am listing next are what I currently use.  I use the 25 gauge needle especially for reaching down into fire control groups and lubricating pins and their attached parts such as triggers, hammers, selectors, etc.

The Gaunt brand bottles work week and they offer a number of sizes – click here to see them on Amazon.

The refillable precision oiler pens are Titan 15200 units – click here for them.

There are a number of brands of oiler pens – some come filled with oil already and are not refillable but also ones that are – on Amazon if you are interested click here.

I hope this helps you out.


Note, I have to buy all of my parts – nothing here was paid for by sponsors, etc. I do make a small amount if you click on an ad and buy something but that is it. You’re getting my real opinion on stuff.


Please share the link on Facebook, Forums, with colleagues, etc. Your support is much appreciated and if you have any feedback, please email us in**@*********ps.com. If you’d like to request a report or order a reprint, please click here for the corresponding page to open in new tab.


How to Upgrade Mini Maglites to LED, Replacing the Lens and Adding a Switched Tail Cap

Okay, I have to admit it up front – I’m nostalgic.  When I was a teenager in the 1980s Maglites were a big deal.  I had a four D-Cell unit and a friend encouraged me to get a Mini Maglite probably in the 1985-ish timeframe and I have used it a ton.

I also bought a Mini Maglite with remote switch and shot gun barrel adapter for my dad.  He would slip out the door at night to see what the dog was barking at and would often take a firearm with him – often an old reliable 16 gauge single shot Iver Johnson.  It really creeped me out.  It wasn’t until years later that I understood how my dad viewed that having both grown up on a rural farm in New Hampshire and serving in the 6th Infantry in Pusan at the end of WWII (Yes, we had troops in Korea towards the end of WWII to prevent the Japanese from returning).

At any rate, I bought my dad a Mini MagLite with a remote switch for that old Iver Johnson and installed it.  Years later I would find the shotgun and the light separate – I suspect my dad never really needed it.

At any rate, I wound up with both my old light and my dad’s sitting next to each other and figured it was time to upgrade them and return them to service.

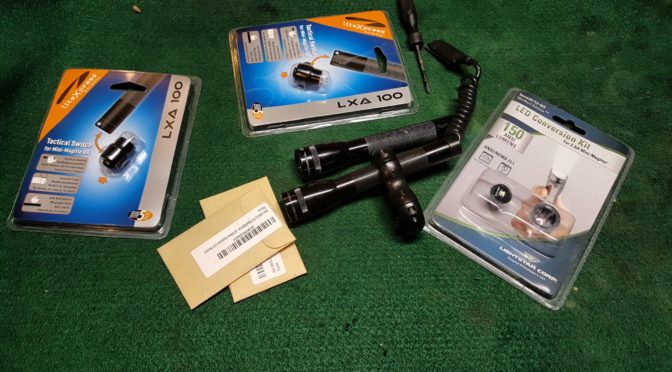
For me, researching is part of the fun so I dug around on replacement tail caps, LED upgrade units and lenses.  So, I wound up with the following pile on my work bench:

Buttstock drill kit part #26535 in a plastic bag

I bought two of the LED upgrades but had already installed one before it dawned on me that I better get a picture 🙂

CNC Warrior Folding Arm Brace components for Zastava M92 PAP on wooden surface

CNC Warrior Folding Arm Brace components for Zastava M92 PAP on wooden surface

The  LED upgrade is from TerraLux and is their TLE-5EX MiniStar2 Extreme.  They claim 150 maximum lumens for four hours.  I can’t speak to the duration but they are definitely bright – brighter than my 80 and 100 lumen lights for sure with a really nice solid coverage. 


Basically, you unscrew the head from the camera body and while you are at it, remove the lens cap also because you will replace the old lens with a new one.  If you see any stretched, torn or missing O-rings, then replace them while you are at it.

Here are the old and new reflectors and lenses:

Ronin's Grips polymer handles in heat test setup

The old bulb just pulls straight out of the body.  You don’t need to do anything else – just pull it out.

Ronin's Grips polymer handles in heat test setup

Buttstock drill kit part #26535 in a plastic bag Buttstock drill kit part #26535 in a plastic bag

Now the LED module’s legs just go in where you removed the old bulb.  Have batteries in the light because you need to find out if the module is plugged in the right way or not.  What I mean by this is that the polarity does matter.  If you plug the module in and it will not light then turn it the other way so the legs switch the power holes they are plugged in to.

CNC Warrior Folding Arm Brace components for Zastava M92 PAP on wooden surface

Notice how the reflector that comes with the module has a much wider hole to accommodate the LED.  You can save your old bulb and reflector if you want to.

The module will sit on top of the housing.

Ronin's Grips polymer handles in heat test setup Ronin's Grips polymer handles in heat test setup

I got lucky – the light worked the first try.  If it did not, I would have removed the module and exchanged holes the legs were going into.

Ronin's Grips polymer handles in heat test setup


The tailcap has a nice switch.  What I like is that I can adjust the lens how I want and just turn the unit off and on at the tail cap.  If you were packing this, you can still turn the light off the old way and reduce the odds of it turning on.  Lastly, the cap has a perk – it has a lanyard ring on the side and it will prevent the light from rolling off a surface.  On one hand you can’t stand the light up and run it like candle but on the easy on/off switch and elimination of rolling are nice bonuses.CNC Warrior Folding Arm Brace components for Zastava M92 PAP on wooden surface

So that’s all there is to it.  I’d say it took me 5-10 minute per light and I satisfied my nostalgia by keeping them and have far, far brighter lights.  I’ve been using one of the lights for almost two months as of writing this blog without any problems at all.

By the way, I also wrote a post about upgrading my bigger 4-D cell Maglites as well.  Click here to read that post.


Please share the link on Facebook, Forums, with colleagues, etc. Your support is much appreciated and if you have any feedback, please email us in**@*********ps.com. If you’d like to request a report or order a reprint, please click here for the corresponding page to open in new tab.


Yes, 922r Does Apply to Short Barreled Rifles (SBRs)

Please note that I am not an attorney and this does not constitute legal advice.

The topic of 922r compliance and parts counts came up the other day as whether it applies to Short Barreled Rifles (SBR). In reading the conflicting ATF documentation, the last guidance given in technical branch letters from 2009 and 2010, the ATF does say it applies.  I put it this was as you should look at the trend over time which does seem to point towards 922r being applicable.

I am a very conservative guy and always try to stay on the safe side of legal issues so I would recommend ensuring your SBR is compliant with the 922r parts count requirements.  If you do this then you do not need to worry about it and I am sure there are folks who would disagree with me.

Here is the 2009 letter:

Ronin's Grips polymer handles in heat test setup

Here is the three page 2010 letter:

Ronin's Grips polymer handles in heat test setup Ronin's Grips polymer handles in heat test setup Ronin's Grips polymer handles in heat test setup

Again, please let me stress that I am not an attorney.  If you have any questions on this, I would recommend doing your own research and/or retaining legal counsel.


Please share the link on Facebook, Forums, with colleagues, etc. Your support is much appreciated and if you have any feedback, please email us in**@*********ps.com. If you’d like to request a report or order a reprint, please click here for the corresponding page to open in new tab.


Check out Aaron’s sweet M92 SBR with our Handguards

Aaron built this SBR by starting with a Zastava M92 PAP pistol kit and then took it from there.  The results are very clean!

Ronin's Grips polymer handles in heat test setup


Please share the link on Facebook, Forums, with colleagues, etc. Your support is much appreciated and if you have any feedback, please email us in**@*********ps.com. If you’d like to request a report or order a reprint, please click here for the corresponding page to open in new tab.


Check out Jason’s M92 with our Handguard Set

Jason sent me this photo of his Zastava M92 PAP pistol with our handguards – it looks great Jason!!

Ronin's Grips polymer handles in heat test setup


Please share the link on Facebook, Forums, with colleagues, etc. Your support is much appreciated and if you have any feedback, please email us in**@*********ps.com. If you’d like to request a report or order a reprint, please click here for the corresponding page to open in new tab.


When Strength and Quality Matter Most