Tag Archives: Yugo

Part 6: Two Rivers Arms Yugo M76 Rifle – The First Range Trip

I finally got a chance to take the Yugo M76 to the range and my youngest daughter went with me although now that she’s in college she’s gone a lot. I do have fun when she’s home as she loves shooting also and knows her way around a rifle.

Close-up of a LiteXpress X-Tactical 101 flashlight held in a hand.
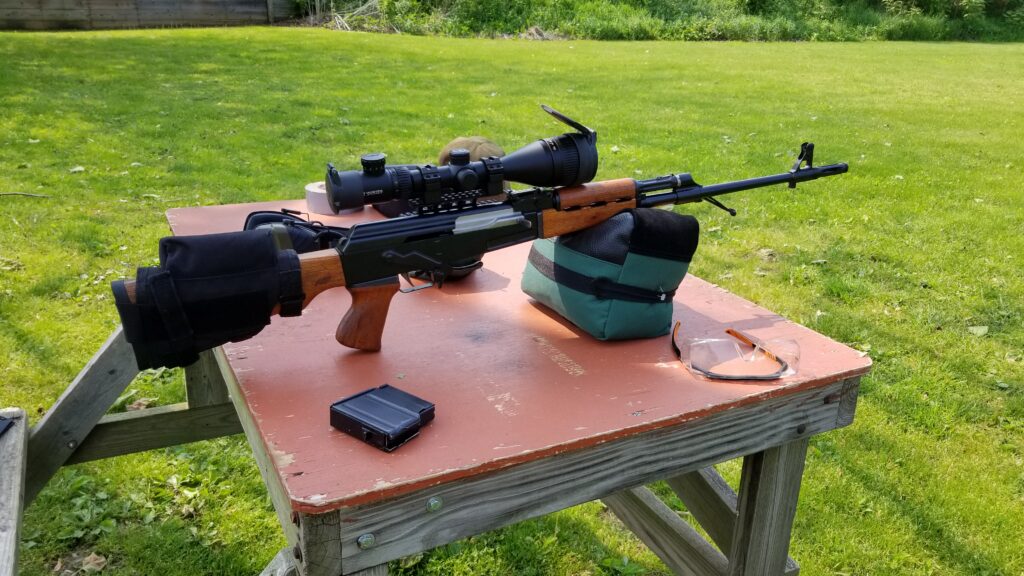
Erika is getting the rifle situated. I forgot my good bench rest so we made do with a Caldwell bag rest I brought along just in case. The weather was great.

We set up at 100 yards and I did the initial test firing and sighting in of the rifle. Function-wise, it was great. We did not have a single failure to feed or eject the whole day.

By the way, my daughter is wearing MPOW 035 ear muff hearing protectors and she said they worked great. She wore them when we were shooting the M76, my .338 Lapua and 9mm Glocks. They are excellent not to mention a good deal. I have three sets of them now for her and others. I am still using my Howard Leight by Honeywell electronic ear muffs.7

Both of us were wearing NoCry safety glasses. I use ones that go over my prescription eye glasses and my daughter wears normal ones because she has contacts.

One thing the slowed me up a bit was that the laser bore sight didn’t really help me out much. I have a new one from Wheeler that works great on the actual muzzle end of rifles but it would appear the M76’s brake was not truly perpendicular to the bore. Normally it is pretty slick but at the range, I had to fire a number of rounds to even get them on the backing board first and then finally to the bullseye.

We were shooting S&B 196 grain SPCE ammo. My groups were about 1.5-2″. I’ll get back down to the range one of these days with my better rest so I can test the accuracy. I have some Hornady Vintage Match ammo too that has cool specs but since I didn’t have my bench rest with me, I largely saved it for next time and will explain why I said that in a moment.

Pierced Primers

The only problem we encountered was the firing pin piercing primers. We went through almost 40 rounds and about a third had pierced primers. This is a known issue with M76s and, yes, the rifle is headspaced properly.

At first I thought it might just be the S&B ammo so I tested it with five rounds of Hornady Vintage match also. I think two of the five Hornady rounds were pierced. At any rate, here are some photos of the S&B ammo.

Close-up of a LiteXpress X-Tactical 101 flashlight held in a hand.
Example pierced primer. It did this both on S&B and Hornady ammo.
Close-up of a LiteXpress X-Tactical 101 flashlight held in a hand.
At home, I grabbed some random brass and took this photo to show both pierced and cratered primers.

There are a lot of posts about the piercing and cratering of primers with the M76. I’m pretty busy right now but will read all that I can before I do anything.

First, I plan to confirm the pin protrudes between 1.42mm (.056″) minimum and 1.52mm (.060″) maximum.

Second, I want to compare how close the firing pin hole is to the firing pin on my other M76 bolt plus some of my AKs. I don’t think it looks unusually large but it should be investigated.

Third, I have a hypothesis – I think the firing pin needs more of a rounded radius. The current face of the firing pin is relatively flat. There were literally little punched pieces of primer laying on the firing bench that were flat and the primers that intact showed a very flat impact.

Close-up of a LiteXpress X-Tactical 101 flashlight held in a hand.
Those primer pieces, maybe they should be called chads, show a pretty flat firing pin face.

I’m not going to rush into anything. I do have a second complete bolt assembly that I can look at and scavenge from if need be. If you have suggestions, contact me – in**@*********ps.com.

Bottom line

We had a lot of fun. The rifle performed very well with no feed or ejection problems, no magazine problems and only the pierced primers were minor issue.

Close-up of a LiteXpress X-Tactical 101 flashlight held in a hand.
I do need to work on the cheek rest more so it stays in place better.
Close-up of a LiteXpress X-Tactical 101 flashlight held in a hand.

I definitely look forward to shooting this rifle with a better bench rest and also comparing it side by side with my .308 M77. Also, I’ll report back on what I try to correct the firing pin piercing or cratering primers at some point in the future. Until then, have a great day!


Please share the link on Facebook, Forums, with colleagues, etc. Your support is much appreciated and if you have any feedback, please email us in**@*********ps.com. If you’d like to request a report or order a reprint, please click here for the corresponding page to open in new tab.


Ian at Forgotten Weapons Does a 2-Gun Match With a Yugo M76!!

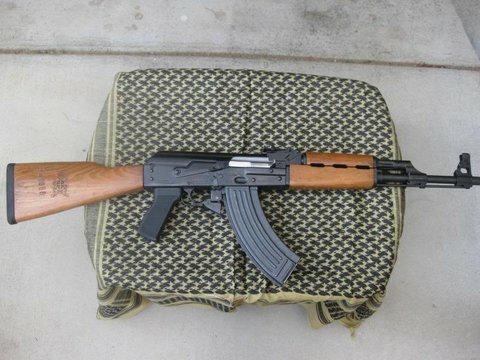
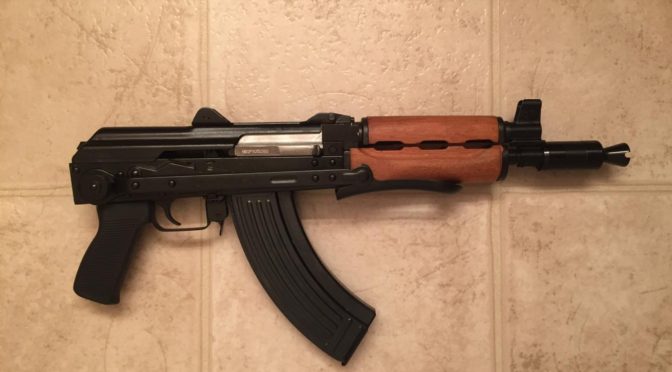
Two Rivers Arms recently built a Yugo M76 8mm designated marksman’s rifle for me. I’ve wanted one for years and it was a long but worthwhile wait until it arrived. So, once Tim called and said it was almost ready, I started reading up in earnest and watching videos as well.

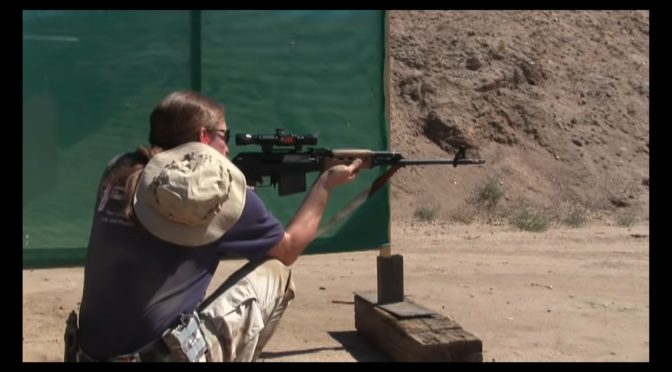
Ian from Forgotten Weapons shoots a Yugo M76 rifle in a 2-gun match.
Ian at Forgotten Weapons aims Yugo M76 rifle from inside a van during a 2-gun match.

That’s where Ian McCollum of Forgotten Weapons enters in. I am a fan of Ian at Forgotten Weapons and both subscribe to his Youtube channel and support him via Patreon. Ian published a video of him using a Yugo M76, or as it is formally known, a Zastava M76, in a 2-Gun match. It’s a quick fun watch to see Ian swinging around the big rifle.


Please share the link on Facebook, Forums, with colleagues, etc. Your support is much appreciated and if you have any feedback, please email us in**@*********ps.com. If you’d like to request a report or order a reprint, please click here for the corresponding page to open in new tab.


Zastava O-PAP Rifle With One of Our Yugo M70 Grips

This is John’s Zastava O-PAP.  You can tell because it notably does not have the flip up grenade sign on the gas block.  It definitely has clean lines and you can see the bulged trunnion that is another clear indicator that this is the heavier duty O-PAP and not the N-PAP.

Ronin's polymer handle being cut with a plastic knife on foil

John’s rifle has one of our Yugo M70 grips on it.  The Yugoslavians and Zastava saved money by using this unique ergonomic grip on a number of their models including the various favors of the M70, M72, M85, and M92.

John’s grip is colored black and has our matte/blasted finish for a sure “hold” even when wet.

Click here for our order page.


Please share the link on Facebook, Forums, with colleagues, etc. Your support is much appreciated and if you have any feedback, please email us in**@*********ps.com. If you’d like to request a report or order a reprint, please click here for the corresponding page to open in new tab.


Mark’s M92 SBR With Our Yugo Grip

Mark’s SBR sure looks great!  He used the original wood furniture and one of our Yugo M70/M92 grips with a black blasted finish.

Ronin's polymer handle being cut with a plastic knife on foil

Here is a link to our grip’s order page – click here to open it in a new tab.


Please share the link on Facebook, Forums, with colleagues, etc. Your support is much appreciated and if you have any feedback, please email us in**@*********ps.com. If you’d like to request a report or order a reprint, please click here for the corresponding page to open in new tab.


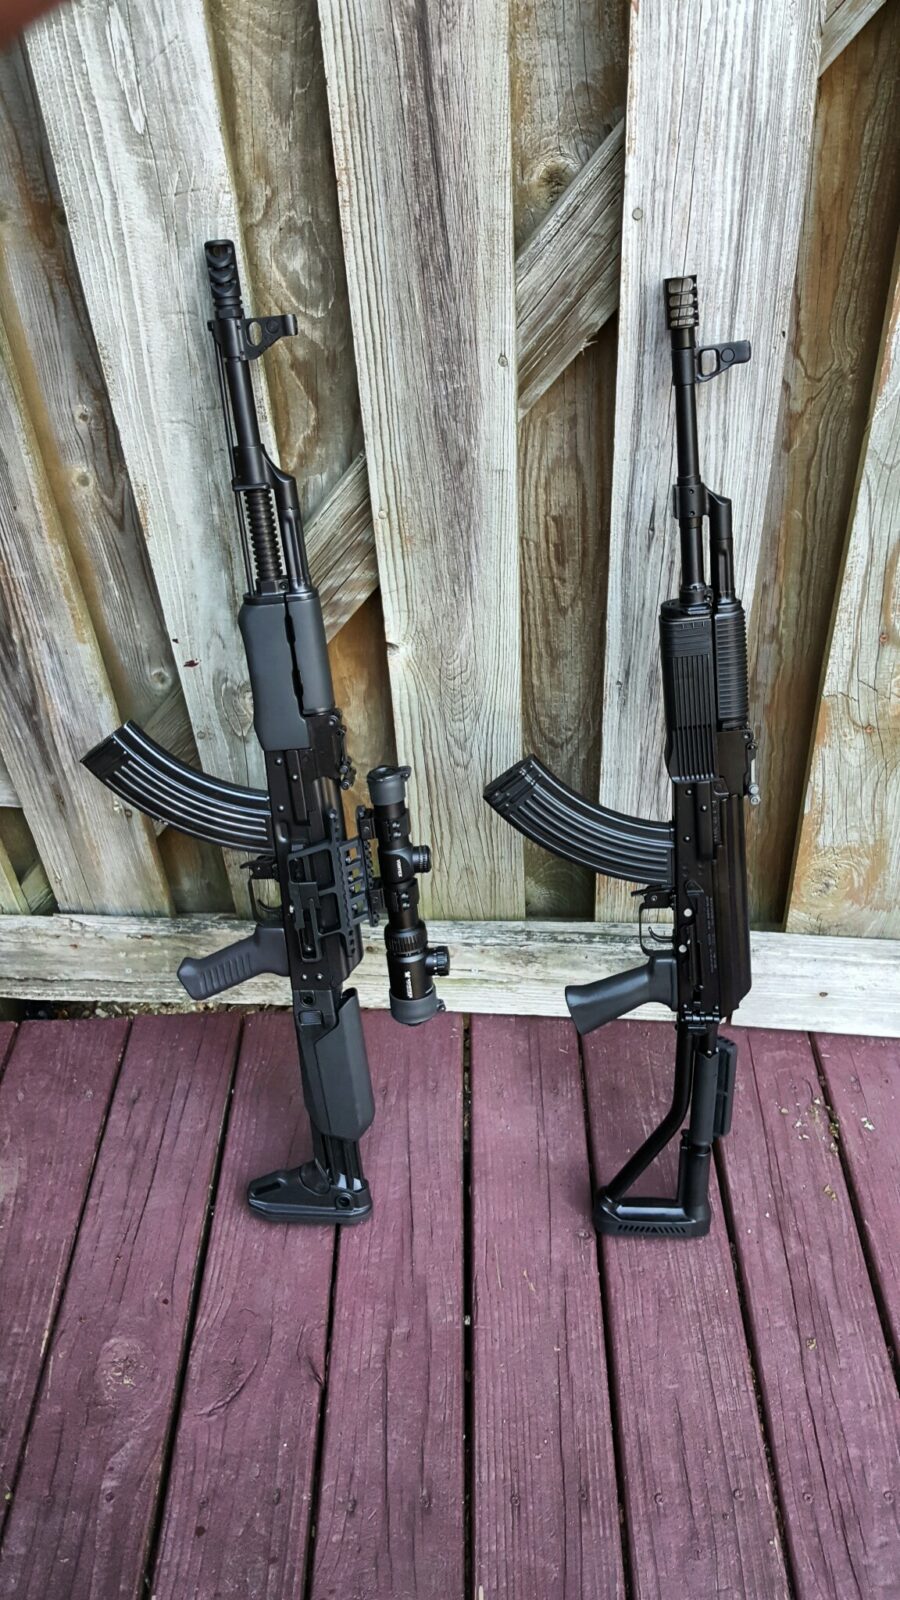
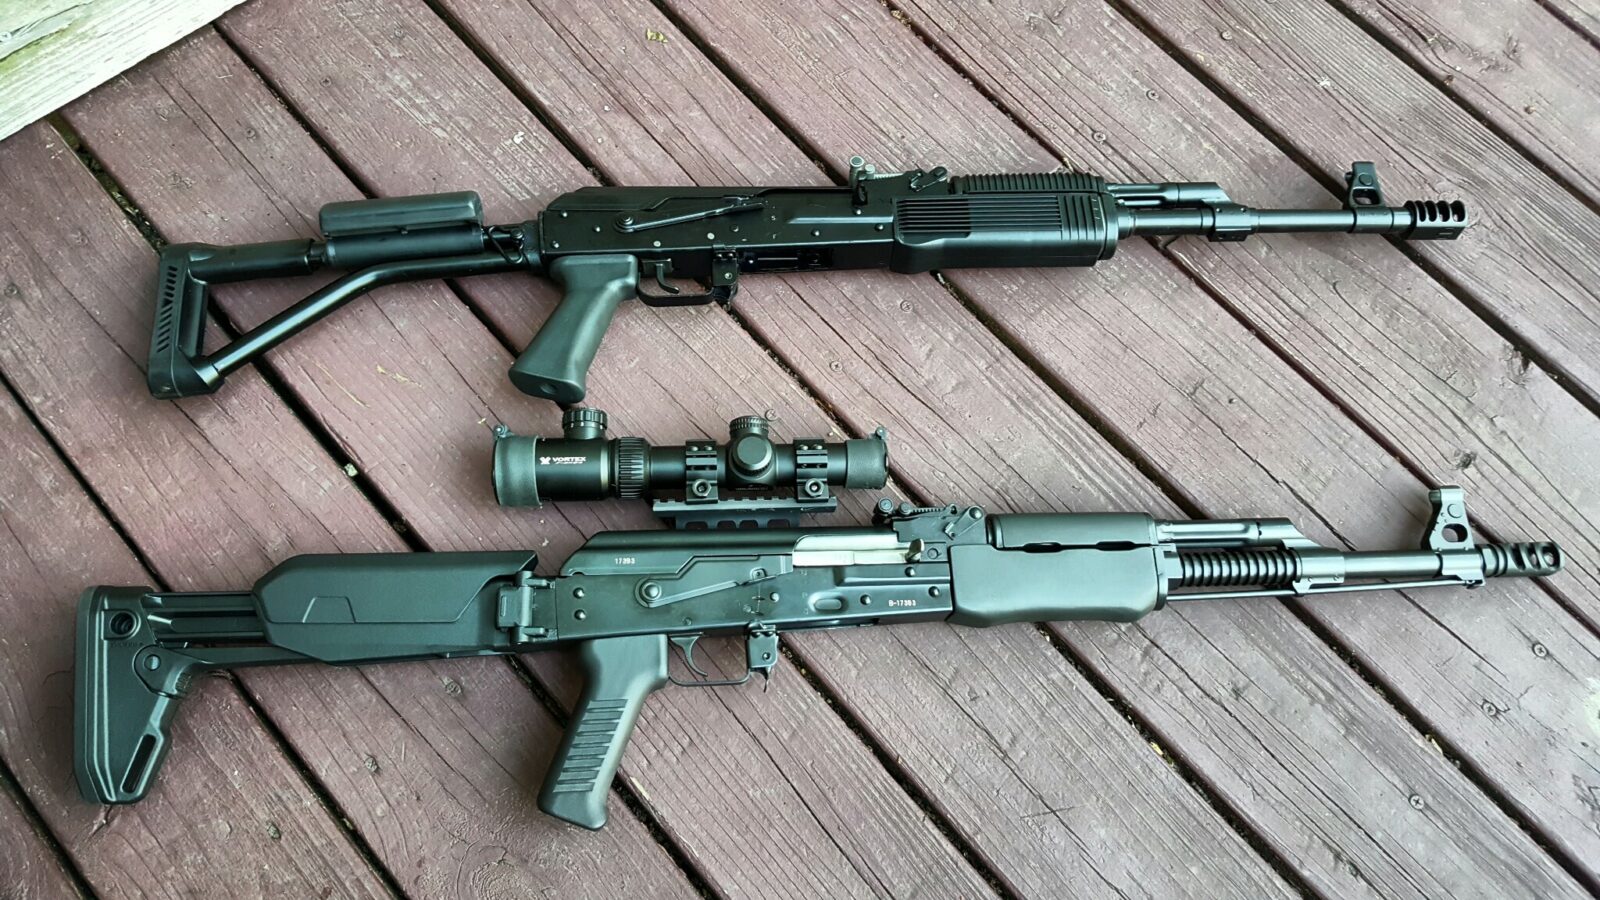
The Custom Yugo M72 Carbine and Vepr FM-AK47-21 Meet

Okay, I had them both out to shoot photos so I had to take some side by side photos.  In case you want to read the blog posts about each rifle, click here for the Yugo M72 Carbine or here for the Vepr FM-AK47-21.

Customized Romanian AK rifle with Midwest Industries rails and Galil grip

Customized Romanian AK rifle with Midwest Industries rails and Galil grip

Customized Romanian AK rifle with Midwest Industries rails and Galil grip


Please share the link on Facebook, Forums, with colleagues, etc. Your support is much appreciated and if you have any feedback, please email us in**@*********ps.com. If you’d like to request a report or order a reprint, please click here for the corresponding page to open in new tab.


Video: Infantry Weapons of Yugoslavia 1924 – 1999

Yugoslav infantry soldier with rifle, part of Yugoslav Infantry Weapons content Yugoslav infantry soldiers with rifles, 1924-1999 weapons M-93 Black Arrow sniper rifle, Yugoslav infantry weapon from 1993 Zastava M-72 assault rifle light machine gun with drum magazine Yugoslav infantry soldier firing an AK-47 from prone position Yugoslav infantry rifle with mounted scope displayed on a white background

This video covers handguns, rifles, submachine guns, light machine guns and so forth used by Yugoslavia from 1924 to 1999.  It does not have anyone talking, just music.  What it does have that is interesting is tons of photos of various weapons and in some cases even footage showing use.  I watched in interest the parts with the AK-related rifles such as the M70, M72, M85, M92 and so on plus the M93 Black Arrow that I’ve always found interesting.  I got to hold and inspect one at Ohio Rapid Fire years ago.

At any rate, it’s interesting and worth 28 minutes to watch what the author assembled:


Please share the link on Facebook, Forums, with colleagues, etc. Your support is much appreciated and if you have any feedback, please email us in**@*********ps.com. If you’d like to request a report or order a reprint, please click here for the corresponding page to open in new tab.


Video: Zastava Arms 160 Years Marketing Video, 2015

CRKT HalfAChance machete cutting through a tree branch

I like Zastava firearms – notably their rifles – M70, M72, M67, M77, and M92.  I’ve owned variants of all of those at one time or another and think highly of the designs and the quality of manufacturing.  I ran across this short 160 year commemorative video released in 2015 and thought I would share it:


Please share the link on Facebook, Forums, with colleagues, etc. Your support is much appreciated and if you have any feedback, please email us in**@*********ps.com. If you’d like to request a report or order a reprint, please click here for the corresponding page to open in new tab.


Converting a Milled M70 Front End for a Sheet Metal Receiver Using Screws

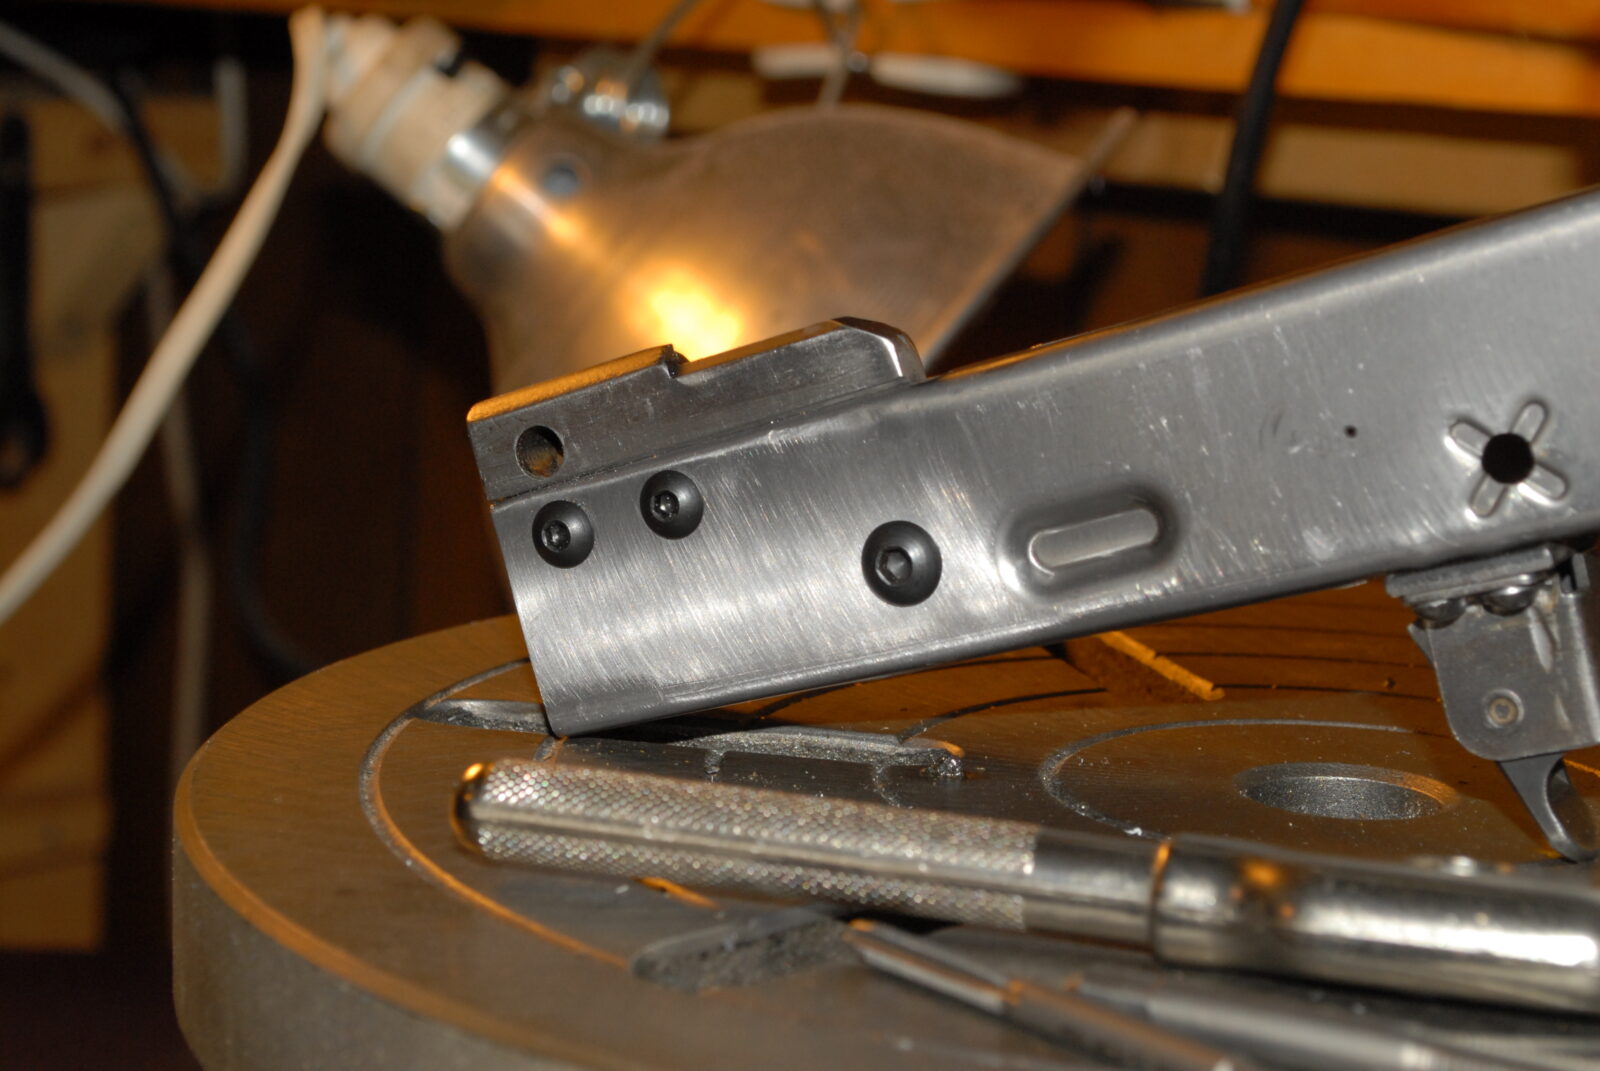
Let me open this article with a comment for people new to building AKs – the best proven method is to use rivets.  The Soviets did a lot of testing and the best mechanical join of the forged trunnions to sheet metal was a mechanical rivet.  To this day, all commercial and military AKs are built using rivets.  In my journeys, I have built AKs using welds, screws and rivets – all have pros and cons.  What would I build an AK with that I care about?  The answer is easy – rivets.  This blog post documents my building a prototype using screws.  Has it held up to casual non-military non-full-auto use?  Yes.  What would I recommend to you to build your AK?  The answer is rivets.


In a previous post I described taking a milled stub and welding it to a sheet metal receiver.  Another approach is to drill, tape and use alloy screws.  So, let’s talk about that a bit.  I did this build back in 2010 also.  I actually still have the rifle and it’s one of my most reliable AKs.  It takes about any ammo I stuff in it and I don’t recall ever having any issues.

For those of you who are wondering why I didn’t do rivets – I was bored and wanted to try something different plus this is a range gun and not something mission critical.  Here we are 7 years later and it’s still doing fine – no cracks, no loose screws … but it isn’t stressed either.  When in doubt, do rivets or a milled gun.

Also, bear in mind that the front trunnion was made from the milled receiver stub so screws made it real easy.

In terms of this build, I milled the trunnion down the same as I did for the weld build.   I used my Hungarian AMD trunnion as an approximate guide for locating the holes and used two #10 screws for the front top and a 1/4″ for the rear.  In both cases, I opted for national fine.  10-32 and 1/4-28.  So, for 10-32, I used a #21 drill bit to make the hole  and for the 1/4-28, I used a #3.

Drilling Milled M70 front end for sheet metal receiver conversion

For drill locating and drilling the receiver holes, I used the AK-Builder trunnion rivet locating jig.  You just put the trunnion on the jig, locate the hole, slide the receiver on and drill the hole.

Drill bit precisely piercing a milled M70 front end for sheet metal receiver conversion.

Drill bit creating screw holes in milled M70 front end for sheet metal receiver conversion.

Drill press creating screw holes for M70 sheet metal receiver conversion

Now for tapping, being square is a good idea.  I squared my table to the drill press’s chuck and used it to hold the tap.  I use Tap Magic cutting fluid to lubricate everything.

Tap threading a hole in a milled M70 front end for sheet metal receiver conversion.

Tap threading a sheet metal receiver for a milled M70 front end conversion.

Drill press with vise and sheet metal receiver for M70 front end conversion

For the screws, I used alloy button heads and secured them with red thread locker.  I reached in with a Dremel and ground down protruding screws.

Milled M70 front end conversion for sheet metal receiver with screws

Milled M70 front end with sheet metal receiver using screws

Milled M70 front end conversion for sheet metal receiver using screws

So there’s the front.  I used an air riveter to do the trigger guard.

Sheet metal receiver front end conversion with screws and tools on drill press

Milled M70 front end conversion with screws on sheet metal receiver

Milled M70 front end conversion with screws and vise grip

End Result

Milled M70 front end parts for sheet metal receiver conversion

Here’s a link to the AK-Builder Trunnion Hole Jig.


Please share the link on Facebook, Forums, with colleagues, etc. Your support is much appreciated and if you have any feedback, please email us in**@*********ps.com. If you’d like to request a report or order a reprint, please click here for the corresponding page to open in new tab.