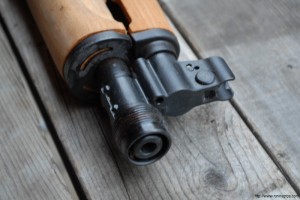
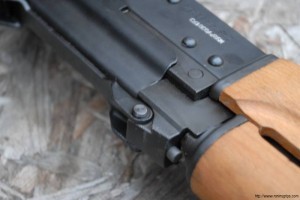
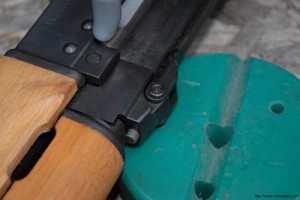
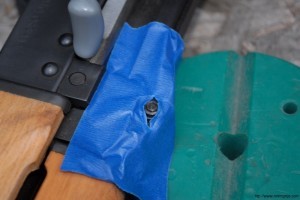
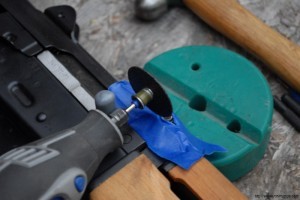
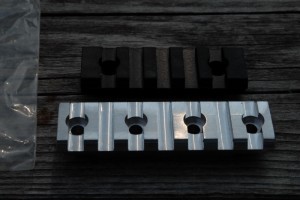
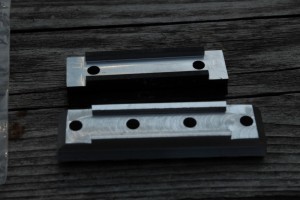
This is another long overdue step by step guide. We have been selling M92 handguards for over two years and people ask about how to install them so let’s try and take this step by step.
SAFETY STEP – MAKE SURE THE WEAPON IS UNLOADED. NEVER ASSUME THAT IT IS – VERIFY IT IS UNLOADED BEFORE YOU BEGIN WORK.
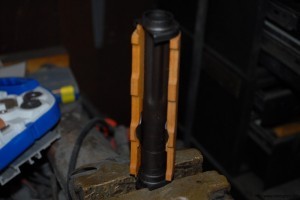
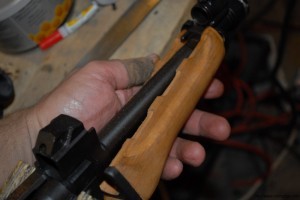
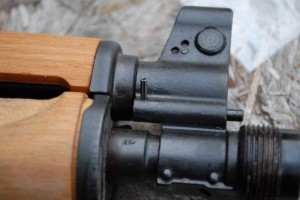
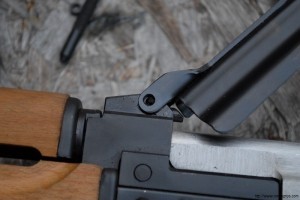
1. Open the dust cover so the gas tube can be removed.
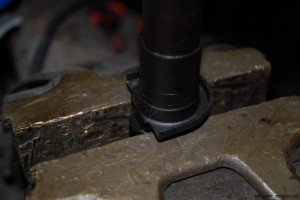
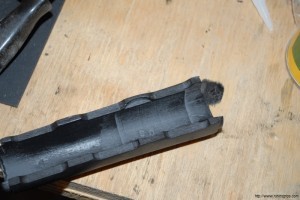
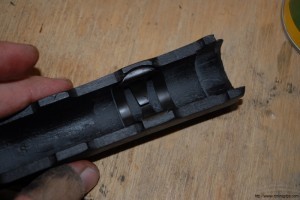
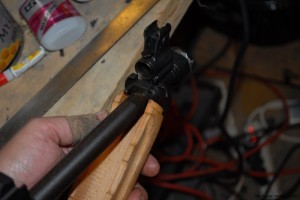
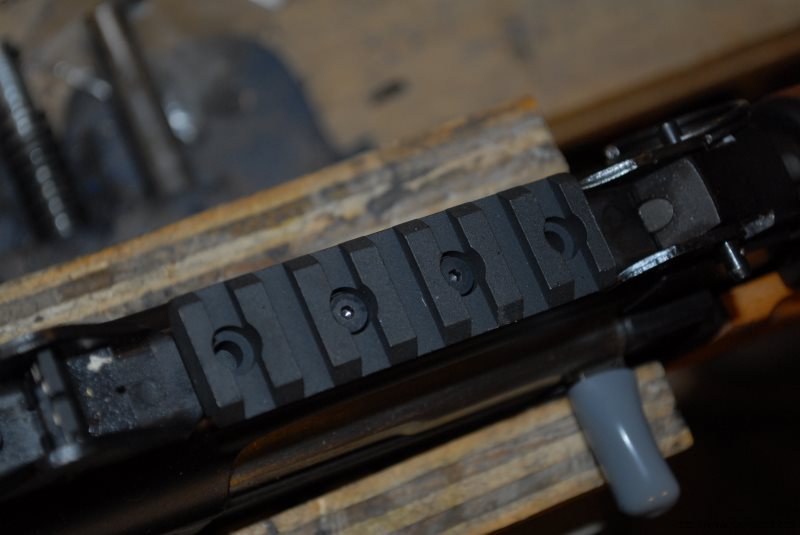
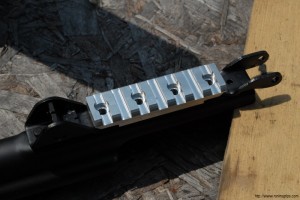
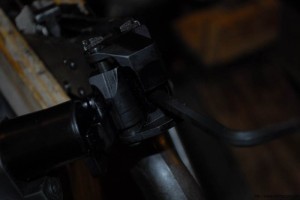
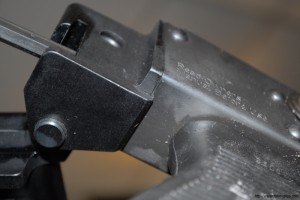
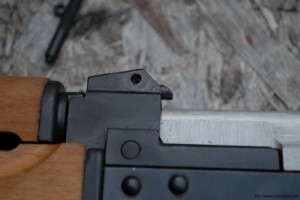
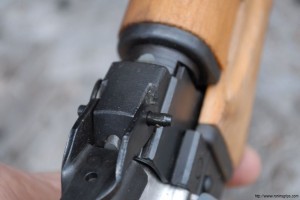
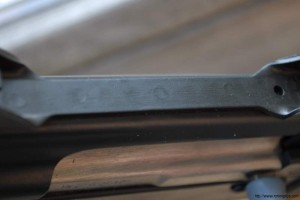
2. Take a look at the upper portion. The gas tube cover is actually a semi circle held in a groove formed by sheet metal. To remove the cover, secure the forged metal end of the tube (NOT THE SHEET METAL END OR IT WILL BEND) in a vise or use an open end wrench. Turn the cover 180 degrees until it faces the opposite way and it will come right out of the retainer.
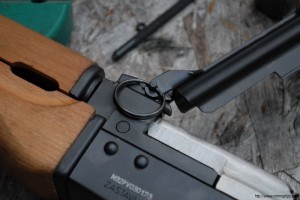
3. See the metal clip in the gas tube cover? You will want to move that clip to our gas tube cover as it helps secure it in place.
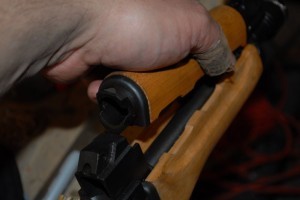
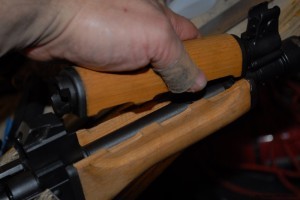
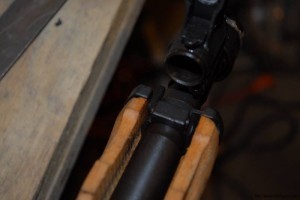
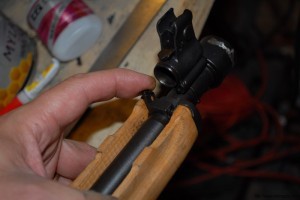
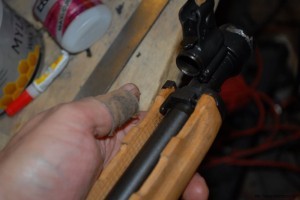
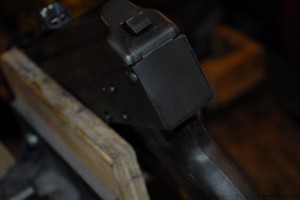
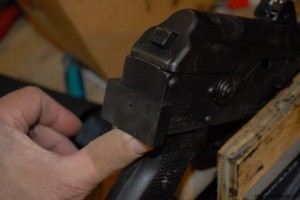
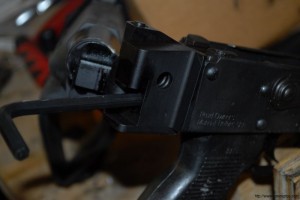
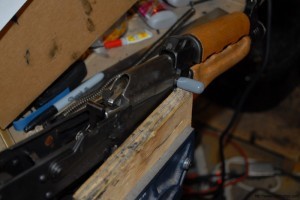
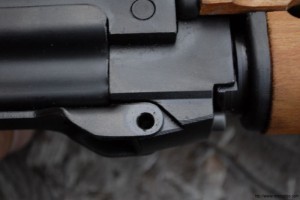
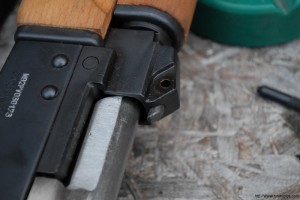
4. Next, look at the lower handguard. In the front of the guard on the left side you will see a small lever that needs to be rotated inward. Once that is done, the handguard retainer can be slid forward.
4. The lower handguard is then pulled forward and down to be removed.
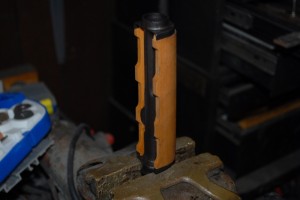
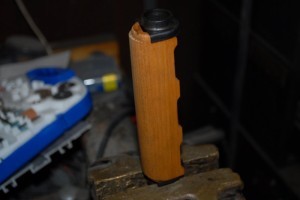
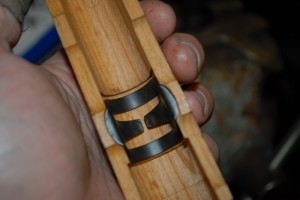
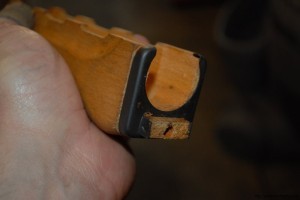
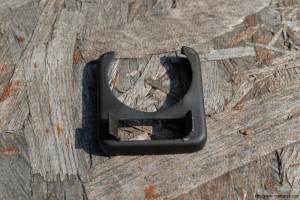
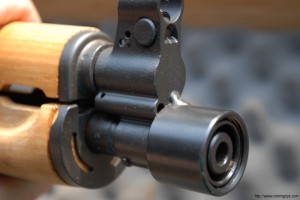
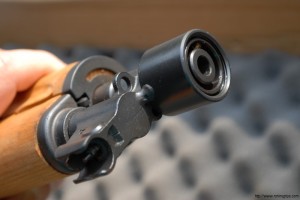
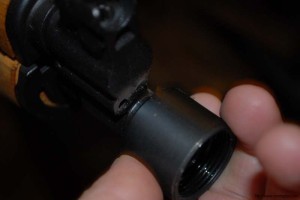
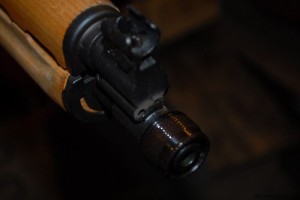
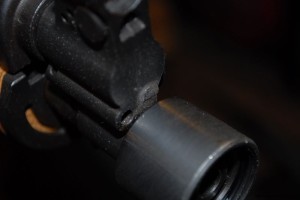
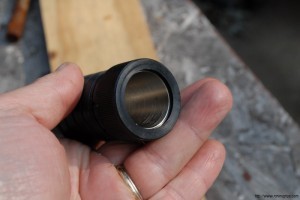
5. I am asked regularly about what a ferrule is. Folks, that black metal cap on the end of the lower is a ferrule. It protects the end grain of the wood from being split open. We sell a handguard that can use a ferrule if you like the looks of it plus we sell a version that does not need the ferrule. It is entirely up to you. I sometimes use the ferrule to accent whatever color handguard I am working with – for example, Dark Olive Drab to Dark Russian Plum.
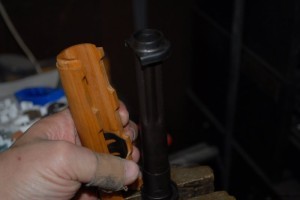
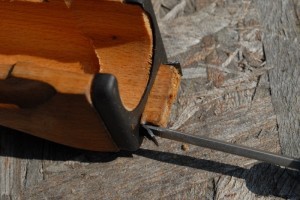
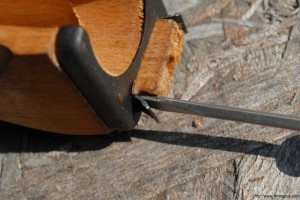
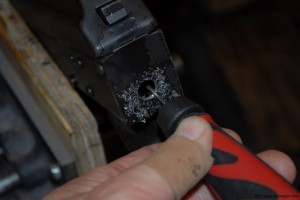
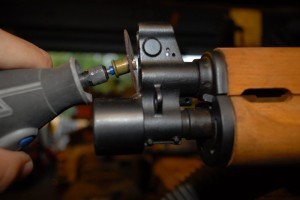
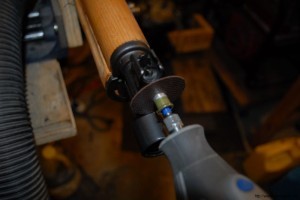
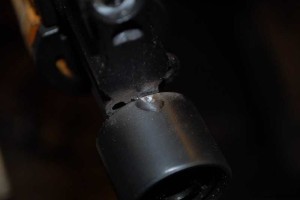
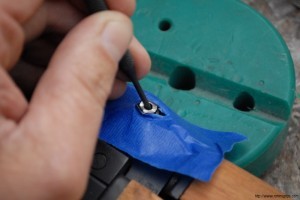
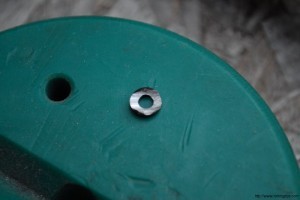
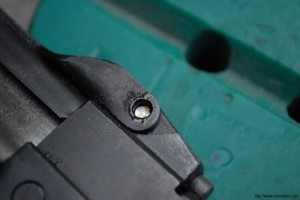
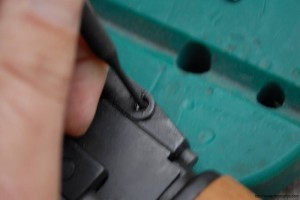
6. This only applies if you buy one of our handguards that uses the ferrule – you can use your existing ferrule by using a screwdriver to bend the tabs open on the receiver stub and then working the ferrule backward and off the wood lower handguard. You can then glue it to our’s or even leave it loose.
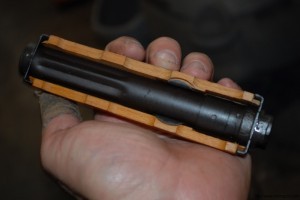
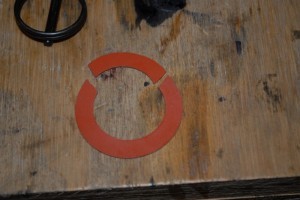
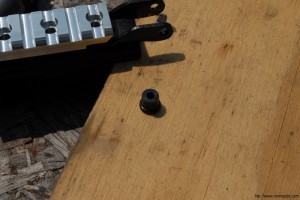
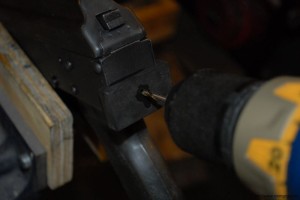
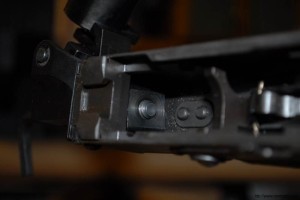
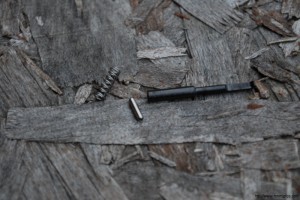
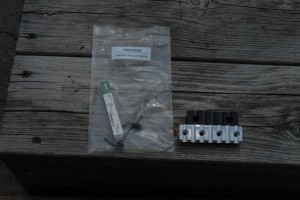
7. When you install our lower handguard, you reverse the above steps. We sell optional shims in case you need to tighten the fit. The example shim here is a special orange material we tested and now we use a special hard black rubber. You can buy our shims or make your own. In either case, your goal is to add just enough material to get the retaining lever to turn down firmly and lock up the lower handguard. Because AKs can vary, you may find that you need to either add or subtract material so take a careful look at your lower retainer and decide which way you need to move before you go sanding, cutting, filing, etc.
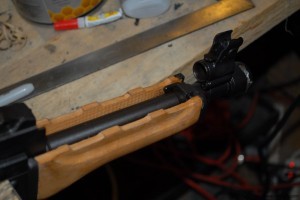
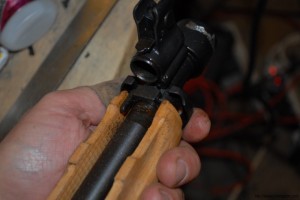
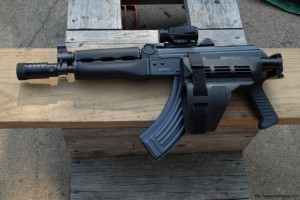
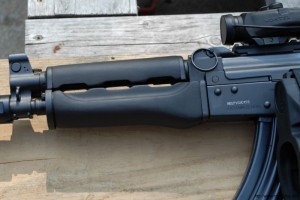
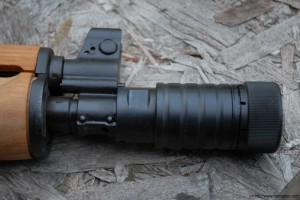
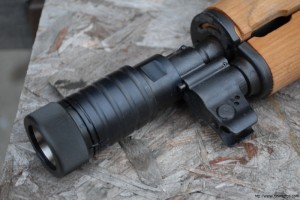
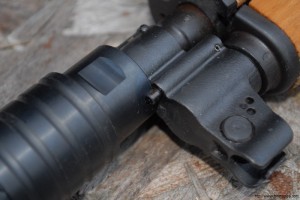
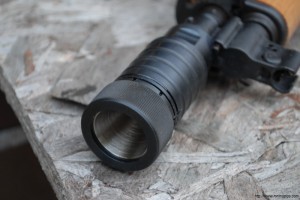
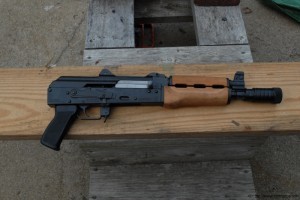
So that’s about it. The following are photos of the M92 with the new ferrule cut handguards installed.
If you’d like to learn more or order our handguards, please visit our online store’s Yugo handguard section at: http://shop.roninsgrips.com/Yugoslavian_c14.htm
Note, the following is a video a fellow did showing how he removes and installs M92 handguards in general. I think this might help some of you who want to see the steps in more detail:
If you find this post useful, please share the link on Facebook, with your friends, etc. Your support is much appreciated and if you have any feedback, please email me at in**@*********ps.com. Please note that for links to other websites, we are only paid if there is an affiliate program such as Avantlink, Impact, Amazon and eBay and only if you purchase something. If you’d like to directly contribute towards our continued reporting, please visit our funding page.

