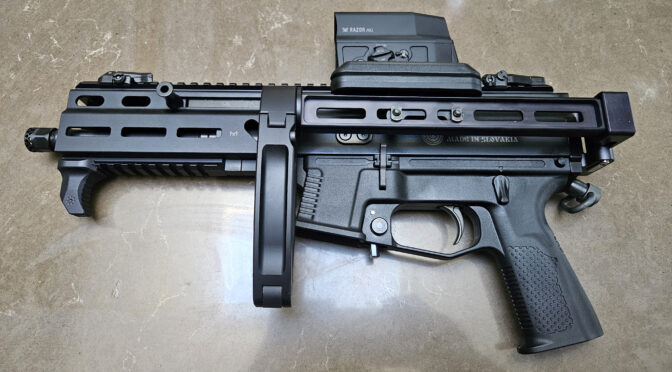
When I built our a pistol with recoil, I worry about my hand slipping off the handguard and going in front of the muzzle. I recently bought a Stribog 10mm and that was running through my mind – so I started digging for hand stops that could mount on a picatinny rail.
I should point out I don’t like angled fore grips (AFGs) or anything that incorporates that design aspect. I like the bottom of the handguard to be flat. I also like hand stops that are small from an aesthetics perspective plus I don’t want the ATF, or whomever, arguing that I actually have a vertical grip which is illegal on a pistol.
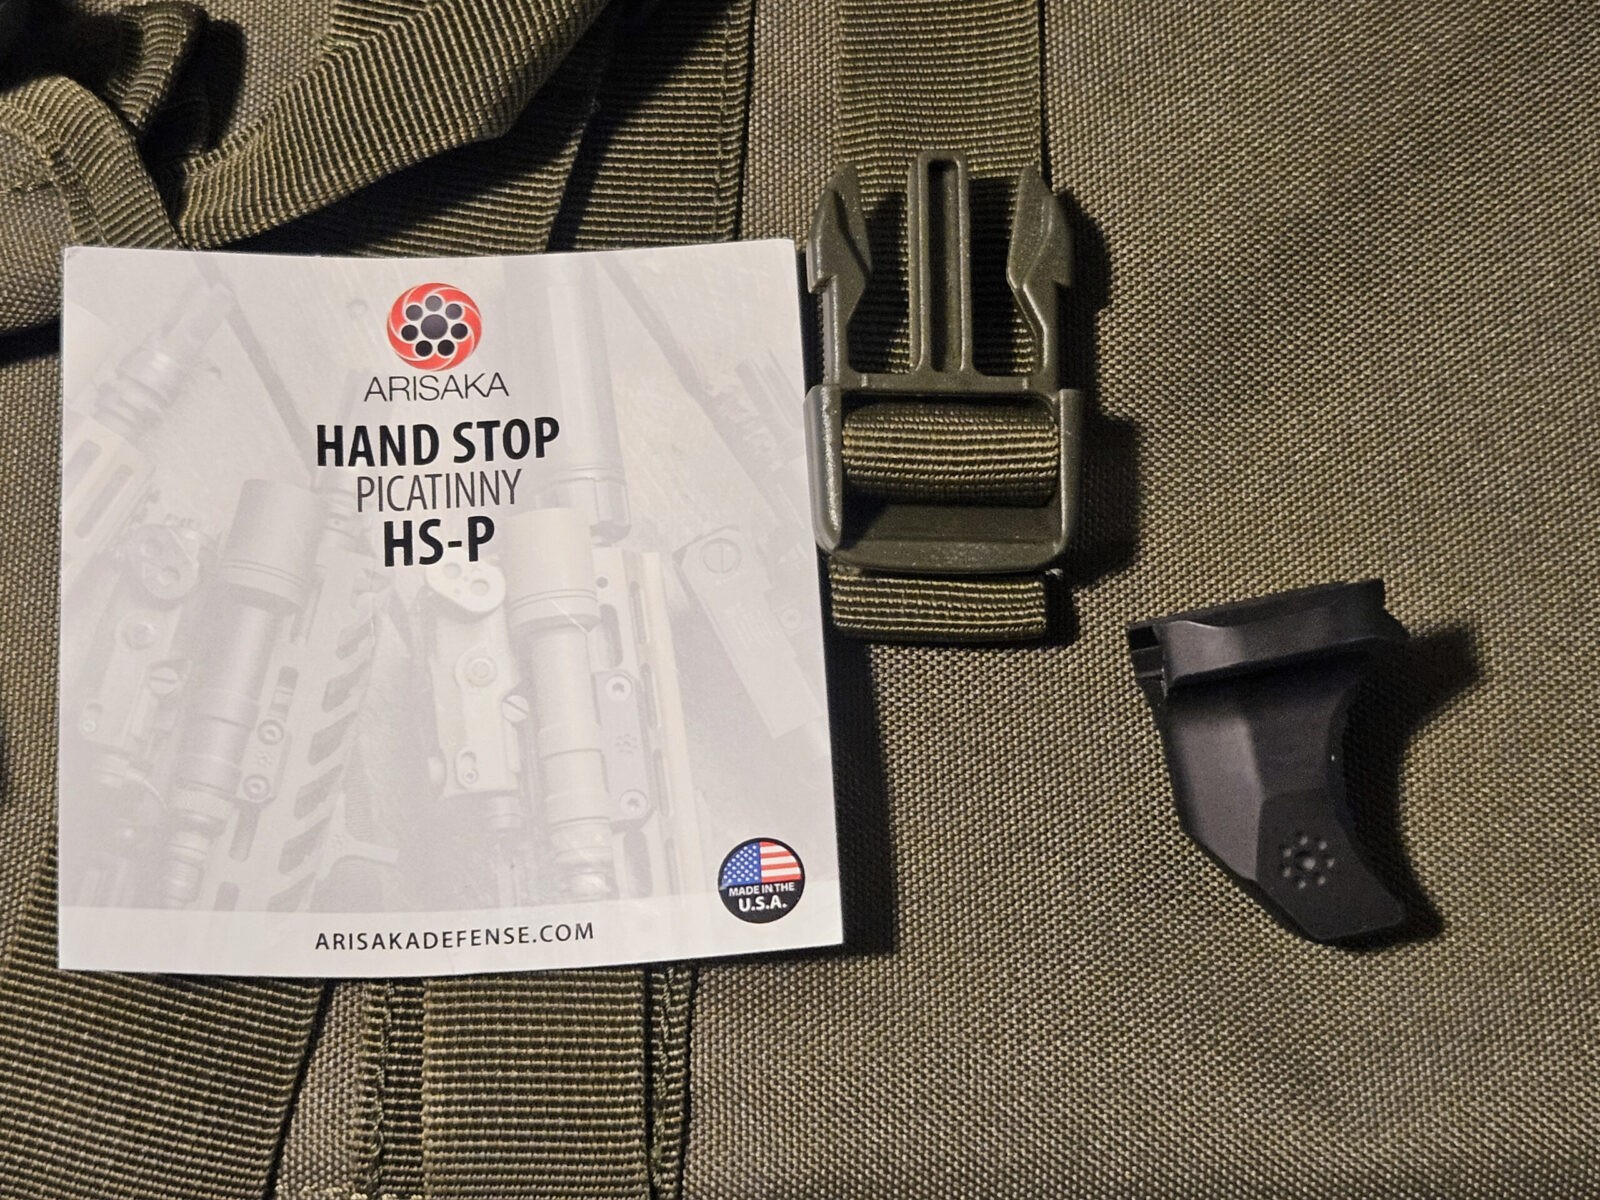
I ran across an ad for Arisaka Defense’s HS-P handstop. It mounts on rail though I couldn’t quite figure out how from the website photos. Because I’ve had good luck with Arisaka products in the past, I gambled and ordered one. Guess what? I really like it and figured a quick post might be of interest to others.
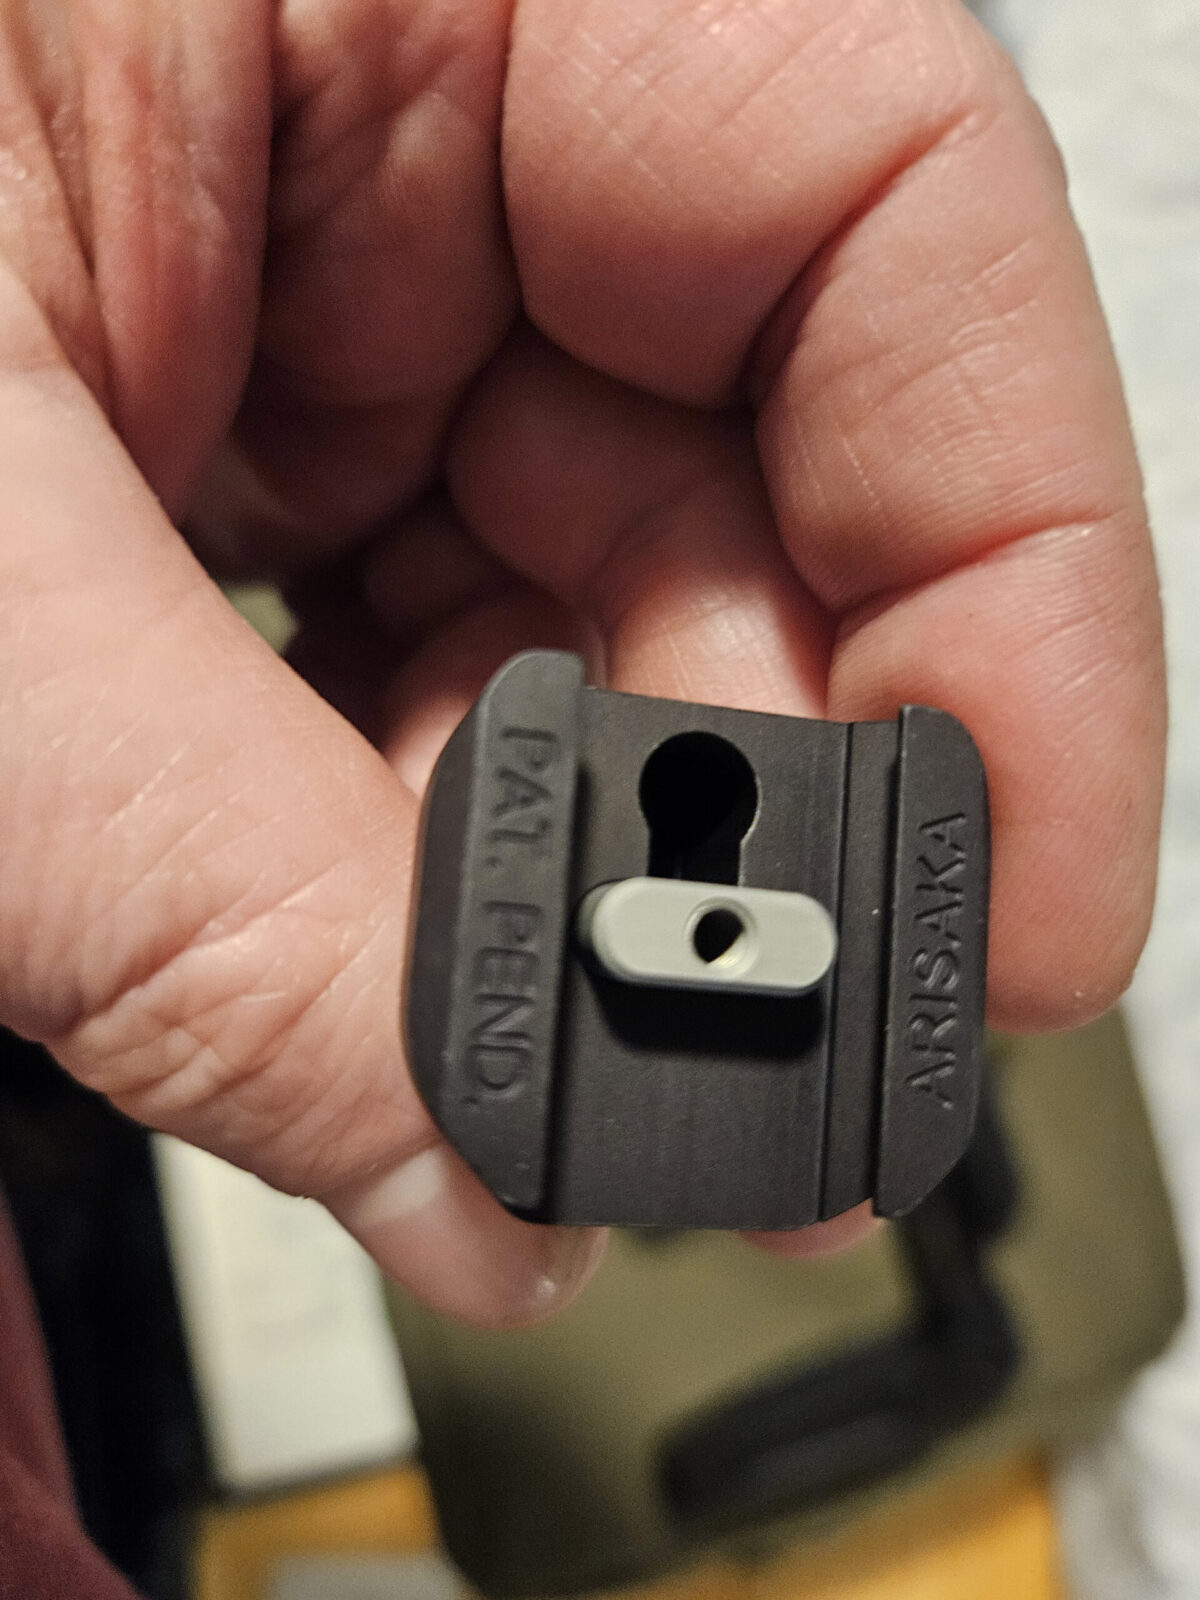
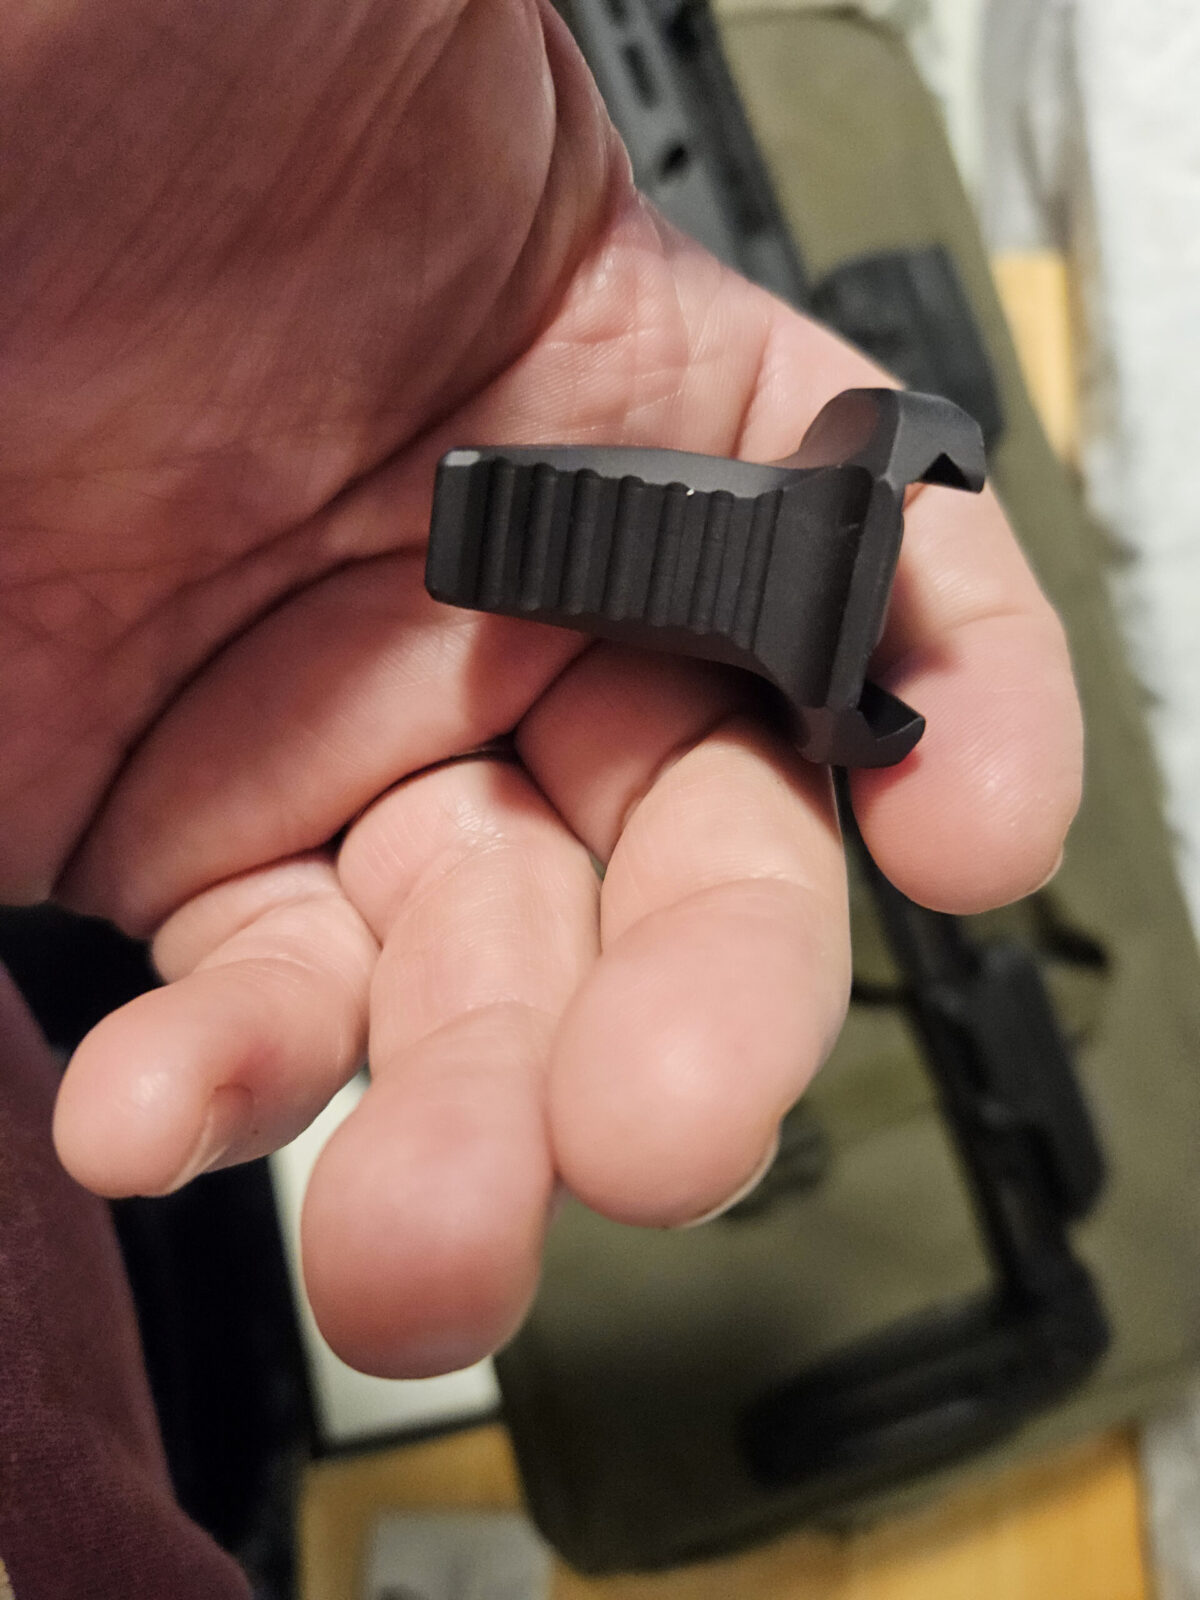
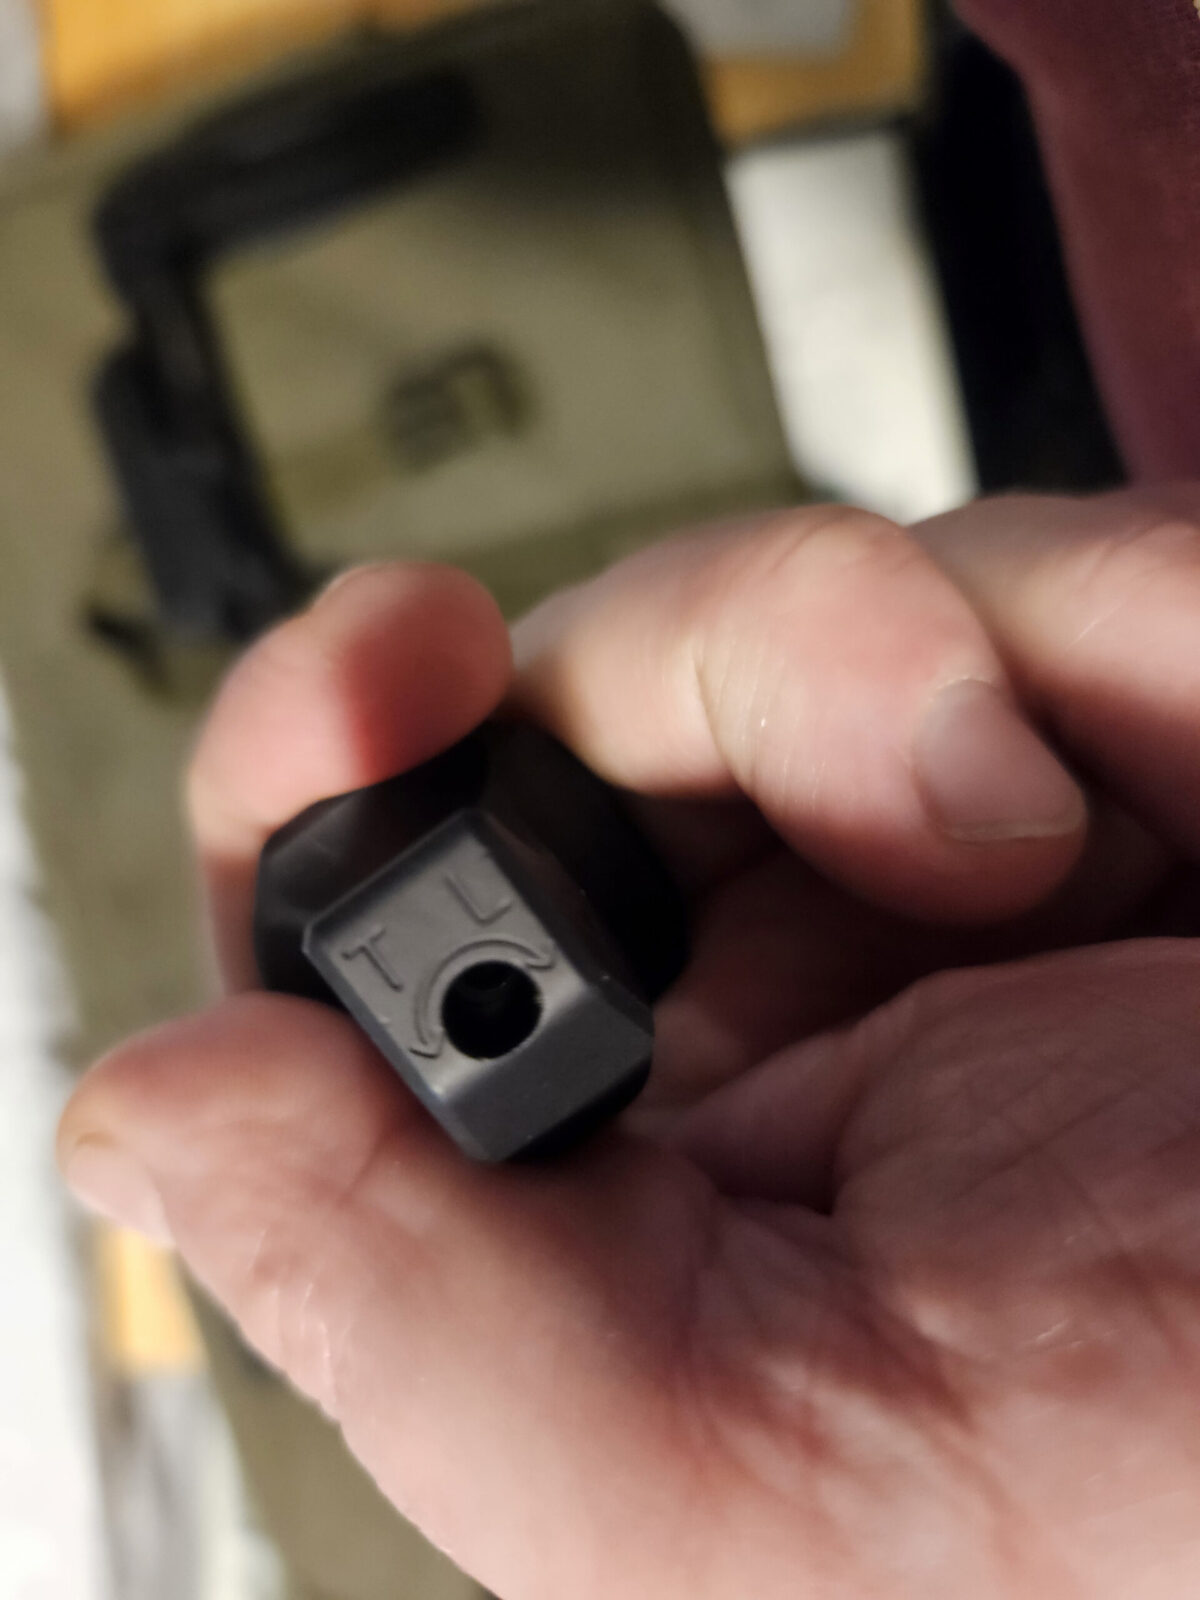
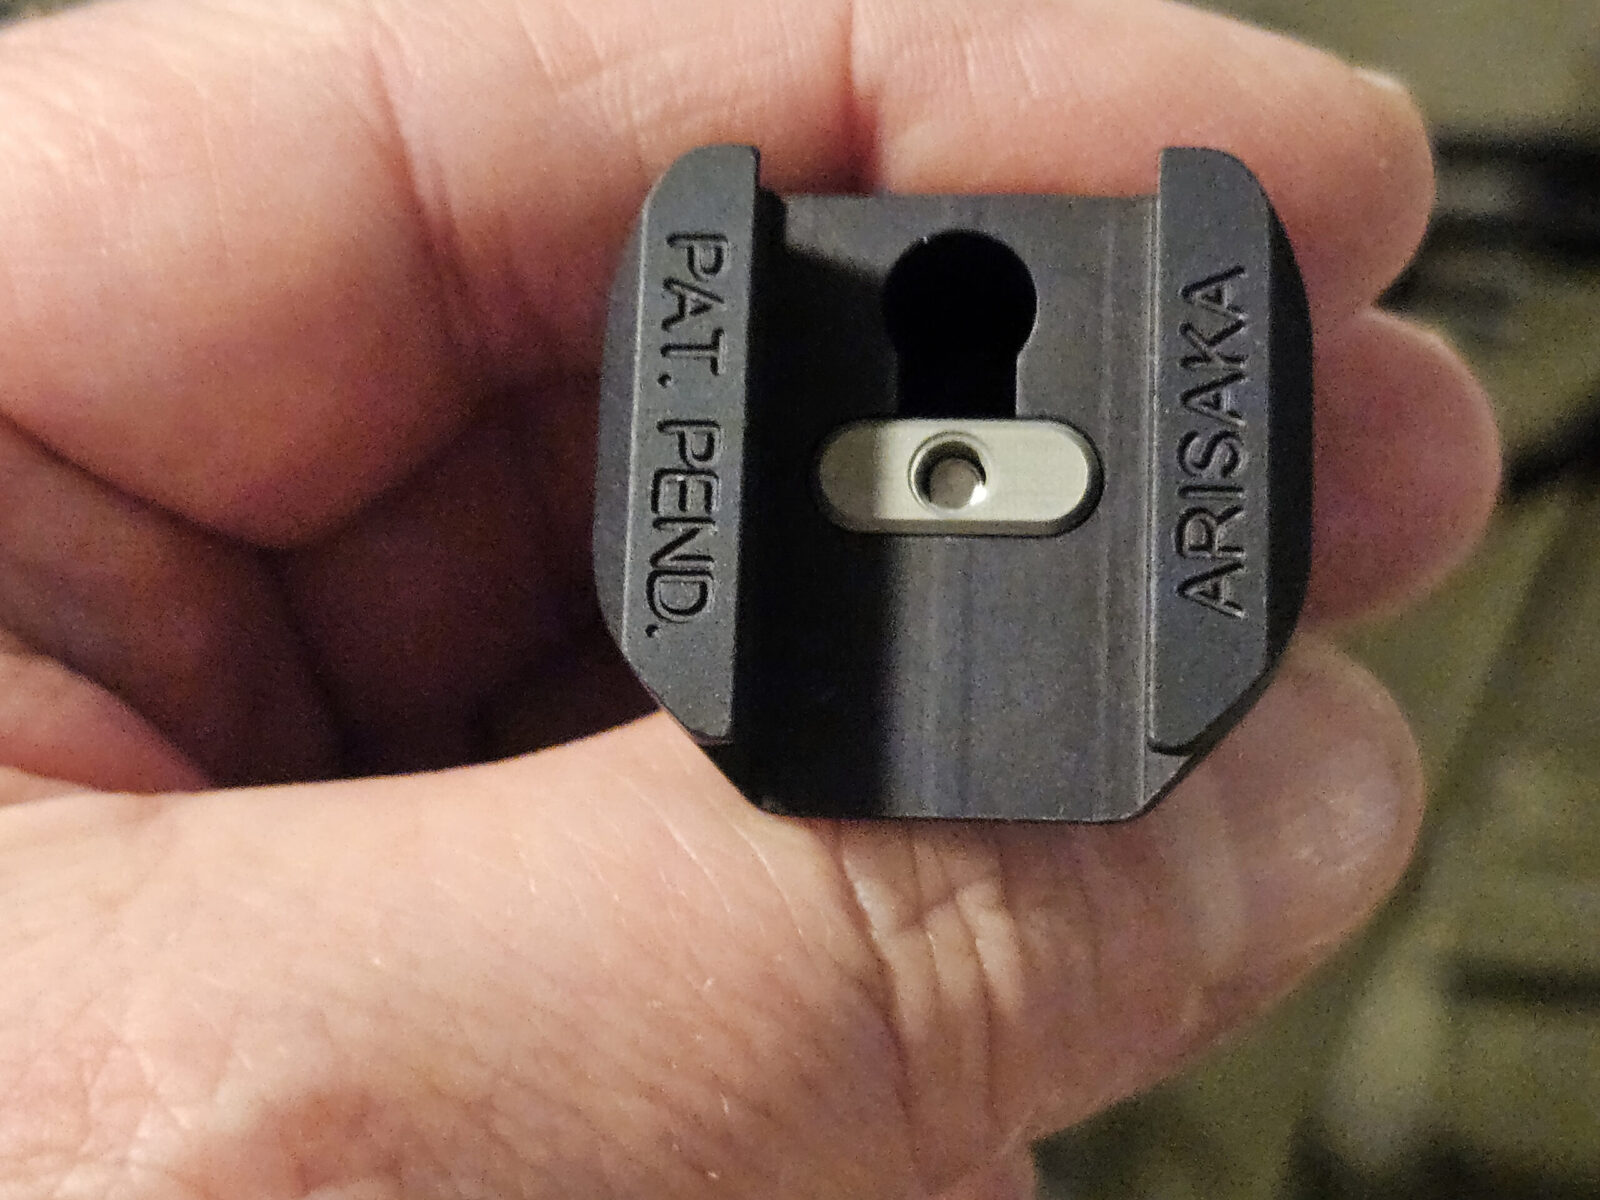
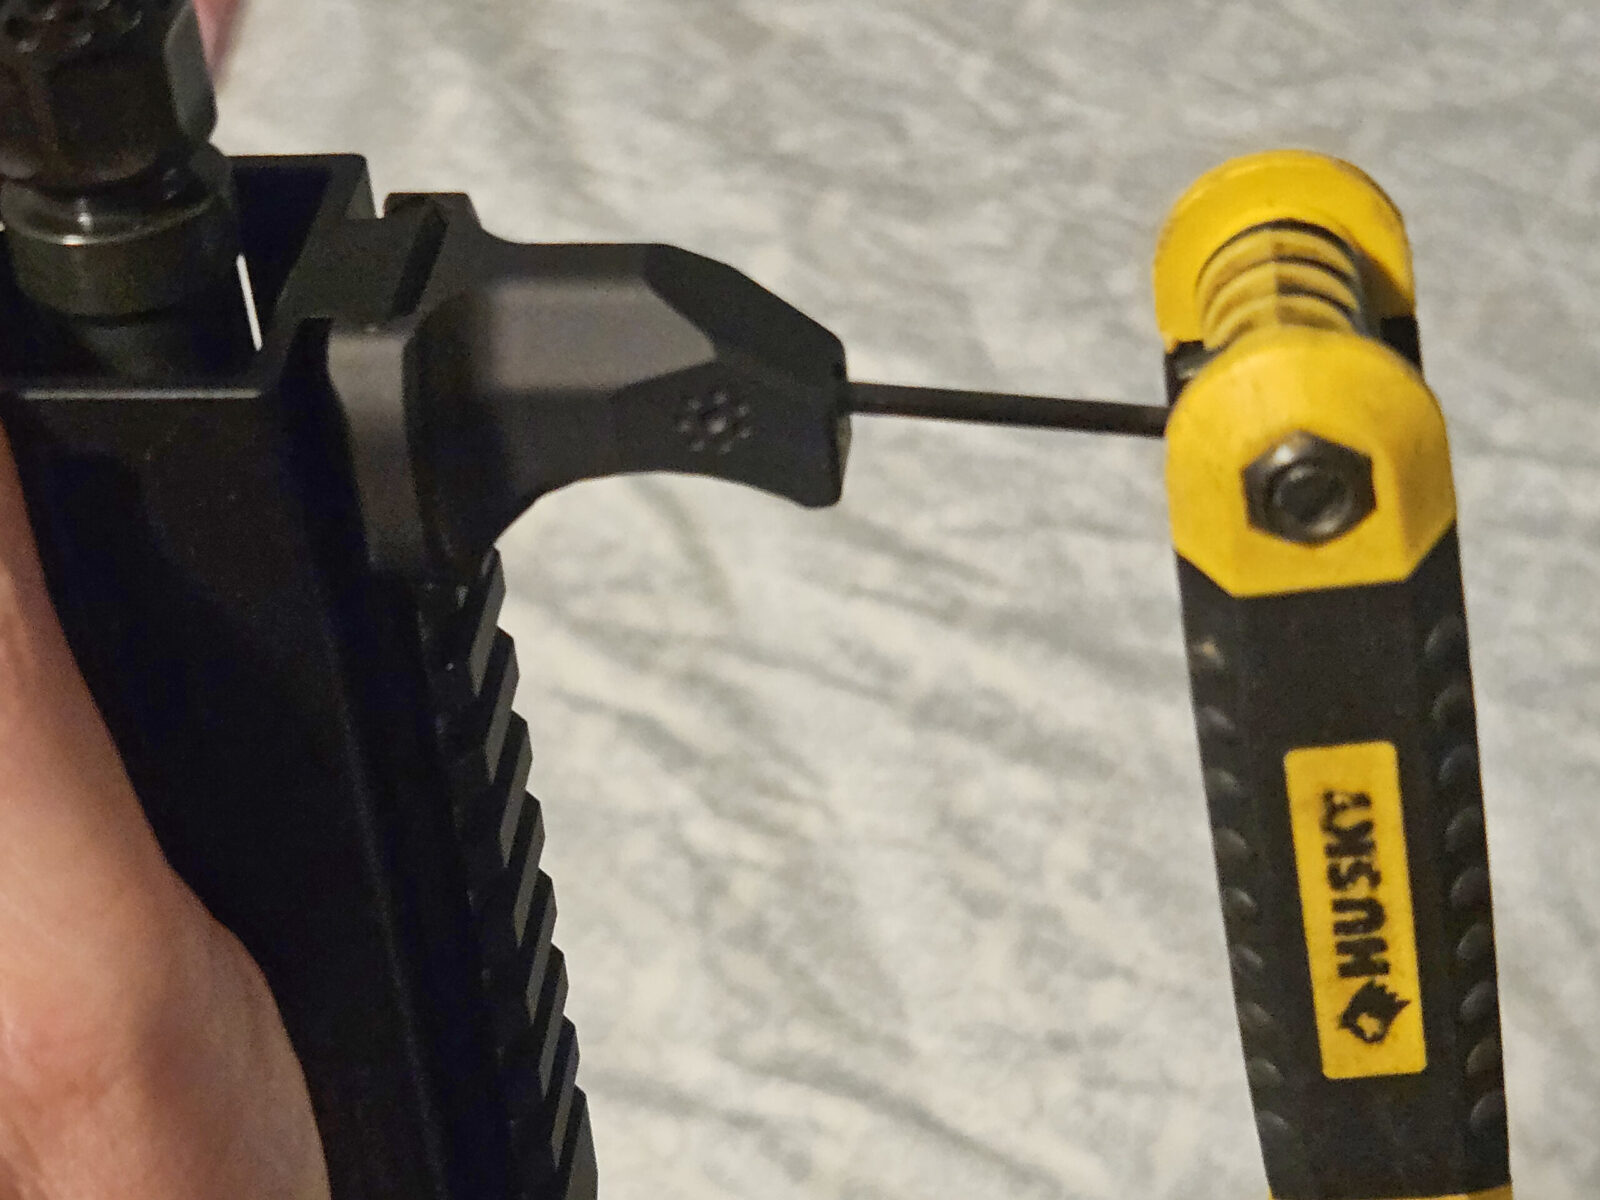
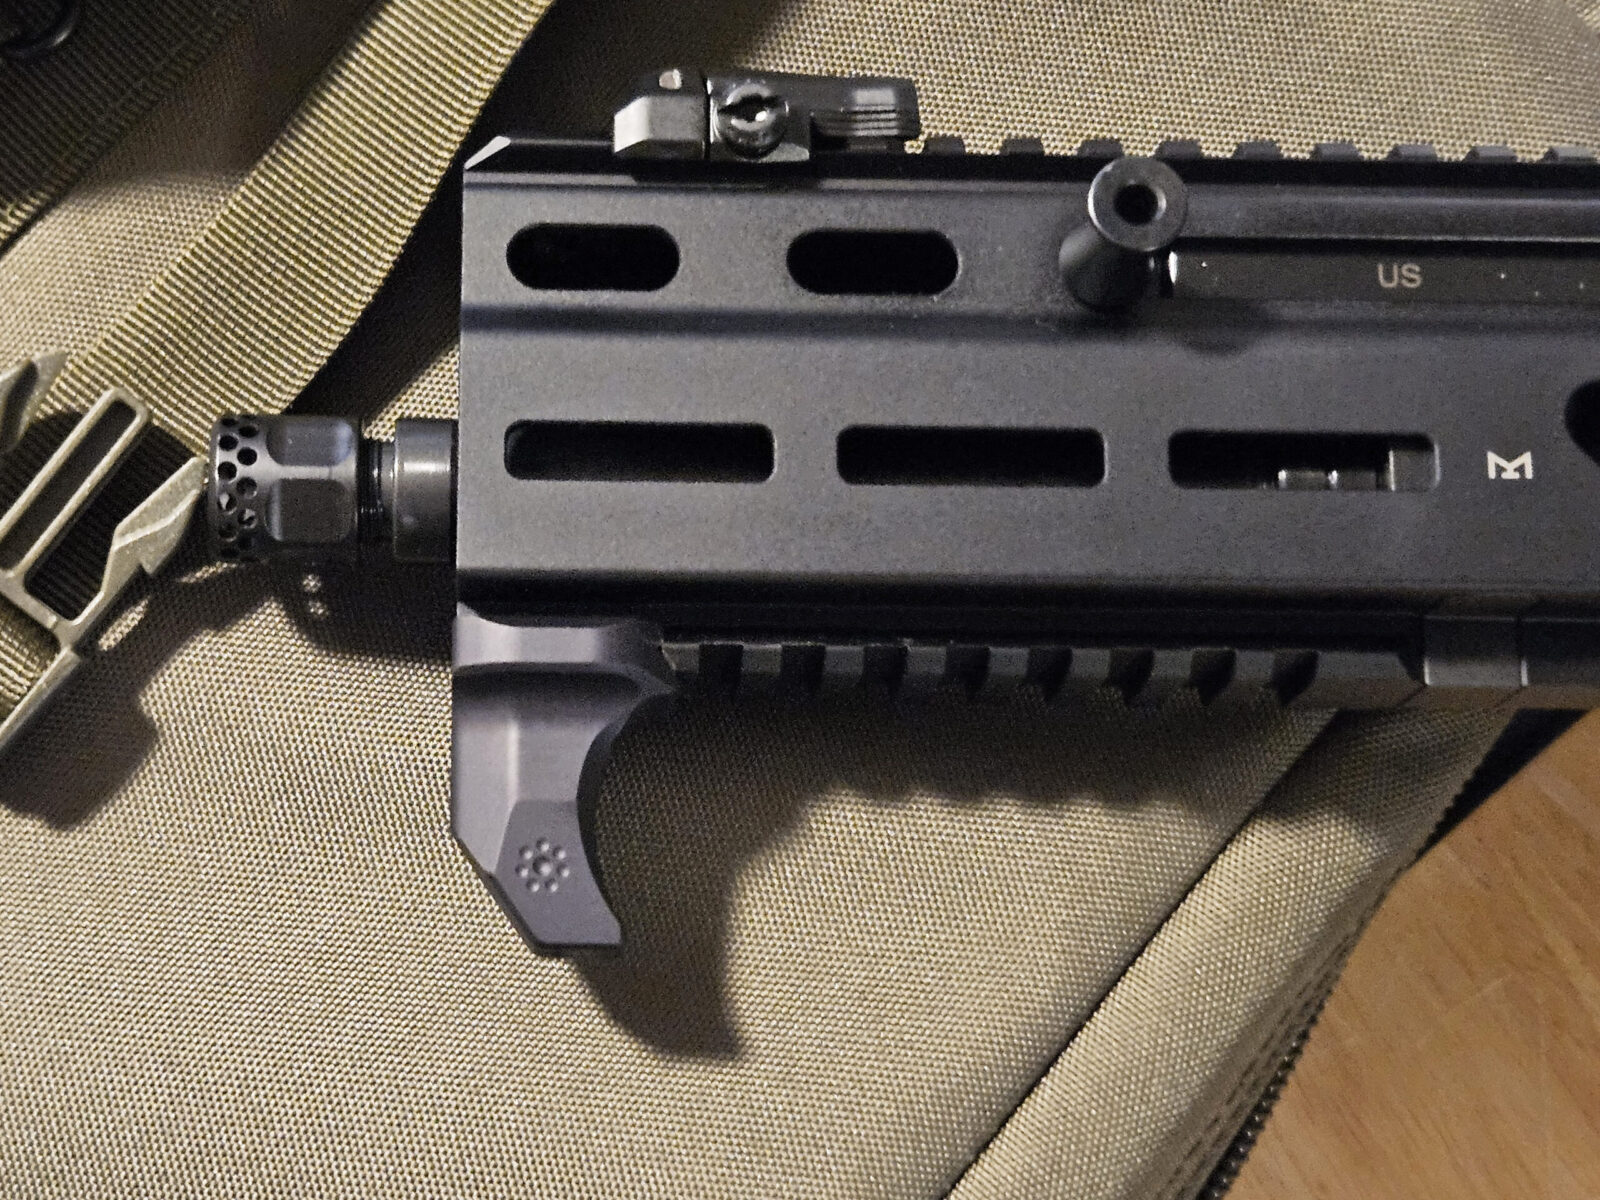
So the HS-P is CNC machined from 6061-T651 aluminum and MIL-A-8625 Type III hard coat anodized.The secret sauce that makes this so cool is that grey aluminum recoil lug. There is a screw attached that you can’t see that raises or lowers it into whatever Picatinny rail slot you want locking it in place. Simple and slick!The front has slots cut into it. I suppose that could help if you want to use it on a barrier.On the bottom is the hole for the screw. Use a 7/64″ allen key to tighten (push the lug up) or loosen (lower the lug down). Torque is 15 in/lbs – please note that is inch/pounds and not foot/pounds.In this photo, you can see the retracted recoil lug. I then just slid the HS-P onto the handguard’s rail to where I wanted it.I slid the HS-P on and then used my closes allen set with a 7/64 key to raise the lug into position. I brought it up firm but not crazy tight – I didn’t have a long enough key for my torquing screw driver handy (meaning it is “temporary misplaced”) so I opted for ballpark tight. They don’t include a 7/74″ allen key by the way. It doesn’t bother me because I have a bunch. Also, often times the “free” keys that come with something aren’t very good – I’ve torn things up many times in the past trying to use marvel mystery metal included keys so I don’t do it any longer.The HS-P is rock solid.
Summary
It you are looking for a solid small hand stop that mounts on a rail, the Arisaka HS-P is great. I have no reservations recommending it.
Yes, I actually bought this. I was not paid to write this.
Note, I have to buy all of my parts – nothing here was paid for by sponsors, etc. I do make a small amount if you click on an ad and buy something but that is it. You’re getting my real opinion on stuff.
The short answer to that question is “No” but then when someone asks if they can use some Picatinny mount on a Weaver rail it becomes “It depends”. Why is that?
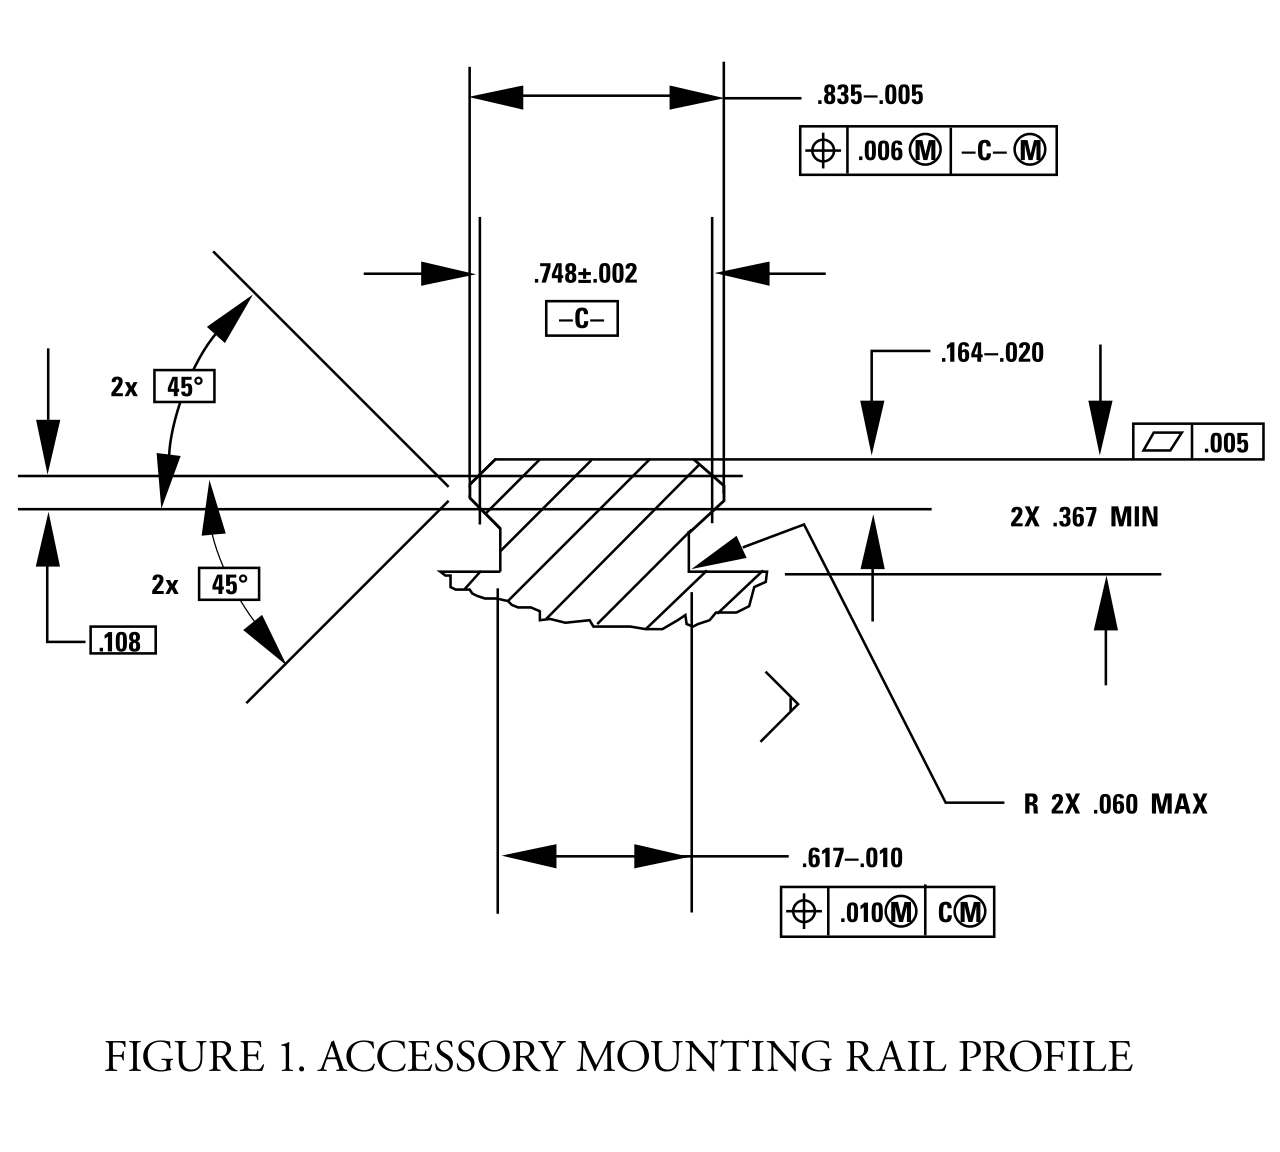
Well, the Picatinny rail does have a true military specification – “MIL-STD-1913″ that lays out the details but nothing like that exists for Weaver rails – when writing this post, I did some digging and I can’t find an authoritative width of the rail, the recoil slot is about 0.180” but their spacing, number and depth can all vary.
The reason that Weaver rings and mounts can typically fit a Picatinny rail is that the recoil slots are 0.206″ wild and spaced 0.394″ apart. However, if you are using rings that were on a Weaver rail, while the bolts or recoil bars may fit the Picatinny slots, the spacing between the mounts may need to be adjusted.
There are plenty of posts out there with more details but I would tell you to only use Picatinny rails and mounts going forward if at all possible. The reason is that because there is the published MIL-STD-1913 specification, the interoperability of parts from different vendors is far, far more likely.
I was unable to find a US DOD direct link for the MIL-STD-1913 but I did find two sites hosting scanned copies – BiggerHammer and EverySpec
Some Photos
What inspired me to sit down and write this is my working on a 5.56 Polish Beryl right now. The actual Beryl optics rails are a both rare and cost a fortune. While there are Picatinny versions out there, I have two of the older Weaver rail design they started with and am lucky that my ADM and Vortex mounts all surprisingly fit – it’s always nice when things work out in a good way.
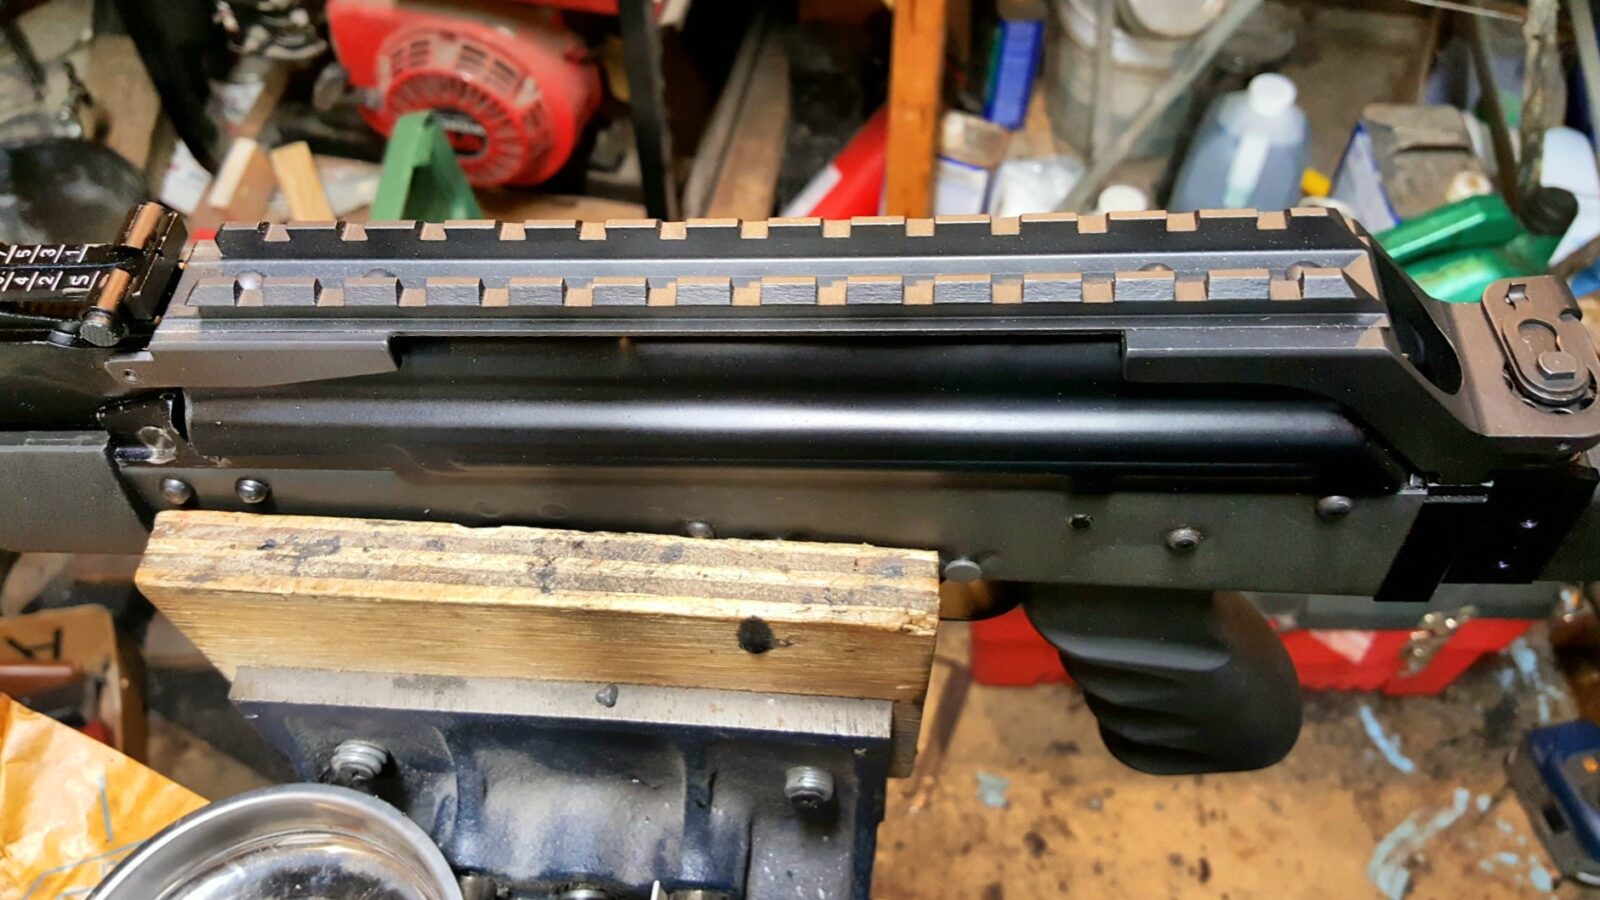
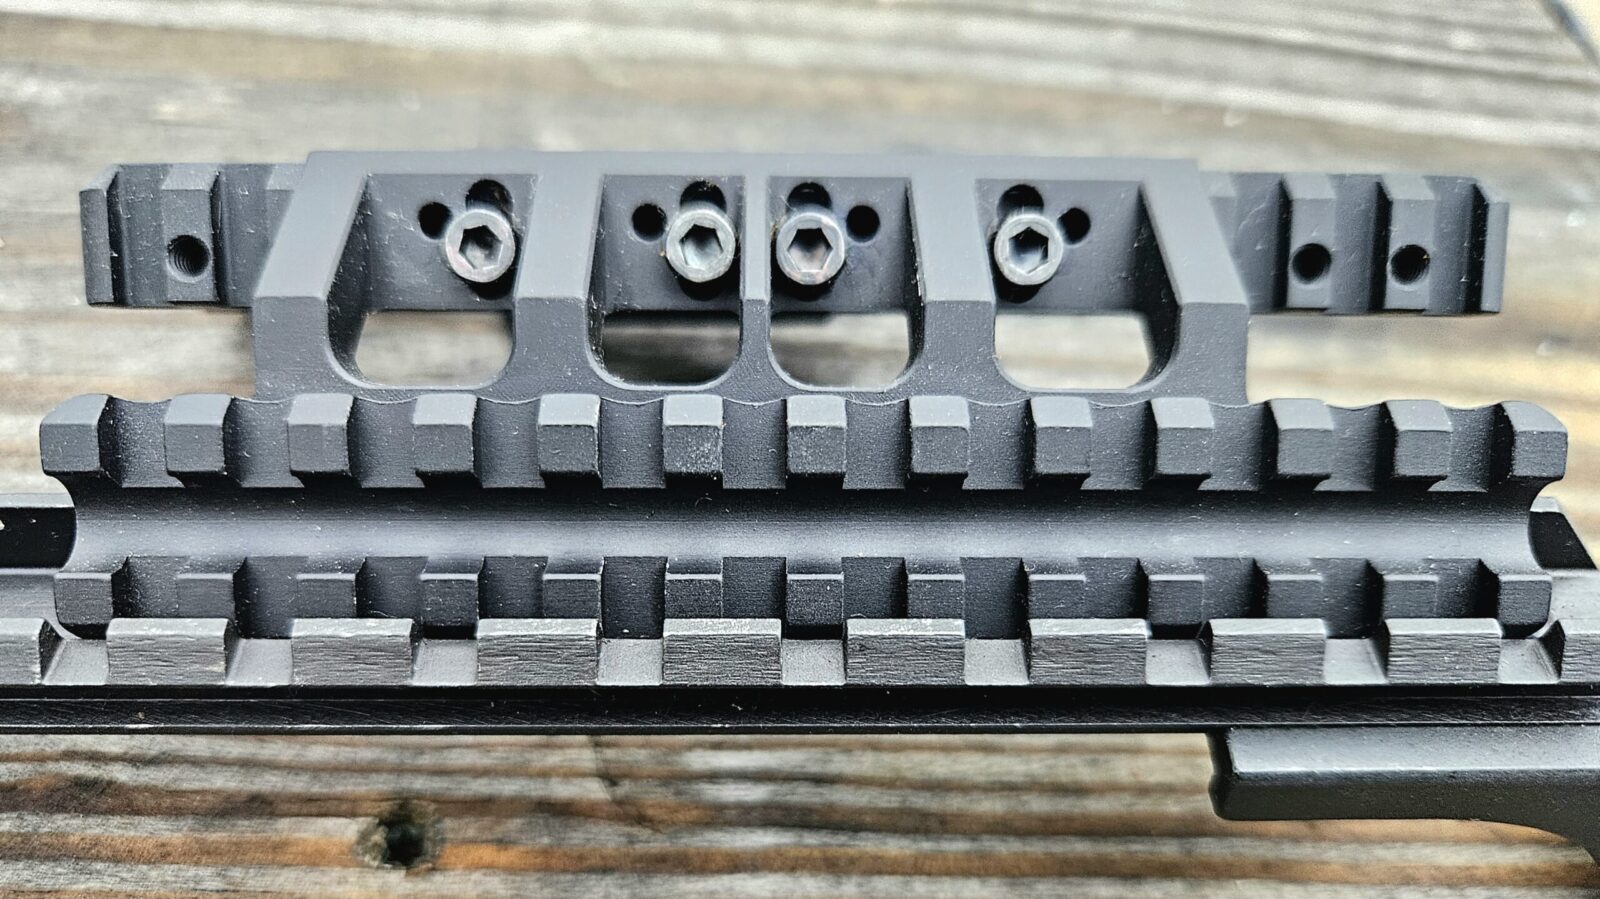
At first glance, you’d think it was a Picatinny rail with the slots going the whole length. It’s actually a Weaver rail. Weaver rails can have dramatically different numbers of slots and spacing.
The top is a RS Regulate Picatinny rail. The bottom is the Beryl’s Weaver rail. You can see the difference in the recoil slot spacing. By the way, RS Regulate is my favorite AK scope mount hands down.
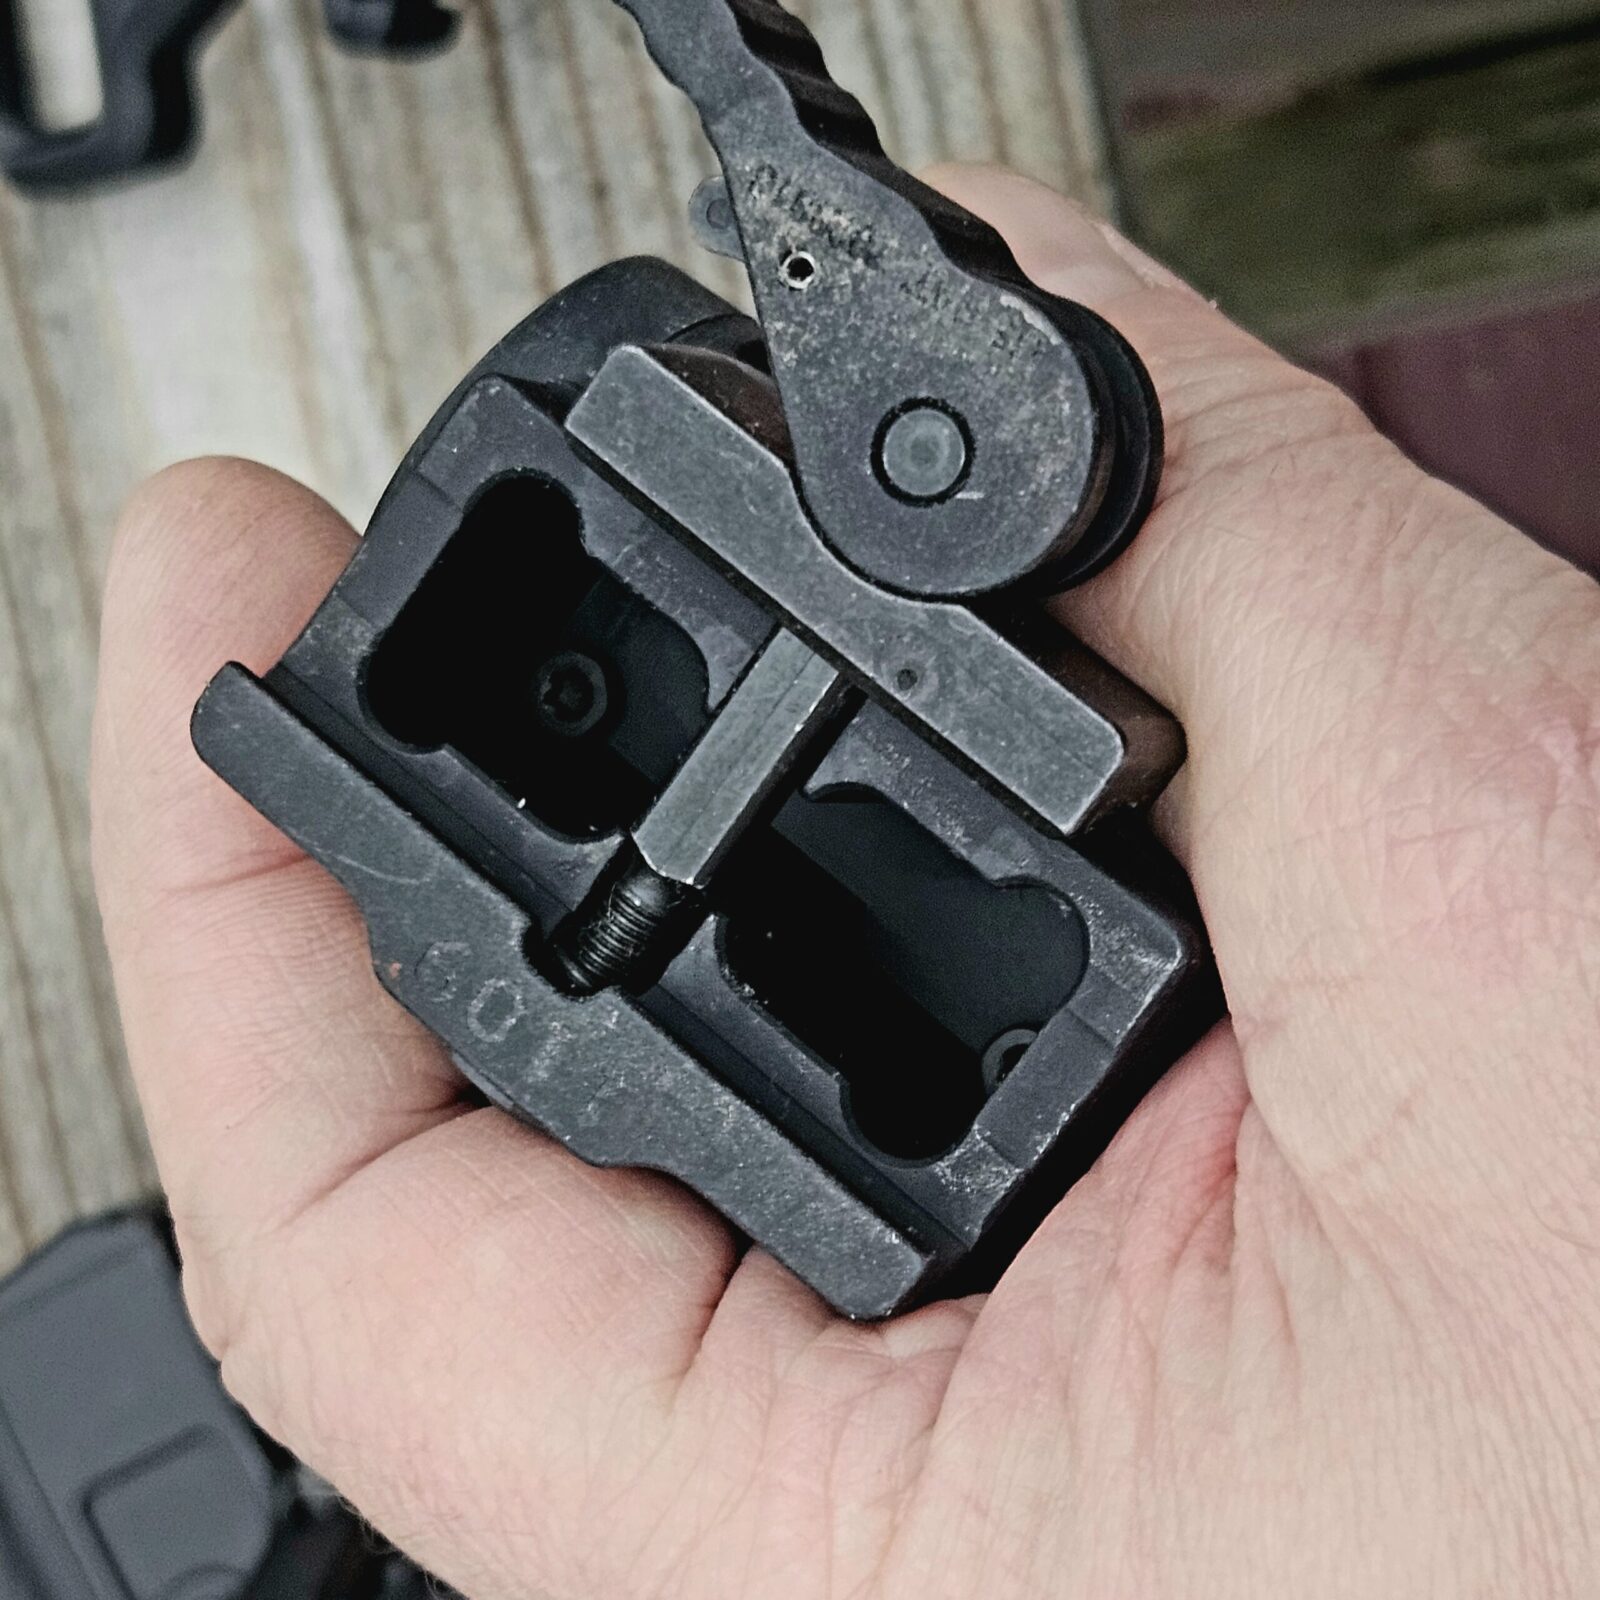
That is the bottom side of an American Defense Manufacturing (ADM) mount and my goto scope mounts these days when I want quick connect levers. The recoil bar is what may or may not fit a Weaver rail. Now this only has one lever and bar – One piece scope mounts will likely have two recoil bars and the spacing between them could compound fitting challlenges.
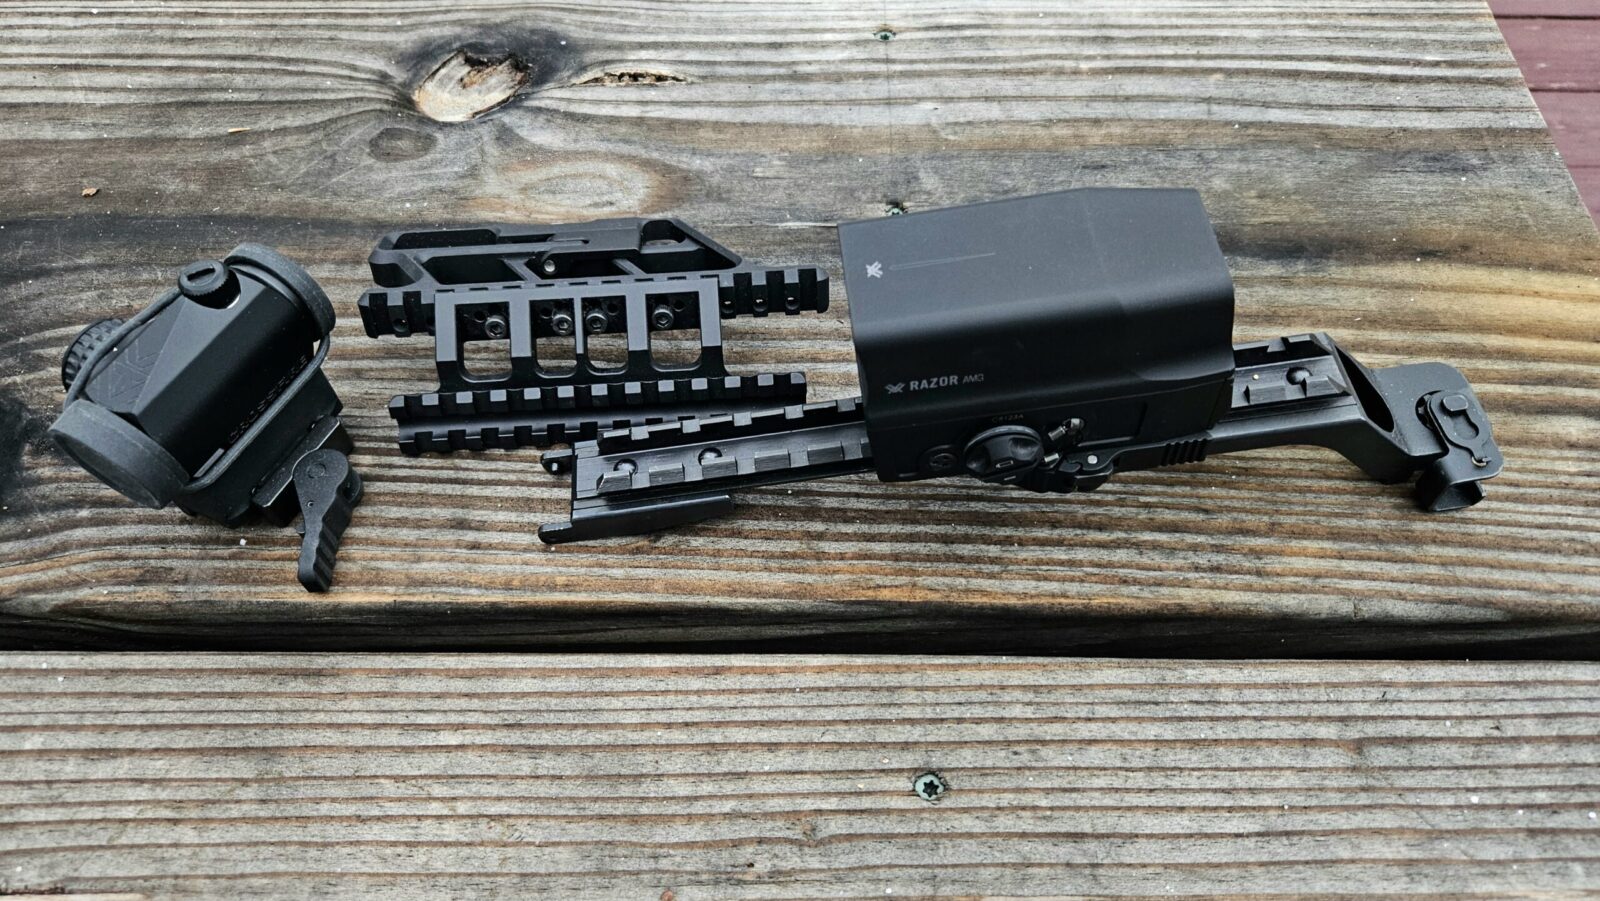
The Vortex UH-1 and Crossfire red dot on an ADM base both fit the Beryl rail.
In Closing
Weaver and Picatinny rails are different. In general, you can use Weaver mounts on a Picatinny rail but you may not be able to put a Picatinny mount on a Weaver Rail.
In my case, I got lucky and could mount the red dots no problem. A mount with two screws/contact points may or may not line up – that will just depend on many factors in terms of the spacing between the recoil bars, size of the bars, etc.
Bottom line, go with Picatinny rails and mounts going forward to maximize your ability to move components around.
Note, I have to buy all of my parts – nothing here was paid for by sponsors, etc. I do make a small amount if you click on an ad and buy something but that is it. You’re getting my real opinion on stuff.
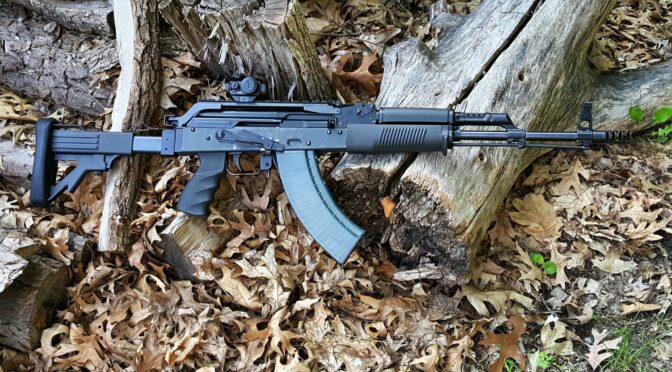
A M92 is screaming for an optic of some type. My preference is a red dot and I run a Primary Arms M4 clone on my first rifle and will use a Vortex Sparc on this new rifle.
As some of you may know, I have a Stormwerkz rail on my first M92 that I custom built and it has served me well. The only draw back with the design is that you install the button head screws from inside the dustcover. Because of this, you will notice the bolt carrier does hit screws. I have shot a ton of ammo – well over a thousand rounds – from this rifle and the bolt carrier shows no harm but you do see the scuffed screws.
When I heard that CNC Warrior had a mount, I had to take a closer look and sure enough, they had a different approach. Their screws go through the rail and screw into the thick steel portion of the dust cover that runs to the hinge.
I talked to Denny, the owner of CNC Warrior, about my plans and he recently switched over to a four hole model that will give a person more options when installing the rail to work around the very hard spot welds — basically you just need two screws so with four holes, you pick the two you like that enable you to miss the welds.
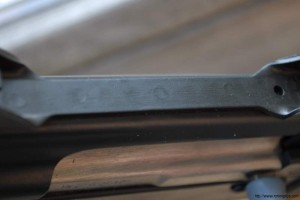
If you look closely at the next photo, you will notice small circular indents in the steel – those are the spot welds that are harder than the surrounding steel and can be an absolute bear to drill through. Thus, with CNC Warrior’s new four hole rail, you can slide it back and forth until you get two holes that clear these welds.
Please note that Denny sent me one of each – the old two hole rail and the new four hole rail – so I could show you folks the difference and he did not have time to have it finished so it is bare metal in the photos. I used Molyresin to finish it flat black but that is not something you will need to worry about. Going forward, when you order his mount you’ll get the four hole rail section already finished black.
Included with the picatinny rail is their installation kit and instructions that makes installing it a breeze. In a future blog post I’ll show you just how easy installation is and how you can do it with a hand drill and some cutting oil.