Over the years, I have slowly upped my game when it comes to airguns. My first bb gun was an old Daisy that I shot with my dad and from there I progressed to a Crosman 766 that was my trusty companion — until I got old enough and my dad let me buy my first .410 shotgun and I moved to the world of powder burners (firearms) until about 10 years ago.
For pest control reasons, I moved up from the entry-level airguns and bought a .22 caliber Diana 34P. It did the job but being a break-barrel springer, you had one shot and then had to divert your attention from the critters and reload.
From there I bought a .22 caliber Hatsan Gladius Long and Hill Mk.4 hand pump. I’d started blogging at this point so I wrote a number of posts. The rifle was relatively quiet, had a decent trigger, was accurate enough and packed a punch.
I then added a Hatsan AT-P2 that was smaller and interesting but didn’t hit squirrels hard enough. It’s still sitting in my closet in it’s case. The one thing they don’t tell you about airguns until after you get into them is that the resale value sucks – you have to practically give them away so … the AT-P2 is in the closet.
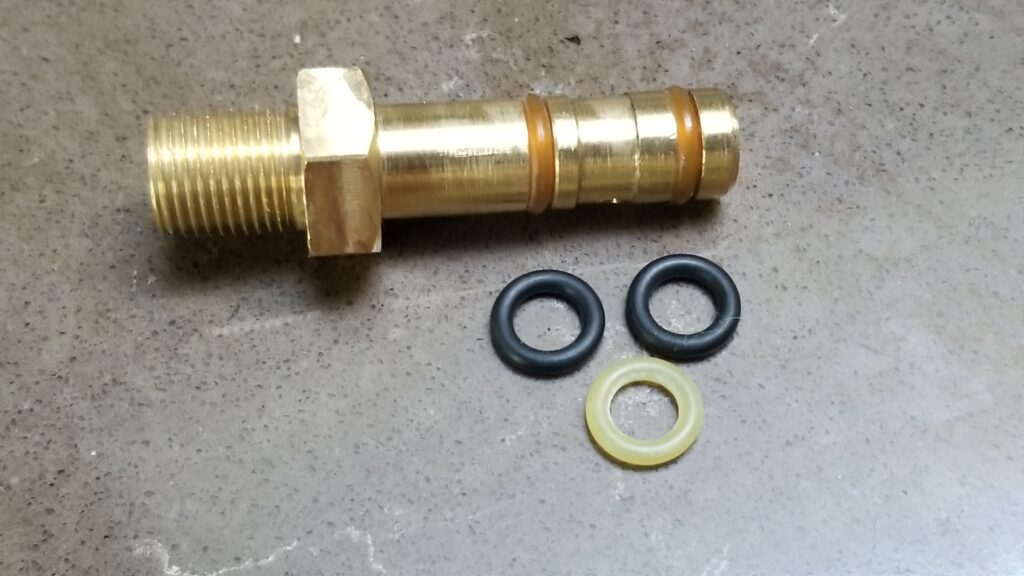
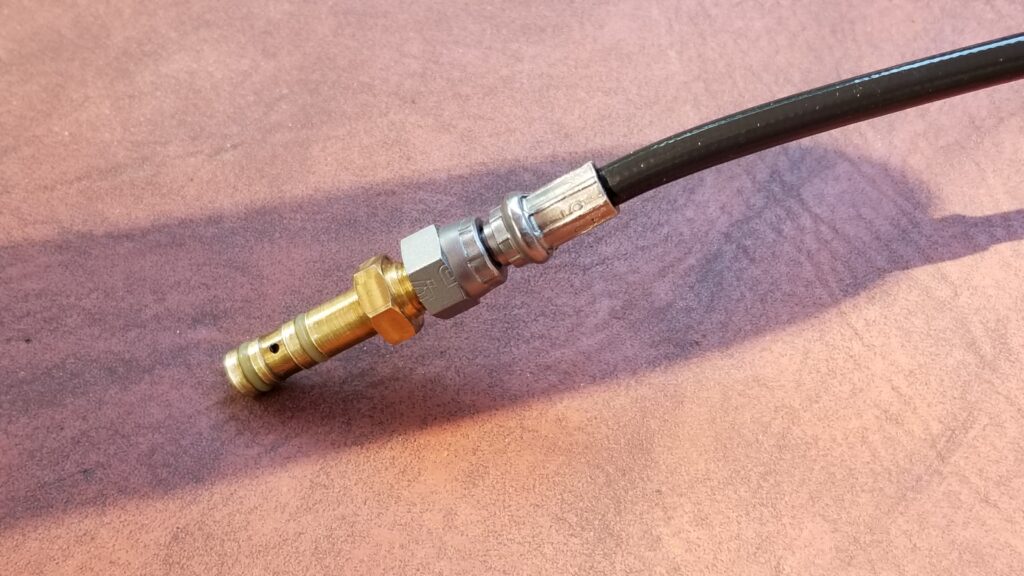
Getting back to the Gladius, it was and is a solid airgun however, I wished it was quieter so I bought an adapter and DonnyFL Ronin moderator to reduce the sound level. Turns out the barrel wasn’t true in the shroud so the pellets would hit the adapter and accuracy just disappeared so I removed the Ronin and saved it for a future airgun. It was also longer than I wanted and not regulated either meaning whatever pressure was in the tank, that affected the velocity and shot placement at the target … in short, I started to get more and more disappointed because while the Gladius is a good PCP airgun, it’s not a great airgun – at least not in terms of meeting my needs as I learned and changed what I wanted from an air rifle.
I was really leaning towards a bullpup design so I could get a longer barrel in a compact design with a relatively short overall length. I also wanted it to be regulated, have an excellent trigger, accuracy, power and to be quiet. It’s a tall ord to get all of these so I was looking at vendors like Airgun Technology, Daystate, FX, Kalibr, LCS and Taipan. I was really torn between the Vulcan, Cricket and Mutant models so I was reading everything I could – these air rifles were/are expensive and I honestly could not afford to buy one that didn’t deliver.
I usually prefer to read first hand accounts on the web and watch videos on Youtube but due to the level of investment and I am not some guru in the airgun space, I decided to call the Some airgun vendors allow people to take calls who are just order takers – they have nowhere near enough experience with the products they are trying to sell to make a credible recommendation. I’m not going to call any groups out by name but let me just recommend that you call more than one and you do your research before you buy anything – especially a higher-end air gun.
After the disappointing calls, I decided to call TalonTunes and Tony, the owner, picked up the call. Tony is an interesting guy – he has a ton of knowledge and is direct — no BS. I found it refreshing after my other experiences.
TalonTunes & The FX Compact Impact
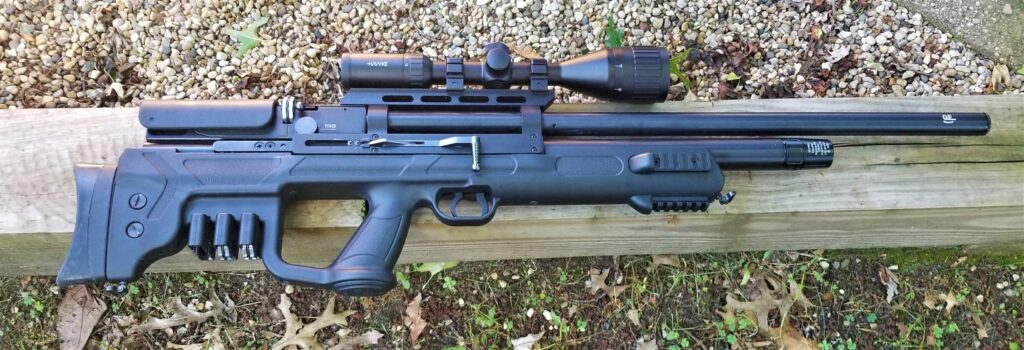
As we talked and he understood more what I was looking for he steered me towards the FX Impact Mk.II Compact – a short barrelled design I was not familiar with and he explained he could sell me a “tuned” model for $2,499 wherein he would modify the transfer port and pellet probe plus he would dial it in for accuracy with the proper regulator pressure and sight in the scope – provided I bought the scope from him. It also came with a DonnyFL FX moderator to reduce the sound when it fired.
I wrote down the details and told him I would consider it. The answer that really sticks me months later was that I asked him if I should go with .22 or .25 for squirrels, rabbits and a rare racoon. He told me that he had plenty of customers who went with .22 who later told him they wished they had gone for the larger .25 pellet but he did not have a single customer who opted for .25 who later said they wished they had bought a .22. I’d been going back and forth in my head about which to move with and that pretty much sealed it – I would move with a .25.
Again, for this kind of money, I wasn’t going to leap on anything until I researched both the FX Impact Compact and the reputation of TalonTunes. Let’s start with the base air rifle.
FX Airguns is a Swedish company known for making progressive airguns and they seem polarize people into either being fans or not liking them at all. In general though, they are known for quality airguns and you can readily get parts for them.
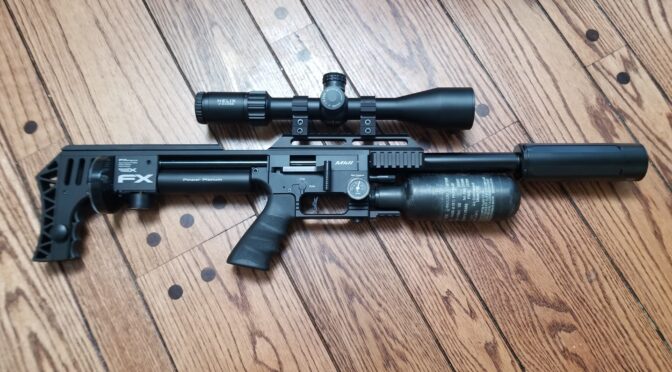
The Impact was revised in 2020 with an enlarged “power plenum” located before the transfer port. The compressed air is held in it until the trigger is pulled at which time it rushes forward and propels the pellet forward. The speed is a function of the volume of air and the pressure in the plenum. Combine this with an excellent barrel and you have a powerful accurate air rifle.
It also sports a fully adjustable trigger and it uses an AR-15 grip. By using an AR grip, this opens up a world of grip options for you.
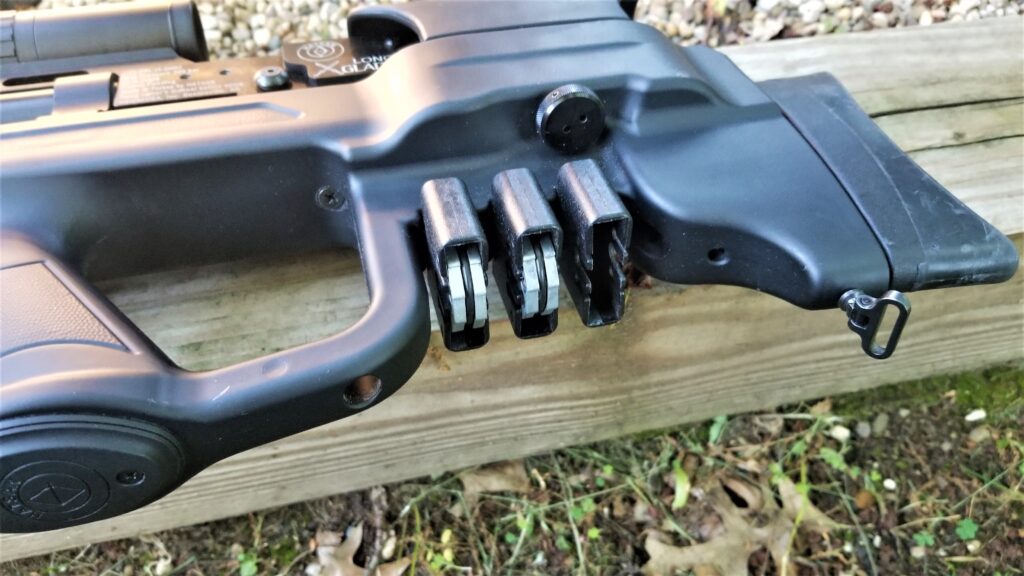
It is a bolt action repeater feeding from a 28 round removable magazine. The one thing to look at with these rifles is the magazine – the design that the Impact uses is proven and not a headache to load. Also, not all magazines are removable for quick reloads.
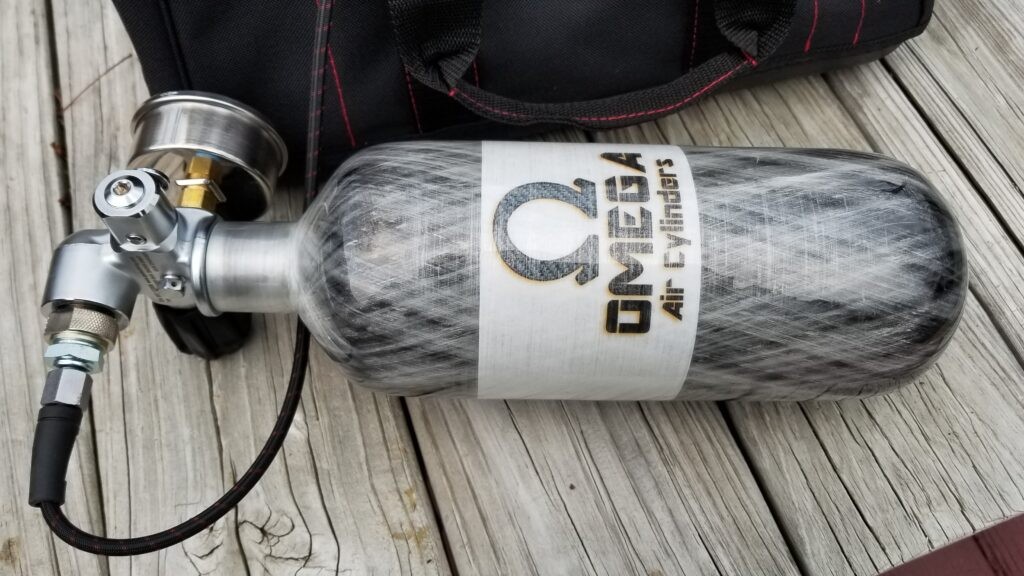
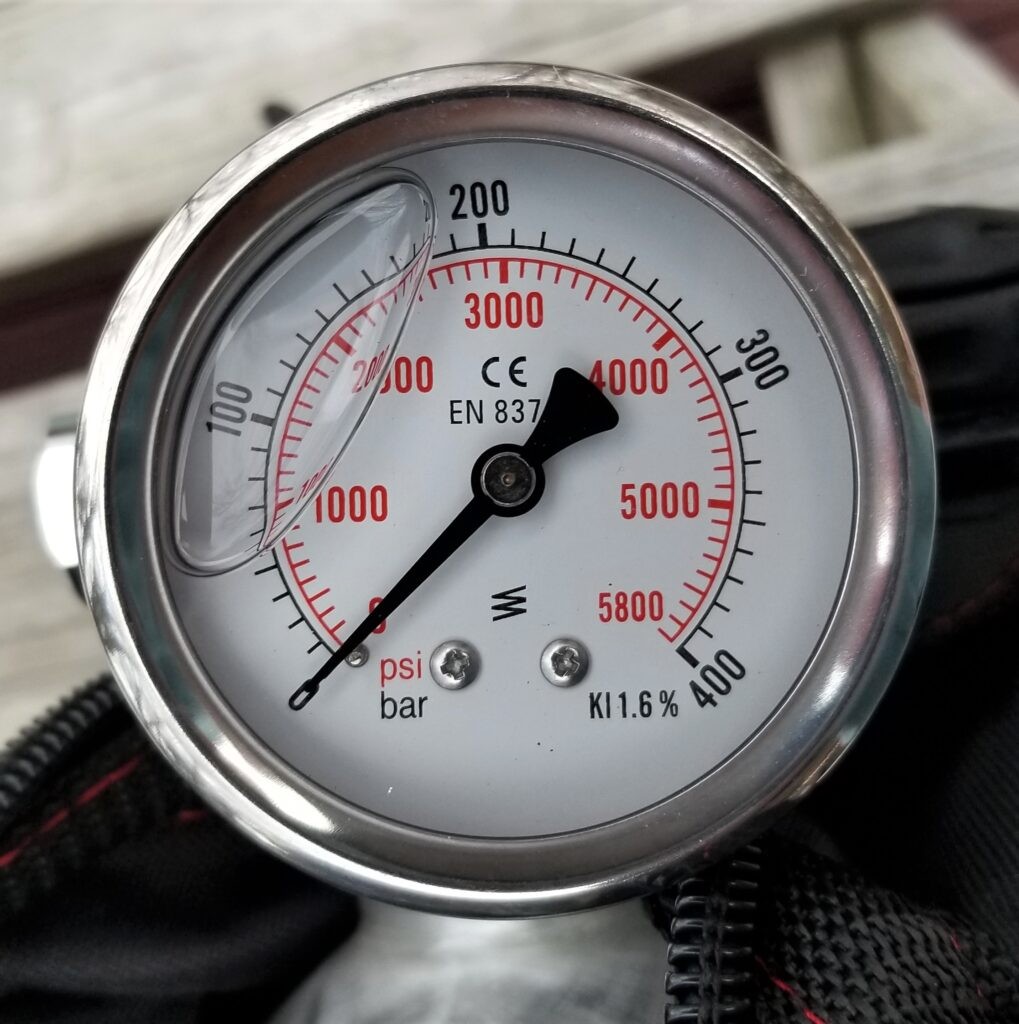
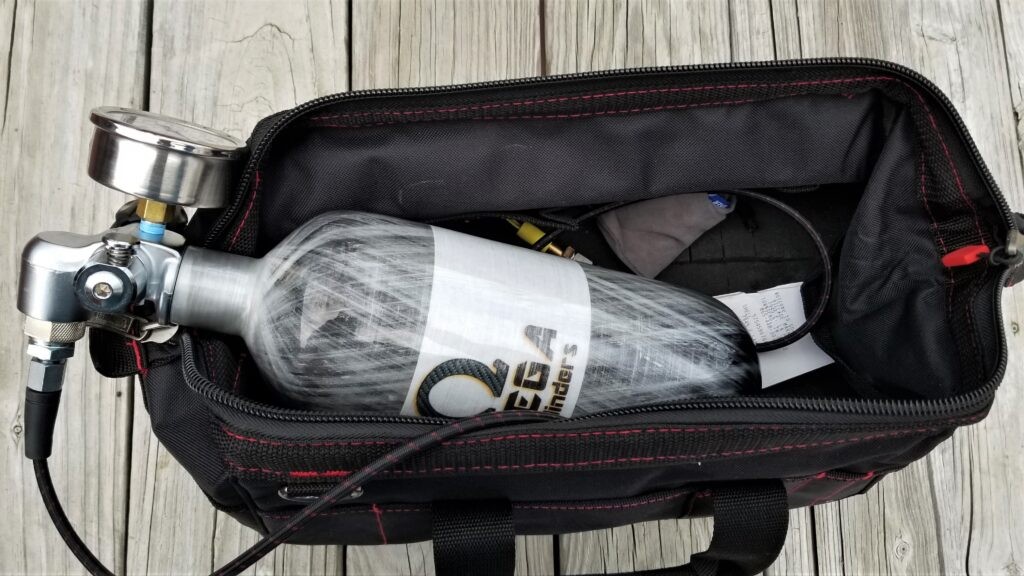
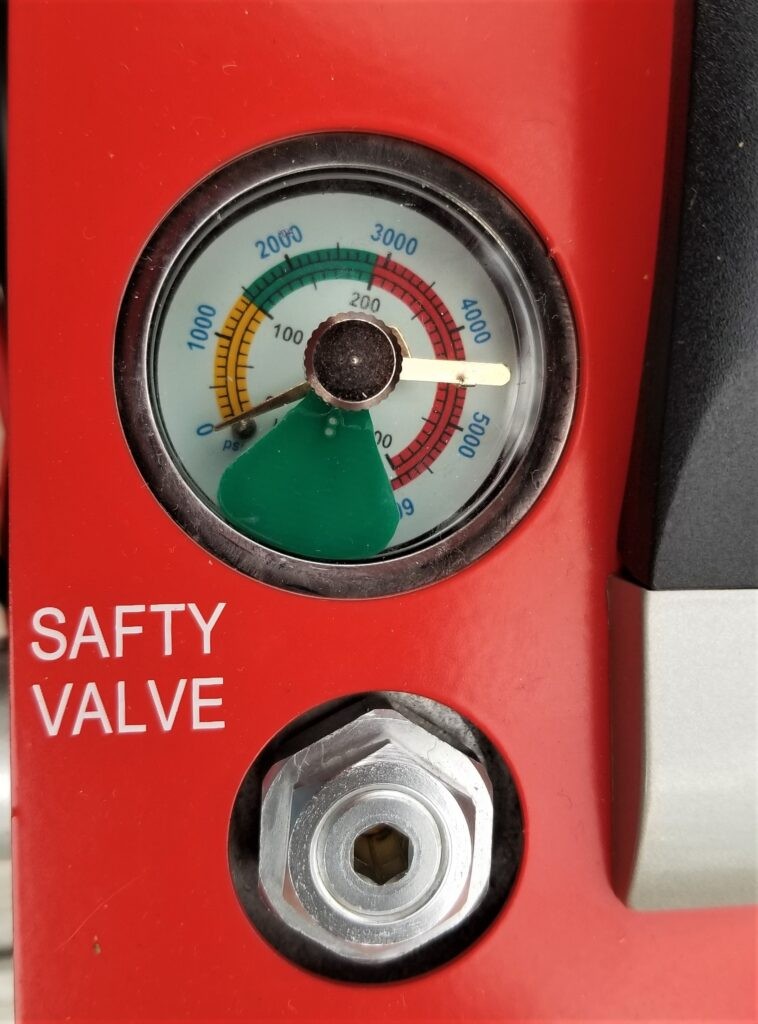
The Impact Compact is fully regulated too. If you aren’t familiar with regulated airguns, this is a critical accuracy selling point. The air tank “bottle”) on a PCP air rifle holds are at whatever the maximum rated working pressure is and then the pressure slowly goes down as shots are fired and air is used. The Impact Compact has a 250 bar (3,625 PSI) fill pressure. Now the regulator is governing the air pressure that makes it to the plenum so that it is a constant – in the case of my rifle it was set to 120 bar (1,740 PSI). As long as the bottle is about 120 bar, the pressure will be about 120 bar at the plenum making the shot velocity much more consistent – for a variety of reasons there will be a bit of give and take on the pressure and the resulting velocity.
In general, a regulated design is far better than an ungoverned PCP airgun that will have a sweet spot somewhere for X number of rounds and then drop rapidly. For my Gladius,it was rated at 200 bar but I would only fill it to 190 and it was pretty consistent for the first 10 rounds and then I would pump it back up to 190. It was a bit of a chore but it served me well for almost four years so don’t get me wrong.
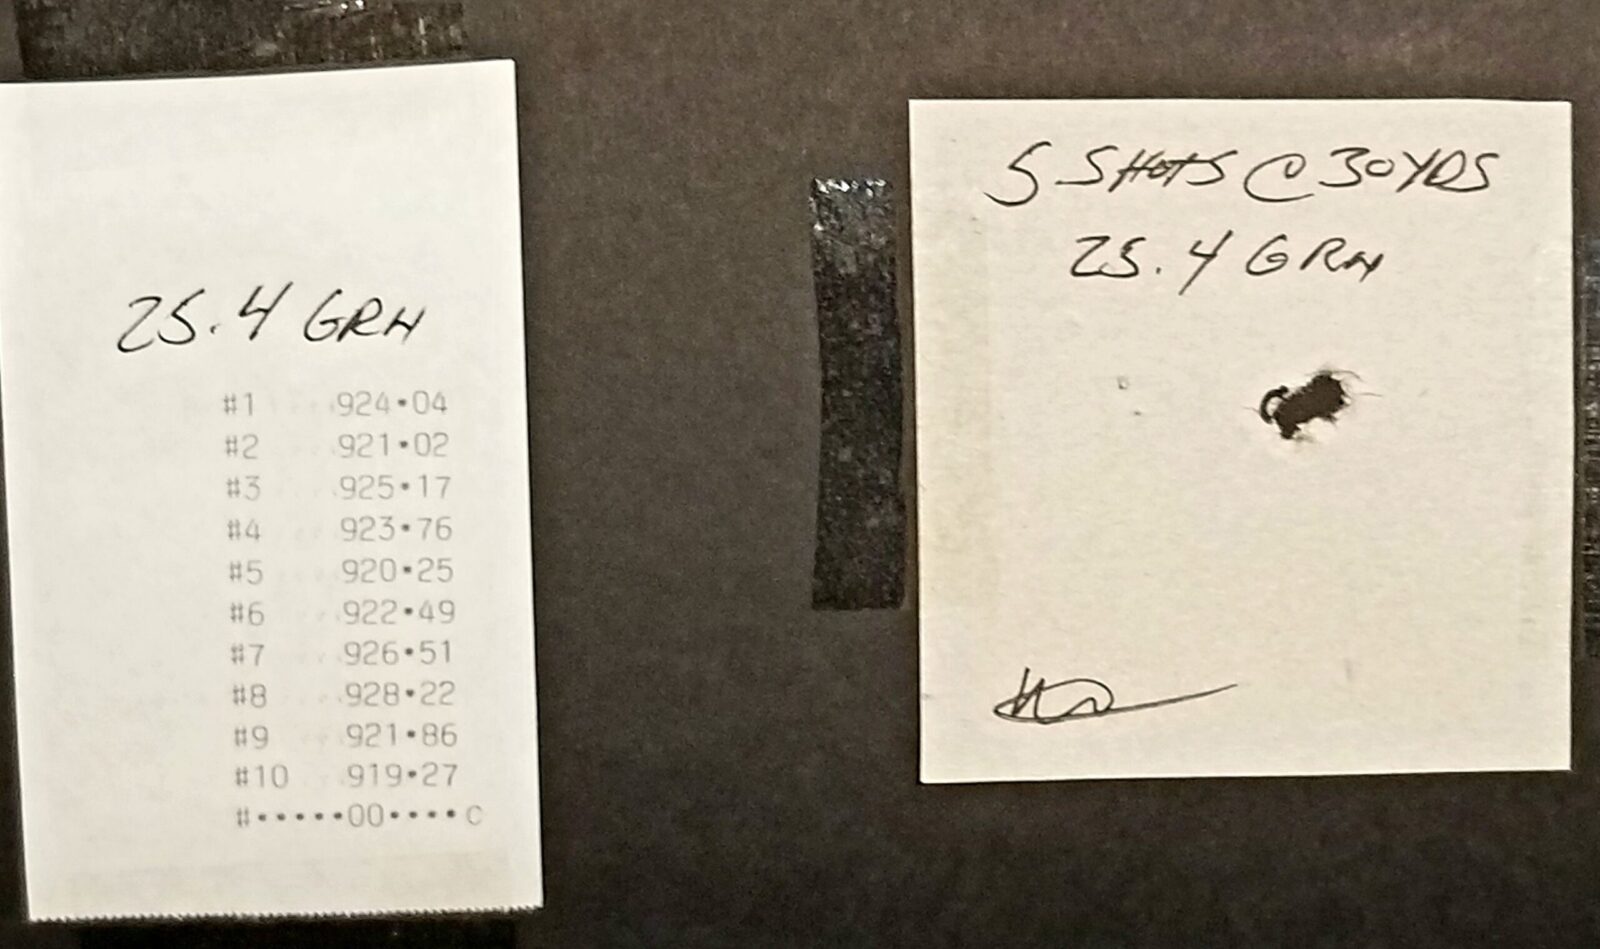
So, for the Impact Compact, it was getting solid reviews with guys amazed at the power and accuract of the small rifle. I was pretty much sold. The only shortcoming I could foresee was the lack of a moderator but the TalonTunes package included one.
In terms of TalonTunes, Tony gets very good reviews. People posting on airgun sites mentioned that there might be a wait but what showed up was as-described and quality. I didn’t turn up any significantly concerniing reviews so I decided to move ahead.
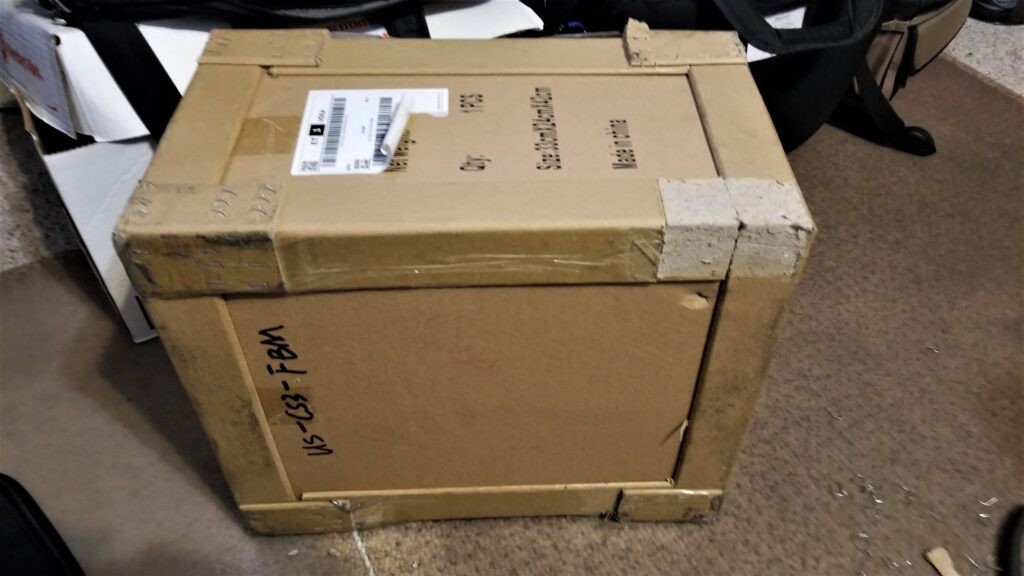
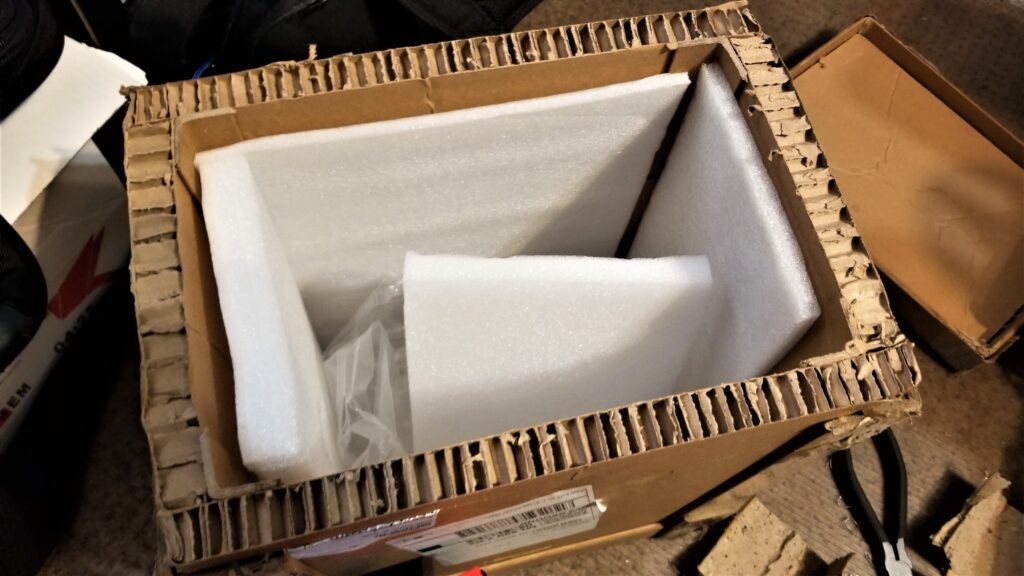
I Placed The Order
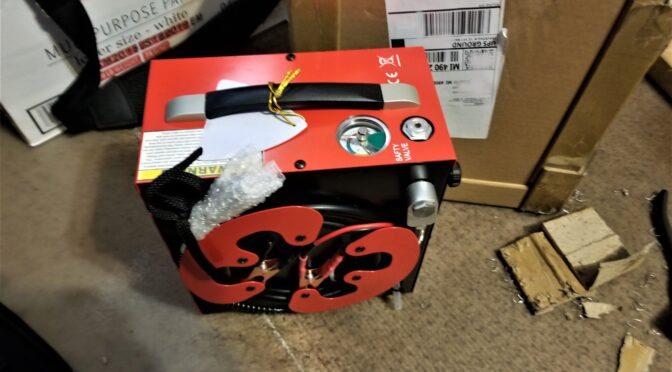
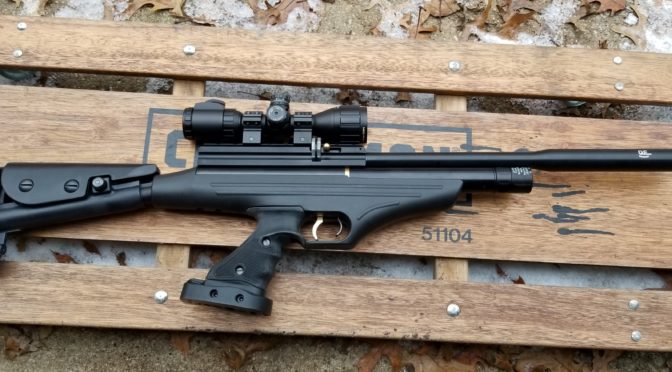
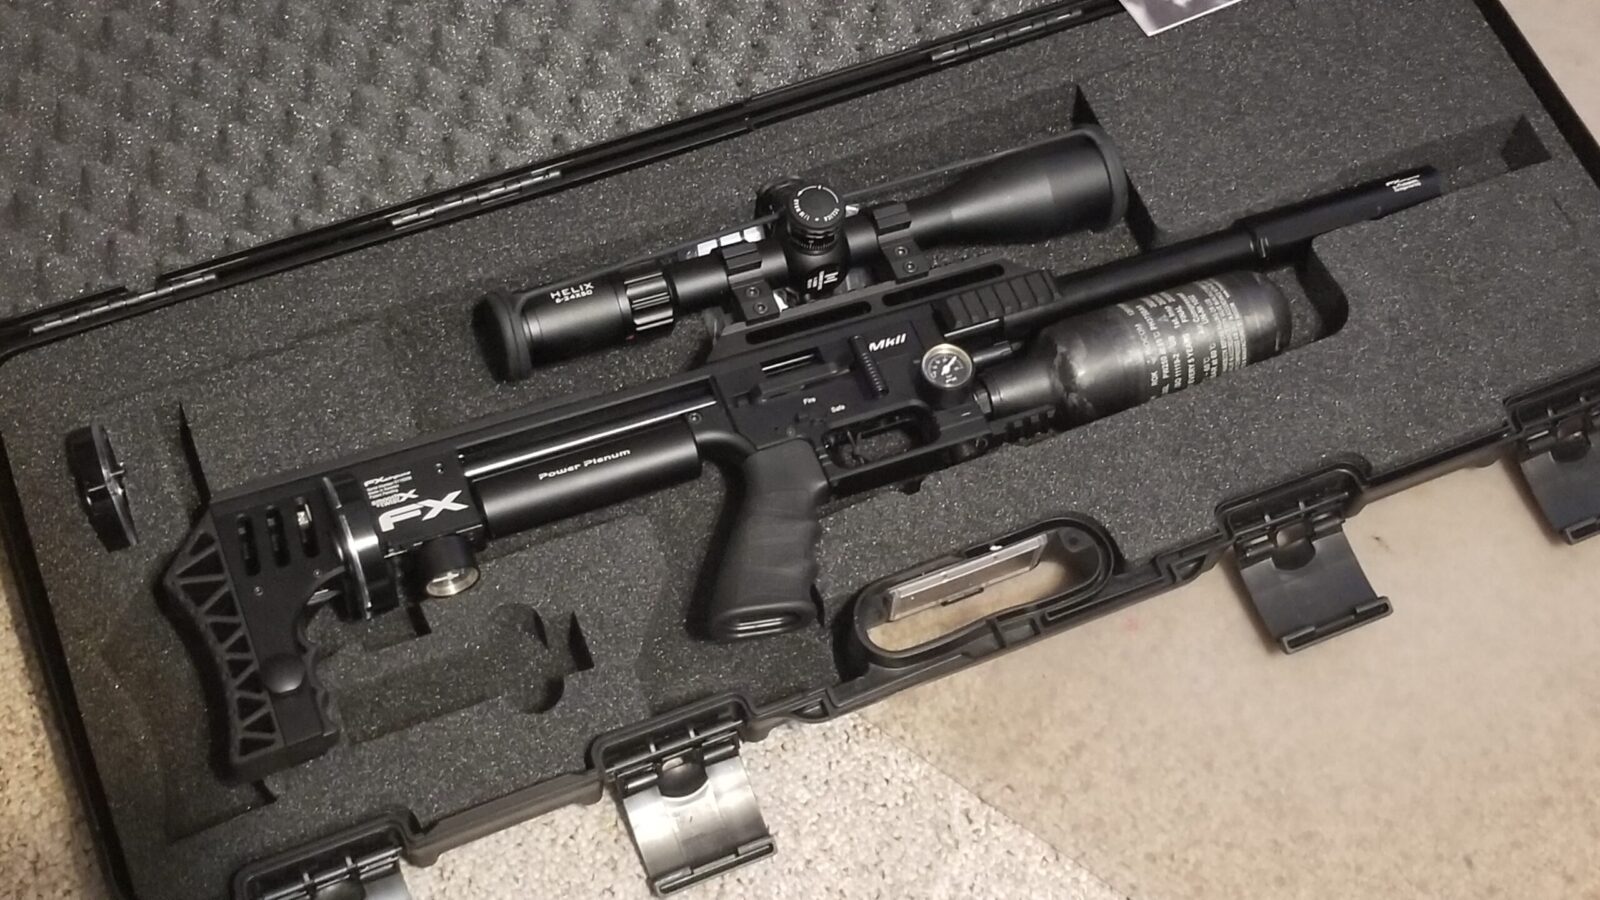
I called Tony and ordered the tuned .25 FX Impact Compact, an Element Optics Helix 6-24×50 scope and the requisite mounting rings. Yeah, I did have to wait for Tony to tune and ship it – I think it was about 4-6 weeks but what showed up was pretty wicked and worth the wait.
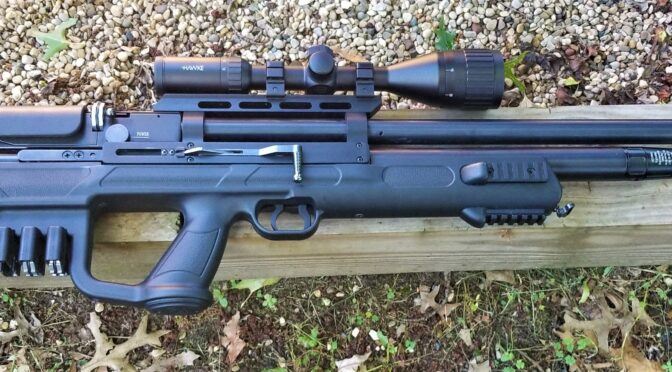
In Summary
I’m writing this six months after getting the Mk2 Impact Compact and I was impressed then and still am now. They have now moved on to a “M3” and it’s getting good reviews with an even bigger plenum, twin transfer ports and improved ergnomics. At any rate, in the next post I’ll tell you more about my experiences hands on because there are things I like with my Mk.2 and things that I don’t.
Note, I have to buy all of my parts – nothing here was paid for by sponsors, etc. I do make a small amount if you click on an ad and buy something but that is it. You’re getting my real opinion on stuff.
Please share the link on Facebook, Forums, with colleagues, etc. Your support is much appreciated and if you have any feedback, please email us in**@*********ps.com. If you’d like to request a report or order a reprint, please click here for the corresponding page to open in new tab.