
In my last post, I described how I set up and test my brand new GX CS3 compressor. The next step I wanted to do with it was to charge my Omega 18 cubic foot air cylinder. As easy as the GX CS3 is to use, I still wanted a small high-pressure air (HPA) cylinder to use to top off my airguns vs. needing to haul the compressor out every time.
So, why did I pick an Omega HPA cylinder?
I actually have a prime reason – safety. Back when I started SCUBA diving back in the early 1980s, 3,000 PSI 80 cubic foot air tanks were the rage. One of the things they drilled into us during our classes was that this much air pressure needed to be respected. You made sure your tanks were taken care, properly inspected every 5 years via a process known as ‘hydro testing” and you even loaded them in your care secured the valve forward because if the valve broke off then the main body of the tank would take off like a rocket as the air escaped and you didn’t want it coming forward towards you!
At any rate, I had safety top of mind when I started reading on HPA cylinders. Folks, there are cheap virtually generic tanks out there that I would not trust. As I visited the various PCP airgun vendors, I would note what brands of HPA cylinders they would carry and Omega was a brand that I saw repeatedly.
I’m not saying Omega is the only brand to look at by the way – it’s brand I decided on when I looked at price, reviews, and availability. The pandemic has thrown off supplies of just about everything these days.
Omega is a brand you ought to consider because they are owned by the Korean firm Inocom who has done a lot of R&D of carbon fiber HPA cylinders for fire and rescue, medical, SCUBA diving and even PCP airguns — which is what we are talking about today. Inocom produces over 150,000 cylinders a years that conform to a bunch of different standards and my point is that they know their stuff.
In the US, you can find Omega Air Cylinders at a number of different vendors including Airguns of Arizona, Talon Air, and many other places. I bought my particular 18 cubic foot tank from Airguns of Airzona (AofA) because they had them in stock — the relatively small 18 cubic foot tanks can be hard to track down.
Airguns of Airzona Video
AofA took the time to assemble a video review of the Omega tanks. There are a number of sizes and you can spend quite a bit before you know it.
But what about those cheap generic tanks on Amazon and eBay?
I’m not a fan of taking unnecessary risks when it comes to high pressure air. That is a ton of pressure to gamble with. I would much rather spend the money and buy a tank made by a reputable vendor. I suppose you could always a cheap tank to a dive shop that can do hydro testing and have them check it but why go to the extra work and expense?
Out of the box
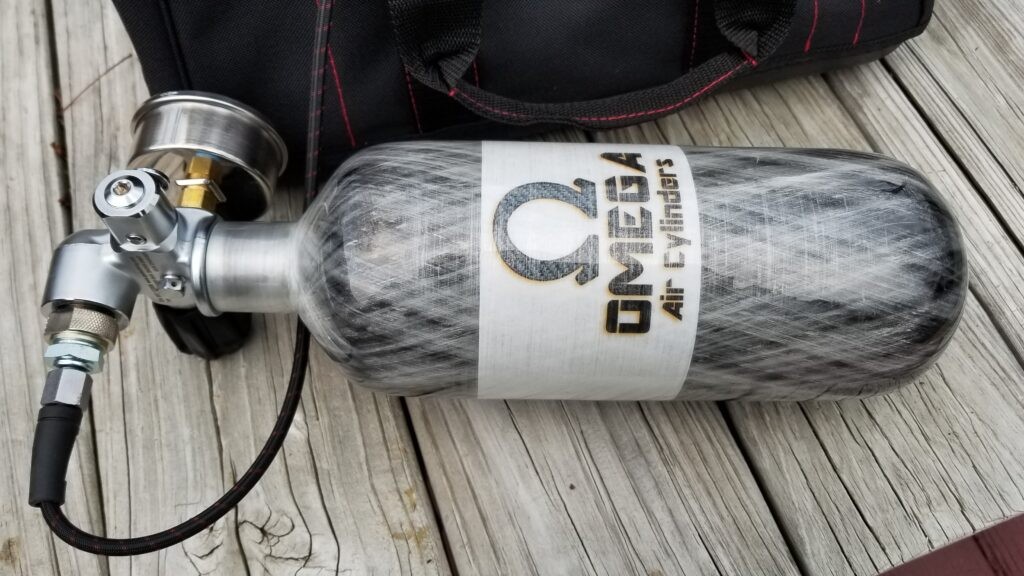
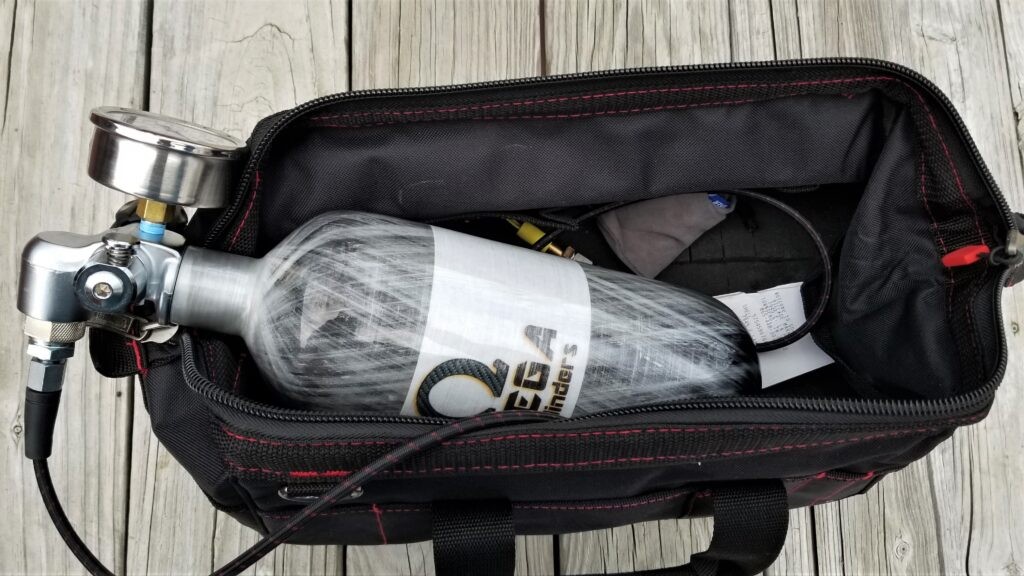
The Omega arrived just a few days after I ordered it from Airguns of Arizona and boy did it look nice. I’ve always liked the look of real carbon fiber and the tank looked awesome. It also comes with the meter long no-kink hose that also converts from the air tank fitting to a 1/8″ BSPP threaded end that comes with a foster fitting already installed.
Protecting Your Investment – Get a Bag
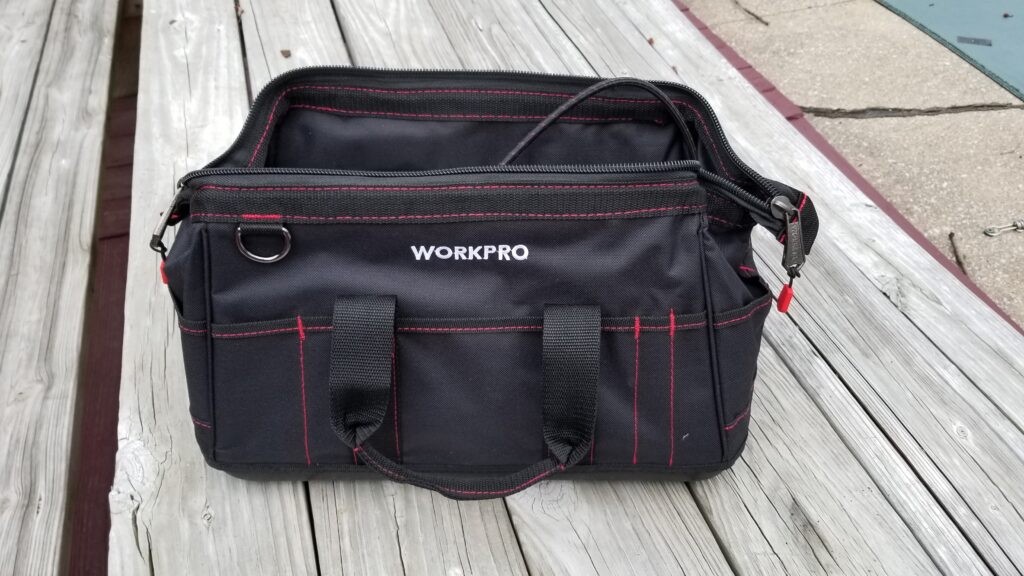
As cool as carbon fiber is, I would recommend protecting it from getting cut or gouged with a bag. I bought a Workpro 16″ tool bag off Amazon and the tank fits great. I did add old gun case foam to the bottom of the bag for some added protection.
Filling the Tank – Remember Your Compressor’s Duty Cycle
Okay, first off, bear in mind that your compressor likely has a duty cycle. In other words, it was designed to run for a certain number of minutes and then be allowed to cool down for another amount of minutes. For my GX CS3, the duty cycle is to run for up to 30 minutes and then be allowed to cool for 20 with the cooling fan running.
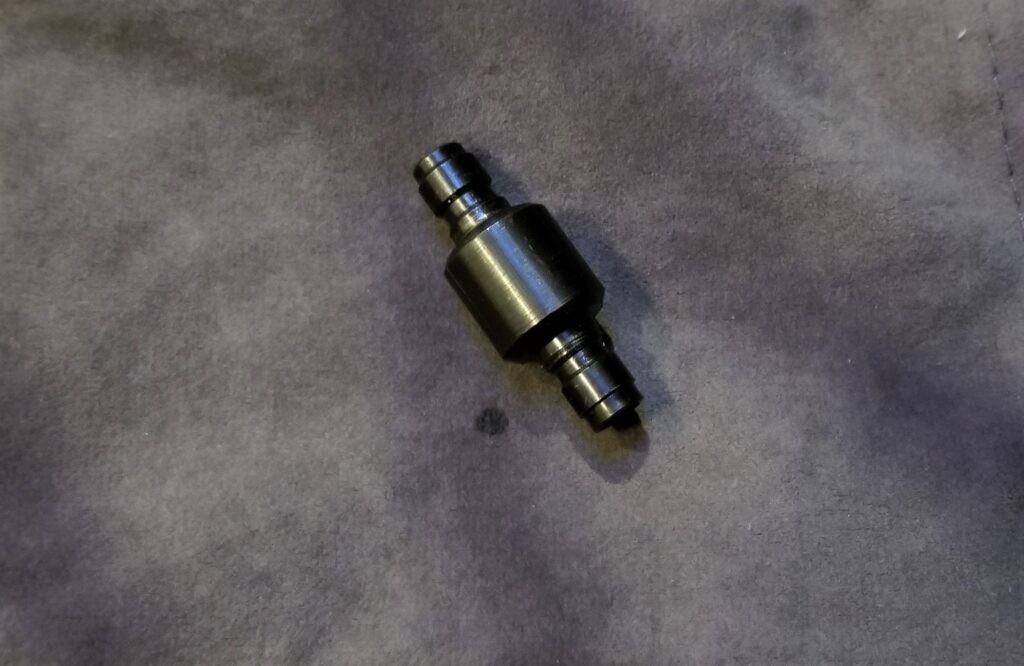
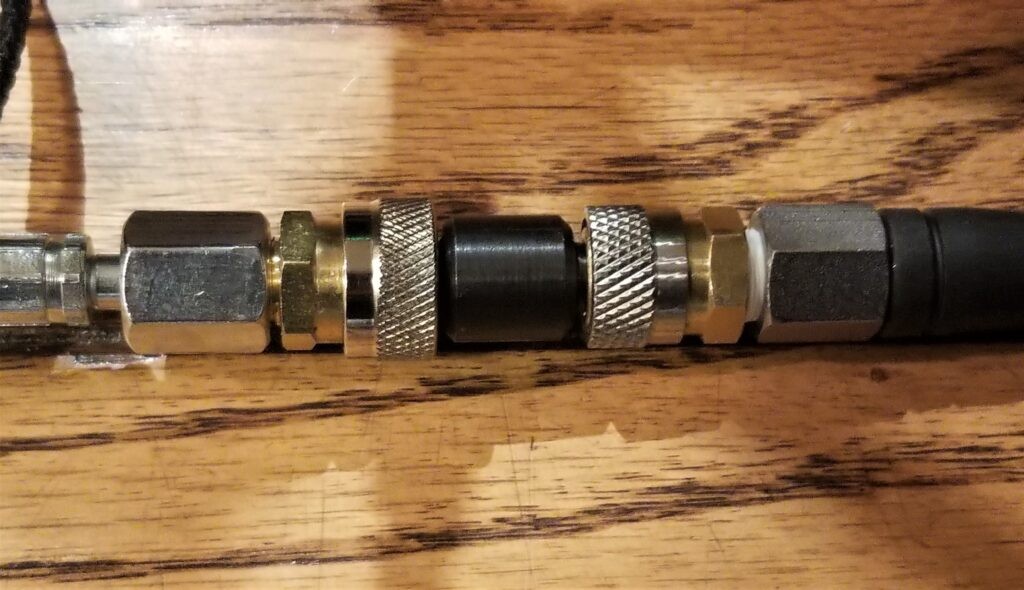
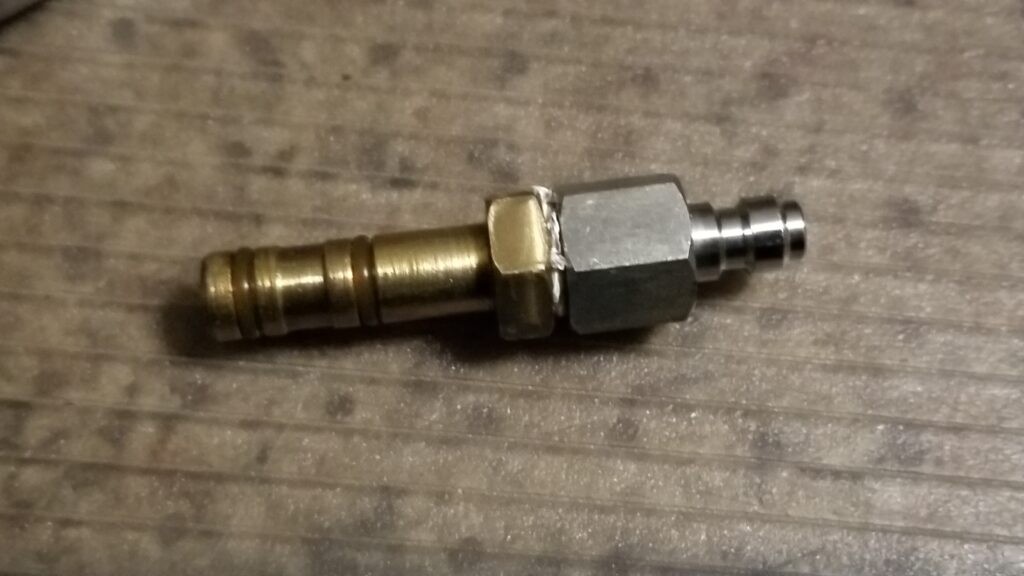
To connect the GX CS3 to the tank, I used an Air Venturi foster fitting male-to-male adapter plug. This fitting will allow you to connect the female foster fitting on the compressor to the female foster fitting of the tank.
So what do we do first? Test the lines
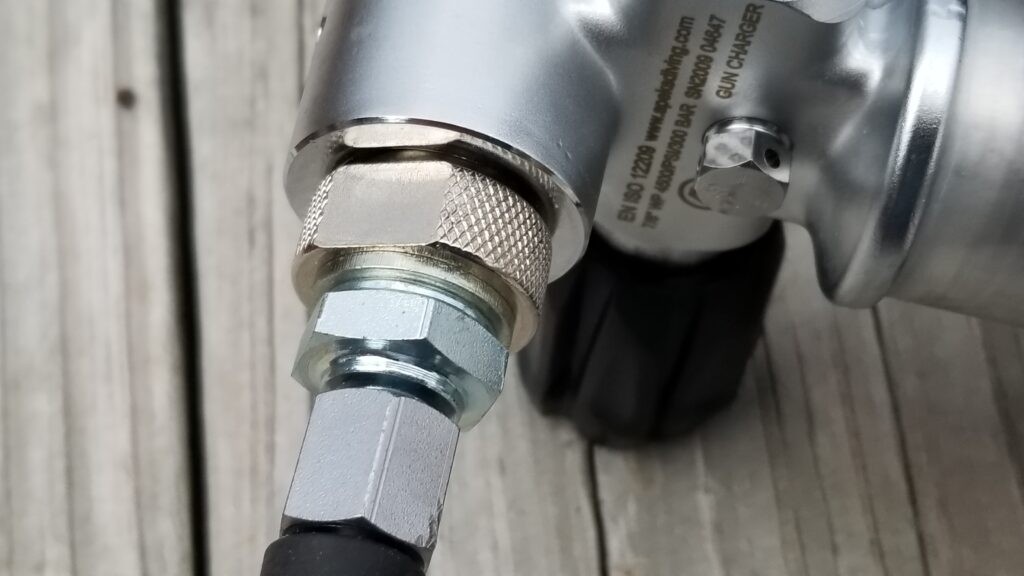
Assuming you tested your pump and know that it holds air, we need to next test the fitting and airline from the compressor to the tank. You do this by keeping the tank’s air valve closed and then pressurizing the airline only in steps.
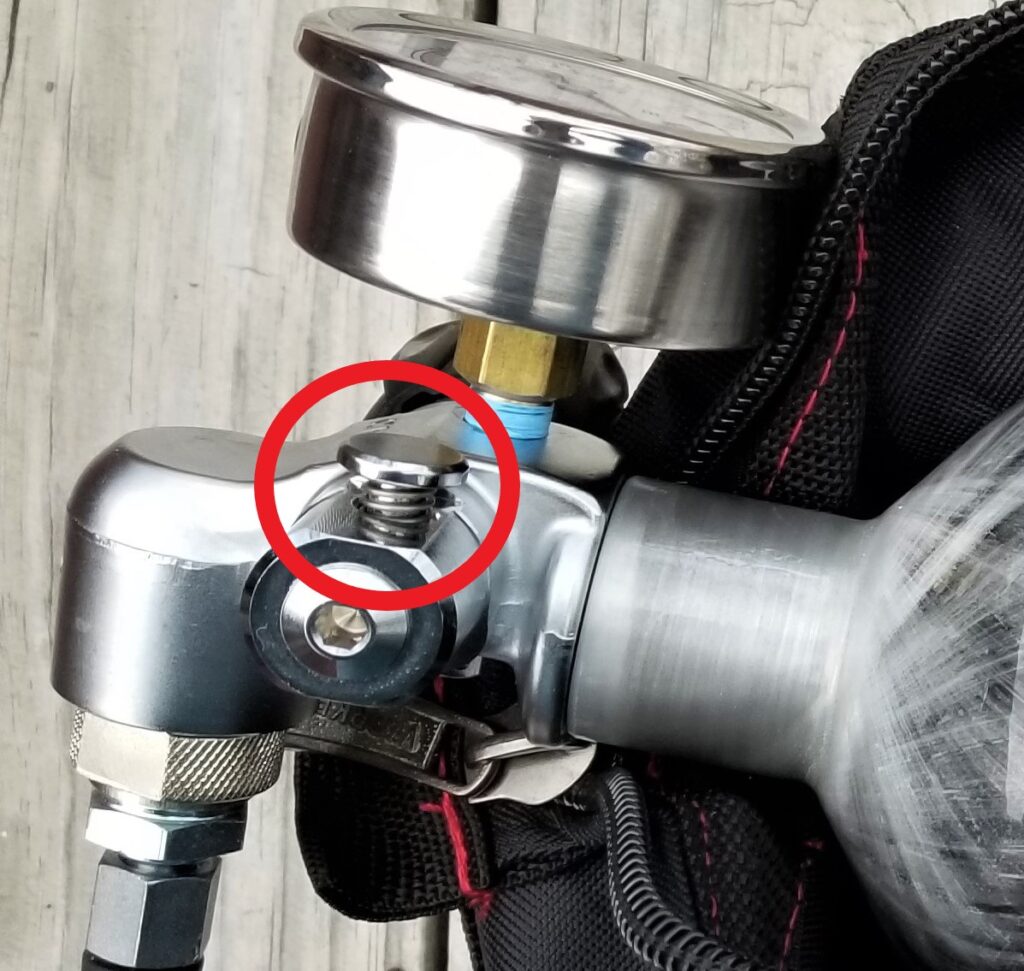
I found out immediately that air was leaking where the airline connected with the tank and used a wrench to snug the fitting down. Note, do not use your hand to look for high-pressure air leaks – use soapy water and look for bubbles.
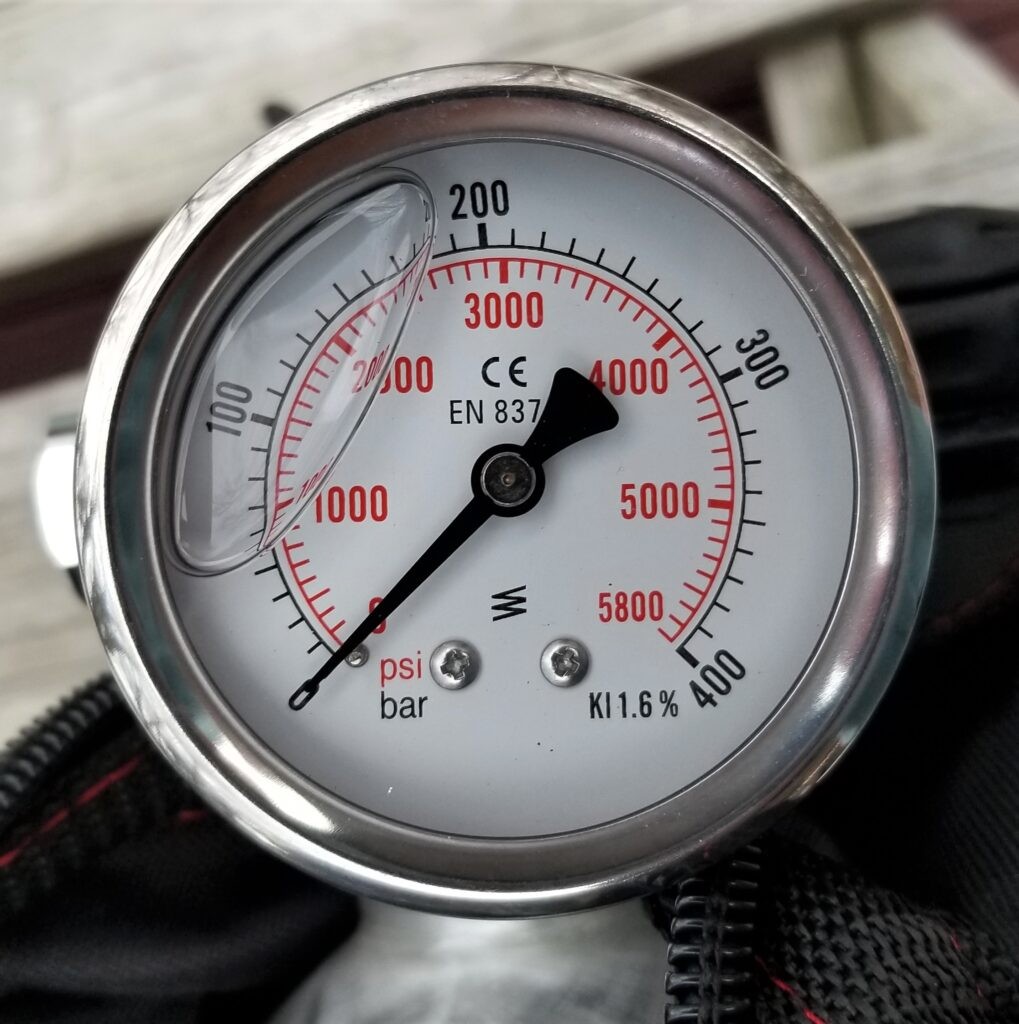
So, I pressurized the lined to 1,000 PSI after I fixed the above and watched the pressure gauge for a few minutes. It held. I then opened the bleed valve on pump and let the air out.
I repeated the above going to 2,000, then 3,000, then 4,000 and finally 4,500 pounds. In all cases the line held pressure after the initial tightening down of the air fitting to the tank.
Filling the tank itself
By now I was feeling comfortable with the compressor. I decided to run the compressor in 25 minute cycles to see how far it would get and how warm the exhaust air would get.
At 25 minutes, the tank had reached 2,200 PSI. I could hear the pump was making a different sound as it was operating under load but nothing scary like metal on metal grinding. I turned off the pump but let the cooling fan keep running for 20 minutes.
I restarted the pump and in another 25 minutes, the tank air pressure increased to 4,100 pounds. I used a Fluke IR thermometer to measure the exhaust vent and it was at 116F degrees (for reference, the floor measured 67F next to it. I measured temperature at a few other places too out of curiosity: Top of the case was 105.8F. Neck of the cylinder was 92F, the male-to-male coupling was 76F and the top of the power supply case was 86F. Nothing alarming in short.
I let the unit sit and cool for 20 minutes. The exhaust vent had cooled to 91F. Almost 3 minutes and 24 seconds after restarting the tank reached about 4,500 PSI and the compressor automatically shut off.
I watched the air pressure for a few minutes and it held. That was a good sign.
Interestingly, when I bled the line about a teaspoon of water came out of the pump. The GX CS3 does come with an internal water and oil separator. I do plan to add filters both to the pump and the tank just to be sure – I am real nit picky about having clean air – it comes from my plastics business. At any rate, I will report more on the filters later.
Conclusion
The Omega tank worked without a hitch and I am very happy. I filled my Hatsan Gladius Long from the tank and boy was that easy. My old Hill Mk.4 hand pump has served me well and is now a back up just in case but now that I have a compressor and tank, my life just got a whole bunch easier.
I hope you found this post useful.
Here are the GX compressors from the CS4 down to the CS1
- GX CS4 – 6.8L tanks, fluid cooled, longer run time, 5800 PSI/40Mpa – External 12 volt power supply [My current compressor]
- GX CS3 – 1 liter tanks, air cooled, 4500 PSI/30Mpa – External 12 volt power supply [I used this and now my friend has it]
- GX CS3-I – 1 liter tanks, air cooled, 4500 PSI/30Mpa – Internal power supply [I used the regular CS3 but they are the same other than the power supply]
- GX CS2 – .5 liter tanks, air cooled, 4500PSI/30Mpa – 12 volt or 110 AC [I have not used this one]
- GX CS1-I – .5 liter tank, air cooled, , 4500PSI/30Mpa, 12 volt or 110AC internal power supply [I have not used this one]
- FastToBuy 30Mpa Oil Water Filter – Not a GX product but I recommend this filter and you need one between the compressor and your tank or PCP airgun. You will need an extra hose from it to your tank or airgun plus the proper fittings.
2/2/2021 Update: The tank is working great. It is incredibly convenient to have this tank around to top off airguns. I used to dread breaking out the hand air pump and now it’s just a matter of a few second and the gun is full again. The GX3 compressor has proven itself to be a great addition also.
Note, I have to buy all of my parts – nothing here was paid for by sponsors, etc. I do make a small amount if you click on an ad and buy something but that is it. You’re getting my real opinion on stuff.
Please share the link on Facebook, Forums, with colleagues, etc. Your support is much appreciated and if you have any feedback, please email us in**@*********ps.com. If you’d like to request a report or order a reprint, please click here for the corresponding page to open in new tab.