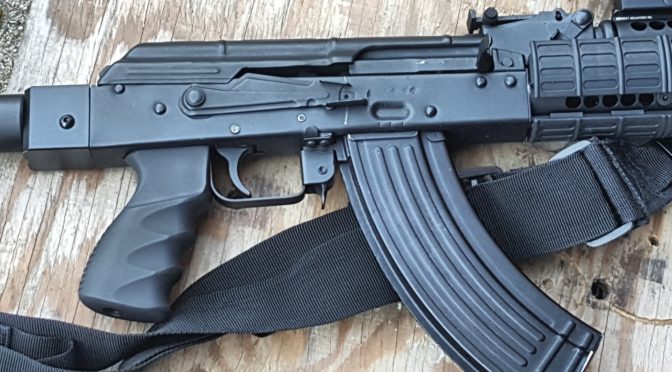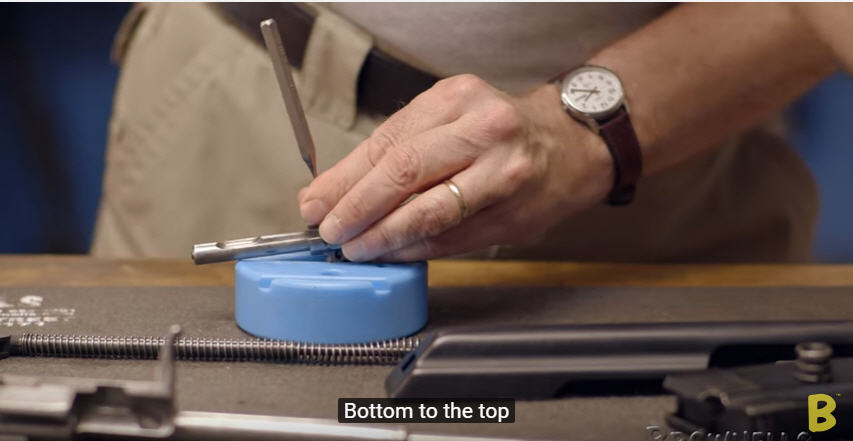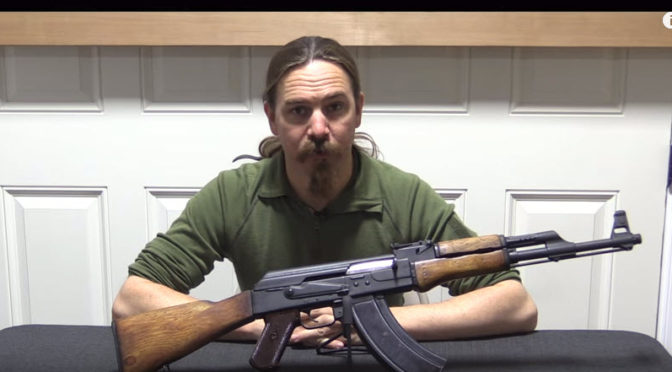
Ian McCollum does a great job showing an actual Soviet Type 1 sheet metal AK-47. I’ve read about the Type and seen a few photos but nothing as detailed as this. We so often focus on the AKM but Mikhail Kalashnikov and his design team at Izhevsk had to go through a lot of learning and evolution of the design.
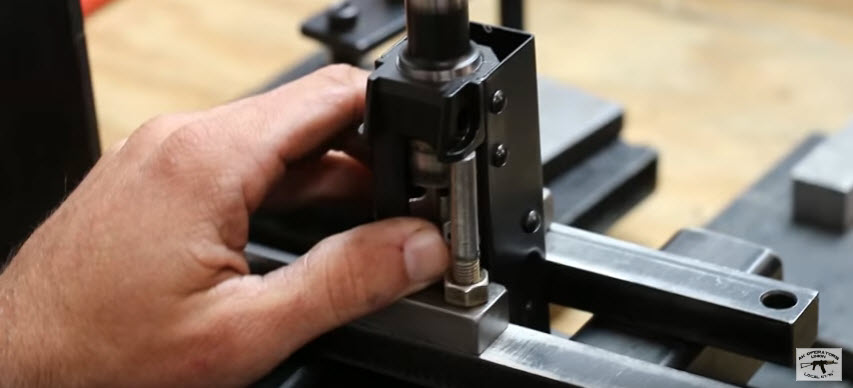
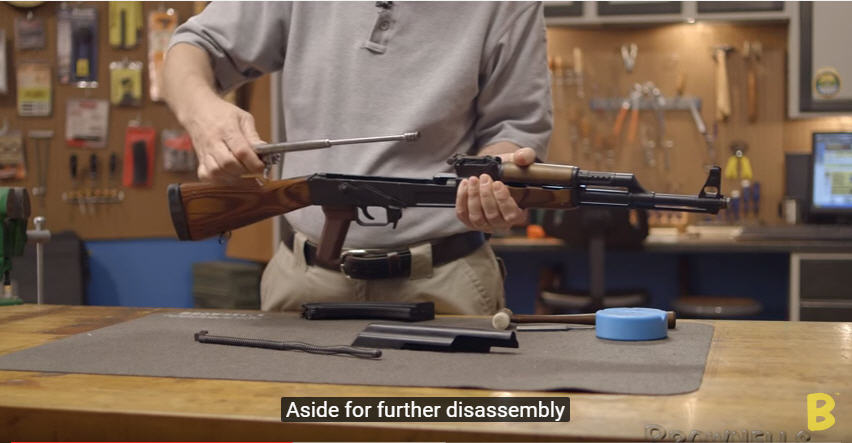
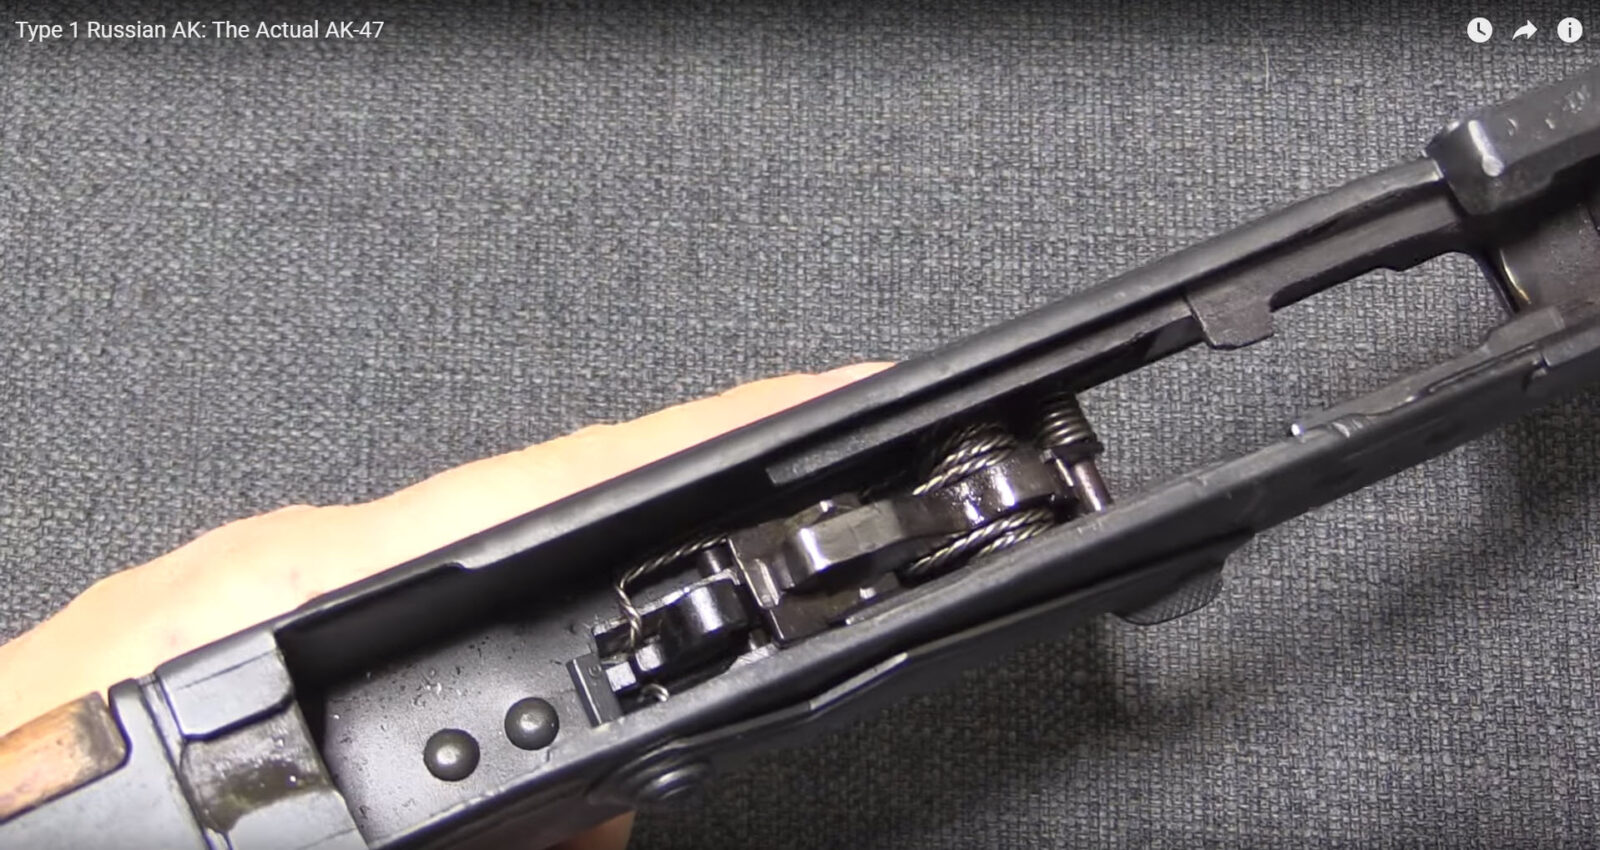
For me this was absolutely fascinating as Ian talks about the Type 1’s history and QC problems this early design had and then actually opens the rifle up to show the many differences.
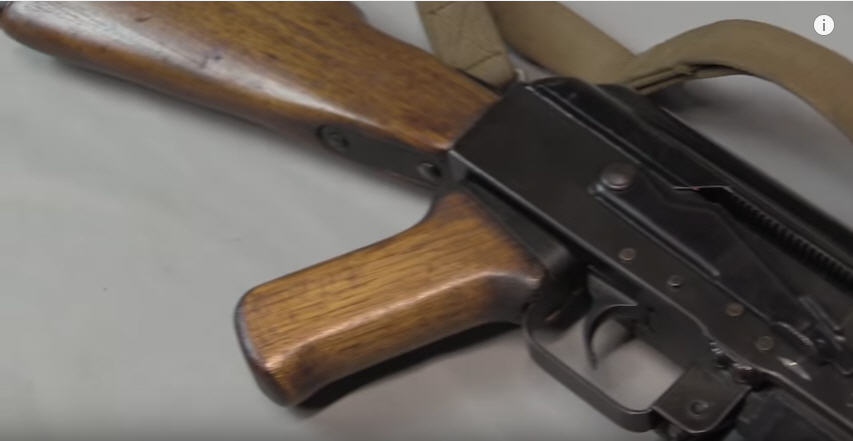
- Grip plates vs a true grip
- No center support to keep the receiver from getting crushed
- A selector lever that was only on the operating side that did not go all the way through
- Longer trunnion
- Ejector was part of the trunnion
- Different rivet pattern
- Fluted gas piston
- and more


If you like AK’s, be sure to watch this video:
Also, consider donating to Ian. He puts a ton of time into his videos and the research required. Here’s a link to his Patreon page.
If you find this post useful, please share the link on Facebook, with your friends, etc. Your support is much appreciated and if you have any feedback, please email me at in**@*********ps.com. Please note that for links to other websites, we are only paid if there is an affiliate program such as Avantlink, Impact, Amazon and eBay and only if you purchase something. If you’d like to directly contribute towards our continued reporting, please visit our funding page.