This is my last post about my Edgun Leshiy 2 in this series. I’ve now had it for just over six months (I bought it in February and it’s now September) and have some thoughts to share on it and the various accessories I stuck on it – some stayed on and some are now gone.
Engineering and Assembly of the Leshiy 2 Short Wolverine (REPR)
Let’s start with the core airgun itself. The design, machining and fitment of the base Leshiy 2 are superb. I’ve put hundreds of pellets through it and not one jam and it is definitely as accurate as I need in my 30-60 foot typical pest control zone. I don’t recall trying for anything further away as of yet.
The trigger is set and not adjustable but it is a very good trigger so no real complaints there.
The internal regulator is adjustable but you have to disassemble the rear buttstock to get to it. I wish it was externally adjustable so I could more readily fiddle with it. With that said, Edgun West set it to 130 bar and it works exceptionally well. It hits hard and is accurate.
I really like the trigger safety. The first airgun I had with a safety located where the trigger finger can easily get to it was a Hatsan Gladius. GIven the location of the safety on the Leshiy 2, I find it very fast and easy to turn the safety on or off or to check the status without needing to see it.
At first, I viewed the folding rear stock as a space saving feature only. It’s actually a superb safety as well. If the stock is open, then there is no air supply to “fire” a pellet. As soon as I start heading to the house, I open the stock to reduce the odds of an accident.
One tip that I will stick here, the magazines come out really easy if you wiggle them ever so slightly clockwise and counter-clockwise. If you try to pull them straight out they can be really stubborn. Feeding is amazingly reliable so I wouldn’t want anything changed – this is just a tip to share with you.
Comment on the Mini 2-3/4″ Picatinny Handguard
First off, this is M-Lok-ish. The slots are per M-Lok spec but you need shorter srews or you will dig into your suppressor or adapter underneath. I initially used a quality Magpul aluminum picatinny rail section and the screw dug into my Behemoth moderator and I gouged it when I went to remove the can. I wondered why the moderator wouldn’t turn and rather than stop and think I went “Mongo turn moderator” on it. Sure, it came off but I gouged the aluminum and it was bright and shiney, I used some Birchwell-Casey Aluminum Black to cover up my mistake. So, either buy their rail section or use your section but realize you will need to shorten the screws. I bought one of their sections.
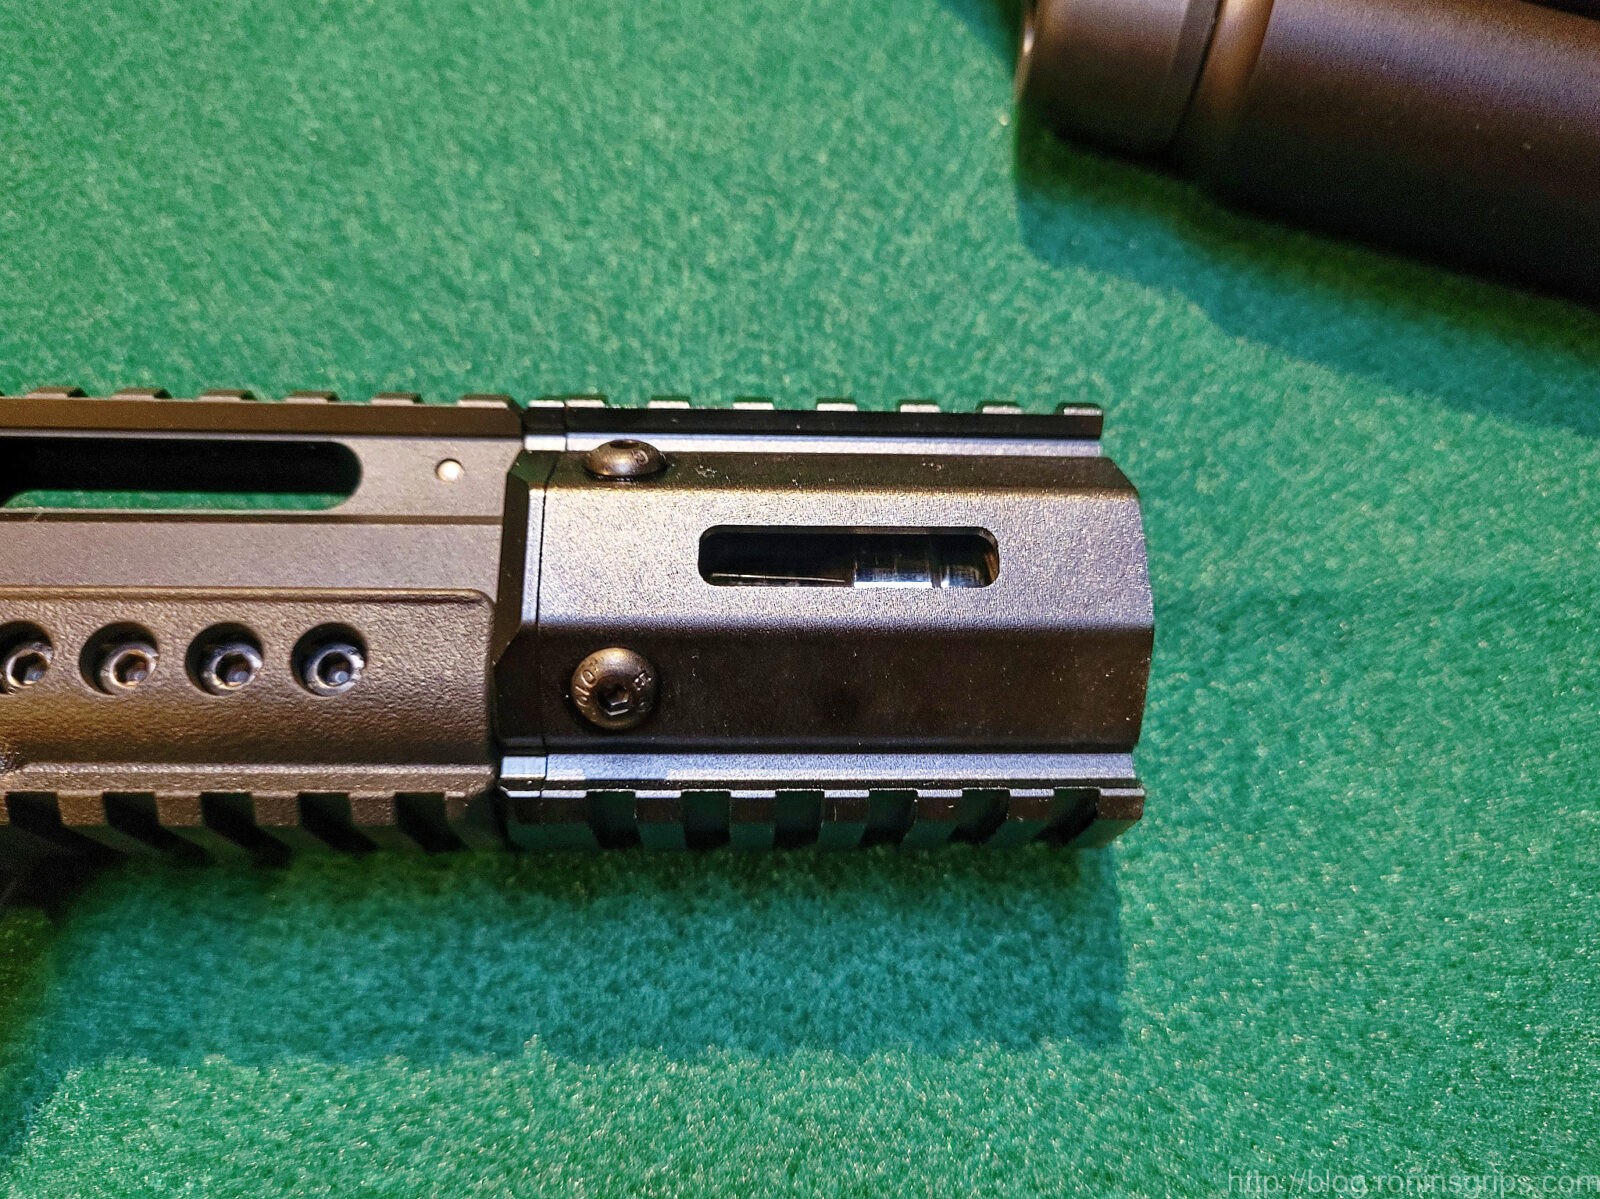
Second, the bottom fixed rail machined in the handguard was not done according to the Picatinny spec probably in error. I could get a Holosun laser designator to mount on any rail execept for the bottom one. My solution was to remove the handguard and rotate it 180 degrees so the top rail that worked fine was in the position I needed and the out of spec section that was originally at the bottom was on the top where I didn’t need it. I mentioned what I had to do to Edgun West and they didn’t offer to replace it so oh well. Not sure why they didn’t offer unless it was a known problem. I had a workaround and that was good enough for me but I am passing it along in case you run into the issue – the handguard can be easily removed and inverted – it’s symmertical.
Replaced the Behemoth With a DonnyFL Ronin
The Behemoth with extra sections installed (I think I had 4-5 modules installed towards the end) was really long and didn’t quiet the Leshiy 2 down enough for its size. Some of the noise is likely the air powered semi-auto action bleeding off air and not a moderator design issue. In watching videos of the reflex system Behemoth’s those things are amazingly quiet and I may experiment with one of those in the future but they are expensive and not something I need to do right away.
In search of a quick, I-have-no-more-money-for-this-project fix, I realized I had a spare DonnyFL Ronin moderator that I could use. The DonnyFL was threaded 1/2-28 so I had to get an adapter to convert from the Leshiy’s 14Mx1.0 thread to that. The Ronin was just as quiet and a heck of a lot shorter.

There was a second benefit to the move to the Ronin moderator – it stays put. The trilug system the Behemoth uses does not secure the moderator in a very firm “it’s not going to move easily” manner. The trilug system was meant for easy and fast installation and removal of the moderator.
My use case is different – I store the Leshiy 2 folded in a Savior gun case with the moderator attached and pull it out to use as needed for rapid pest control use. I found out the Behemoth could come loose from repeated insertion and removal from the case. I don’t want to take the time to install the moderator every time.
For me and my use, the use of a standard threaded mounting method worked out better. When I need the Leshiy 2 for pest control, I can grab it out of the case and not worry whether the Behemoth is coming loose or not.
If you need an airgun with a rapid takedown moderator, I don’t think you’ll find a competitor to the Behemoth. If you want compact, you might want to do some experimenting. If you need it to be as quiet as possible, do some digging before you buy. I watched a video of a .30 Leshiy 2 with the reflex version of the Behemoth and it was amazingly quiet.
Last comment – when I need the shot to be really quiet, I use my .25 FX Impact Compact Mk II with a Behemoth moderator. That combination is amazing.
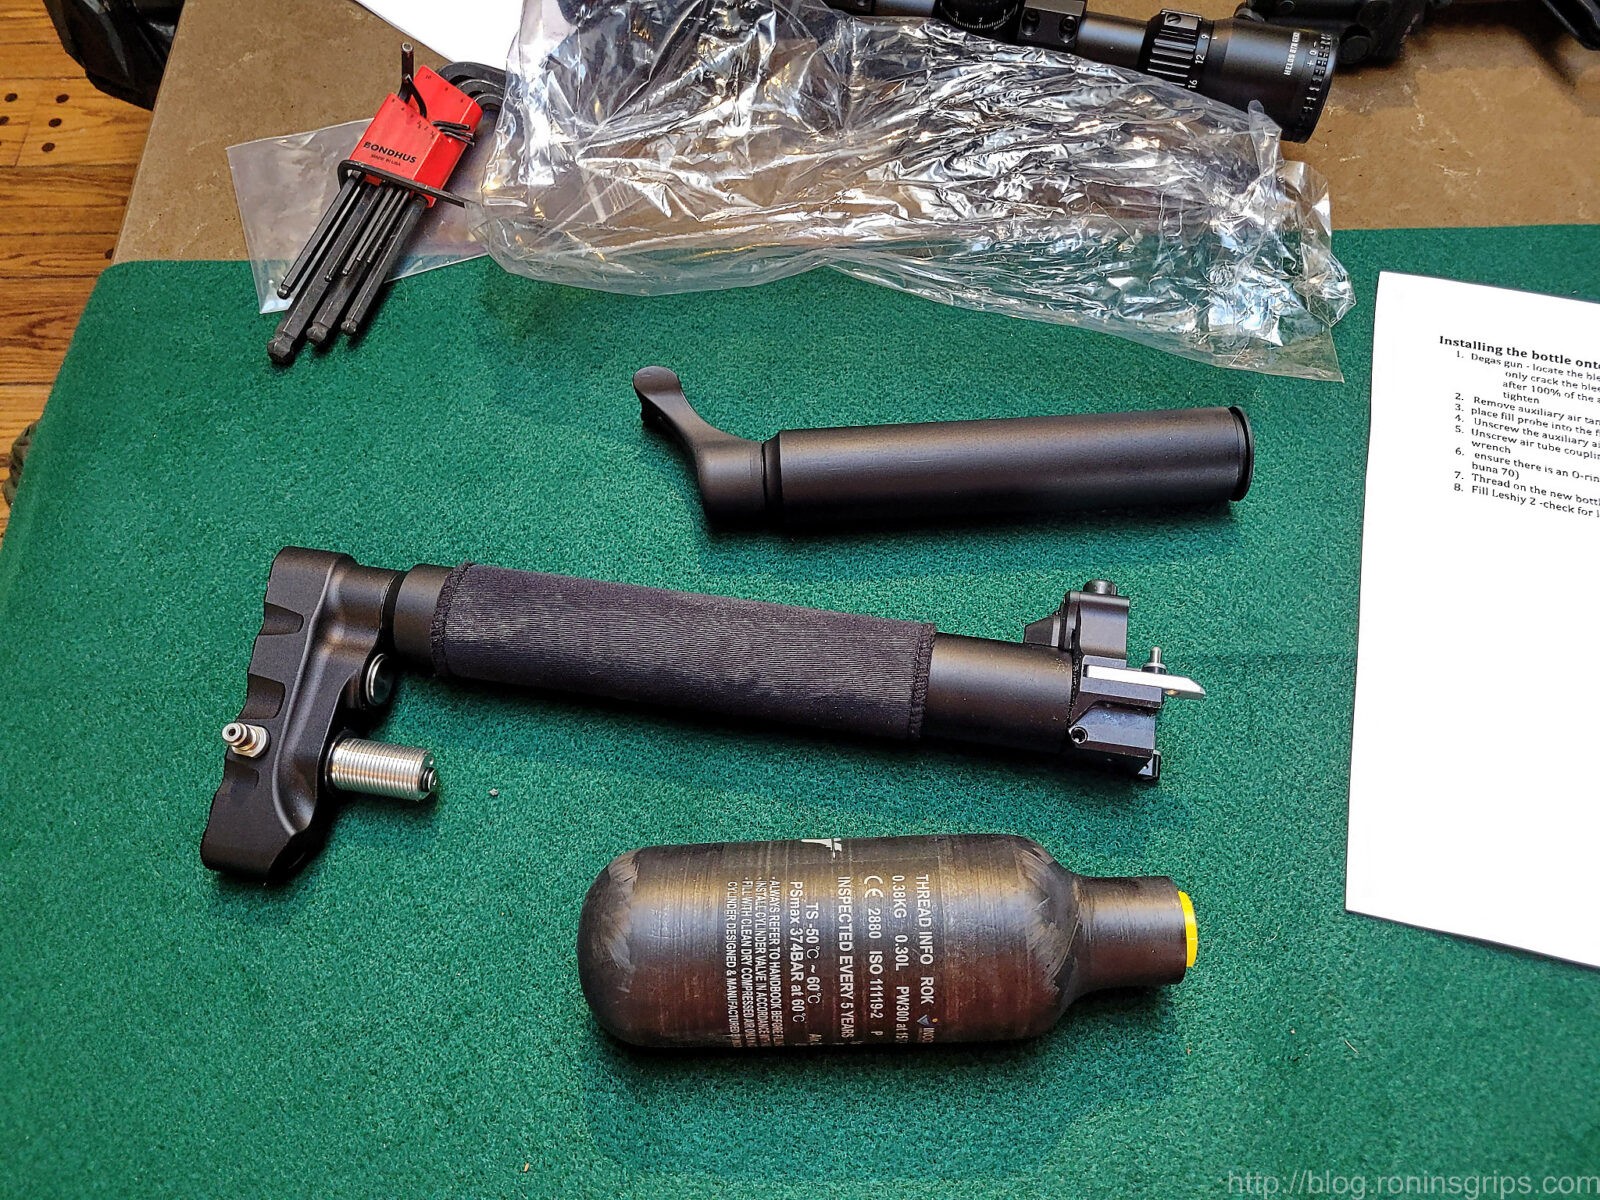
The 300cc @ 300 bar carbon fiber air cylinder was worth it
I am very happy with the bigger carbon fiber bottle on the rifle. It still balances and handles nicely – but it has 123% more air than the original resevoir. I fill it direct from the GX CS4 compressor so I can top it off at 300 bar.
American Defense AD-Recon-30-Std mount worked great as usual
As usual the American Defense mount has been superb. It returns to zero when you remove and then attach the mount to the Leshiy 2 plus it holds the scope securely – two thumbs up. Definitely my favorite quick detach single piece scope mount.
Athlon Helos BTR Gen 2 4-20×50 Scope has been great
After a bumpy start with the Athlon Midas Tac, the Athlon Helos BTR Gen 2 4-20×50 Mil-Dot scope has been great. It has reliably held zero despite many magnification changes. I’m pretty happy with it and have no plans to change at this point.
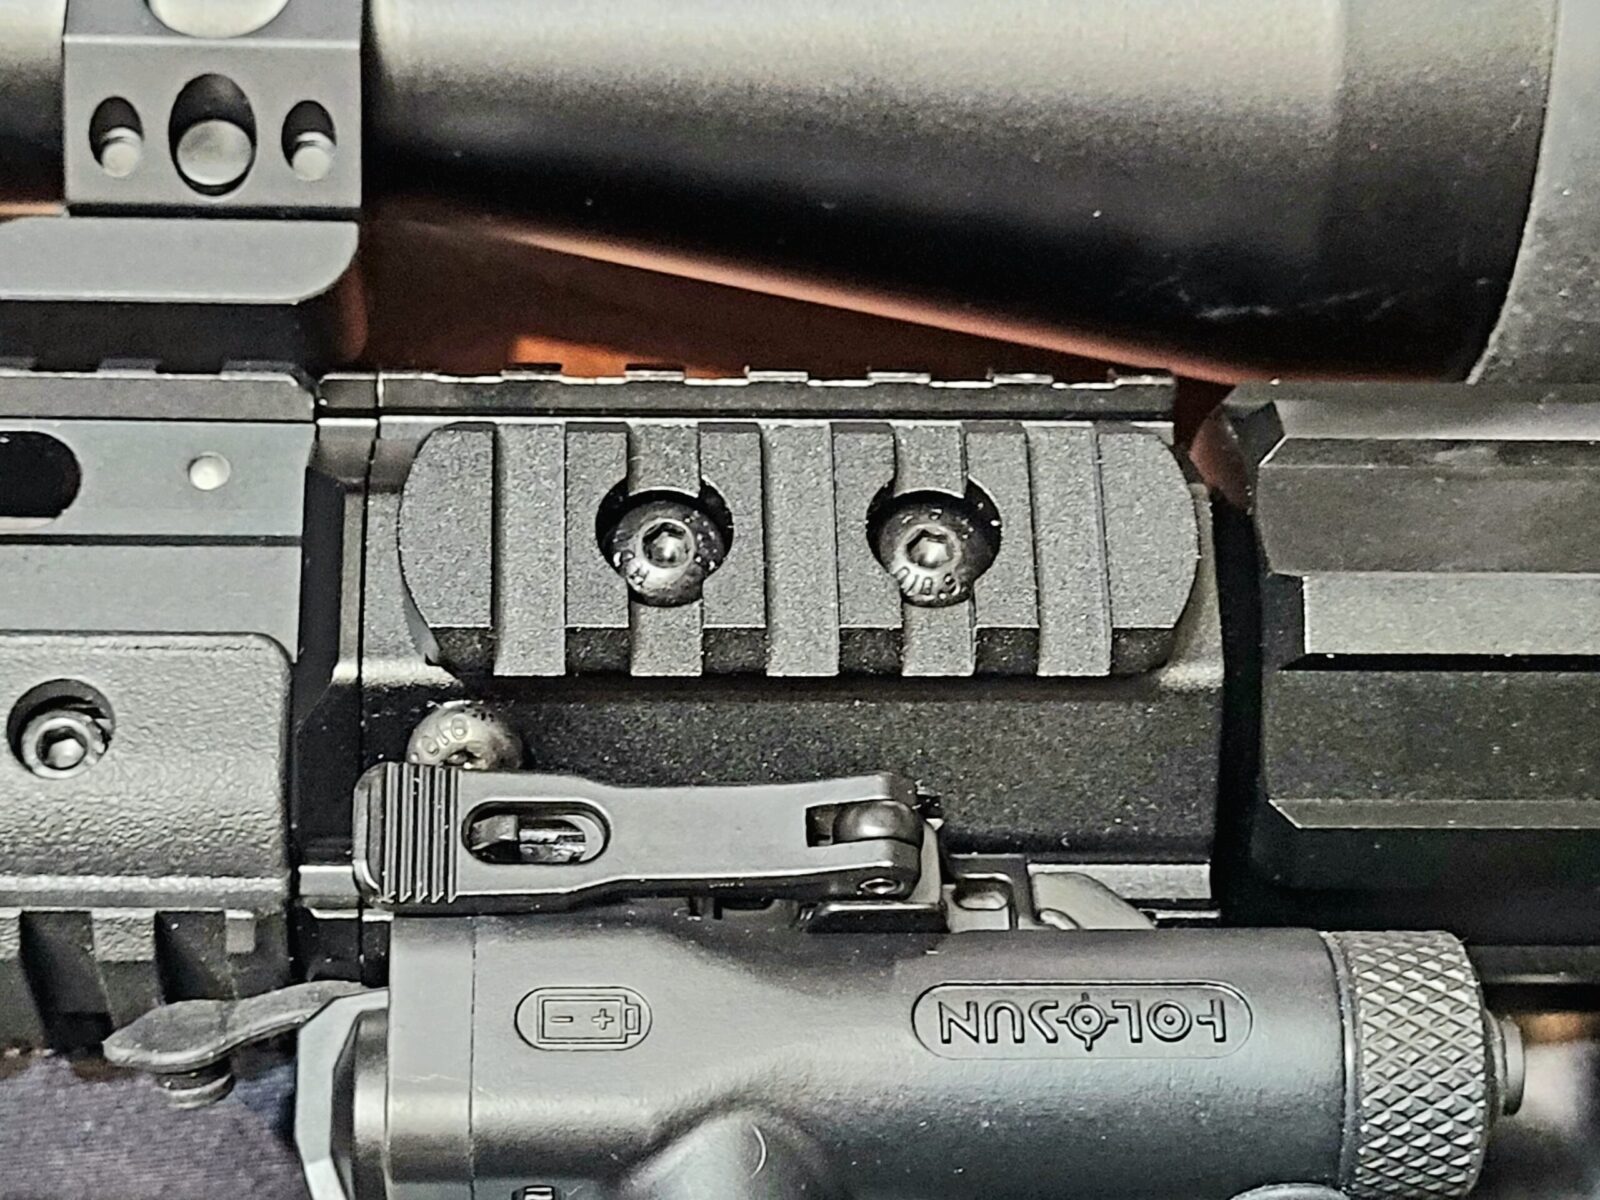
The Holosun Green Laser Designator was removed
I’ve seen so many gun magazine photos with laser designators that I figuredit was time to try one. I did some research and ordered in a Holosun LE117G green laser designator. The LE is the better made law enforcement model.
So, I mounted it on the bottom with the pressure pad switch on the right side rail where the finger tips of my supporting hand could actuate it and sighted it in at 12 yards.
It looks great right? Oh wow – look he has a laser designator on a high-end air gun… well, I tried to find a use for it other than tricking out the gun for photos and I couldn’t – not really. I am so used to scopes at this point for precision work that I am bringing the rifle up and lining up the reticle. If I turn on the laser, it sits at a different height and shows a different point of impact than the scope as I move away from the point of impact I zeroed them both in at – 12 yards.
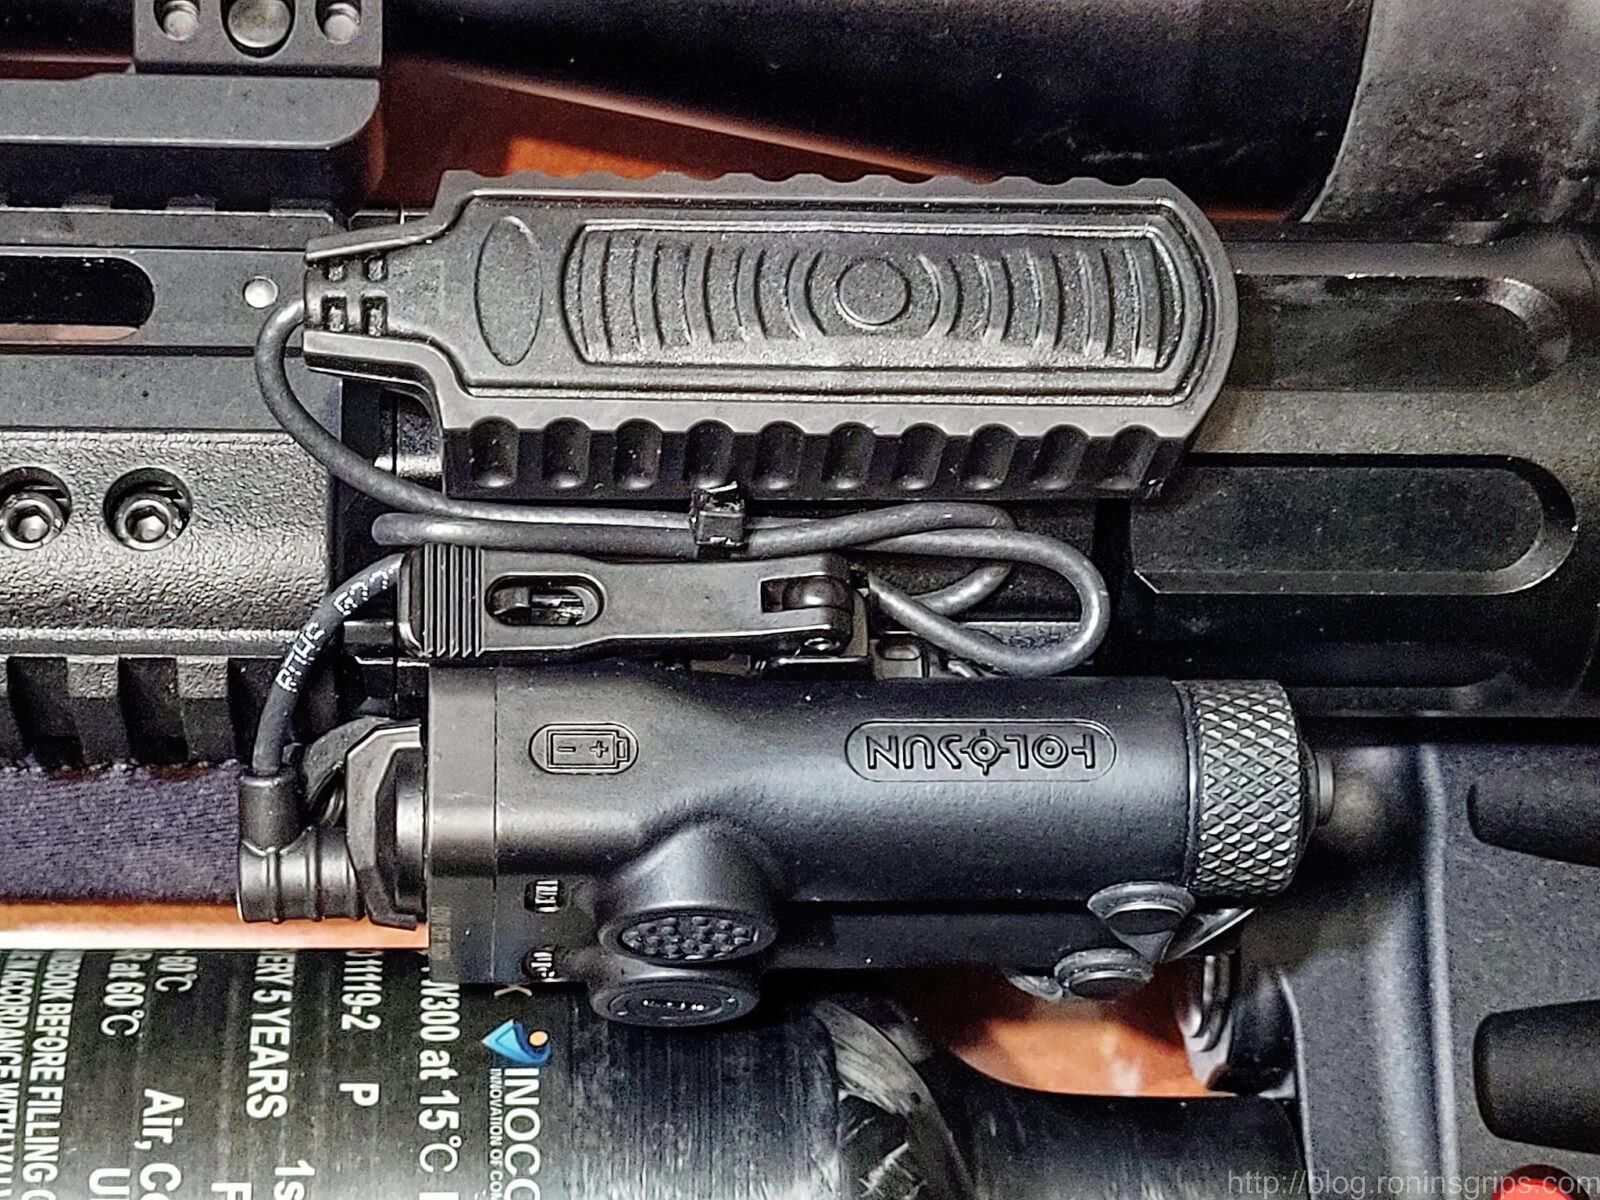
The LE117G is now sitting on shelf for potential use in the future. I’m not saying it’s bad – I’m just saying it didn’t fit my planned use for the Leishey 2.
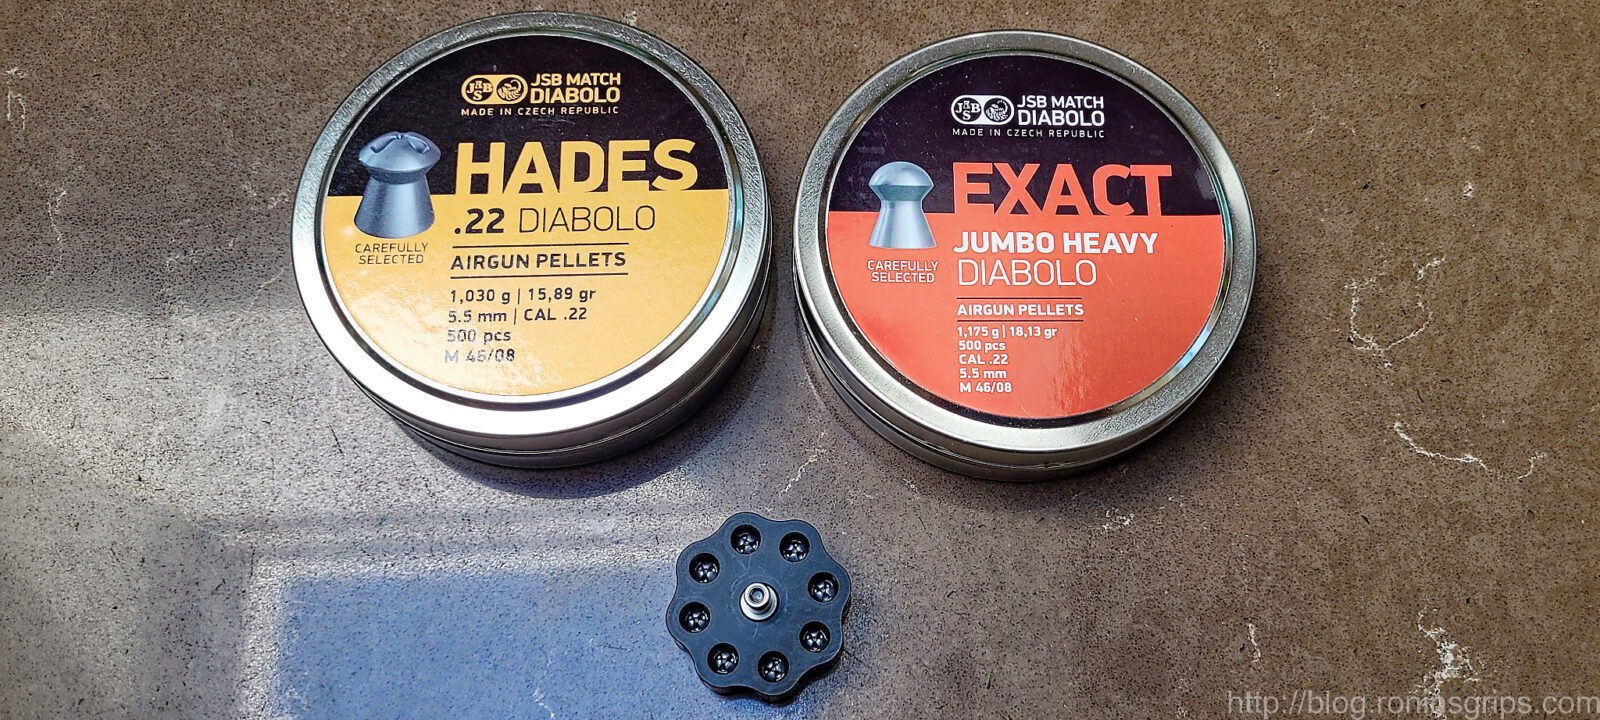
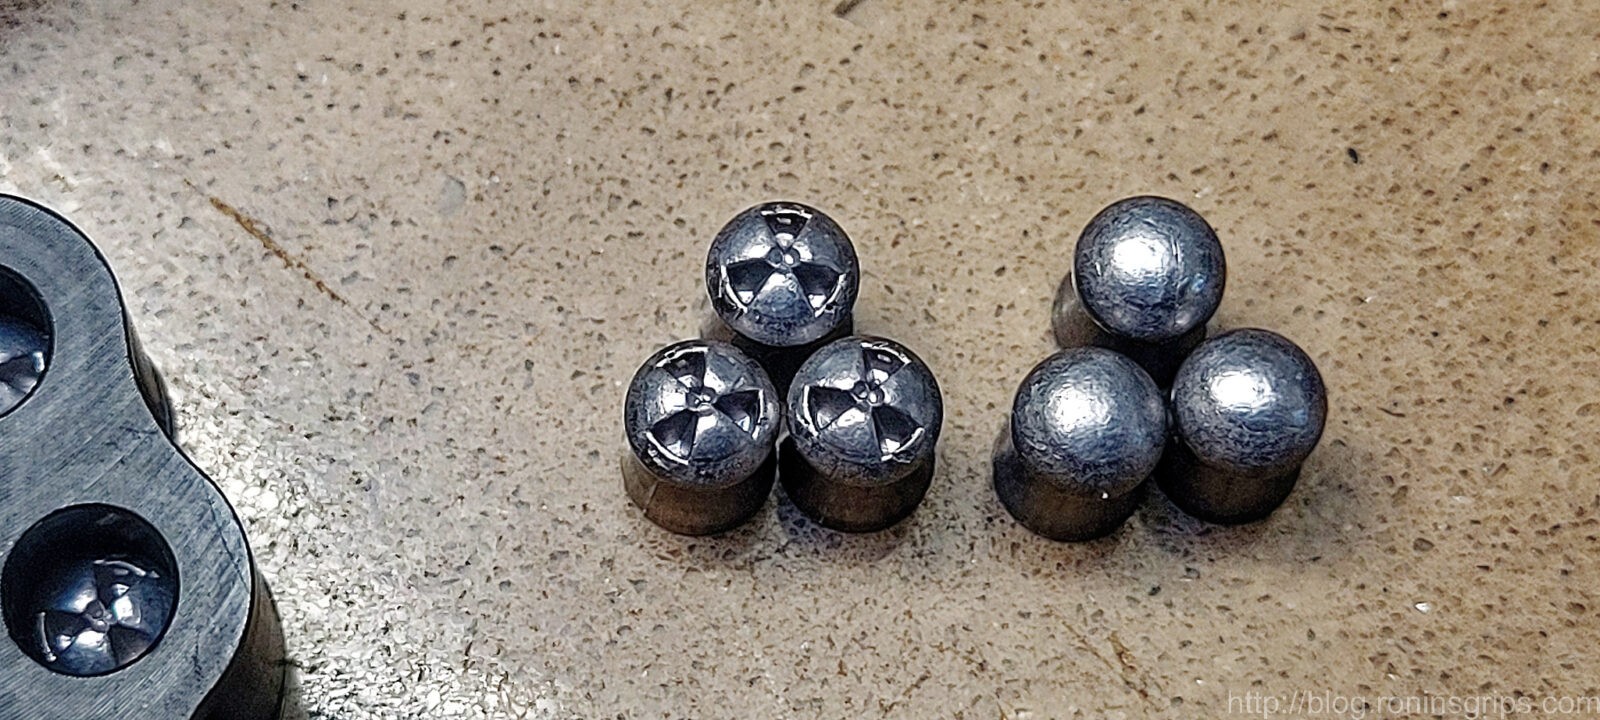
Switched from JSB dome to hollow point pellets
I was talking to another Leshiy 2 owner and he recommended that I try the JSB 15.89gr Hades hollow point pellet. He was having great success with it at close ranges – I think he said he was using them up to 25 yards – but the Diabolo domed pellets were better at a distance.
Well, I ordered in a couple of tins and sighted the Leshiy 2 in using that ammo at 12 yards. It’s definitely accurate enough for me at my close range pests and it does appear to do the job faster. There is a different impact sound when a Hades pellet hits a squirrel though I can’t quite figure out how to describe it.
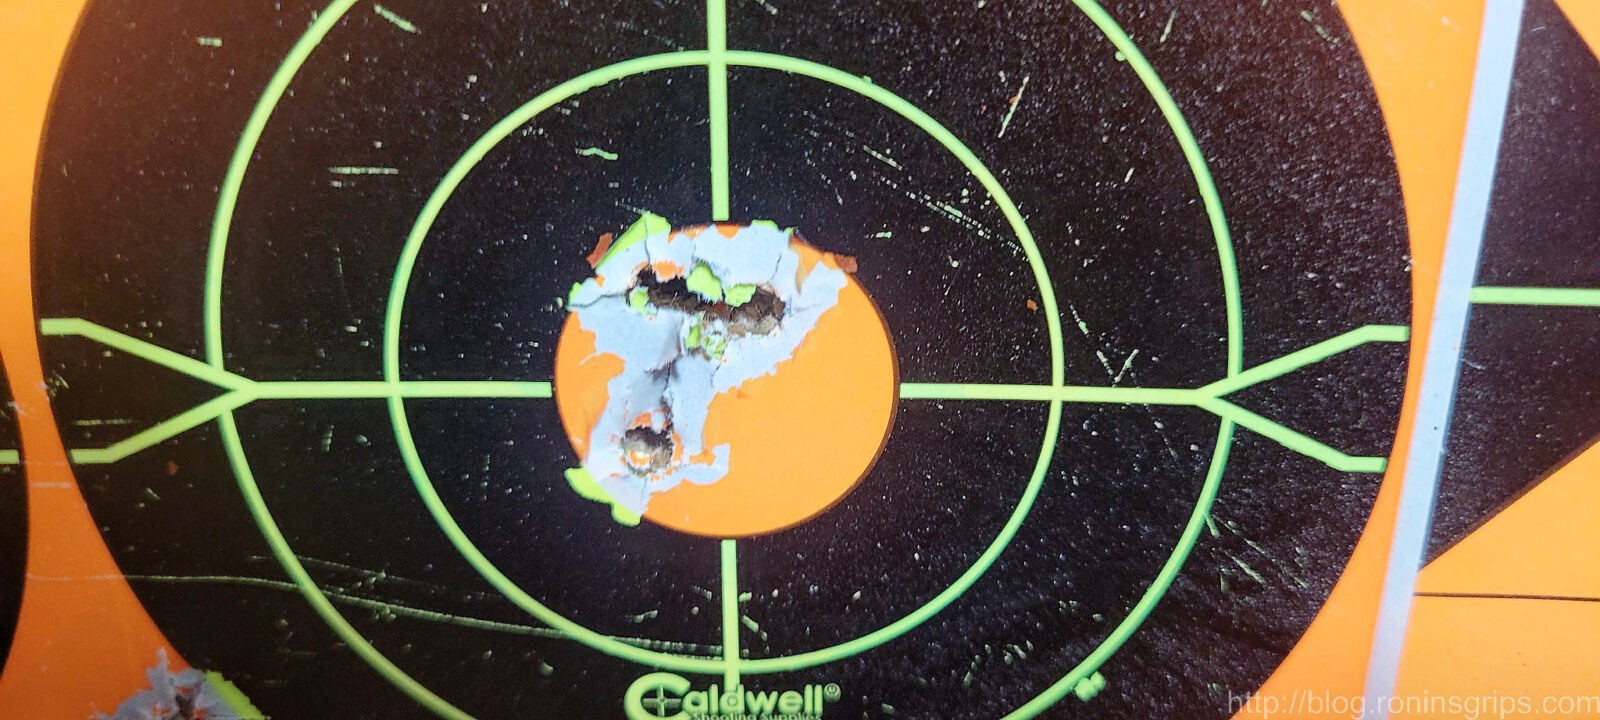
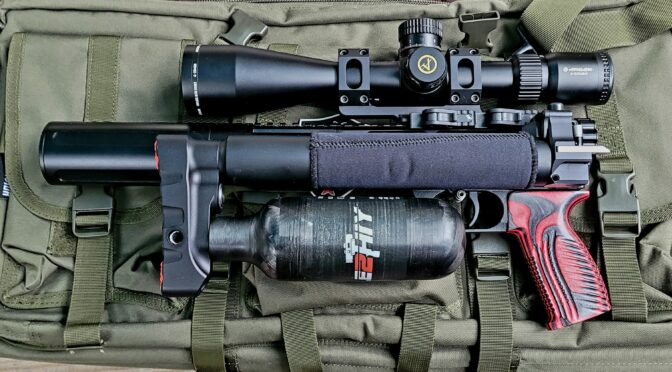
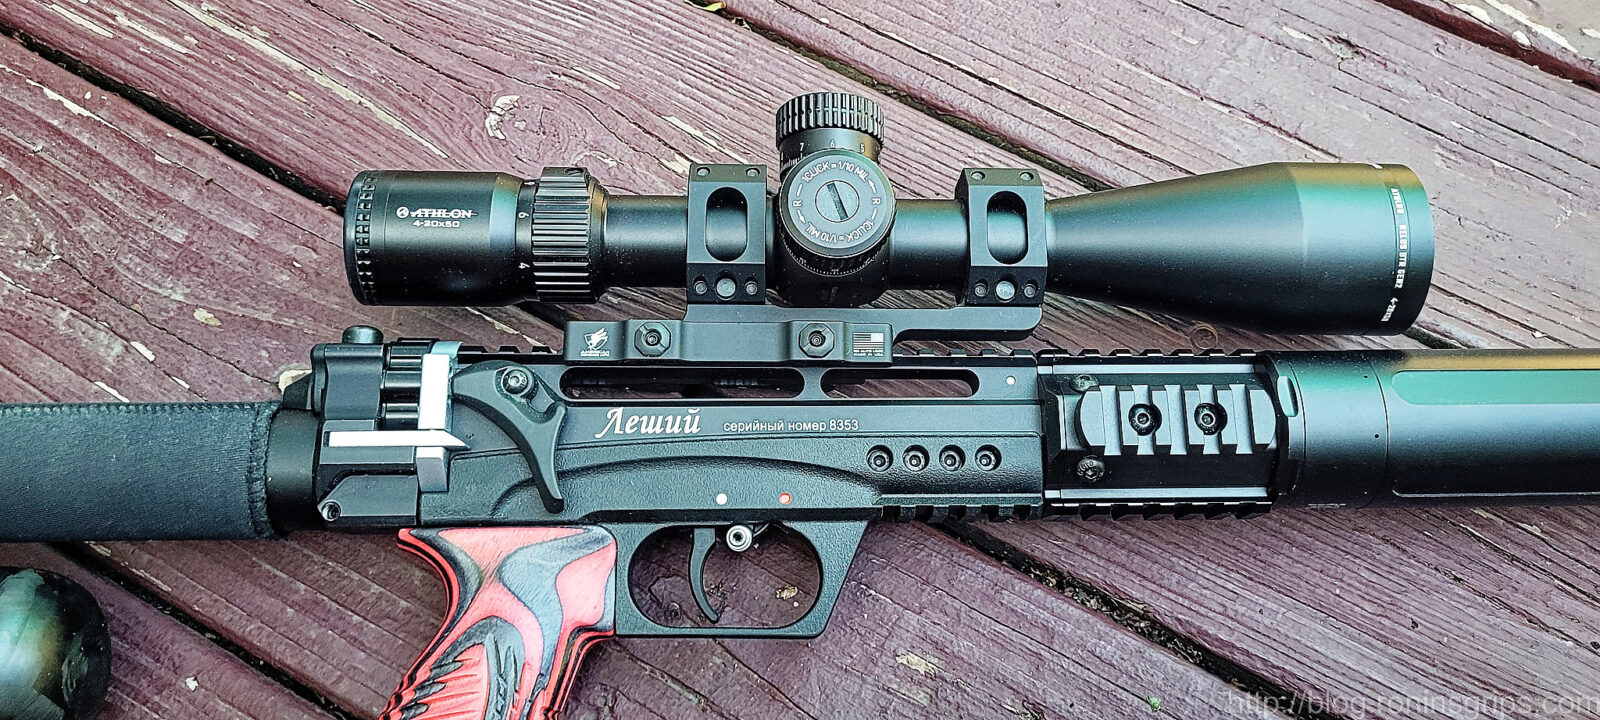
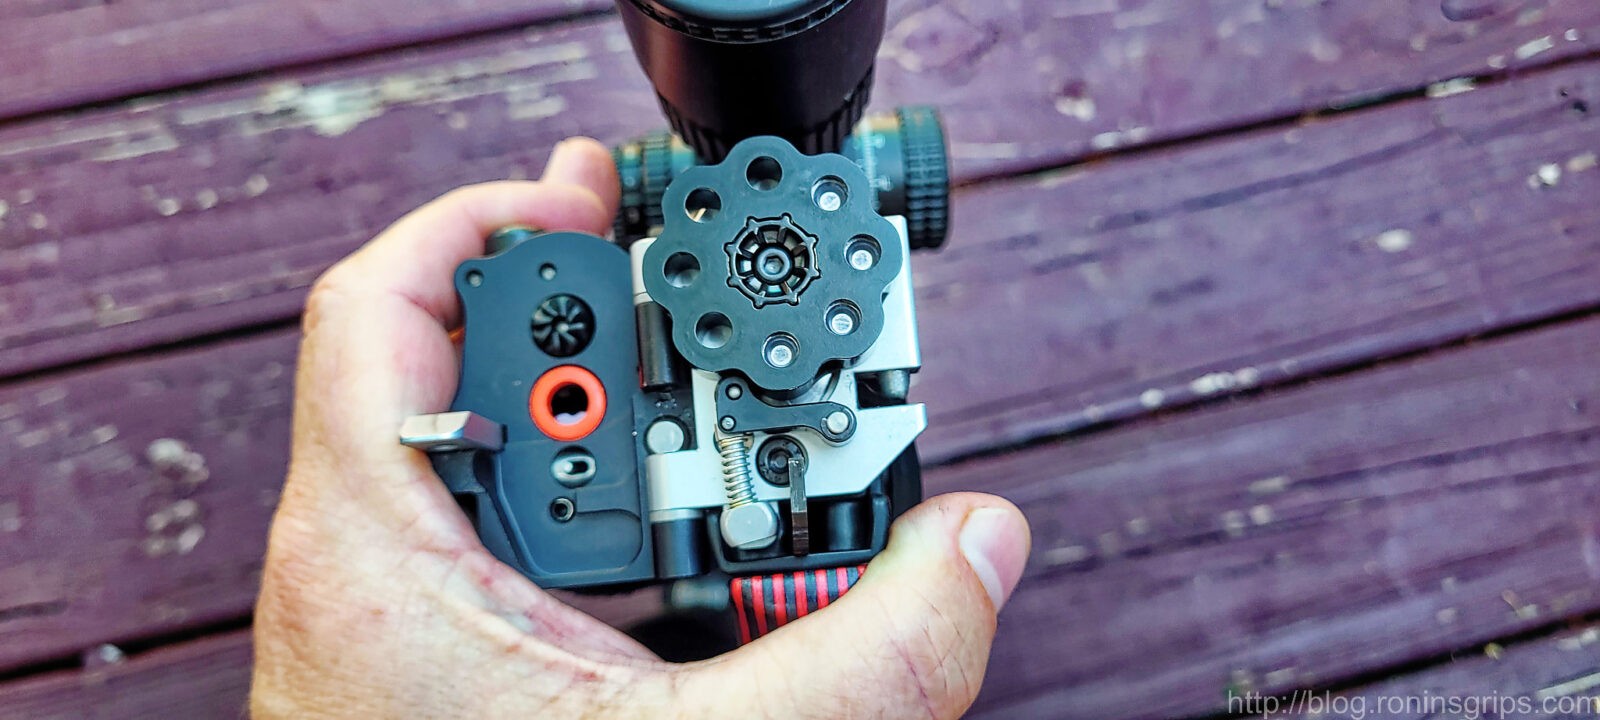
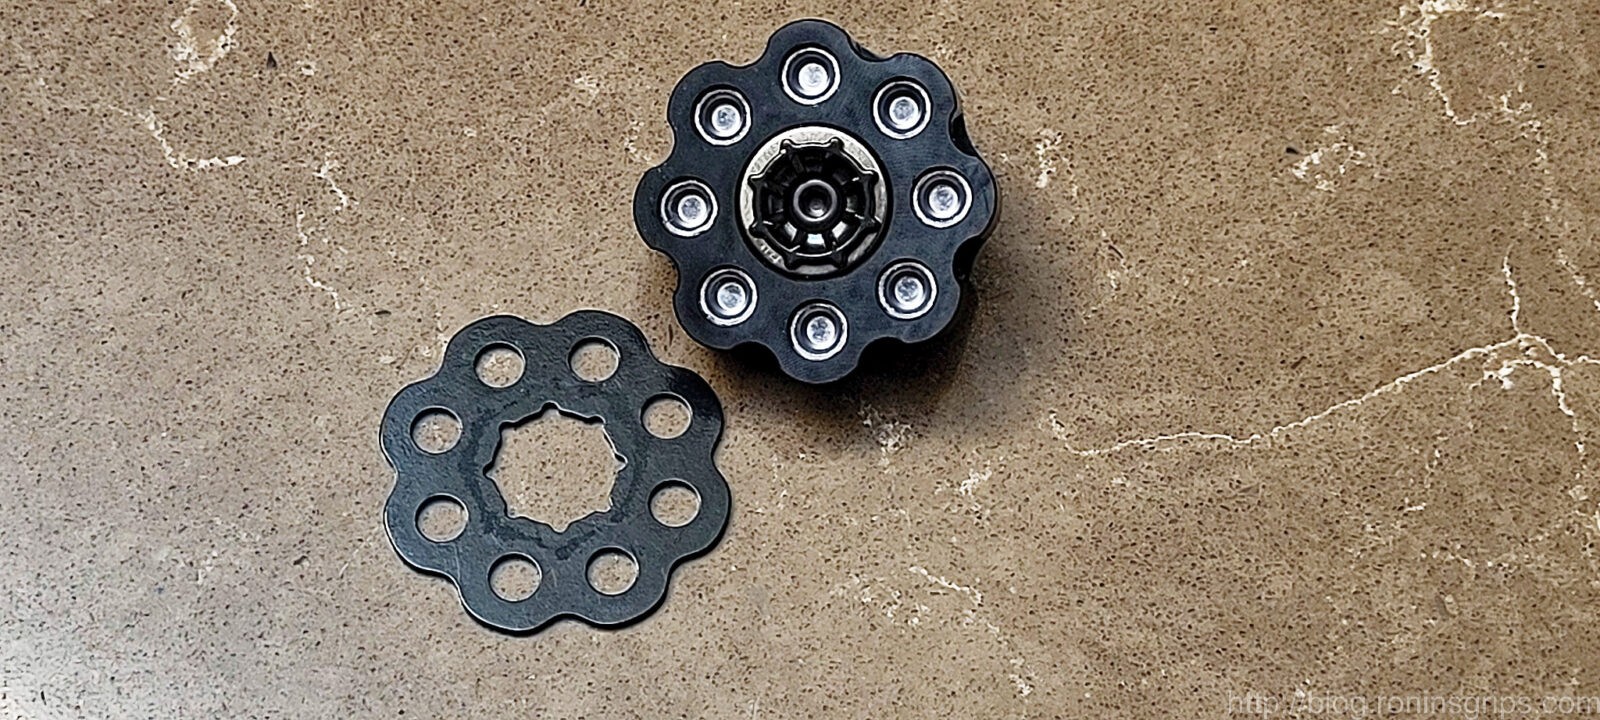
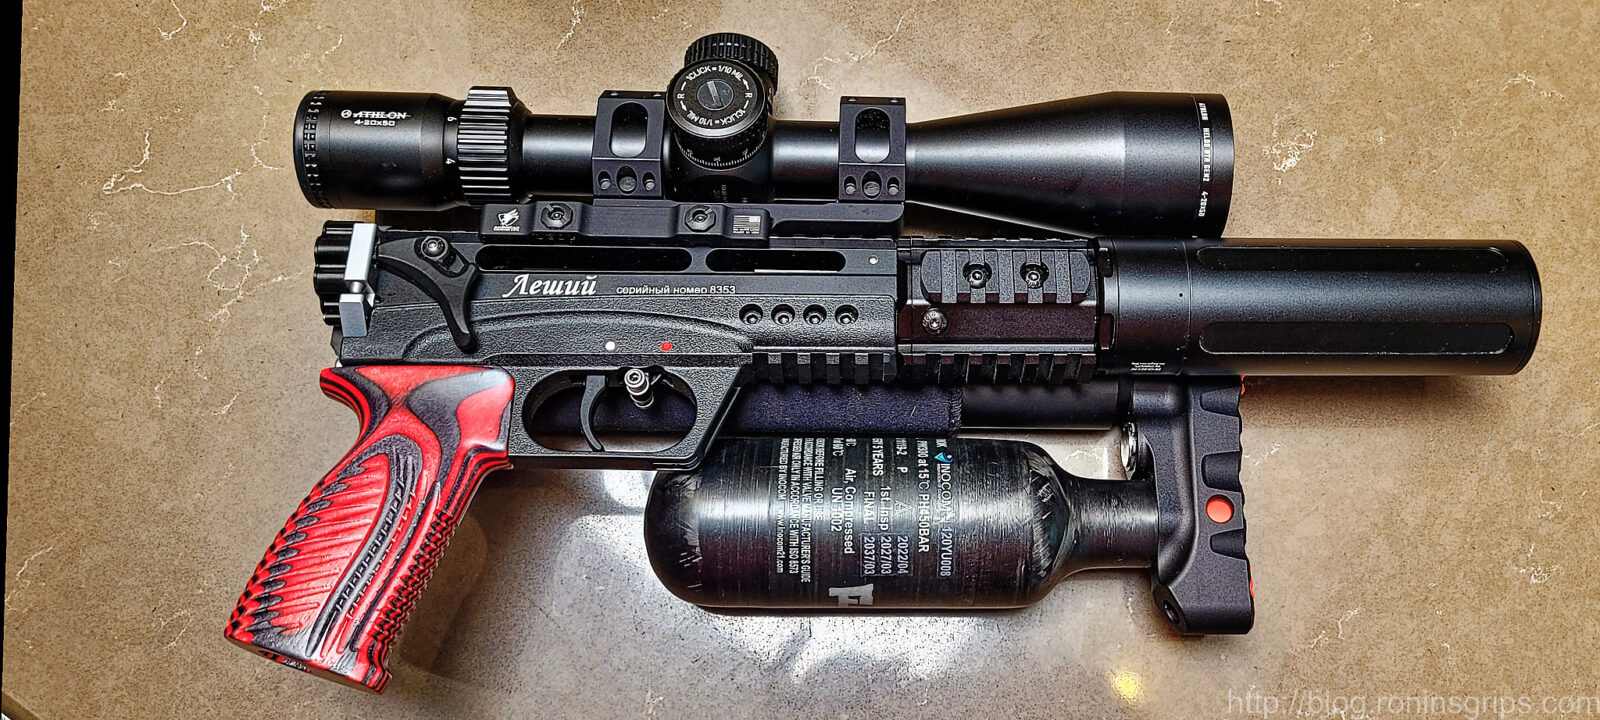
Last Batch of Photos
Here are some more photos of the Leshiy 2 as currently configured:


Summary
I use this airgun a few tmes every week – literally. It’s gone through hundreds of pellets and a lot air. Along the way, it has dispatched quite a few squirrels.
If you are looking for a semi-auto airgun that is very well engineered and made plus modular and can change as your needs change – I don’t think you are going to find anything equal too or better than a Leshiy 2.
Note, I have to buy all of my parts – nothing here was paid for by sponsors, etc. I do make a small amount if you click on an ad and buy something but that is it. You’re getting my real opinion on stuff.
Please share the link on Facebook, Forums, with colleagues, etc. Your support is much appreciated and if you have any feedback, please email us in**@*********ps.com. If you’d like to request a report or order a reprint, please click here for the corresponding page to open in new tab.