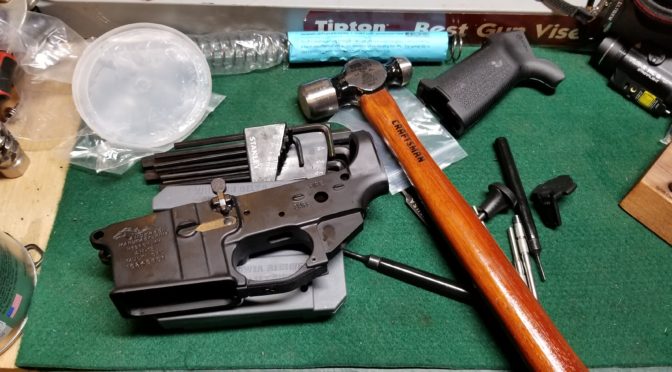
If you are new to building AR lowers, there is one step that is, in my opionion, the most risky in terms of making a mistake and scratching the finish if not even gouging the aluminum. That’s when you go to install the bolt catch. You must juggle the receiver, spring, detent, catch, punch and hammer all at the same time while being right against the nicely finished receiver!
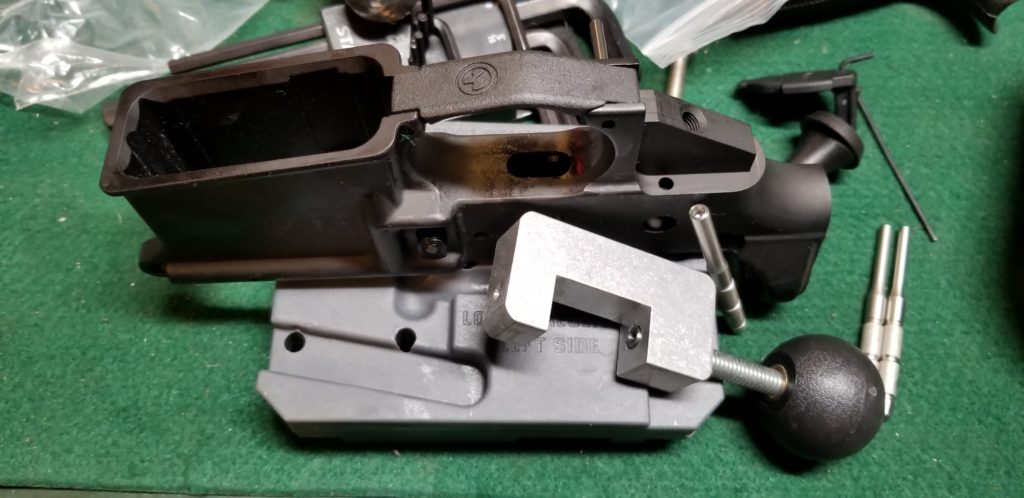
The two ears that hold the cross pin of the bolt catch are just above the magazine catch. In the small hole will sit the spring and the detent pin.
Historically, you had to get ready for battle and would tape your receiver to protect it from slipping punches or glancing blows by a hammer.
I would apply duct tape, Gorilla tape or something thick to protect the finish. Note, if you are starting out, taping is always a good idea no matter what.
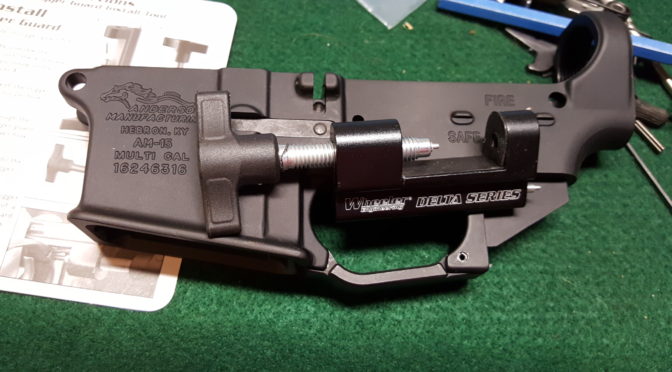
Installing the slide catch is way easier now with the right tools. I have really come to rely on three punches to get the job done. The first is a purpose specific punch set from Wheeler this is flat on one side and has a protective rubber coating.
The Wheeler set has two punches. The starter punch has a hollow end that the pin sits in. This allows you to focus on the hole and hitting the punch with the hammer. The other is a roll pin punch that you can use to align the catch at the start and also drive the pin the final distance.Here the pin is being started.See, I use the roll pin punch on the left to align the bolt catch and also to capture the detent pin and spring. Once that punch is in, you can let go! Whew. You can then focus on tapping the starter punch on and making sure everything is aligned.
Now plenty of guys can get their build done with the above. Because of my tremor, I like to drive the pin in the rest of the way by using a really long roll pin punch that safely clears the receiver. I have a Tekton gunsmith punch set and the 1/8″ roll pin punch works great for me.
This is the nice Tekton gunsmith punch set that I really like. This is me with the 1/8″ roll pin punch.
I hope this helps you out. This is what I do every time now. It’s also what I use if I need to remove and replace an existing catch.
In 2015, Larry Vickers had a great chance to visit the Central Armed Forces Museum in northern Moscow. While there, he had a chance to visit the museum’s archives and see an original Federov rifle, an early SKS and a preproduction AK-47 that was produced in 1946. He assembled this part of his visit along with a comparison of a German StG 44 and a Type I AK into a video.
The Federov
The Federov Avtomat was arguably the first assault rifle. It was designed in 1913 and produced at the Kovrov Arms Factory from 1913-1925. Roughly 3,200 of these forward thinking rifles were built. Personally, I think the rifle was very novel for its time including the use of the 6.5x50mm SR (Semi-Rimmed) Arisaka cartridge (What we call 6.5 Japanese today).
An overview of the Federov from the video.Larry steps shows the Federov to viewers and has a lot of great close ups of this rare rifle.
The SKS
The Samozaryadny Karabin sistemy Simonov (SKS) was designed in 1944 and went into production in 1945. Thus, it became known as the “SKS-45” in the USSR and was widely exported. In total, the Soviets produced about 2.7 million SKS carbines first at the Tula Arsenal (1949-1958) and also Izhevsk Arsenal (153 and 1954). The rifle was chambered for the 7.62×39 round that would later on be used the the AK-47.
Larry provides an overview of the SKS carbineHere, he is holding an early SKS model and gives a quick overview of it.
A Preproduction AK-47
Larry had a chance to review an actual pre-production AK from about 1946 that was used in the Army’s trials of the weapon prior to official adoption in 1947. This is what I especially wanted to see. You see, many people assume the AK-47 was one single assault rifle when, really, it evolved over time. They had the Type I, II, the III/AKM and so forth.
At any rate, Mikhail Kalashnikov and his design team worked on the AK-47 design from 1946-1948. From 1949 to present, it estimated at least 75 million AK-47s were built. Like the SKS, it uses the 7.62×39 cartridge.
Larry shows the Army Trial rifle and the viewer gets to see a number of angles of the rifle.
German StG-44 vs. Type I AK-47
Larry then goes on to argue that the StG-44 greatly influenced Kalashnikov and his design team. Folks, this is a hotly debated topic. As a point of Russian pride, they minimize any thoughts of influence. At this point, it’s really hard to say. If it were me, I’d look at a previous design and get ideas from it to save time, money and reduce the risk of mistakes.
Larry has a German StG-44 on the left and a Type I AK on the right.
The Video
So with no further to do, here’s Larry’s video:
Please note that all images above are extracted from the video and are the copyright of Vickers Tactical.
I was asked how I install AR trigger guards to minimize scratching up the receiver or even risking snapping an “ear” off. On one hand, you can use a solid backing block to support the ear and then use a roll pin punch to drive in the pin. That’s what I used to do but it’s a headache to be honest. As some of you may know, I have a tremor that makes fine motor stuff a headache so finding methods that are simpler really helps me get work done.
This is a Brownells Billet 7075 aluminum trigger guard (078-101-164) and it has a bulge to accomodate gloves. The set screw goes in the end with a blind hole. The roll pin goes through the end that is drilled all the way through.
Install the end of the triggerguard that uses the set screw. That’s the end with the blind hole – the roll pin goes in the end where a hole goes all the way through.
I lightly oil the pin to make things easy and tap it with a small hammer just to get it started.
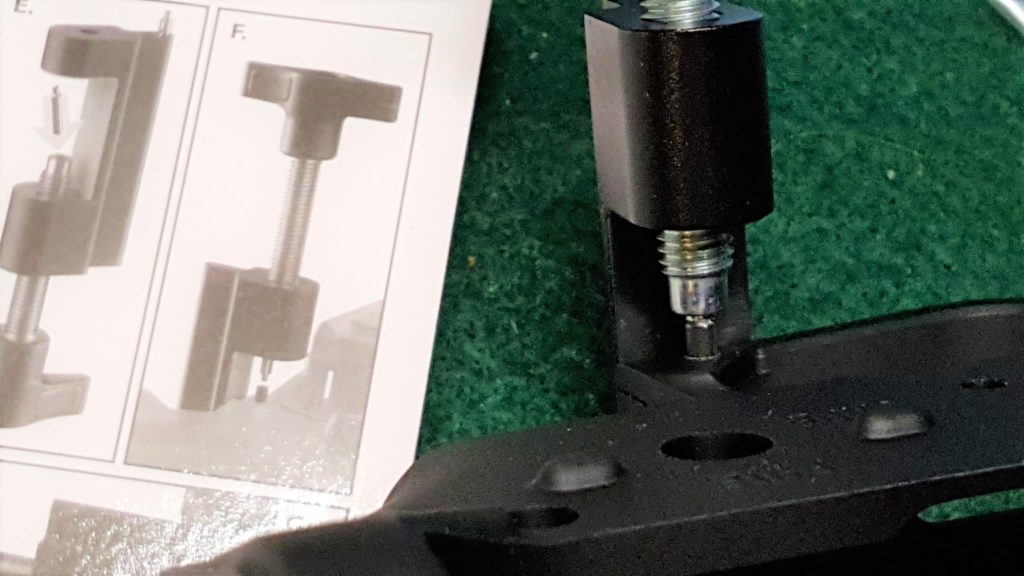
I then use the Wheeler tool with the shorter starter pin. The starter pin has a nipple that centers it on the roll pin.
Keep the parts aligned and turn the knob to drive the pin in.
Stop when you have inserted the pin – it’s that easy.
Note, Scott Igert of Modern Antique Firearms recommends you put a business card or something between the frame and your receiver to protect it from scratching.
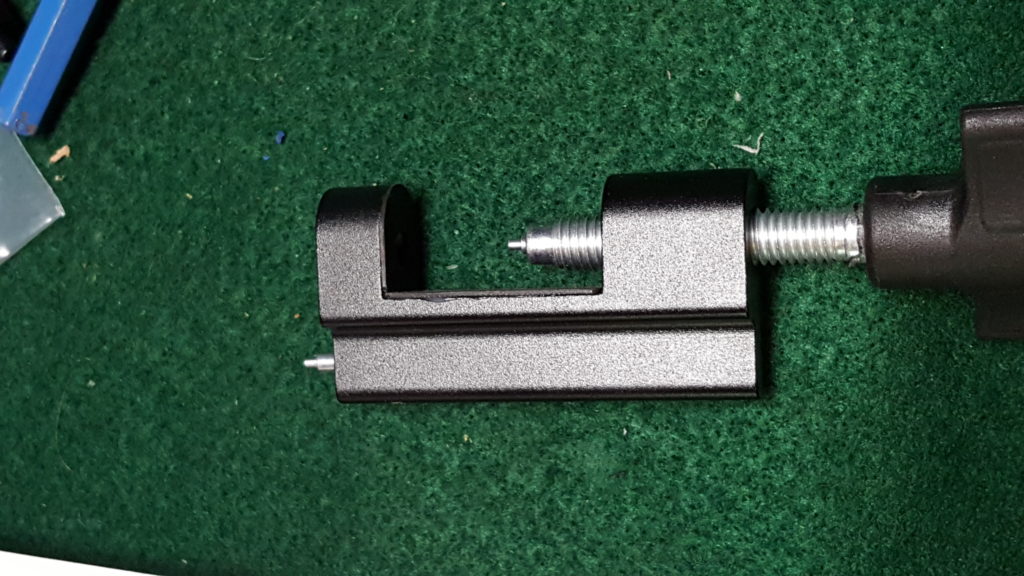
It has two tips – here you can see one installed and one stored in the frame of the tool. The short one is for installing and the long one is for pushing a roll pin out.Simply stop once the pin is flush.
Note, I actually have one from another maker also. I’m holding it in my hand. It does the same conceptually but is heavier made. I’ve built probably 4-6 ARs with the Wheeler unit and it seems to be holding up fine. The other is a Little Crow unit from Brownells for about $39.99 + S&H and its built like a tank but you do pay more for it.
I wish I had better news but Youtube cancelled the channel for the Kalashnikov Concern so the video is no longer available. I am leaving the post up so at least you can see the screen shots.
I am really enjoying these videos that Kalashnikov Concern in Russia is producing. In this video, Vladimir Onokoy, a technical consultant with the Kalashnikov and experienced AK armorer, discusses the Hungarian AK evolution with Pavel Pticin, founder of the AK-info.ru web portal, who has extensive AK knowledge.
I’ve always liked Hungarian AKs and found them to be high quality. Over the years I’ve built several AMD-65s and an AMMS. The kits all had original barrels and I was impressed by the fit and finish of the parts plus the rifles just ran and ran with no problems. They are definitely unique AK variants and I was actually really interested to watch this video and learned quite a bit.
Vladimir actually showed photos of a modified AK-63D that he encountered in Somalia. He mentioned how very impressed he was that it was still running with very little maintenance for close to 20 years.
This is one of Vladimir’s photos of the Somalian AK. Pavel noted it was likely an AK-63D with a cut down barrel, modified gas block and an AMD-65 muzzle break. One can’t help but wonder who did the work and why.
The video is just over 12 minutes and they discuss the early AK-55 rifle that is very similar to the Type 2 AK-47 with a milled receiver. They then move to a discussion of the AKM-63 (I’ve always heard it referred to as the AMD-63 in the US) with its distinctive handguard and grips plus other design differences.
As you may know, I own Ronin’s Grips and we make replica AMD grips. In one of the funniest gun video lines ever, Vladimir noted that the designer who decided to put an identical pistol grip at the front but simply reverse it deserved a medal! The Hungarians wanted to add it to improve accuracy and control under full auto fire.
Both Vladimir and Pavel noted that the front grip made reloading problematic and Vladimir pointed out that he had encountered rifles with the front grip cut down to reduce interference with loading magazines.
I finally got the best explanation ever as to why they used that bluish colored plastic. When the Hungarians decided to experiment with and move to polymer stocks, they lacked the ability to manufacture the base plastic. Because they were a Socialist country aligned with the USSR, the only plastic they could find that they could buy and import was a bluish plastic intended for dish making! You know what, that makes sense to me and what I will explain going forward.
The blue color is because the only plastic they could buy abroad was intended for dish making!
Lastly, they brought up some great examples of unique features you will see in the AKM/AMD rifles:
Distinctive pistol grip design
Metal lower handguard with no gas tube cover
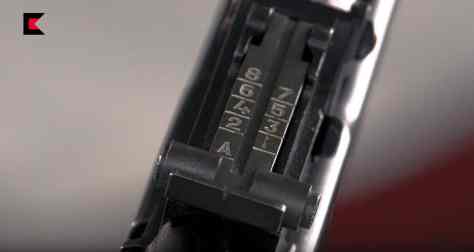
The selector notches are labeled with an infinity diagram for full auto and a “1” for semi-auto.
The rear sight leaf has an “A” on it
The Hungarians used unique selector markings – the infinity loop is for full auto and the “1” is for semi-auto.The rear sight leaf has an “A” on it.
This is where the video would have been. Too bad Youtube had to cancel the channel.
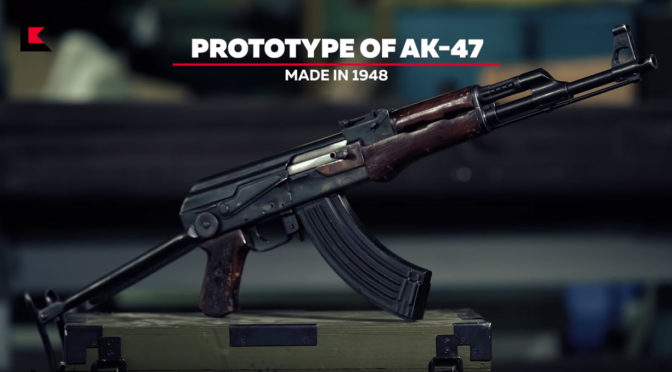
Kalashnikov Concern released an interesting short video of this prototype 7.62x39mm AK-47 that they say dates to around 1948. There are some interesting design features to point out:
A sheet metal receiver with no reinforcing center rivet/spacer visible.
The muzzle brake is integral with the barrel
The fire control group is permanently mounted
The cocking handle is a hollow tube
Source: Photo from the video Source: Photo from the video
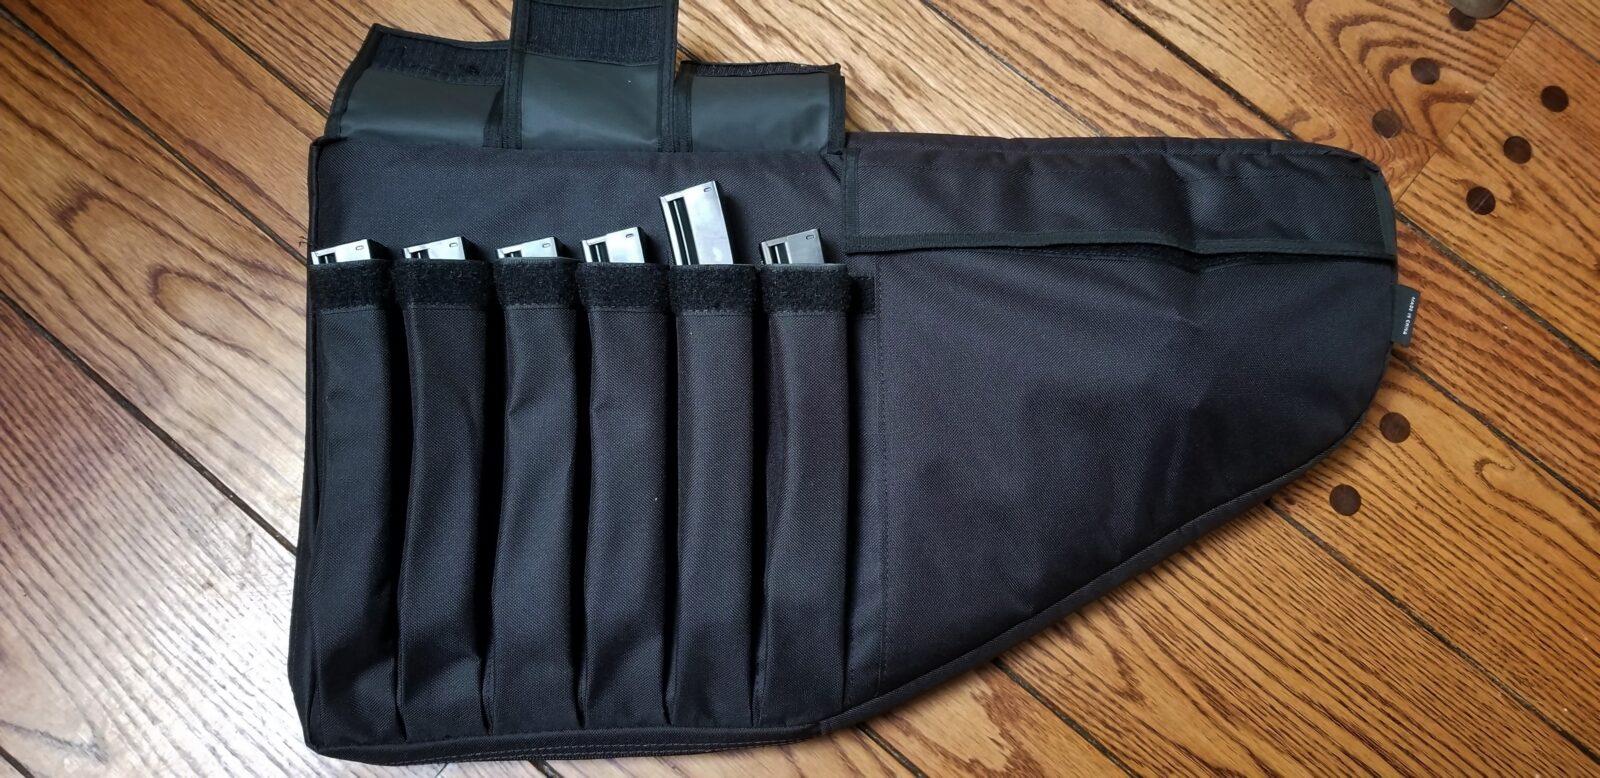
This is the front of the bag – six magazine pouches, one large flat pouch to the front and the rear mounted carry handle is visible.
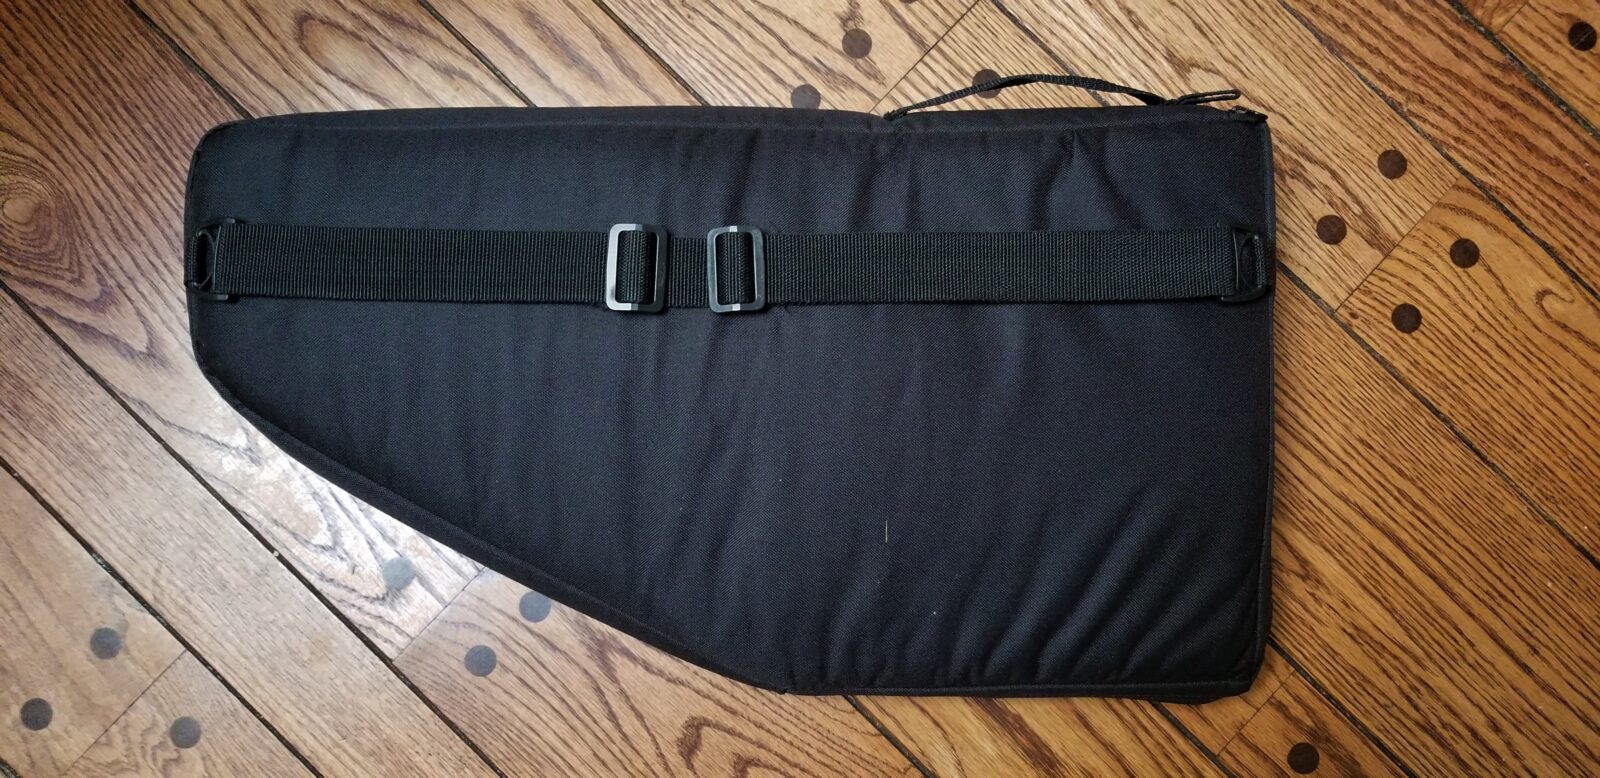
This is the back – you can see the shoulder strap and the carry handle at the top.
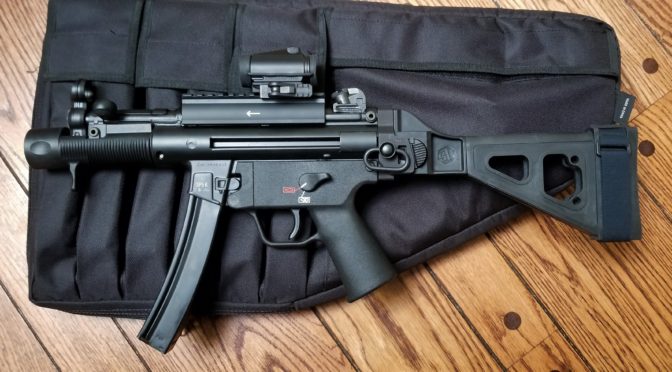
The case has a zipper at the rear of the bag and the SP5K simply slides in. This is one thing I dislike – it does not open and lie flat. Some folks may find this a plus but I prefer bags that open.
The exterior dimensions are 24.5x14x2 and I’d knock off about half and inch all the way around for the interior dimensions. It does have some padding but not a ton.
Another dislike I have is the way it holds the MP5 magazines. They slide down in the little pouches and I can’t pull them out. I need to push at the bottom to get them to slide up.
I pushed the magazines up so you can see them in this photo. Notice where the bulges indicating the actual lower part of the magazine in each pouch. In practice, the mags slide all the way down and are hard to get out. You have to press from the bottom.
On the topic of pouches, the front pouch just forward of the magazines is very tight. The bulge you see sticking out is a Mag Lula loader. While it can hold the loader, it’s really better suited for thinner items.
Okay, rounding out my complaints, the carry handle at the rear makes for an odd front-loaded unbalanced load. I don’t know why they didn’t center it.
Summary
It’s a decent entry bag and you can get it on Amazon [click here to see it]. Sure there are things I don’t like about it but does the job. I will be investigating other cases but this case is a solid performer at the price.
I’m a creature of habit. Vortex products are solid and have a no-nonsense – “if it breaks we will fix it” – warranty. Vortex does not sponsor me so I have no reason to stick with them other than they deliver.
I knew right way this was going to be a close-in weapon with distances being typically 25 yards or less but maybe stretching out to 50 yards. It is hard to beat a red dot at those distances for rapid target acquisition. That narrowed my options down quite a bit.
A second big deal for me is to have a wide field of view but also a relatively small dot size. This combination rules out a lot of the micro dots that are out there as they are both tiny and have a 4 MOA dot size – that means the red dot will cover 4″ and 100 yards or about 2″ at 50. The micro dots are okay and I rather like them on pistols but I wanted something a tad finer on this more controllable and accurate weapon.
All paths lead me to the current Vortex Optics Crossfire red dot. It has a 2 MOA dot size, is only 2.5″ long and only weighs 5.2oz. It also has a battery life of 7,000 hours at an output setting of 5. Note the optic has 11 levels so when you have it turned up for bright light settings, you will drain the battery faster – always keep a spare battery in the case. I’ve had a couple of range sessions get messed up to do dead/dying batteries and no spares.
American Defense AD-T1-L STD Mount
The only shortcoming, if I can even call it that, with the Crossfire is its base. Vortex did their homework and include both a short base and base that can lower 1/3 co-witness with AR iron sights. The problem is that they are screwed onto the picatinny rail. If you need to get the optic off fast, that’s not going to happen as you will need a torx driver.
I do have good news – the Crossfire has the same base geometry as the Aimpoint T-1/H-1 optics. That’s the key right there – there are a lot of mounting options out there and after some digging, I have been using mounts from American Defense for over a year and they are rock solid.
By the way, make sure you get the right mount – American Defense makes there base for a variety of optics. I am using the AD-T1-L STD.
Assembling the Optic on the Mount
The good news is that this is really easy. Undo the four screws on the bottom of the Crossfire to remove the Vortex mount. Put the American Defense mount underneath it, add a bit of Blue Loc-Tite thread locker and reinstall the screws.
Use the small Torx wrench that Vortex supplies with the Crossfire to remove the four screws so you can the swap the bases. Here you can see the bottom of the Crossfire and how the American Defense mount will align.You can see the Blue Loc-Tite and the installed screws. I like to put the Loc-Tite in the holes and then install the screws. I wiped the residue away with a paper towel after I took this photo.
The Result
The result turned out really nice. The optic is just the right height that it is relatively close to the bore and I can get a good consistent cheek weld.
In my last post, I went over the options I considered for the brace on my HK SP5K. In this post, I’ll review the three handguards I looked at – the original forearm, a US-made polymer unit with an integral hand stop and a low-profile aluminum unit.
I really have two places I shop for HK and related parts – HKparts.net and RobertRTG. So I went and checked out what they had plus I did google searches on “SP5K photos” and “MP5K photos” to see what others were using. I’m a visual guy and can scan a ton of photos very fast and then click to read the articles.
Removing the handguard is pretty much like all other HKs – pop the pin and pull down. You can see just how short that barrel is due to HK having to comply with German export laws for the pistol to be deemed “sporting purpose.” This also means you need to carefully think how to keep your fingers, notably your thumb, out of the way. You could argue training and holding the mag well but… there is a risk no matter what.
After researching for a bit, I got it down to the following three options that I could afford to try out:
Option 1: The Original Forearm
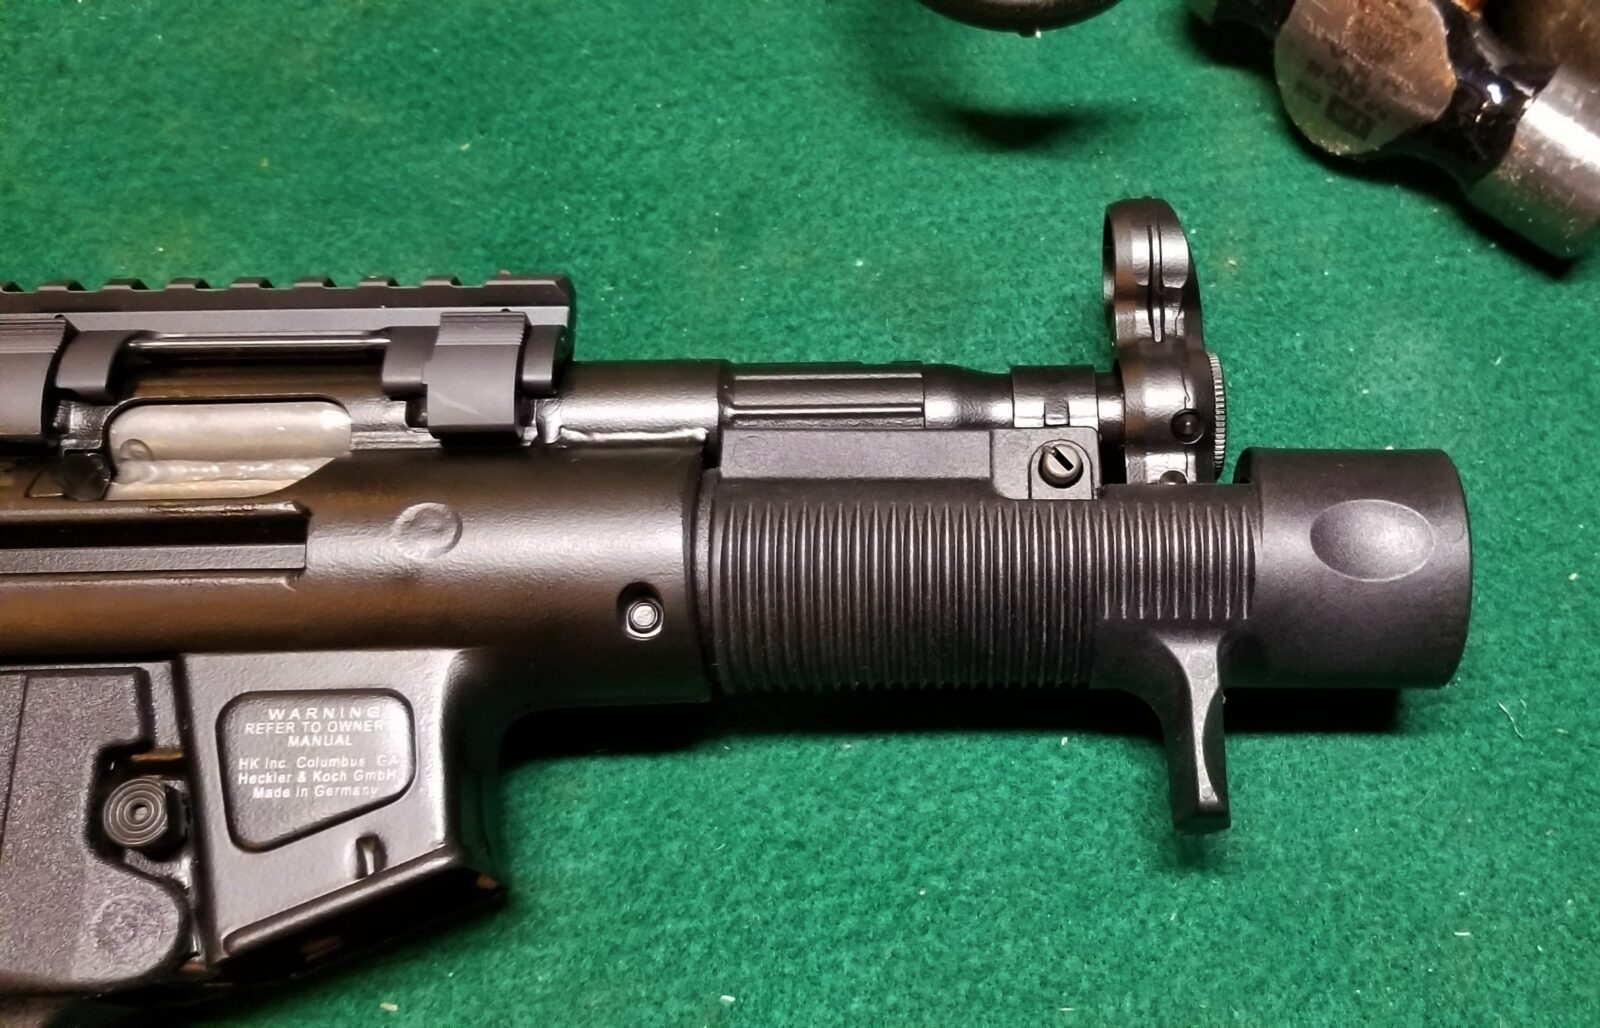
The unit that comes with the SP5K has two things going for it – the hand stop and the muzzle guard. The little indentations you see on the sides are actually thumb rests. From a safety perspective, this seemed like the best but I wasn’t sure about how the muzzle protector would hold up over time.
Note the thumb rest of the muzzle guard area of the original SP5K handguard. The hand stop is well forward giving you plenty of grip options also.See, the actual end of the muzzle is located way down in the guard. I can’t help but wonder how the polymer will hold up over time. I’m betting HK thought about that is why they made the guard so much wider than the muzzle to allow most of the blast cone to pass by without contacting the polymer. I haven’t heard of folks having problems so HK must have designed it correctly.
Option 2: A US-made Polymer Handguard Sold by HKParts.net
The second option I decided to try was a US made “Reverse stretch forearm with hand stop” that was made for HKparts.net. It was very well, fit my SP5K great and had great room for my hand but the problem was my thumb. It wanted to go in front of the muzzle.
To be clear, it is an excellent handguard. I blame the German politicians for the abrupt barrel. If I had a muzzle device out front, this would have made an excellent forearm.
Option 3: HKParts.net’s Own Low-Profile M-Lok Unit
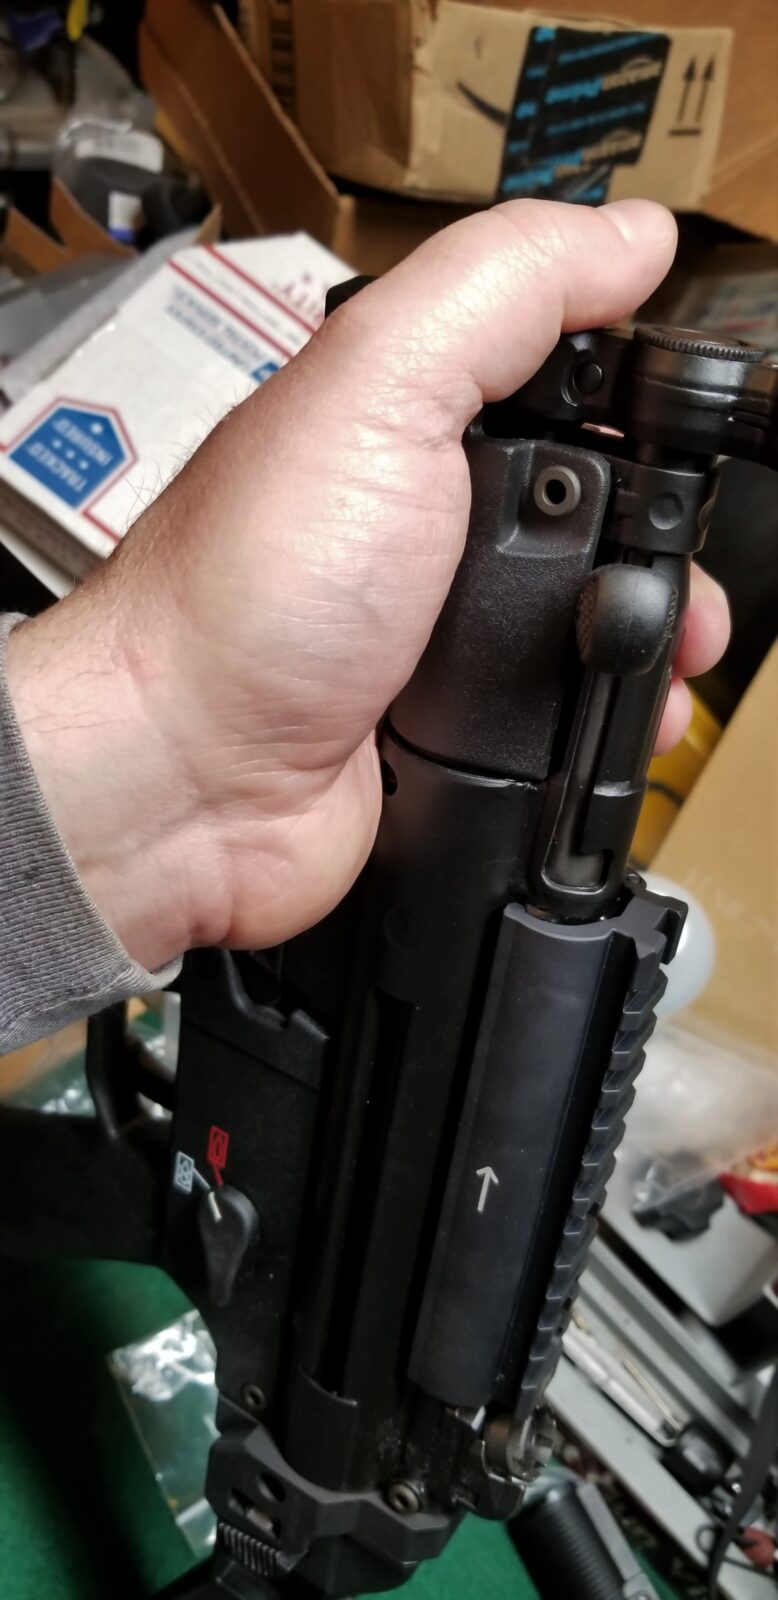
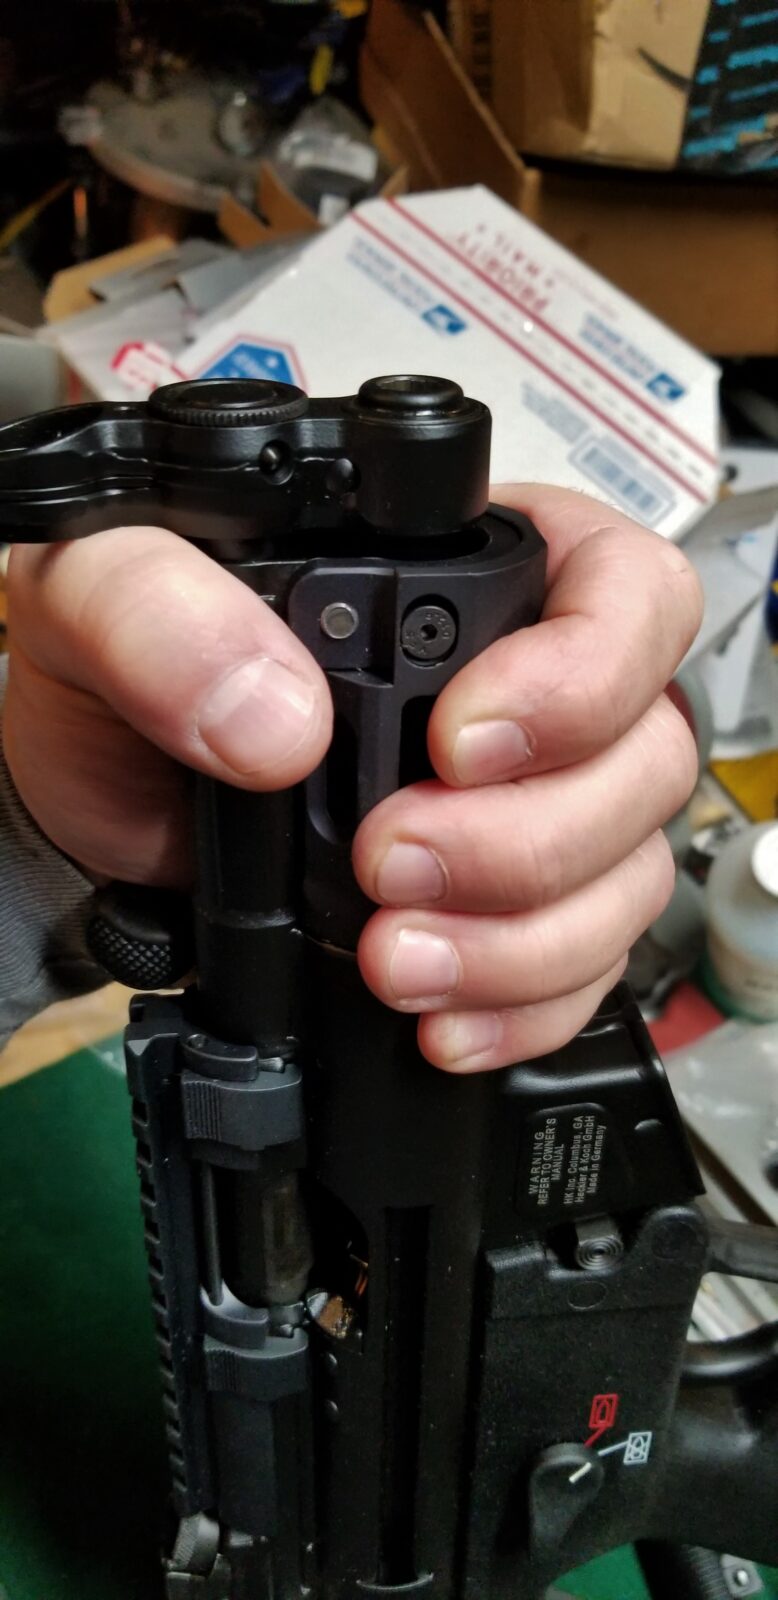
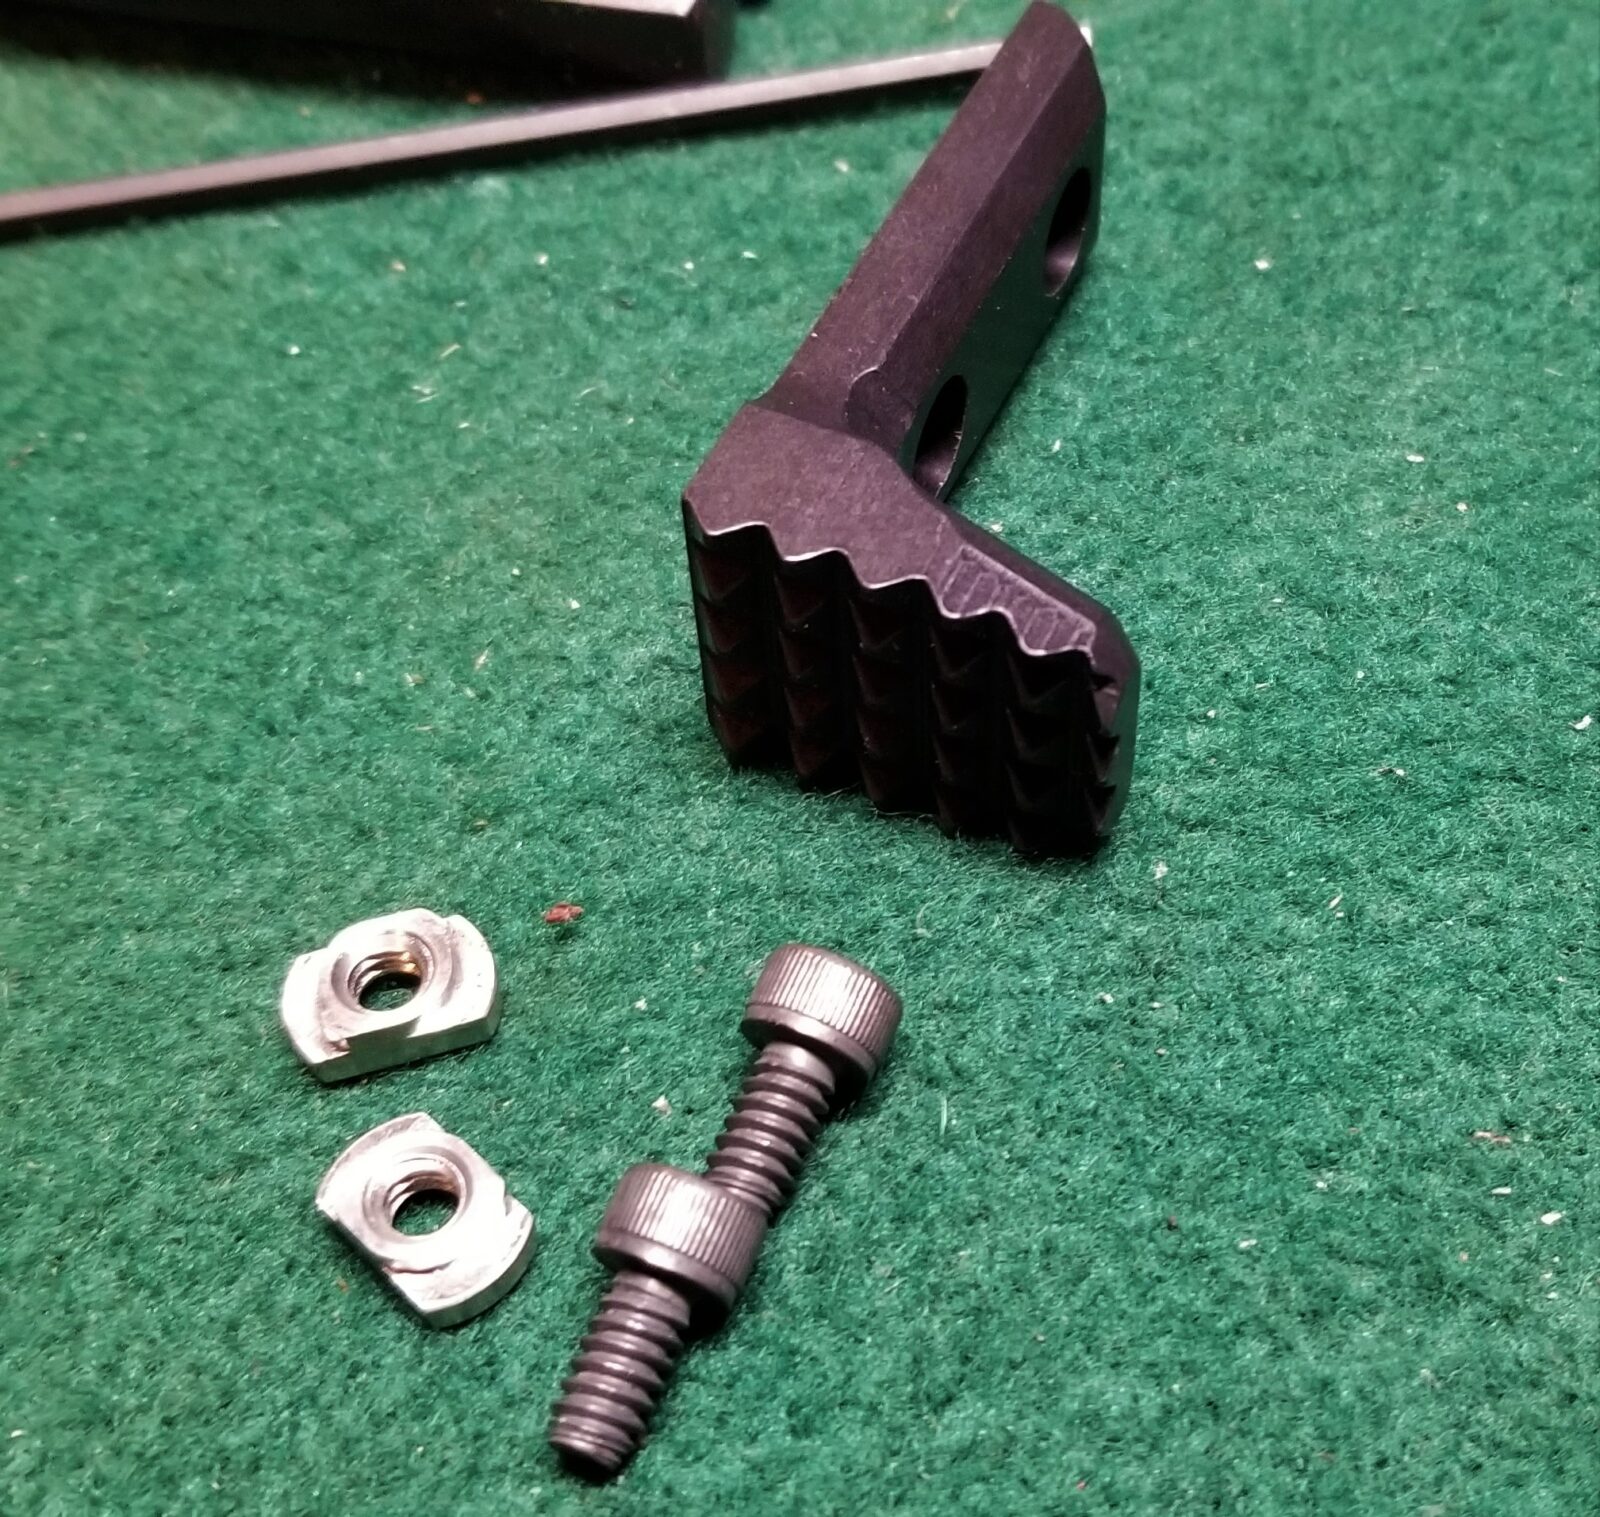
I removed all of the screws to install the unit just in case some wiggling was needed. I think it could have fit without my doing this but I was trying to save the finish.I knew I was in trouble. It was going to be way too short and the Ergo hand stop was going to be pushed back into a slot and not going to be able to protrude without some machining.The Ergo hand stop / barricade stop was well made. No complaints at all with that part. It installed just like any M-LOK component does.Here you can see that the Ergo’s position is constrained by the M-LOK design.Houston, we have a problem. I wear XL-sized gloves found the resulting set up way too awkward. I thought about drilling and tapping the handguard to move the Ergo forward but then I would still have my thumb flopping around.
Bottom line, this just was not going to work as much as I wanted it to. Blasted politicians.
So What Did I Do?
After trying all three out, I decided to actually stay with the original forearm. Some day in the future, I will spend the money to have a B&T barrel installed with a tri-lug adapter. I really like the B&T brake that I run on my POF-5 and will then decide on which of the handguards I want to use. So, the brace and handguard were both selected, in the next blog post, I’ll discuss the optic I went with and why.
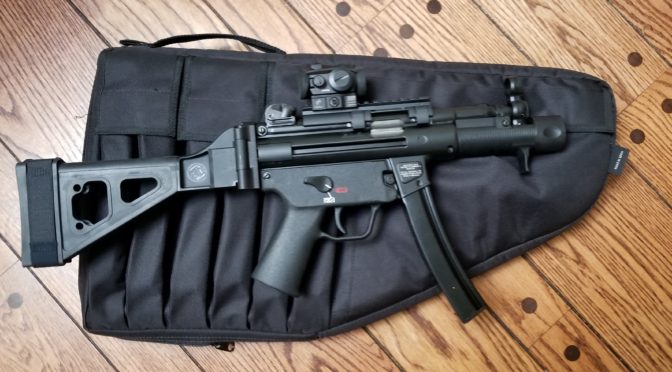
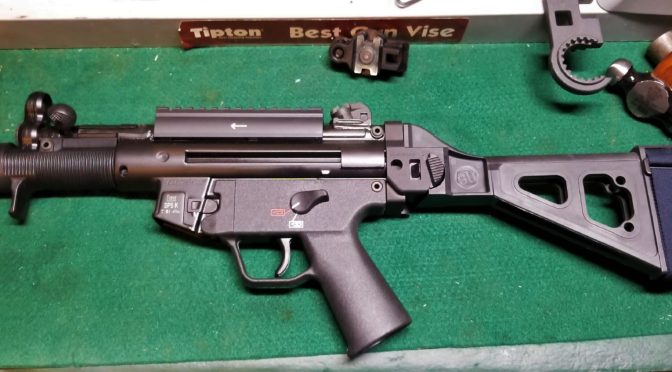
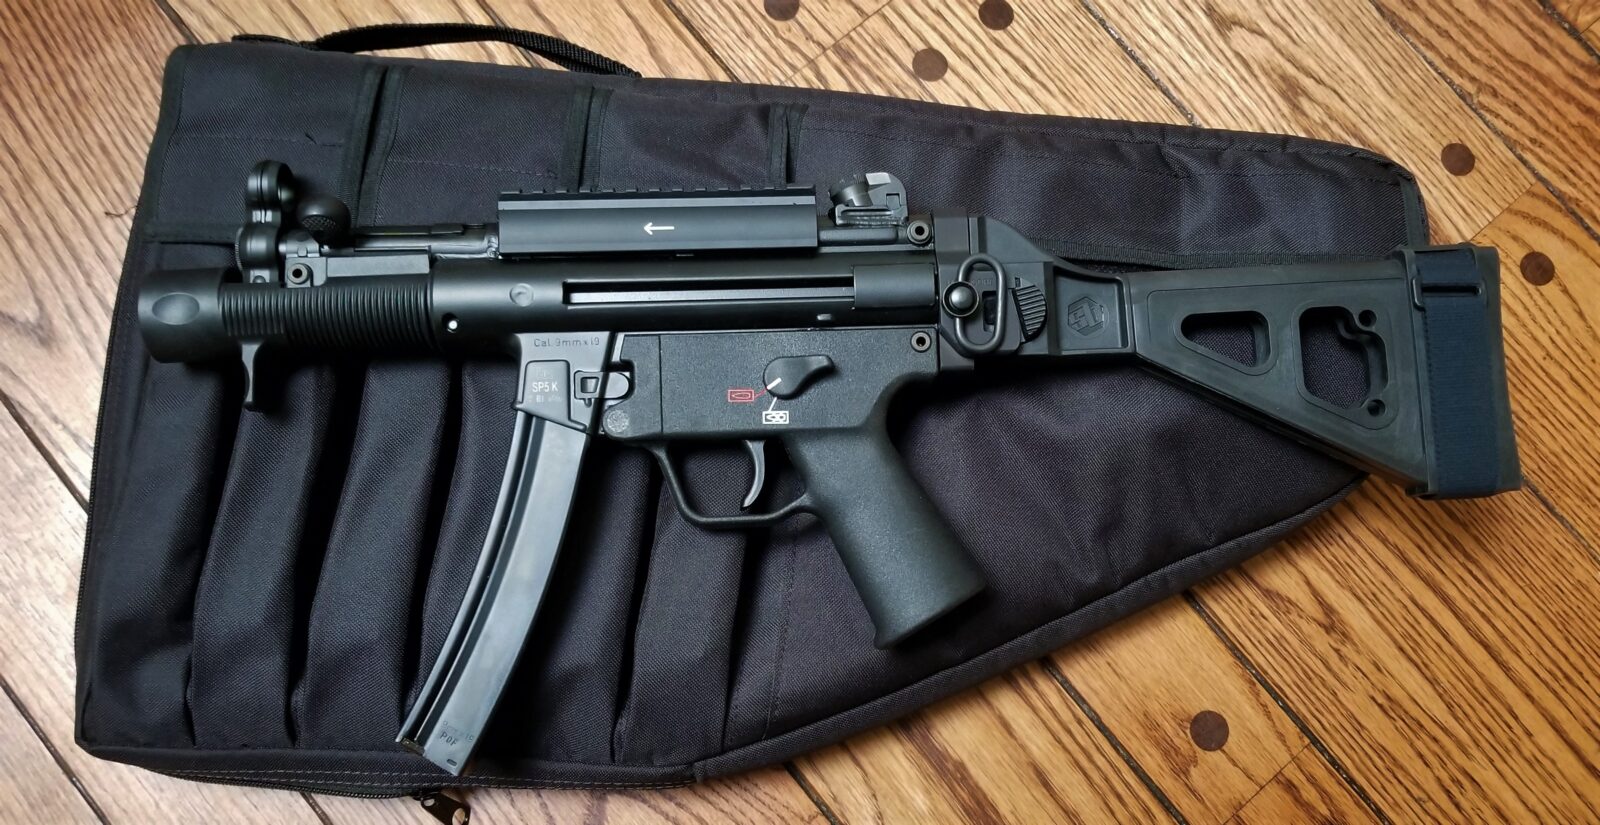
Here she is for the moment. Note I added a QD Swivel to the mounting point on the brace.