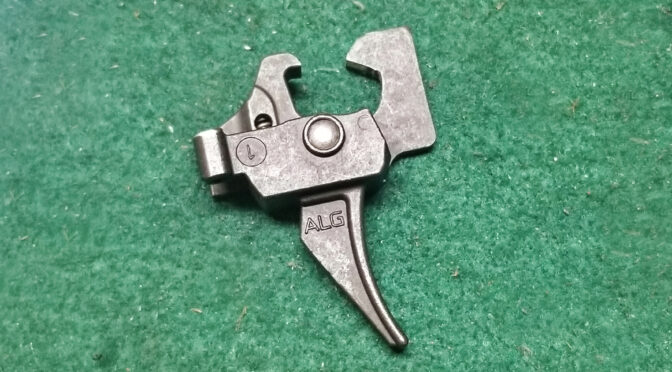
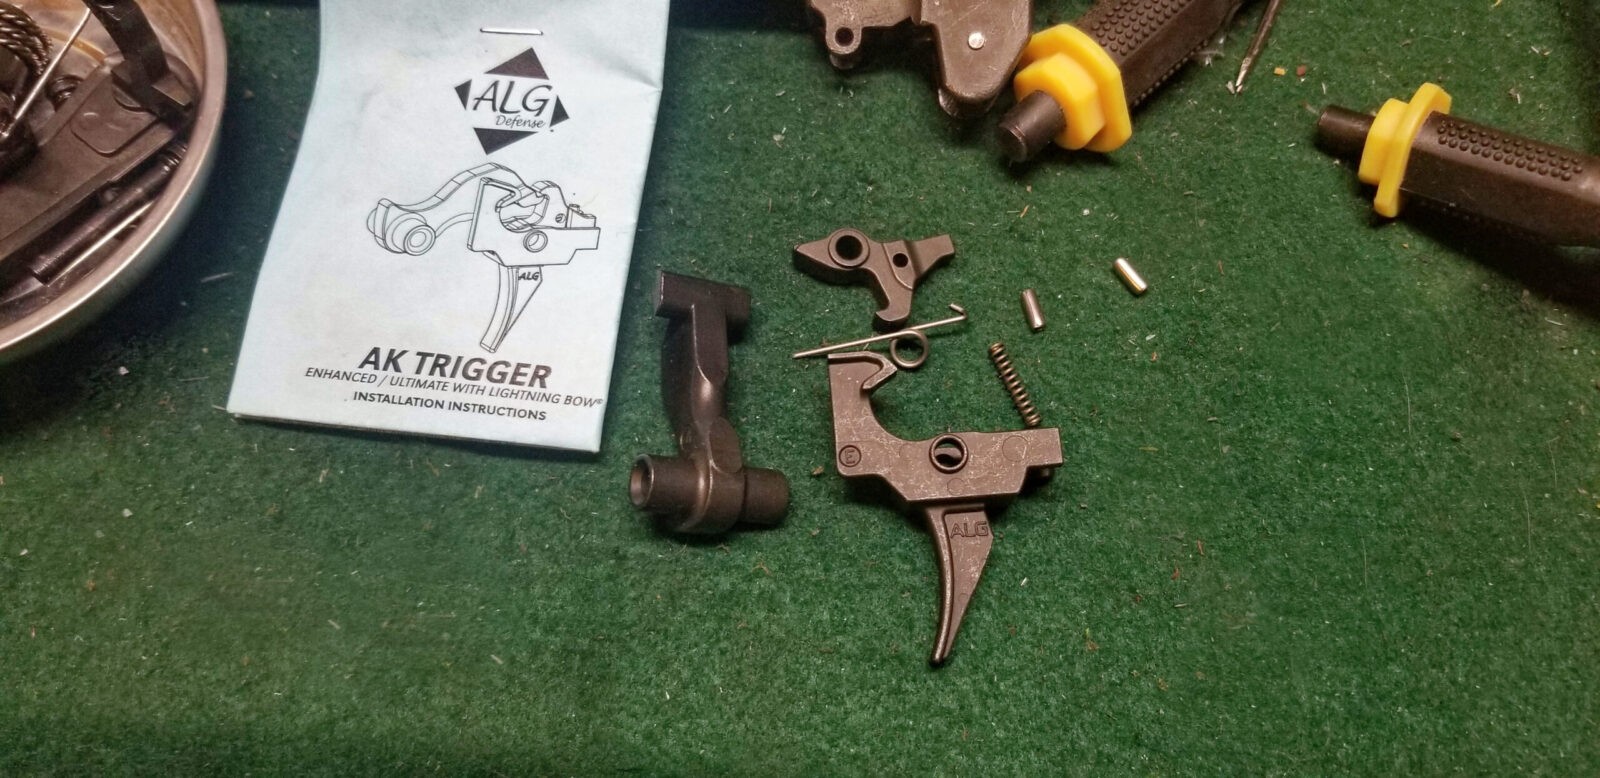
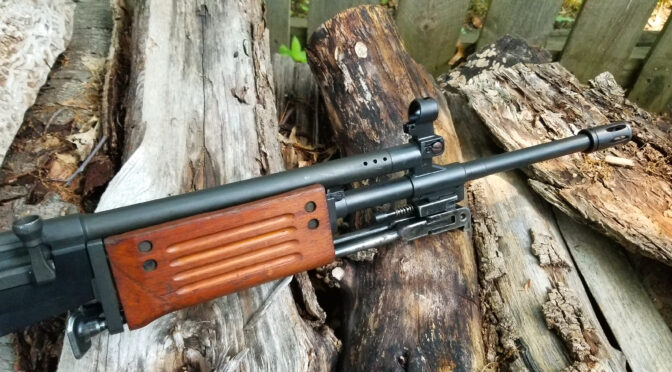
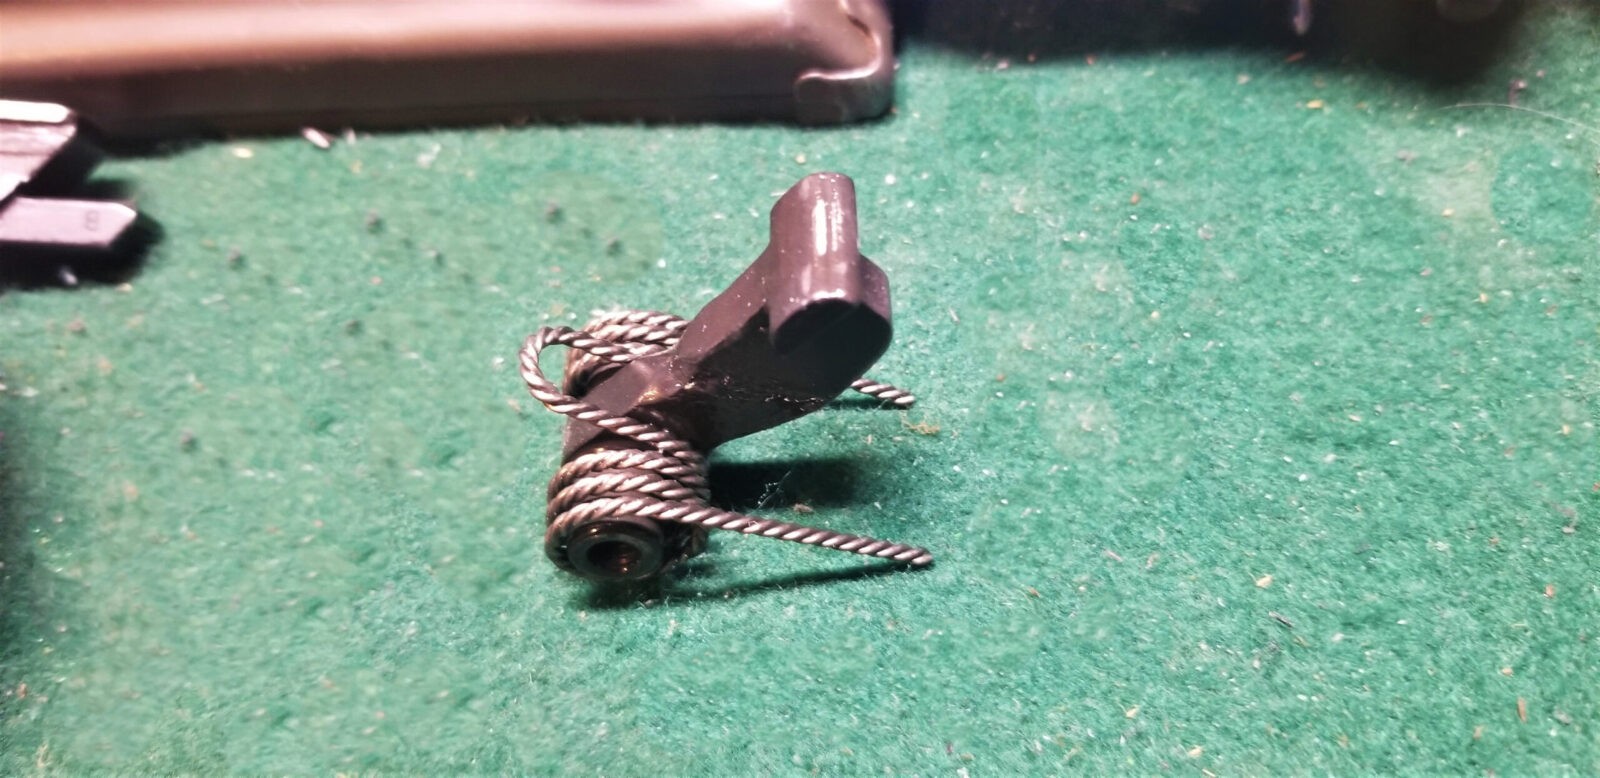
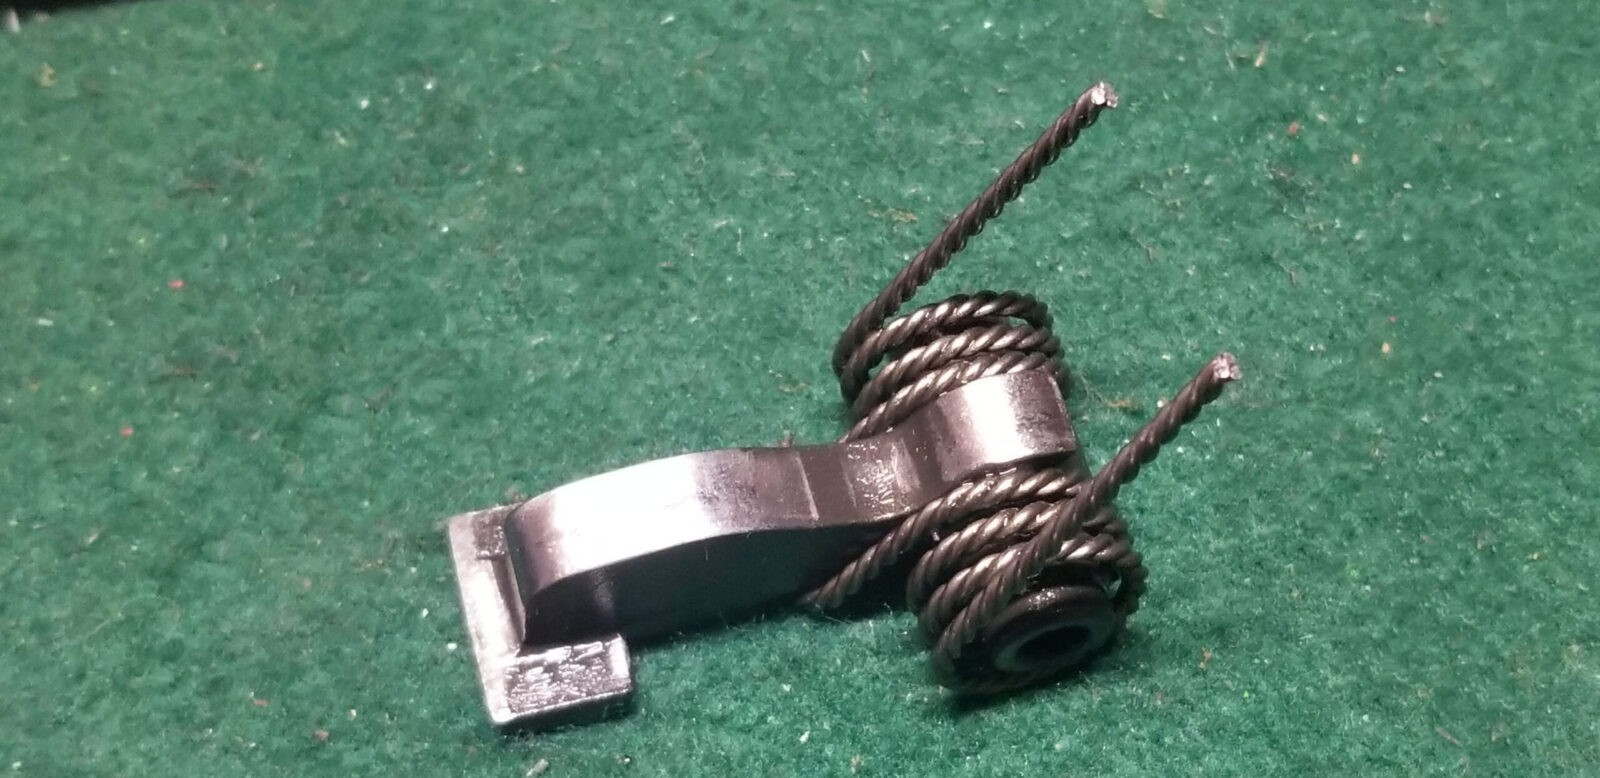
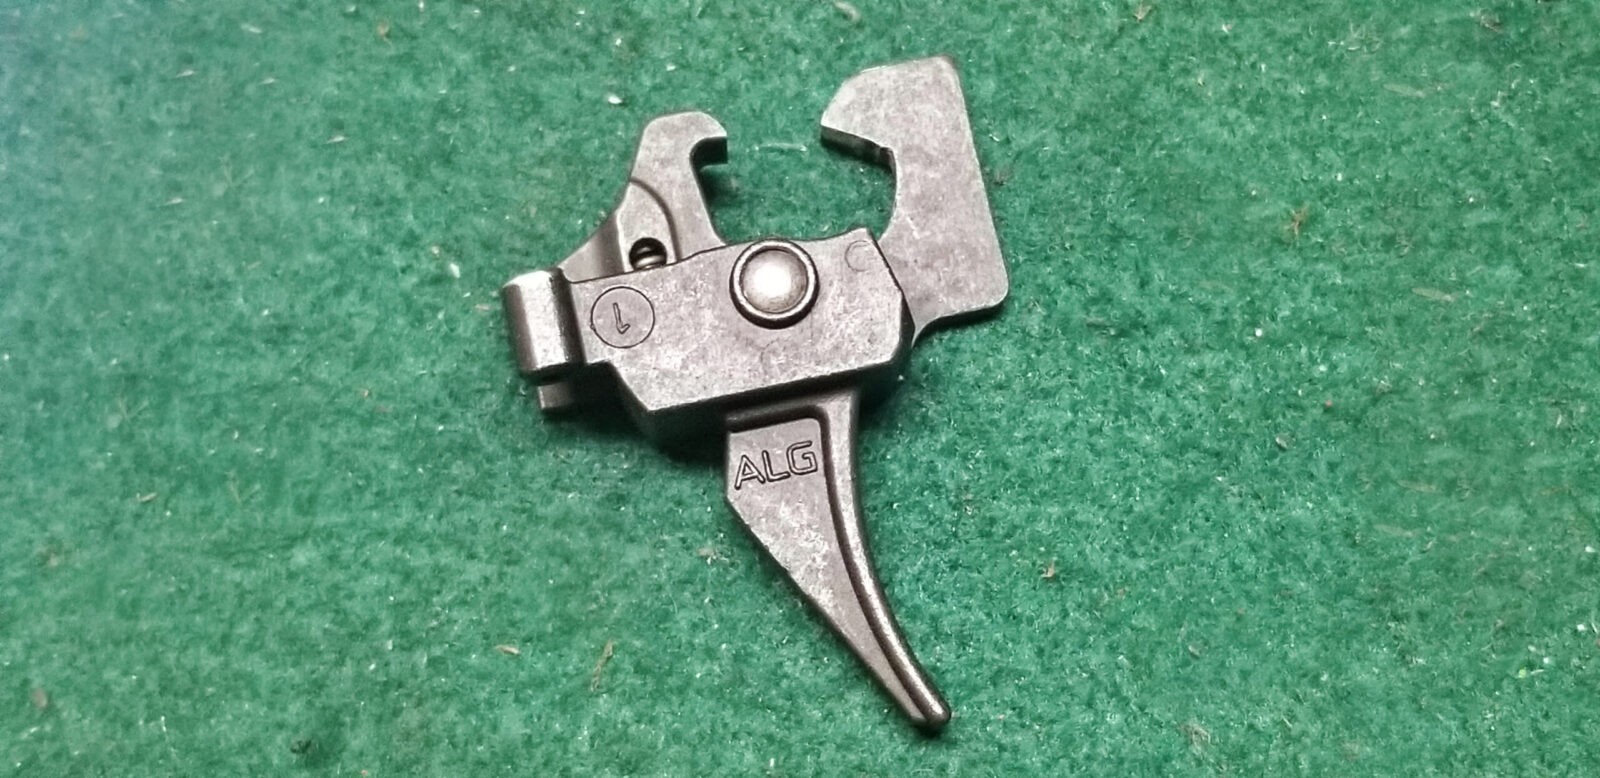
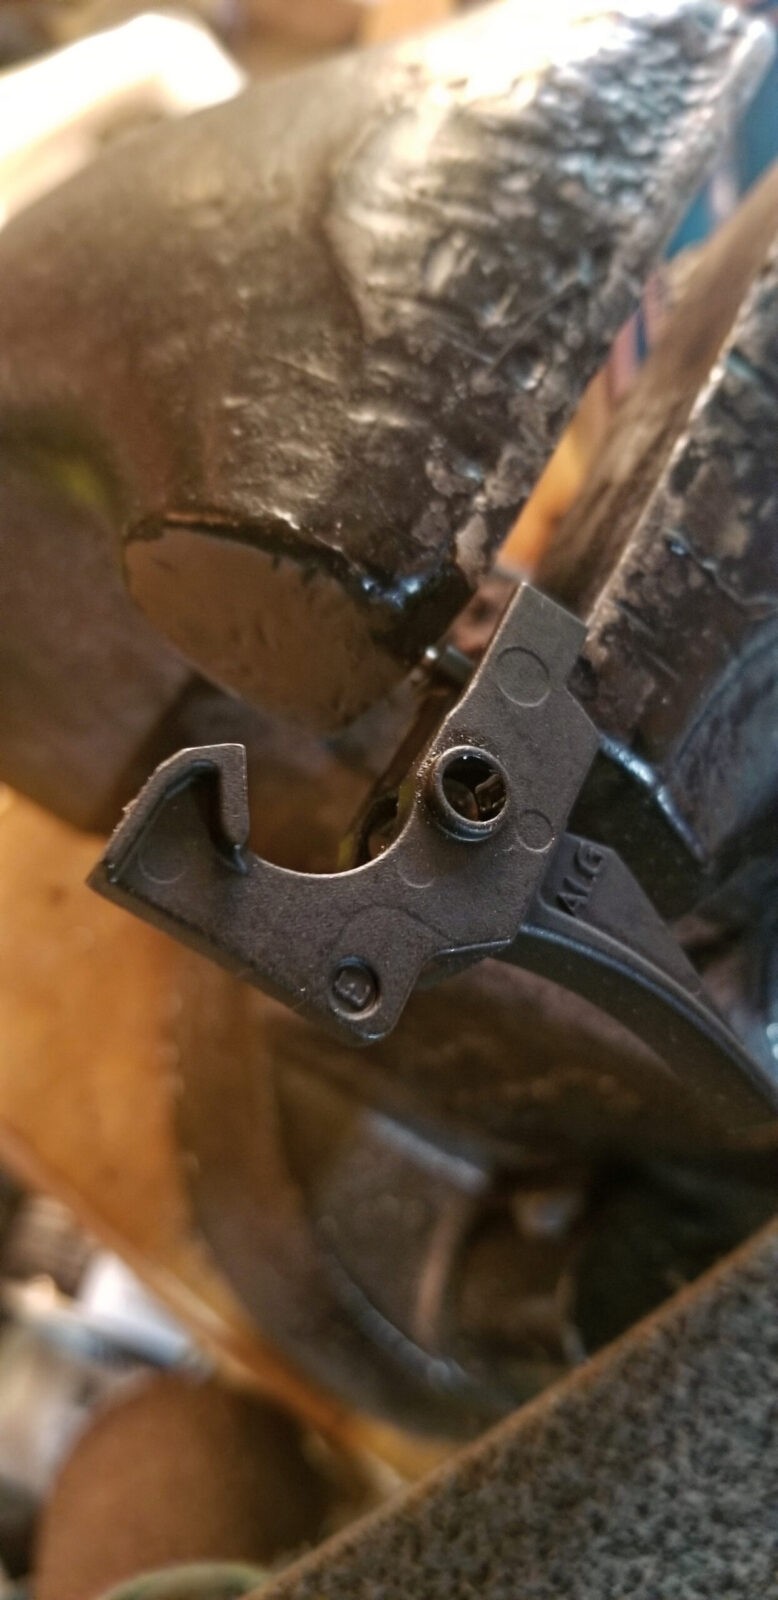
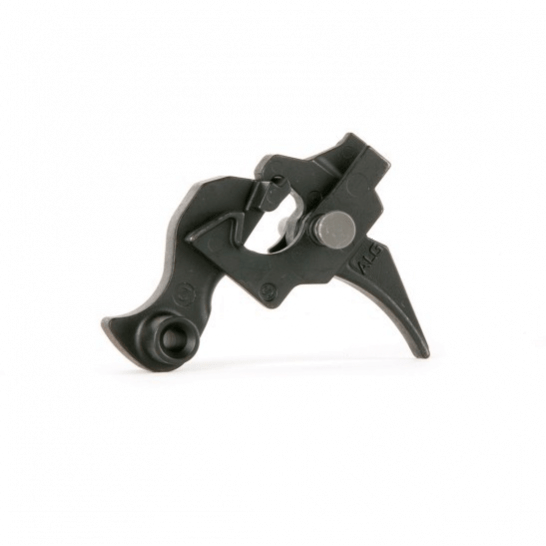
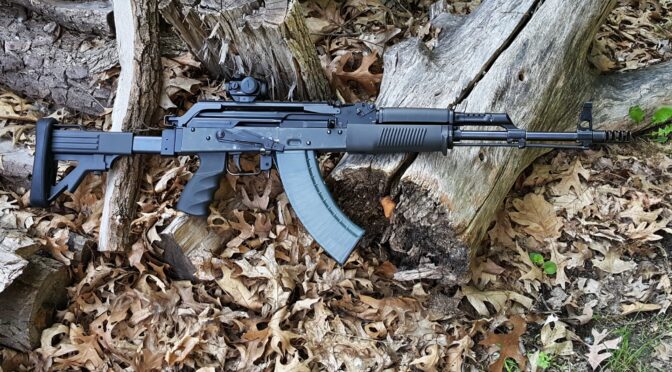
I wrote about this recently that my go-to fire control groups, meaning the trigger, disconnector and hammer, are now the ALG Enhanced Triggers – model AKT-EL. There are two challenges that interested buyers have – #1 they can’t even find them in stock at most websites and #2 even if they do, they are expensive. Let me tell you a secret.
Palmetto State Armory has made a big push into AK-series rifles and pistols over the past few years and some of their models have a unique layout inside that requires a slight change to the traditional AK trigger design. They talked to ALG, a sister company owned by the wife of Bill Geiselle of Geiselle trigger fame – and they produced a bunch of the AKT-EL triggers for PSA with the slight modification. Guess what? Any AK can use them.
For a couple of years now, I have been using AKT-EL in regular AK builds and even my IMI Galils that needed their fire control groups swapped out for 922r reasons.
So this post is short and sweet – if you are looking for a great American made AK trigger, then get an ALG AKT-EL and if you want one that is in stock at a great price, go to PSA [click here].
Note, I have to buy all of my parts – nothing here was paid for by sponsors, etc. I do make a small amount if you click on an ad and buy something but that is it. You’re getting my real opinion on stuff.
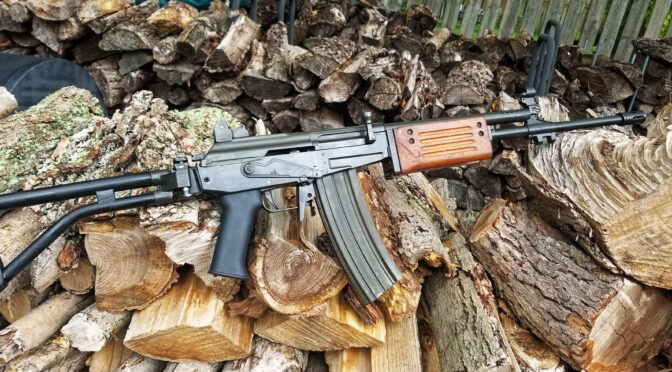
I have written a number of posts now about my purchase of a James River Armory Gallant, which is a Galil ARM. During function testing, I noticed that the surplus recoil spring that JRA used was on the weak side. I would pull the bolt carrier back just a bit and the spring couldn’t push it all the way closed.
Other ways you may find out your spring is weak is if it is ejecting brass a mile away, the recoil feels different or the back of the carrier is showing signs of hitting the rear of the receiver. I always function test new rifles or kit builds that I have done and would recommend you do the same.
What to do?
The fix is real simple – replace the old surplus spring with a new one. Now there is some confusion about the recoil spring because the Galil AR, ARM and SAR rifles are chambered in 5.56NATO. They do, in fact, use a standard AKM recoil spring even though those rifles are chambered for 7.62×39. This means you have a ton of options – surplus, new old stock (meaning old but unused usually), plus new springs from ALG, Wolff, etc. In my case, I had spare ALG recoil springs on-hand used one
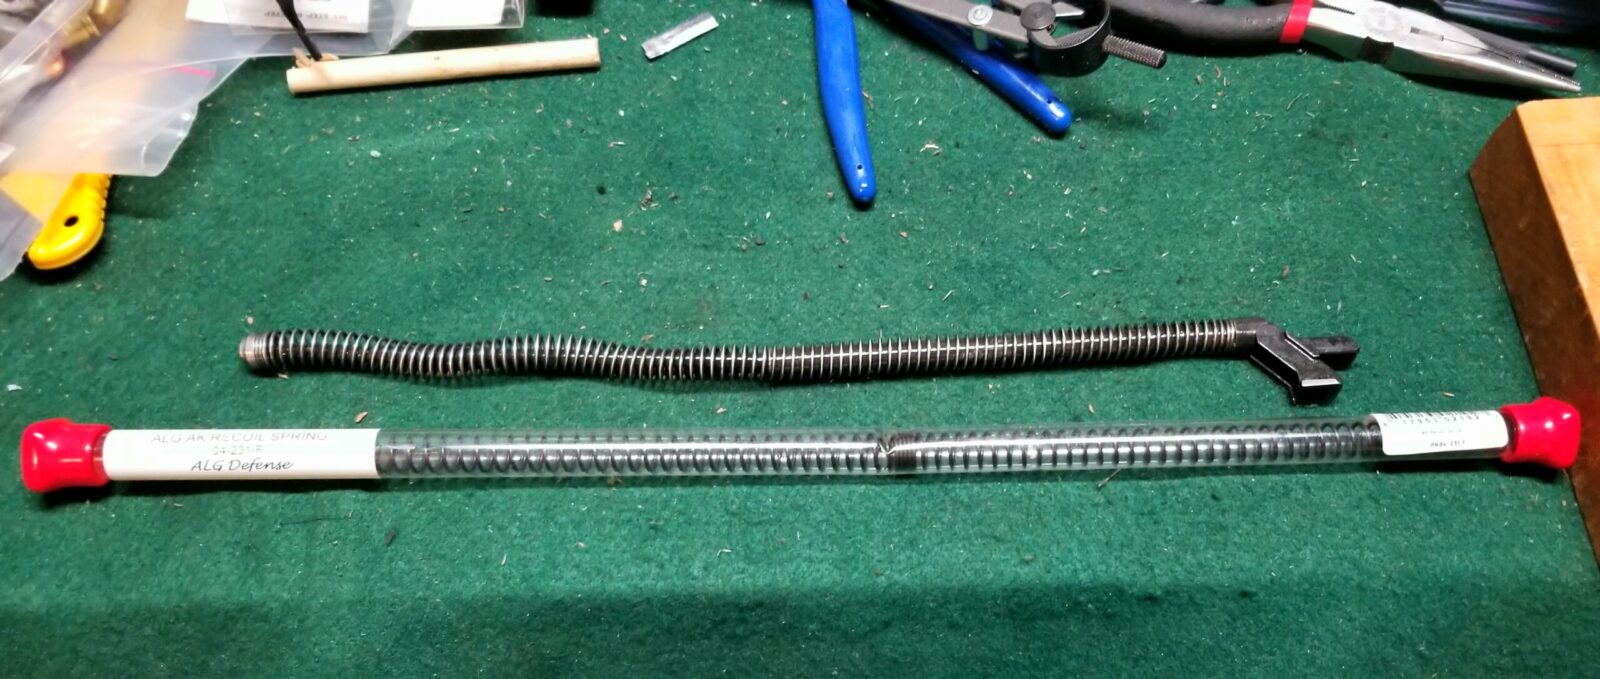
The Galil recoil assembly is above and the brand new ALG spring is below, still in it’s packaging.
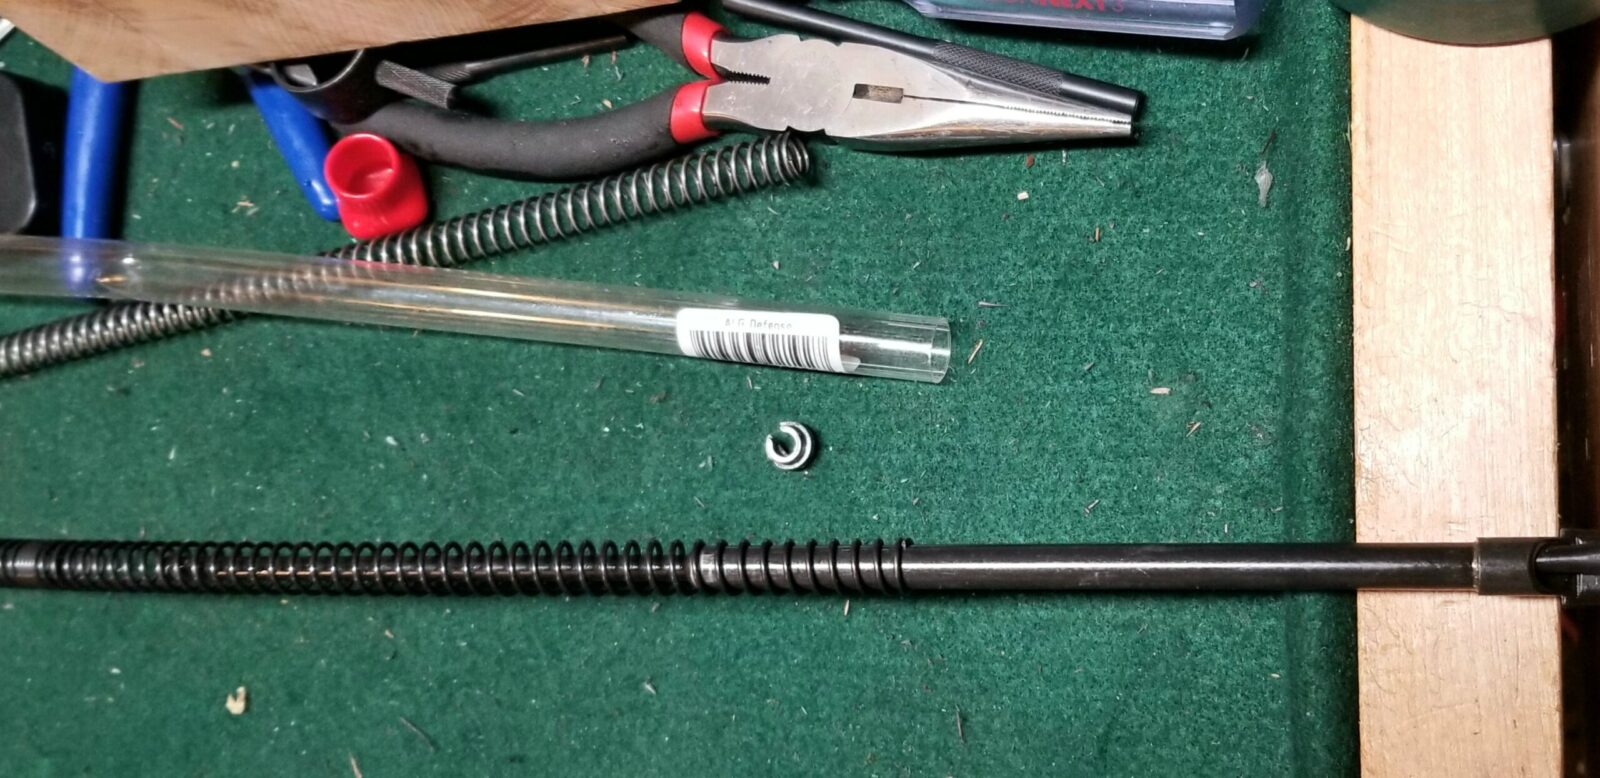
The recoil spring assembly may look challenging to take apart but it is actually very simple. The rod is two pieces, the spring and then the retaining end cap. If you remove the spring pressure from the end cap, it slides right off the rod and everything comes apart. NOTE – the spring is under tension so keep everything under control or you will be chasing parts and you do not want to lose that little retaining end cap.
I usually hold the rear of the assembly in a vise, use one hand to compress the spring and then the other to remove the retainer. You can the release the tension in the spring in a controller manner. If you don’t use a vise, you’ll wish you had three hands. Note, some guys will use small vise grip pliers with rubber tube or electrical tape on the jaws to clamp down on the rod with the spring slightly pushed back. They then remove the retainer and control the release of the spring as they remove the vise grips. Whatever works for you is fine. I go with the vise route and not the pliers because I don’t want to risk deforming/marring the surface of the rod.
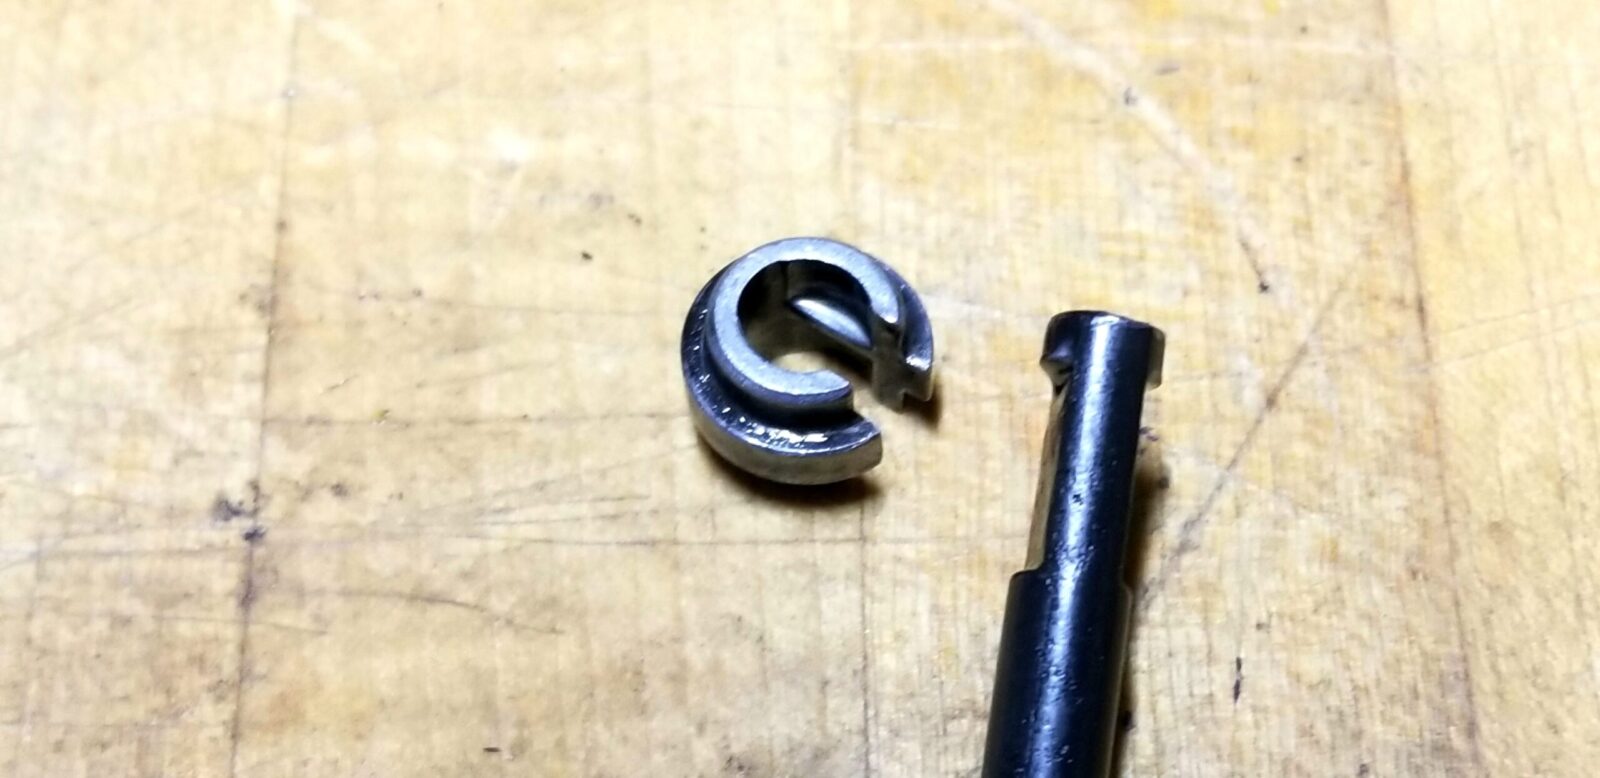
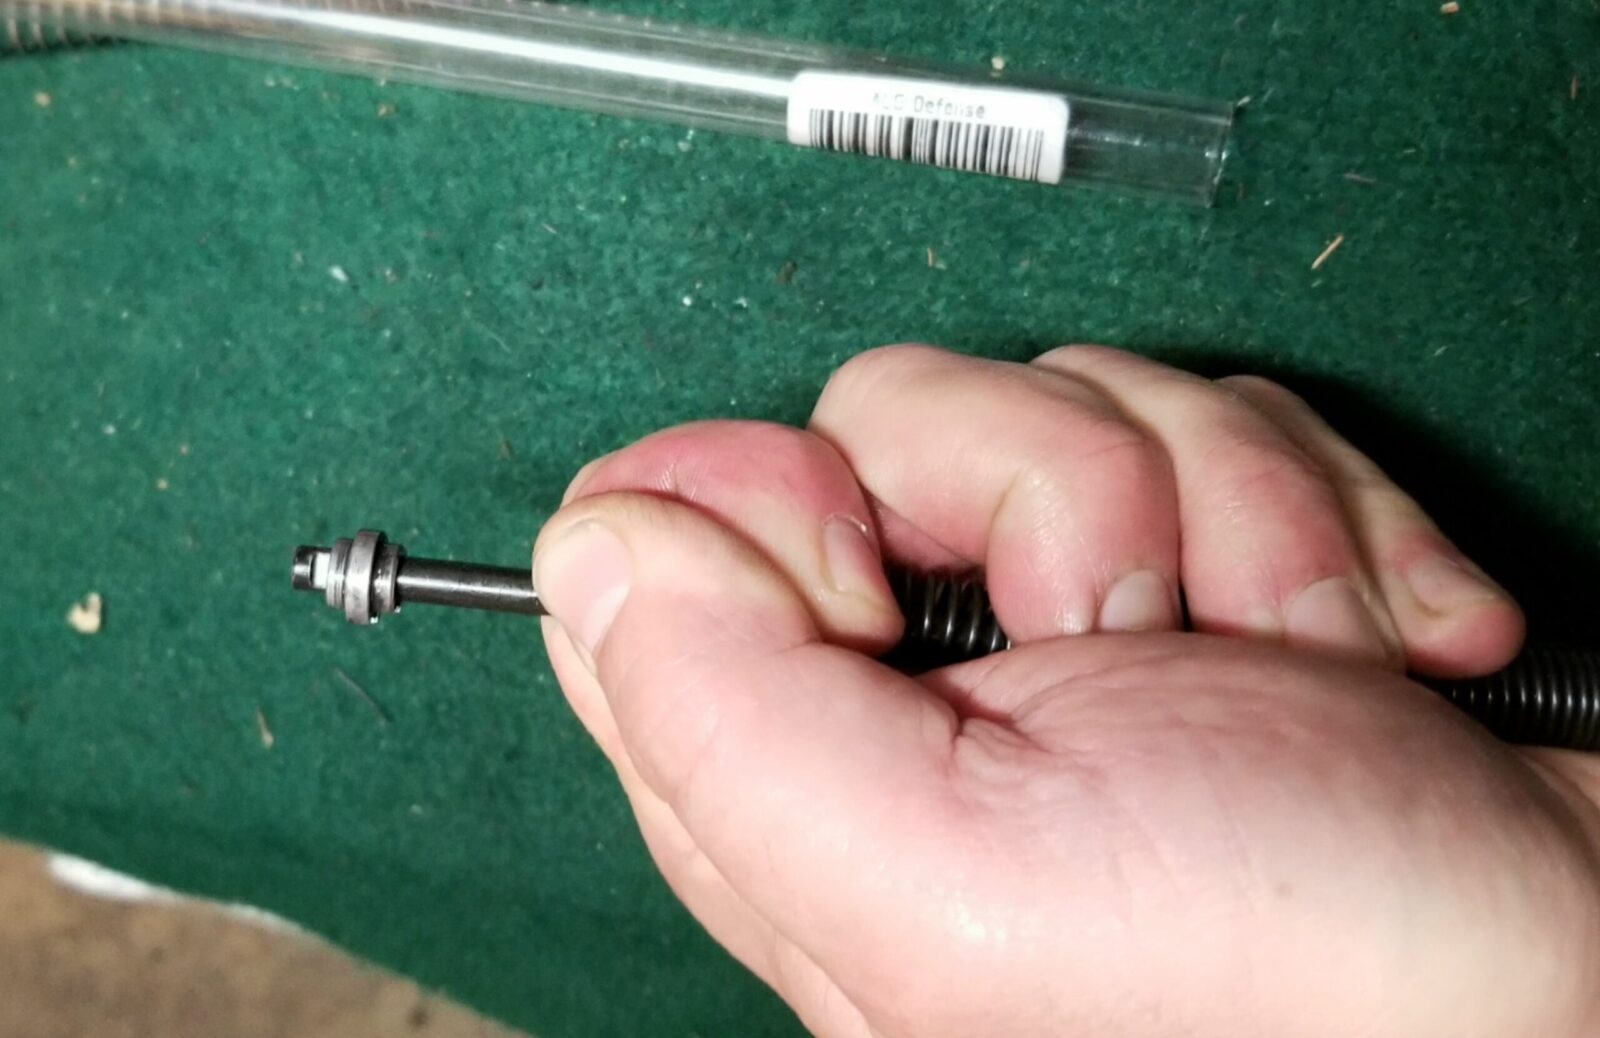
This is a photo of the retaining end cap and the end of the guide rod. See how the rod is notched? The end cap just slides right on and the spring sits on the retainer holding it in place. It’s elegant in its simplicity.
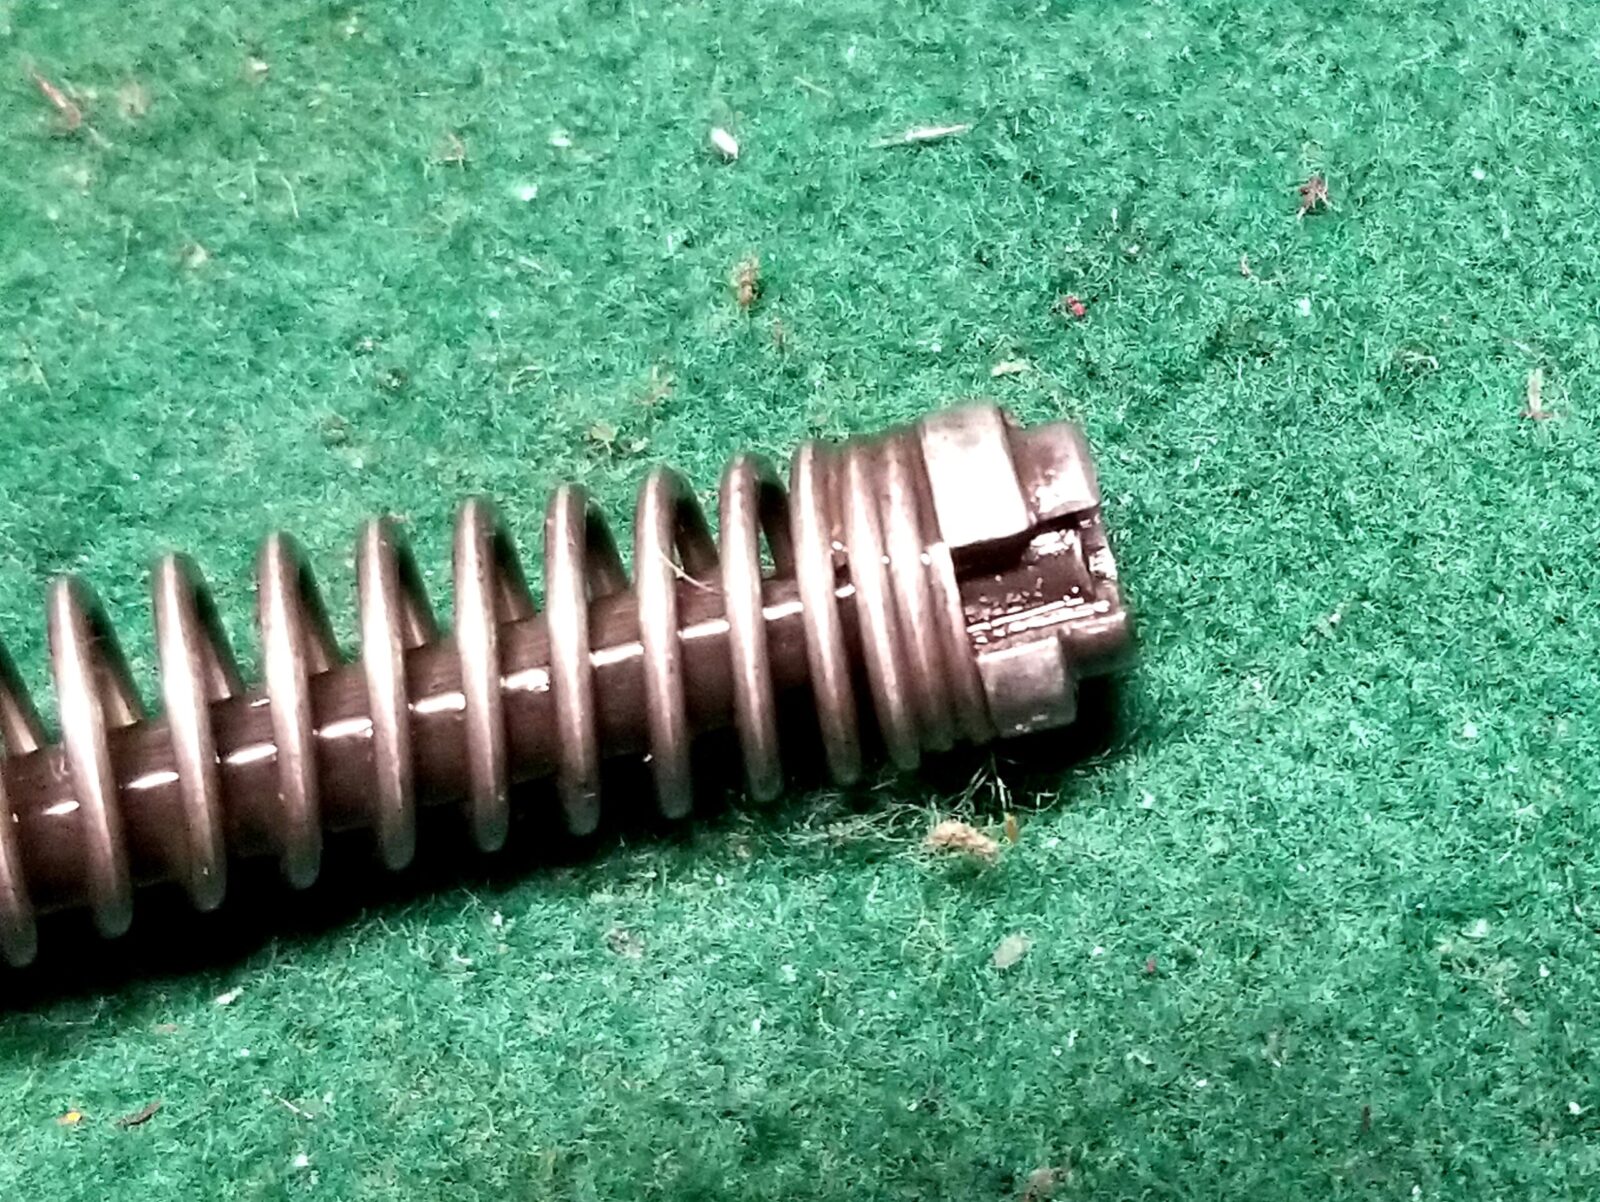
At the top is the original spring. The lower spring is the ALG unit. Note the interesting “dead” center with the spring coils that are right next to each other. ALG says “The 2 to 3 dead coils in the center change the natural frequency of the spring, which prevents harmonics from damaging the spring and reducing its free length.” It’s interesting – we’ll see how it holds up.
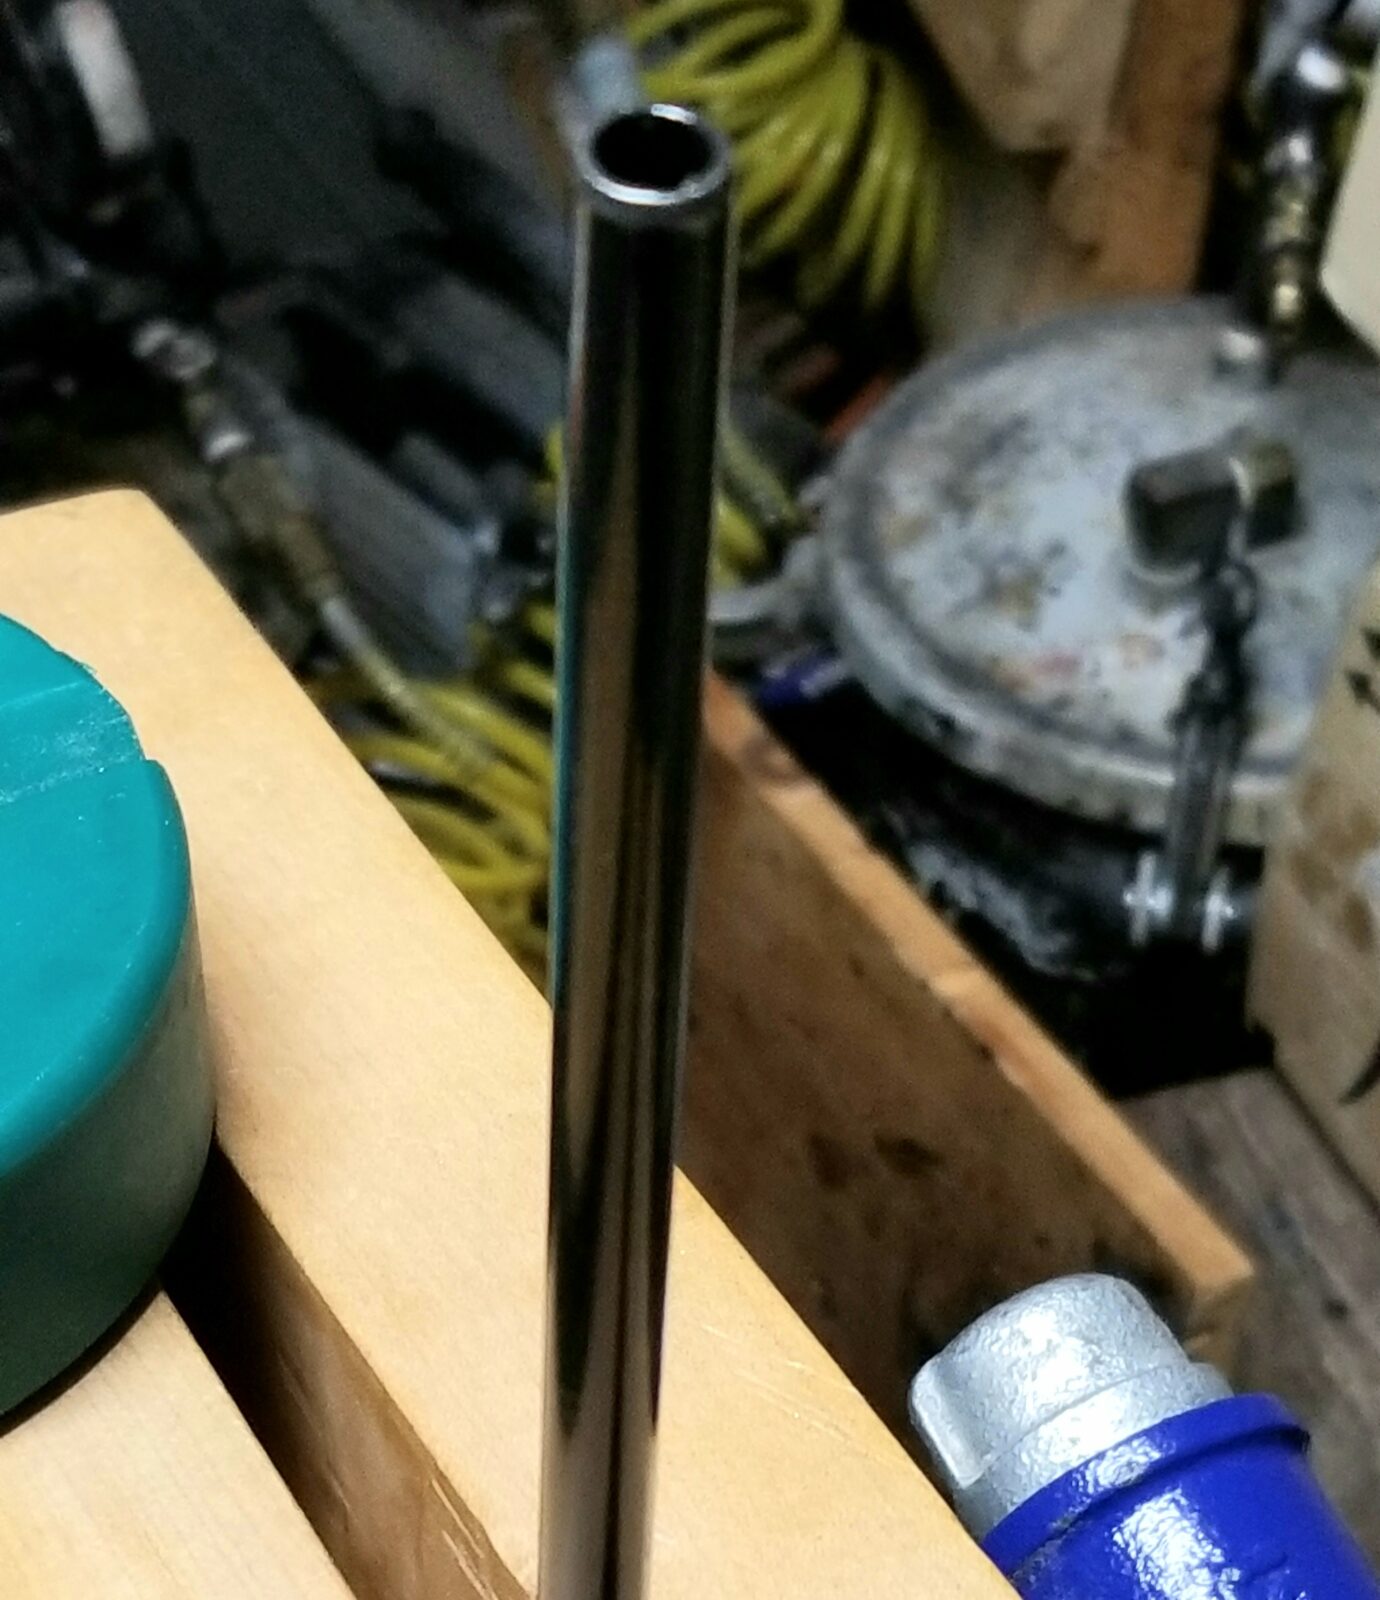
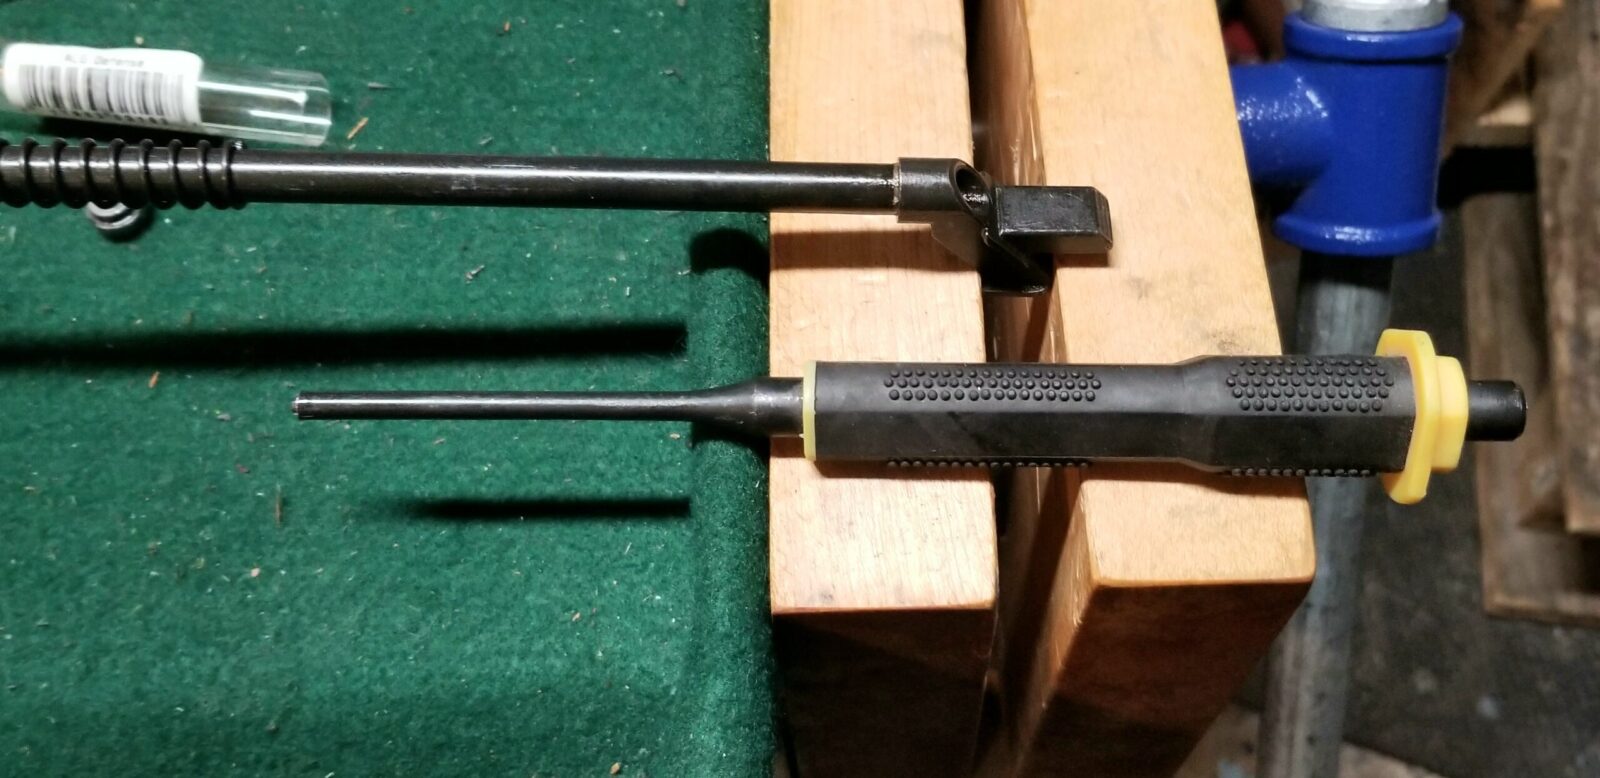
The Galil’s use a tube recoil rod that I really like. The older milled AKs used them until switching to a cheaper and easier to make linkage of two bent wires. Many RPKs still use the tube style. I tend to think it creates a more consistent return but not everyone agrees with me and that’s fine. I don’t have a mountain of collected data from experiments to support my hunch. Regardless, to re-assemble the recoil rod assembly, I use this long center punch to support the inner rod as I compress the wire. Any object small enough to fit in the rear tube to support the front rod would work.
So you push or pull the wire back as you apply pressure to keep the inner rod slid out forward.
Here I have the spring easily held back and have placed the retaining cap back on. I then just guided the spring back into position and ensured it was sitting square on the end cap.
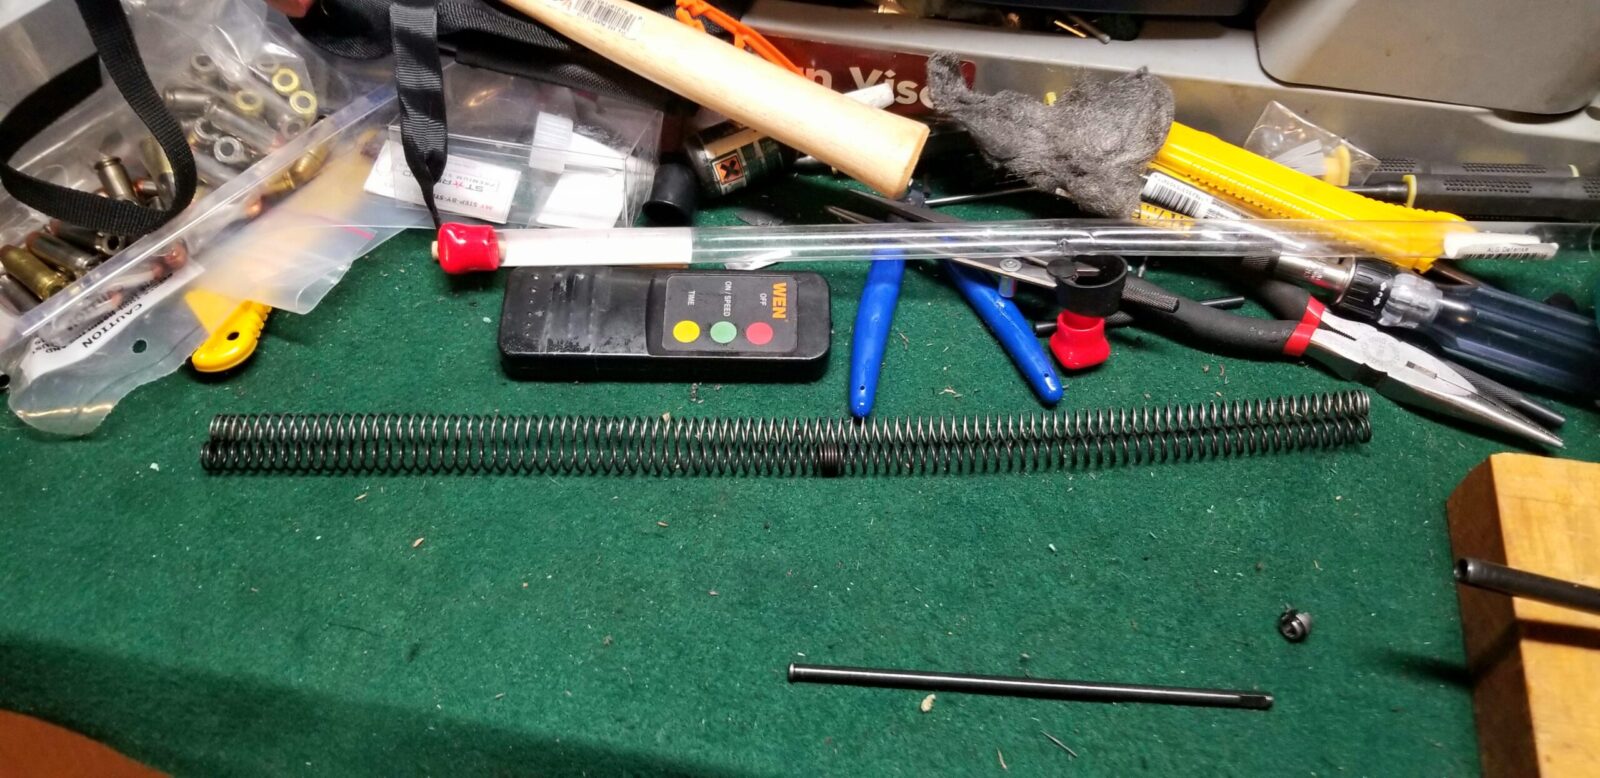
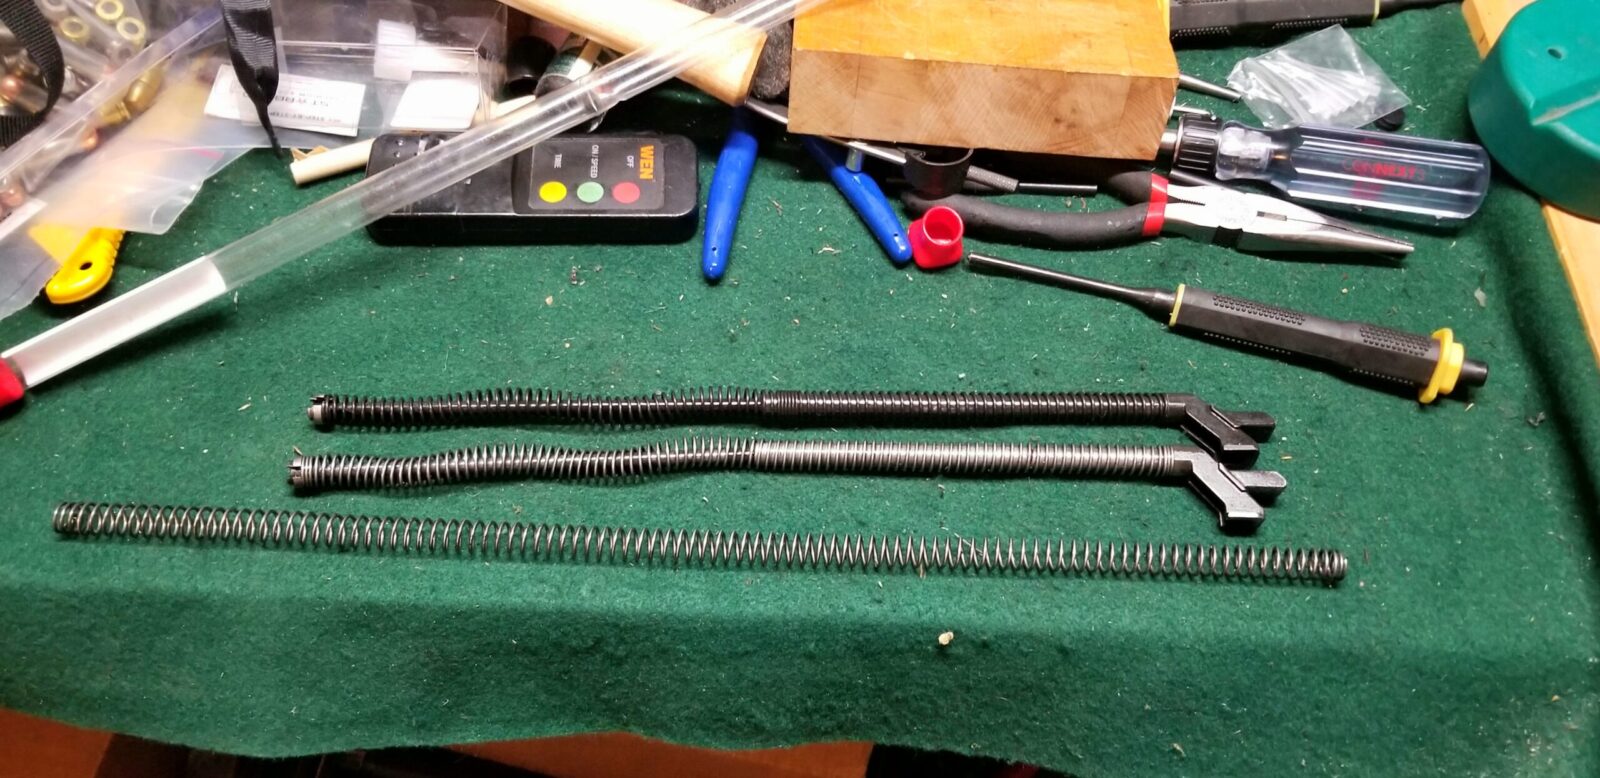
Here the end result. The newly assembled unit is to the top. A recoil spring assembly from a Galil SAR kit is under it for comparison and the old original spring is at the bottom.
In Summary
It’s easy to swap out the recoil spring and the rifle functions great with the ALG unit. Definitely function test your rifles before going to the range the first time to avoid surprises.
I hope this helps you out.
Note, I have to buy all of my parts – nothing here was paid for by sponsors, etc. I do make a small amount if you click on an ad and buy something but that is it. You’re getting my real opinion on stuff.
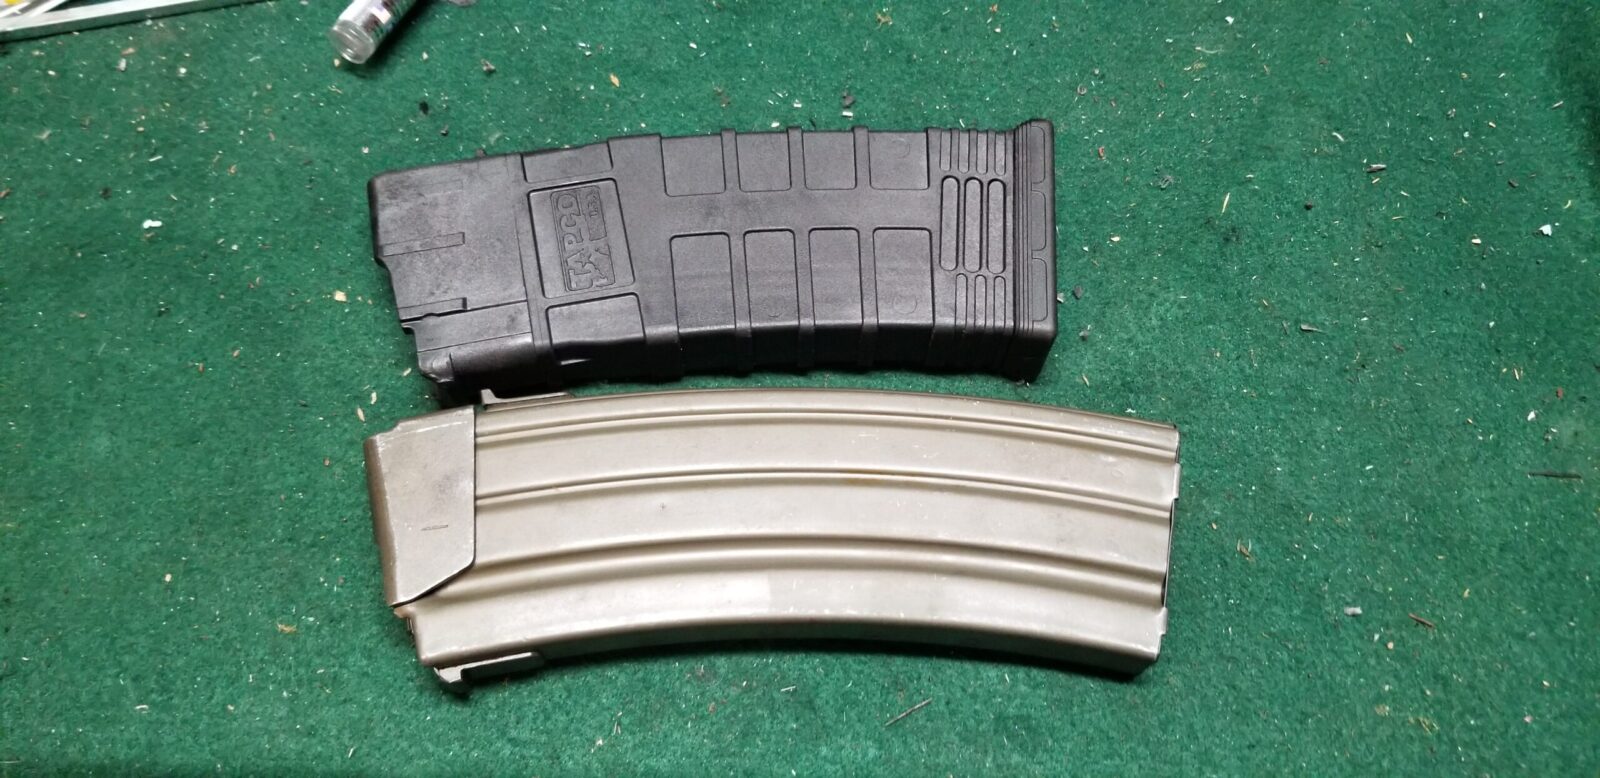
I have written a number of posts now about my purchase of a James River Armory Gallant, which is a Galil ARM wherein they provided a new US made receiver, barrel and pistol grip. They wanted to keep their costs down so the remaining three parts they needed for 922r compliance was to use a US-made Tapco Galil Magazine that is polymer and looks nothing like the original not to mention they are no longer being made!
The top mag is a polymer Tapco and the bottom is an original IMI surplus 35 round mag.
I wanted to use IMI surplus steel 35-round magazines that not only are the authentic ones to use but they are abundantly available. That meant I had to replace three more parts on the Gallant and the easiest is to swap the original Galil fire control group (the hammer, trigger and disconnector) with a US made group. The ALG AKT-EL is perfect for the job so I ordered one from PSA and installed it (click here for the big blog post I did about it). Next up was to source, clean and tune some original IMI Galil Mags, which is what this post will be about.
Finding the Mags
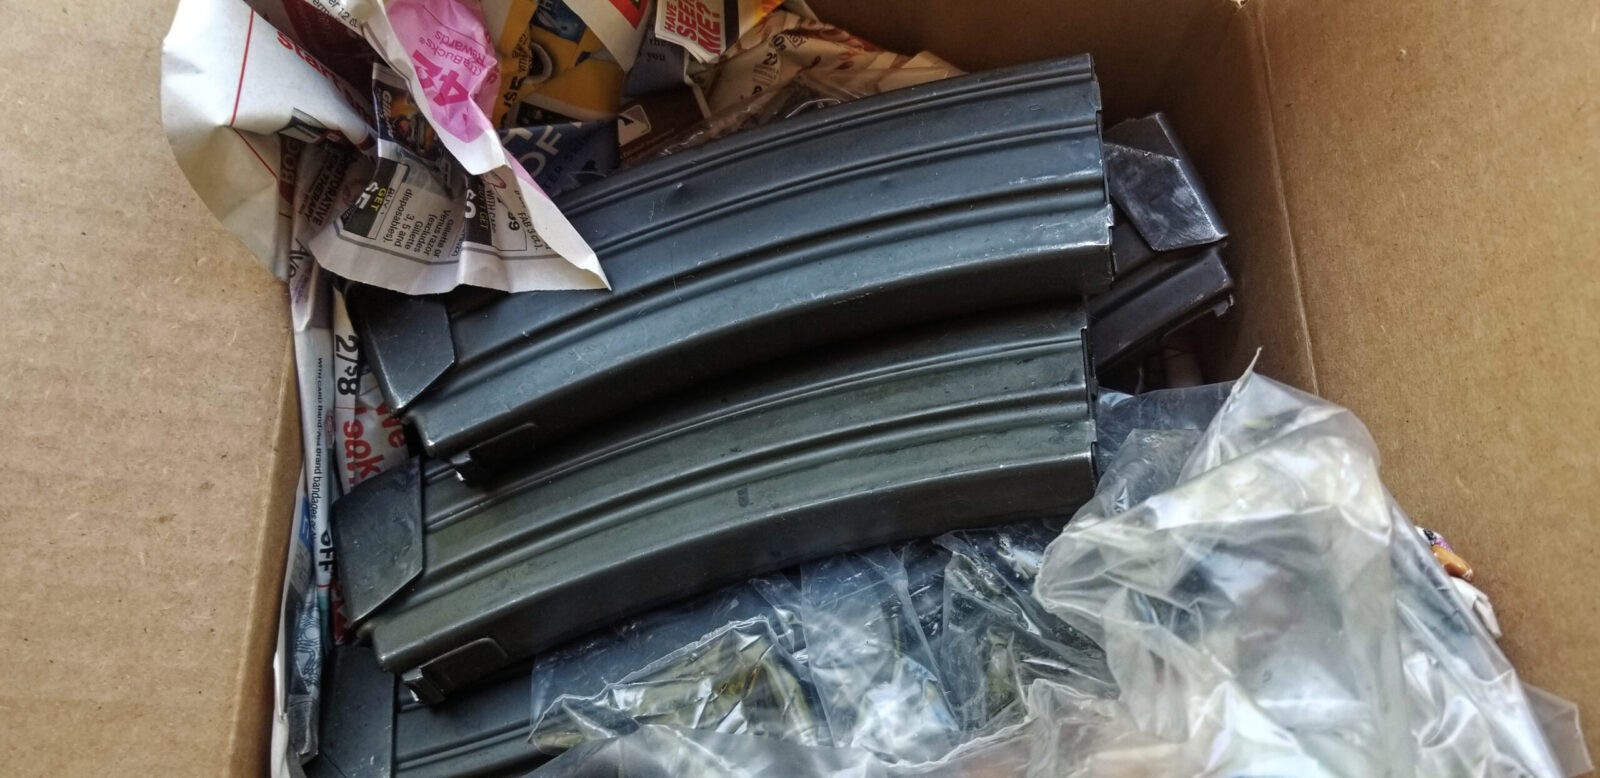
You can find surplus steel 35 round IMI Galil mags all over the place at websites that deal with surplus and gun parts. I bought all of mine from Numrich and they are in great shape at a fair price but you can also find them at Apex Gun Parts, Robert RTG, Aim Surplus and other places.
Numrich is a good firm to deal with. A few days after I ordered, a box showed up with my mags. Keep reading through because you do need to do some work.
Cleaning and Lubricating
Ok, these are surplus and they have been moved all over. Most feel like they have something on them for corrosion and are sticky. Some have a slightly dirty feel as dust and what not have stuck to the surfaces.
Do NOT try to use the magazines as-is. Take a few minutes to clean and lubricate them.
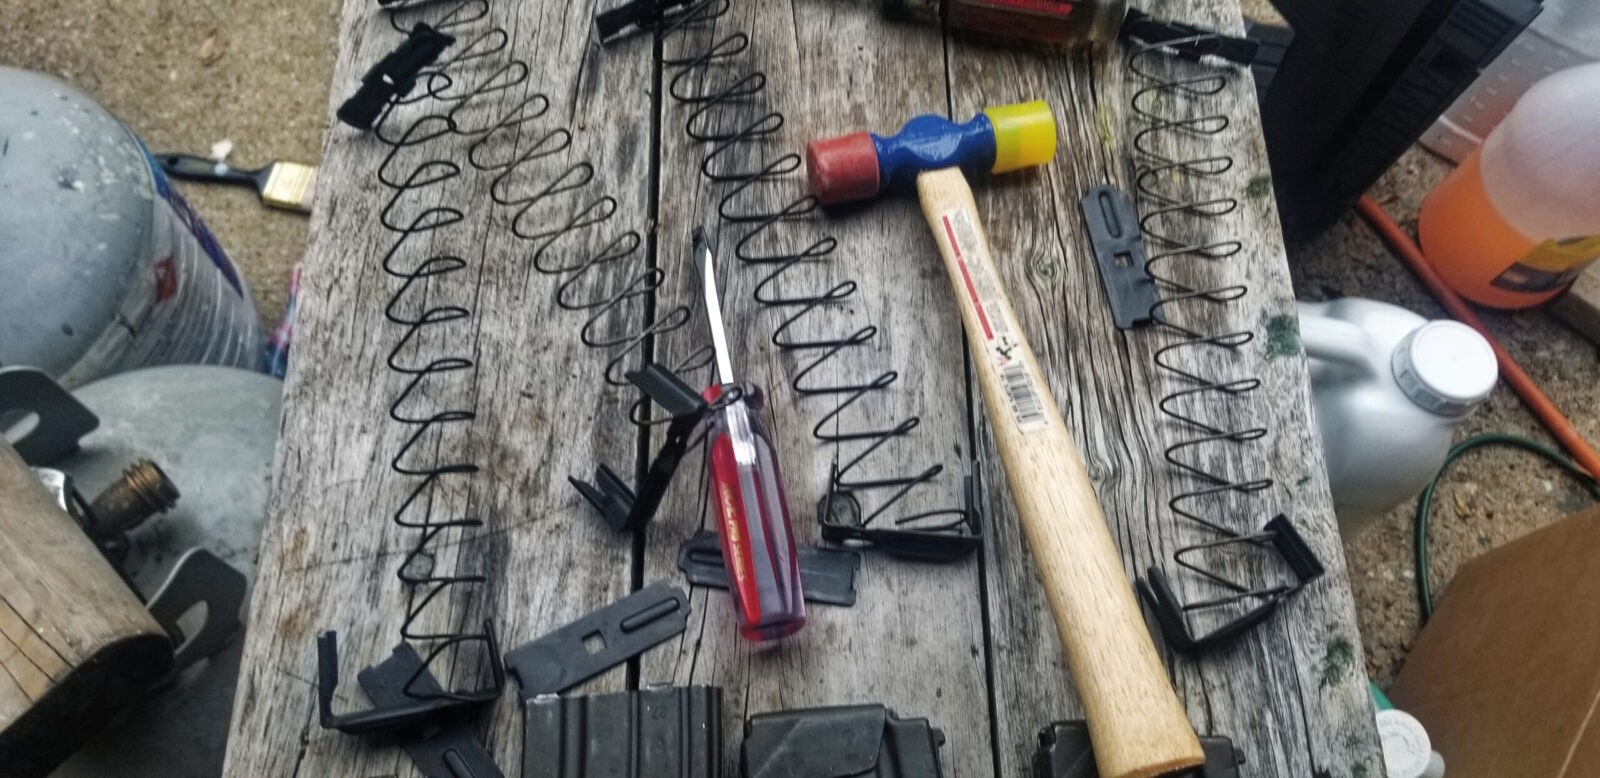
The bottom piece of sheet metal is the floor plate. Put a small blade screwdriver in the right end and pry while pushing down the locking tab you see sticking out in the middle. With the tab out of the way the base plate will come off and then the spring loaded internals are going to come flying out. To avoid this, pull the floor plate off about half way and then use your free hand to secure the internals as you remove the floor plate the rest of the way.
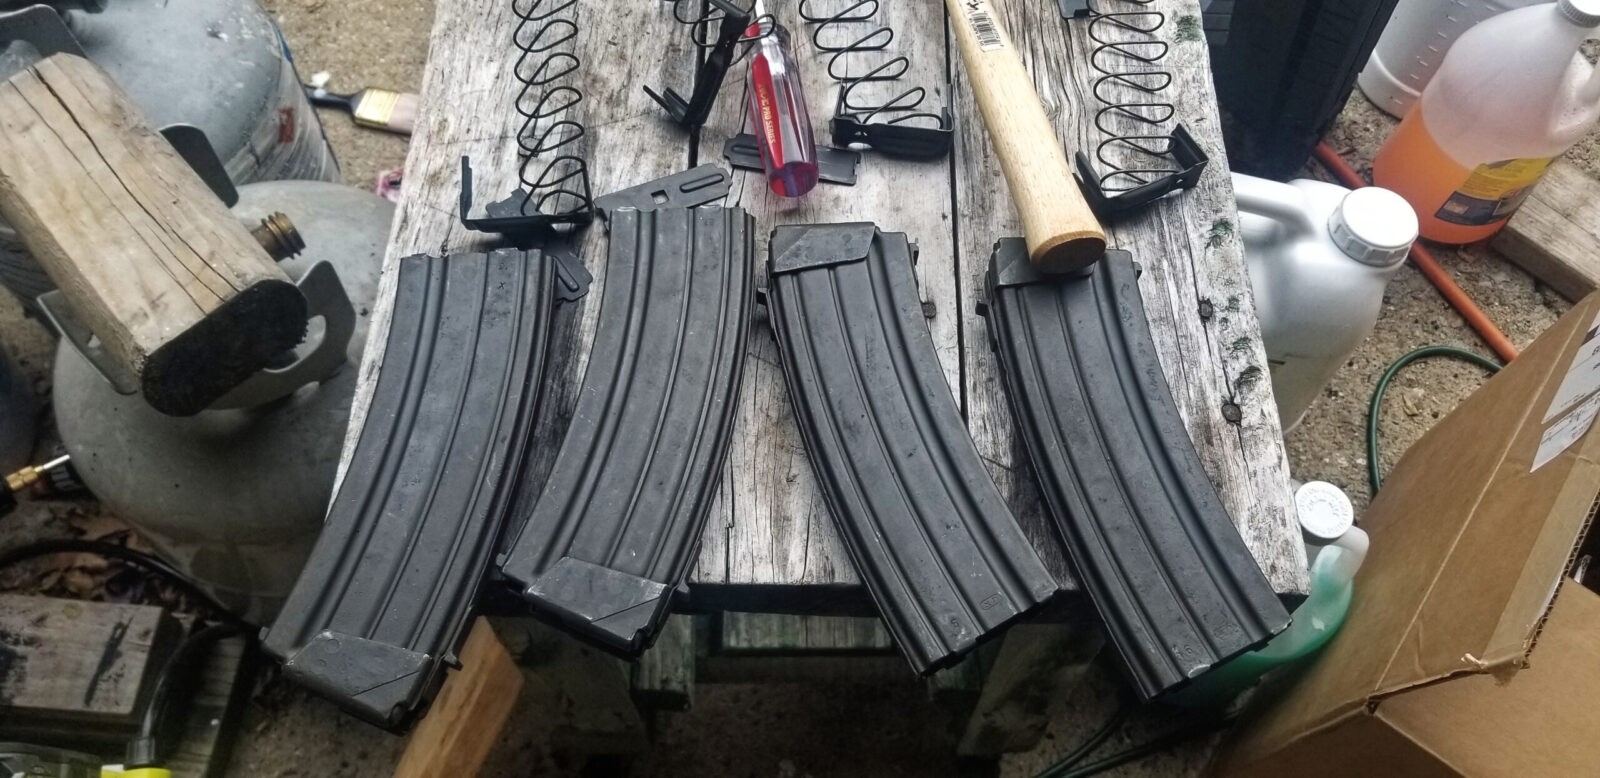
Once you have them all apart. you’re going to have a table like this.
I cleaned everything with brake cleaner and let it dry.
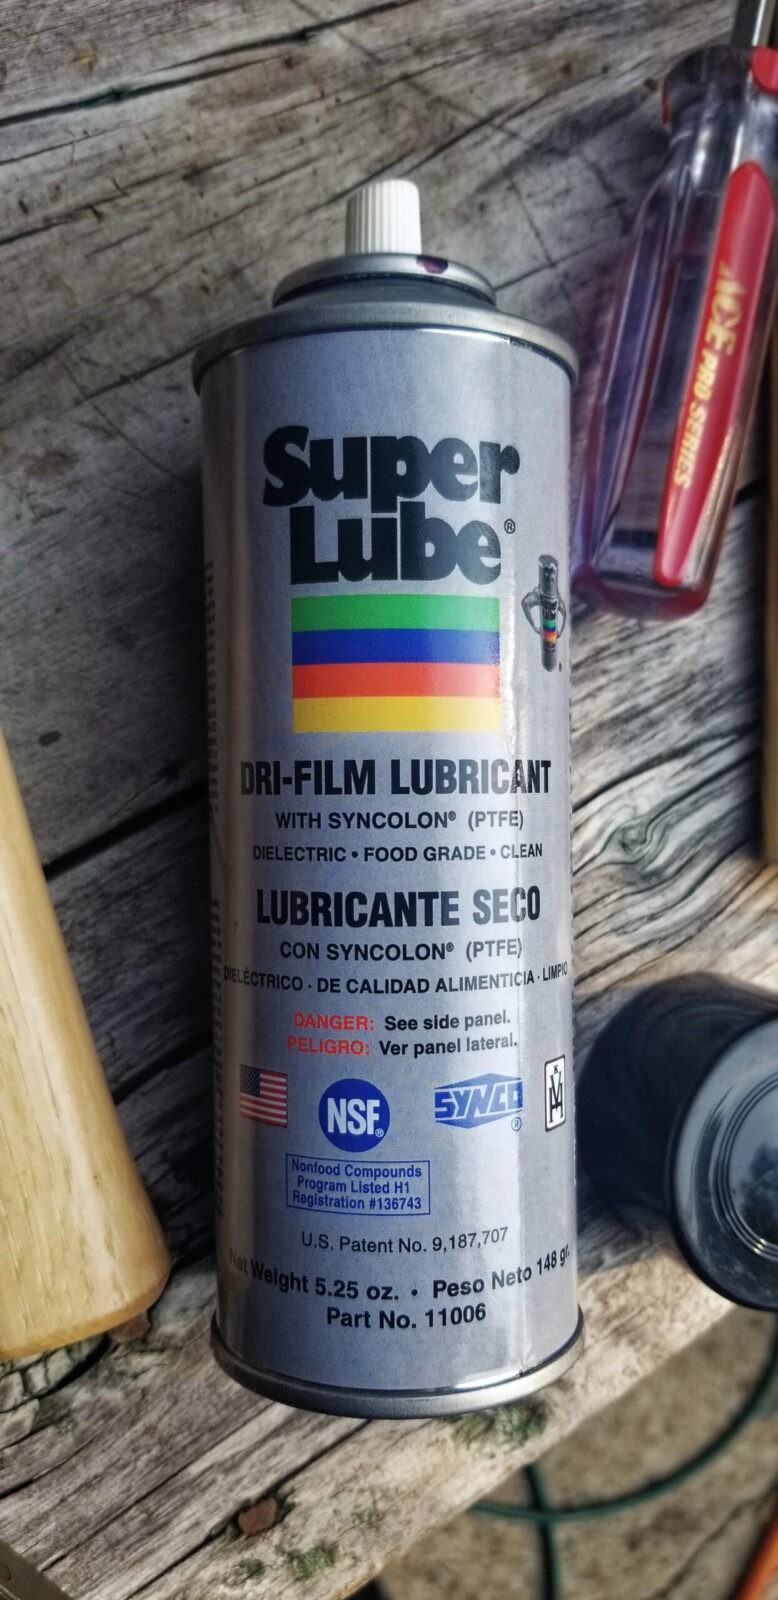
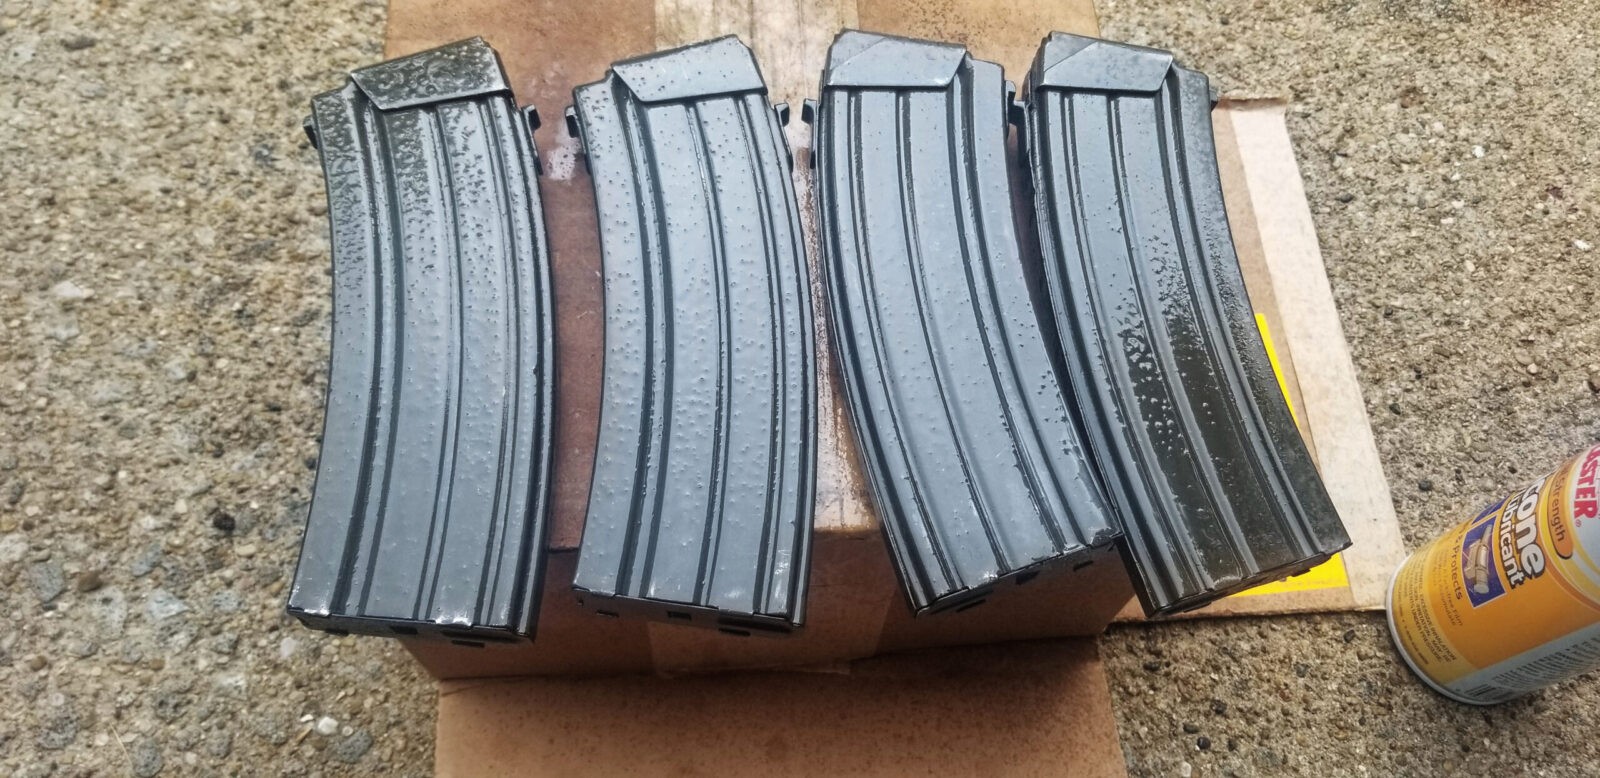
The parkerized finish did not let the follower slide as easy as I would like so I coated the inside of the magazine, follower, and spring with Super Lube Dri-Film Lubricant. Basically it is a PTFE (Teflon) in a solvent. So, you spray it on, the solvent evaporates and a film of PTFE remains. I like this because it lubricates without attracting dirt.
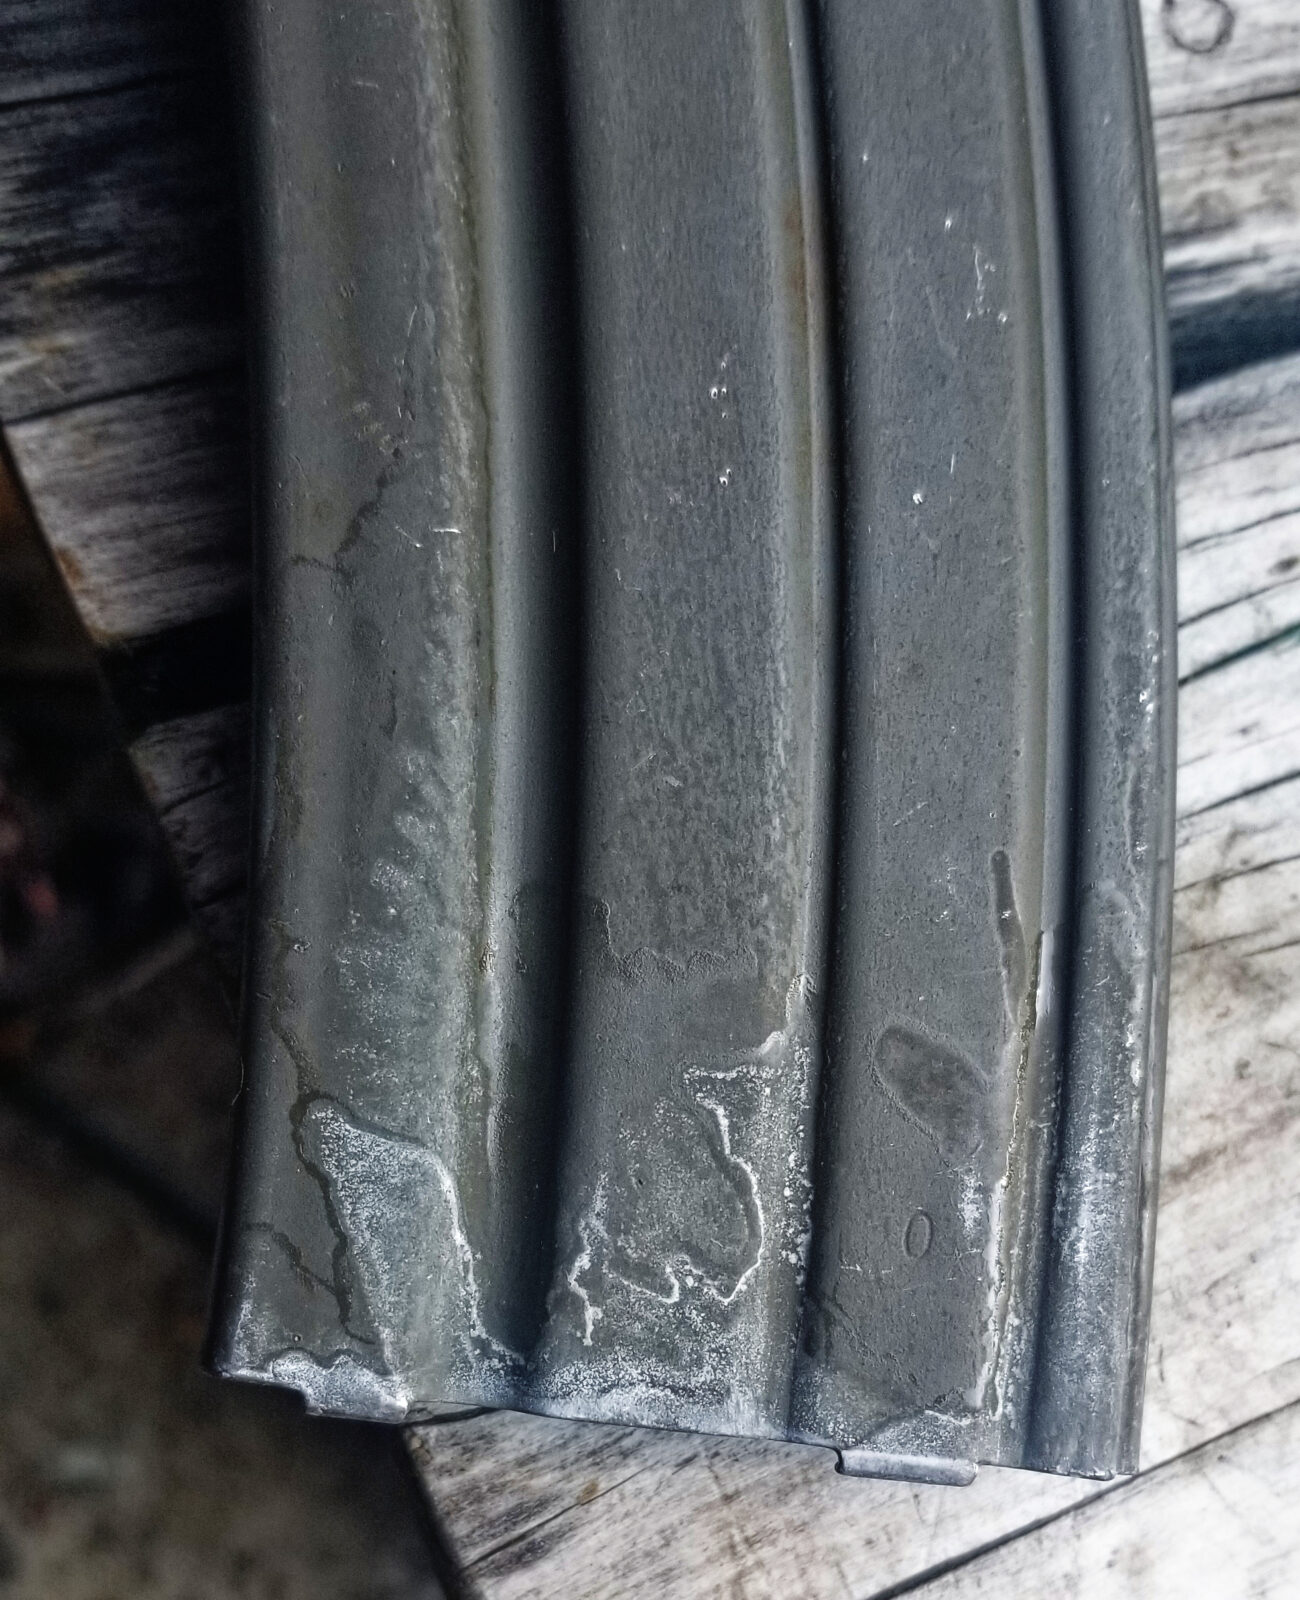
The white are the PTFE particles left after evaporation. All you need to care about is the inside. This is just extra that leaked out and I thought it would help to show what it looks like. Super Lube sounds like an infomercial brand but their lubricants are really good. The PTFE made a remarkable difference in how smooth the follower moved. Parkerized surfaces are rough and either they need to wear in or have something like PTFE to help.
To clean them up and make them look nice, I apply silicone spray and then wipe it off with a towel. I then let them evaporate for a while.
Fitting the Mags
Out of the eight mags I bought, three of them needed some help as they would not seat fully. In these cases, modify the magazine. If you told me none fit, I would look at the mag catch but in this case most fit so the issue was the mags.
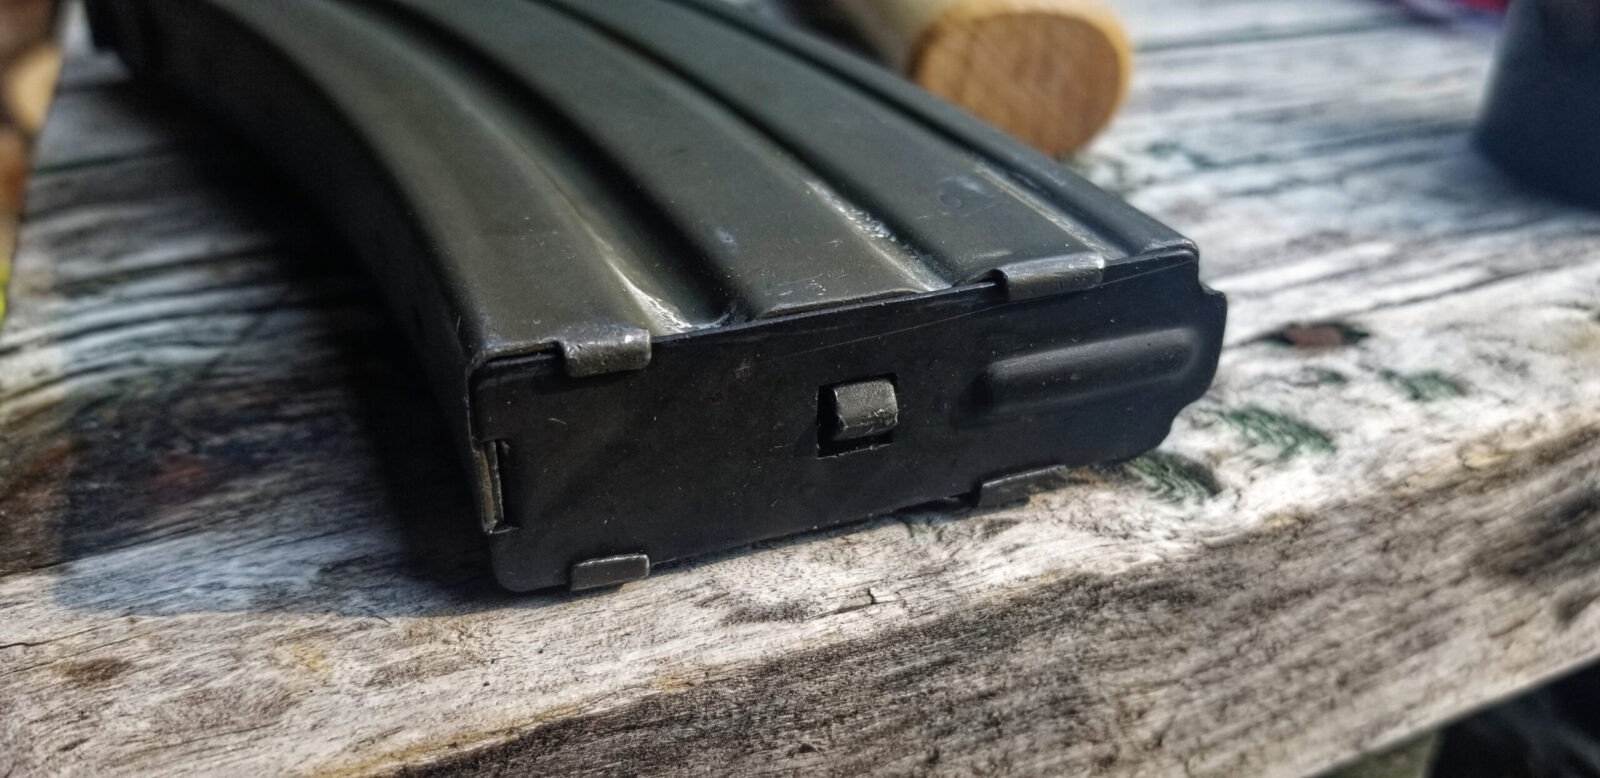
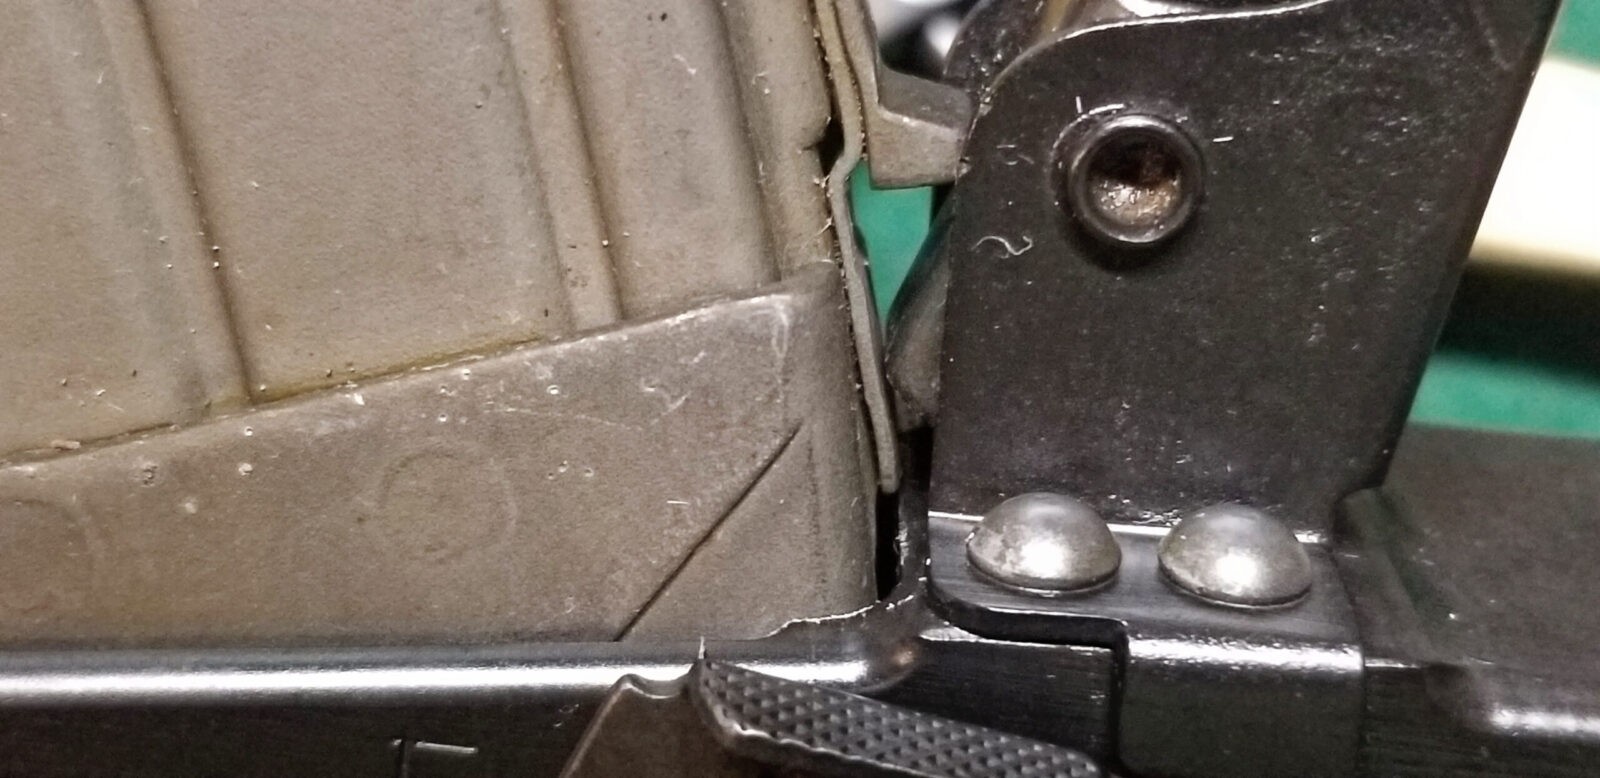
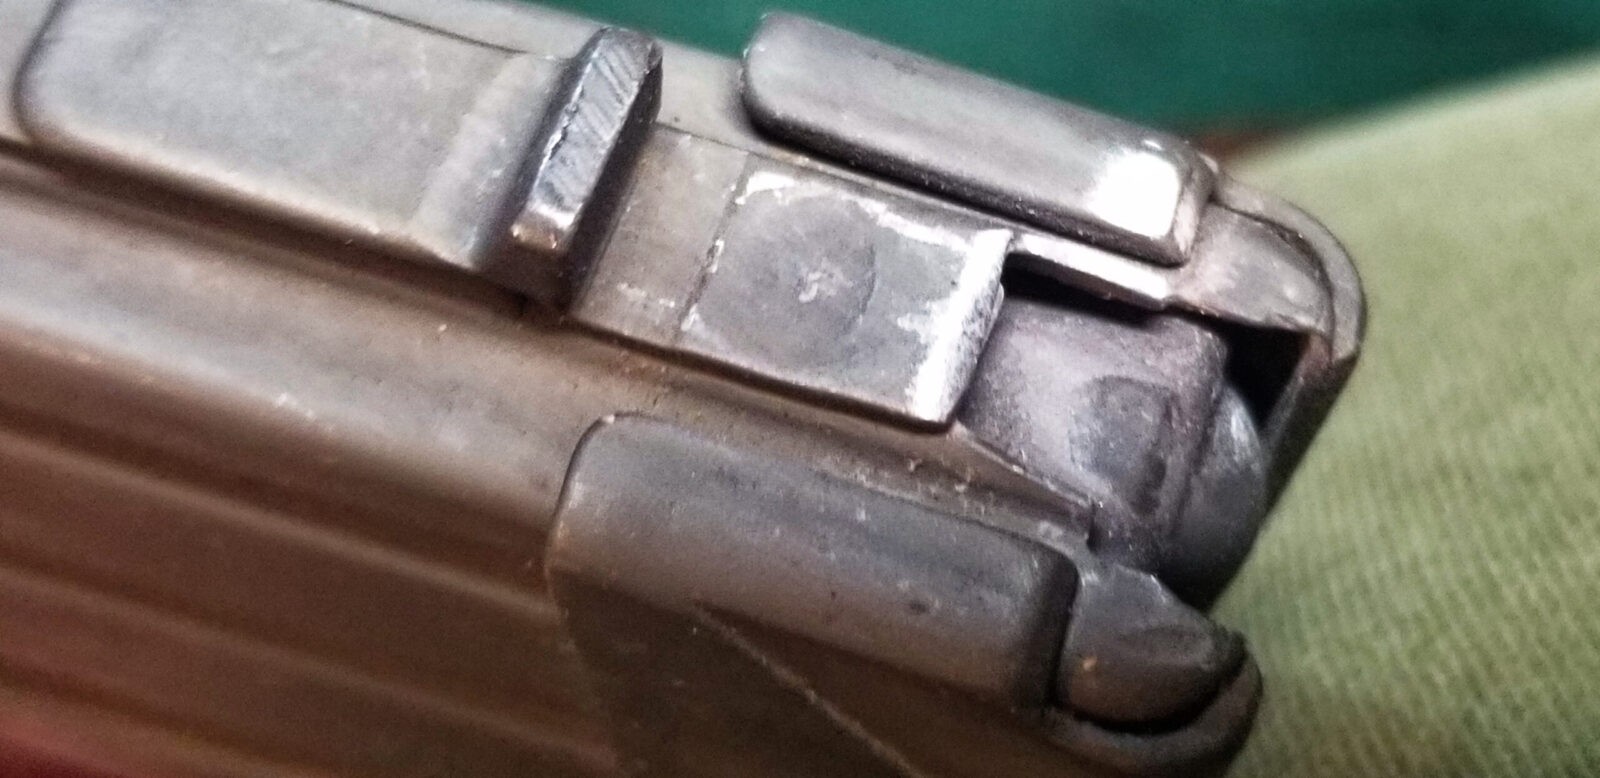
I did not have a problem with any feed lips. The problems were all with the strip of sheet metal that is holding the mag catch tab. If you look close, it’s the strip hitting the receiver that is blocking seating the mag fully.
To resolve the issue, I used a small flap sander on my Dremel and put a beveled edge on the strip where it was hitting. Problem solved.
To do any testing with dummy rounds – not live rounds. I use A-Zoom brand dummy rounds, just FYI and I also was using my surplus steel Galil mags at this point because my 922r parts count was being met thanks to the new fire control group.
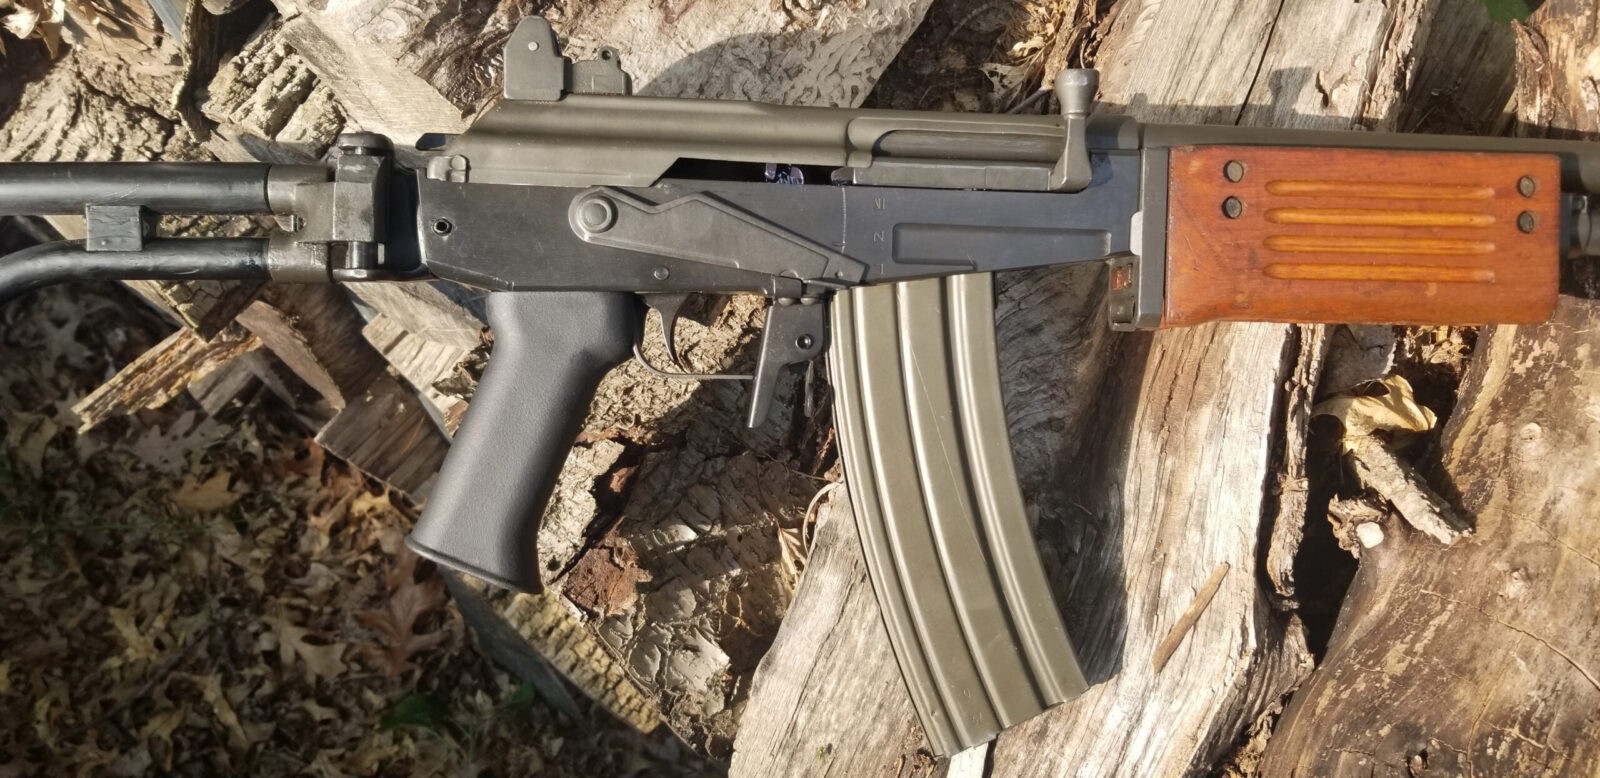
To test, I loaded up 10 of the blue A-Zoom snap caps and made sure they would cycle. In terms of hand feeding and extracting, I have to say JRA nailed it. The action was smooth and the Gallant fed from the surplus mags just as smoothly as the Tapco mag.
The mags look and function great as a result. Some of the mags did require some fitting so let me explain that next.
In Summary:
I can now use surplus mags like I wanted thanks to the ALG fire control group and these cleaned up mags. I hope this post helps you out.
Note, I have to buy all of my parts – nothing here was paid for by sponsors, etc. I do make a small amount if you click on an ad and buy something but that is it. You’re getting my real opinion on stuff.
ALWAYS Function Test Before You Go To The Range With a New or Modified Galil or AK Rifle or Pistol!!
Seriously – don’t wait to go to the range to do this. You can find out a lot of things at home with all your tools and supplies on hand vs. being somewhere wishing you were home.
Before function testing, I clean and lube the rifle. I like to use Super Lube grease during break in on all sliding surfaces and a few drops of Super Lube liquid lubricant on anything that rotates.
Use whatever your favorite bore cleaner is to clean out the barrel and the chamber. You will be surprised to see all of the dirt / dust / junk that comes out of a new barrel. Just because a given weapon is “new” does not mean it is clean.
Function Testing
First, I just test the mechanism without mags or dummy rounds. You can find out a lot by doing this and I do it without the dust cover on so I can see what is going on:
Pull the bolt bolt carrier back and let it go. It should slam home without binding or sticking. If it does, try cycling the action 10-20 times and see if it smooths out. Some guys will cycle their AK a couple of hundred times before the range to smooth things out. I tend to find they are okay after a few dozen cyclings with lubrication or I need to take it apart and fix something such as a burr or rough surface.
Pull the trigger, you should see it be released and it should firmly whack the firing pin. If it seems lame, the spring may be worn out or broken. I would recommend converting over to an ALG fire control group (PSA sells a custom version of the ALG-EKT that will work fine in any Galil or AK rifle – they are in stock and at a great price) and replace both the hammer and disconnector springs (the ALG will come with the disconnector spring but not the main hammer spring. ALG sells them and that’s what I use but I prefer the double wound spring model vs. the single spring unit they also sell. The Russians went with a double or “spiral wound” spring to increase the fault tolerance risk of a single spring breaking).
Something unique to Galils is that they have a spring loaded firing pin whereas regular AKs just have a floating firing pin in the bolt body. You can get into arguments about this one. AKs work fine without a spring but you do have a risk of a pin sticking out or slamming home with enough force to cause a sensitive primer to detonate and cause a misfire. Thus some like putting a spring in the bolt that forces the firing pin backwards to reduce the odds of a misfire. Others will argue there is more risk of debris causing the spring to jam or the spring itself breaking and jamming the pin. Folks, this is like arguing Chevy vs. Ford – you aren’t going to convince a staunch believer of one side or the other that you are right and he is wrong. The Galil is not the only firearm design to do this and they work just fine. At any rate, just make sure the pin does not stay stuck out on a Galil. You should be able to push the exposed firing pin at the back of the bolt and both see and feel it freely move.
Next, cycle the bolt carrier to cock the hammer, engage the safety lever next to block the trigger and try to squeeze the trigger – you should not be able to pull the trigger and have it fire. If you can then you will need to adjust the gap between the trigger and safety bar. With the ALG, this means you trimmed off too much, need to remove the first roll pin and start over with the second. If you don’t have an ALG, you will need to decide if you want to weld on some material onto the trigger leg or safety bar and then trim to fit.
This next one tests the disconnector – with the trigger pulled back, cycle the action and you should see the hammer get caught/captured by the disconnector. When you let go of the trigger, the hammer should switch from the disconnector to the front hammer hooks on the trigger. This is a fascinating display of geometry. Now, if the disconnector does not catch the hammer or release it, you may need a new disconnector spring or have forgotten to install the spring.
Photos of the Bolt
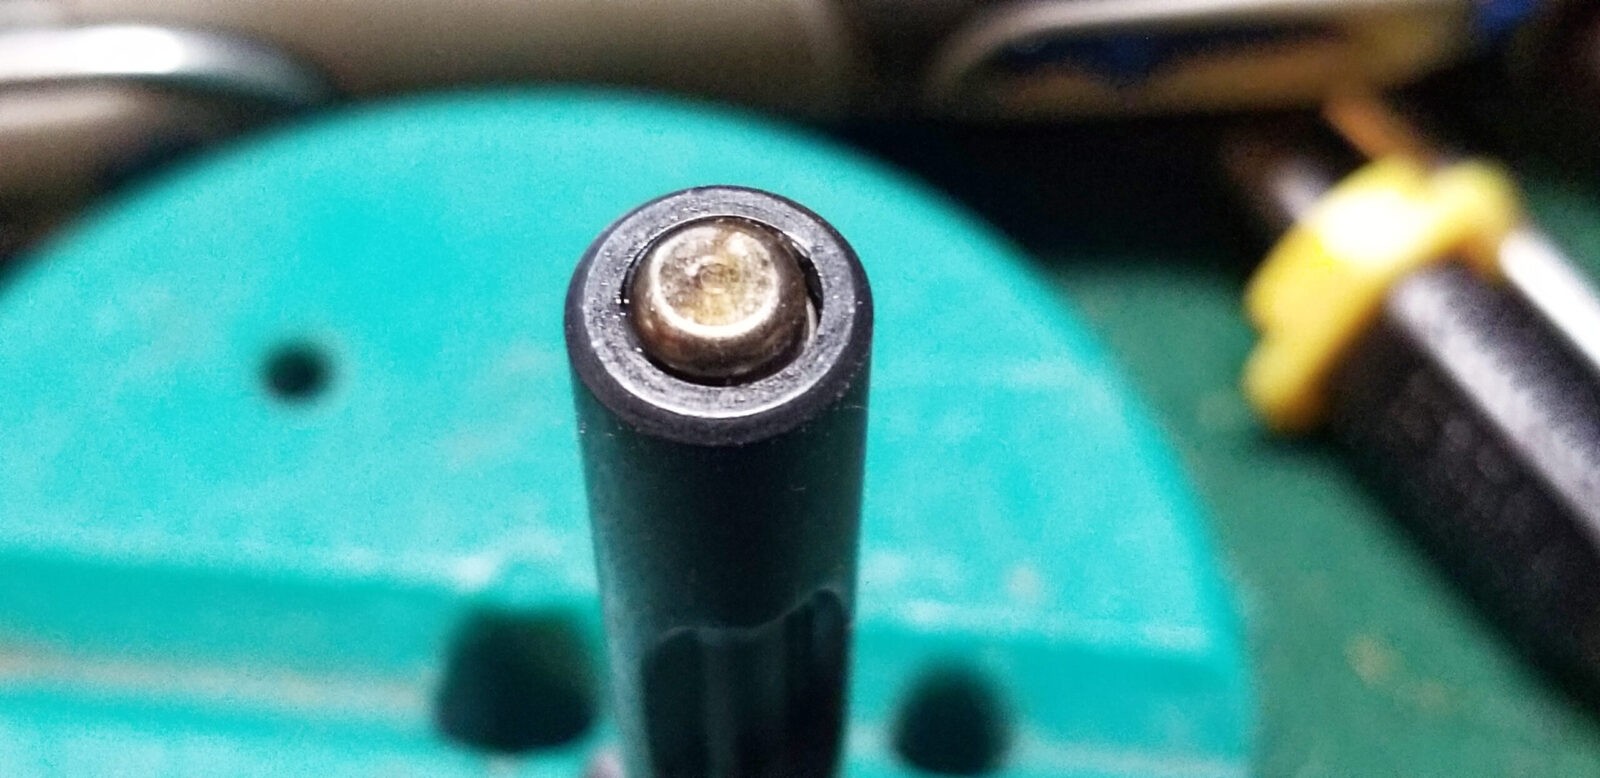
This is the rear of the unique Galil spring loaded firing pin. Other AK variants do not have this. Put a drop or two of oil on the back side and let the lubricant run in. When you push on this button, it should depress and return smoothly and easily. If it sticks, it needs to be disassembled, inspected and cleaned to be safe. The reason I bring this up is that if the other end of the pin is sticking out of the bolt face, it will fire a primer when the bolt slams into a cartridge at some point of the feeding process.
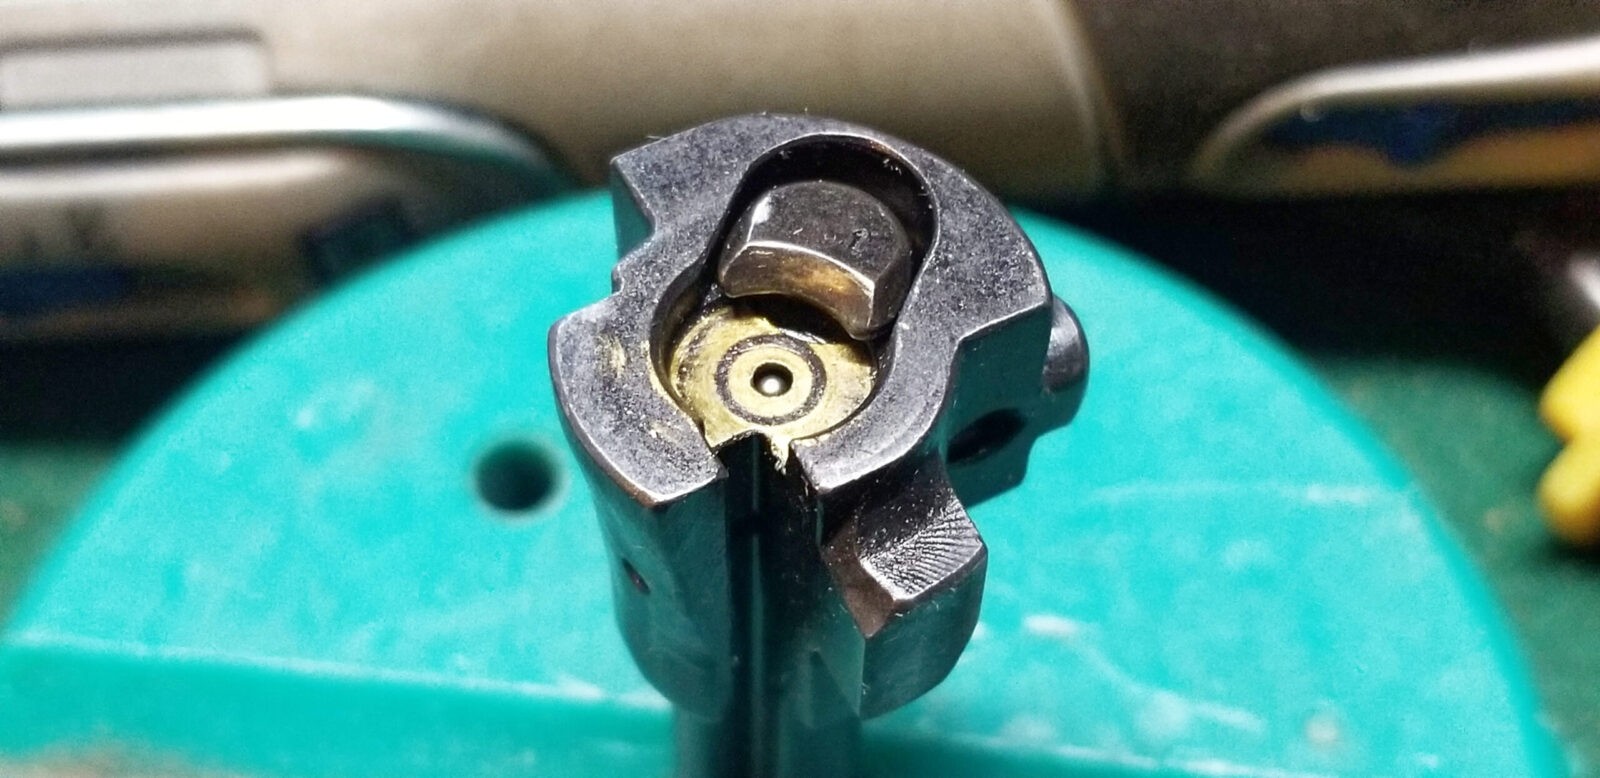
I make sure the extractor at the top can move freely in and out. It has a fairly stiff spring in there so a cartridge’s rim slides against the ramped face of the extractor pushing it out of way until it snaps back into the slot of the extractor slot of the 5.56NATO cartridge. Note the brass coloring. The Galil ARM parts kit that JRA used to assemble this Gallant saw a lot of use. I did headspace it also just to be safe and it was properly headspaced by JRA.
Next, do the above with magazines and with dummy rounds – not live rounds. I use A-Zoom brand dummy rounds, just FYI and I also was using my surplus steel Galil mags at this point because my 922r parts count was being met thanks to the new fire control group.
Comments about the above:
When it comes to step one above, I want to see the dummy round get stripped from the magazine and be fed up into the chamber nice and smooth. I will do this 10-20x to make sure it looks good. Things that can mess this up are: magazine not seating fully, bent magazine feed lips, no bullet guide installed, needing a slight radius at the start of the chamber to help line up cartridges, or if you bent the receiver while building or using the rifle (I’ve done both over the years so it happens.
When I am cycling the rifle, does it stall/slow down at any point during the feeding of the ammo? Guess what? The Gallant failed this – the old surplus spring was too weak and I replaced it with an ALG spring – (Any AKM spring will work even though the Galil is 5.56 NATO and the AKMs are 7.6×39).
I then Install the dust cover and make sure that nothing is binding. At this point, your rifle should be good for testing at the range. Always, always, always test combinations of ammo and magazines on a given weapon before you rely on them. Do the function testing and take them to the range.
I hope this helps you out.
Note, I have to buy all of my parts – nothing here was paid for by sponsors, etc. I do make a small amount if you click on an ad and buy something but that is it. You’re getting my real opinion on stuff.
The AR, ARM and SAR IMI Galil rifles use an AK-style fire control group. I didn’t include the little Micro Galil as I am not sure about them. For the others though, this means you can swap out the IMI-designed group for the AK group of your choice.
I needed to do this because my JRA Gallant (which is a kit assembled rifle using an IMI Galil ARM kit) came with a single Tapco plastic Galil magazine and I wanted to use steel surplus magazines. Now, there is a regulation known as 922r that requires a foreign rifle not approved for importation into the US (read that as military style weapons typically like AKs, Uzis, etc.) certain number of American made parts to be legal based on a list the ATF came up with. In the case of the Galils, you need to replace 6 parts.
The Gallant has American made: receiver, barrel, and pistol grip. The Tapco magazine gave it the other three. To use the surplus mags, I needed to replace another three – the trigger, disconnector and hammer. I like ALG triggers and while I prefer the Ultra, the Enhanced trigger is still really good. Let me give you a tip – you can get a great deal on enhanced ALG triggers from Palmetto (PSA).
The Thumb Selector
There are two unique parts to the Galil design that you need to bear in mind. First, the thumb selector lever is actually connected to the selector lever inside the receiver. This leads us to the second item – because of the thumb lever, the very popular fire control group plates can’t be used to secure the hammer and trigger pins so don’t lose whatever wire retainer comes with your weapon. If you do lose/need one, get a Dissident Arms AK retaining wire.
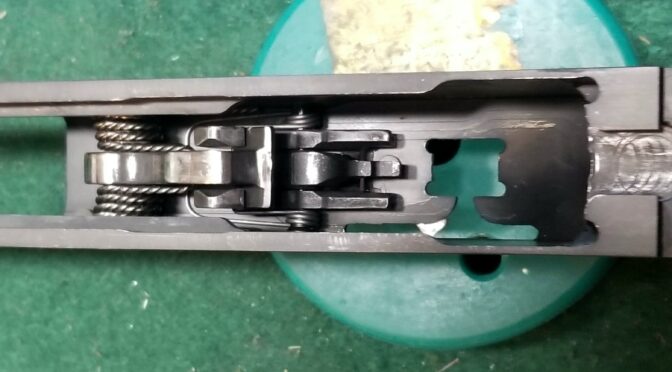
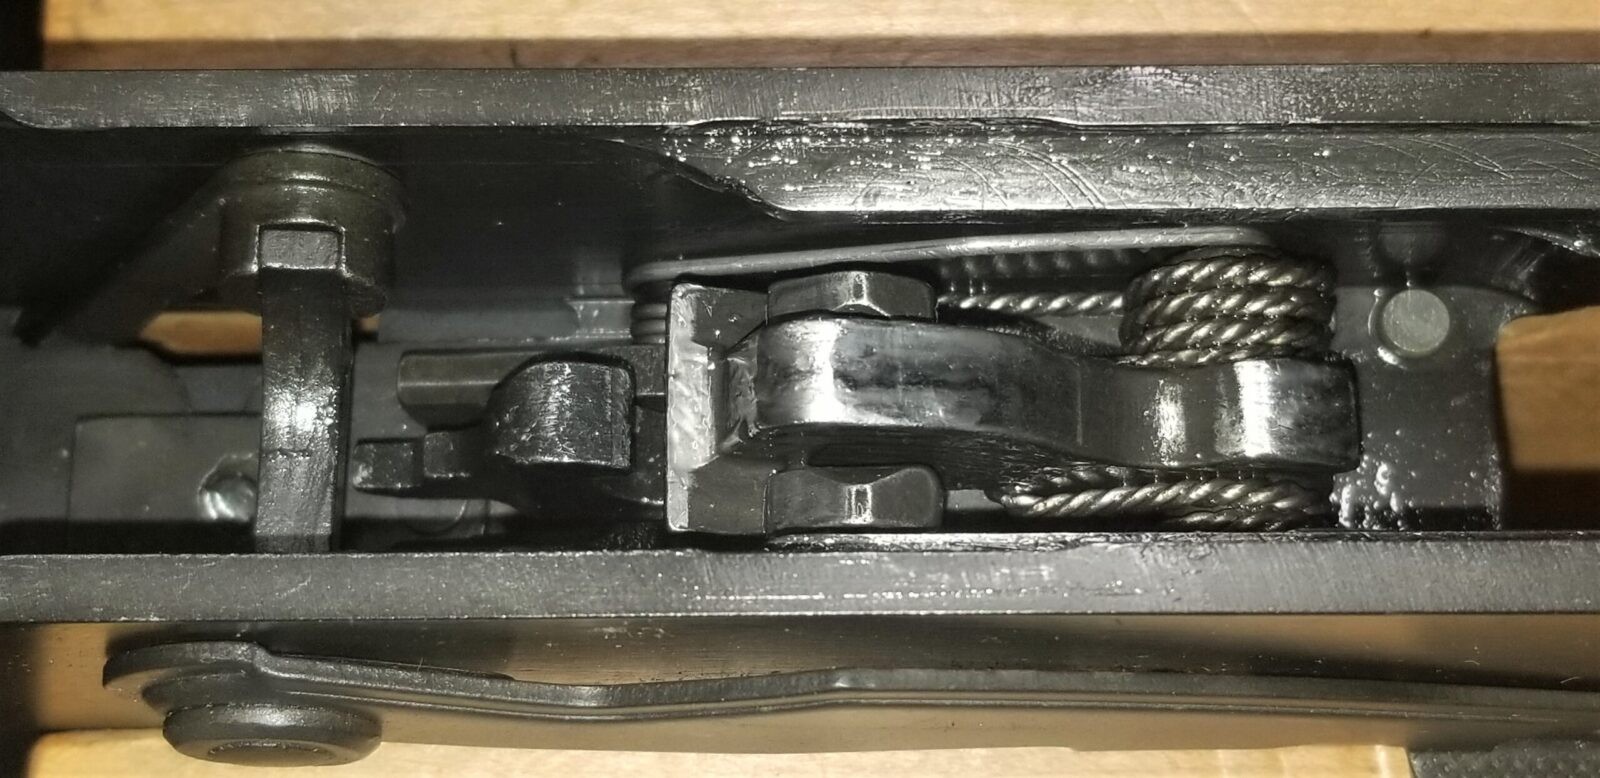
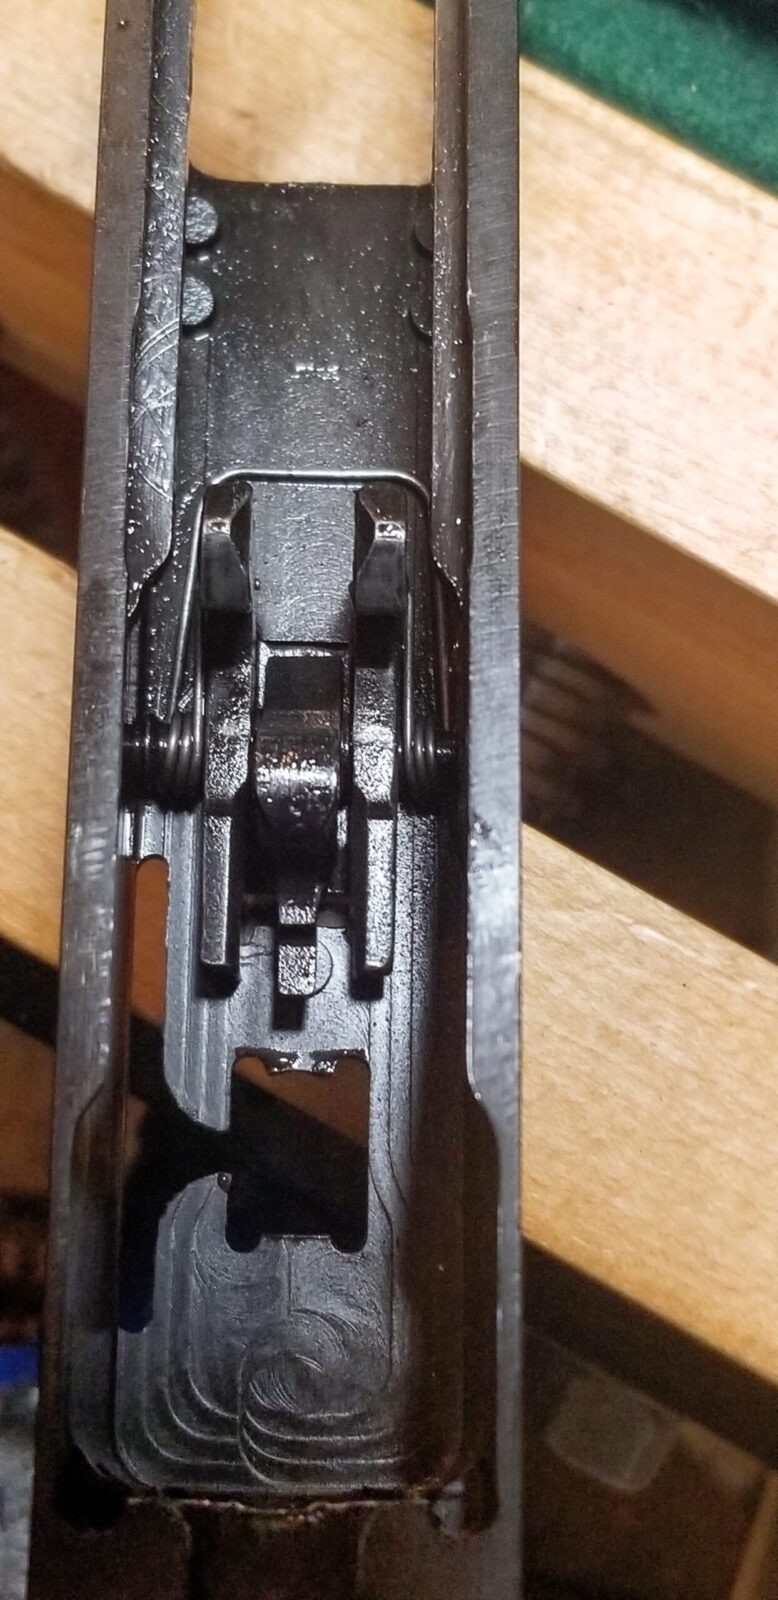
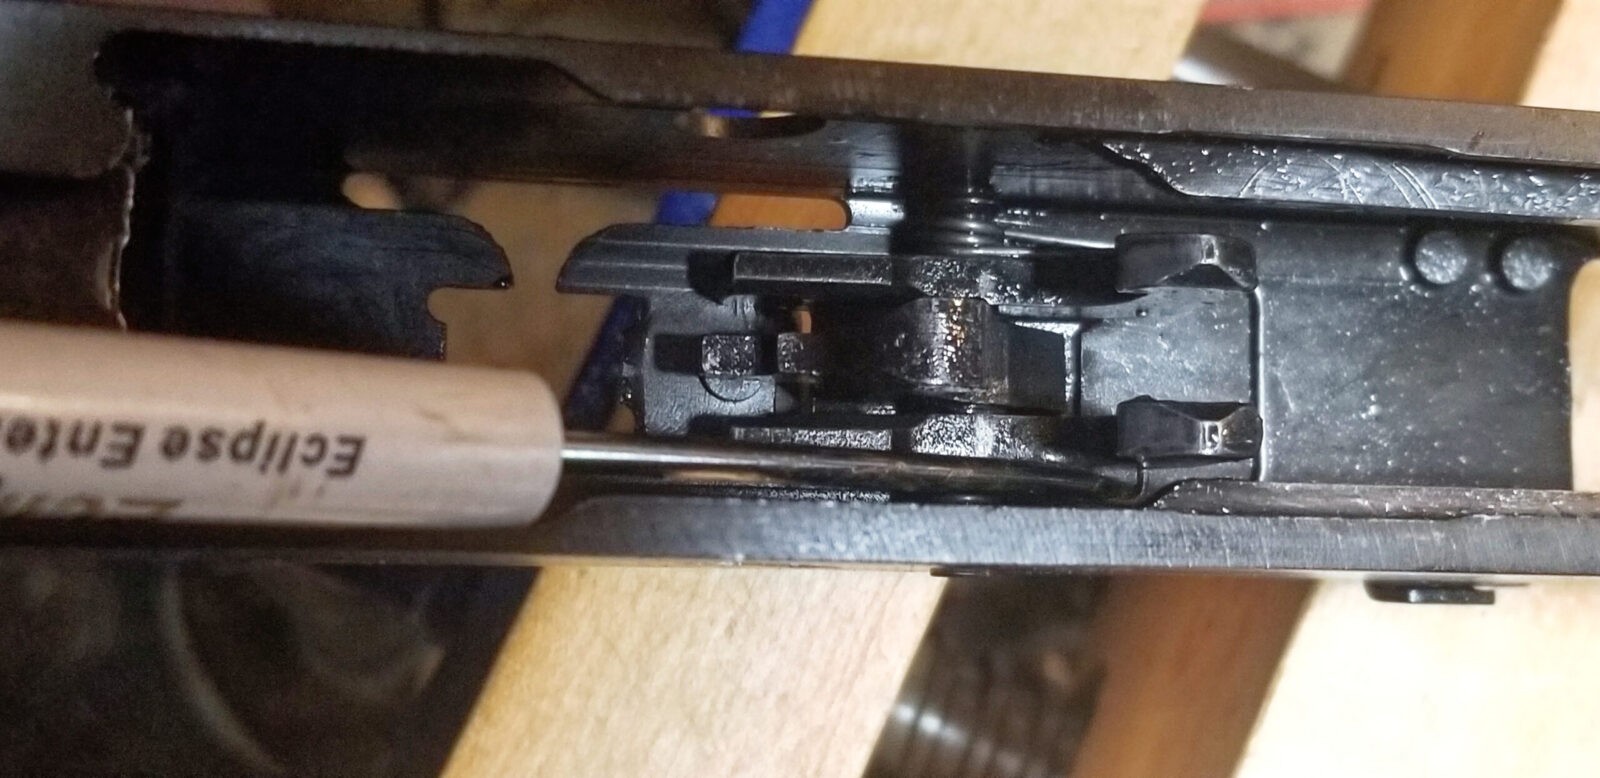
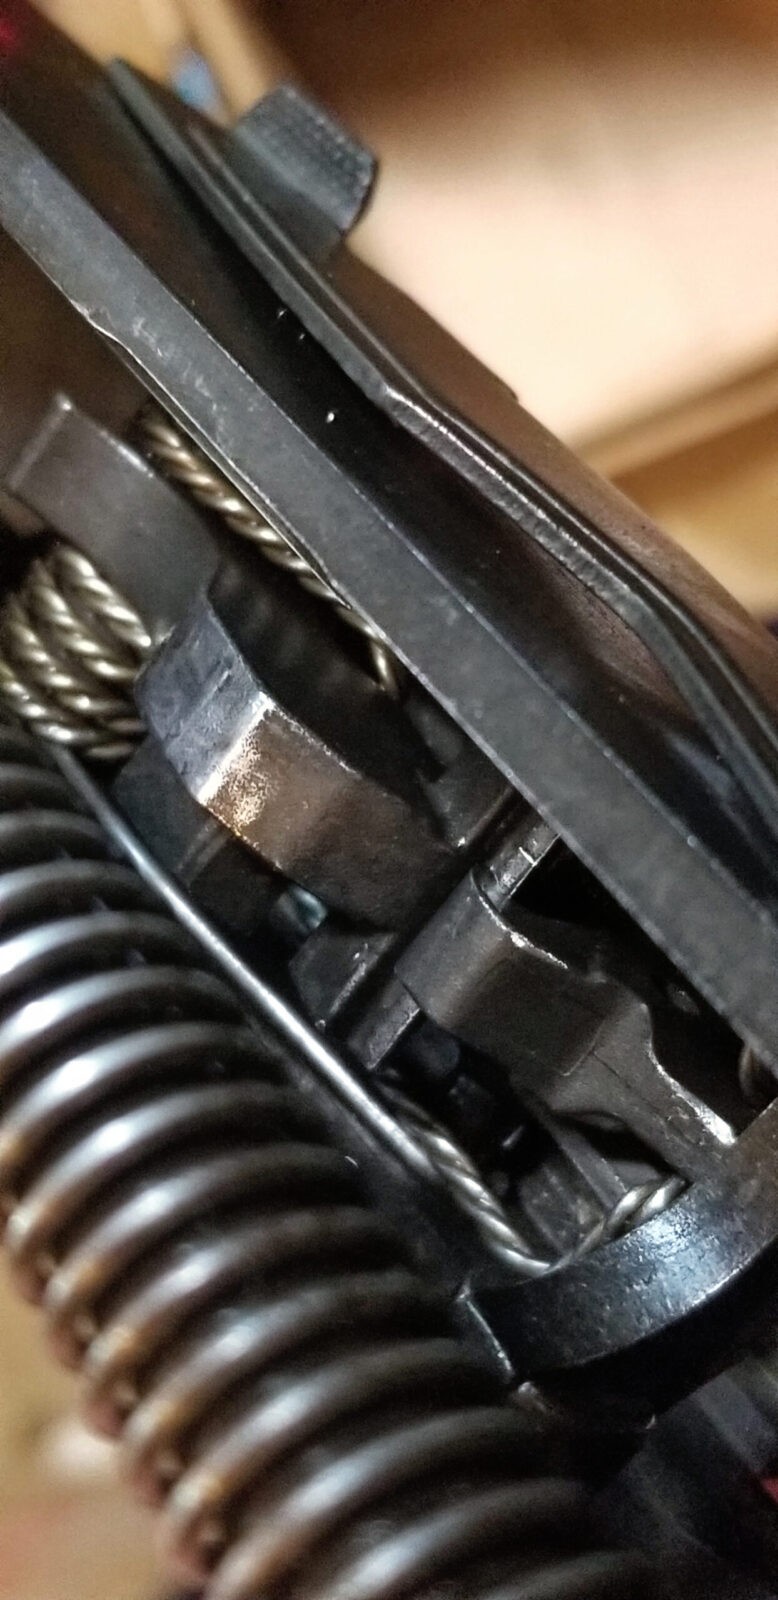
Starting from the right edge of the receiver, you can see the grip nut on the bottom. The selector lever and thumb extension are two parts located above it. You can then see selector, and the hammer retained by the twin hooks of the trigger. Note the two part springs IMI used – in an AK, there is a single fire control spring that does double duty to both handle the hammer and the trigger. With the Galil, the hammer spring is a twisted wire design but there is a unique dedicated trigger spring. Purely from a redundancy perspective, I prefer the braided AK spring the handles both. I am not too sure how the Galil design would fair if the trigger spring failed on one side. It is secured on both trigger forks independently so…. not sure how well it would work if one side failed.
Remove the IMI Group
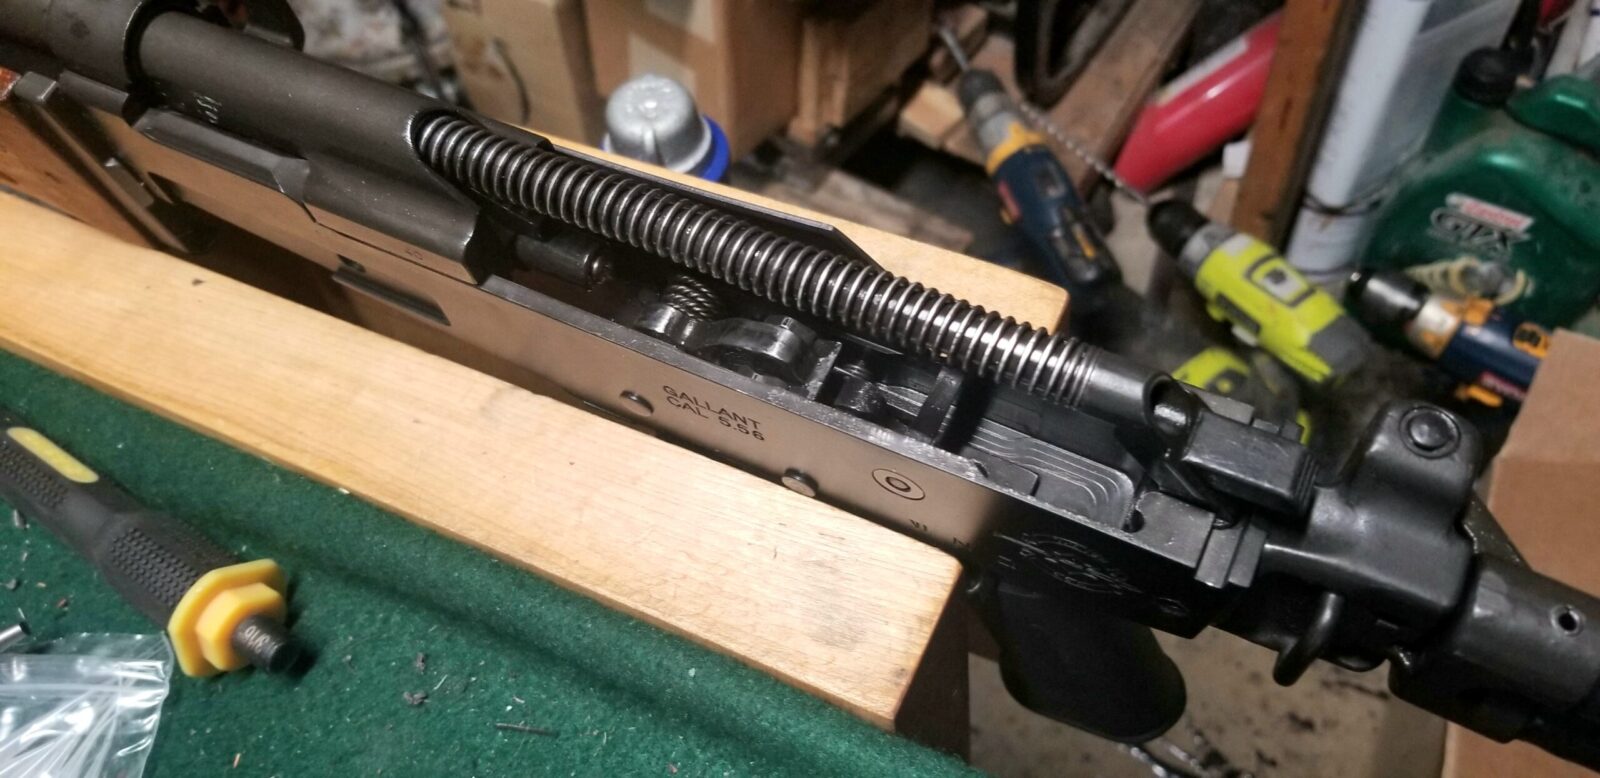
First off, remove the dust cover. Next, remove the recoil spring and bolt assembly. You can then look down right at the innards of the rifle.
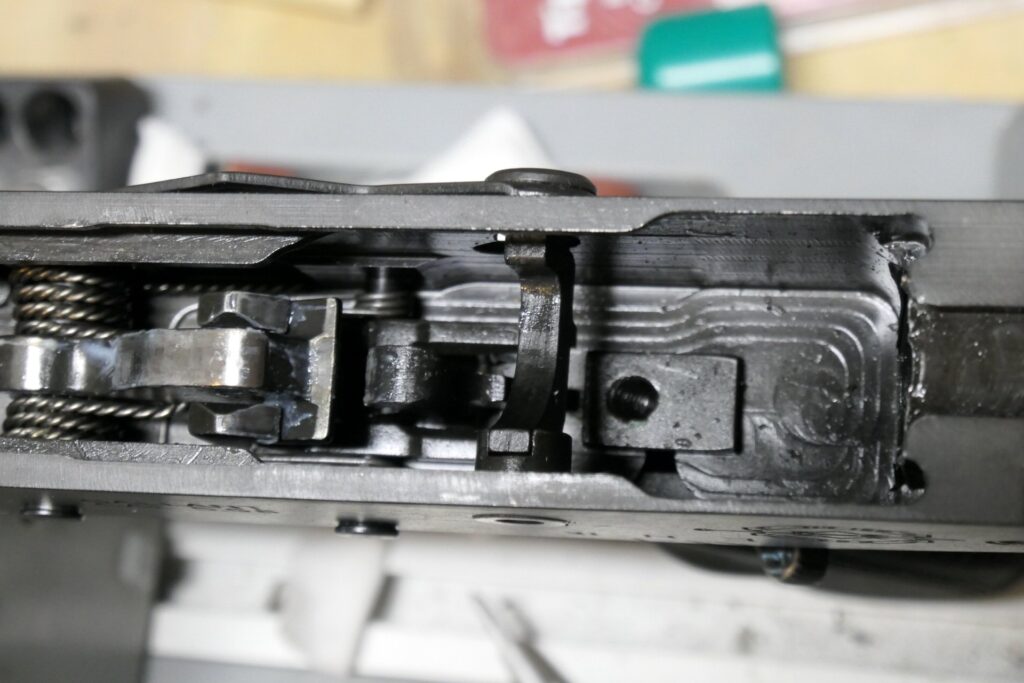
The dust cover is off and you can see the recoil spring assembly and the back of the bolt carrier. Both of these plus the pistol grip will need to be removed so you can then remove the selector lever, thumb selector and, finally, the fire control group.
Remove the pistol grip by unscrewing the grip screw on the bottom. You can then have enough room to swing the selector lever so the notch in the receiver will allow you to remove the lever from the left side.
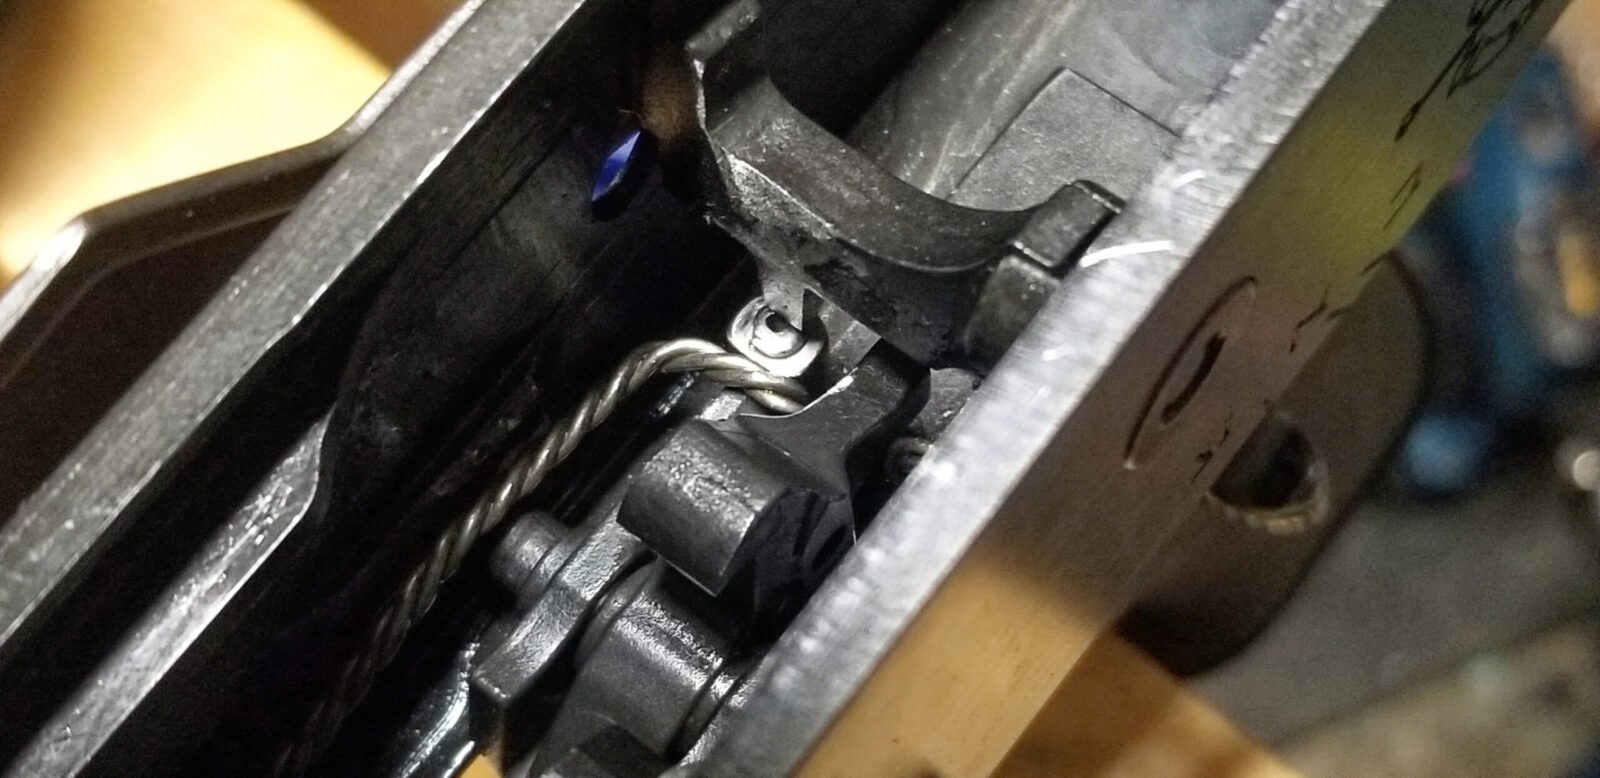
To remove the hammer and trigger pins, you must first remove whatever retaining wire the builder used. JRA used this really elegantly simple retaining wire where you push it up off the hammer pin and then can push it back and remove it from the trigger pin.
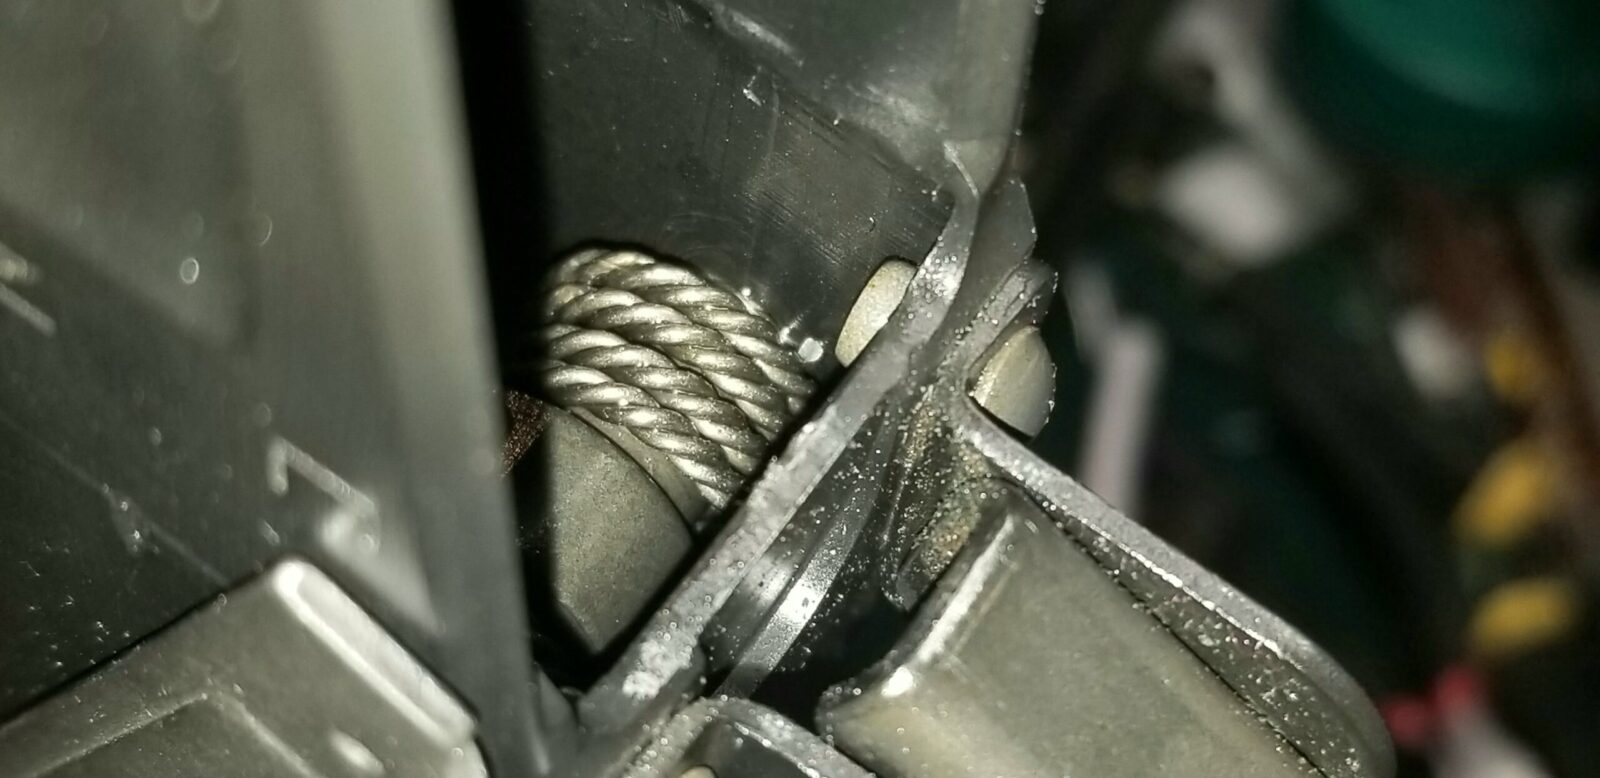
The retaining clip’s front edge is just to the right of the braided hammer spring. I inserted a small screw drive and pried upward and the clip came right off. Now not all builds use this same type of clip but it is wonderfully simple.
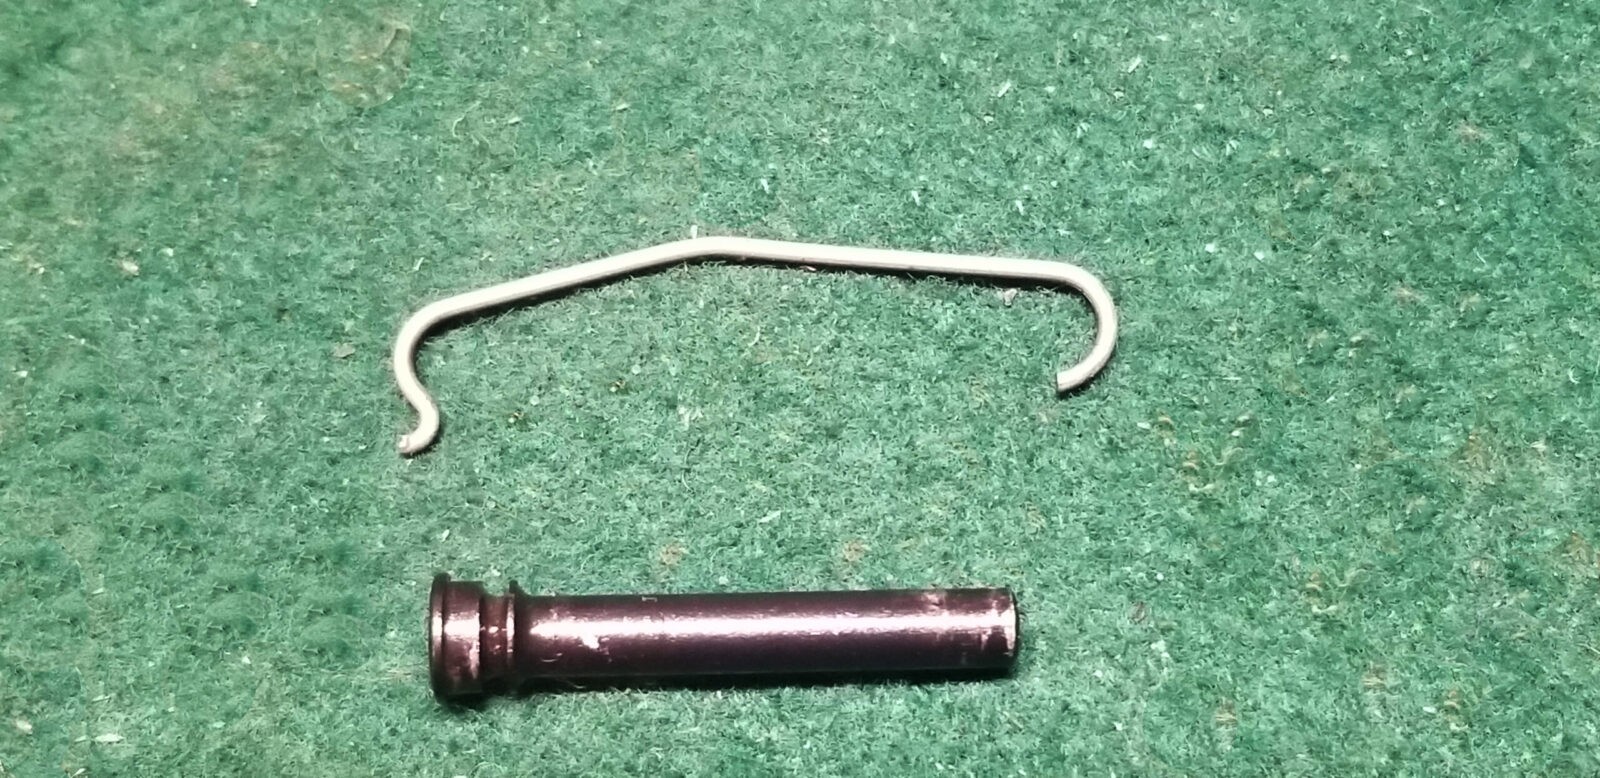
This is a close up of the retaining wire and one of the fire control group pins. The pins are the same for the hammer and the trigger. The rear of the retainer that looks like a semi-circle goes into the trigger pin’s groove and then the wire is rotated down and pressed onto the hammer. The small lip on that part allows the pin to flex and snap into place into the groove of the hammer pin. It’s really quite elegant. Yes, I realize my bench cover is messy.
Last photo of the retaining wire. It also gives you a good look at the really beefy double hook trigger that the Galil uses. If it weren’t for 922r, I would have left it in. Note the orientation of the hammer spring.
You can either remove the hammer first and then the trigger or vice versa because the springs are independent. I removed the hammer first .
Here’s the hammer. Note the short dedicated spring. If installed, the legs would be rotated clockwise 180 degrees.
The hammer face is polished smooth allowing for the bolt carrier to pass over it very easily. I suspect the JRA builder did this because it is uniform. When forearms “wear in” and the parts get to know each other, you see a polishing of sorts. If this was done by wear then it is surprisingly uniform. Again, if it weren’t for 922r and my wanting to use surplus mags, I would have run with it.
After having a few “where did that part go?” moments over the years, I now use magnetic trays and put small parts in them. I have a variety of sizes that I’ve picked up over the years and they really make keeping track of parts easier.
For whatever reason, IMI opted to use a single strand wire for the trigger. It’s fairly fault tolerant – if one side breaks the other would still provide some function but I do find it an interesting departure from the typical AK where the legs of the hammer spring provide the pressure to reset the trigger. At any rate, the spring shown goes into a small hole in the trigger on each side.
To remove the spring, use a small blade screwdriver. Insert the head between the wire and trigger and twist to remove the spring from the hole. Do this on each side and then the trigger pin can be pushed out. The pin will be under tension so don’t try beating on it before you release the spring.
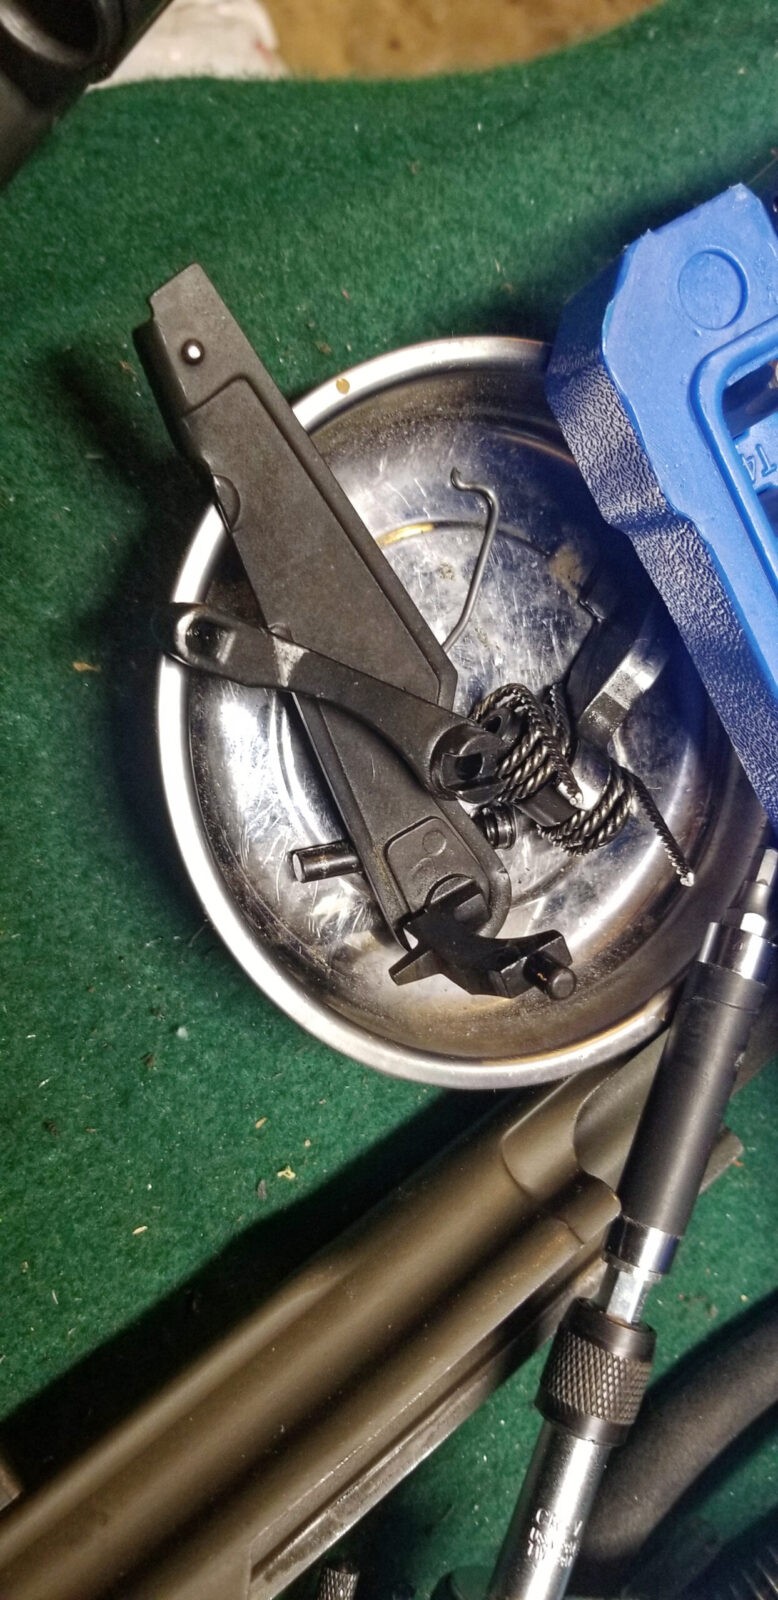
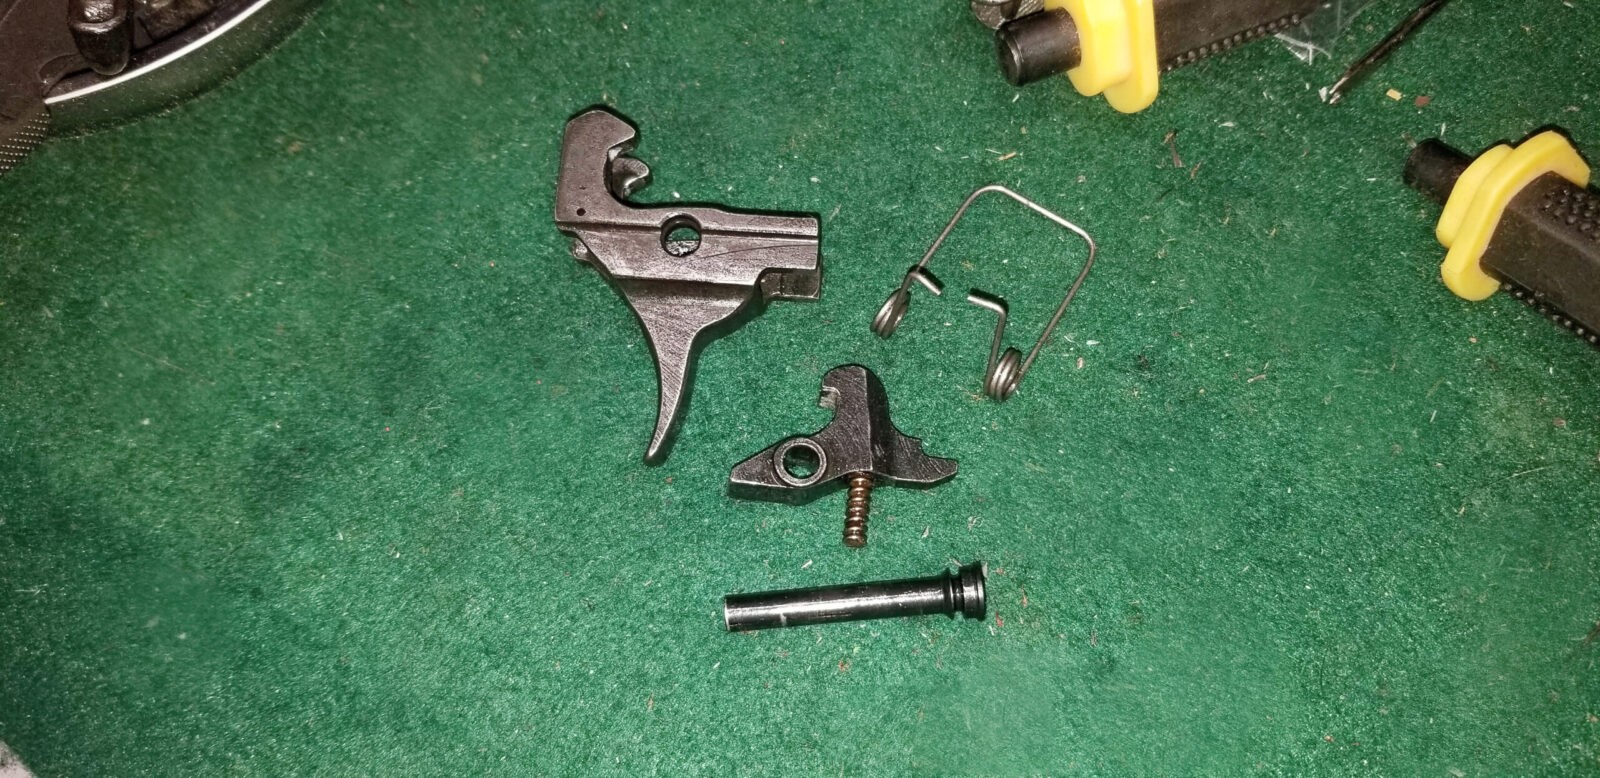
Here’s a good look at the trigger group. Top left is the trigger. It is a double hook design (meaning it has a hook on each front side to grab the hammer). You can see one of the unique holes drilled in the hook to hold the trigger spring. To the right of it is the unique IMI Galil trigger spring – single wound. In the middle is the disconnector and the spring is still in the body – those can weaken over time. At the bottom is the trigger axis pin.
Install the ALG Group
Despite the unique springs in the Galil, any AKM (AK Modern) fire control group will work in there – Tapco, Fime, ALG, etc. Right now, my favorite AK triggers are from ALG.
As a bit of background, ALG is the sister company of Geissele Automatics who make my favorite AR triggers. ALG are the initials of Amy Lynn Geissele (the wife of Bill Geissele who founded Geiselle Automatics). ALG was founded in 2012.
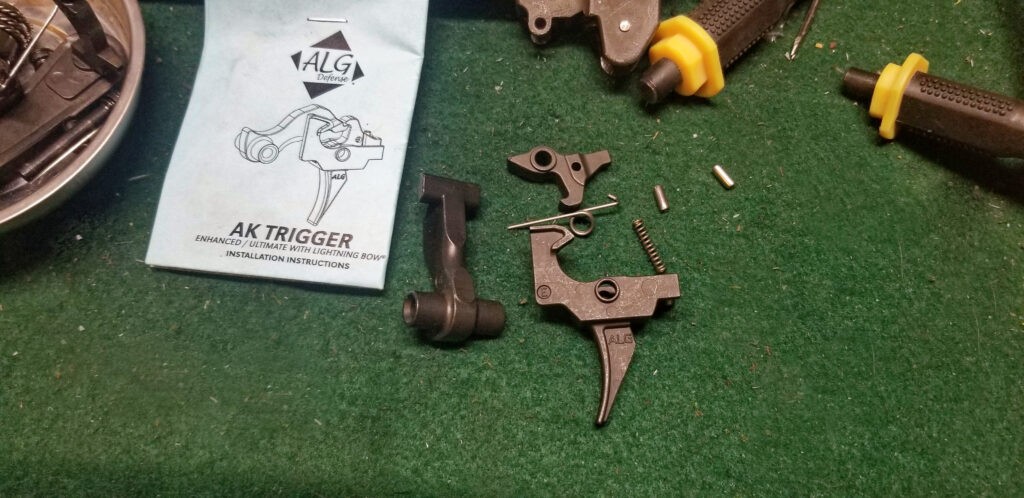
At any rate, ALG makes two AK triggers and both count towards three 922r parts (hammer, disconnector and the trigger each get one point). The AK Trigger Ultimate with Lightning Bow (AKT-UL) is hands down my favorite. It’s light, crisp and my preferred trigger for a designated marksman’s rifle (DMR) build.
When I can’t find or afford the AKT-UL, I use the AK Trigger Enhanced with Lightning Bow (AKT-EL). It’s still far, far better than the typical OEM AK trigger and works just great for normal AK builds. Normally you can find these triggers very easily but not right now – at least not from most normal suppliers who carry them unless you are willing to sign up for in stock notifications and wait.
COVID-19 variants, democrats handing out free money incentivizing people not to work and continued panic buying have just snarled supply chains everywhere. Trying to find some parts can just be a bear an ALG triggers for an AK are a good example but I am going to let you in on a little secret.
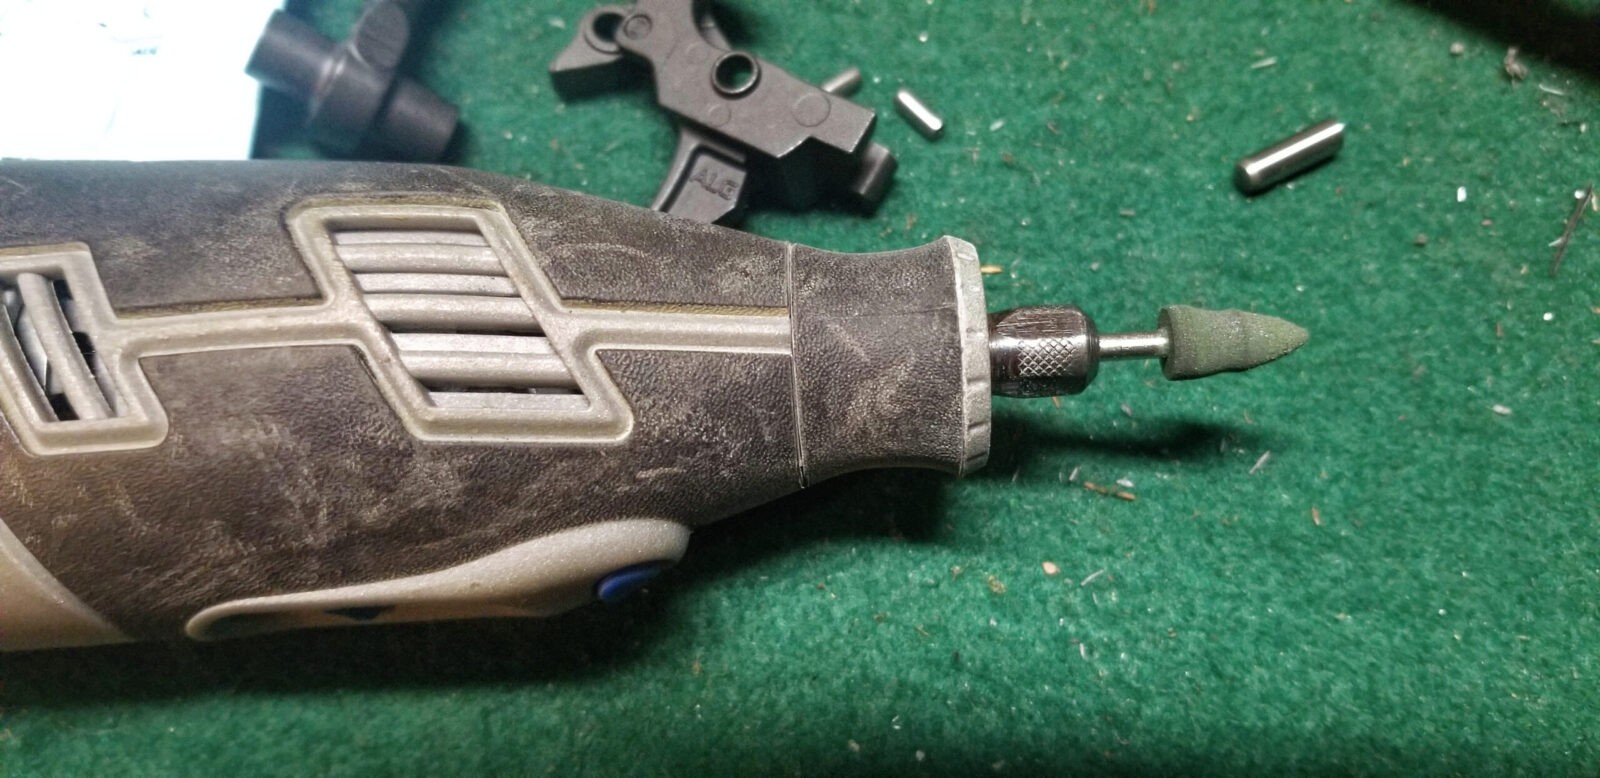
To help smooth things out, I always put a rubberized polishing bit in my Dremel and polish all surfaces that will make contact – the area on the hammer where the hooks and disconnector grab, the bottom of the hooks and the bottom of the disconnector. I can’t stress this enough – you just want to lightly polish. You absolutely do NOT want to remove material or you will likely mess up the functioning of the trigger. Never use sand paper. I like rubber polishing bits but felt bobs with polishing compound work also.
The fastest lowest stress way to install an AK trigger is to use a slave pin during assembly. You put the spring in the disconnector, position the disconnector in the trigger and then push in the slave pin told hold it all together. Then, when you install the actual trigger pin with the assembly in the rifle, the slave pin exits the other wise as it is pushed out by the trigger pin being inserted. It just so happens that we make and sell them. Click here to go to our store’s page.
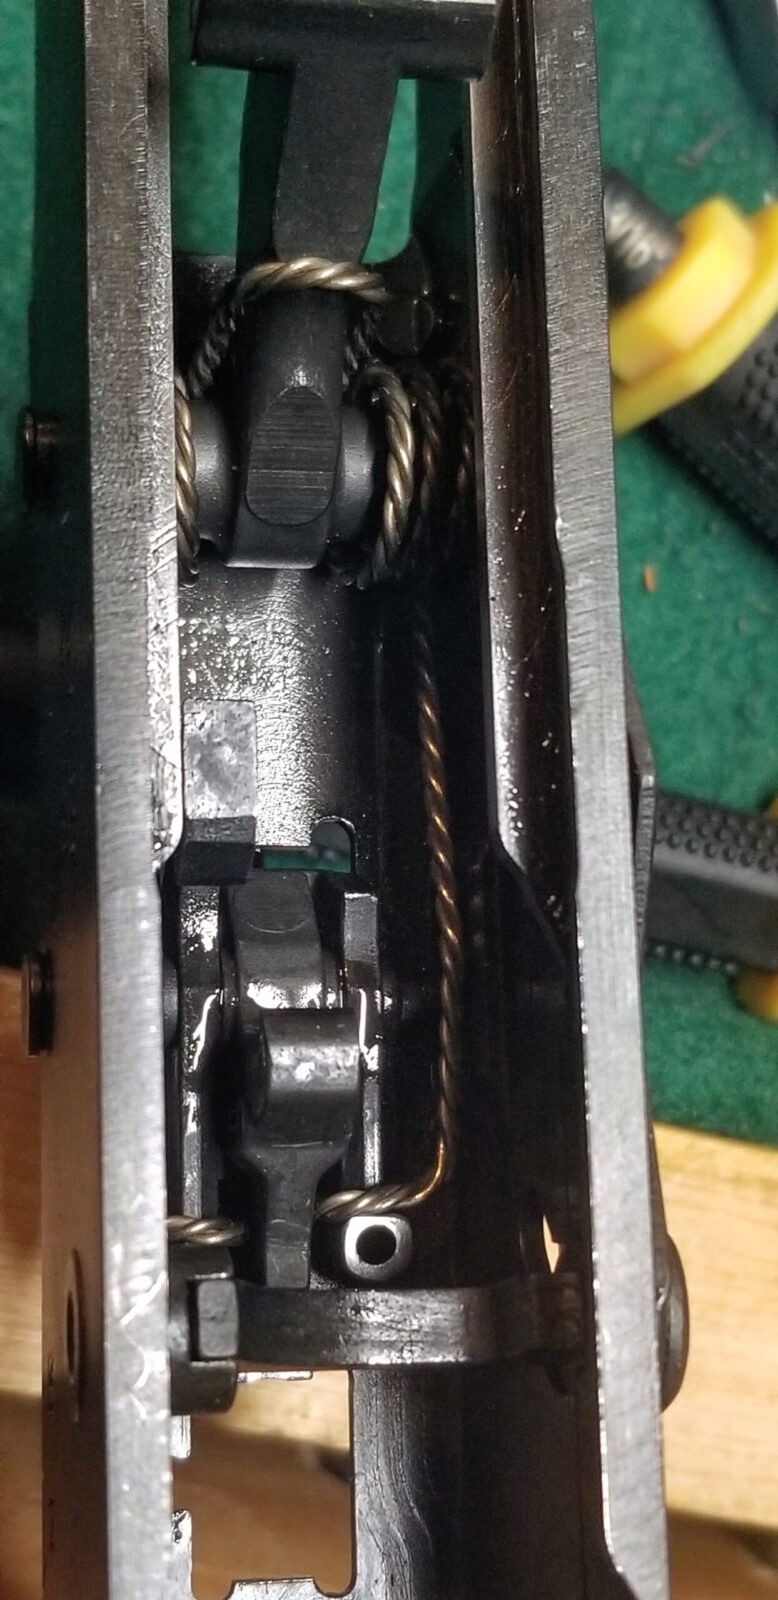
In case you aren’t familiar with AKs, note the orientation of the hammer spring. It can be a bear to install due to the torque the spring is generating. The legs of the spring set on the back legs/bars of the trigger.
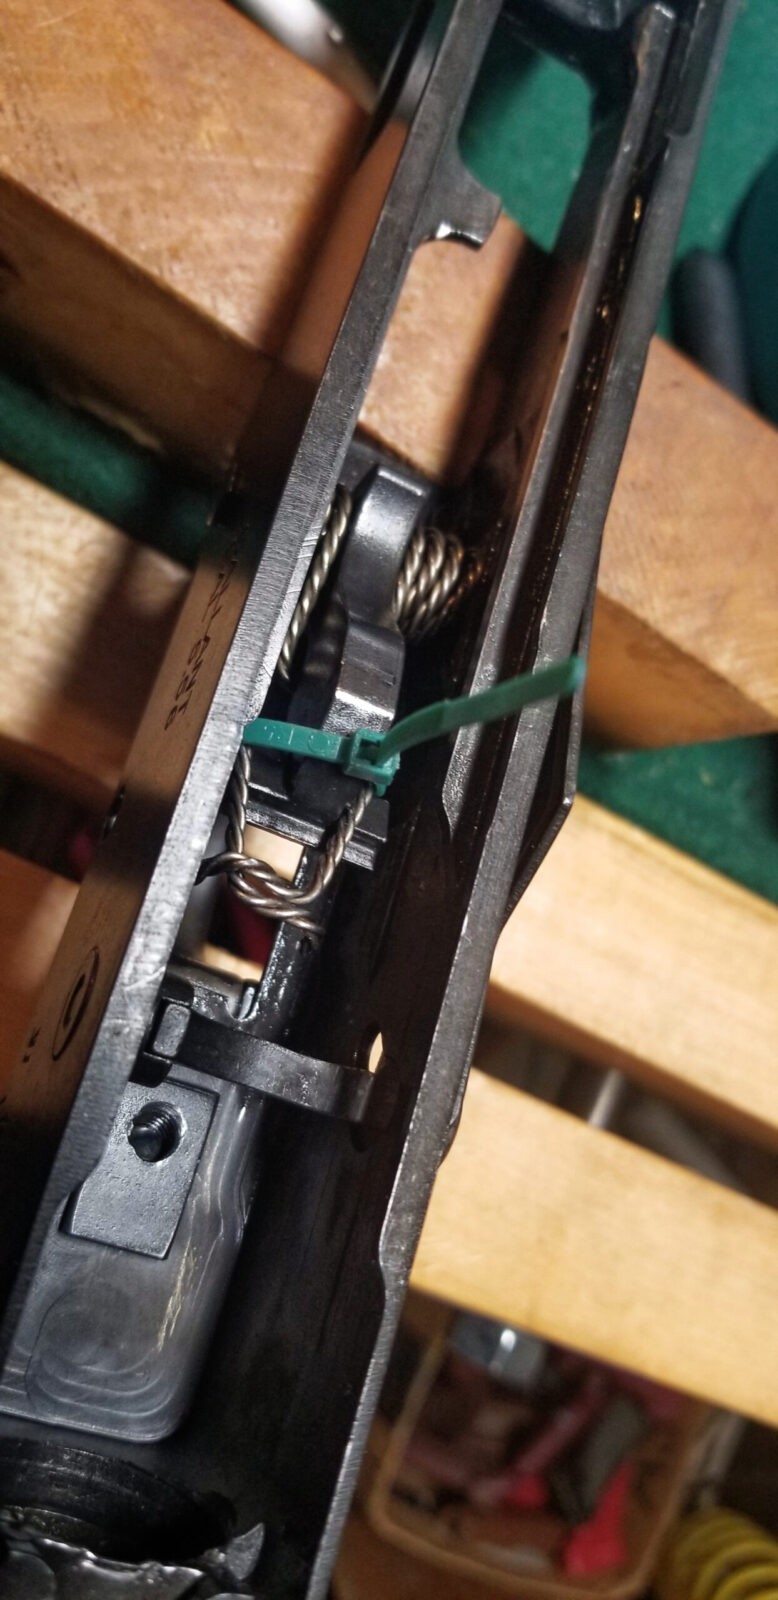
By the way, here’s a little trick for you when you do install a hammer – use a small zip tie to secure the legs of the spring in the proper orientation. Get the hammer in place with the pin installed and then cut the zip tie. Note the positioning of the spring in the photo above so you can zip tie it accordingly.
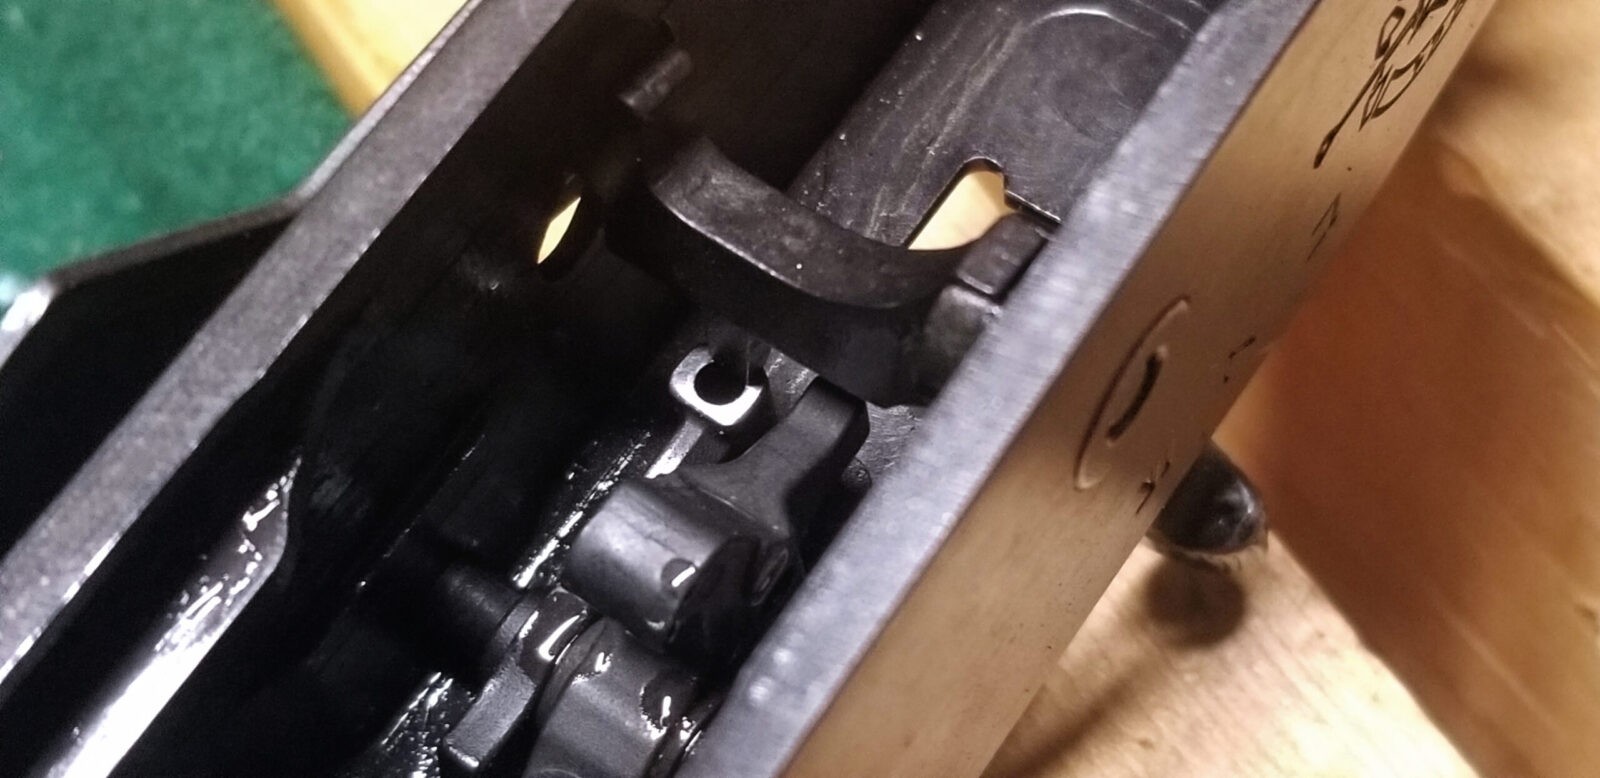
One thing with the ALG triggers, they supply you two roll pins in case you need to adjust the gap between the back leg of the trigger and the selector/safety lever. The hole you see above and to the left of the disconnector is where the roll pin goes if you need it. I installed the hammer and trigger and tried testing. Without the pin, like you see it right now, the safety does not sufficiently block the trigger and it will fire. In other words, it needs the pin or there will be no safety mechanism.
The fastest way I have found to install that roll pin is to tap it far enough to start and then fully seat it with a vise. You can do whatever you’d like. It will need trimming from here.
You can use a file, sanding drum or whatever to remove enough material so the height of the pin allows the safety bar to move into position easily but also no longer allows the trigger to move enough to release the hammer. The ALG trigger comes with two pins just in case but my recommendation is to just take your time, remove a little and test over and over until it fits just right. You can’t tell from the photos but I think it took me around six tries to get it to fit right. Don’t rush is the message.
I like the design of the Gallan’t fire control pin retaining wire clip so I used that. Normally with AKs, I use plates but the big Galil does have a unique non-operating/left-side to accommodate the thumb lever so a normal plate will not work. Again, I like the clip JRA made and used it (I still use it actually).
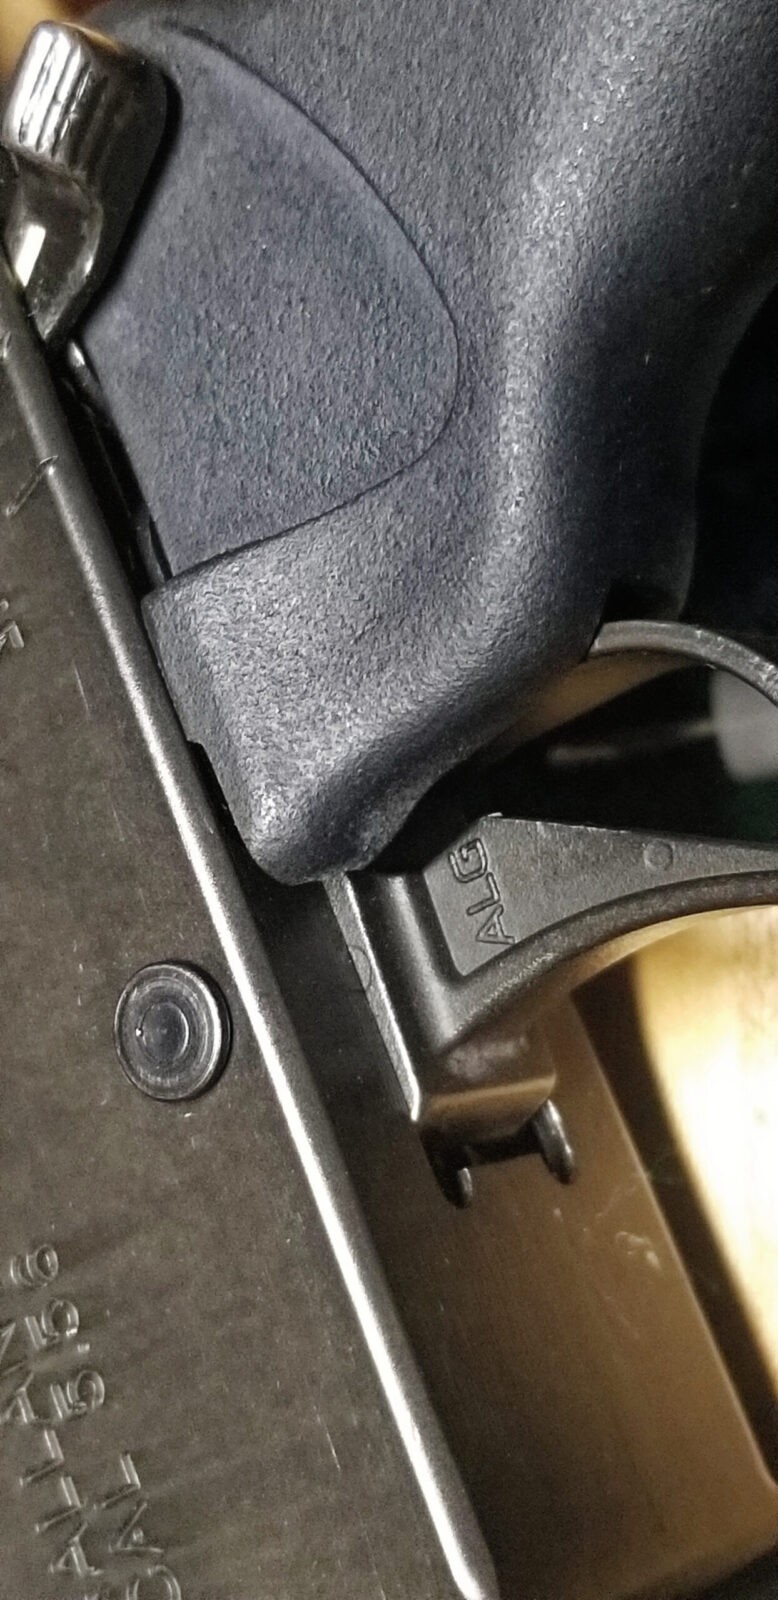
Now, there is one gotcha and I want you to know right now very clearly before you pull your hair out. The ALG trigger is slightly wider so the leading edge of the original IMI Galil grip will cause it to bind. I did all the testing without the grip and then when I installed it, the trigger no longer worked right. Seriously, I had a WTF moment because this does not happen on AKs … then I remembered the long part of the Galil grip and sure enough it was preventing the trigger from rotating freely.
It’s an odd angle but you can clearly see where the grip was causing the ALG to bind. I just removed a bit of material from that leading edge and it was good to go. In hindsight, I could have used a drum sander on a Dremel and just removed material from the inside edge where the problem was. I used my belt sander and that’s the only reason I removed material all the way across. I’ll go the Dremel route next time.
Done
So that’s an overview of installing the ALG fire control group in a Galil. It’s really straight forward and other than few small unique features of the Galil, it’s a straight forward swap just like any AK.
Up next, I will go over cleaning the surplus Galil mags and getting them ready.
Note, I will do a function testing post also – always clean, lube and function test a Galil or AK before you take it to the range to avoid surprises.
Note, I have to buy all of my parts – nothing here was paid for by sponsors, etc. I do make a small amount if you click on an ad and buy something but that is it. You’re getting my real opinion on stuff.
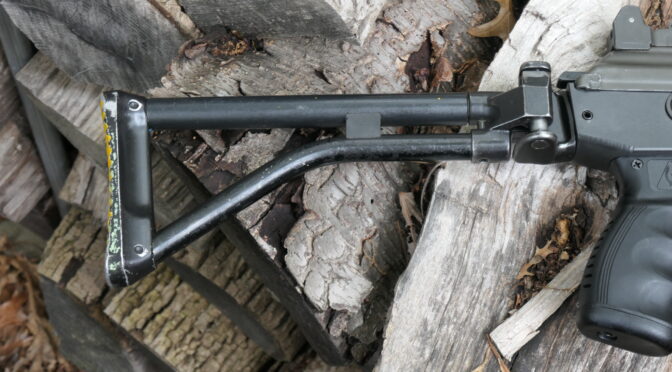
The first thing I decided to do was to replace the buttstock and it was purely for cosmetics – the original locked up solid and did the job. I happen to have two SAR kits that I hope to build some day so I could look at them and pick parts. It just so happened that one of the SAR kits had a stock that was in much, much better shape.
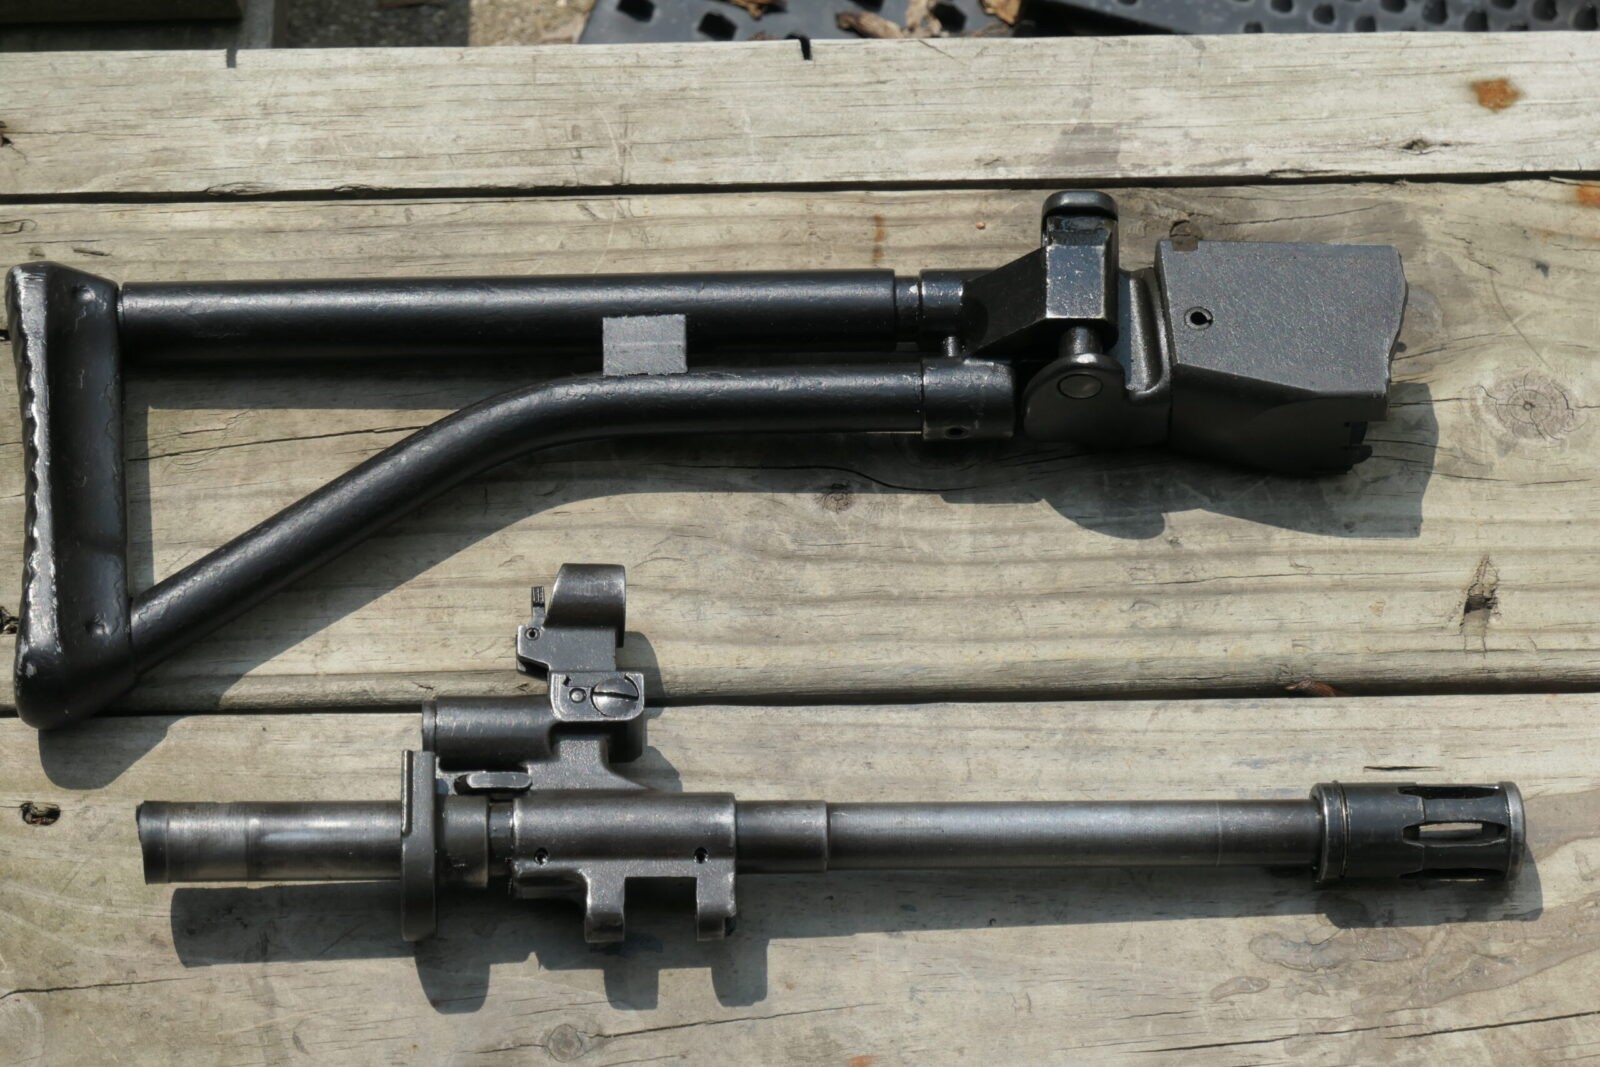
The buttstock assembly I planned to use came from a SAR kit I had. The barrel stub has the night sight and I was thinking of moving the flip sight to the Gallant but changed my mind. I figured I could at a later date should I want to but I also realistically knew I would never need them. My goal was to get the Gallant into the shape I wanted it – not to build a perfect replica.
A Galil buttstock is press fit into the rear of the rear of the receiver and held in place by a roll pin that goes through each side of the receiver.
To remove the stock, first punch out the pin using a roll pin punch. These punches have a small round hemisphere in the middle that sits inside the roll pin and the shoulder of the punch rests on the walls on the pin that enables for the punch to properly drive out the pin with even support all the way aroud.
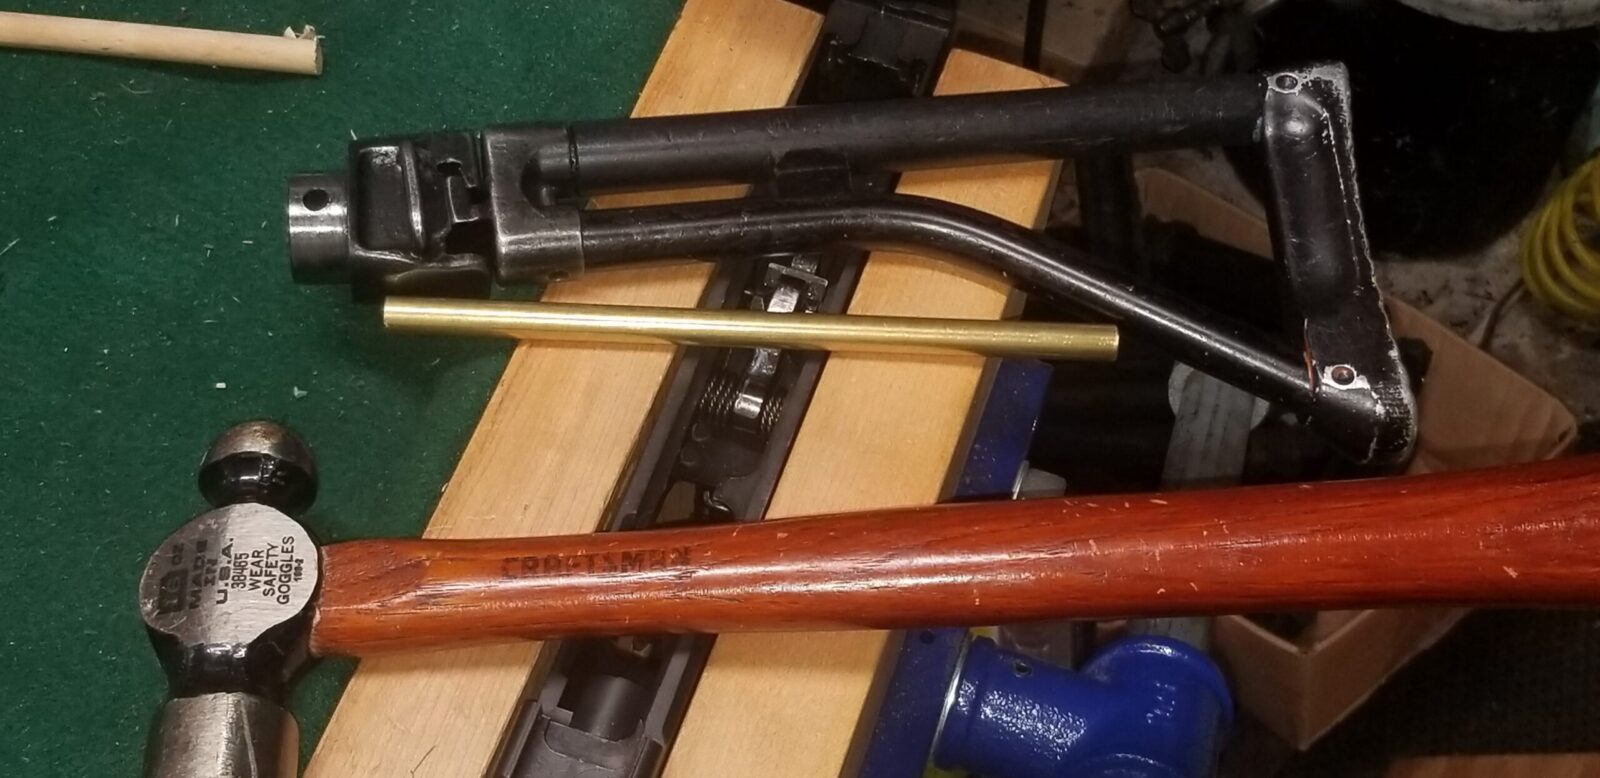
The SAR receiver stub is supported by a bench block and I am using a roll pin punch with a hammer to drive the roll pin straight out. I used a 3/8″ brass rod and hammer to drive the stock out of the stub and also out of the Gallant’s receiver.
To drive the stock back out of the receiver, I would recommend a 3/8″ brass rod cut to whatever length you want/need. Before the brass rid, I tried a hardwood dowel but the end simply broke apart against the metal insert. The stronger brass rod and a hammer made quick work of pushing the stock back out without harming the surrounding steel.
Here is the stock that came with the Gallant. I used the 3/8″ brass rod and ball pein hammer to drive/knock the butt stock out of the receiver .
I used a rubber dead blow hammer and whacked the new stock back into position. I had locked the stock in the open position and was striking the buttplate that I planned on refinishing anways.
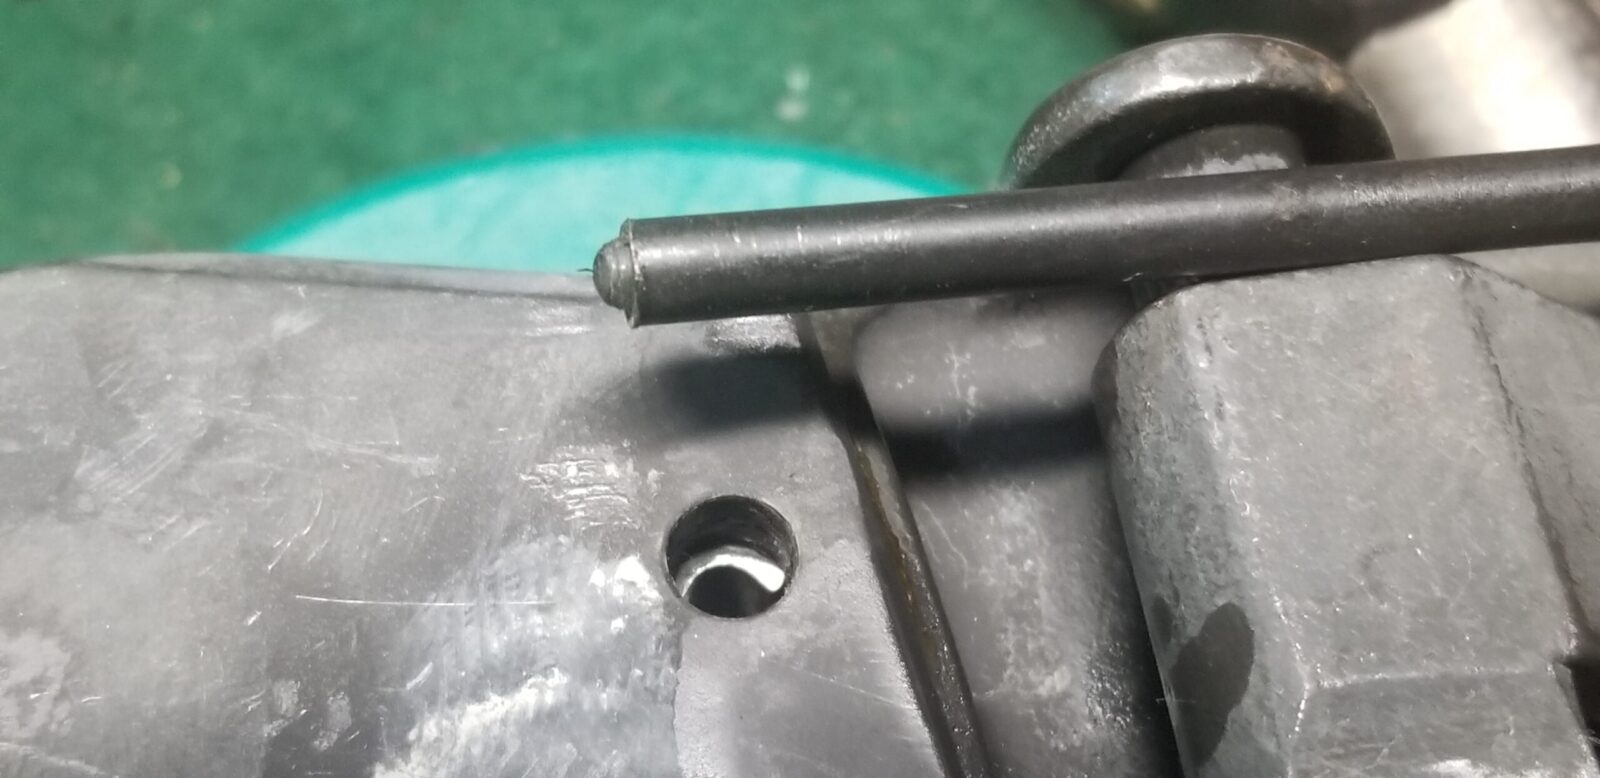
One challenge was that tnew stock’s holes did not line up with the receiver’s holes so. I egged the hole slightly and filled the gap with epoxy, If I ever want to improve the looks, I’ll either weld the holes shut and re-drill them or go to the next size larger roll pin. I guess I just figured they would line up given it was Israeli but it’s not a big deal.
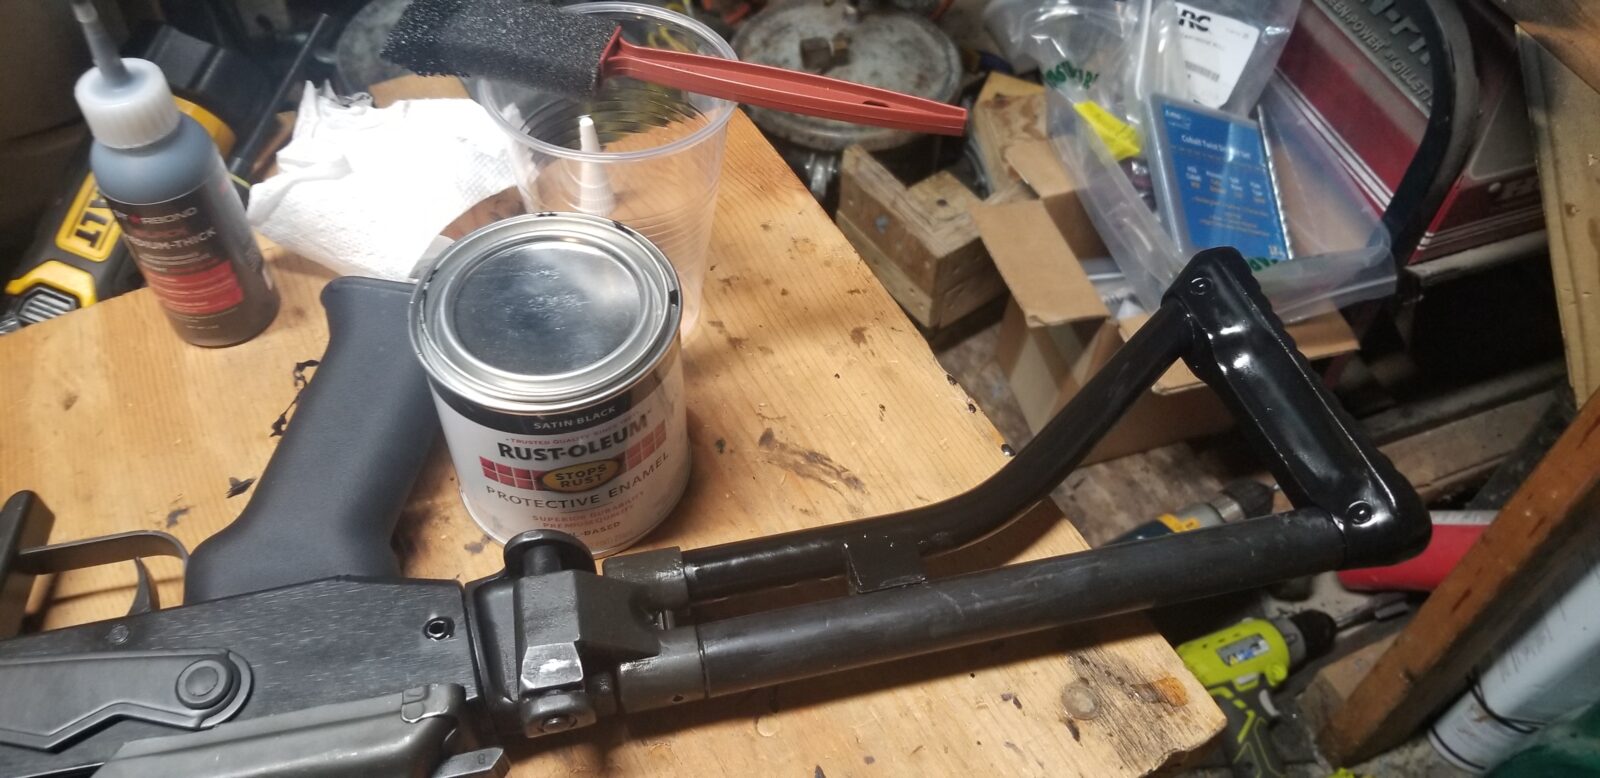
In terms of preparing the replacement stock, I used 0000 steel wool to smooth the horizontal polymer rod. and then applied Rustoleum Satin Black on the metal. What was on both stocks seemed to be something enamalish so I opted to brush on a finish using a foam brush. I did two coats at let it dry for a day before I handled it. Note, bore solvents and what not will probably attack the Rustoleoum so I’ll just try to minimize contact for now.
It came out better than I expected but it was shinier than I wanted. I let the paint harden for a couple more days and then I used 0000 steel wool to knock down the shine. What happens is that the very fine steel wool immparts very small scratches to the surface thus removing the shine. If I had it do do over, I would still use Rusoleum but I would have used flat black. If I really wanted to go nuts, I could have taken everything apart, blasted and parked the steel surface, apply Molyresin or Cerakote, bake it and then reassemble.
The first coat of Rustoleum Satin Black is on the two aluminum portions of the buttstock – the lower angled tube and the rear. The top is some form of black polymer that I ran over with 0000 steel wool. Note how shiny the paint is. After it had a few days to harden I then knocked down the shine by lightly going over it also with 0000 steel wool.
Again, my goal was to roughly stick with a batte worn look vs brand new from the factory. If I ever change my mind, I can always go that route also. A friend once told me that once you get into building guns, it’s kind of like Barbie Dress Up for men. You can change all kinds of stuff whenever you want and your two big constraints will always be time and money.
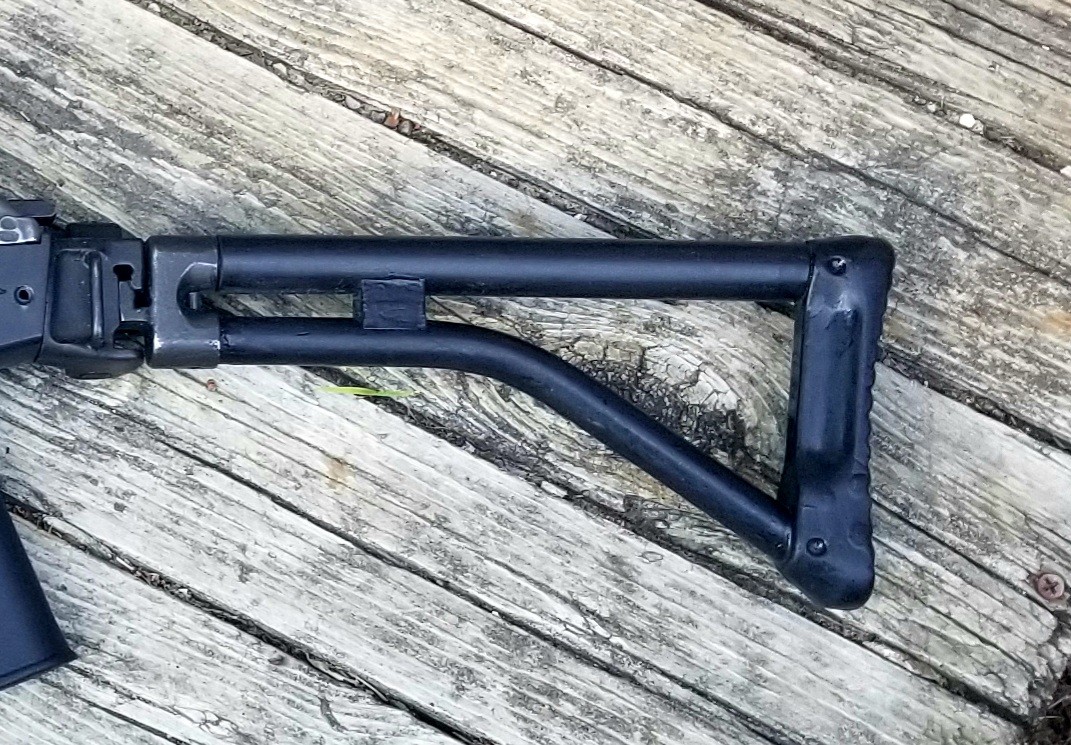
It came out pretty good. I left the steel folder surfaces alone.
So, the final product look came out pretty good – I wanted “worn and mismatched” and that’s what I stil had. Just a tad bit more to my taste. Next up was to fix the handguards so they weren’t so loose.
Note, I have to buy all of my parts – nothing here was paid for by sponsors, etc. I do make a small amount if you click on an ad and buy something but that is it. You’re getting my real opinion on stuff.
If you ever want to start an argument on the Internet, ask what is the best AK brand you can buy in the US or at least ask what is good a good brand. You’ll get a ton of opinions, hear say and even a few people with real experience will chime in.
The other day he sat down and took the time to create what I will refer to as “Paul’s List” to try and answer that question above:
Current 12-12-20 Question one: What new Ak do I buy? Current new production mass market AKs that are proven and a safe bet. Alphabetically · Arsenal, · Century imported WASR or Draco · IWI Galil ACE, · K-USA KP9p/r, · M&M Cugir AKs, · Palmetto State Armory GF3 – up, GF4, 103, AKv, 74 (the only 74 in new prod), · Riley Defense is hammer forged where it counts, should be ok? (test is not completed, ammo is expensive currently for just putting rounds through one for testing) · WBP Poland. Still pretty new, hard to say on this one. Maybe ok · Zastava should be ok, the ones Century imported were hit and miss. New ones have chrome lined barrels (yay and about time) and lets hope better metallurgy than Century imports. o Atlantic firearms often have decent kit builds to purchase, but are not mfg. new AKs. So do many kit builders, we have a list in announcements along with a list of where you can buy kits from. o Please let me know if I forgot any.
·Question two: What are good used AKs to buy? This is a great list Darryn Eugene compiled. AK variant buyers guide (models and variants G2G) 7.62×39 AKm/47 Variants · Mitchell Arms Imports, M-90/m-70 · Mitchell Arms Imports, M-72 · Zastava M-92 (inspect due to varying QC) · Zastava NPAP/OPAP (inspect due to varying QC) · Cugir/Romarm/Century AES-10B not to be confused with AES-10 (basically a long barreled wasr) · Cugir/Romarm/Century Sar-1 · Cugir/Romarm/Century Cur-1 · Cugir/Romarm/Century Wum-1 (check for “moon cuts” meaning a dish shaped portion cut out of the rear of the receiver to dissuade the use military stocks. · Cugir/Romarm/Century WASR-10 variants (only upon inspection) · Cugir/Romarm/INTRAC Romak-1 · Cugir/Romarm/INTRAC Romak-991 (dimple-less single stack pre WASR import. · FEG/Hungary/KBI/Kassnar Sa-85 variants post and pre ban. · FEG/Hungary/TGI Amd-65 builds (not to be confused with Clearview Investments builds) · Valmet, Literally any of them they’re all excellent. · Arsenal of Bulgaria/Las Vegas/Legion SLR 107 variants, SAM-7 Variants, SLR 101 Variants, SGL-21 Variants · BlueRidge/GordonTech/INTRAC SLR100h builds (Hungarian Type3 AK-55 kits on Bulgarian Receivers) · Norinco/Polytech AK47S series. · Norinco/Polytech MAK90 series milled and stamped models. (on stamped models identify whether it is slant cut or straight when figuring your price to pay. · Norinco/Polyech NHM-91 · Norinco/Polytech MAK-91 (20-inch barrel milled receiver rifle, neutered Polyech legend national match). · Norinco/Polytech Hunters. (great for galil/valmet conversion) · GSAD/Kengs/Siles Type 56, AK47S · Molot Vepr 1&2 models (model 2’s being the integrated front sight gas block set up) · Robinson Arms Molot Vepr Conversions · IWI Galil Ace series. · Izhmash Saiga series. · Intrac Maadi ARM · Century Maadi MISR SA (avoid MISR 90) · Intrac Maadi RPM, RML · Steyr Maadi 5.45×39 AK-74 Variants · Cugir/Romarm/Century SAR-2 · Cugir/Romarm/INTRAC MK-2 · Cugir/Romarm/Ratmil WUM-2 · Cugir/Romarm/Ratmil CUR-2 · 1st Gen Waffen Werks (identified by Nodak Spud receivers and Bulgarian barrels) · Arsenal of Bulgaria/Las Vegas SLR 105-104 variants · Arsenal of Bulgaria/Las Vegas/Legion FIME SGL 31 variants. · Marcolmar/InRange Ak-74/AKS-74 · Molot Vepr 1&2 Series · Robinson Arms Molot Vepr Conversions · Interams Tantal · Izhmash Saiga Variants AK-101/5.56 Ak variants · Romarm/Cugir/Century SAR-3 · Royal Tiger/FB Radom/ Beryl Archer · Arsenal Of Bulgaria/ Las Vegas SLR 106 series ( research serial number prefixes to identify potential problemed models) · Izhmash Saiga Variants · Norinco/Polyech 84S · Norinco/Polytech NHM-90 · Norinco/Polytech BWK-92 · Zastava/Century M85 (cannot verify quality of m85NP series) · Mitchell Arms M-90 · Arsenal USA (not to be confused with KVAR) K100 model. (Bulgarian milled receiver assembled with Bulgarian 5.56 barrel on 74 parts. · Arsenal Of Bulgaria SAM-5 · IMI/IWI Galil and Galil ACE variants · TENN Galil builds. · Valmet M72/65 variants. · Valmet Bullpup. M82? Can’t recall model during time of this list. And yes i know i could use google. Don’t judge me…
So for all you folks new to AKs, take a look a the above. The last AK I bought was an IWI Galil Ace and they are superb.
Interested in an American made AK? Consider Palmetto State Armory (PSA) as a source. Click on the following links for the associated webstore categories for AK-related rifles, pistols and parts at PSA: