I’m more knowledgeable about the Soviet AK-47 than I am the German Sturmgewehr 44 (StG 44). The main reason I even known about the StG 44 is from reading about it in books that cited it as being an inspiration to Mikhail Kalashnikov and his design team. But was it really – I’ve heard some heated debates about this.
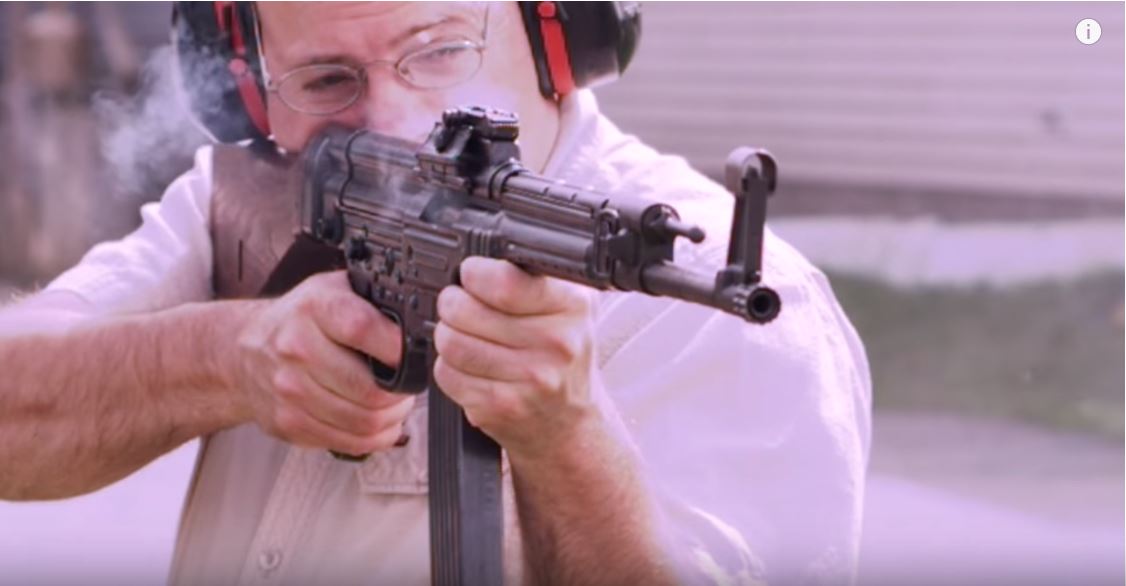
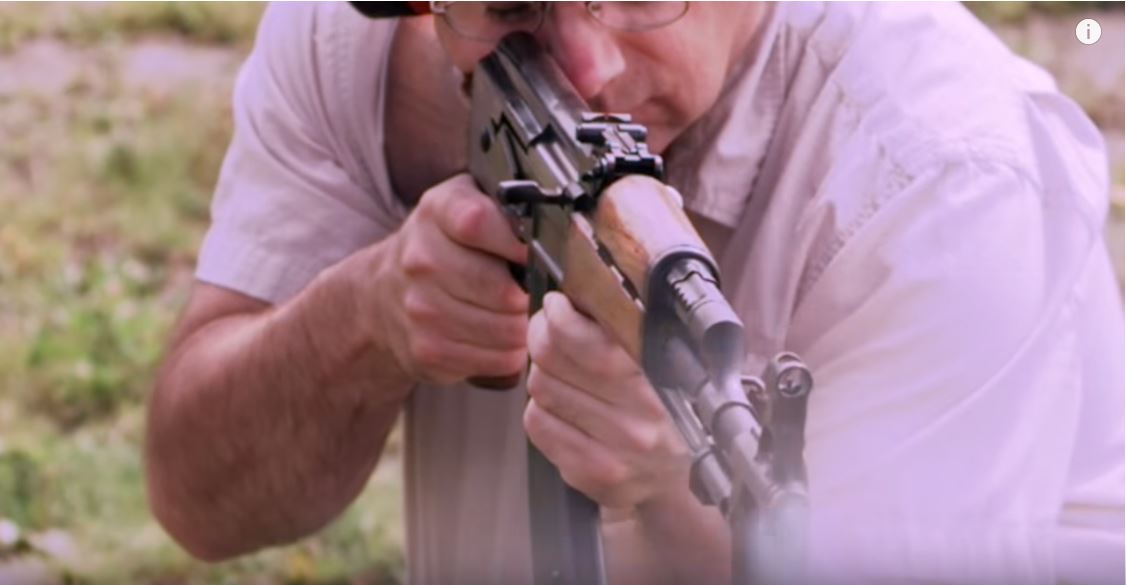
I had some time and watched this brief video where Ian McCollum of Forgotten Weapons has a Chinese Type 56 sitting next to a StG 44 as he talks. They were both on loan from the James D. Julia auction company.
Ian gave a very interesting perspective that the AK-47 was essentially designed as a more powerful replacement for the Soviet’s PPS-43 that fired the 7.62×25 Tokarev pistol round.
In constrast, the Germans were wanting a controllable automatic fire weapon that would increase the firepower of soldiers especially during tactical withdrawals. They had the German 7.92×57 bolt action K98 and the famous MG42 belt fed machine gun also in 7.92×57 but they needed something different hence the StG 44.
Now, I have no doubt Kalashnikov and his design team got ideas from the StG 44. Any good engineer would take an existing design and learn from it. The Soviets needed to build up a hero so there is a lot of myth mixed in with history so I am not sure where to draw the line myself.
The video shows you the two rifles and actually shows live firing of the two so you can see how the StG 44 was actually more controllable. I thought this was really cool because the slow motion really shows the difference.
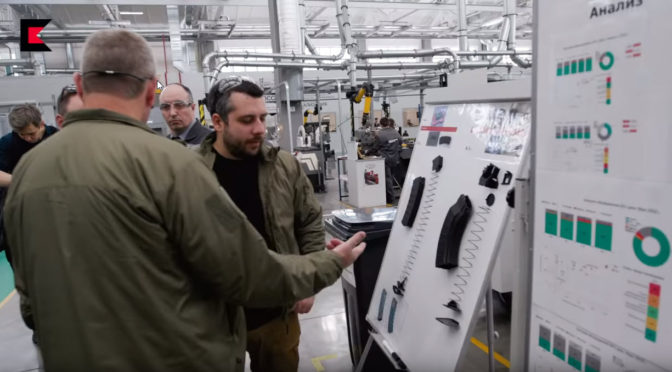
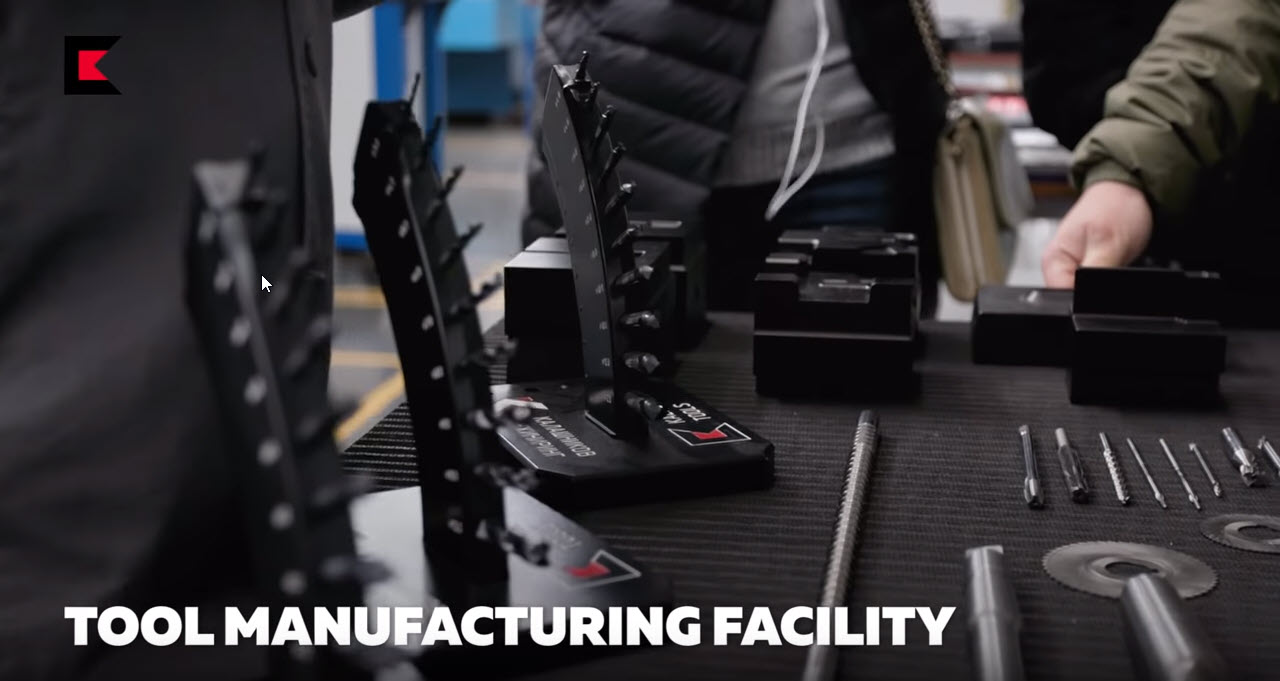
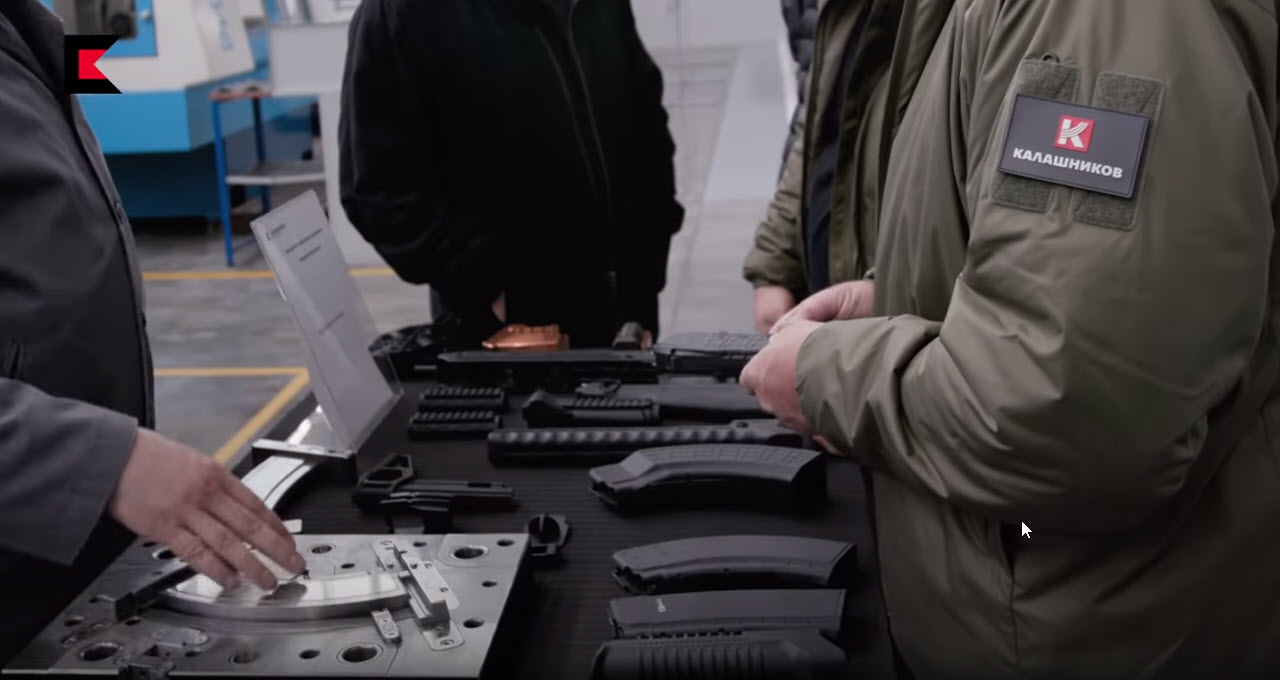
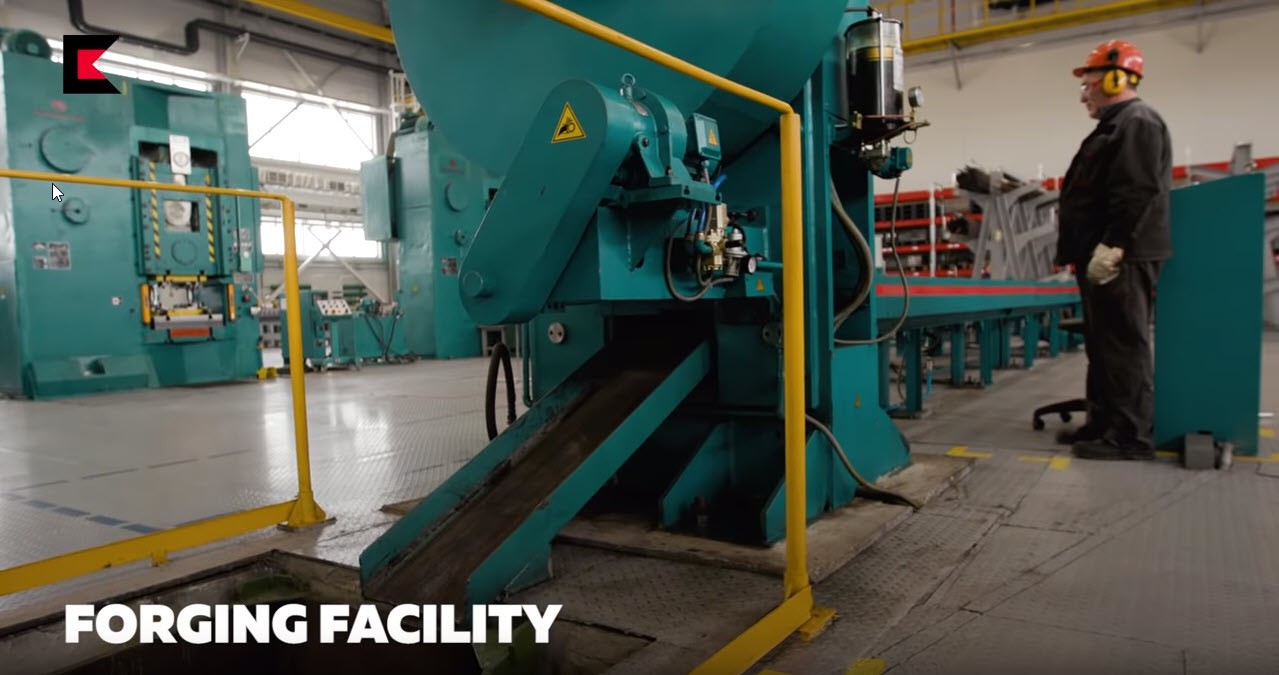
In April 2018, Larry Vickers visited the Kalashnikov Concern factory in Izhvesk, Russia. Given that armory was established on the orders of Russian emperor Alexander I in June 1807 plus most Westerners having mental images of antiquated machines and dimly lit dirty facilities, one might make some very, very wrong assumptions about the modern JSC Kalashnikov Concern.
The very modern Kalashnikov Concern facility is brightly lit, clean and using world class machines. I thought it was interesting seeing all the quality boards and neatly arranged tooling.
Also worth noting was Larry’s observation that with many AK manufacturers trying unsuccessfully to product cast trunnions and bolts that Kalashikov still forges those parts and there is a reason for it – durability.
At any rate, it’s a cool but brief 6 minute video.
Here is the link to Larry’s book on AK rifles that he is selling directly and not through Amazon.
Two guys I really respect, Ian McCollum of Forgotten Weapons and Larry Vickers discuss the history of the AK-47 and also show Larry’s new book on AK rifles. They cover a ton of information through questions submitted by Ian’s followers. For people into the history of the Kalashnikov rifle, this is well worth your time.
Here is the link to Larry’s book that he is selling direction and not through Amazon.
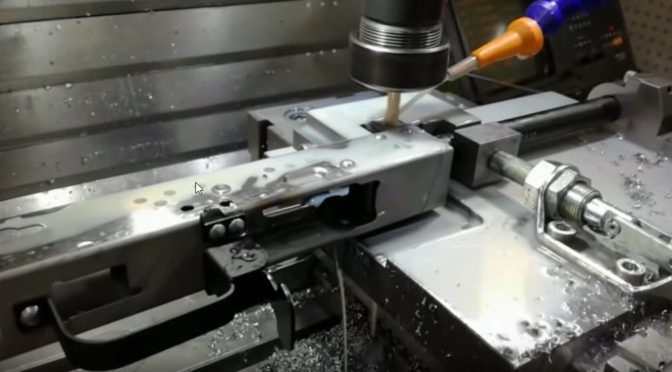
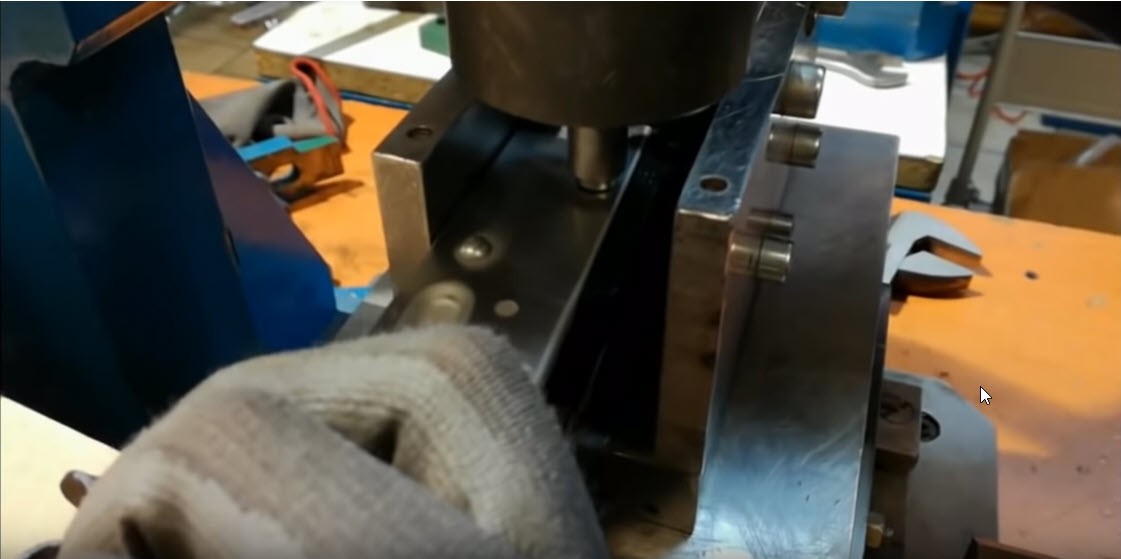
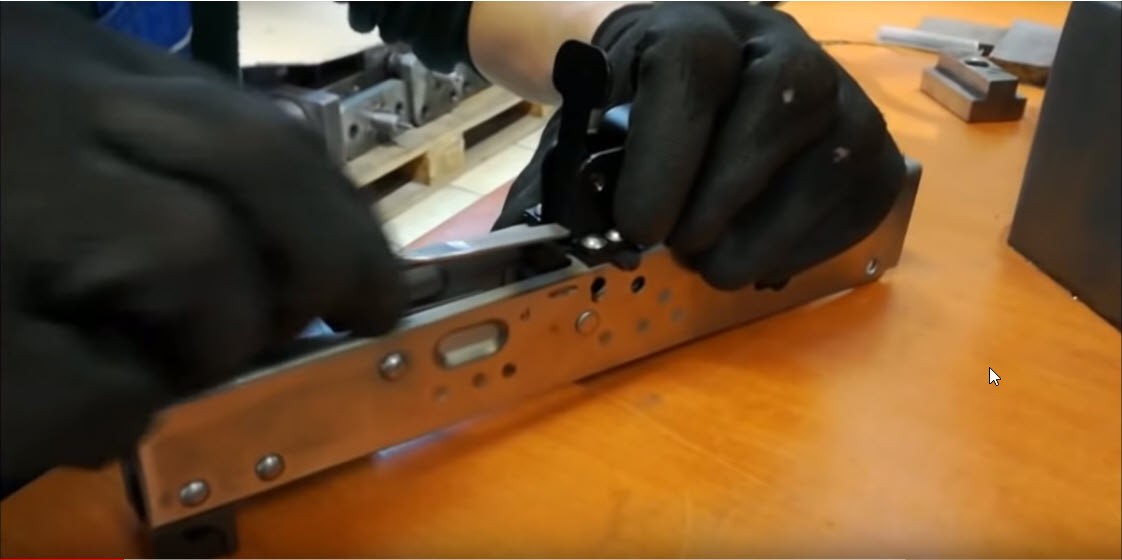
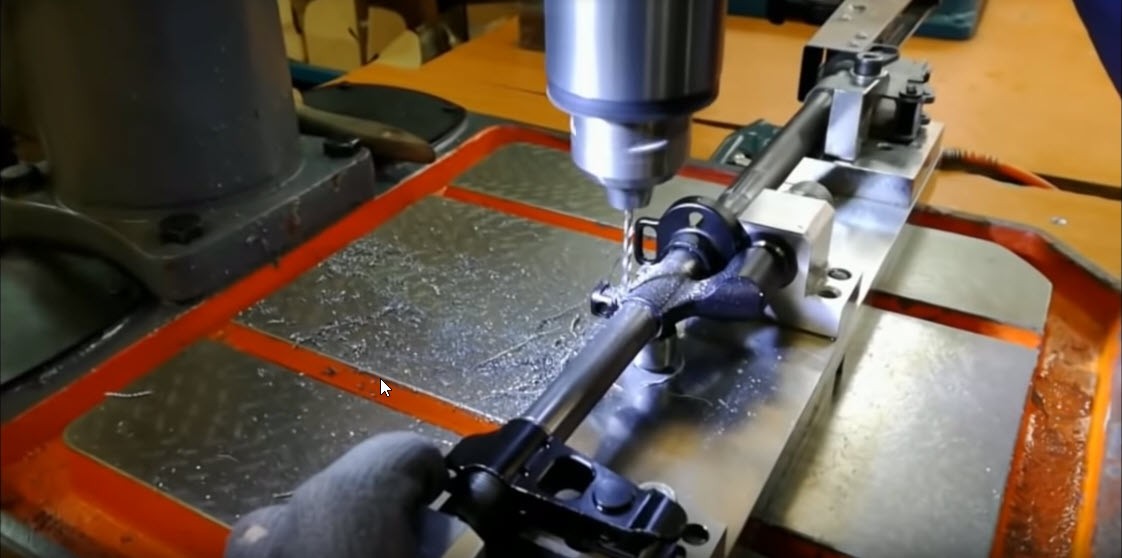
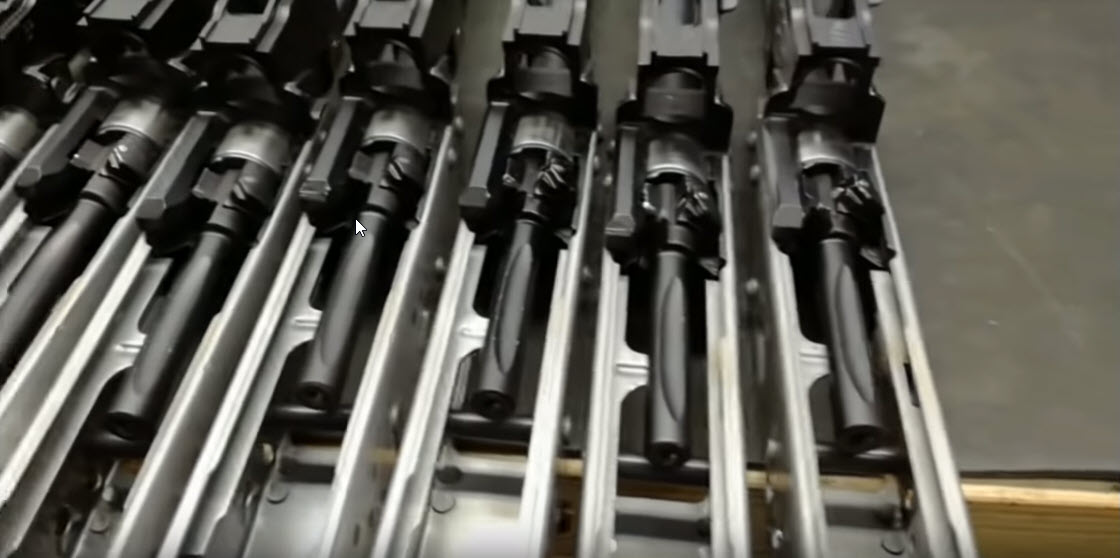
This past Spring I built a Polish Beryl inspired rifle from a WBP kit imported by Arms of America and was very impressed by the quality. I was surfing around on Youtube and ran into this really cool video posted by WBP Rogow showing how they build an AK. I found all the specialized tooling fascinating and was also a bit surprised by the amount of hand fitting – they are putting some craftsmanship into those rifles.
So, I would highly recommend you watch this video if you are considering buying one of the imported Polish WBP rifles or pistols, one of their kits or you are just interested in how AKs are built in general.
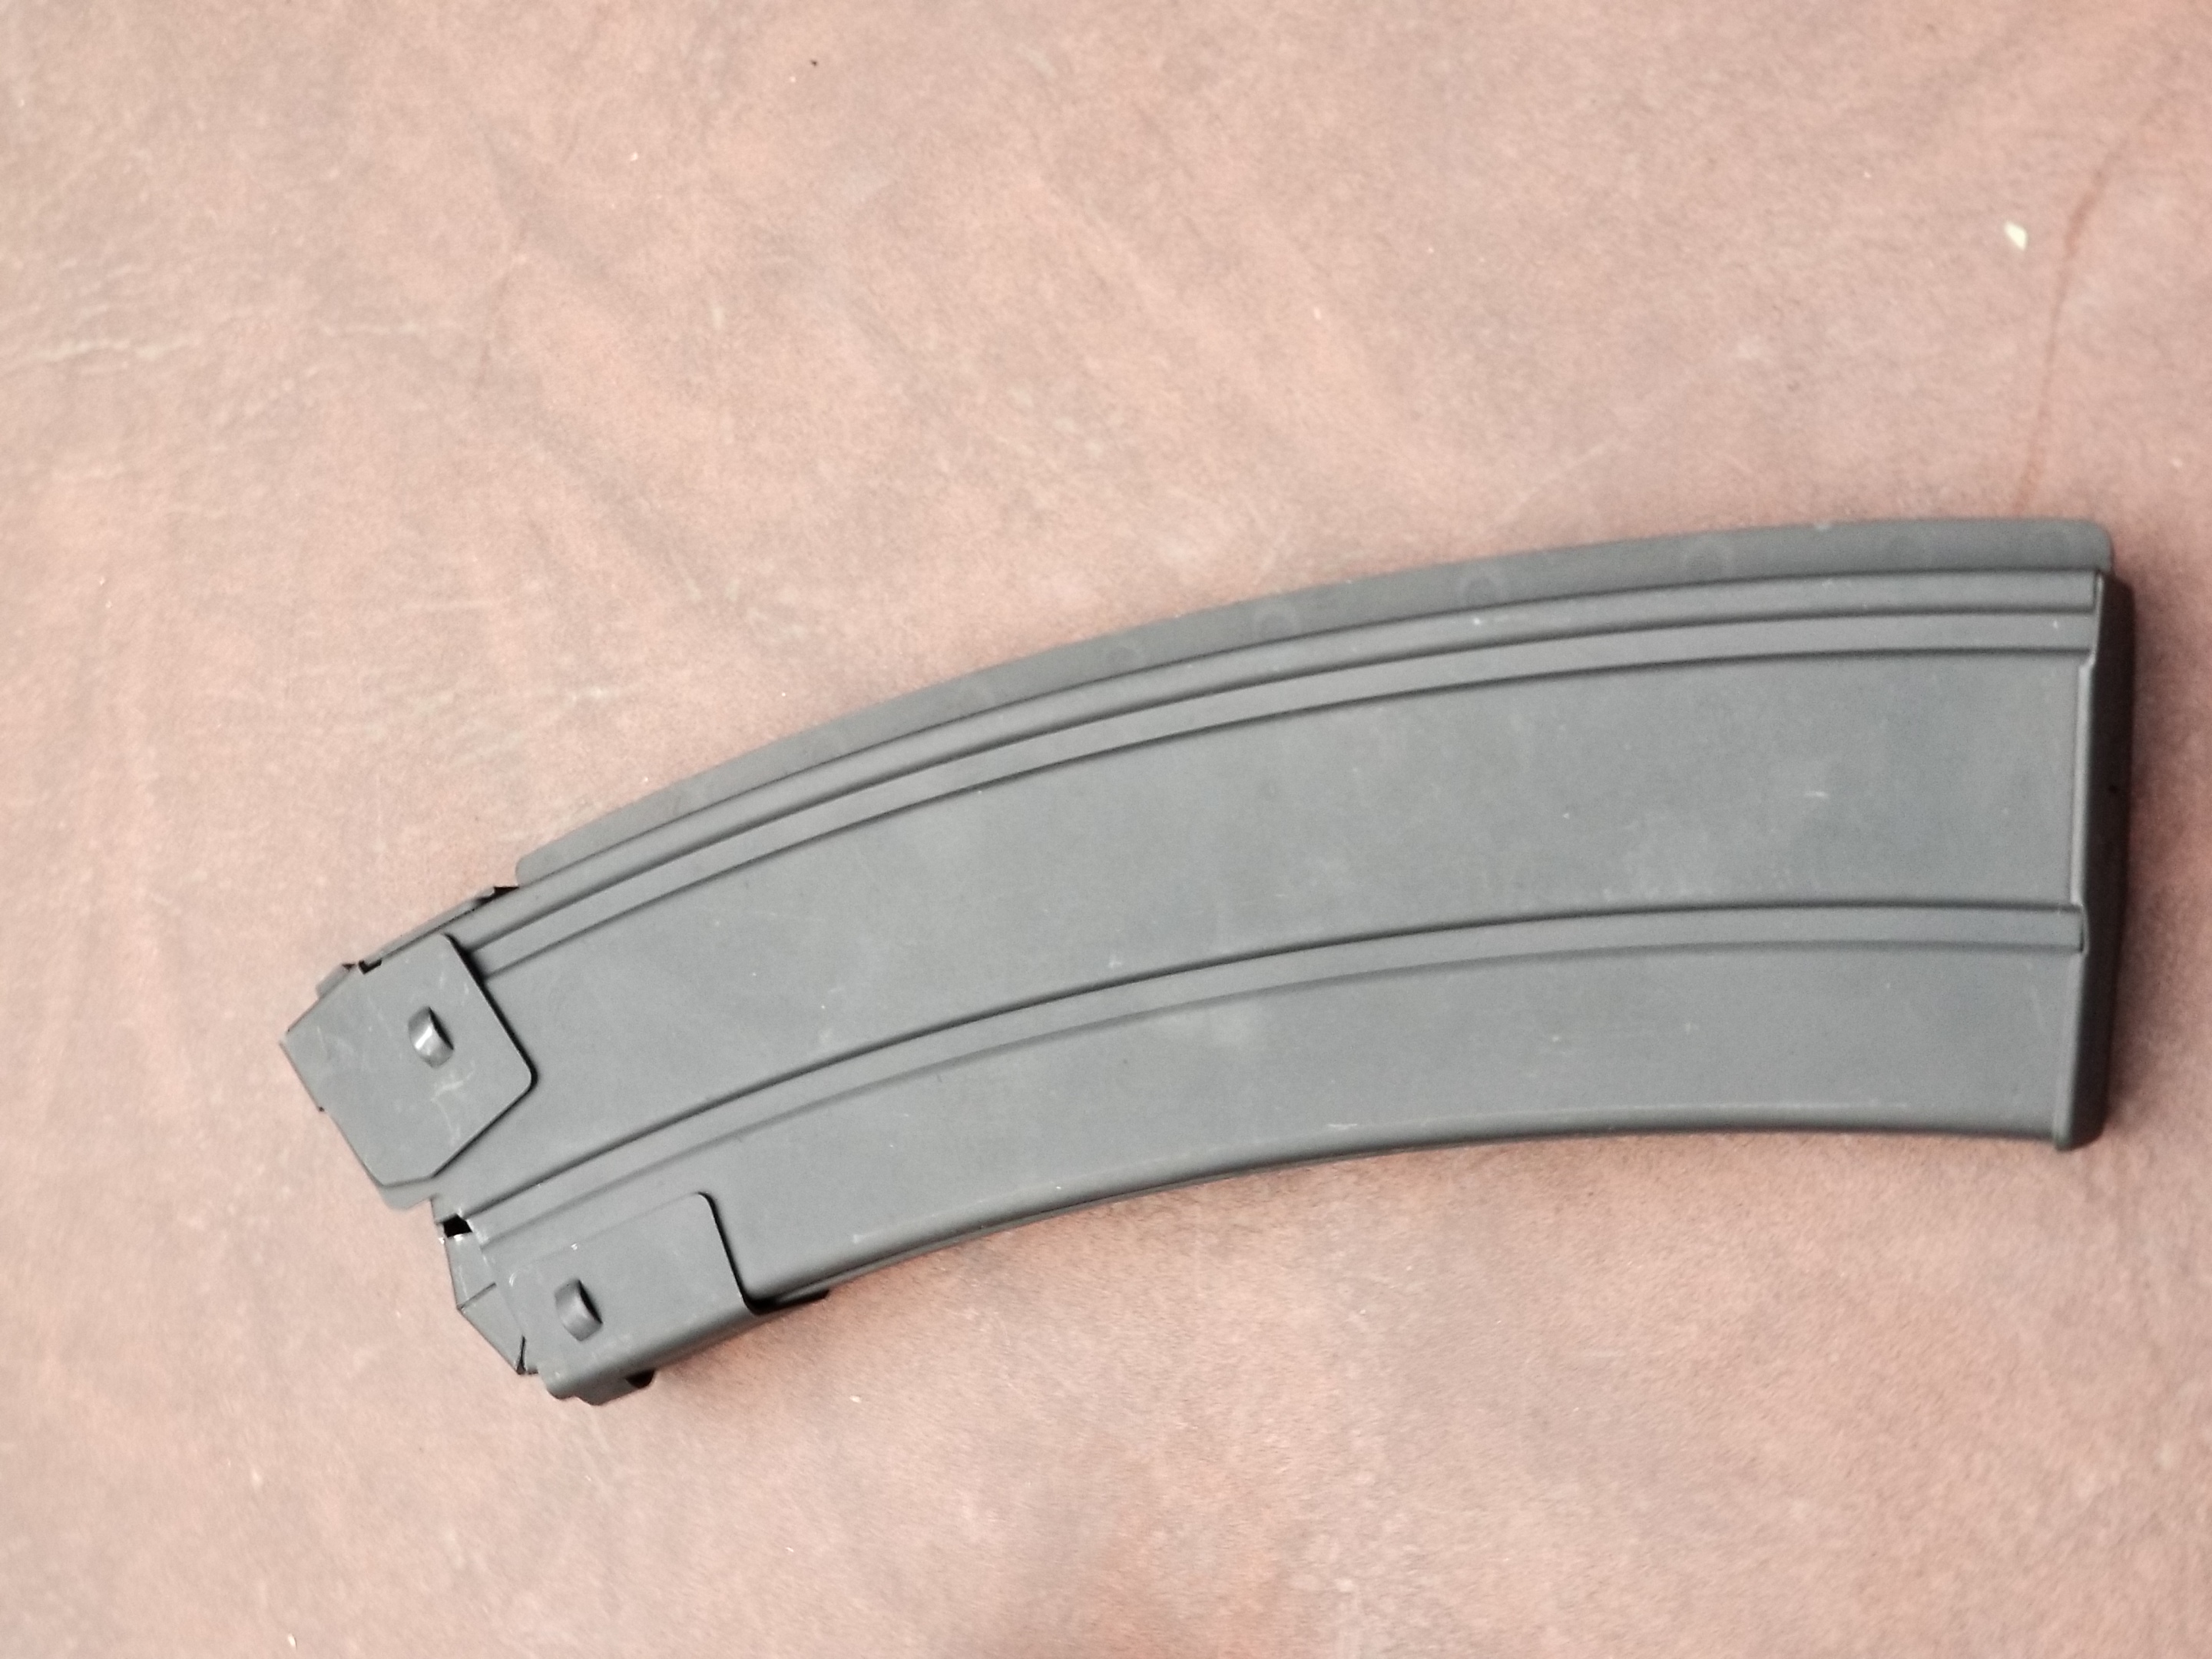
I placed my order on their website and within a week receive to magazines that were built like a tank. I had a problem with some of the plastic SDS 10 round magazines in terms of the follower going all the way to the top. The Csspecs follower shot up in the top so fast I think you could take off a body part 🙂 just kidding but it is very well done.
You have to love a magazine that is so heavily made it can be used as a defensive weapon all by itself 🙂 Seriously, Csspecs makes some wicked mags and they tell you right up front that you may need to do a bit of fitting and I did.
Fitting The Magazines
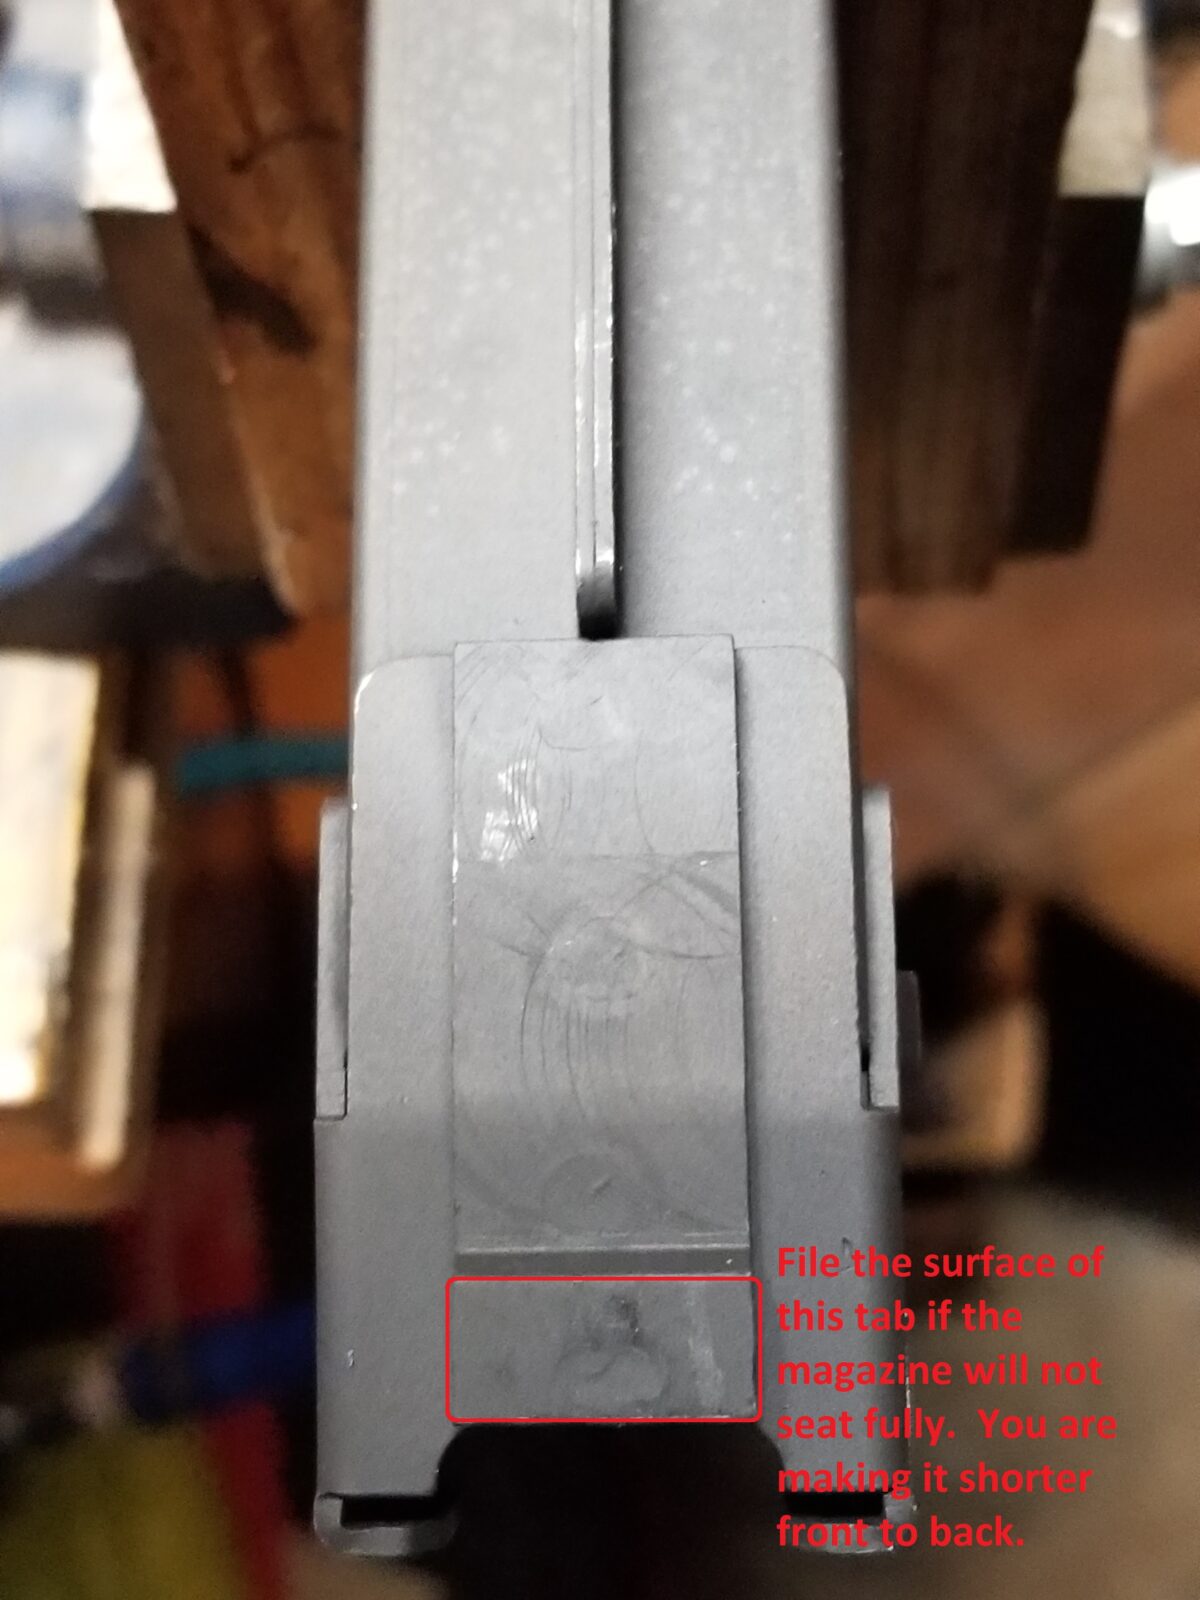
The magazines come with a small instruction pamphlet for fitting that makes perfect sense to anybody who’s ever had to fit AK magazines. Step one is to make sure that the magazine fits correctly from front to back. If it does not you trim a little bit off the back tab of the magazine.
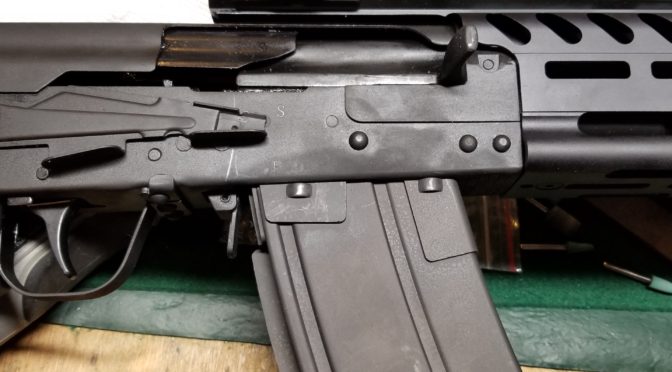
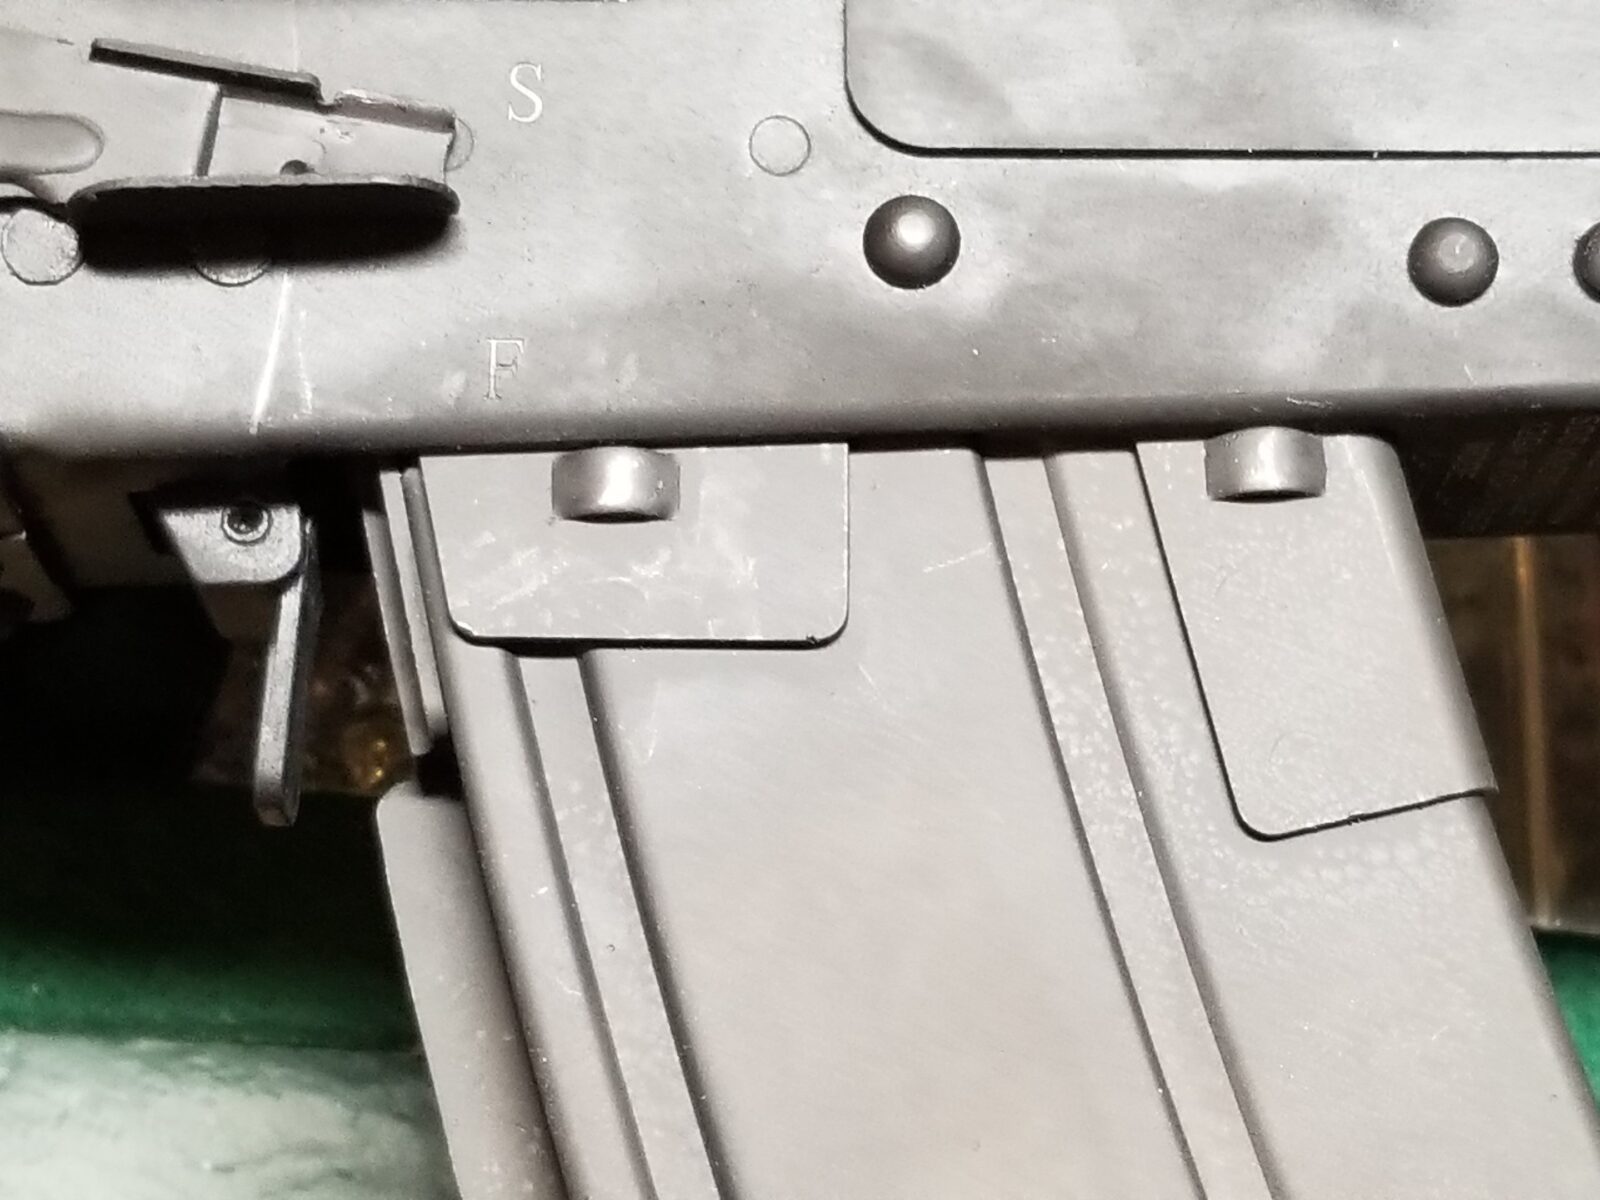
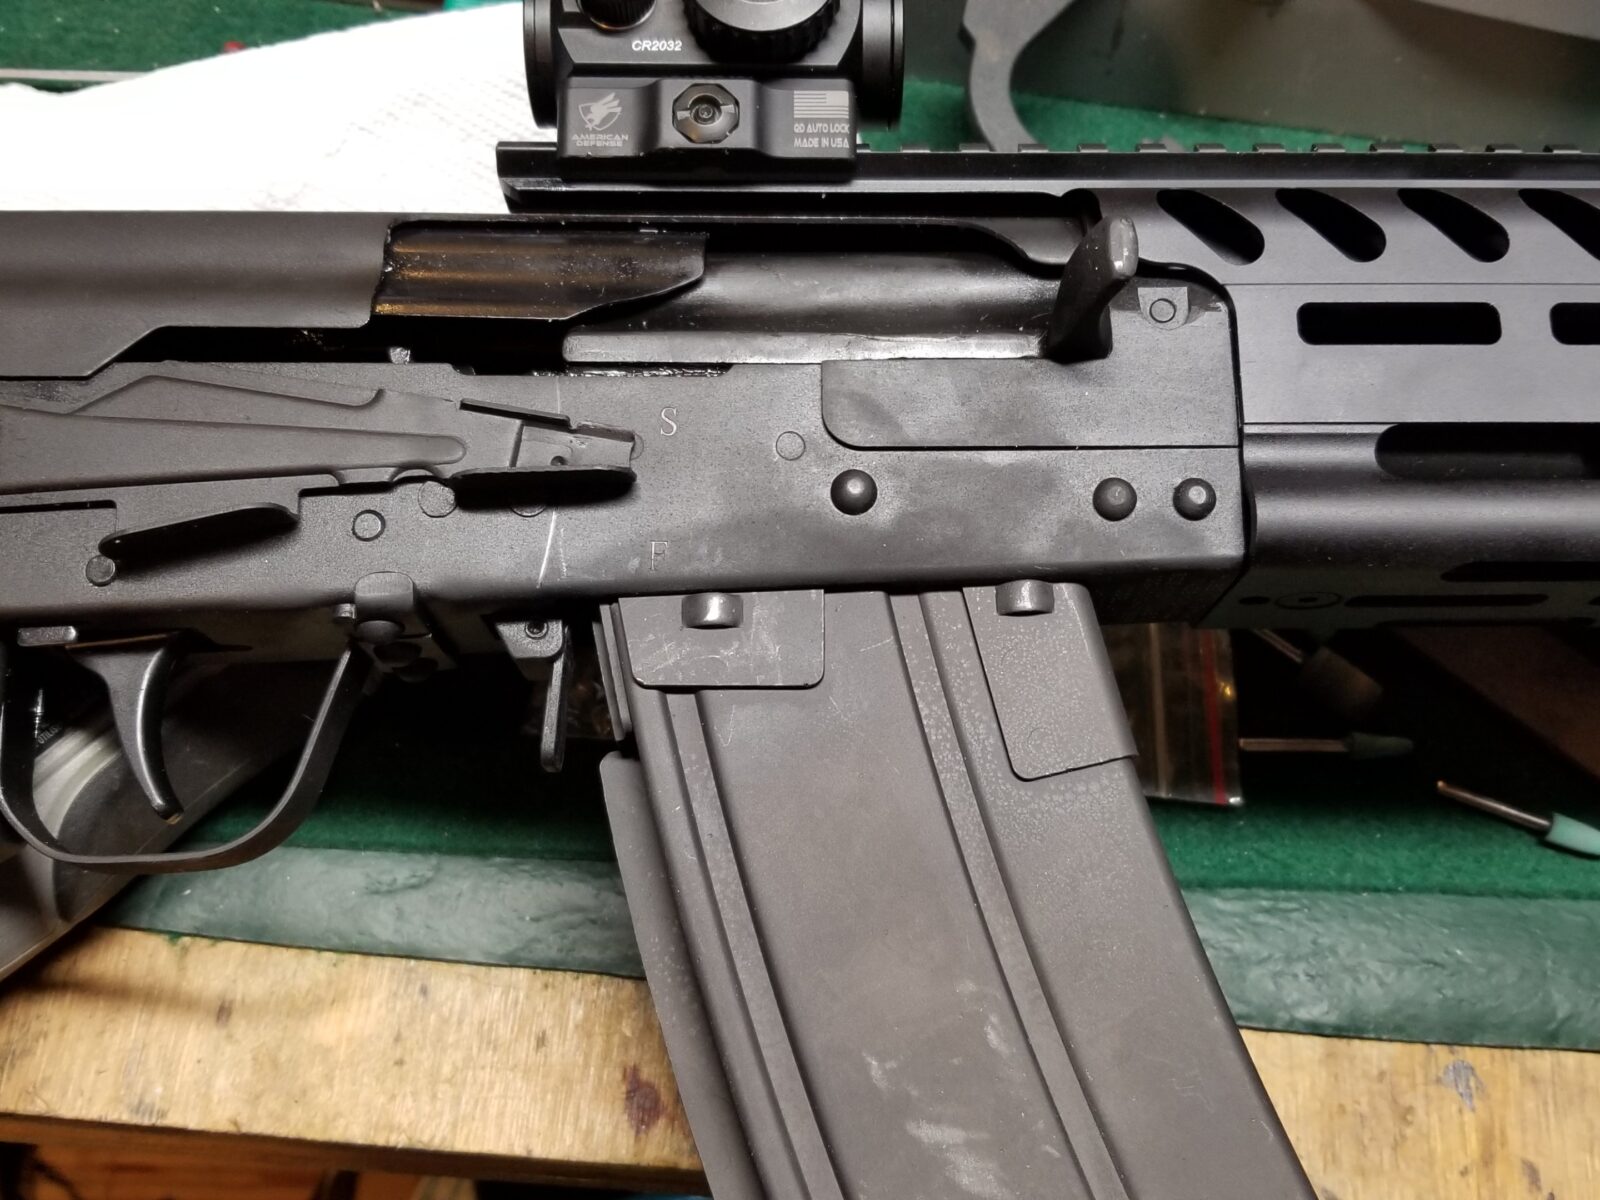
In my case it set right in. You can see how the mag stops are coming right against the bottom of the receiver. This is good! If I did need to trim it, I would have carefully filed a bit and tested over and over until the mag stops contacted the receiver, polished the surface and applied cold blue per the details in the next step.
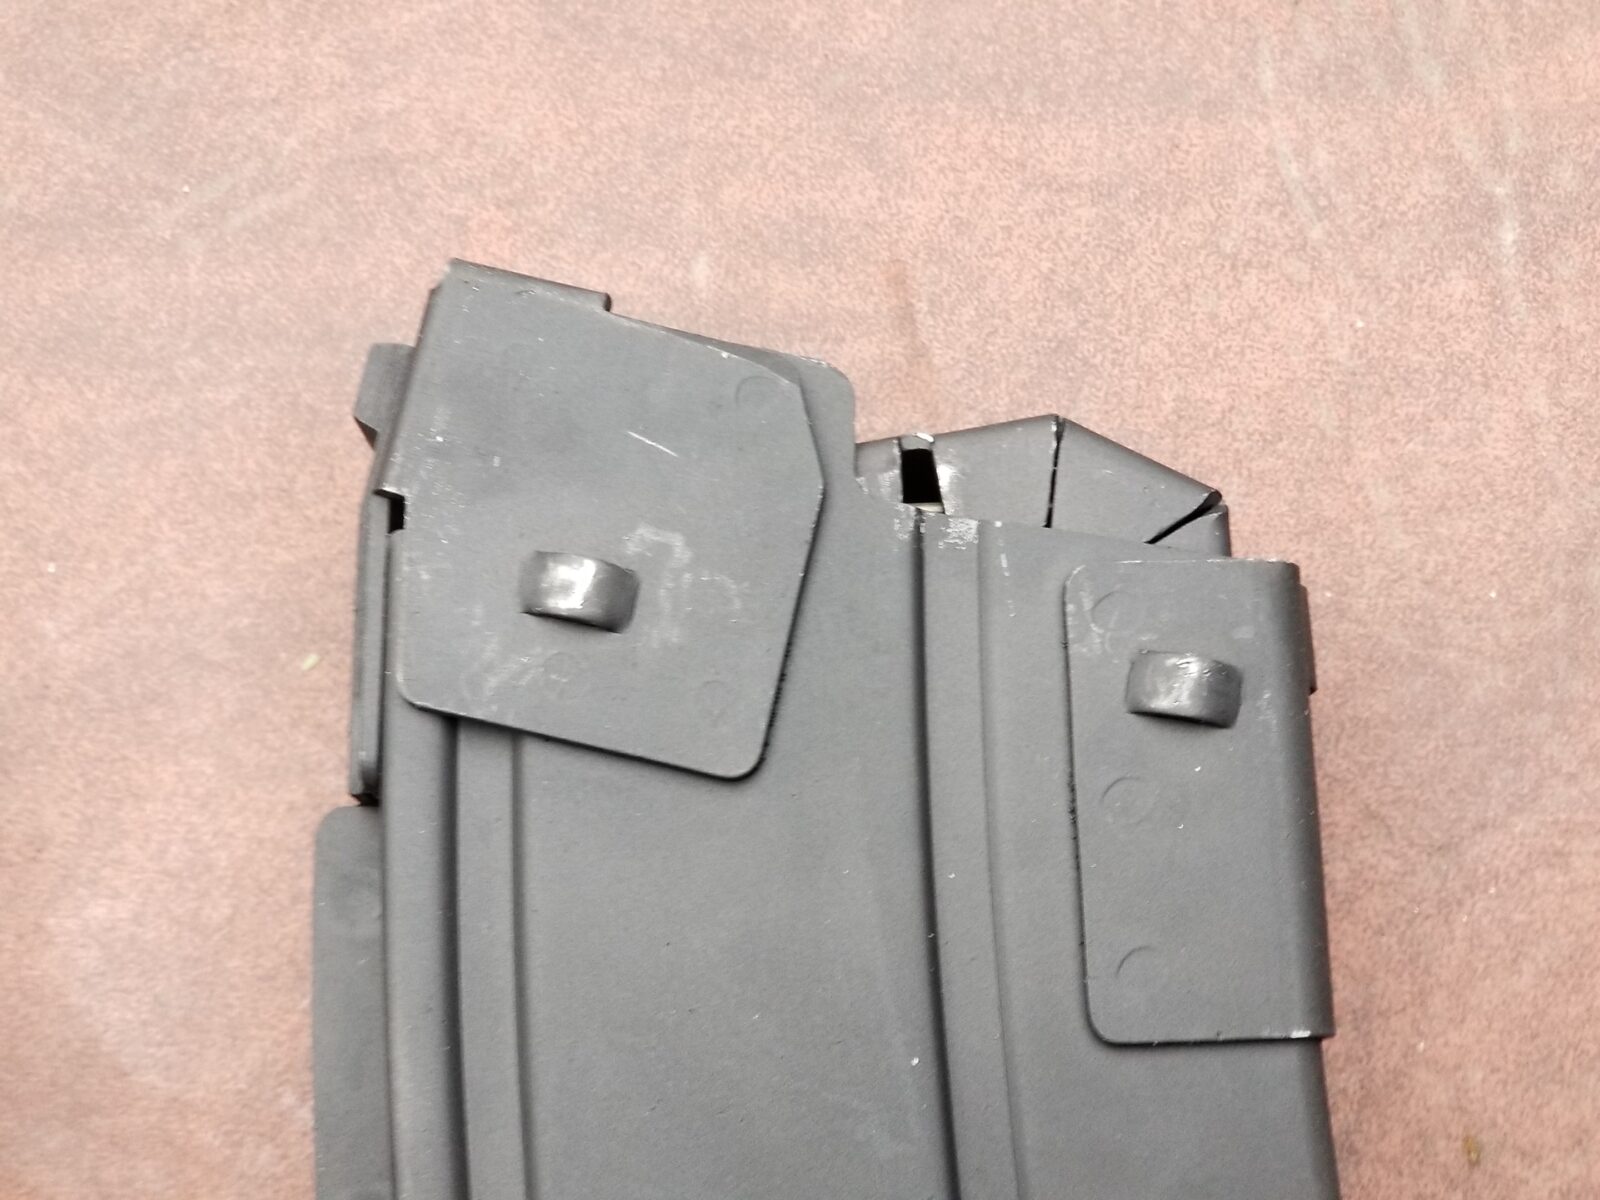
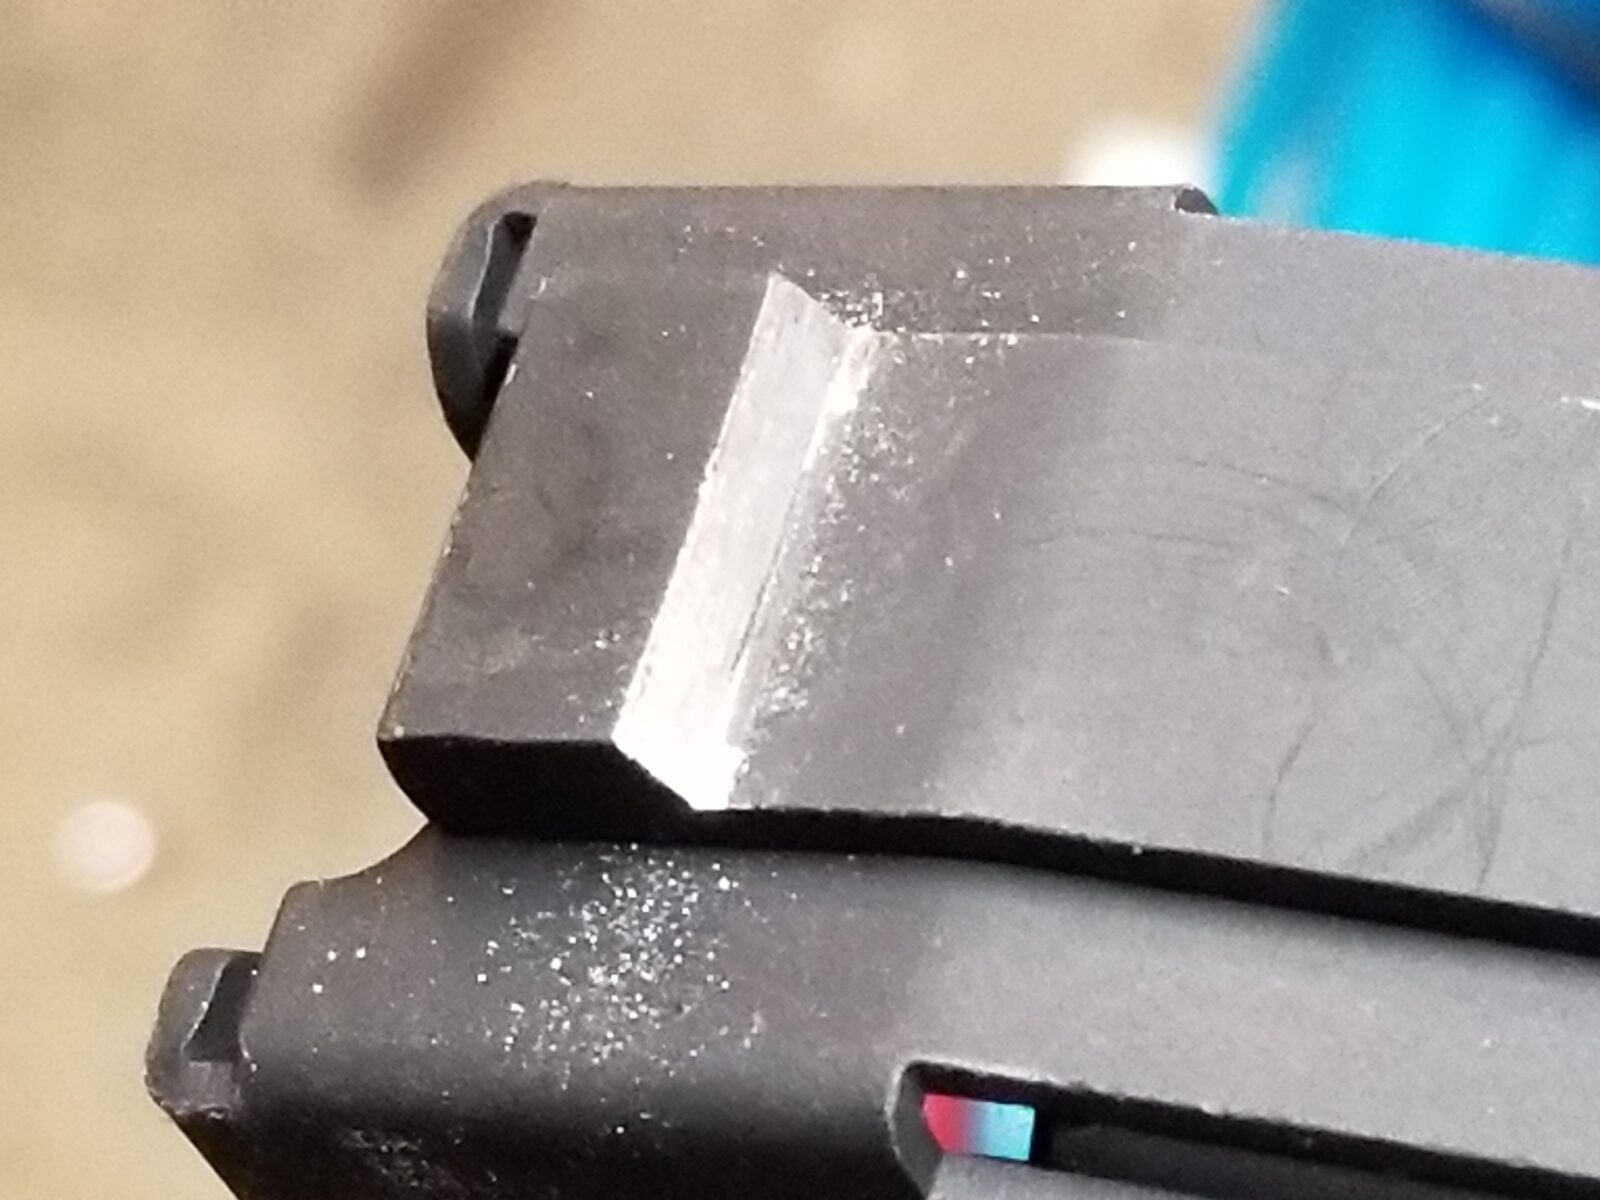
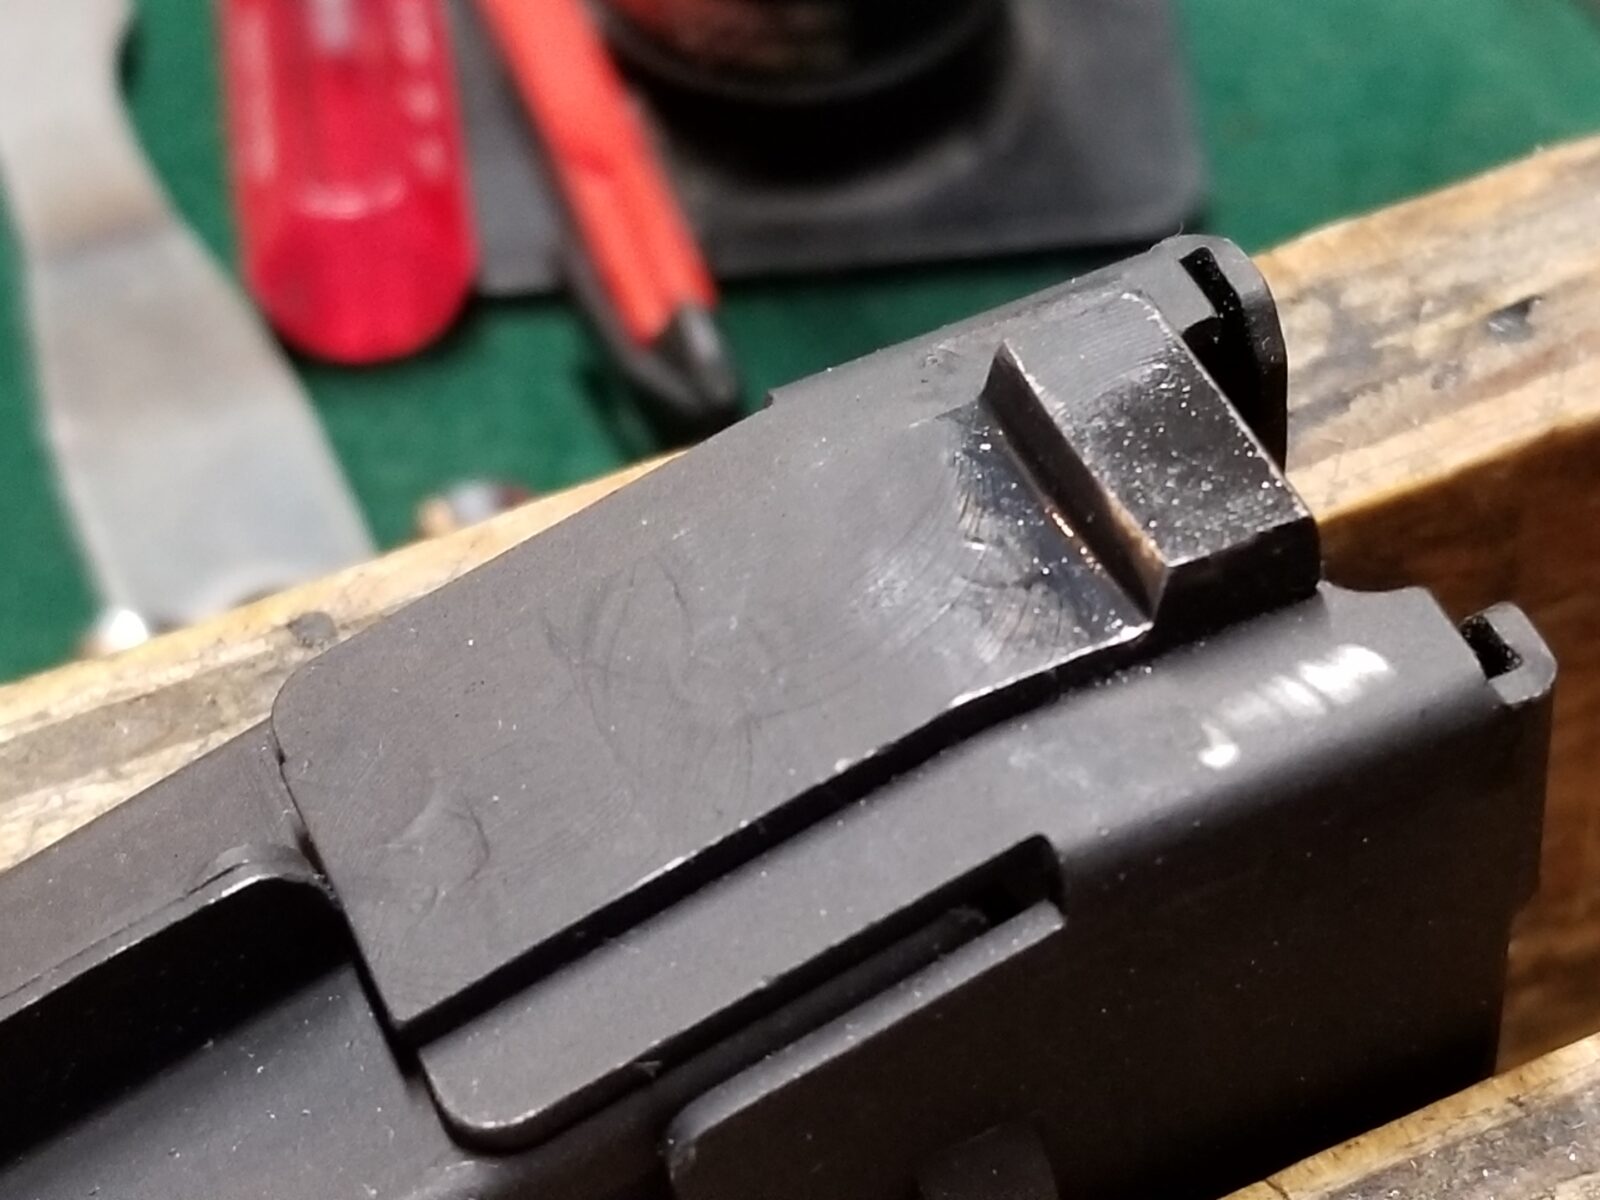
In my case, the magazine locking lever would not engage the mag’s tab at all. That means that little tab was too thick and needed to be filed down. This is really a situation where you want to use a fine hand file and take off a little bit at a time and test – don’t rush this. Take care to maintain the slight angle. This helps with the lock up. Do not make it flat and try to keep it as straight across as possible.
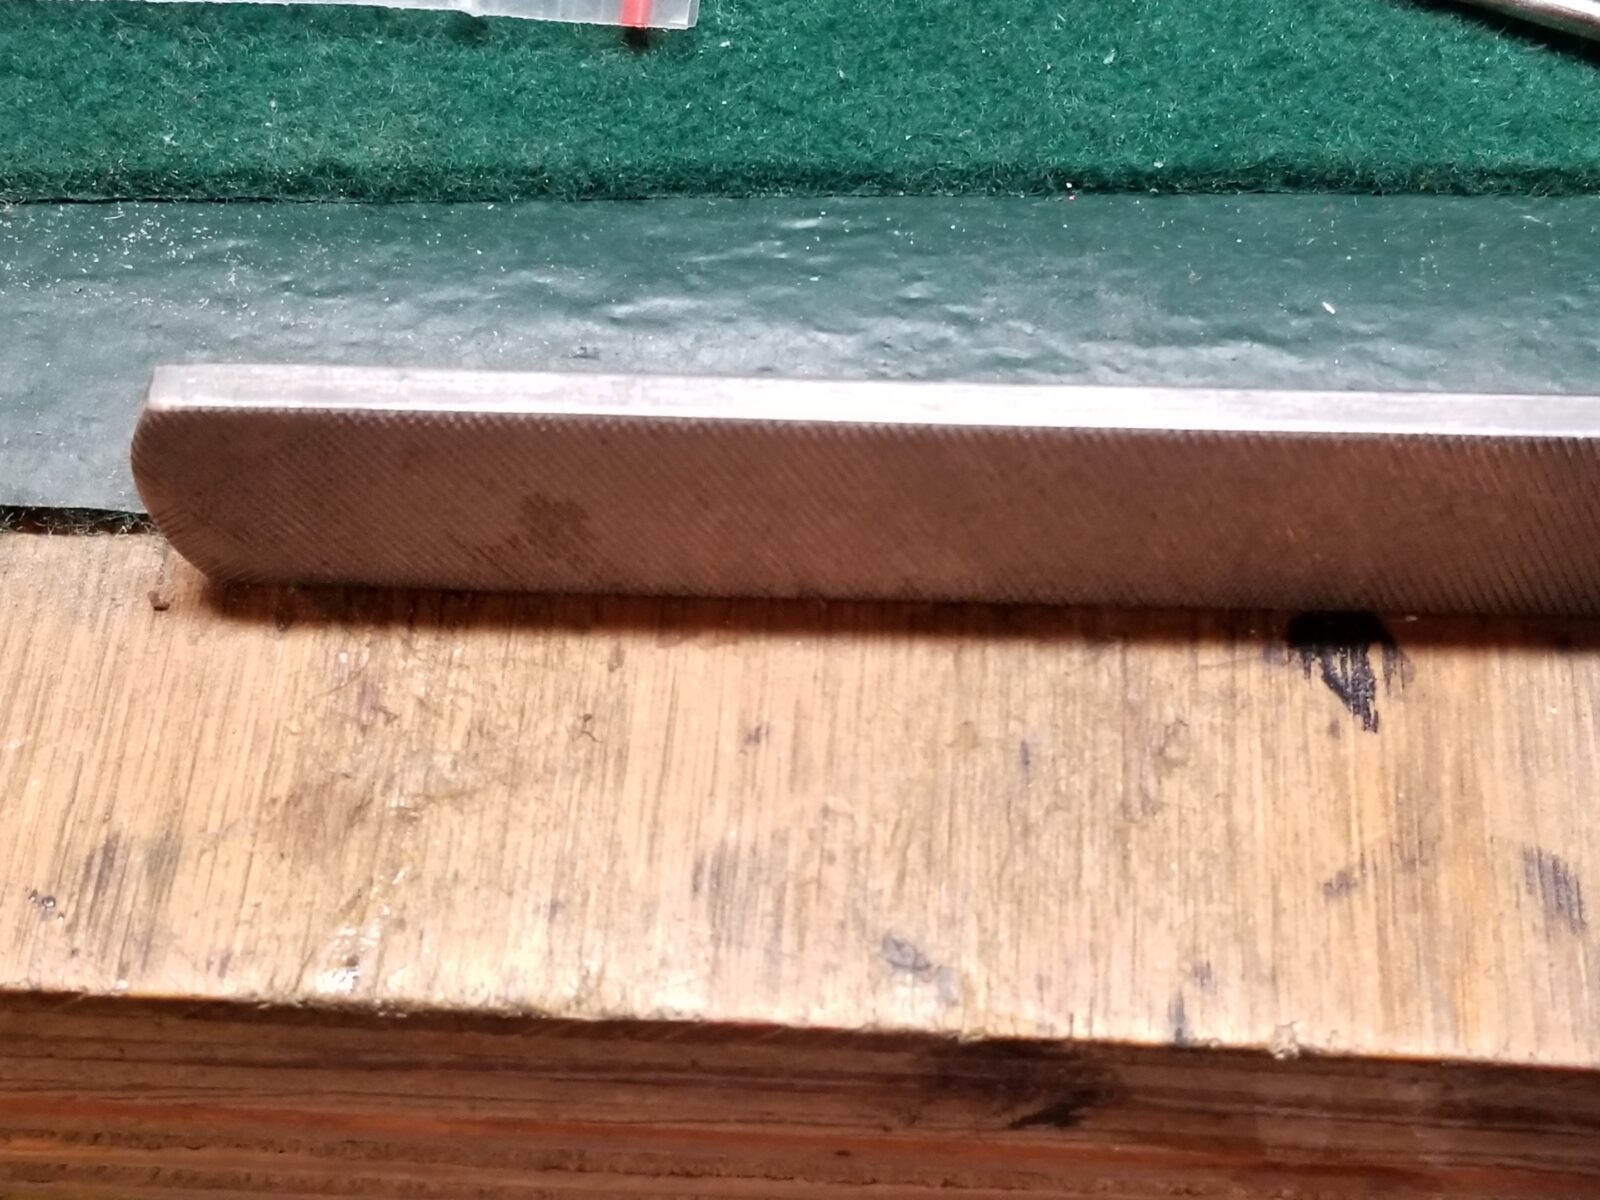
I can’t stress enough, take your time. The above was done with a single-cut file where one edge was ground down so I can make cuts like this with out damaging the surface. You can sometimes buy files like I show below with one or both edges left plain. In my case, I used my belt sander to remove the teeth on that side.
This is not a situation where you want to rush. Take a little bit off at an angle and test over and over. It probably took me about 5 minutes per magazine. You want the magazine to lock into place firmly. If it is really loose I would recommend welding some material back on and fixing it.
After the filing, I did use a fine rubber abrasive polishing but in my Dremel to smooth the surface out so the lock up process would be smoother.
After I had the fitting correct, I use the little bit of Brownells Oxpho blue liquid on Long dobbers and blued the surface followed by some oil.
That is all there was to it. I hope this helps you out. Kudos to CS specs for making some very nice magazines. These things are rock solid and I may very well pick a couple more up at some point.
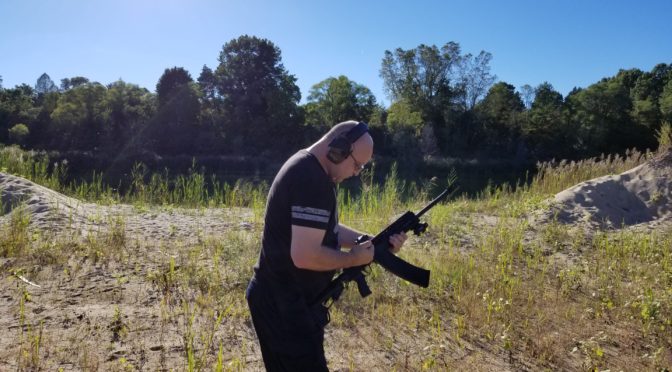
Well, Scott, Brooks and I went shooting a few weeks back. I was really excited to take my new SDS Lynx out and I had bought four brand news SDS 10 round magazines that I took out of the wrapper and threw in my range bag. That turned out to be a mistake. The photo above is of Scott trying to clear yet another jam from the Lynx with one of the 10 round magazines inserted – they had feed failures constantly.
One of the things I was told years ago was to test everything before you rely on it. Now granted I was just going to the quarry to shoot with my friends but I really should have tested those magazines. Of the four, only one kind of worked. The followers were all hanging up about an inch from the top. The five round SDS magazine that came with the shotgun ran great but five founds at a time is not the most exciting thing. It was frustrating and disappointing at the same time.
The Lynx and the mags went back in the gun case and I felt pretty stupid for not checking the mags before going. On the other hand, they were brand new and should have worked. I was more than a bit miffed also – clearly there was a manufacturing issue, Followers should spring to the top of a magazine like a rocket – not get stuck part way down. A person should not need to buy magazines and then tune them inside – getting them to fit an AK-style weapon, sure that happens all the time, but not needing to redo the internals.
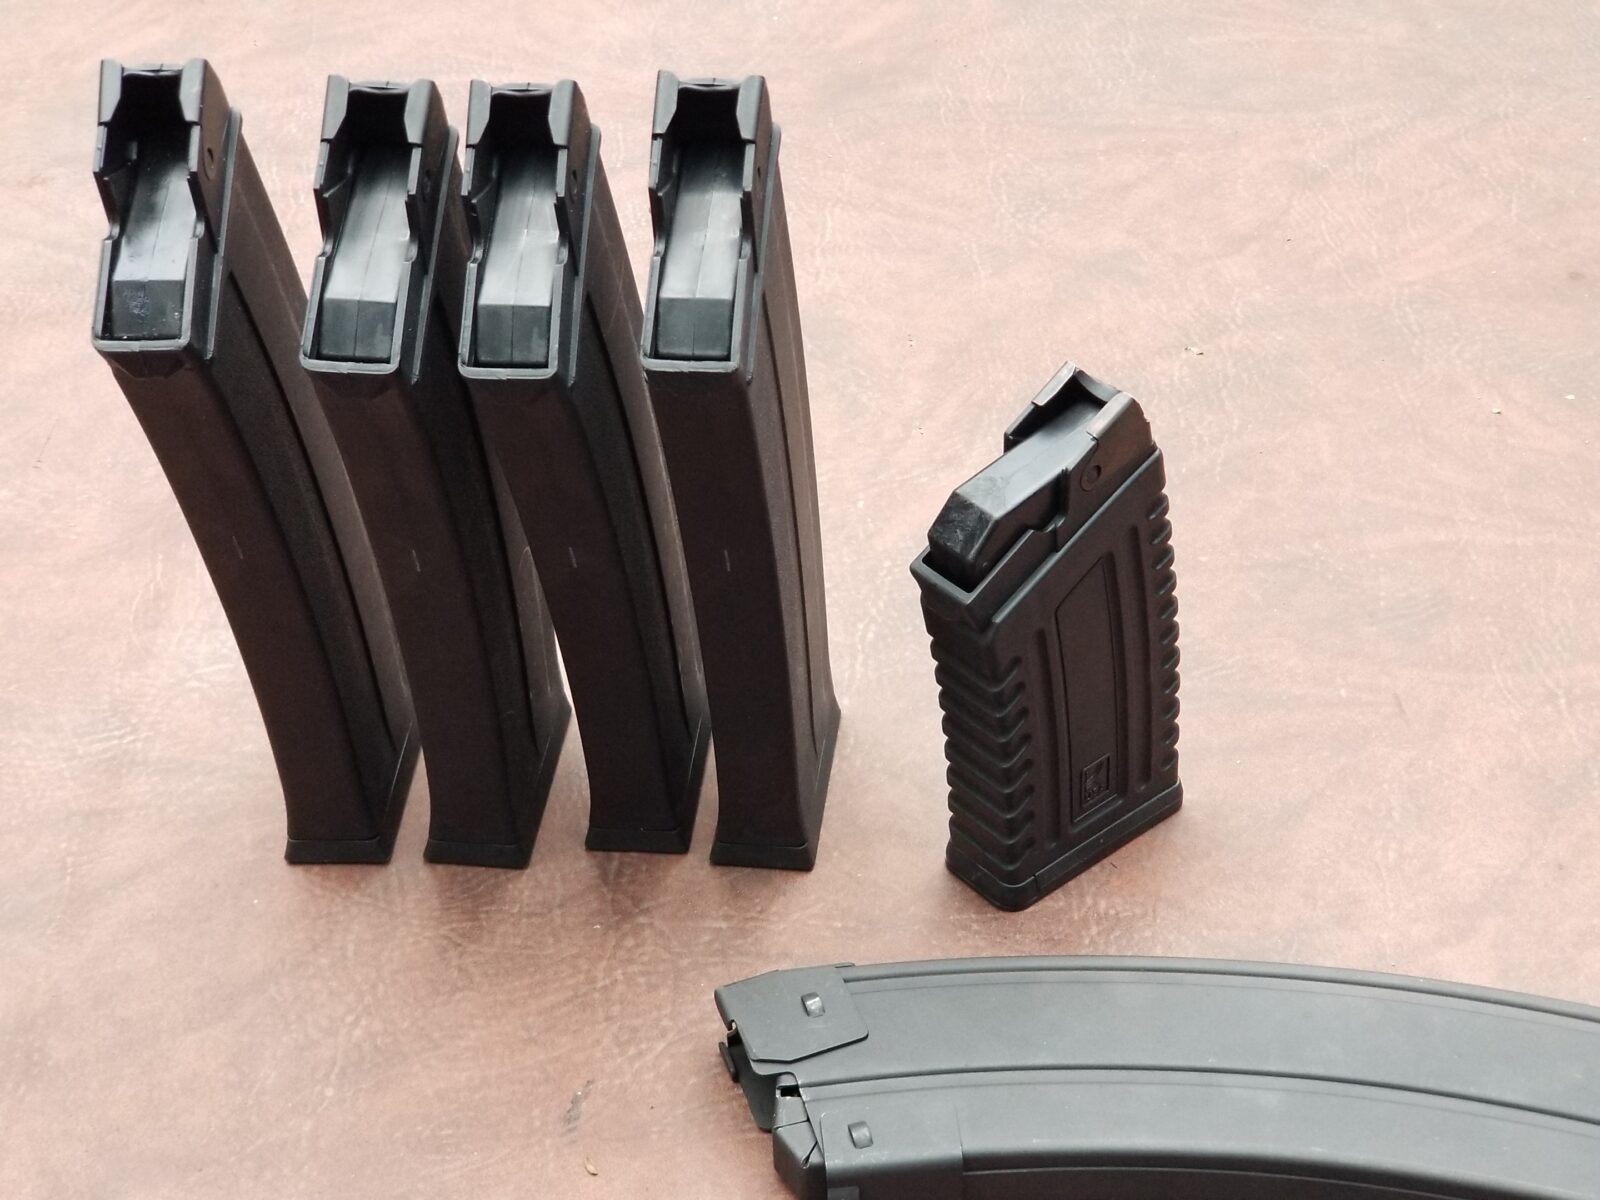
In the following photos notice how the followers are not all the way to the top compared to the small 5 round magazines.
At that point I made a decision – the SDS magazines really did look well made and rather than send them back, I decided to tune them and document what I did to share with others.
The Lynx shotgun uses Saiga magazines so this design is common and writing up what to do might very well help others out. So with my mind made up, it was just a matter of finding the time to do it.
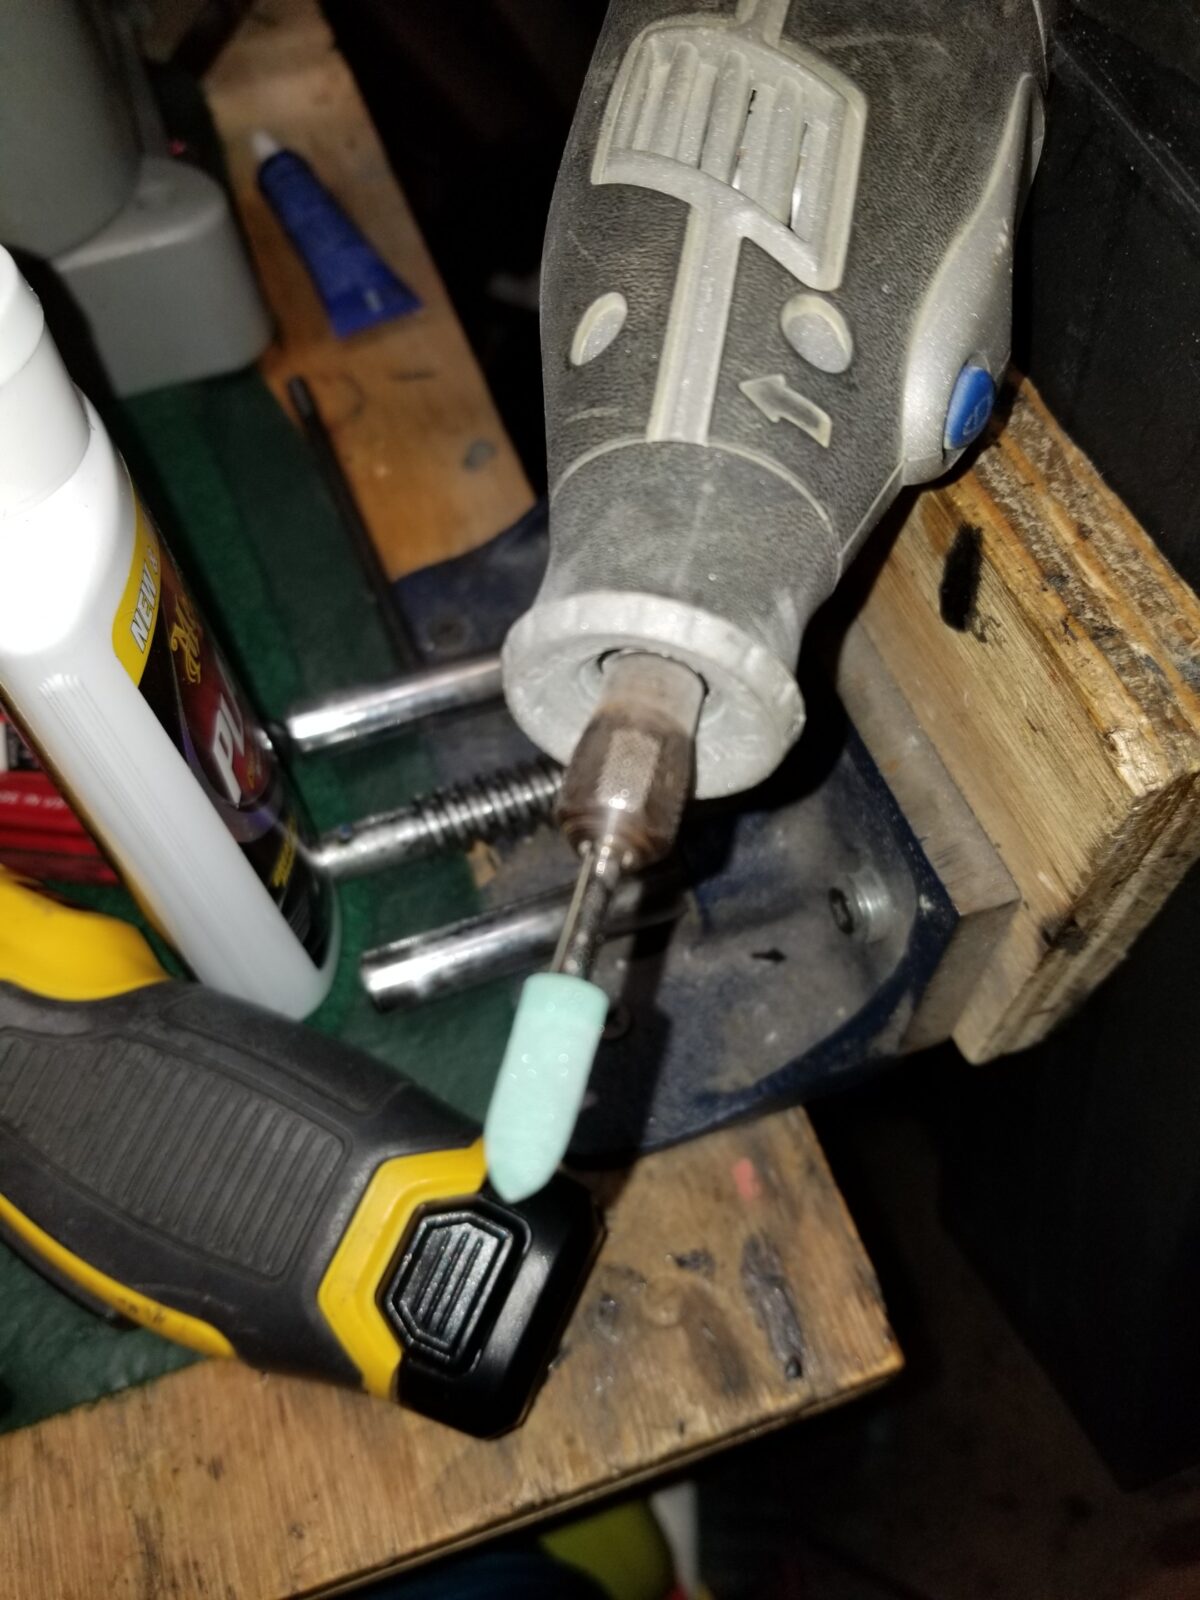
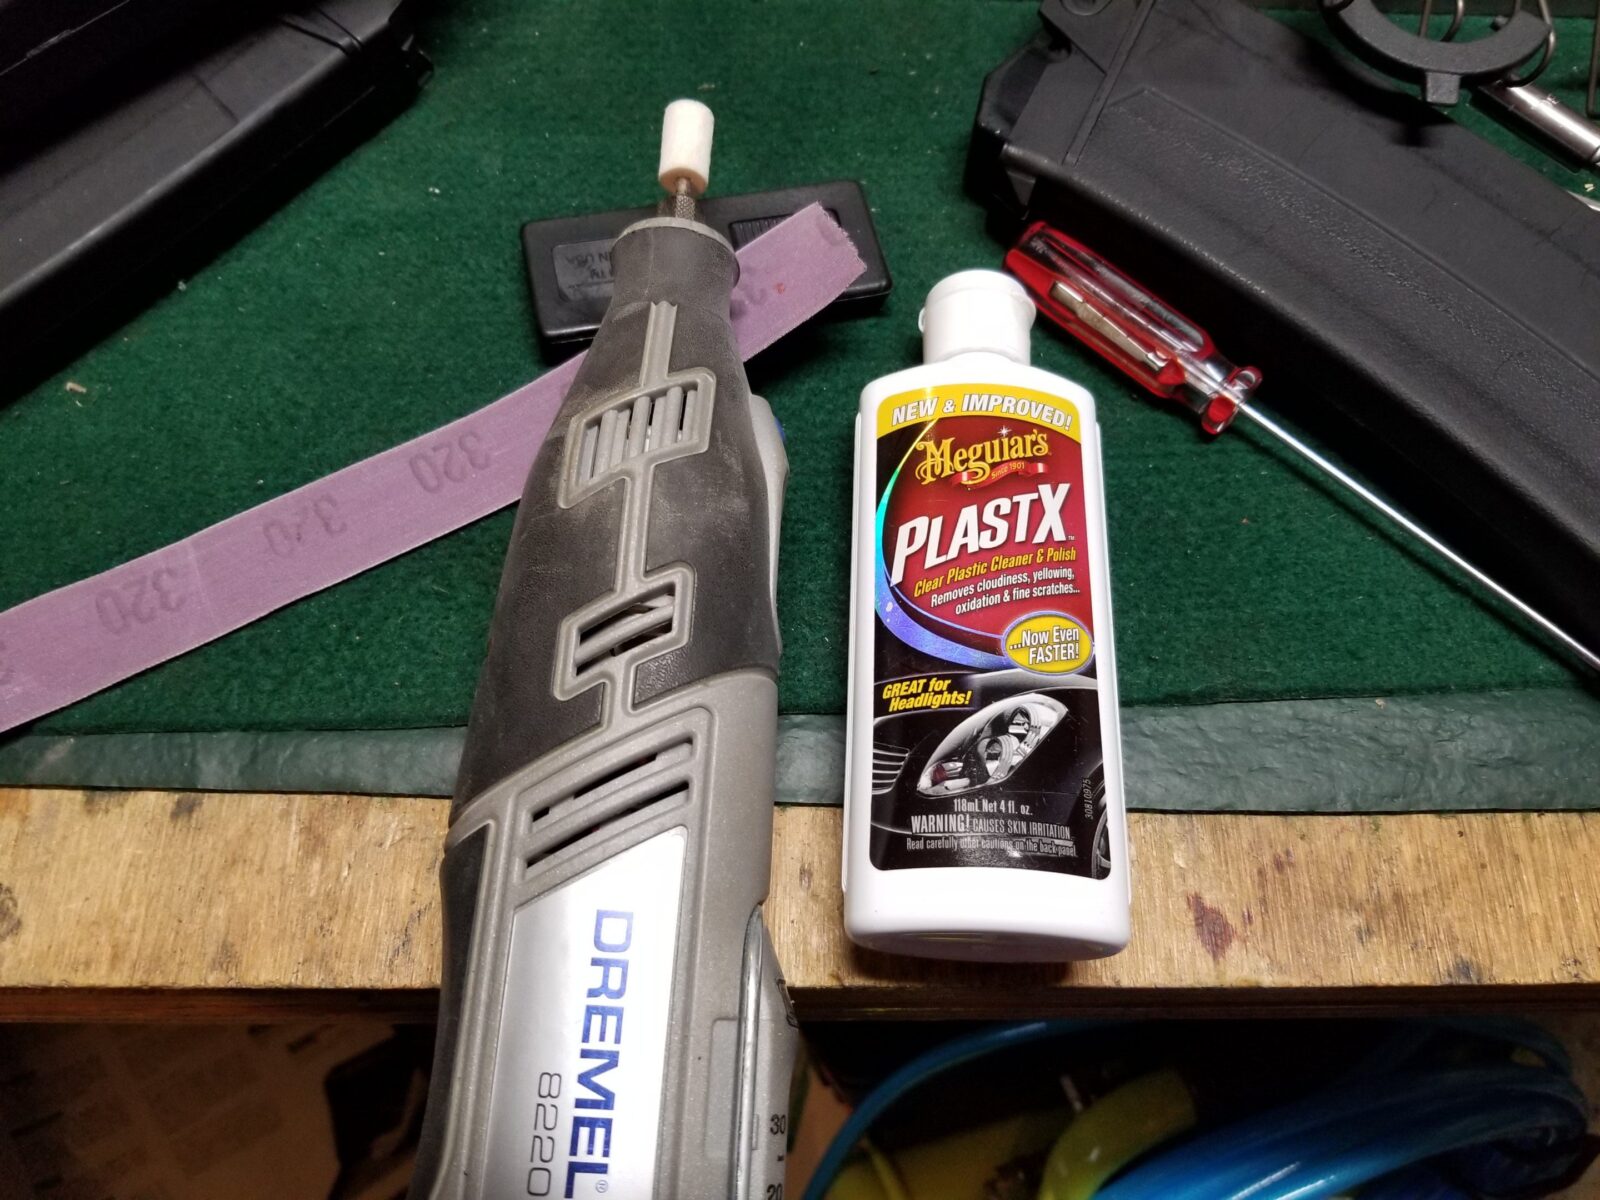
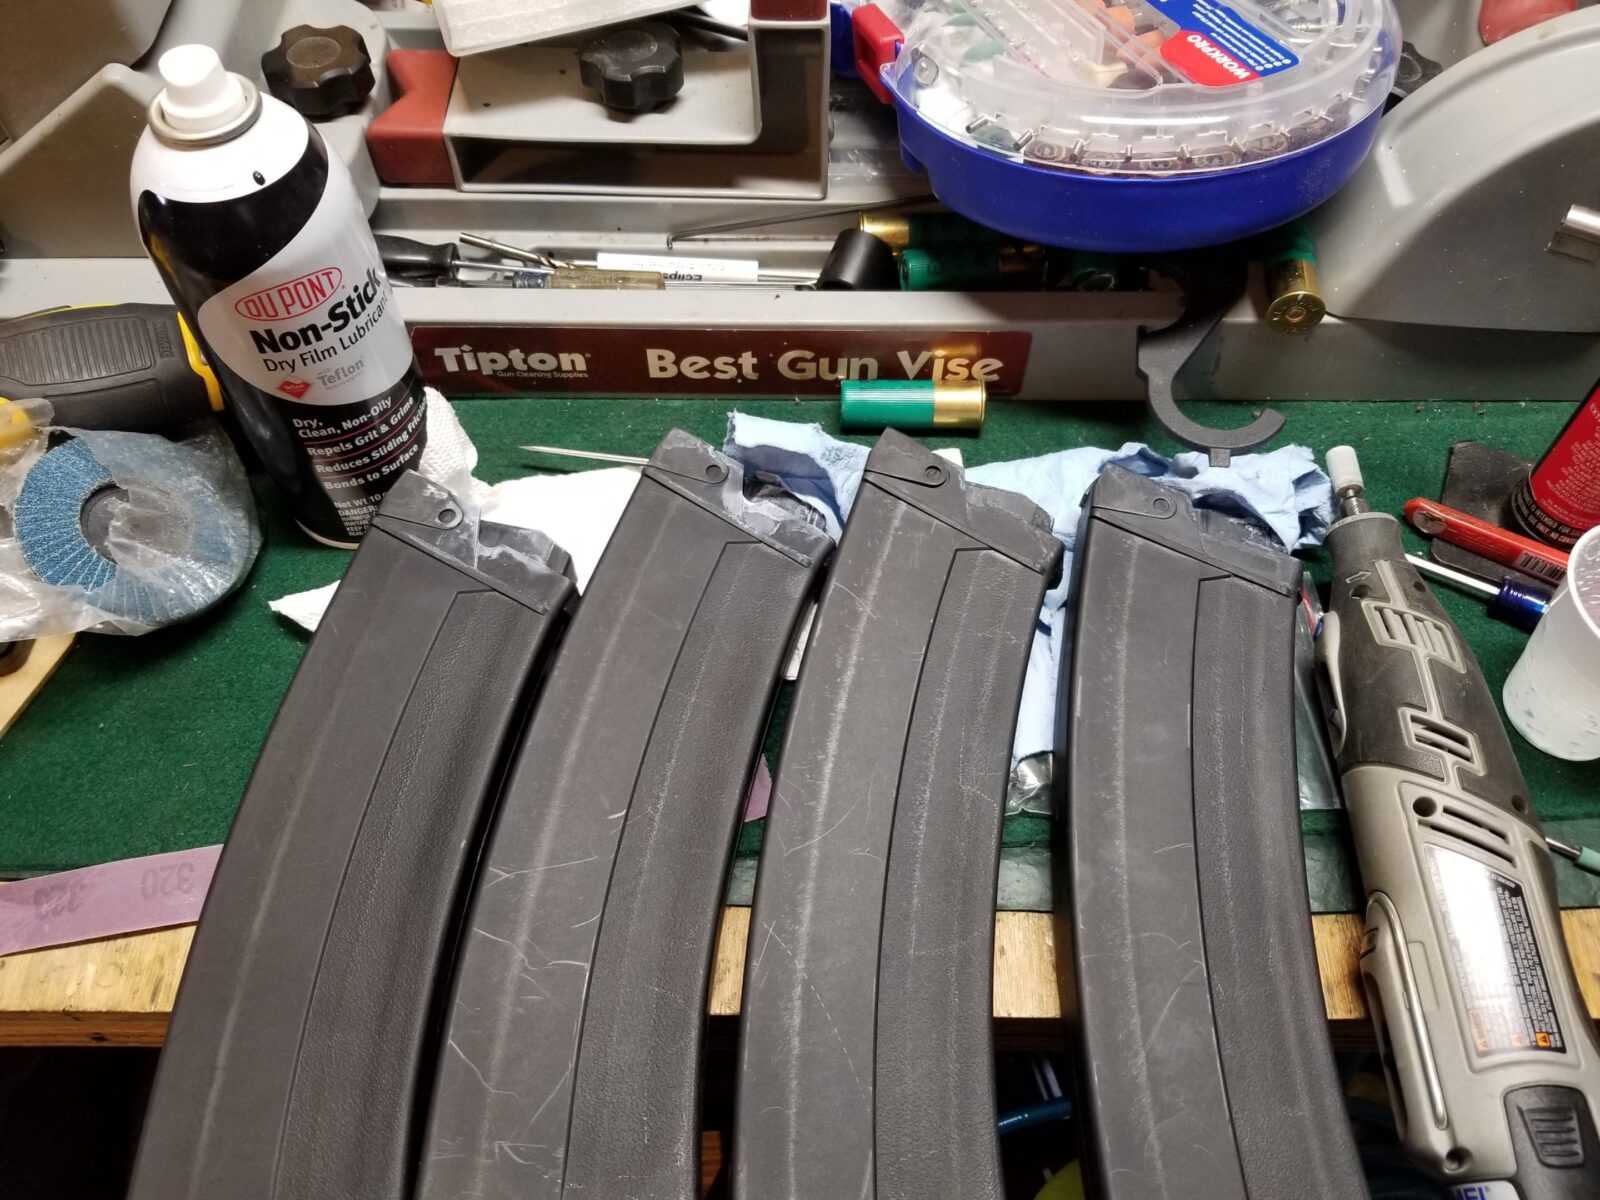
A couple of weeks went buy before I could dig in but finally the time came. I’m going to try and show you what I found and explain what you need to do to correct it. You’re going to need a Dremel (or similar rotary tool), rubberized polishing bits, felt/wool polishing bits, and a plastic polish – I use Plastix a lot but even toothpaste would work. Yes, toothpaste is a very fine grit polish – you can even use it to polish plastic headlights.
Disassembling a SDS Magazines
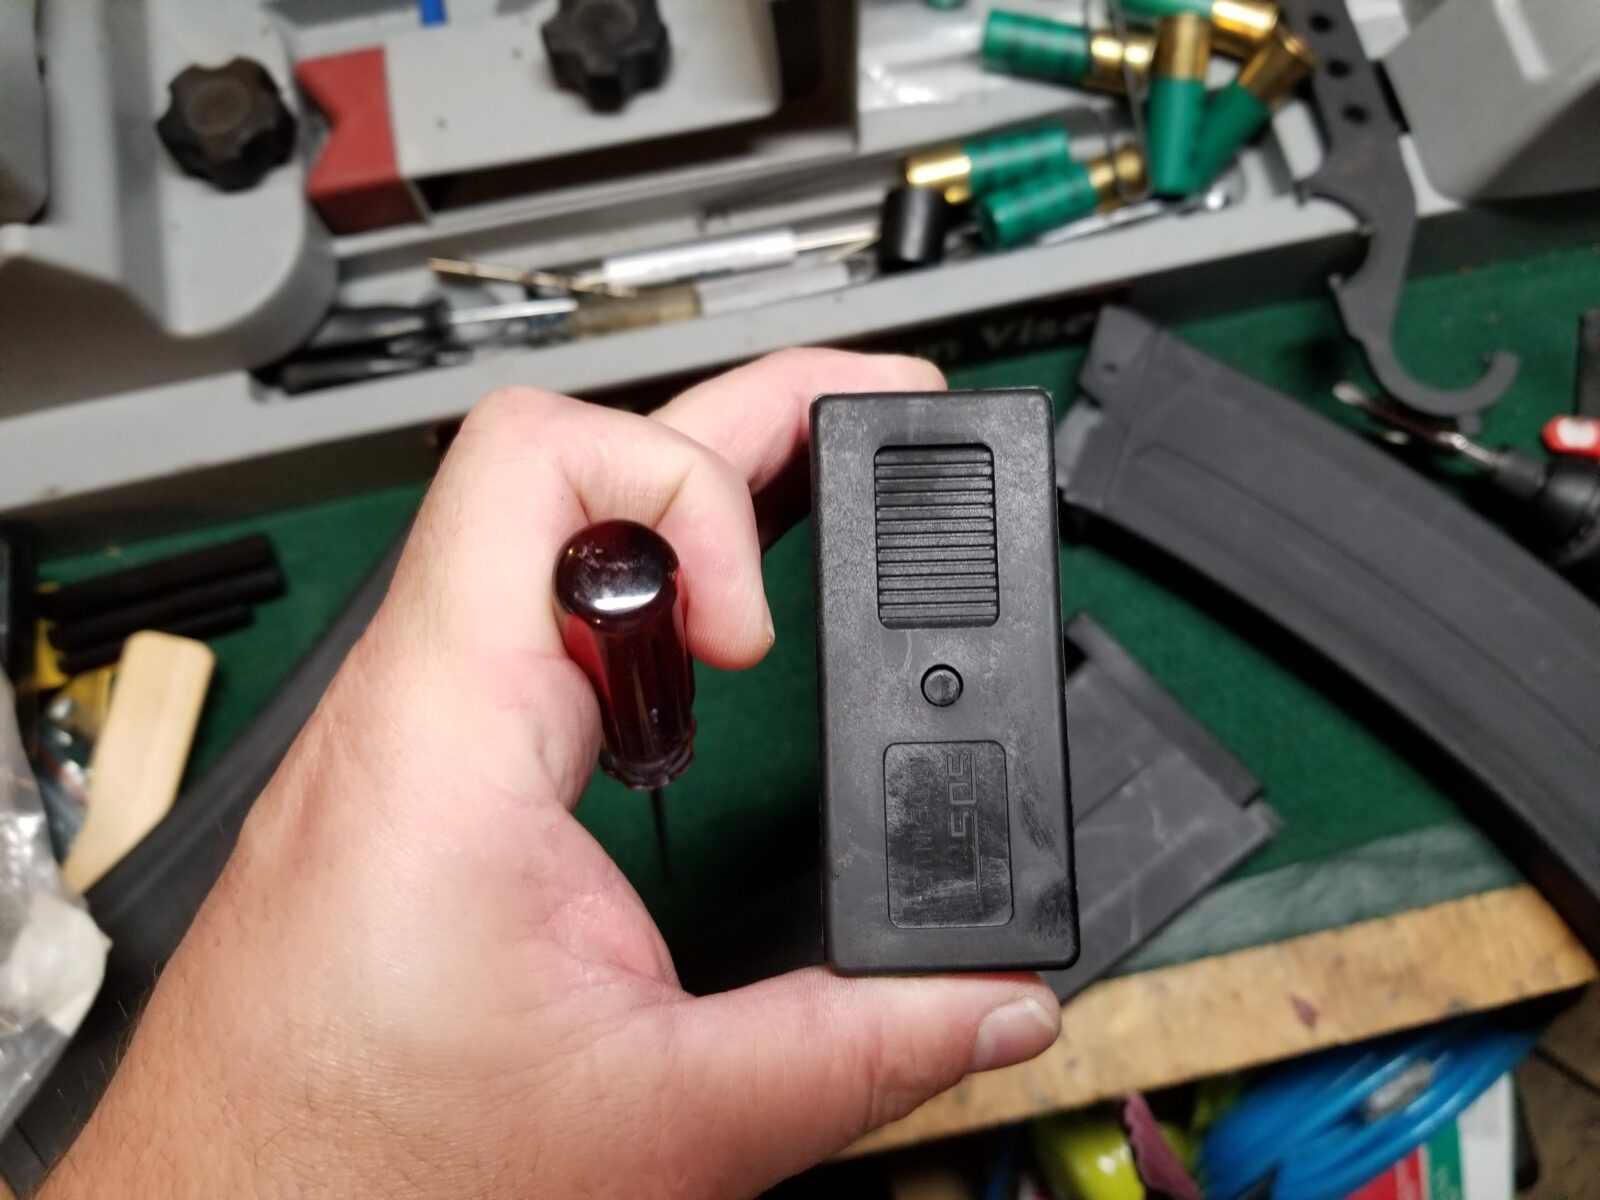
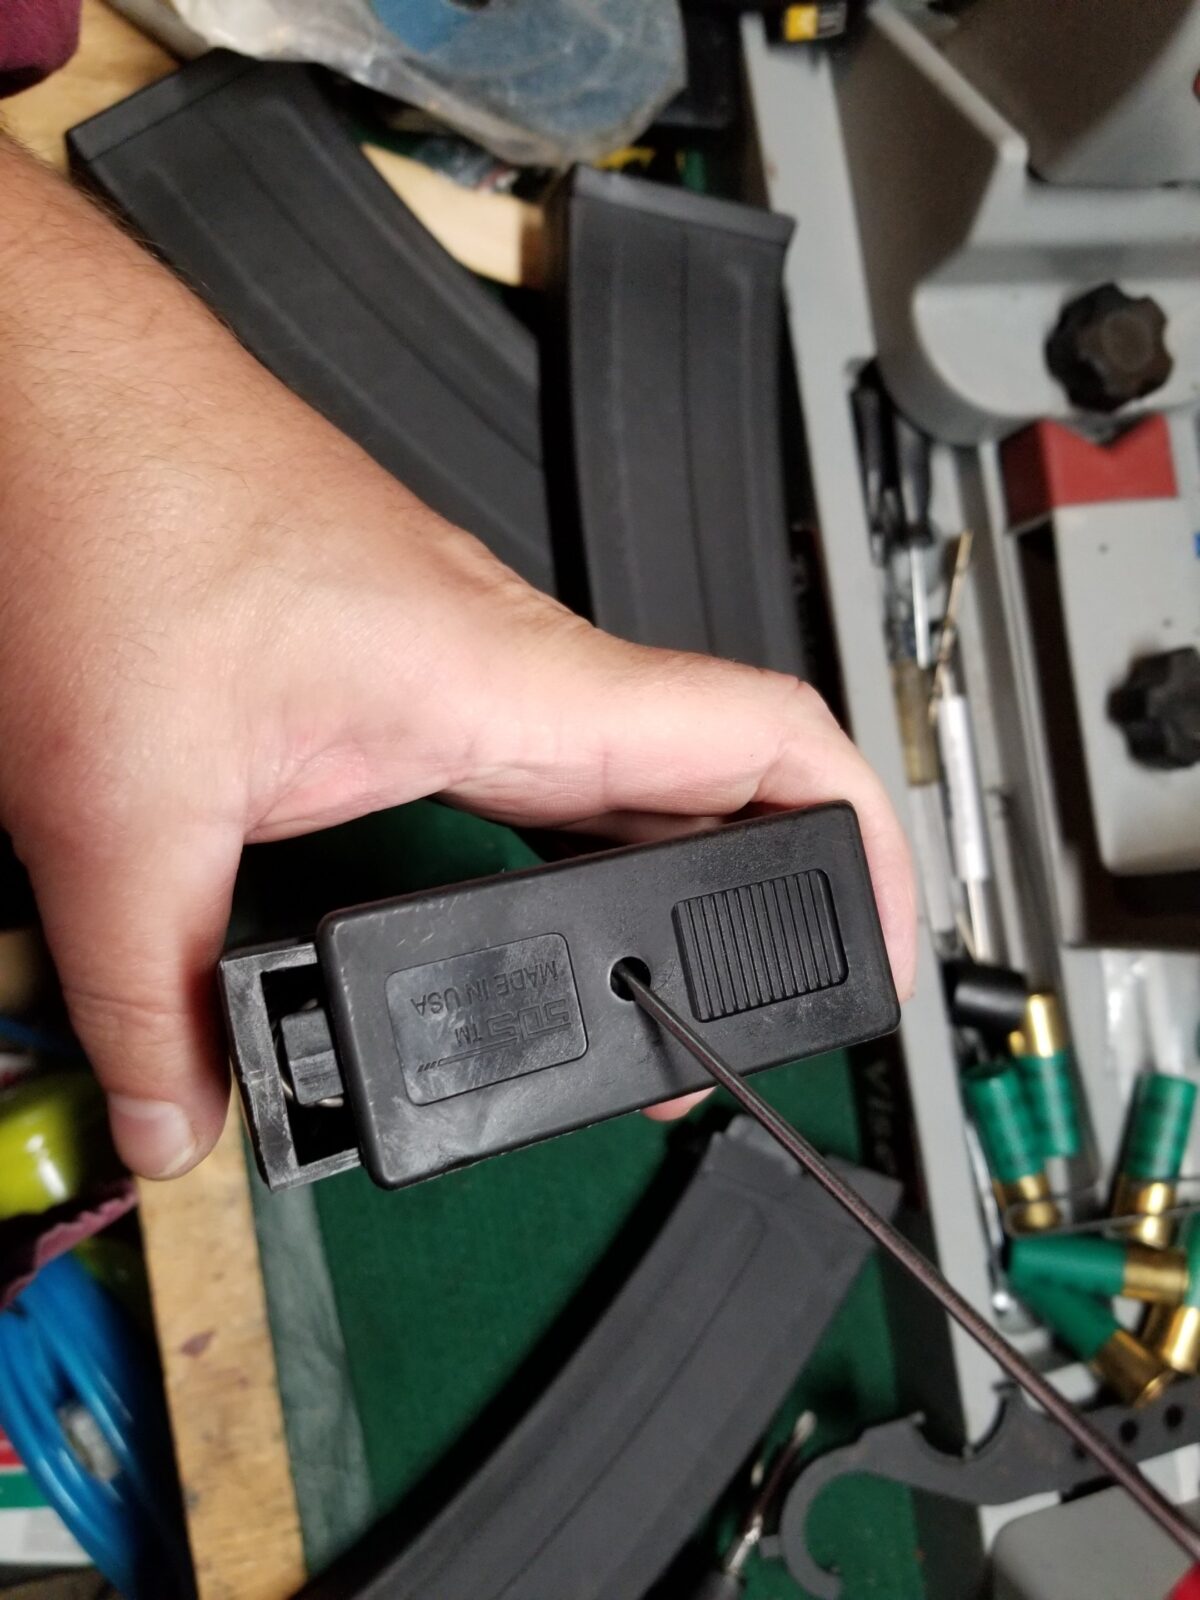
The SDS magazine comes apart just like any AK magazine – you push the button on the bottom with a screw driver and slide the floor plate off of the magazine body. Now take a look at it. It can only push off one. All of the magazine Parts in the SDS can only go one way.
So push the button down and shove the floor plate in the direction of the opening. You may need to use a small Mallet or something hard to give it a little bit of a whack to get it started.
Now once you get that floor plate off the rest is going to want to spring out so use your thumb to keep it from flying across the room or in your face.
Fixing The Problem Area
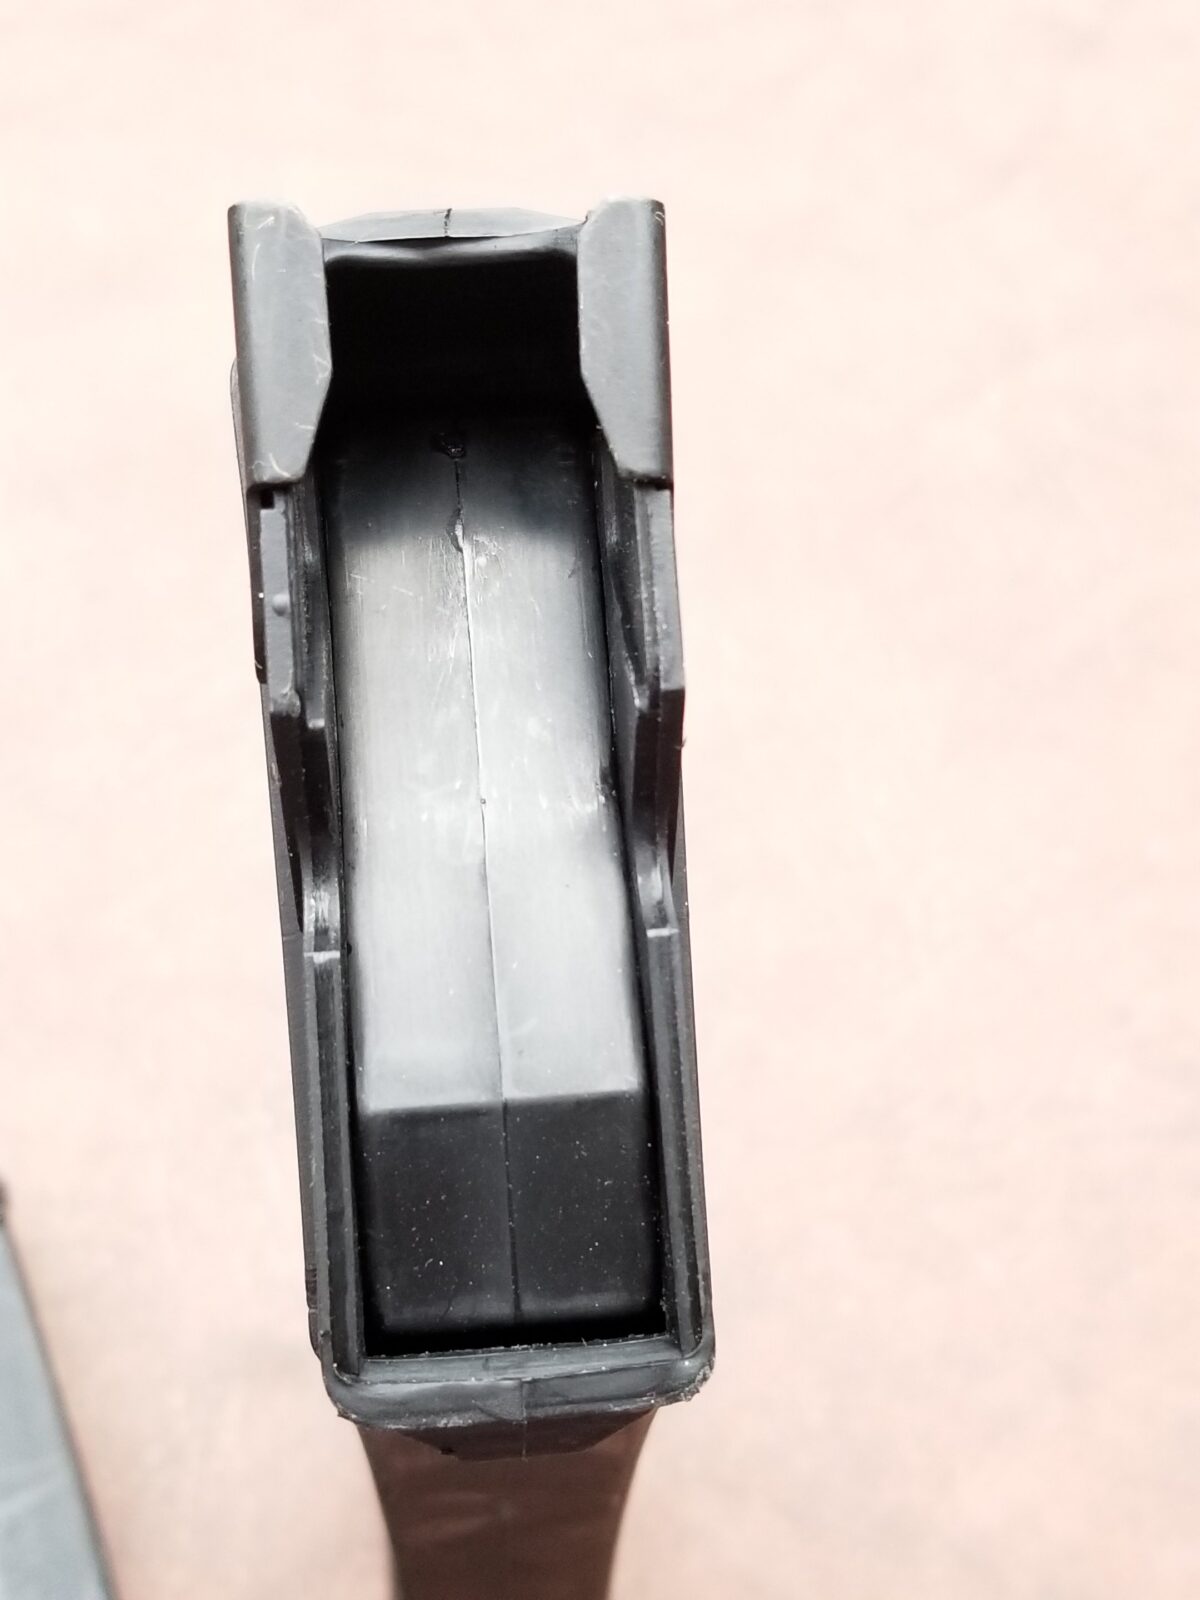
The problem area in the magazines seem to be in the upper inch to inch and a half. You’ll see a mold seam that needs to be erased using the Dremel tool with the rubberized abrasive tips as well as it being tight in general all the way around.
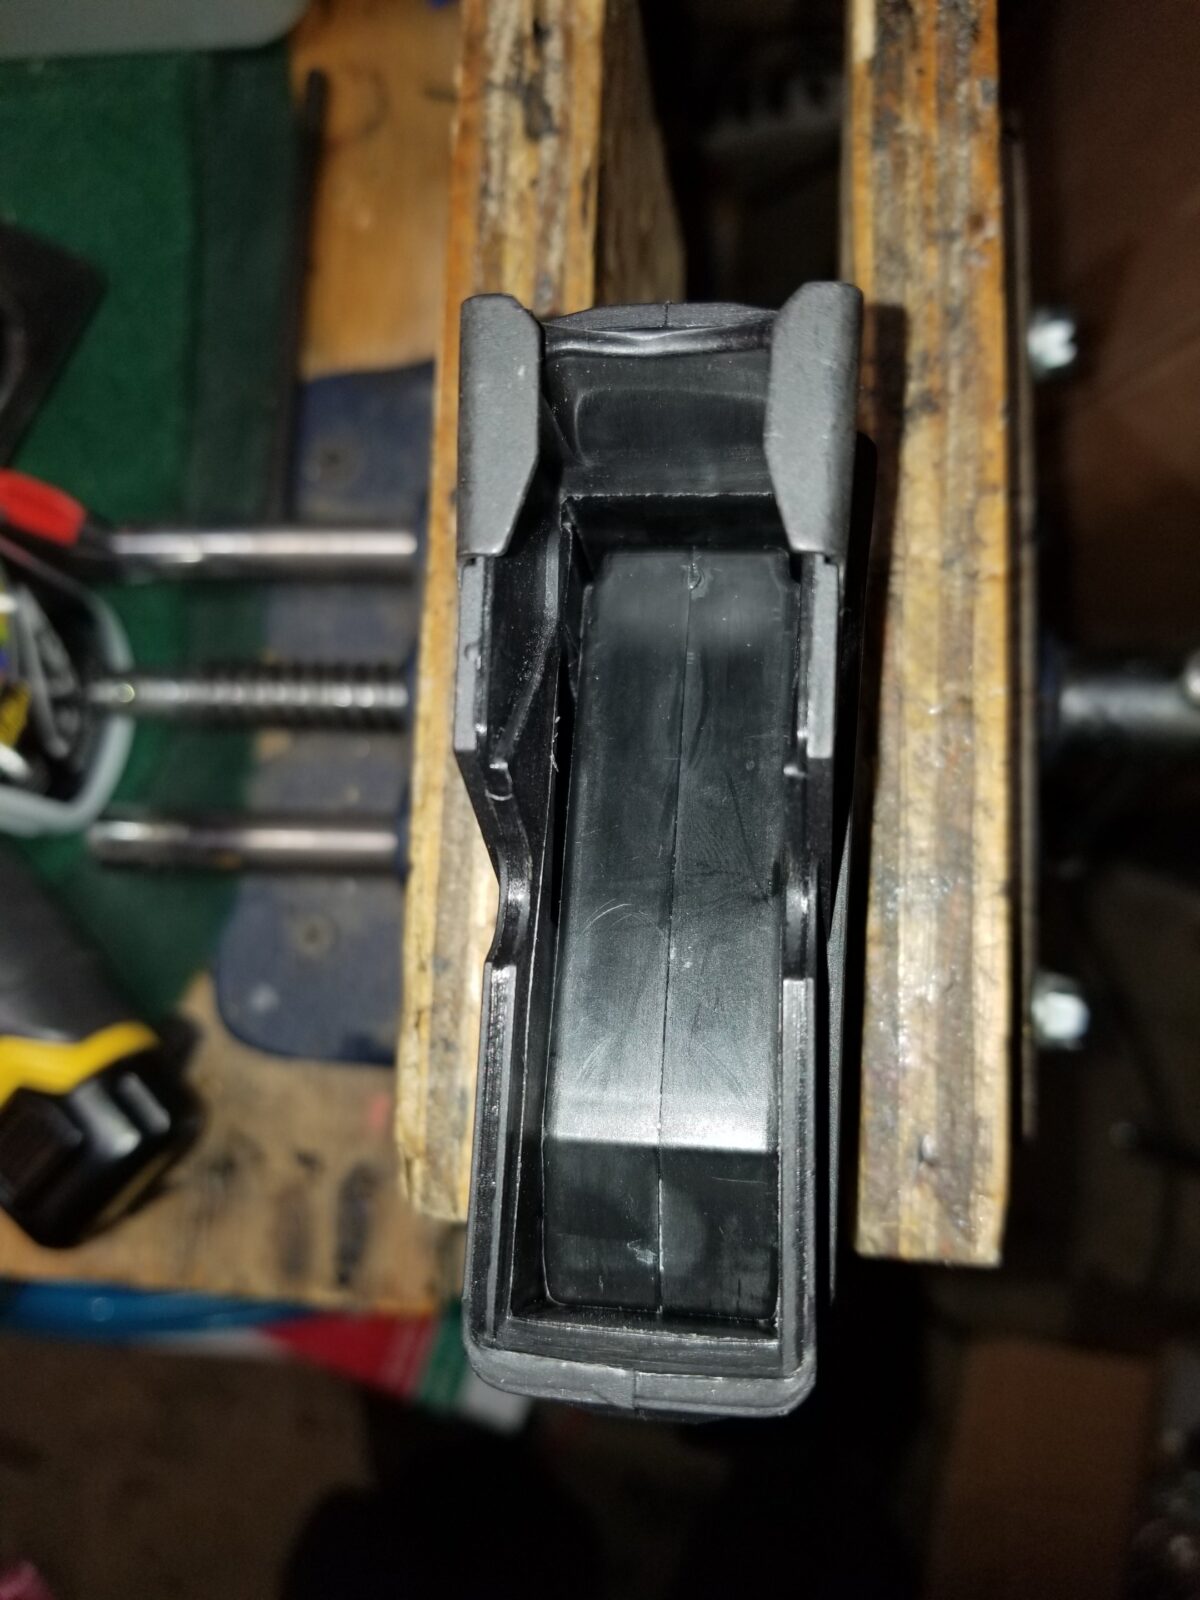
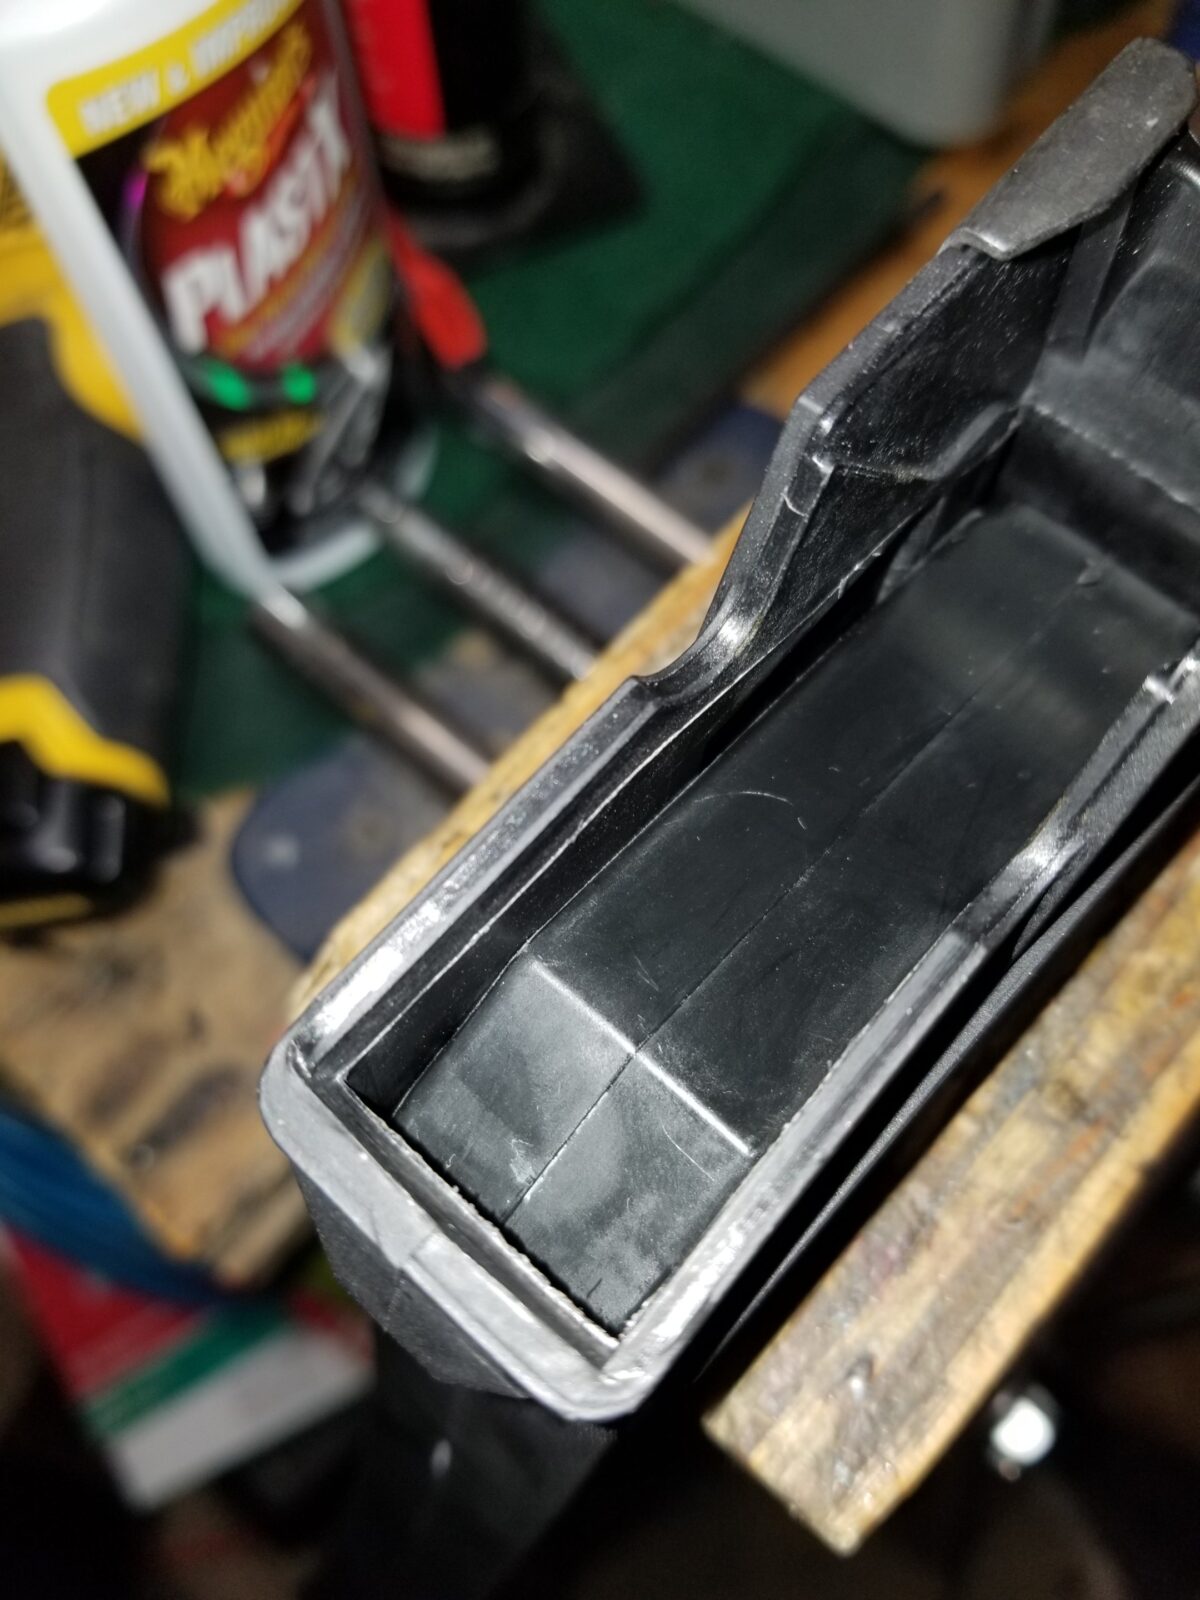
So the first thing I did was to use a small rubberized abrasive tip to erase the mold seemed entirely that runs around the inner area of the magazine. In the next two photos you’ll see a shiny protruding lip inside the magazine that is just above the follower — that is the mold seam I am speaking of. It’s important to note that the follower is binding even before getting to that seam.
I used a small rubberized fine abrasive tip in my Dremel to literally erase the mold seam flush with the rest of the mold body.
At this point I blew out the magazine body with compressed air and the overall fit of the follower to the magazine body was just too tight. It and the body needed to be thinned a bit – not a bunch, just a bit.
In terms of the trimming, I would definitely recommend that you use the abrasive tip to remove just a little and test over and over. I can’t stress this enough – don’t try to do it all at once. As the saying goes, it’s easier to take more material off than to try and put it back on.
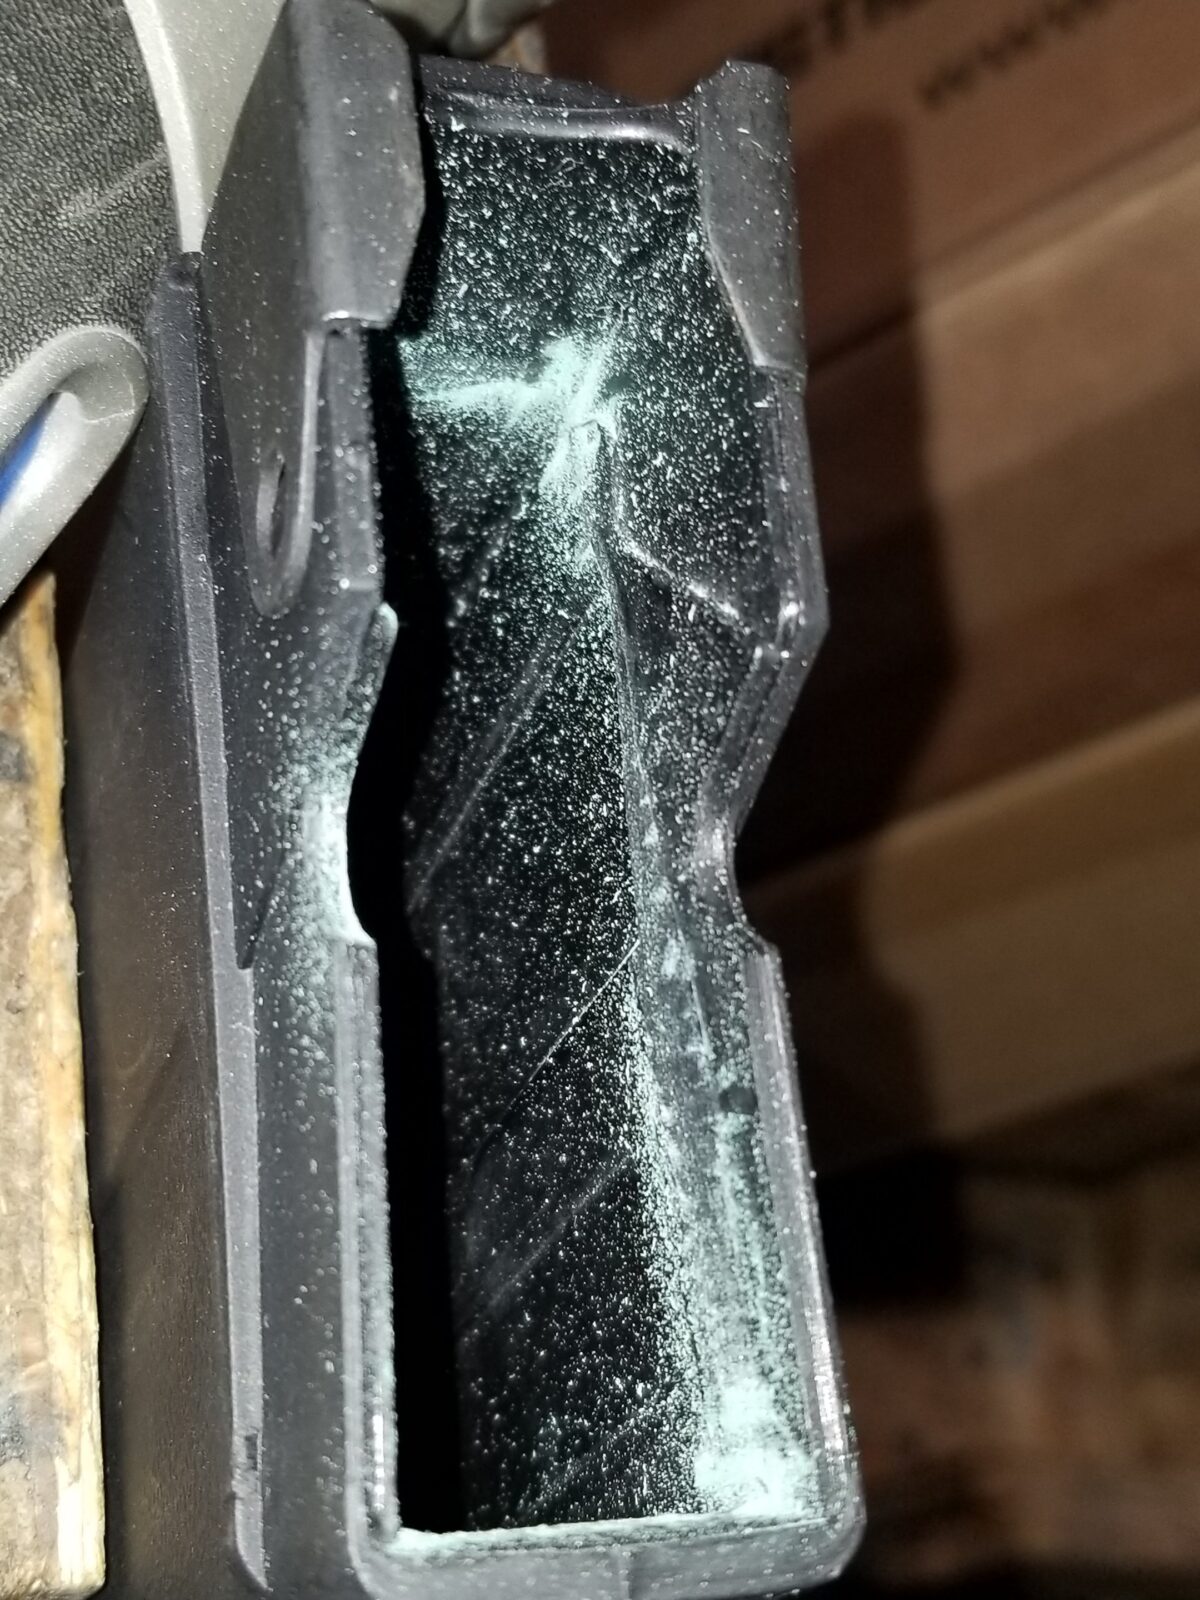
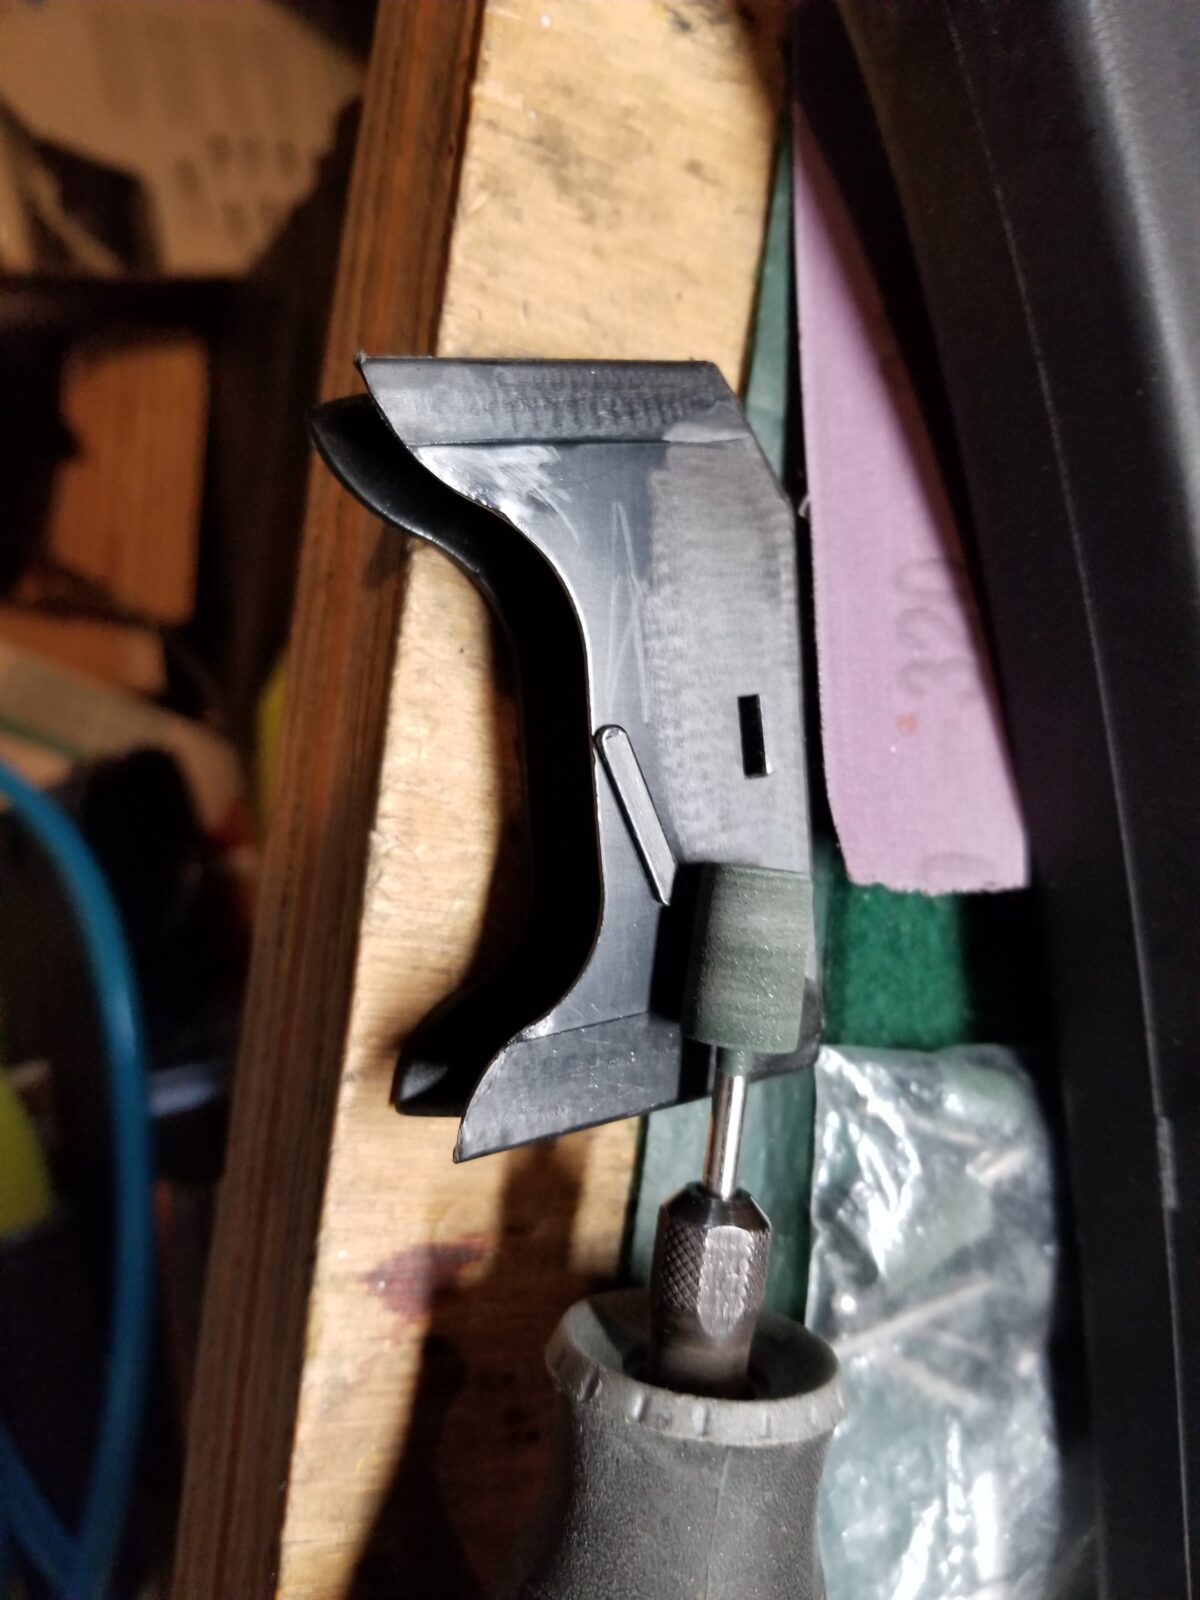
I wound up switching to a bigger rubber abrasive wheel when I did the follower and as far as I could reach in with the bit on the Dremel. The bit is still fine, I would not recommend using anything very aggressive. I used this bit on the follower and the inside of the magazine body. You just need to take a little bit of material off. I went all the way around the magazine body and the follower in that top area. You’ll see just below the scene there is a little elevated area inside the magazine that guides a follower up into position that is too tight.
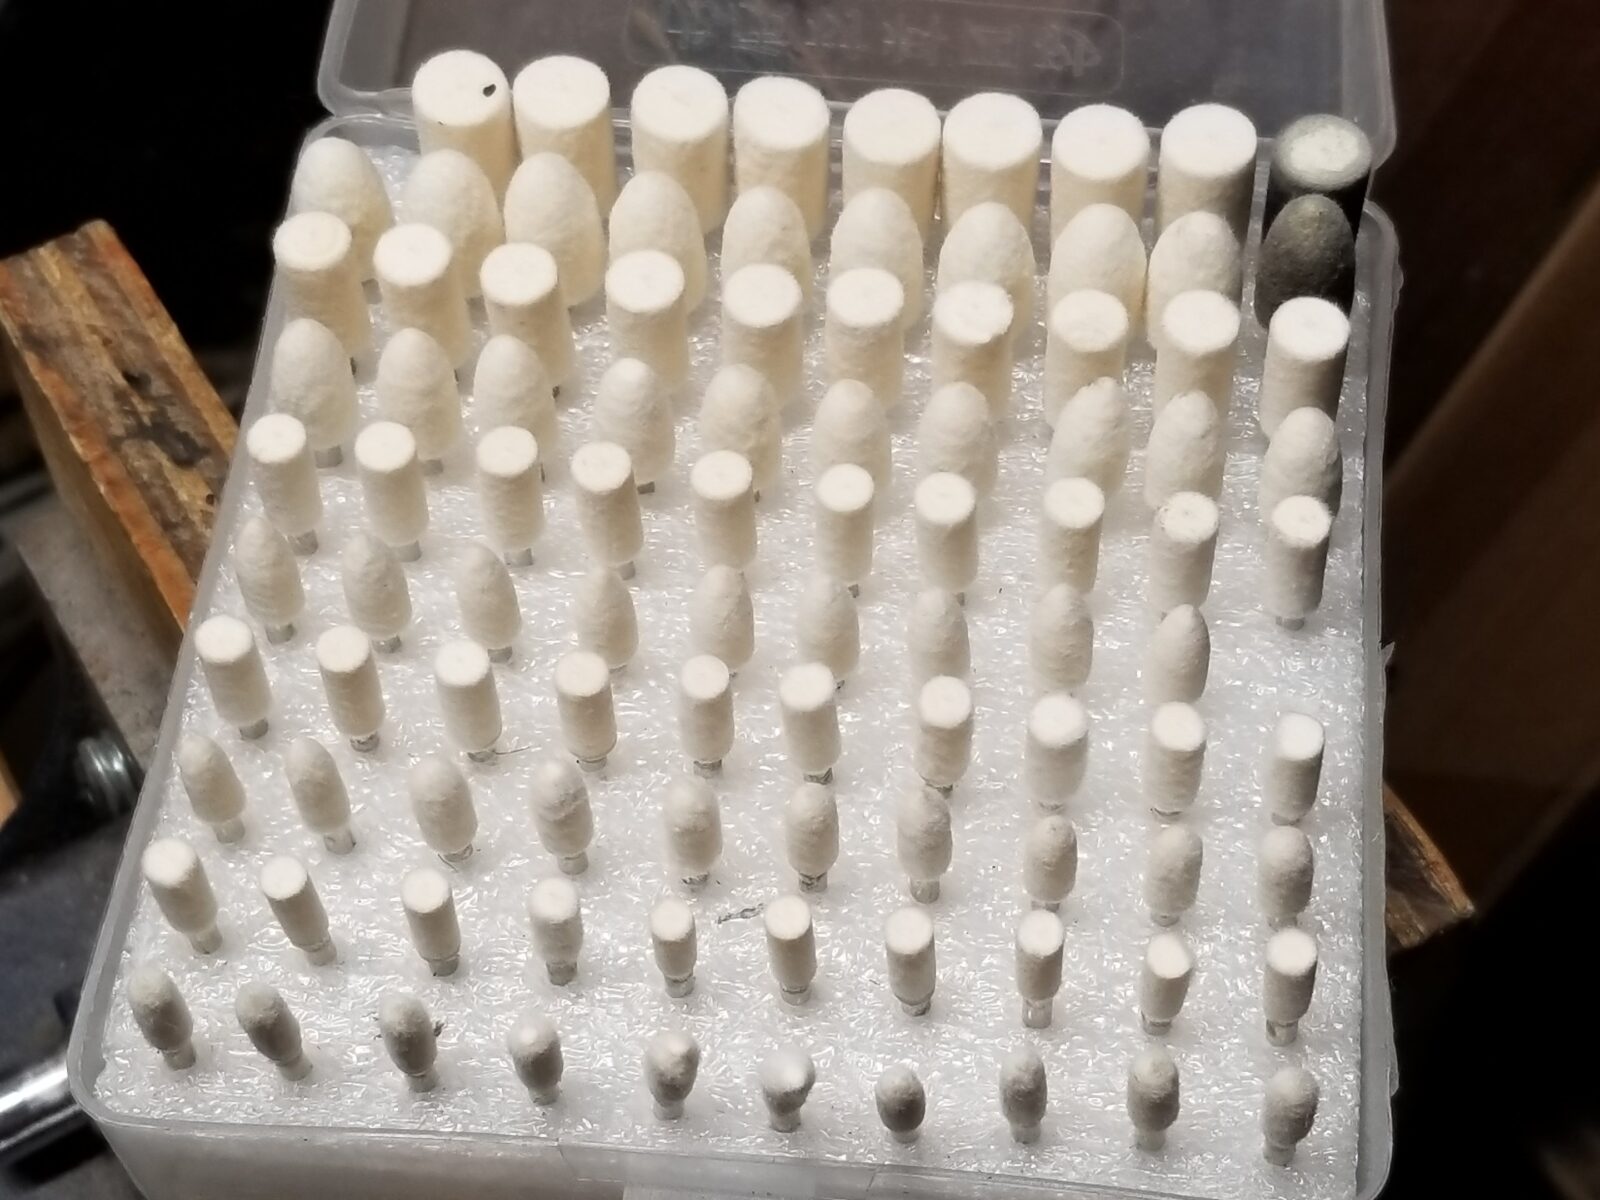
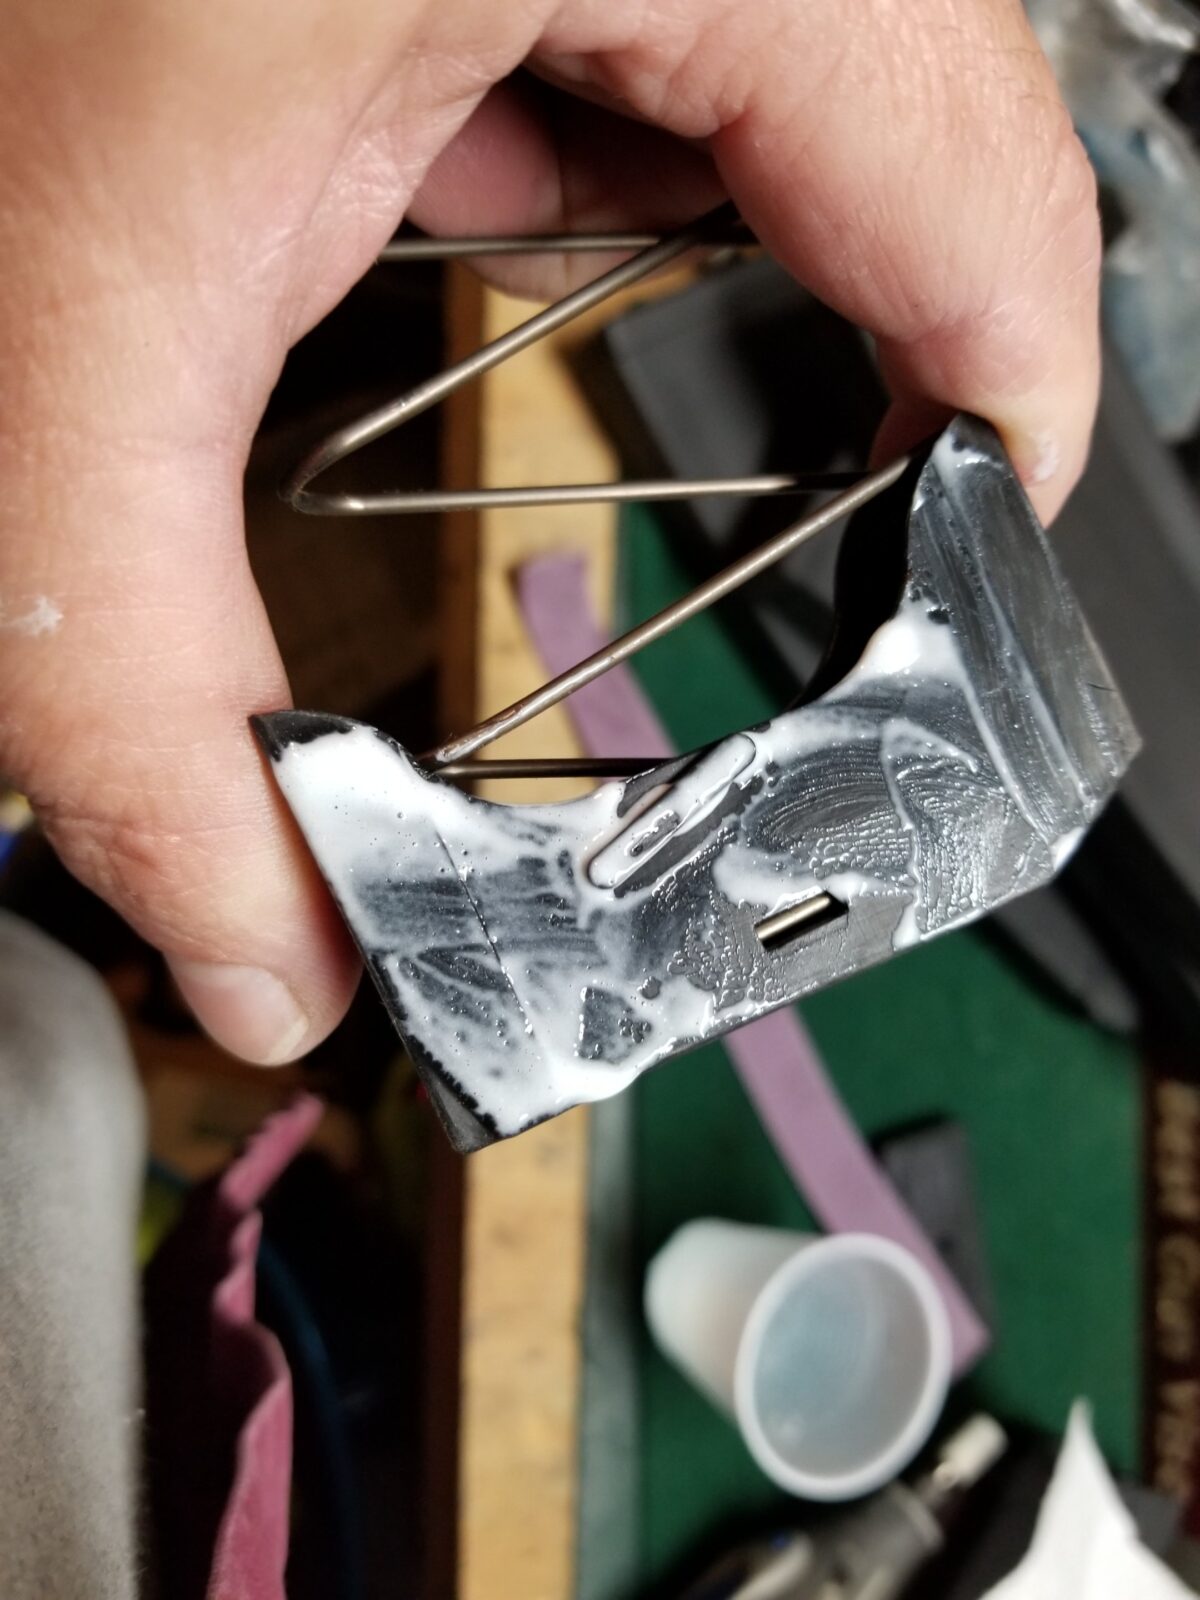
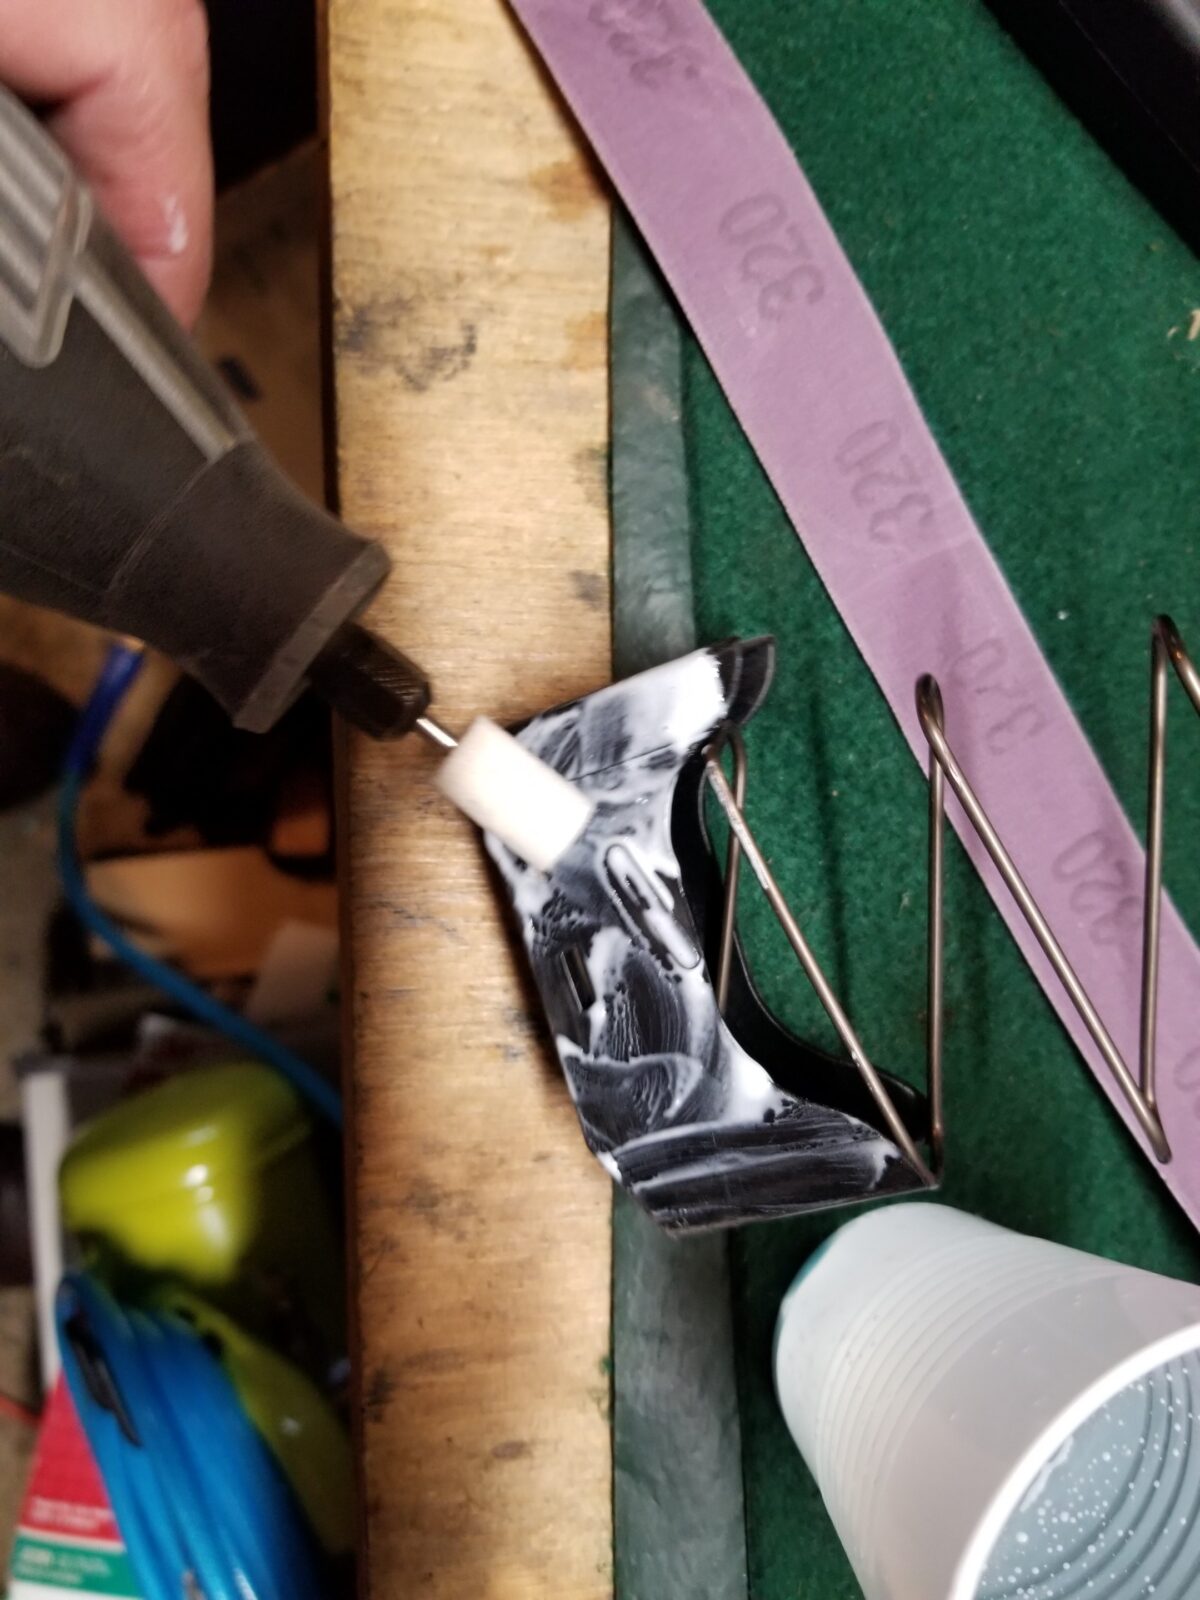
Now I found I needed to do a second step to really smooth things out. The abrasive bit leaves a rough surface and the next thing I did was to use a felt bob/bit with felt on the end in my Dremel along with Plastix polish to finely polish all the surfaces. I tried skipping this step with a couple of the magazines and the end result was so much better that I went back and polished the surfaces I worked on in all of the magazines.
The polishing with the Plastix really made a big difference and I would recommend you do it as well. You could tell the parts were smoother. Definitely wipe everything down and do not leave the grit in the magazine.
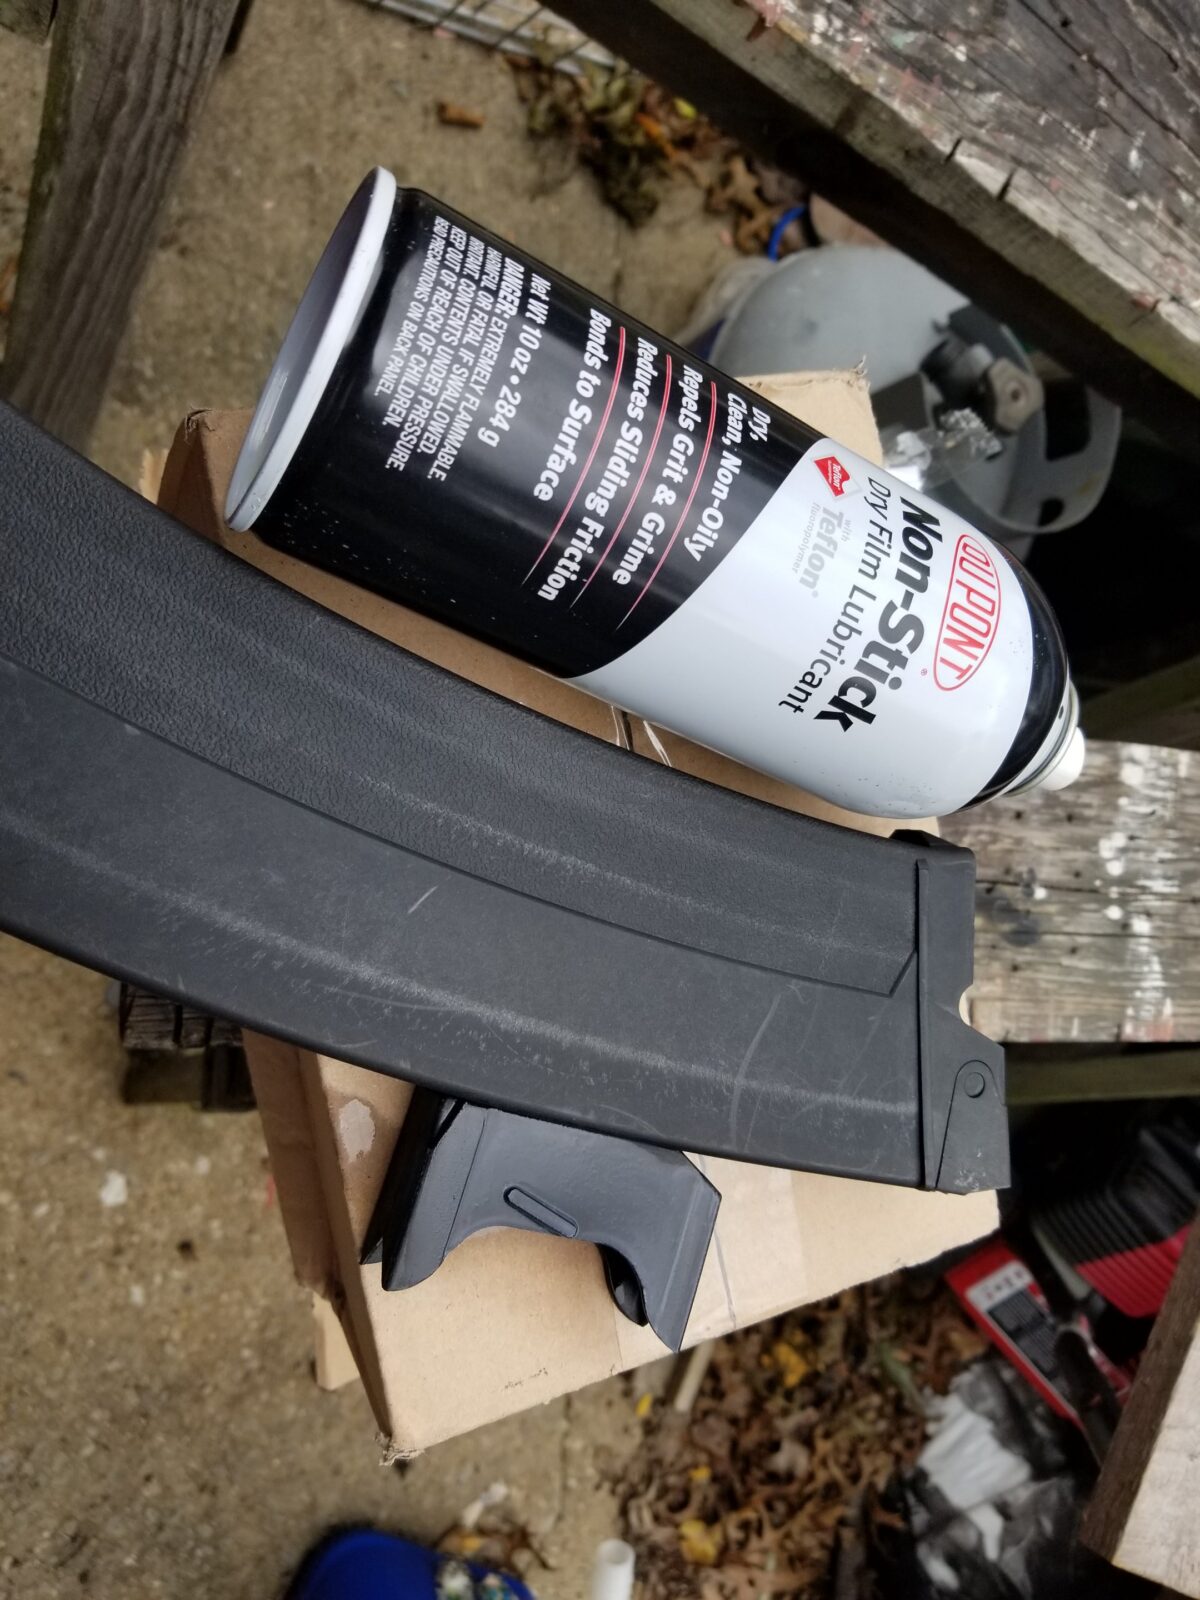
Next, I sprayed the Dupont Teflon dry film lubricant in the magazine body and on the follower. I would not recommend using oil or anything that leaves a residue that dirt will stick to. Instead you want something that is going to leave a dry film behind. This really fixed everything once and for all.
9/21/23 Update: Dupont no longer sells a Teflon spray due to environmental and health concerns. They sell a ceramic-based spray now that I use instead.
I then reassembled the magazines. As mentioned the parts can only go one way. I never took the spring off the bottom plate so I didn’t have to worry about its orientation.
I went ahead and did one final spray of Teflon around the follower and let it run down in. While it is still a liquid, the lubrication will not be very good. You need to let it dry. In my case, it shot up like a rocket. Job done.
End Result
The magazines all seem to work fine now. I think the problem was a combination of the mold seam and that inside area being just a tad too tight. I hope this post helps you out. Small side note to SDS – you really ought to fix this.
10/15/18: First thing this morning SDS reached out to me and is sending replacement magazines. I will test them and report back. They have sold over 3,000 magazines with just a few problems so I might just literally have a bad batch.
Folks, I’ve been involved with AKs since about 2006 – not a long time but long enough to watch the AK, or Avtomát Kaláshnikova, rise from a firearms embraced kind of at the fringe by preppers and guys who realized that it was extremely reliable and fun to shoot.
Today, the AK and its many, many variants (AK-47s, AK-74s, Veprs, Saigas, PSLs, M70ss, PAPs, SLRs, Galils, AMD-65s, etc.) are really in the mainstream. There are tons of rifles, ammo and accessories available.
What I also think is interesting and very cool is the rise of AK clothing (T-shirts, sweatshirts and hoodies mainly) where you can show off your favorite firearm — or at least one of your favorites 🙂 These used to be limited-run hard to find stuff years ago. Now, thanks to eBay, there are tons and tons of options in terms of designs, sizes and colors plus you can see how well the vendor is doing in terms of sales volume and ratings.
There are T-Shirts
I had to order one with the 7.62×39 spam can! Note, some of the images don’t show but when you click on the link you can see the item and some of them are hilarious!
Sweatshirts and Hoodies
Needless to say, I’ve bought a few and hope you find some cool garb to express yourself as well!
P.S. If you want to limit your risk a bit, buy from vendors with more sales (I like over 30) and positive reviews. Anyone can get one or two great reviews from friends and family so be cautious.
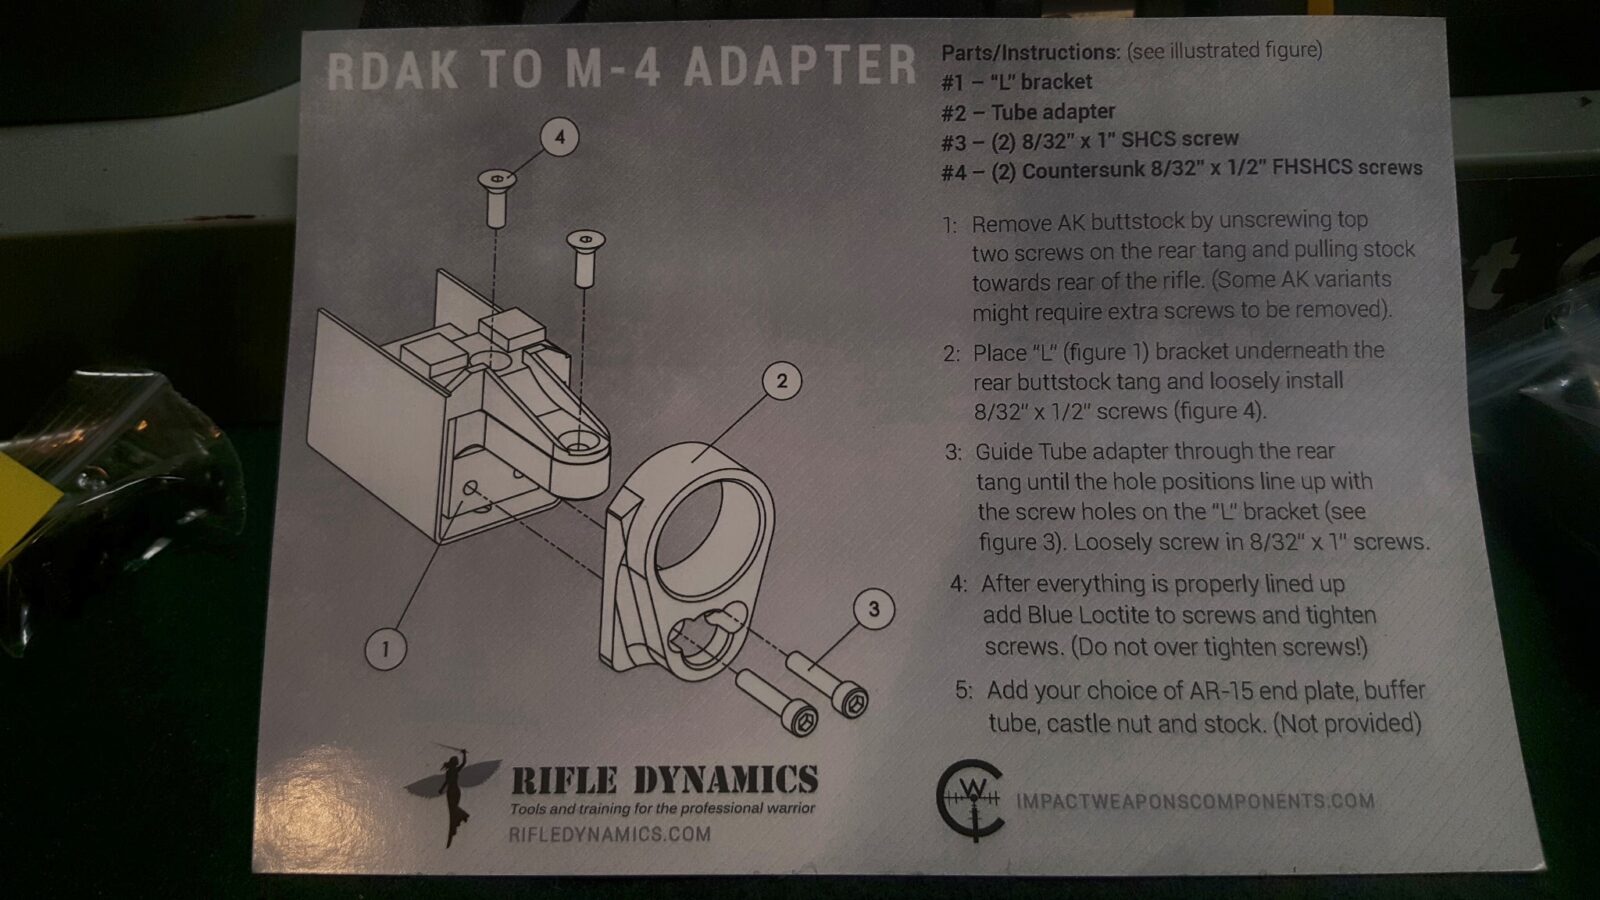
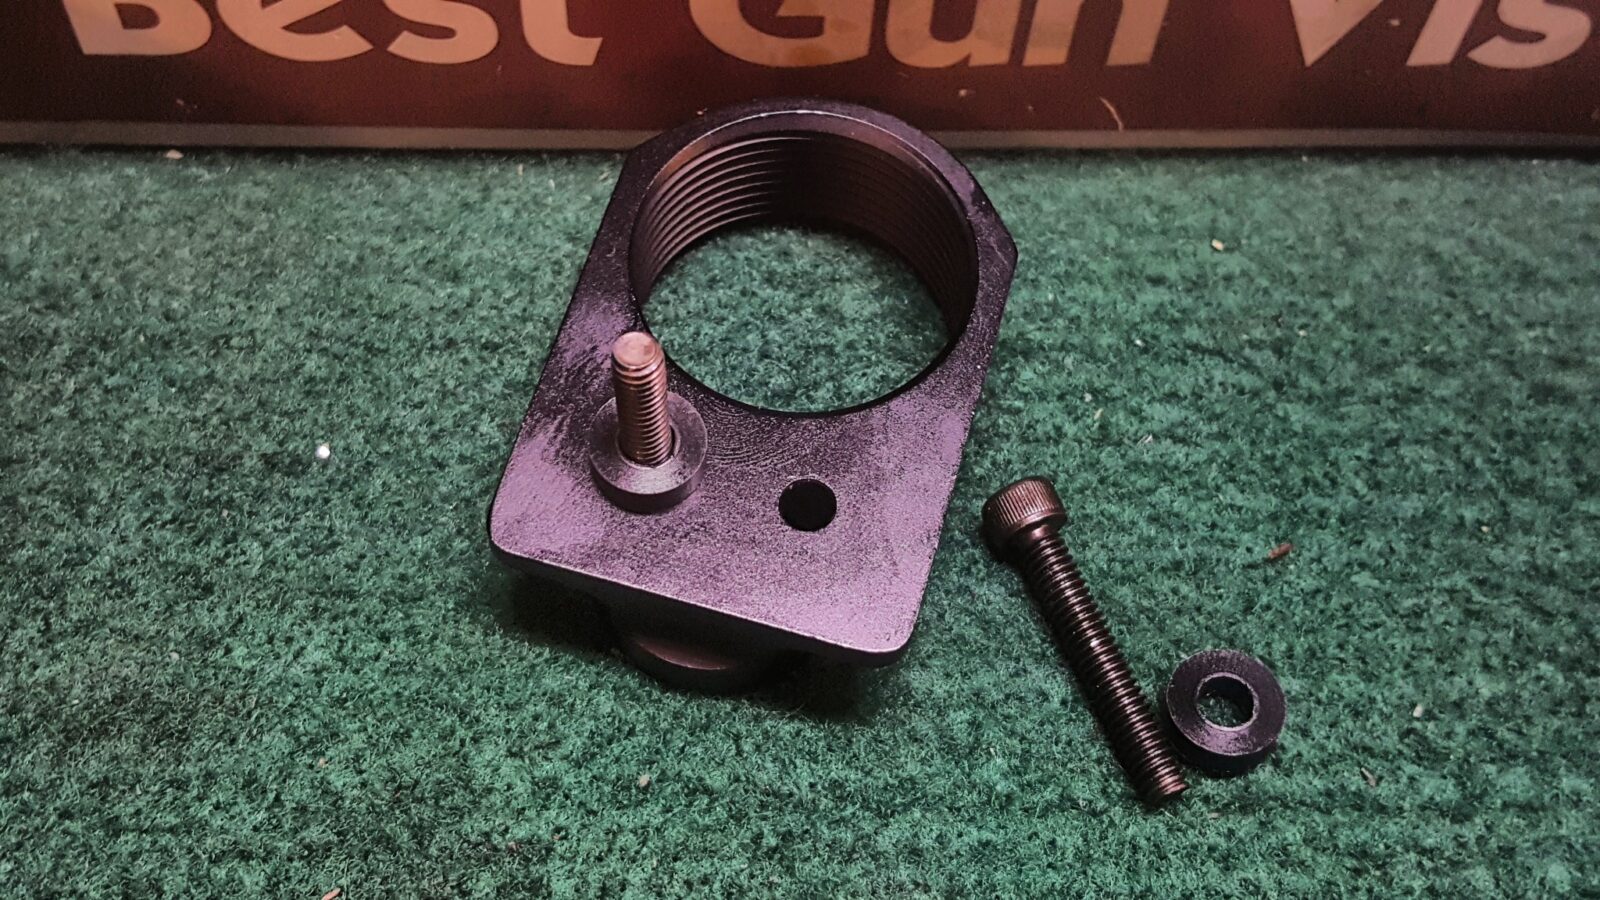
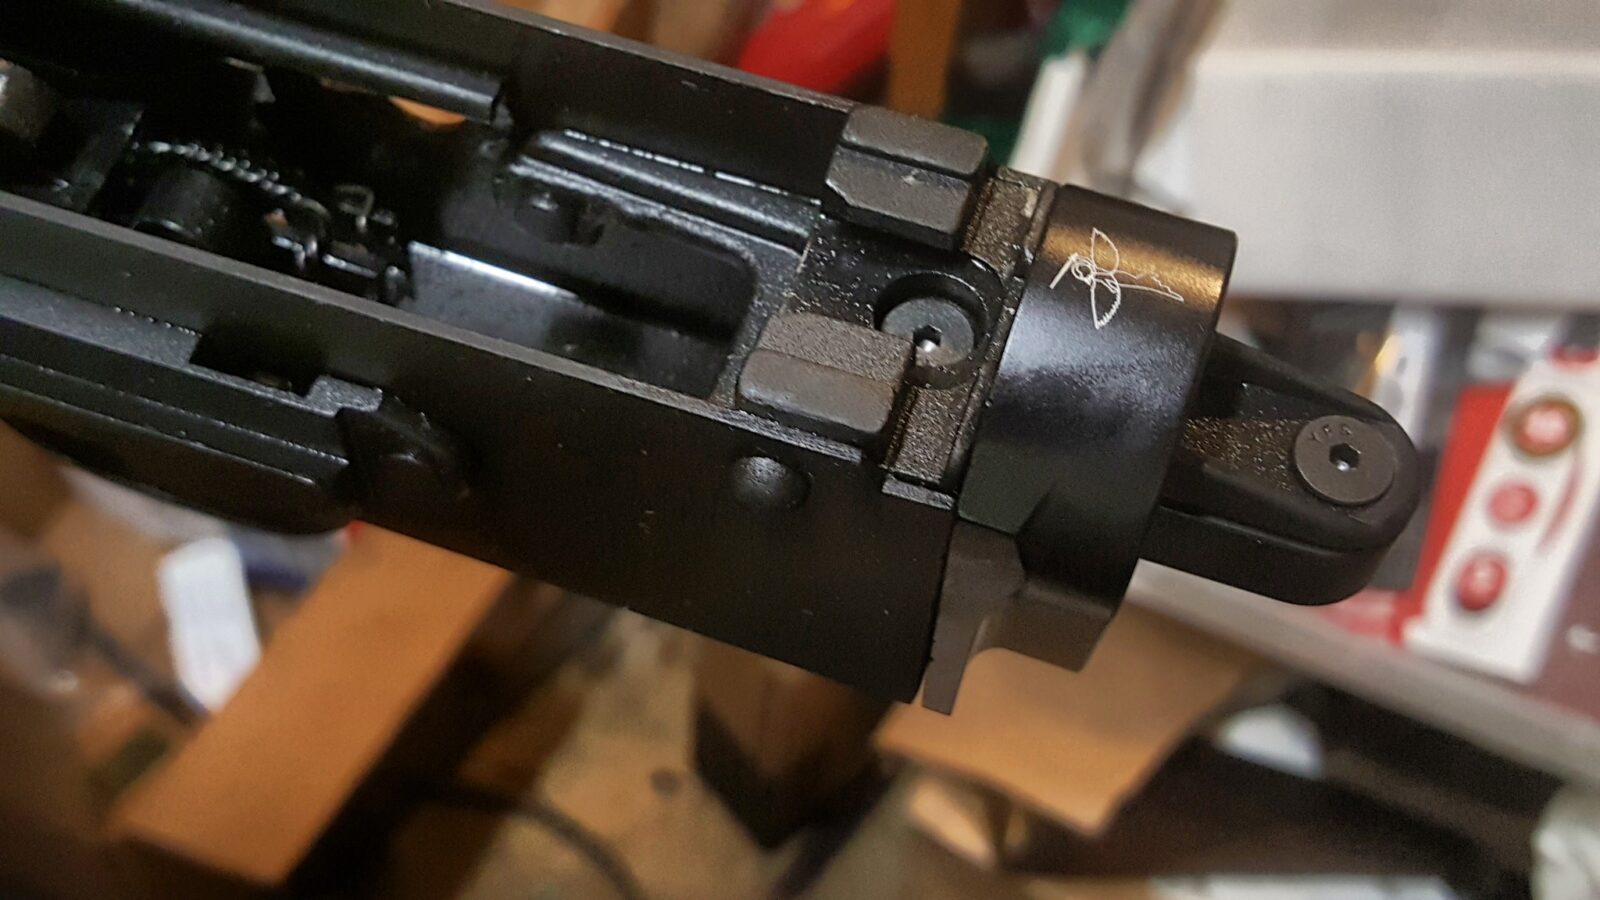
I like M4 stocks and did some digging around. In the past, I have used Ace/Double Star and other modular adapters. The problem with them is that unless you cut the tang off the rear trunnion, you have a rather long receiver block sticking out of your rifle and I wanted to avoid that.
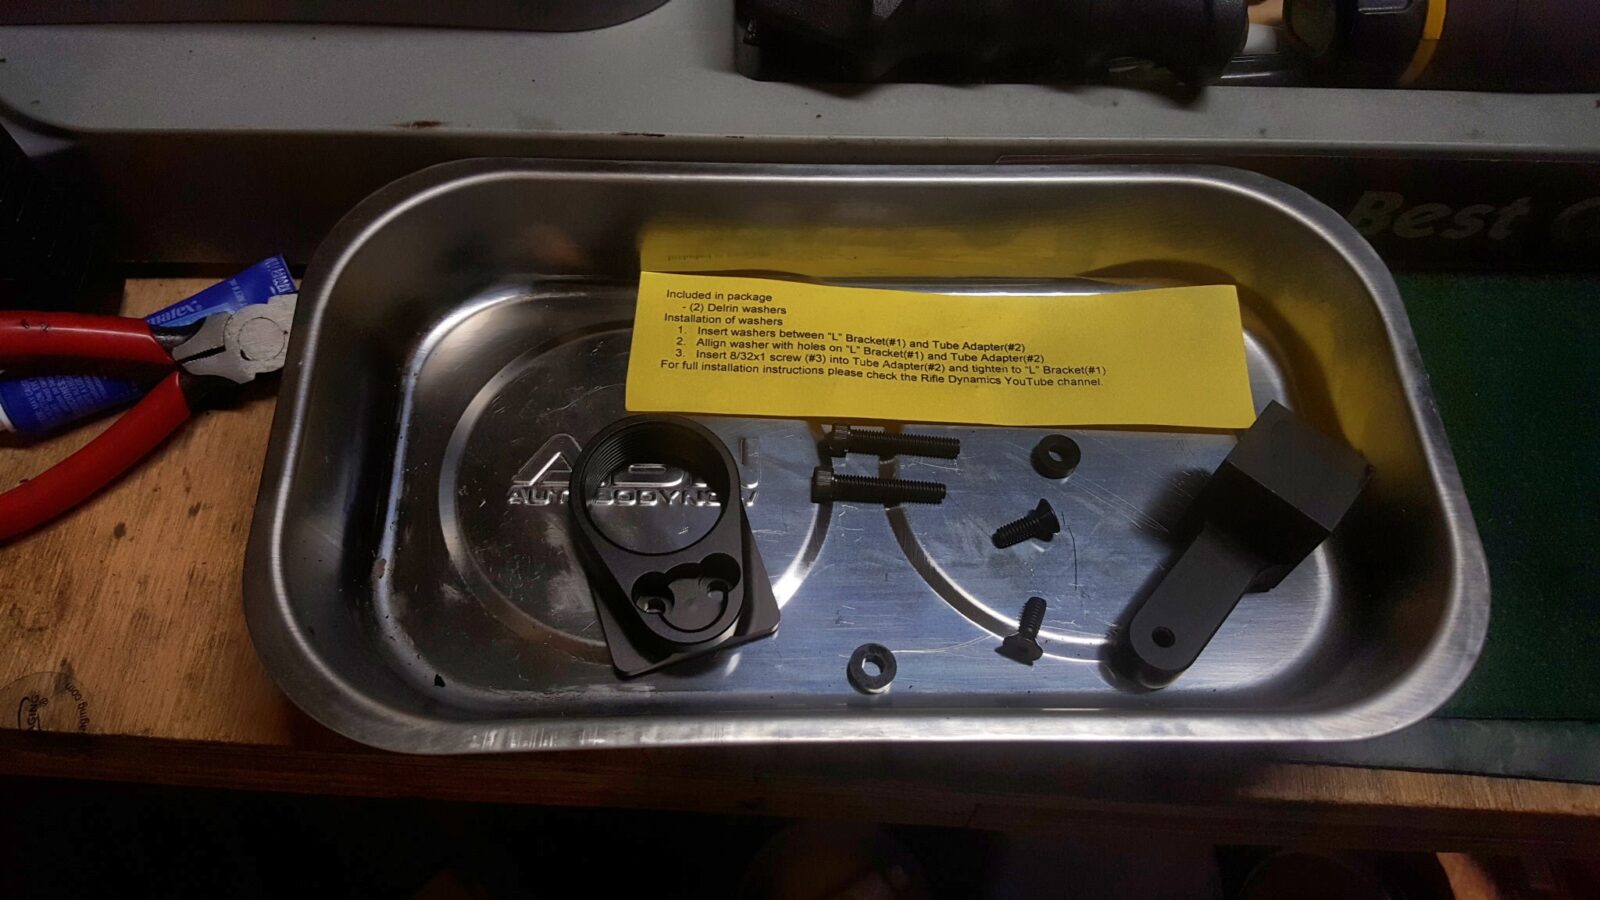
The unit comes with clear instructions but do read the little yellow supplement they include. After getting feedback about the angle the unit positions the buffer tube at, they added two small Delrin washers that need to be installed also.
Installation took about 10 minutes – in large part because I was snapping photos but also because I didn’t want to rush and make a mistake.
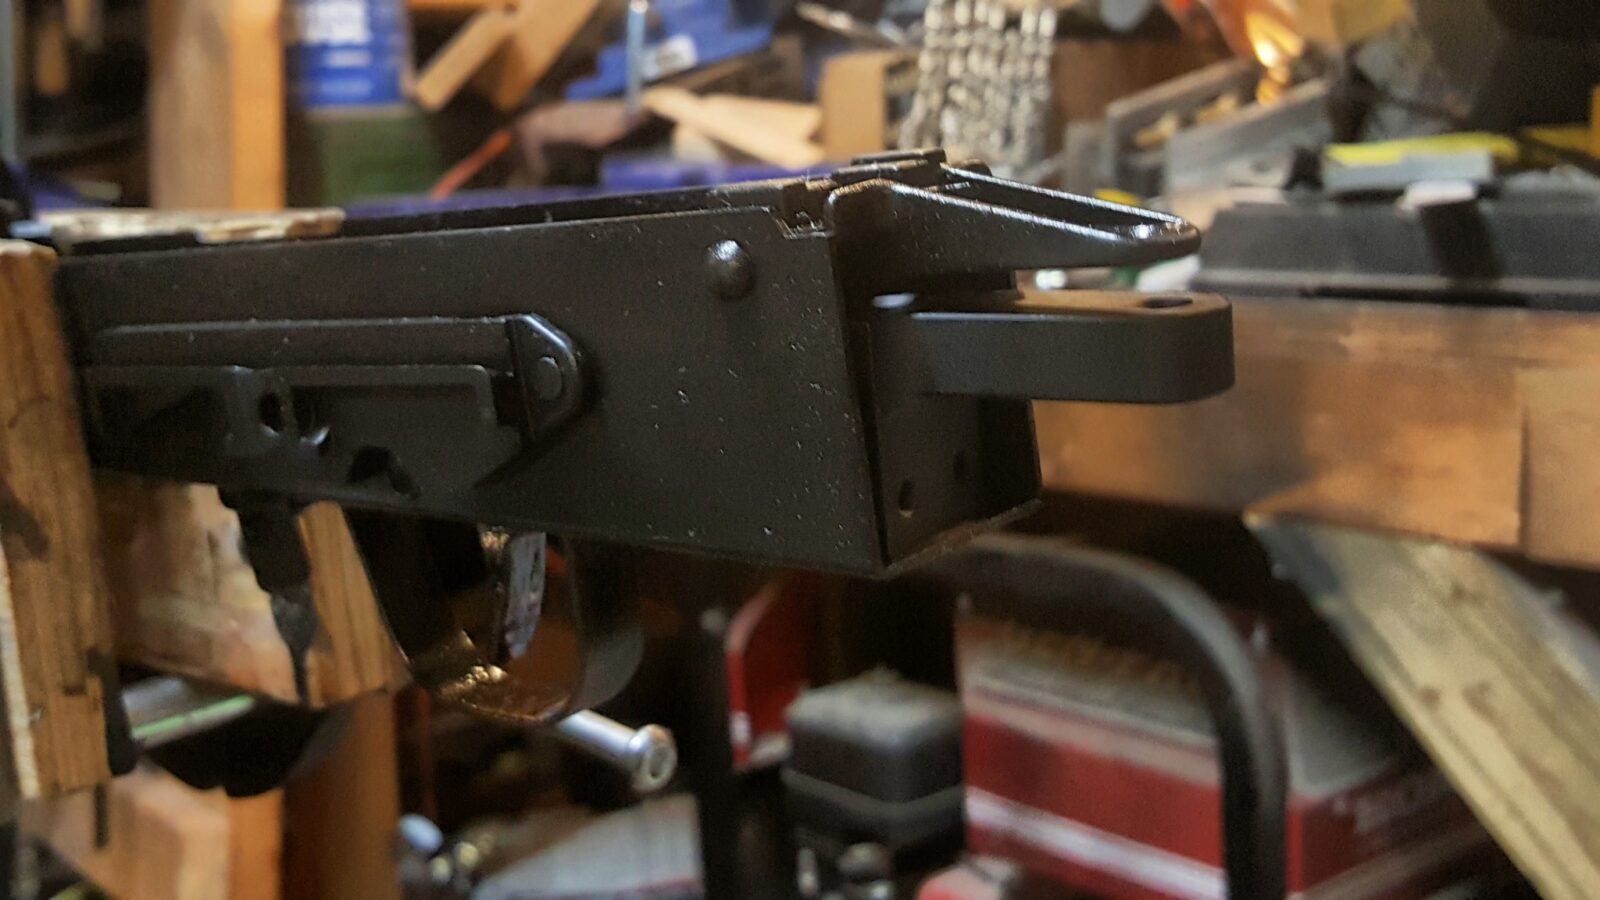
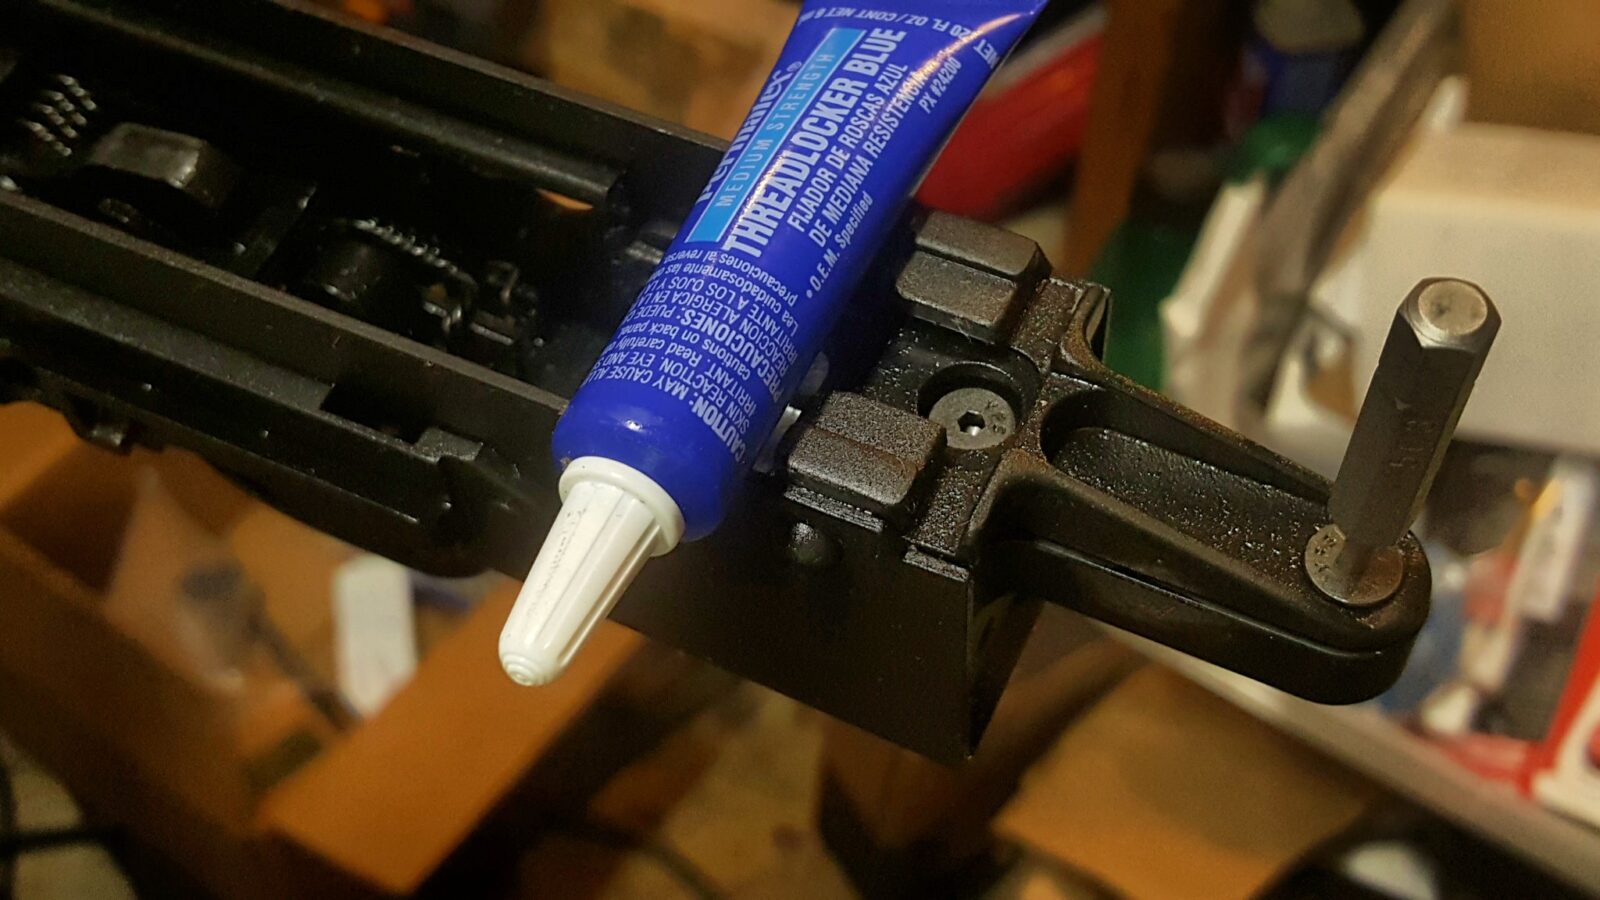
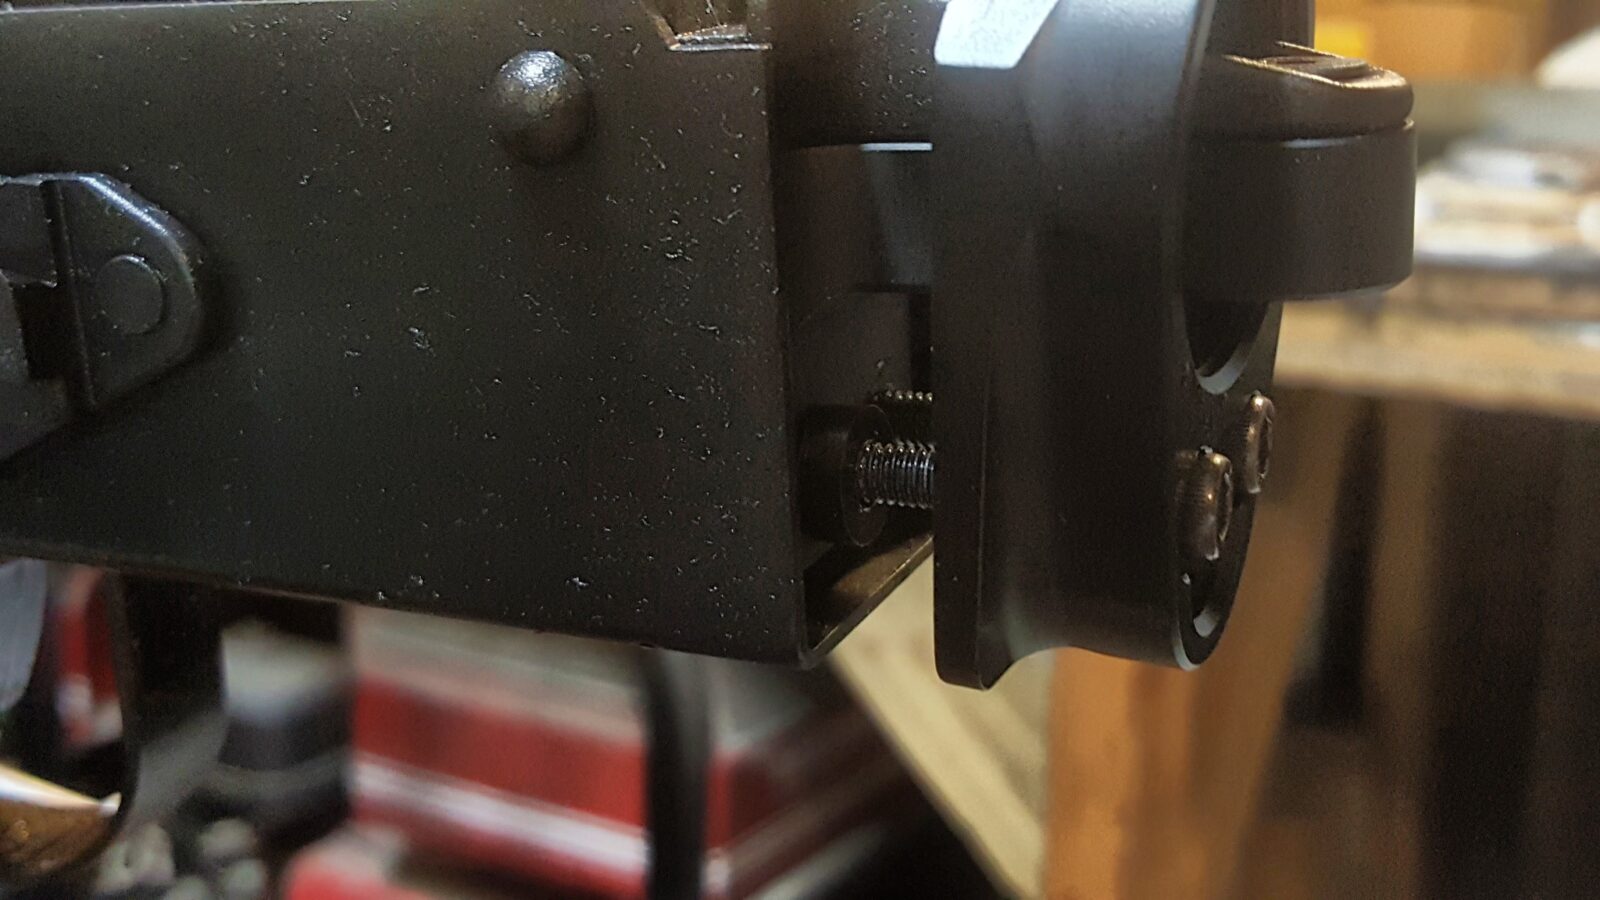
So the big L-Bracket just goes under the tang and is screwed into place. I put Blue Loc-Tite on both screws to prevent them from loosening up. Based on past experiences with stocks that loosened up using modular mounts, be sure to use some form of thread locker. I did not tighten the screws down yet because I wasn’t sure if I would need to wiggle the tube adapter into place or not.
So with the L-Bracket in place, I then attached the Tube Adapter. The Delrin washers go between the Tube Adapter and the L-Bracket. I applied Blue Loc-Tite to these screws also.
I then tightened down all the screws and that was it.
Adding a C&H Mercury Buffer to the M4 Buffer Tube
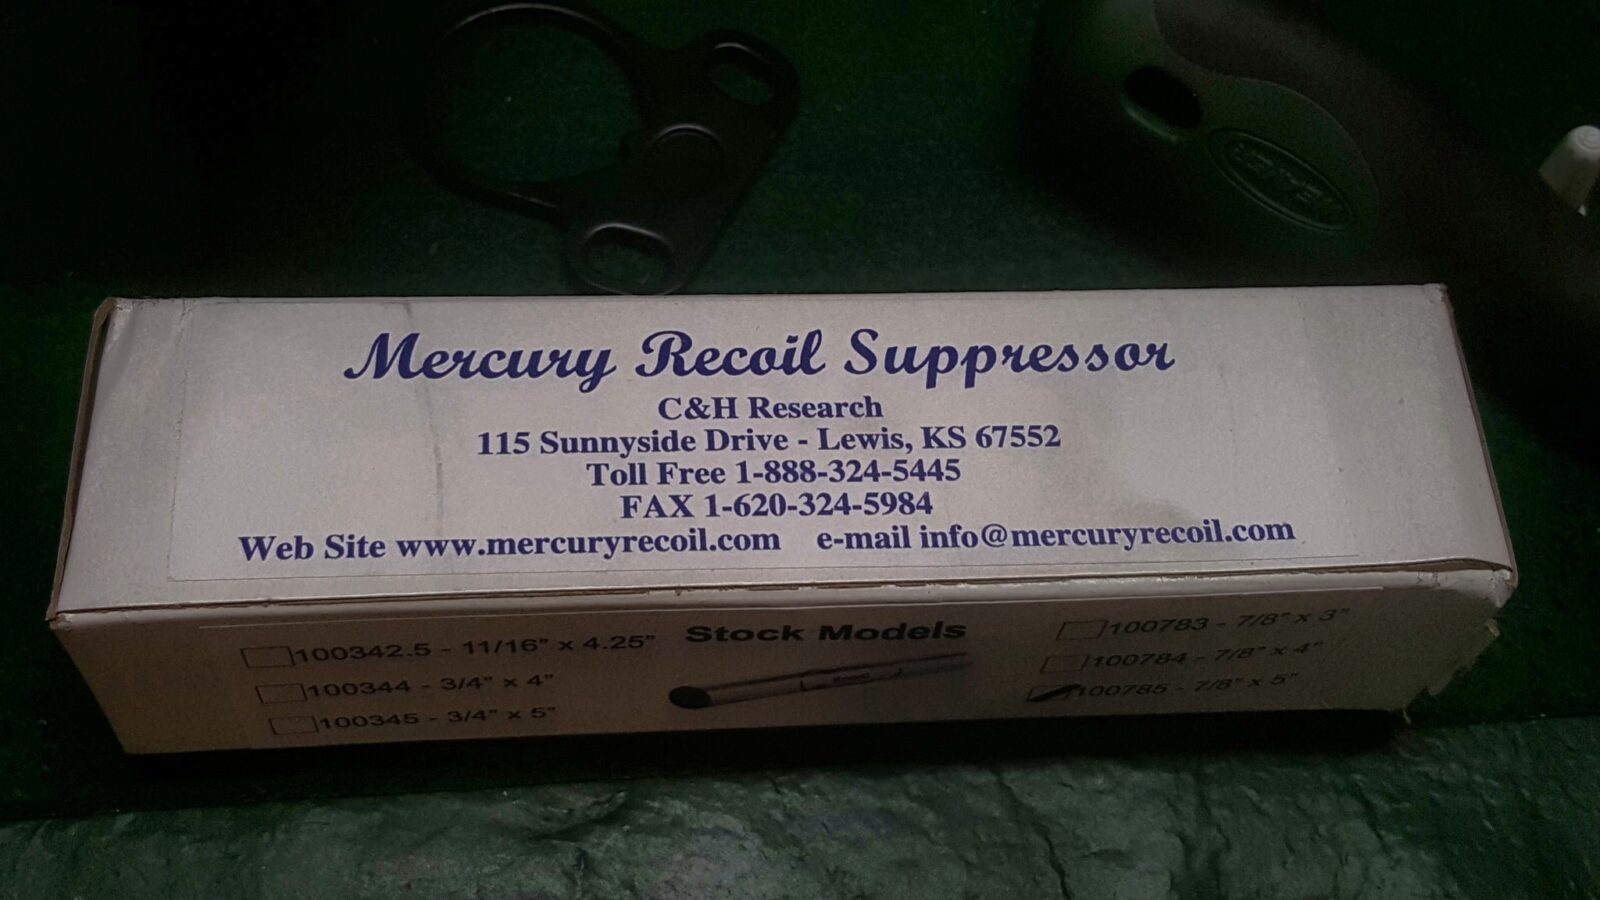
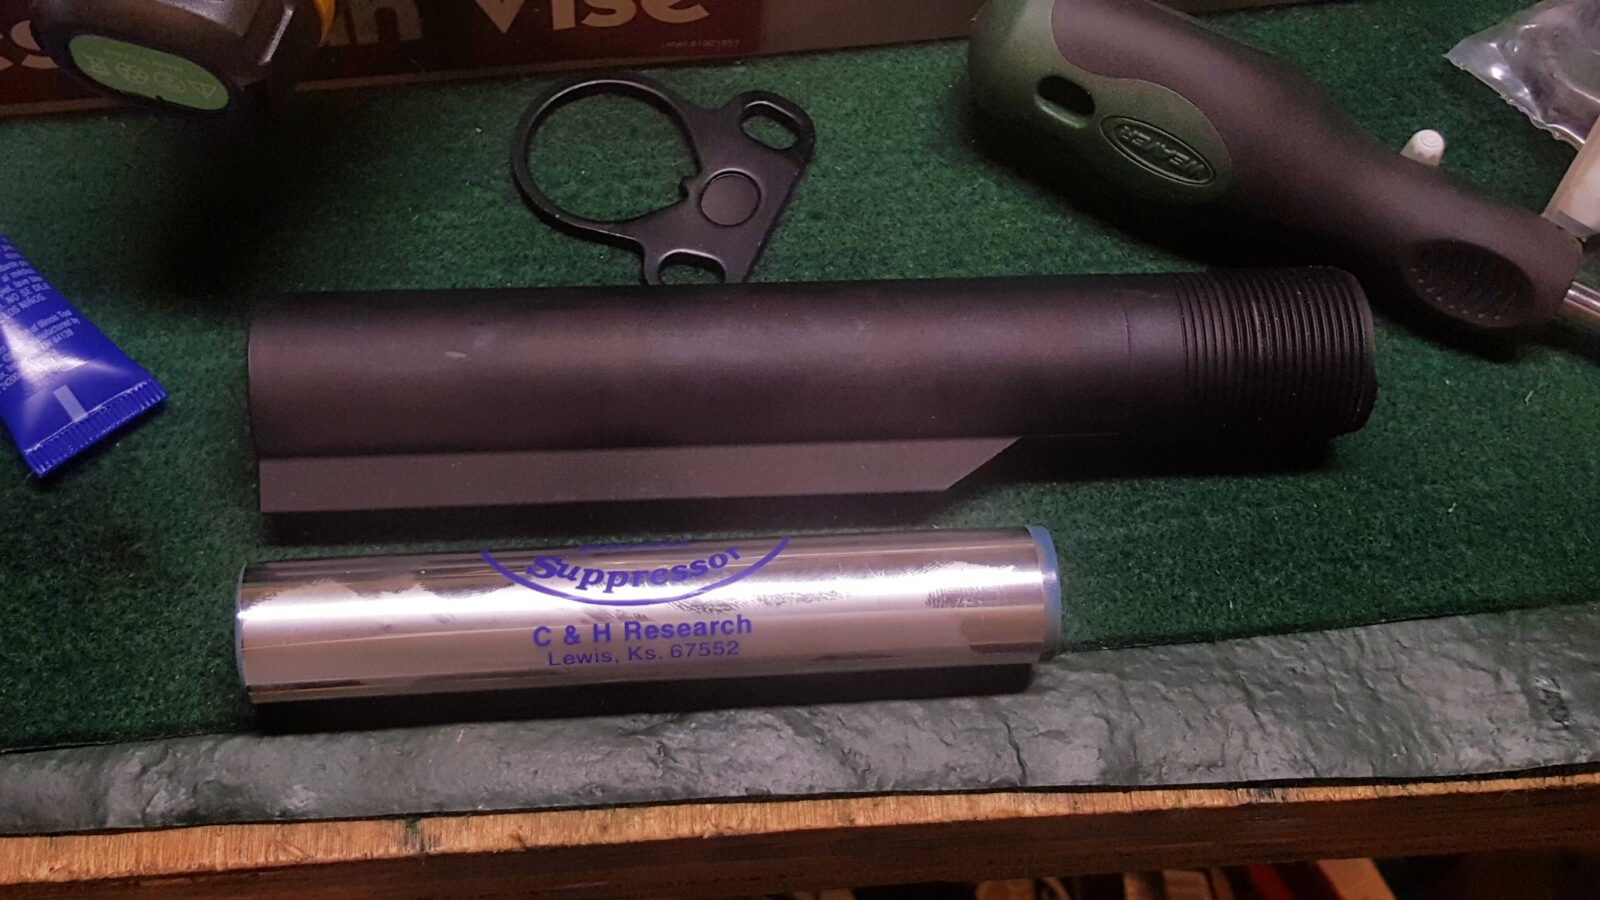
Based on past experience with other similar firearms, I knew the Lynx would be front heavy plus I knew 12 gauge shotguns in general have a fair amount of recoil. Both of these could be addressed by installing a C&H Mercury Recoil Suppressor. I use the model 100785 as I know it will slide down the buffer tube of an M4 given the suppressor measures 7/8″ x 5″. You wouldn’t use this in a normal AR because the buffer tube would have the buffer and spring inside. However, in our case, an AK does not use the buffer tube so that means we can do whatever we want. I ordered by unit from MPC Sports, where I have bought them in the past.
I’ve used these a number of times over the years in shotguns and rifles to add weight to the rear and to reduce the recoil. This last part is interesting. Basically you have a 7/8″ diameter heavy tube that is 5″ long that is hollow. Inside it is partially filled with liquid mercury and then very tightly sealed — there is no way it is coming out.
What happens is that when the firearm is fired and the rearward motion starts, the mercury liquid sloshes in the tube. The tube goes back and the mercury partially stays in place until it is hit by the front of the tube. This helps to split the recoil impulse into two parts – the initial impulse and then when the mercury hits.
If you can’t afford a mercury buffer you could always fill the rear 5-6″ with bird shot and then cap it with a thick layer of epoxy.
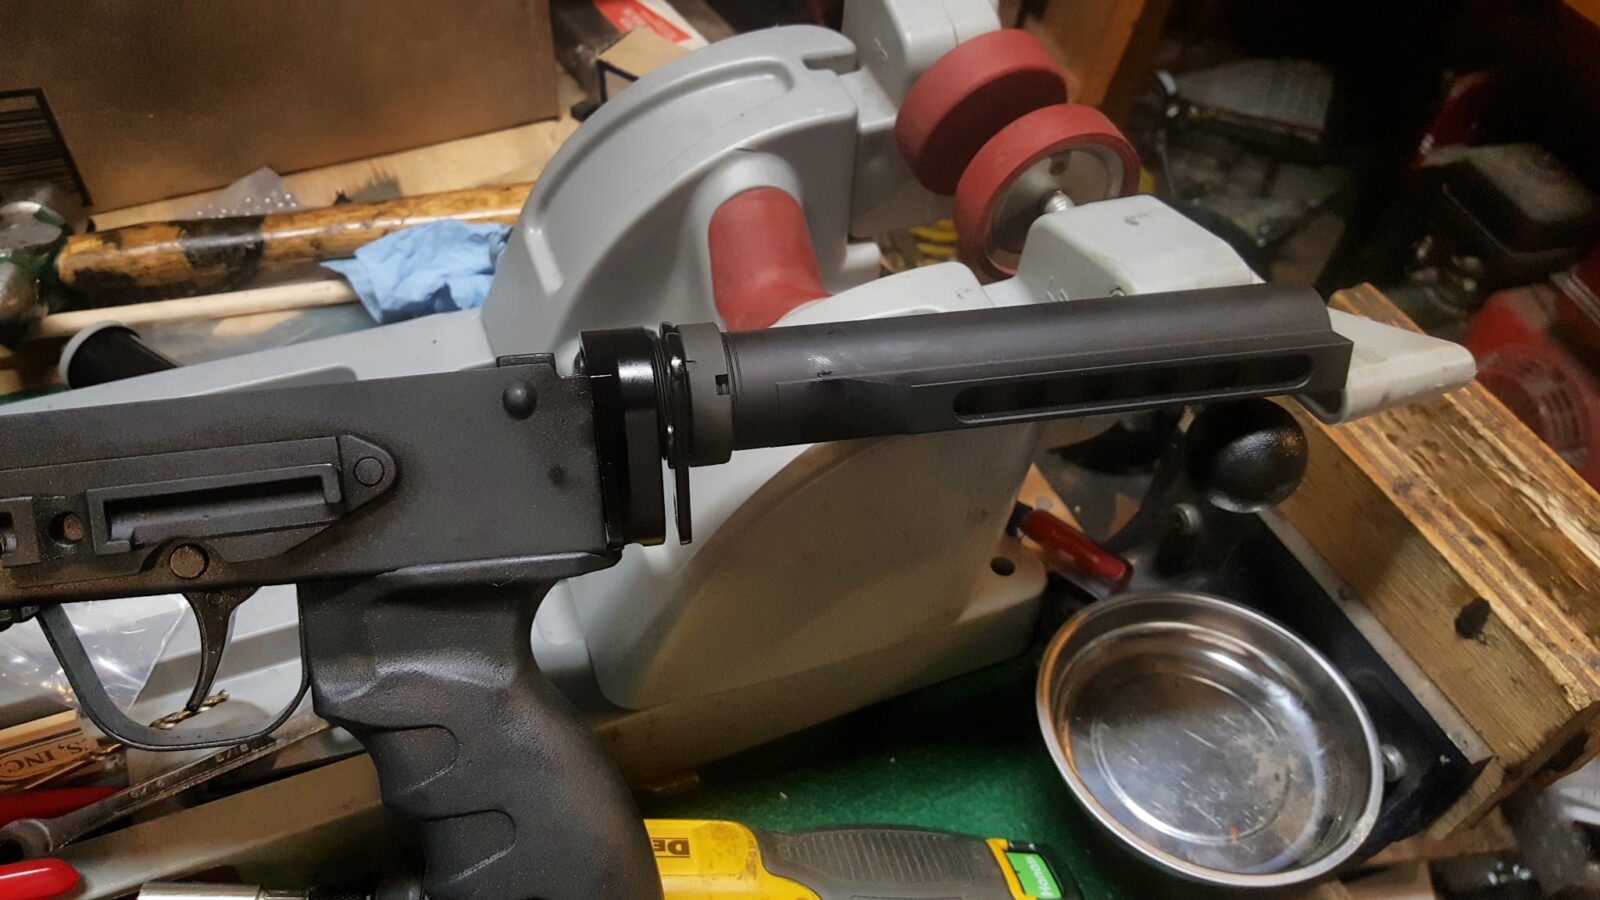
The Mil-Spec six position buffer tube is a straight forward unit made by Expo Arms and I bought it from Primary Arms. You will still need to get the castle nut and end plate of your choice. Primary Arms, Brownells and Palmetto are all good places to check. I really do not recall where I got the castle nut and end plate I used on this project – they were in a parts bin.
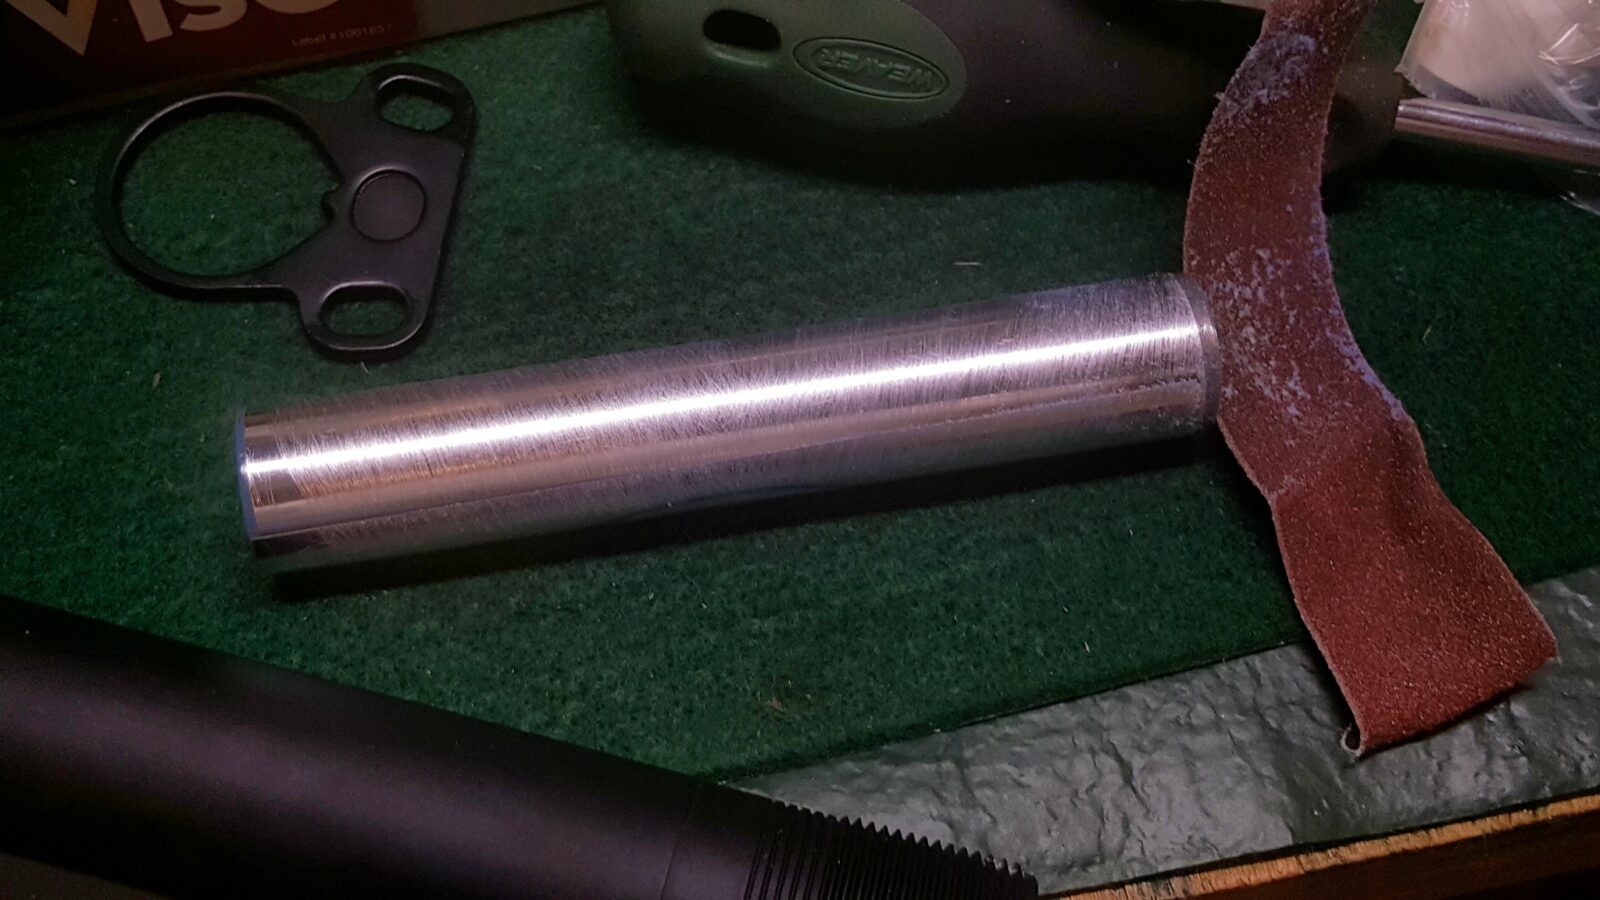
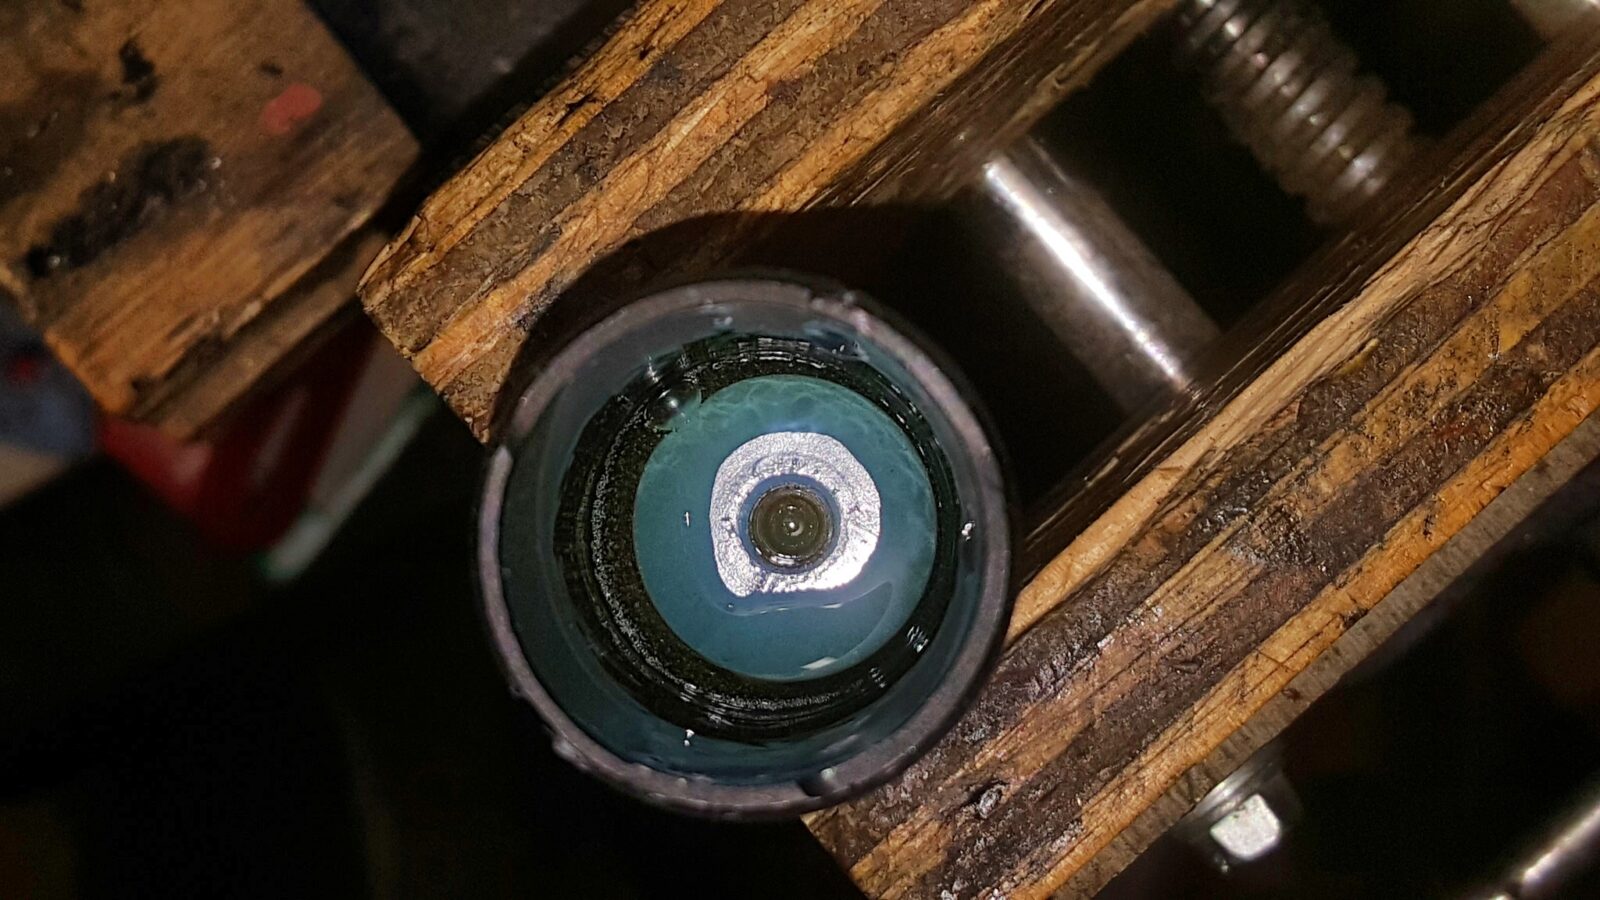
Installation is very simple because all you need to do is epoxy it into the buffer tube. I would recommend scuffing the tube with a bit of sand paper so the epoxy can stick well and then spray down the supressor and the inside of the buffer tube with brake cleaner.
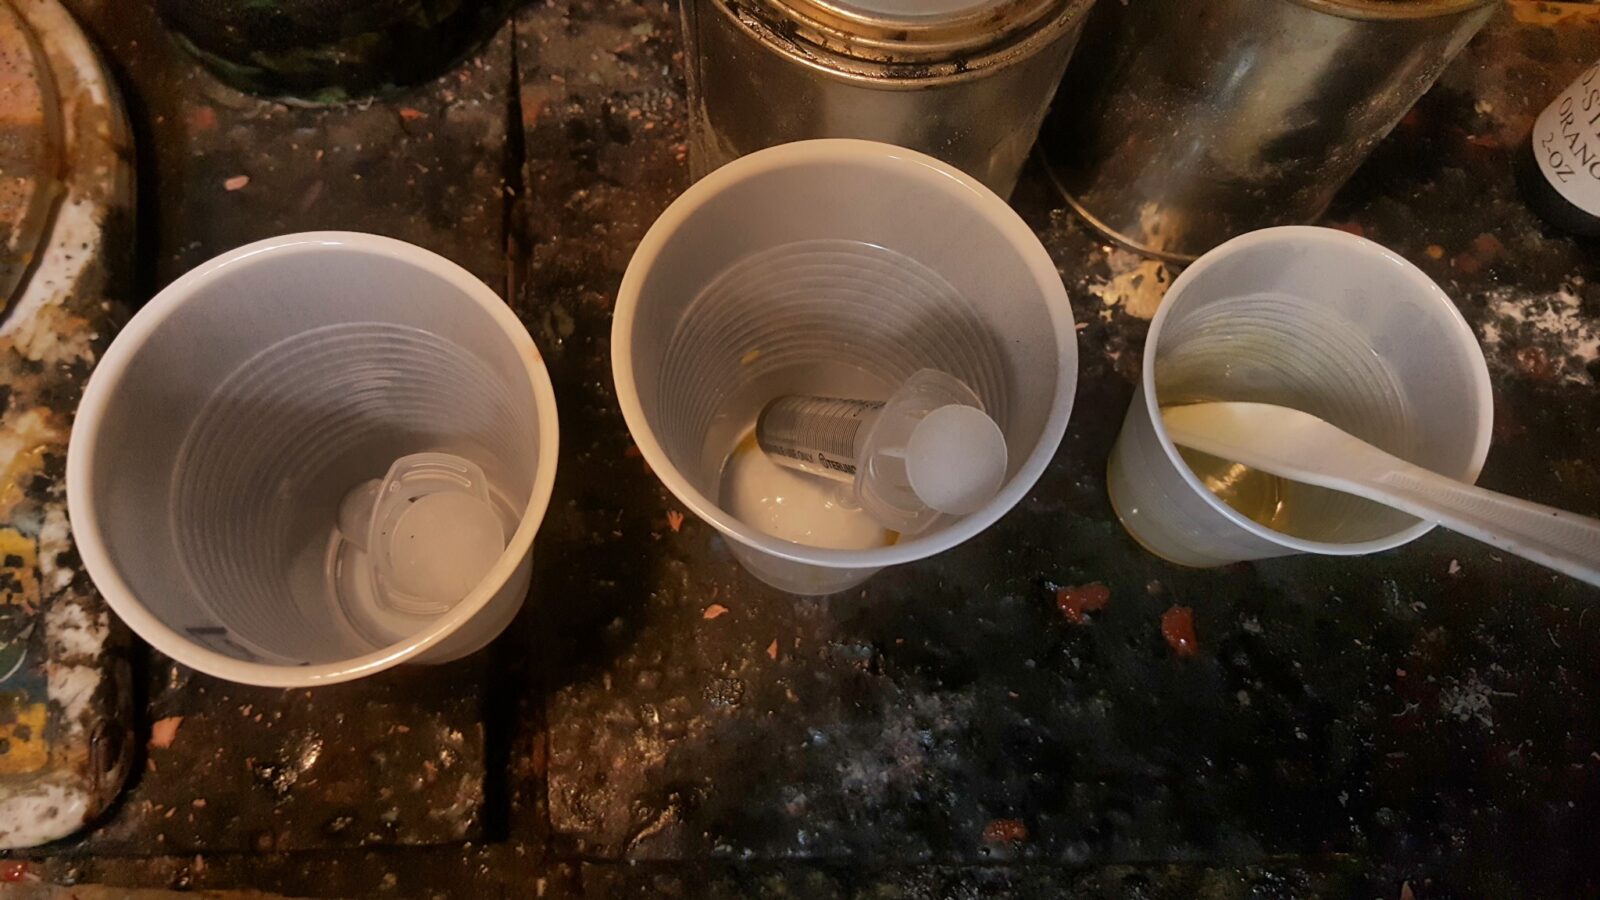
Not all epoxies are up to the task. I’d recommend Brownell’s Acra-Glas liquid epoxy for this (not their gel version). I use 10cc syringes to meter out 4 parts resin to 1 part hardener. I mixed up and used 4 batches so 16 cc of resin and 4 cc of hardener. Make sure you stir it completely. The stuff has a long pot like so really mix it well.
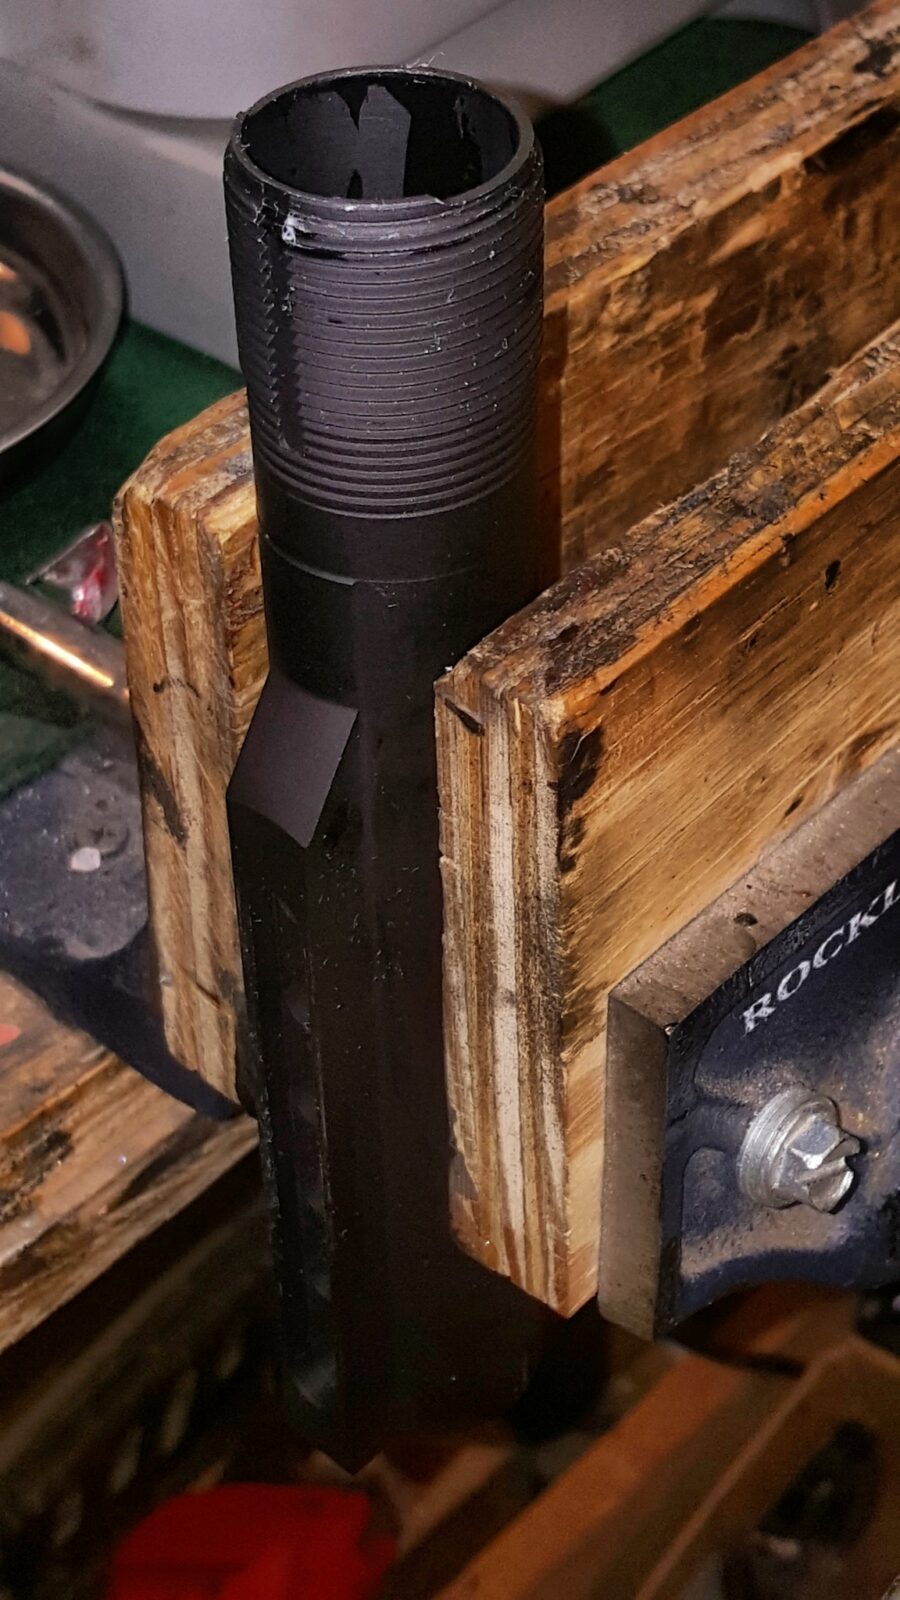
I secured the buffer tube in my vise and made sure it was vertical. Next, I poured a bit down in the tube first – just enough to put a thin layer at the bottom and inserted the suppressor into the tube and poured in the remaining epoxy. It will need to sit and cure for 2-4 hours before you can handle it. I keep an eye on the remnants in the mixing cup to see when it is hard enough to handle as the temperature will affect how long it takes. Note – it needs to cure 24 hours to reach full strength and you’d want that before firing the weapon and subjecting the epoxy to stress.
At any rate, after pouring, wipe off any epoxy you may get on the tube. Brake cleaner on a rag will help until it cures. After that, it would likely require sanding to remove so be sure it is clean before you walk away.
So with that done and curing I moved on to the grip.
Installing the Ronin’s Grips AK-12 Grip
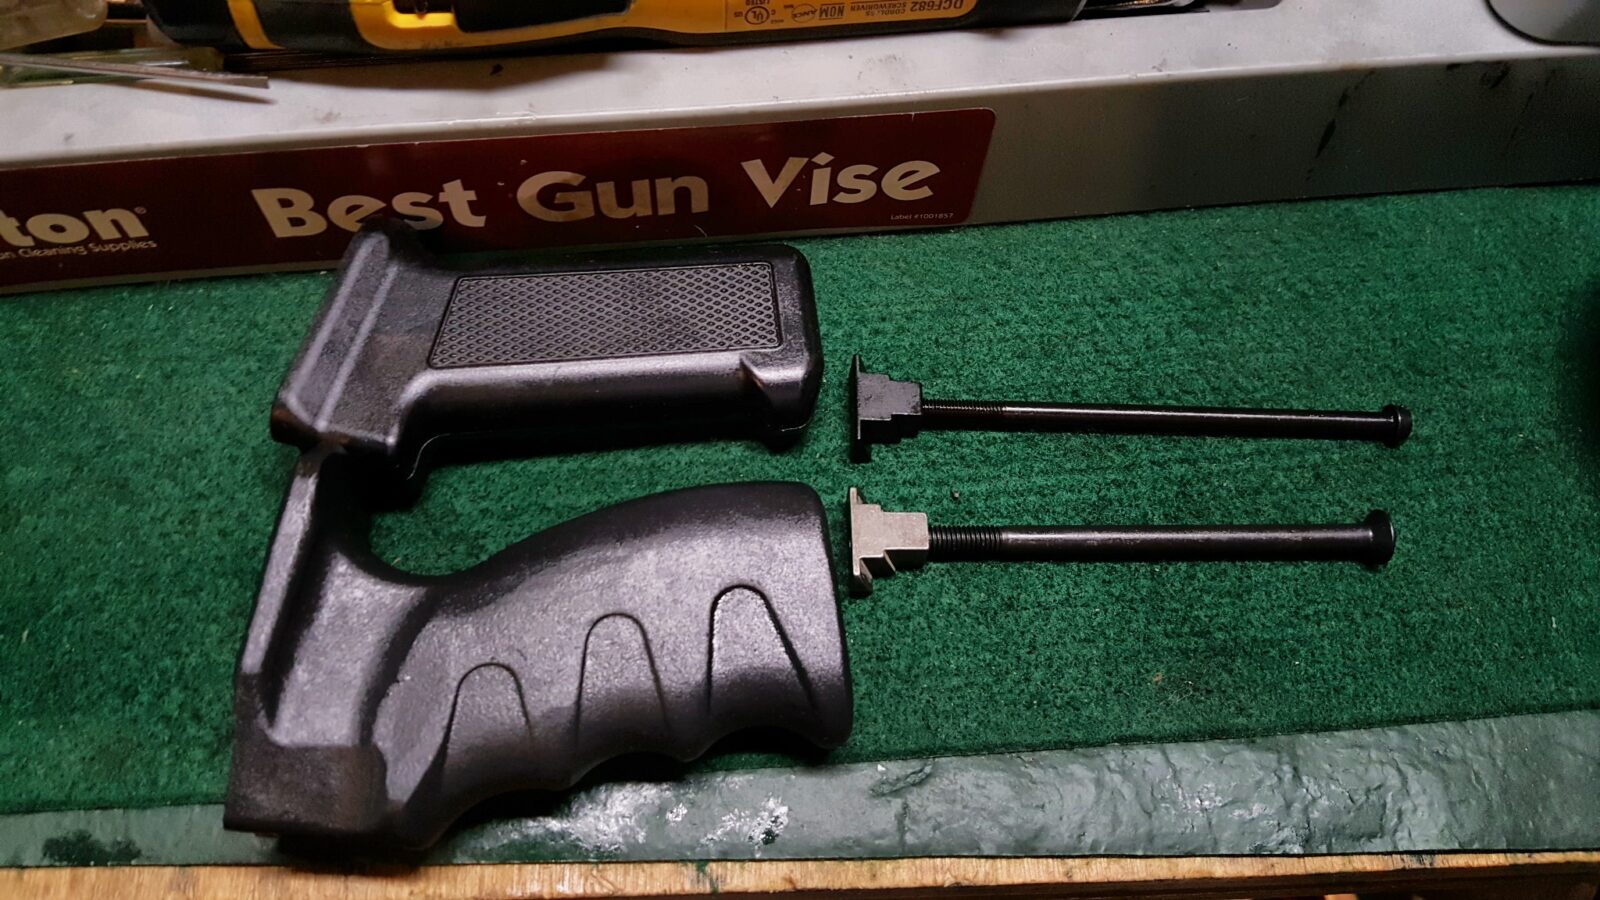
The Lynx comes with a basic pistol grip but I wanted to use one of my AK-12 grips. These are very ergonomic and feel really good to me. I wear an XL-size glove and both the size and angle work for me.
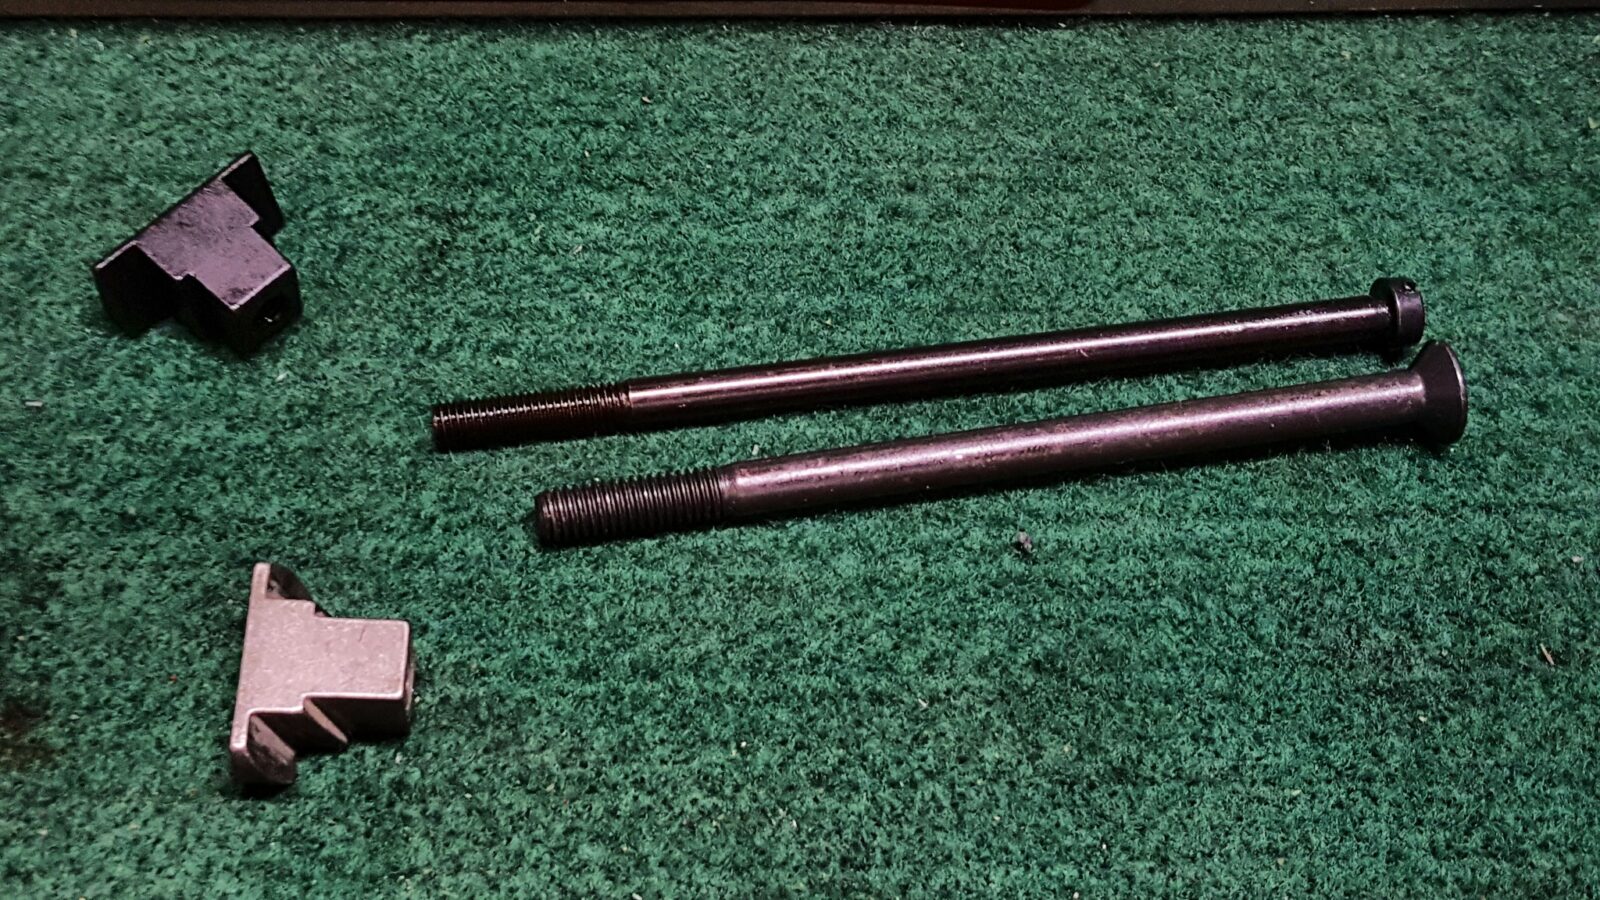
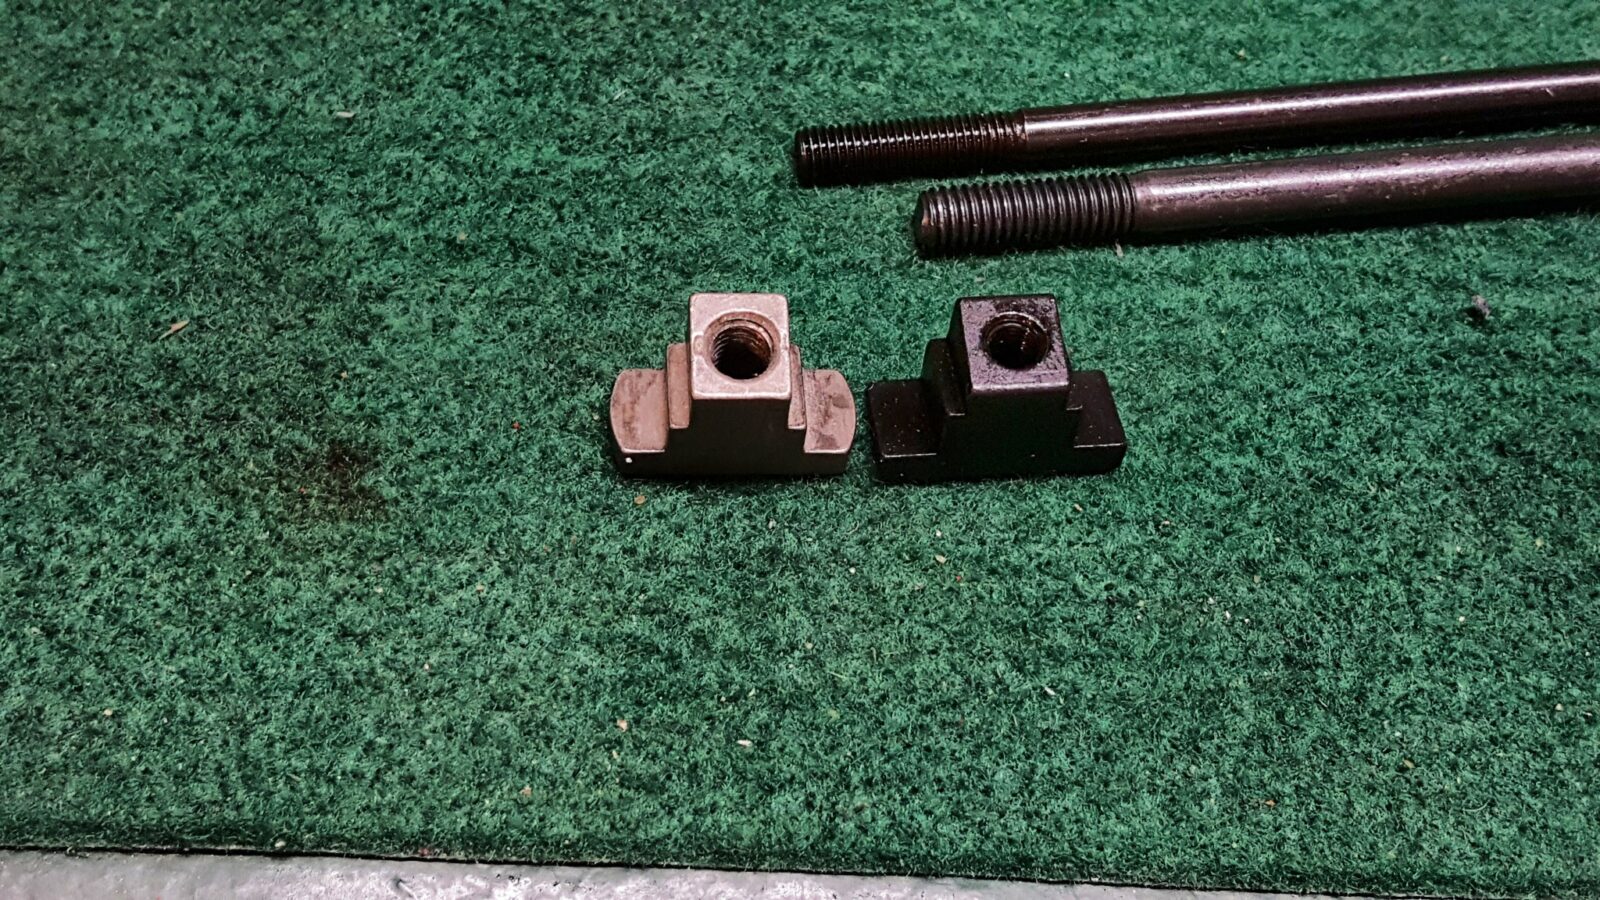
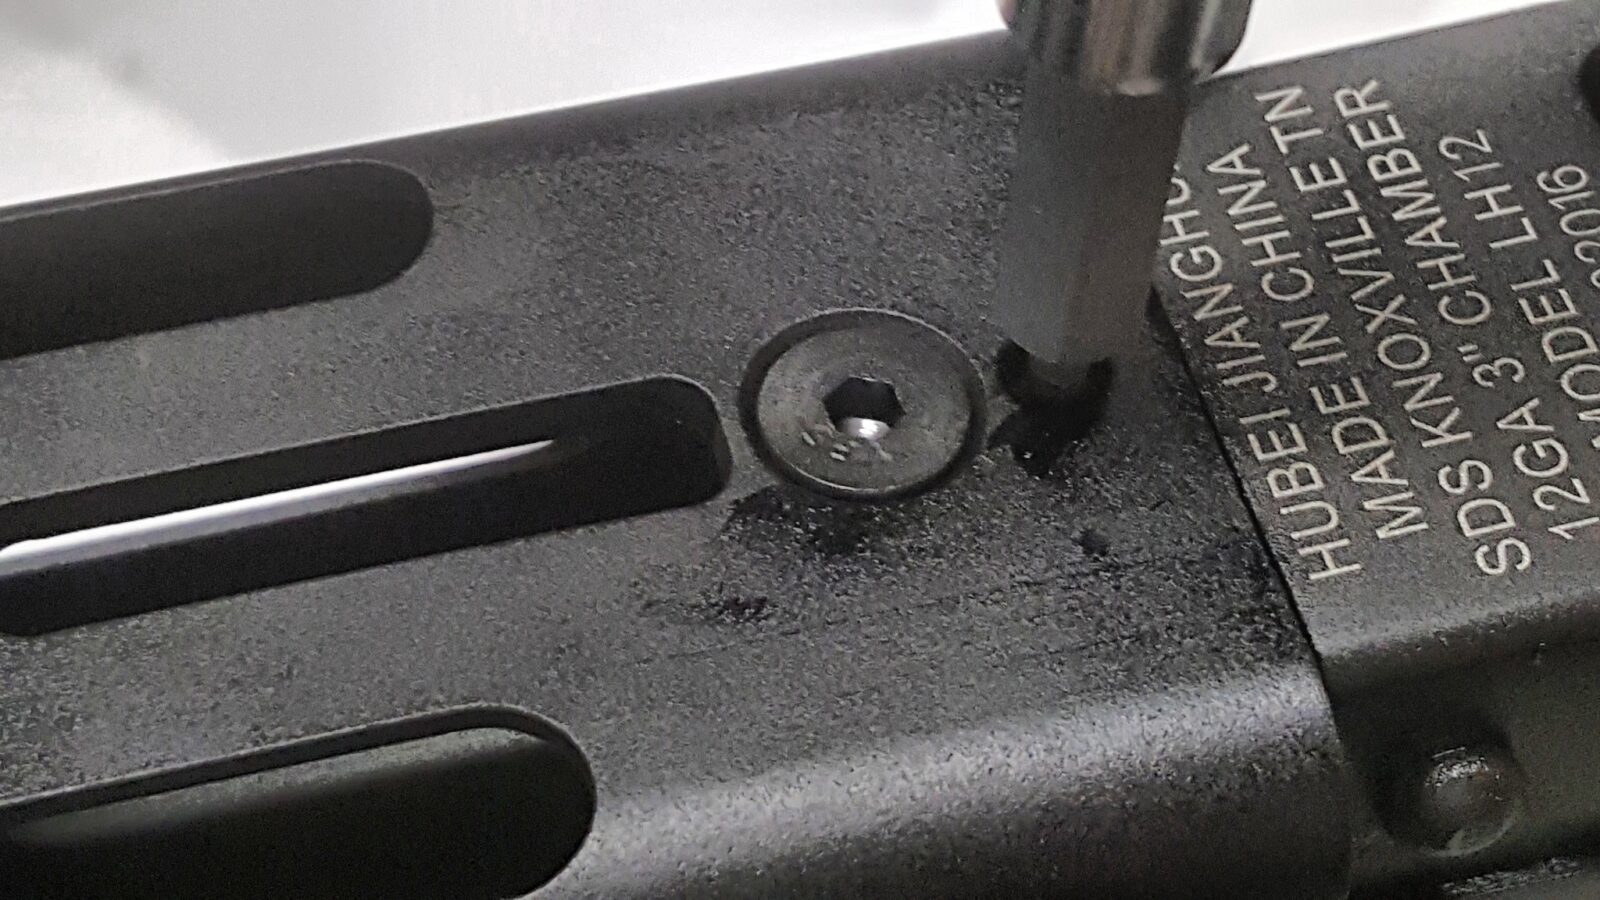
I replaced the small 5mm bolt with one of our 6mm alloy bolts and also used a 6mm grip nut that I had in my parts bin to secure the grip in place.
In the same manner as other AKs, the grip nut sits in the square hole behind the trigger guard and then the grip sits on the other side and the bolt pulls them together with the receiver sandwiched in the middle.
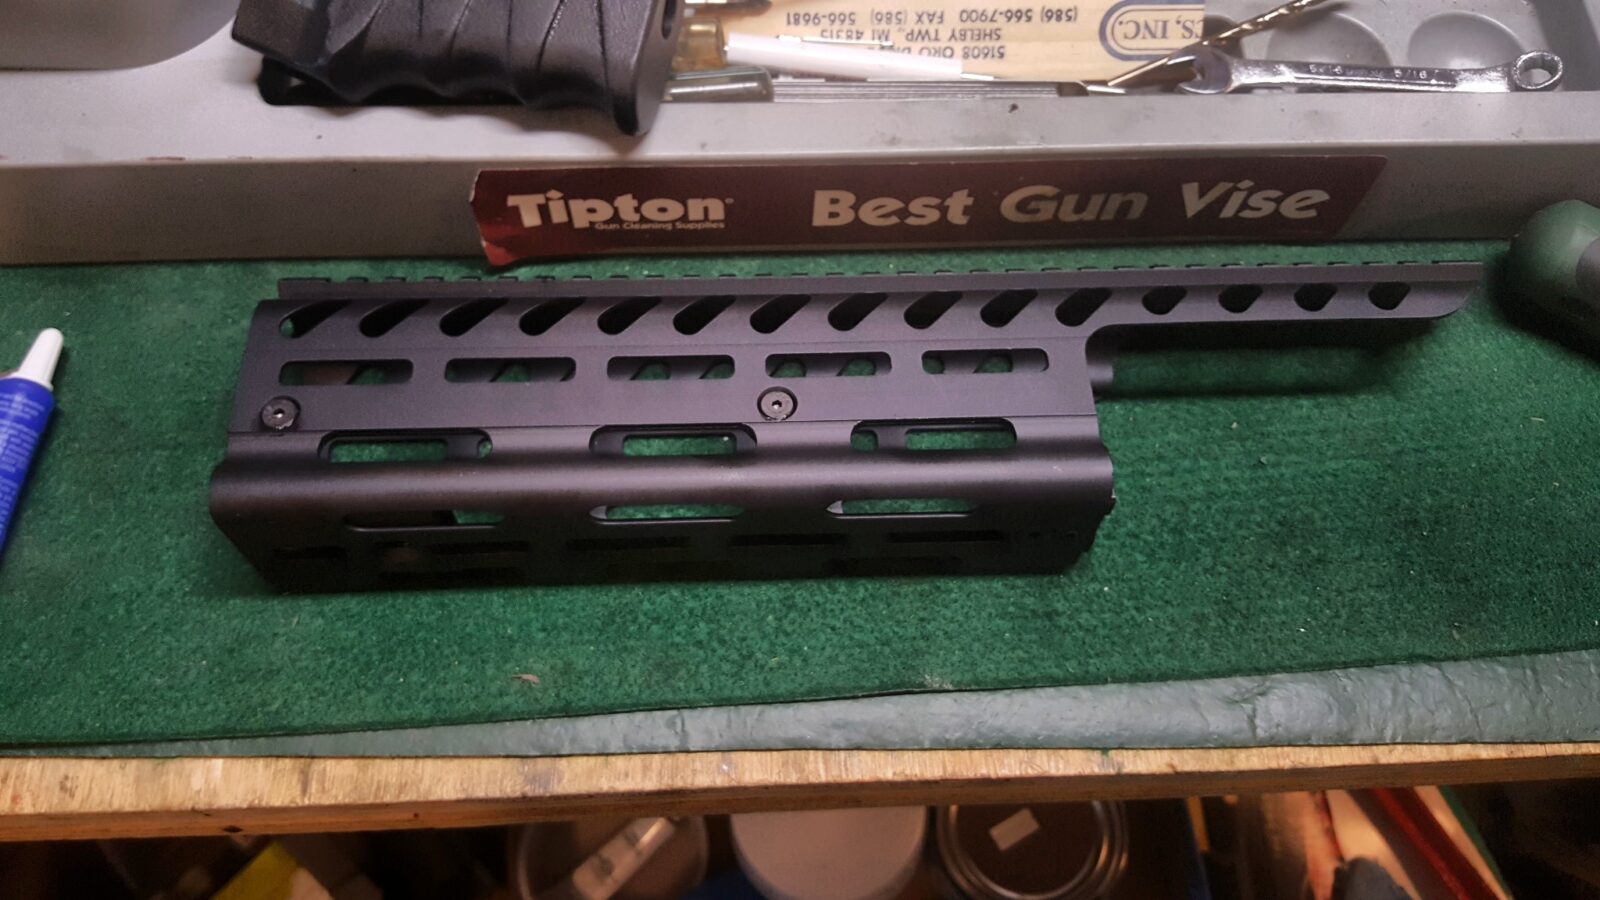
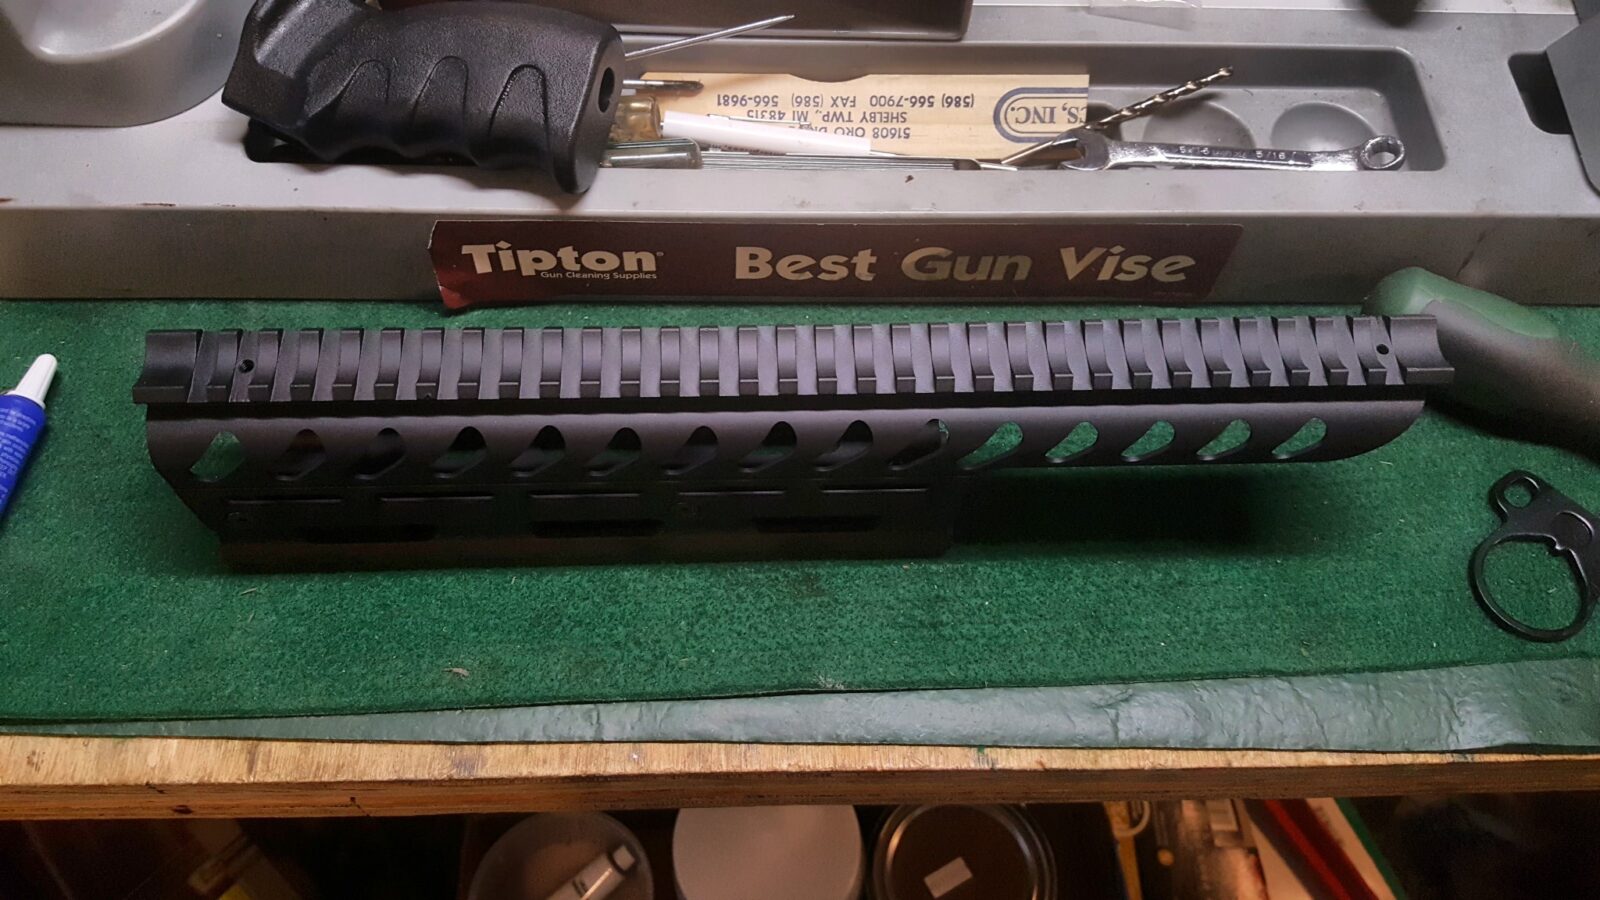
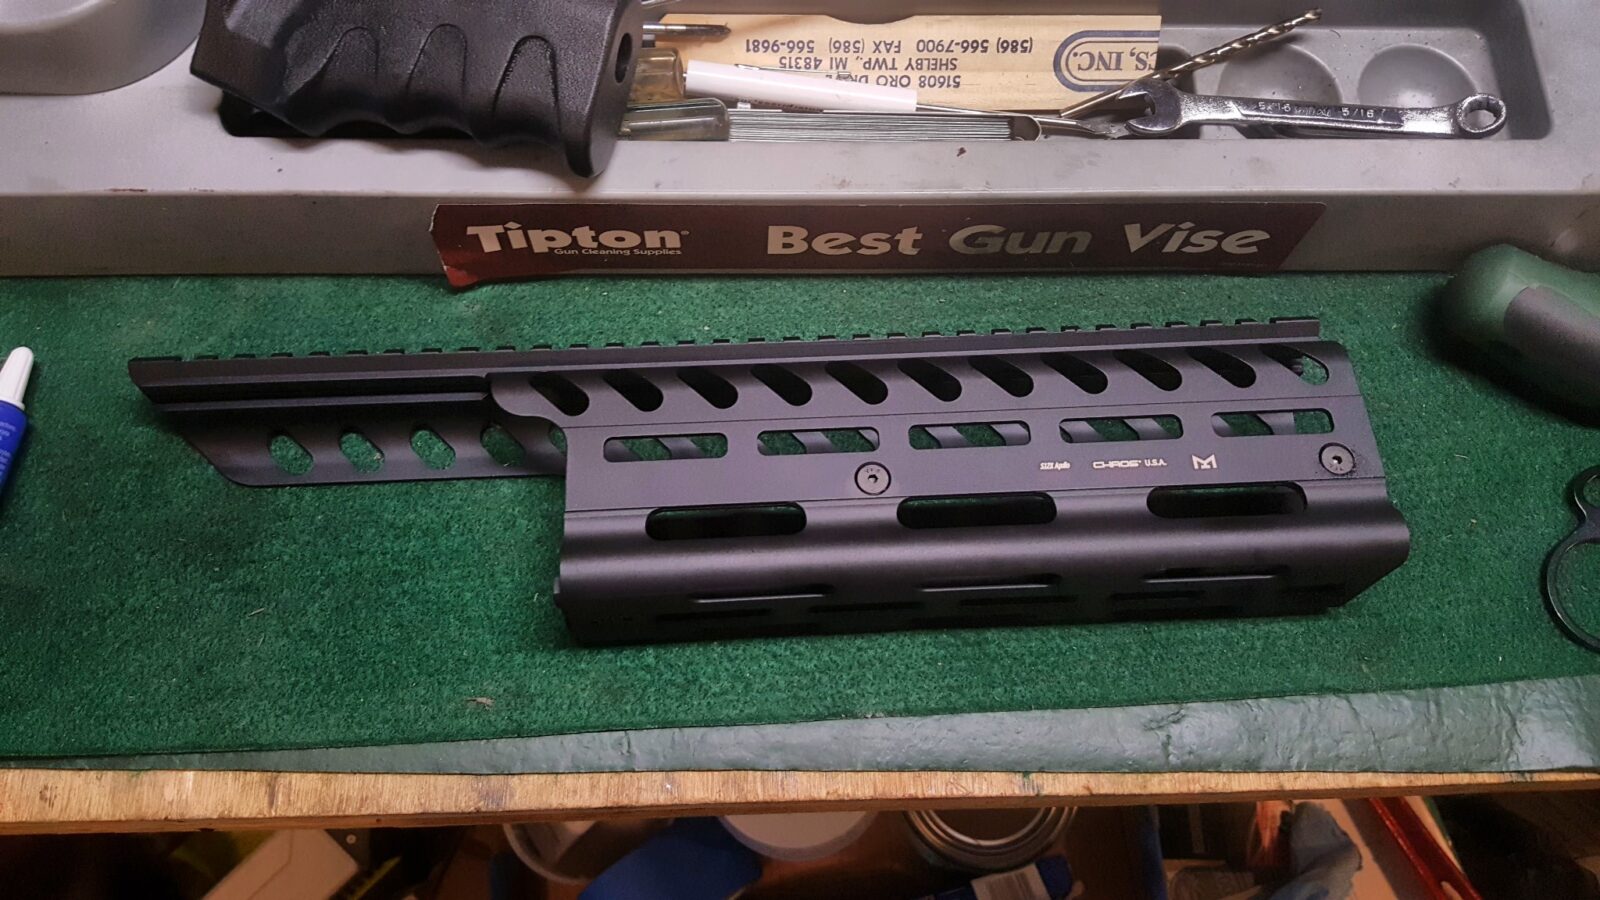
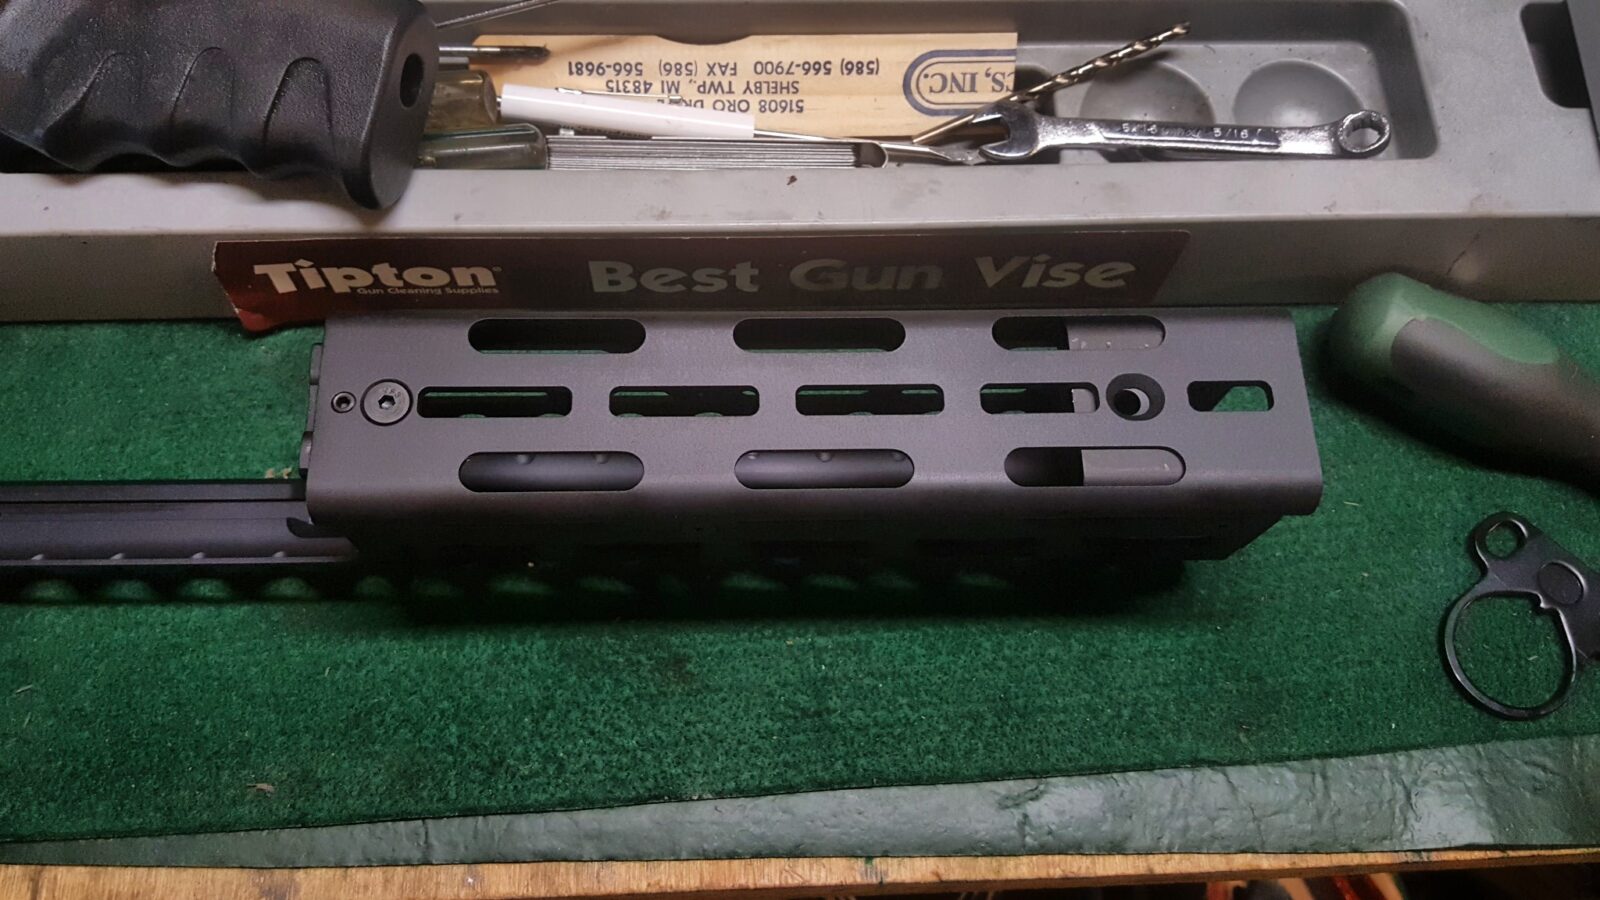
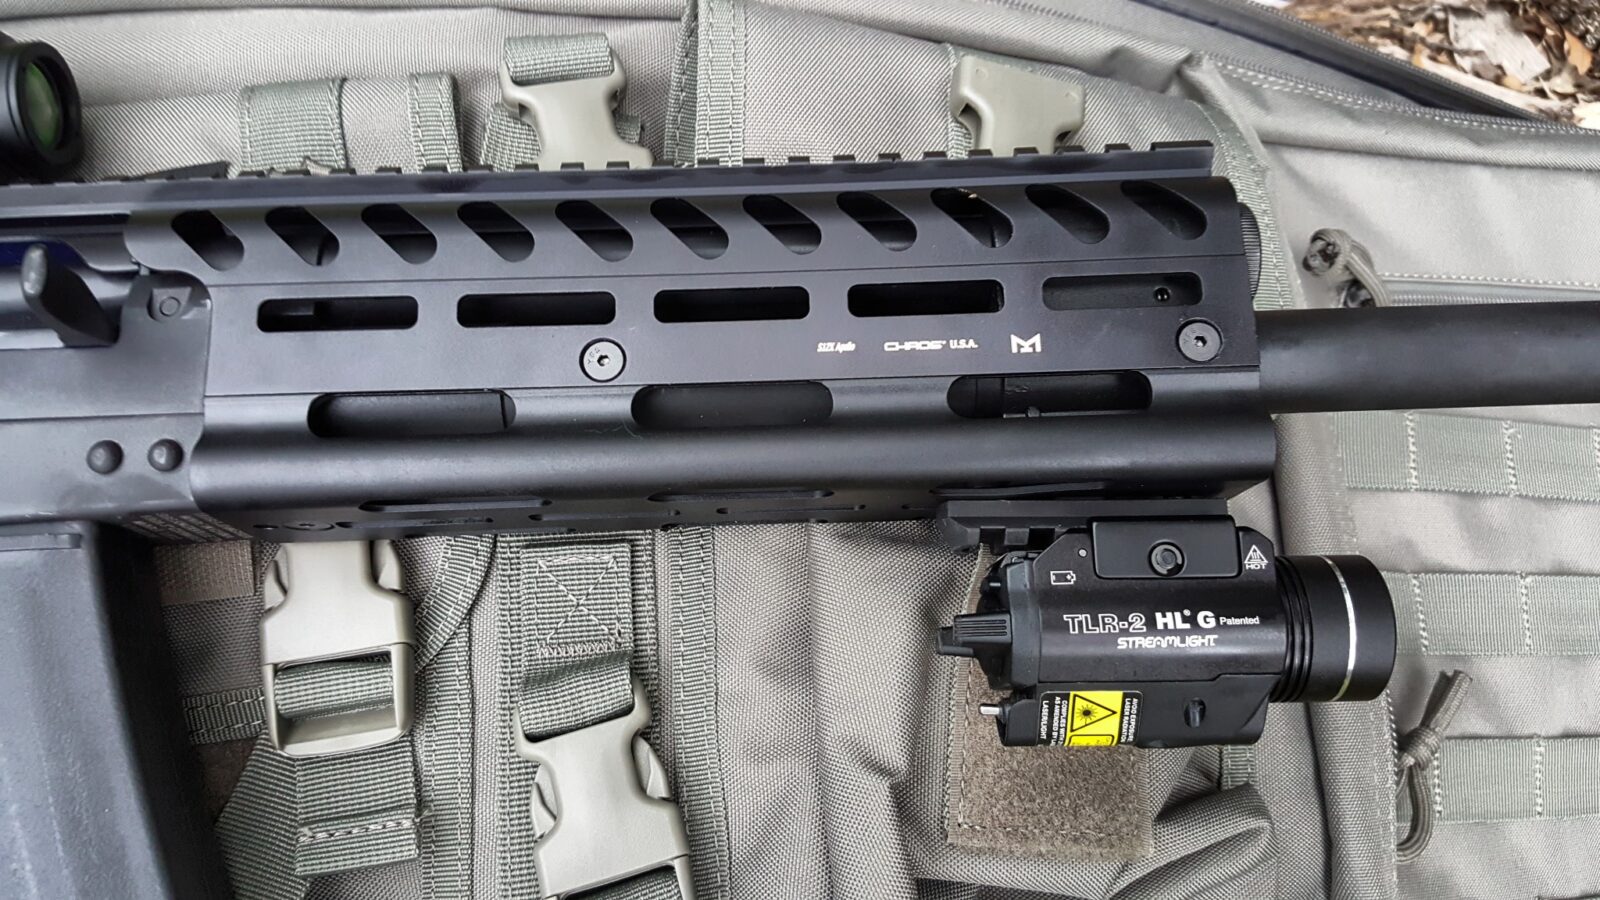
Adding a Chaos Saiga 12 Apollo 12 Extended Rail
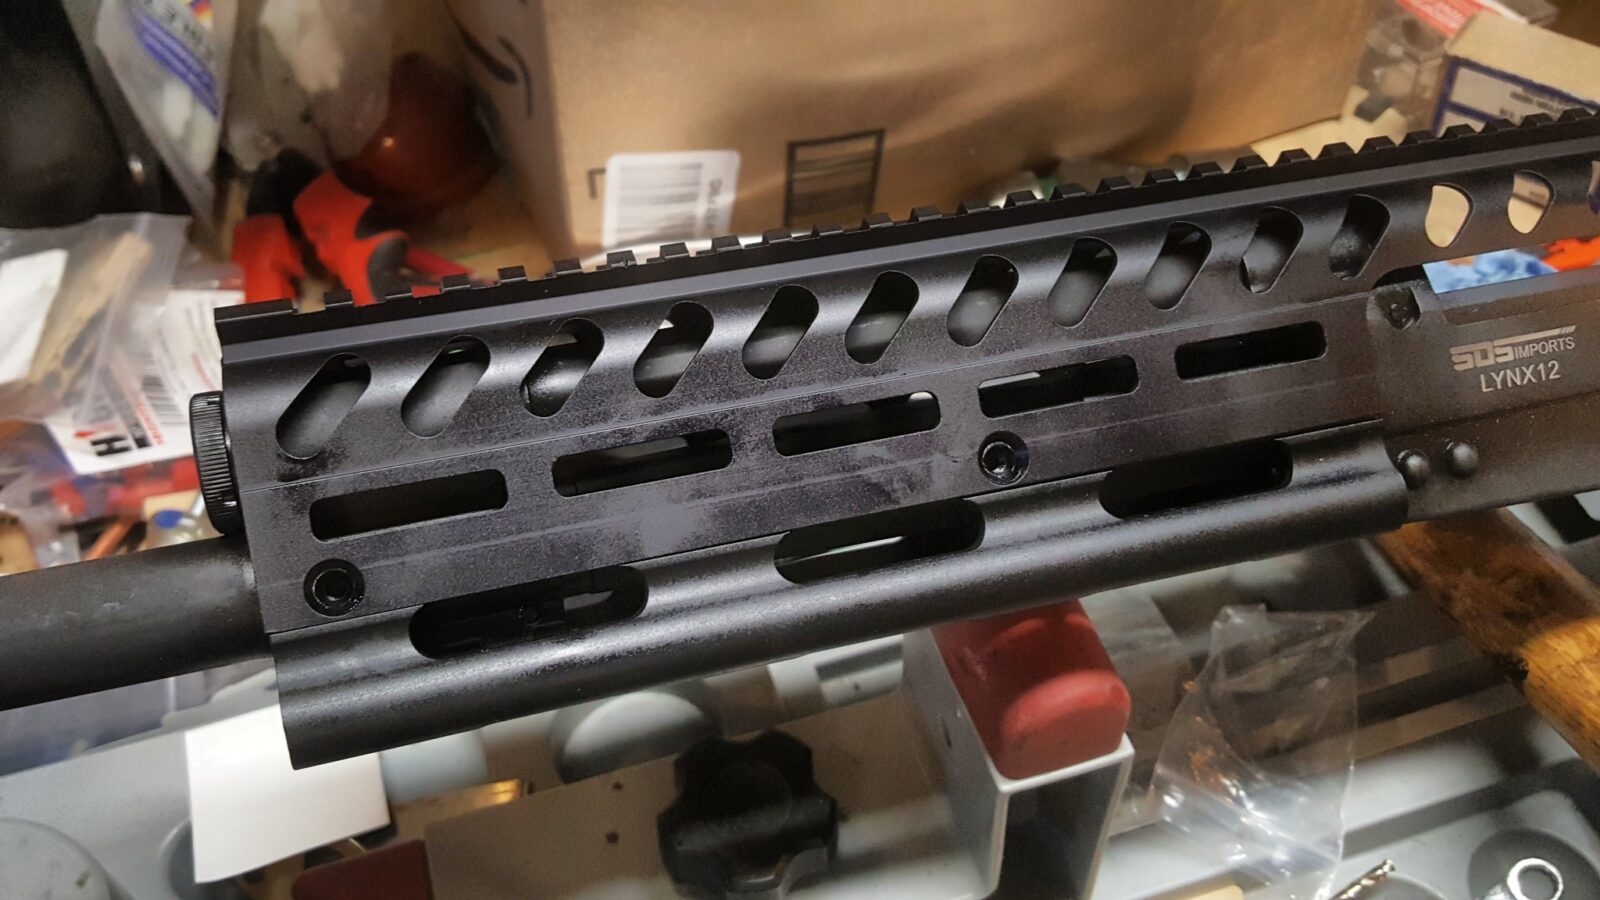
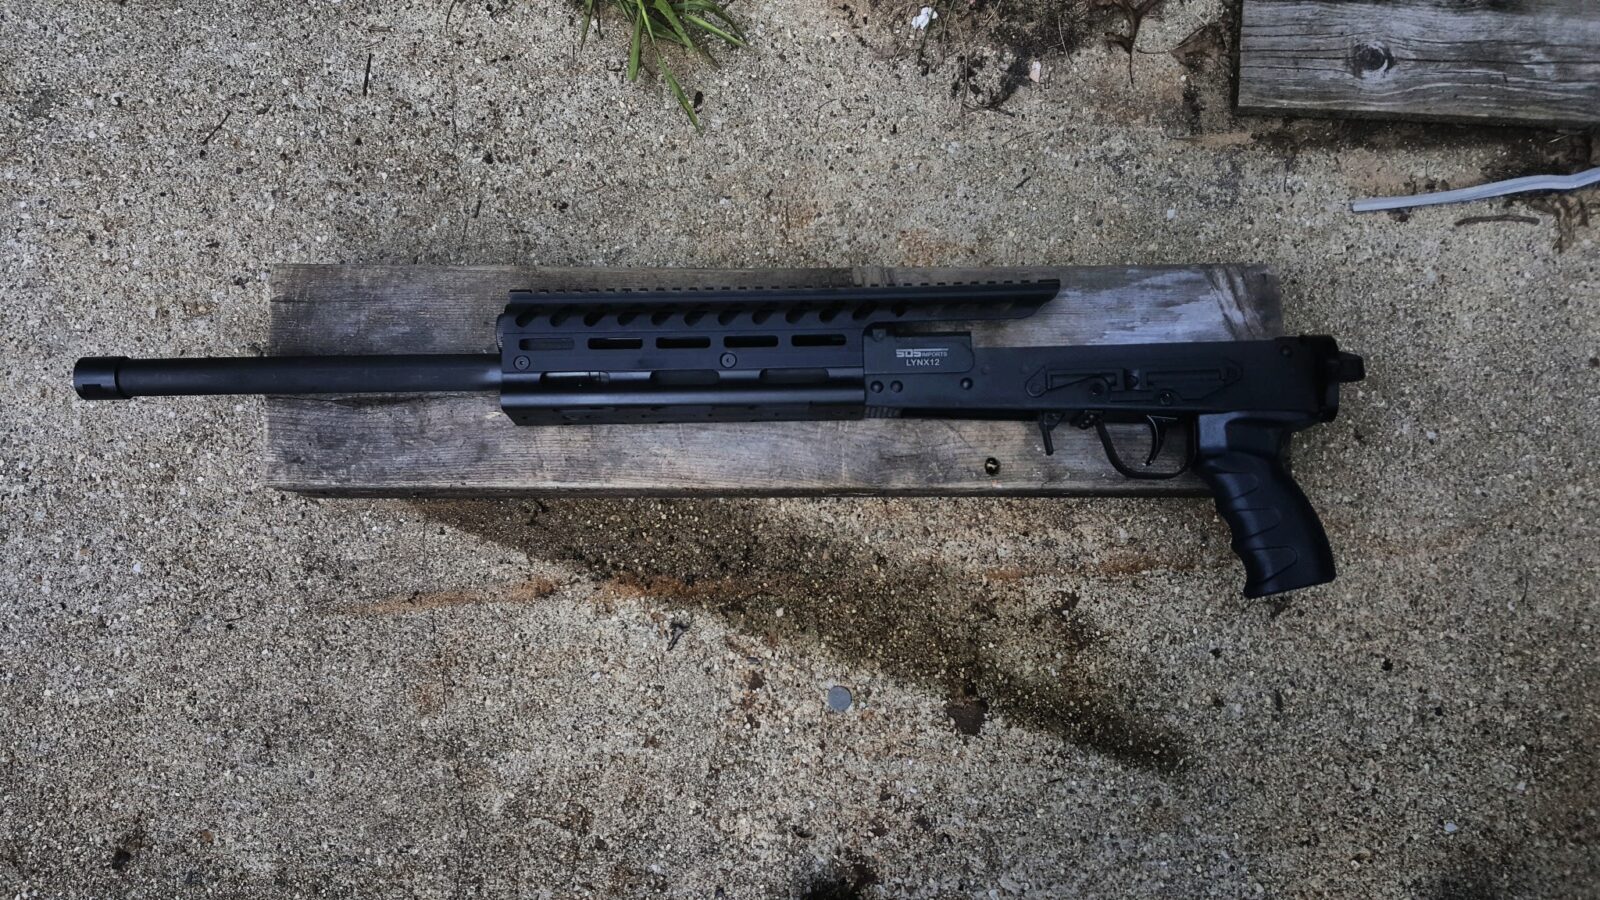
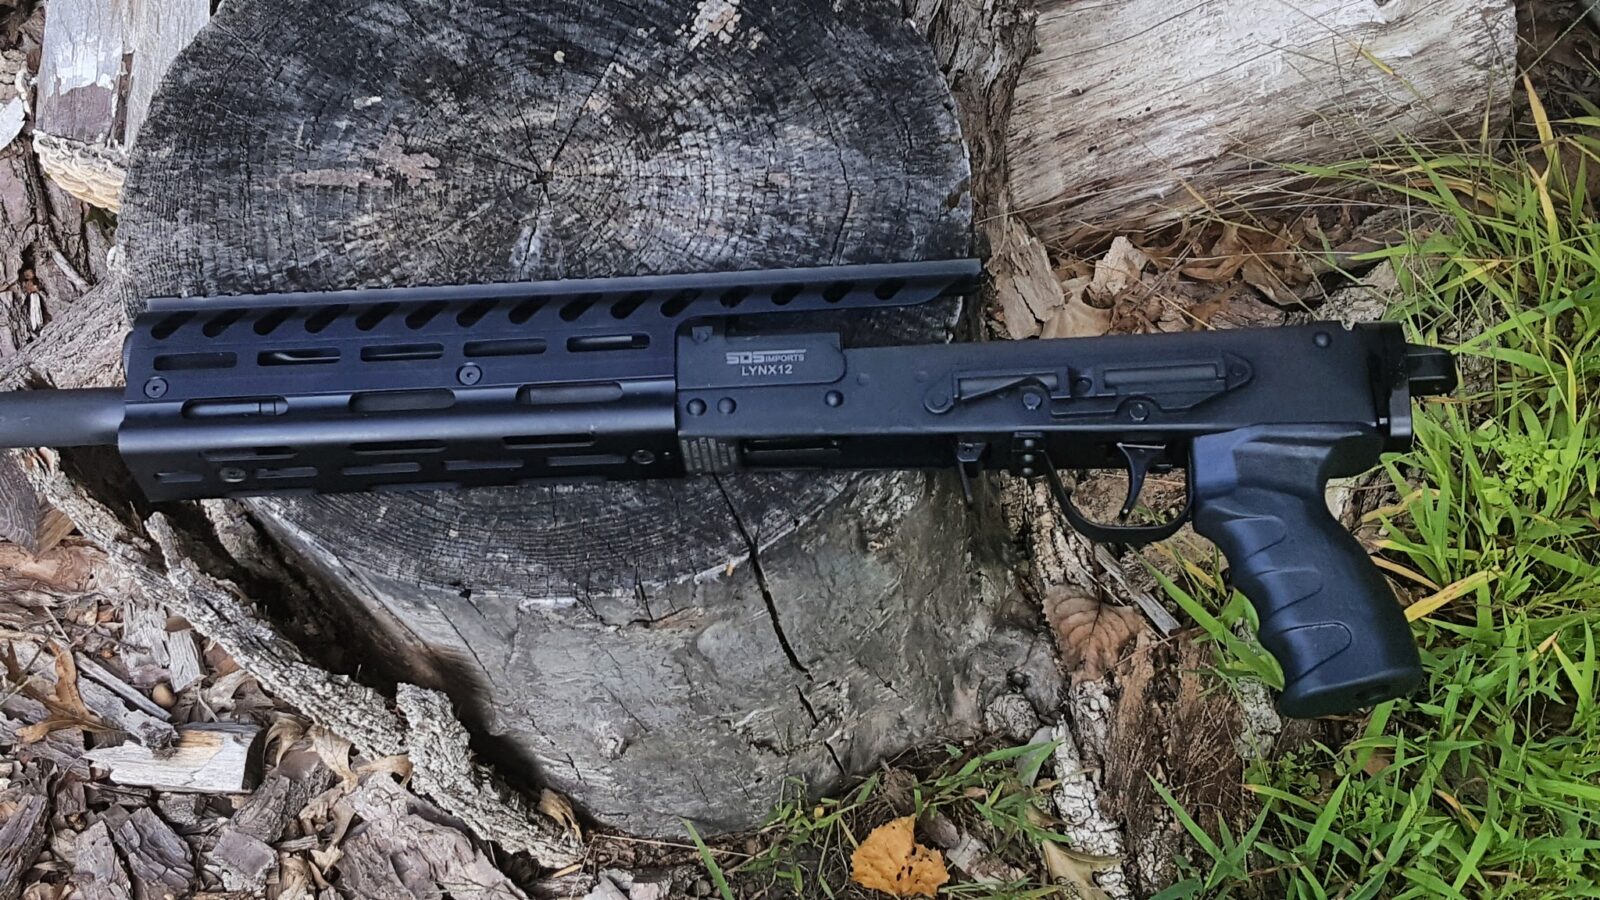
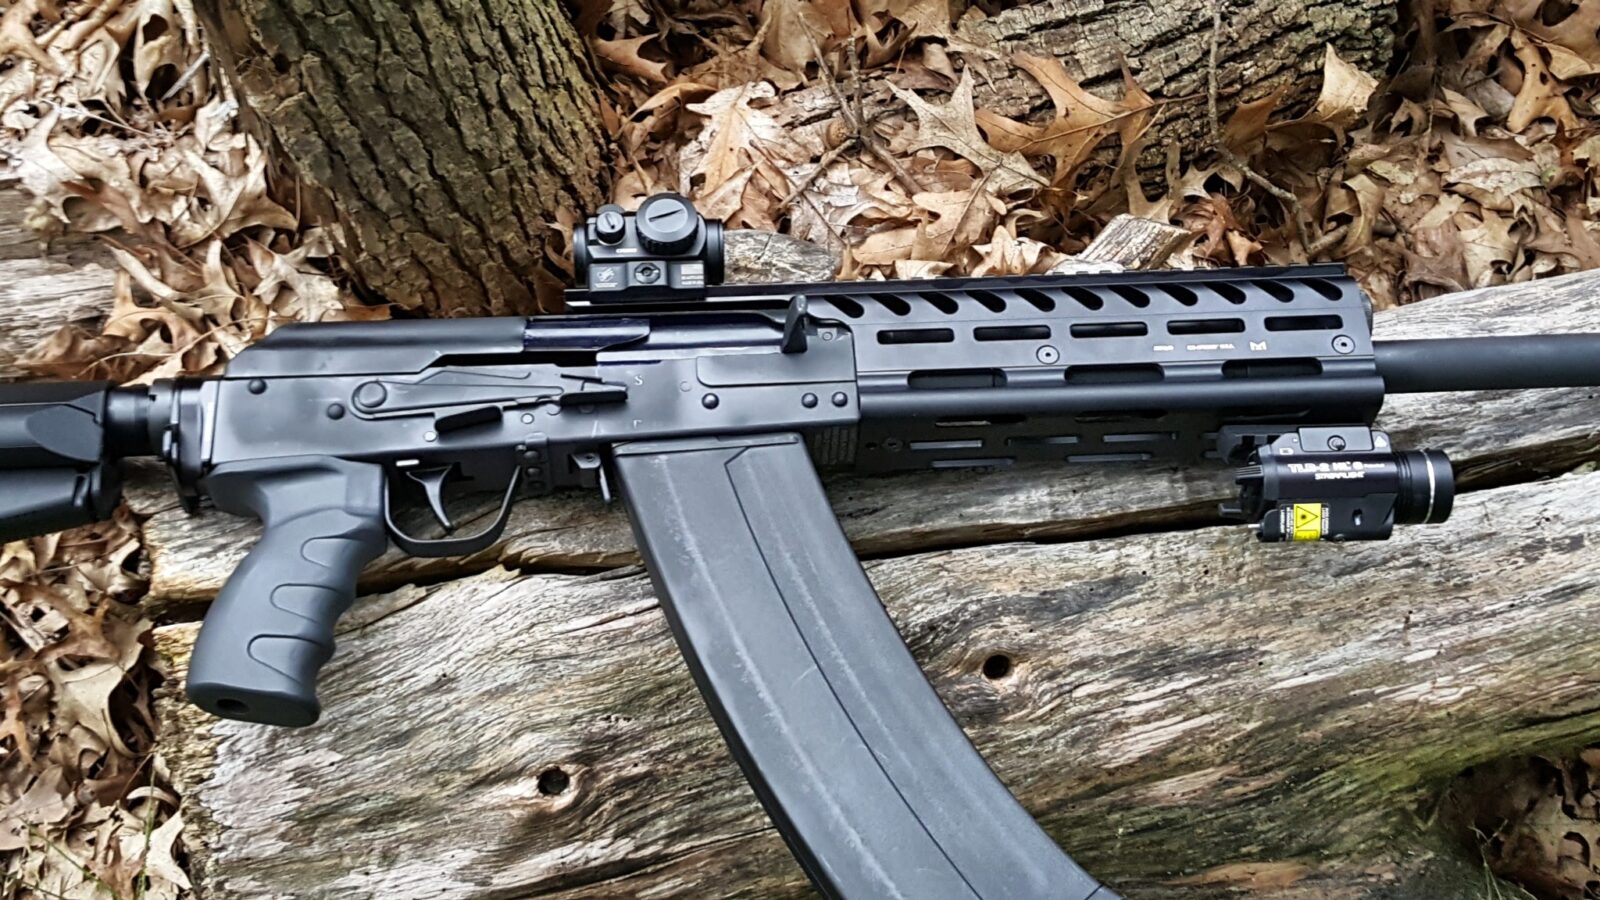
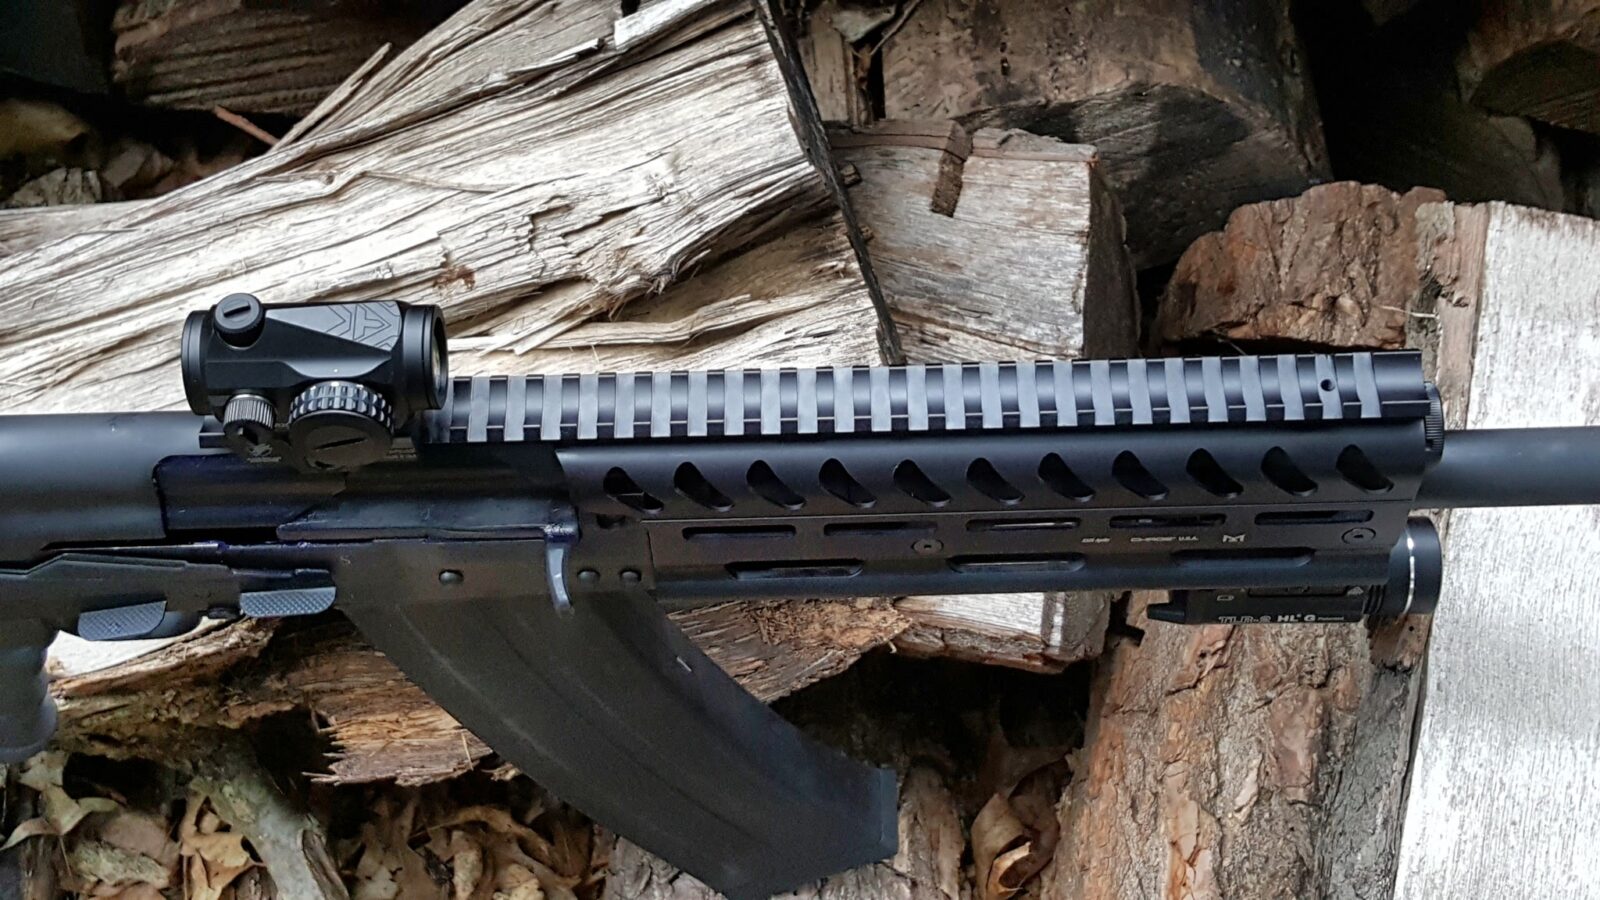
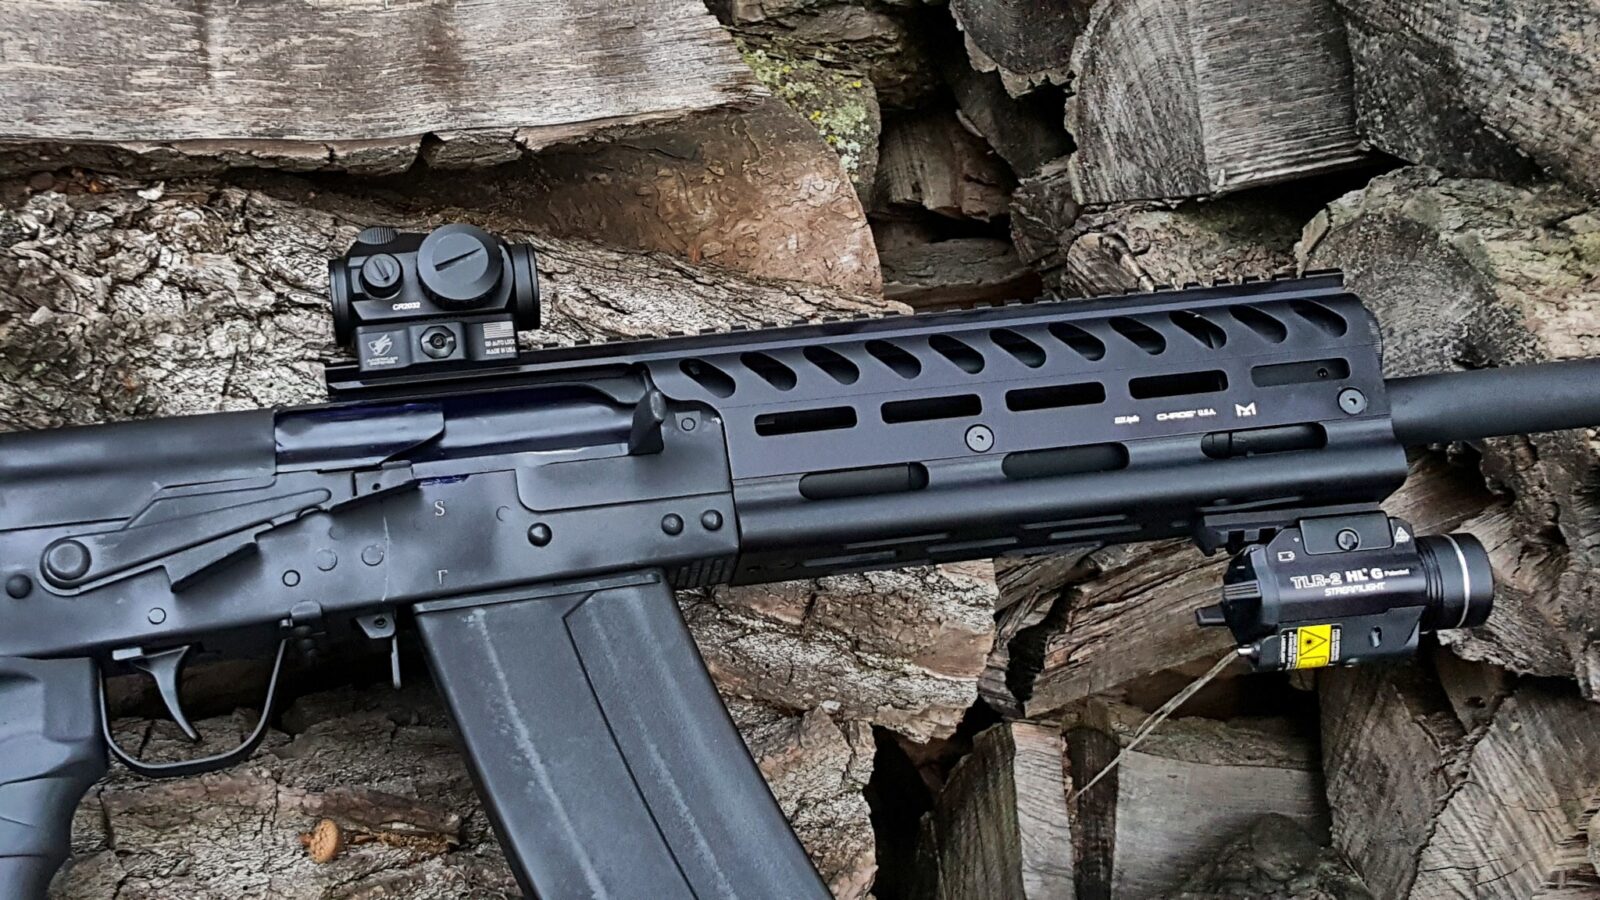
The Lynx can use Saiga handguards so you have a lot of options. Note that I am using a Chaos rail and Chaos has since gone out business. The rail in question was their Apollo 12 Extended M-LOK Rail.
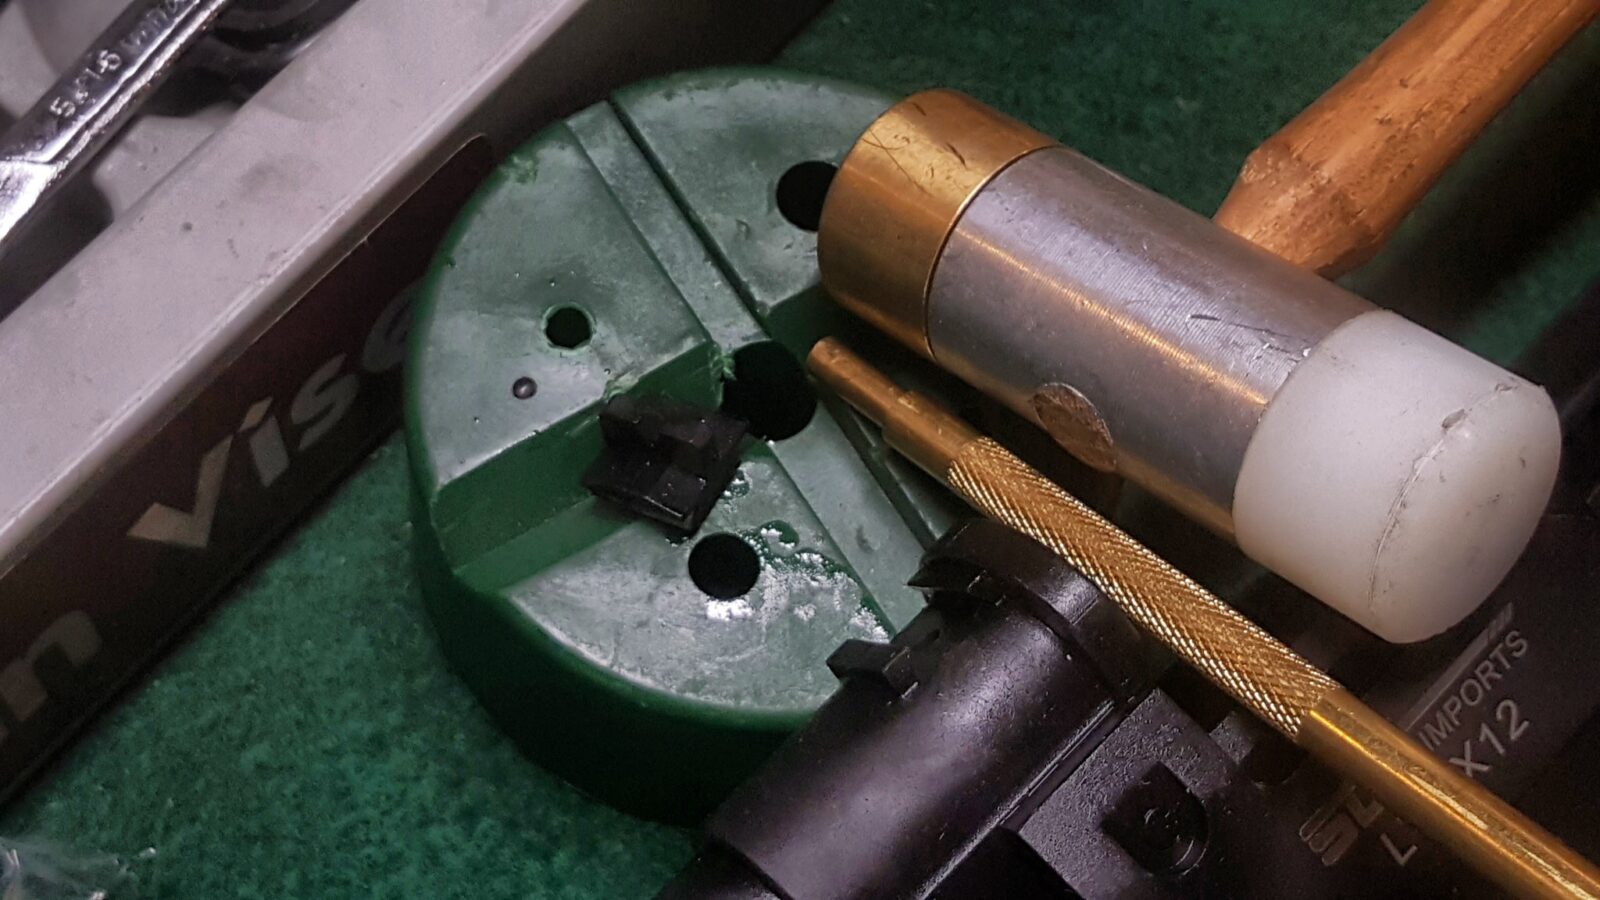
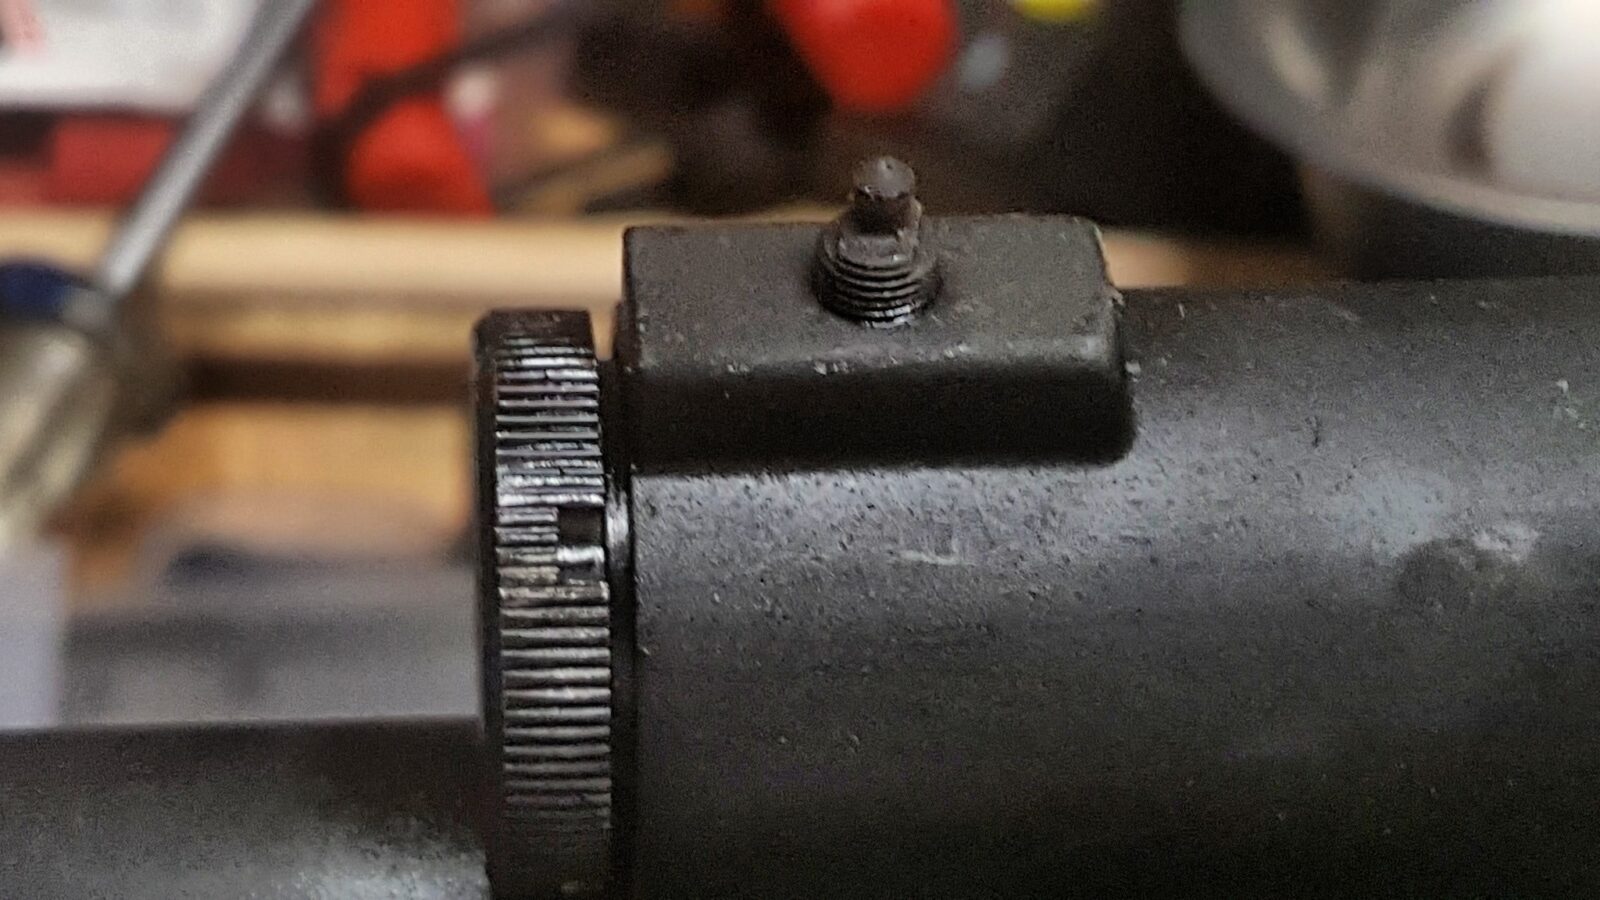
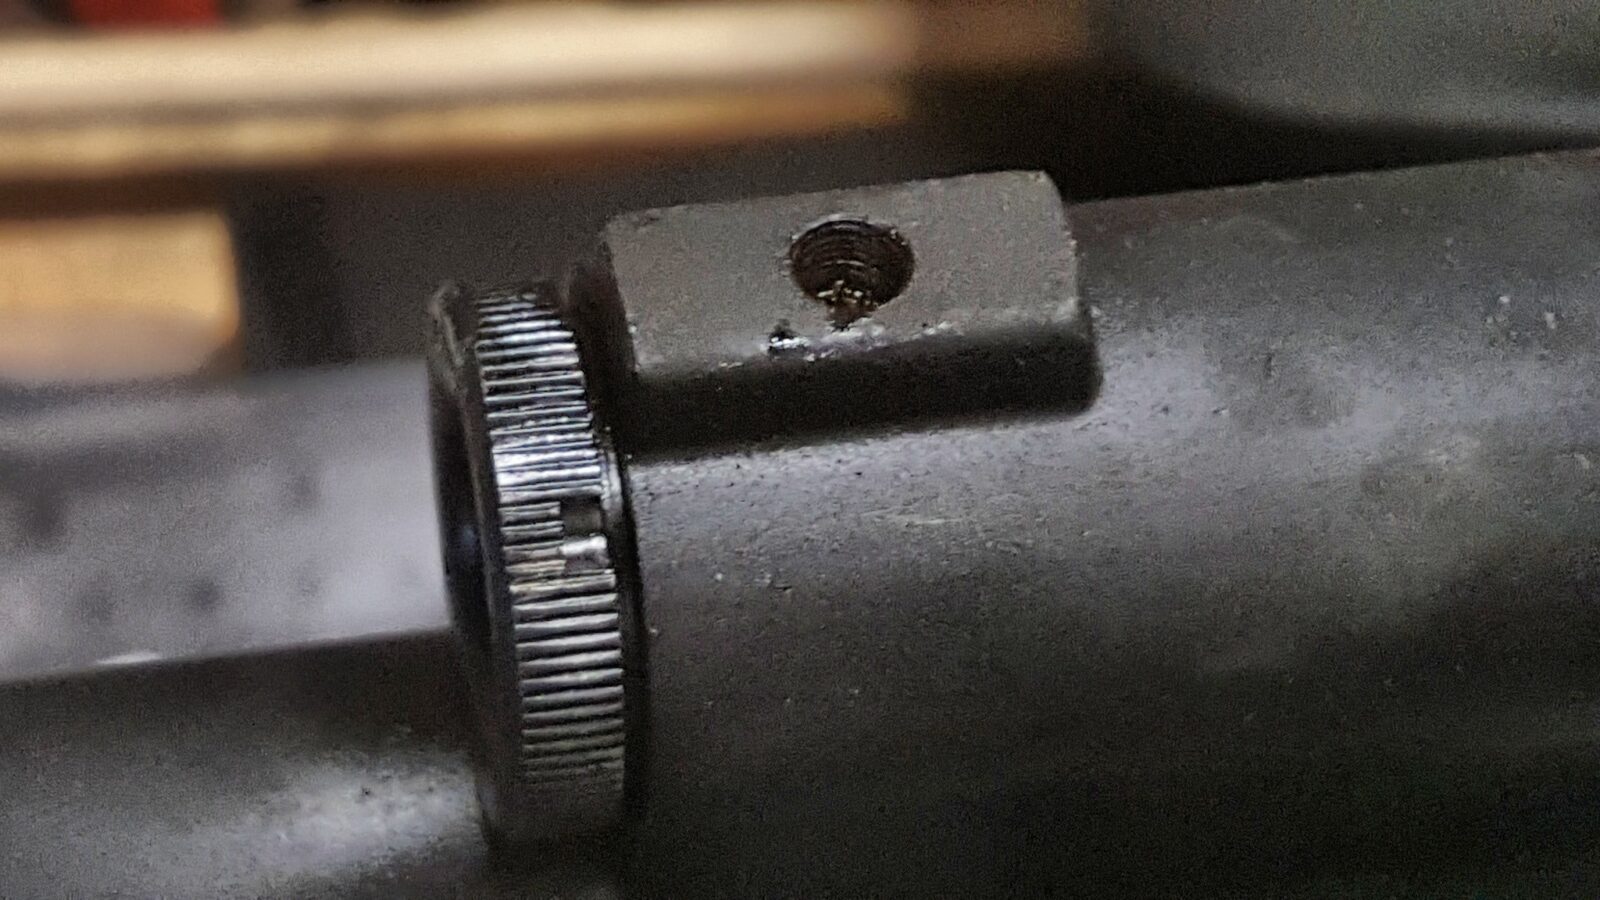
Installation is pretty easy. You will need to remove the original sights though. A small punch can be used to drift out the rear sight and either a small wrench or pliers can be used to unscrew and remove the front sight. I’d recommend having a Zip Loc bag or something to store these parts in just in case.
Unscrew the four screws on the sides to split the rail system into its two halves. The bottom slides into position. Use their screw to secure the front. Use Blue Loc-Tite on it too. In the rear by the receiver is a set screw. Back it out, apply Blue Loc-tite and then screw it down. It will push on the barrel lock the handguard into position so it will not wobble.
With the base secure you can install the top half when ready. Notice how I said that. What I found is that the bolt carrier must be installed and the dust cover installed before you install the top half. So, I went ahead lubricated the shotgun and closed it up before I installed the top rail. This also brings to light that the screws will need to be removed to gain access to inside the shotgun for cleaning. Time will tell how well that works out. If it drives me nuts, I’ll cut the rail off flush with the gas tube seat. Right now though, I sure like how it positions my red dot.
Lubricating the Lynx
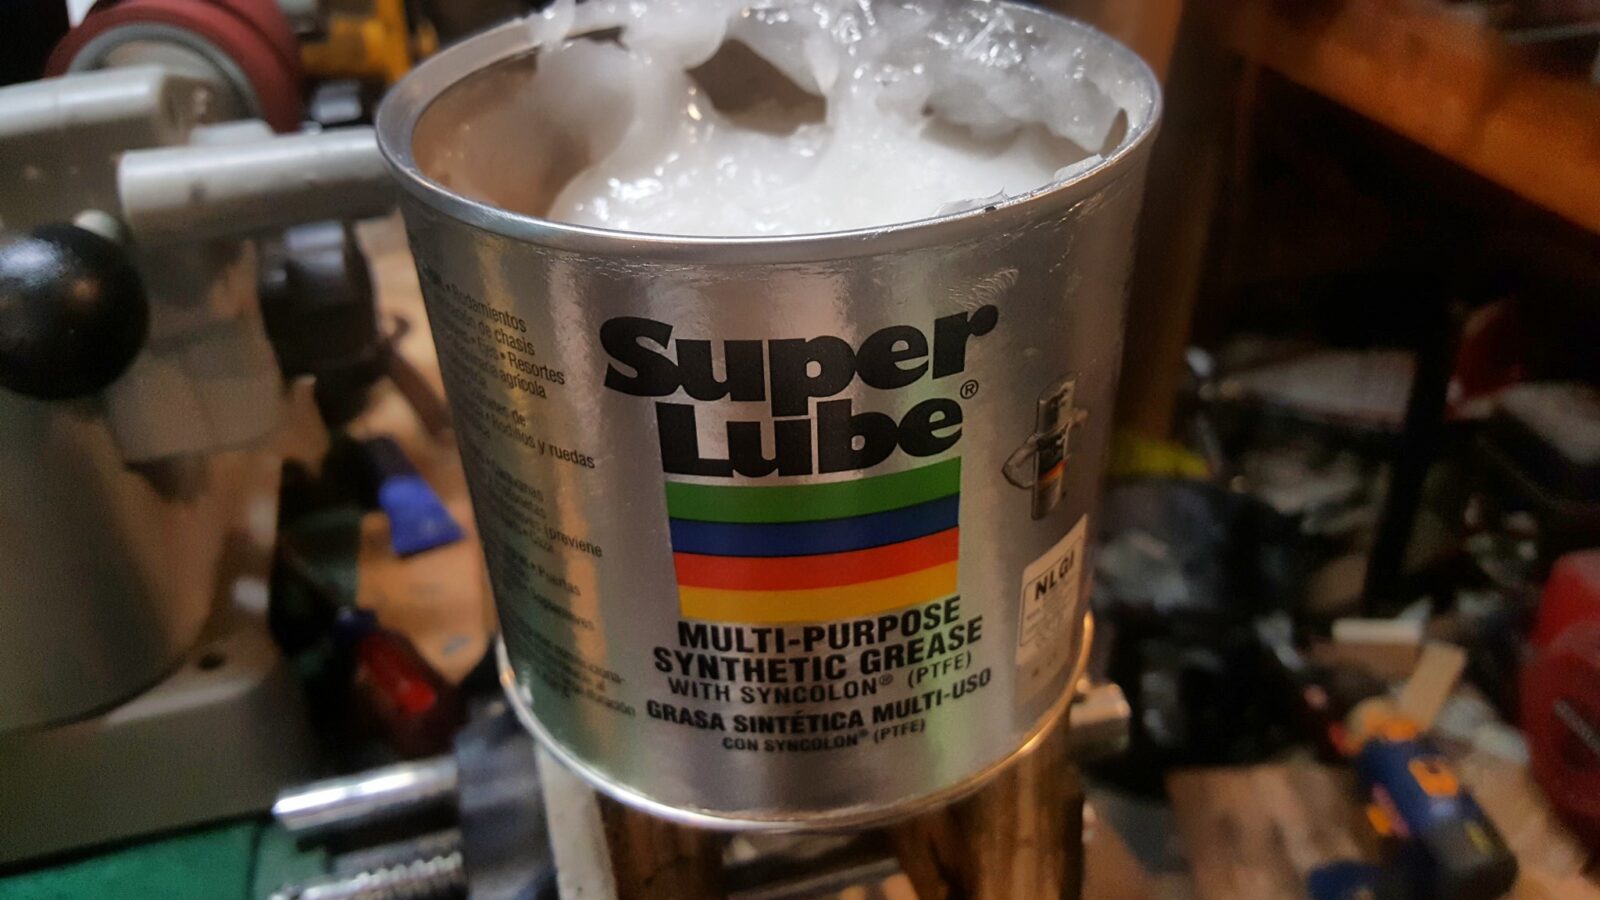
As mentioned above, I had to install the bolt carrier assembly and dust cover to then finalize the rail. I am doing something different with the Lynx. A month back I started using Super Lube synthetic grease on my Uzi and it worked great. With the Lynx having the heavy parkerization on everything, I used Superlube to grease the rails and all sliding surfaces. I used a precision oiler with Mobil 1 5w-30 full synthetic on all of the rotating parts. Boy did this combination make things operate smoothly!
Installing the M4 Mil-Spec Buffer Tube
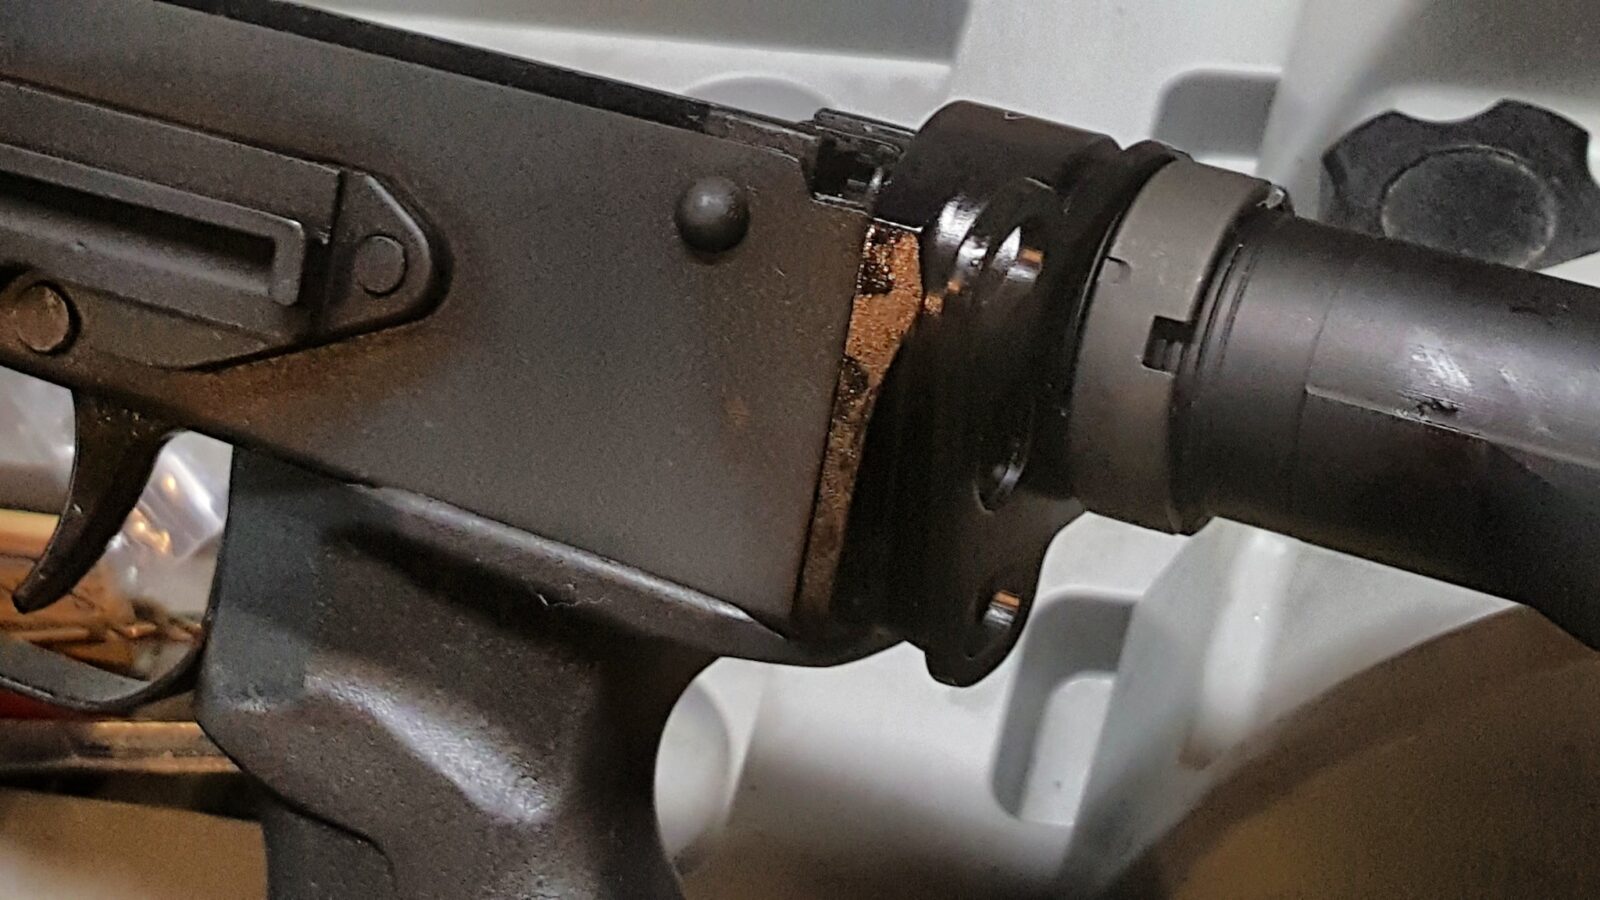
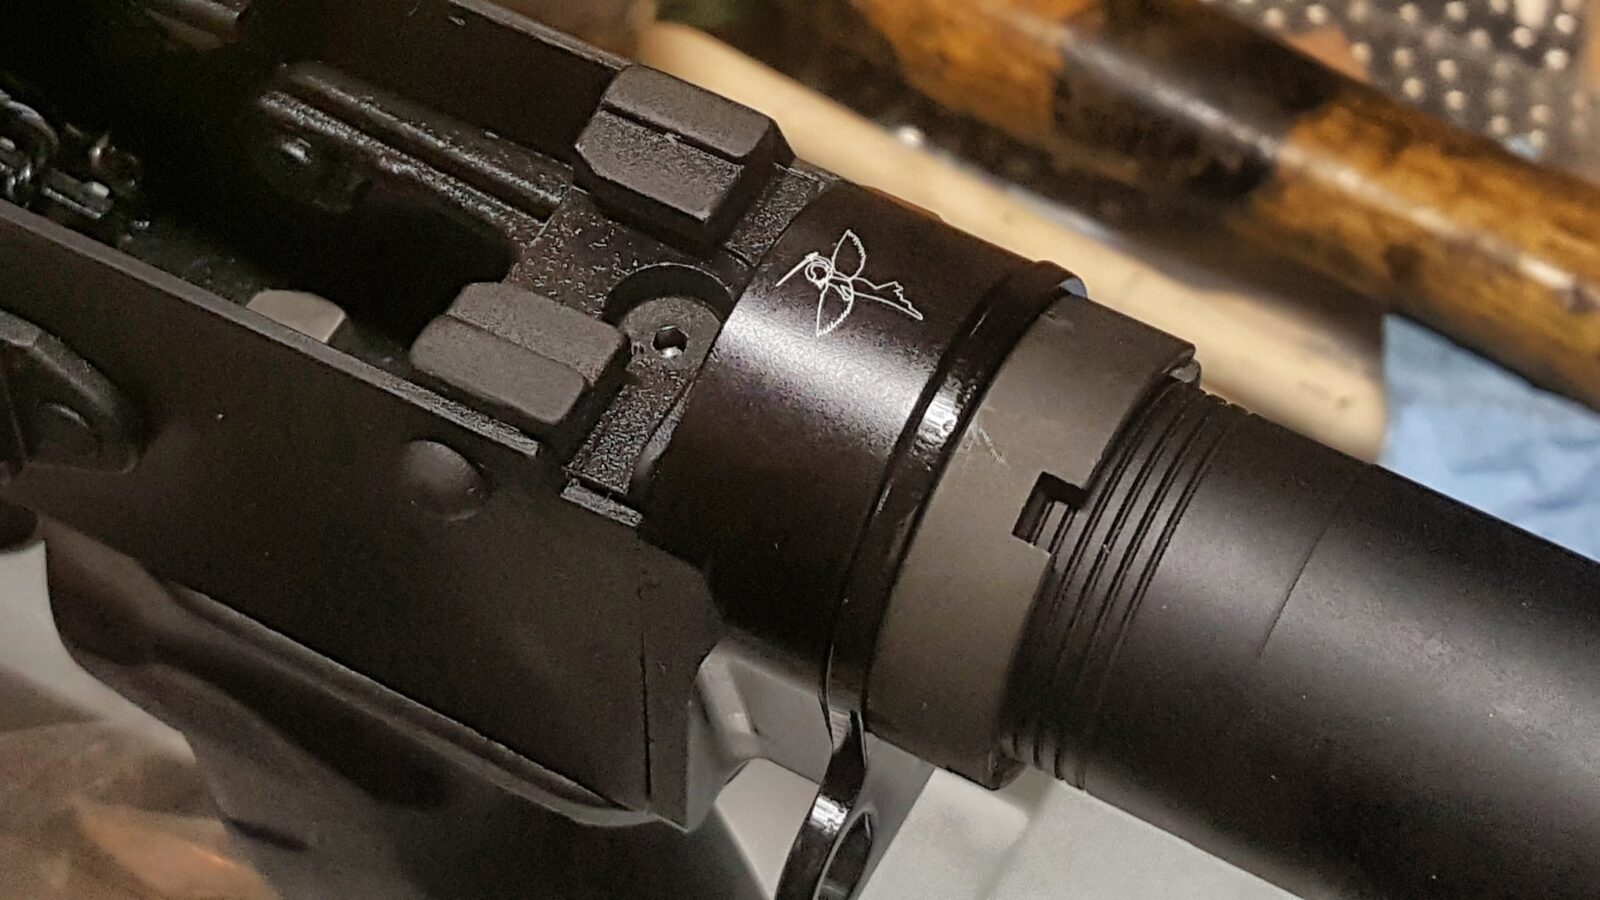
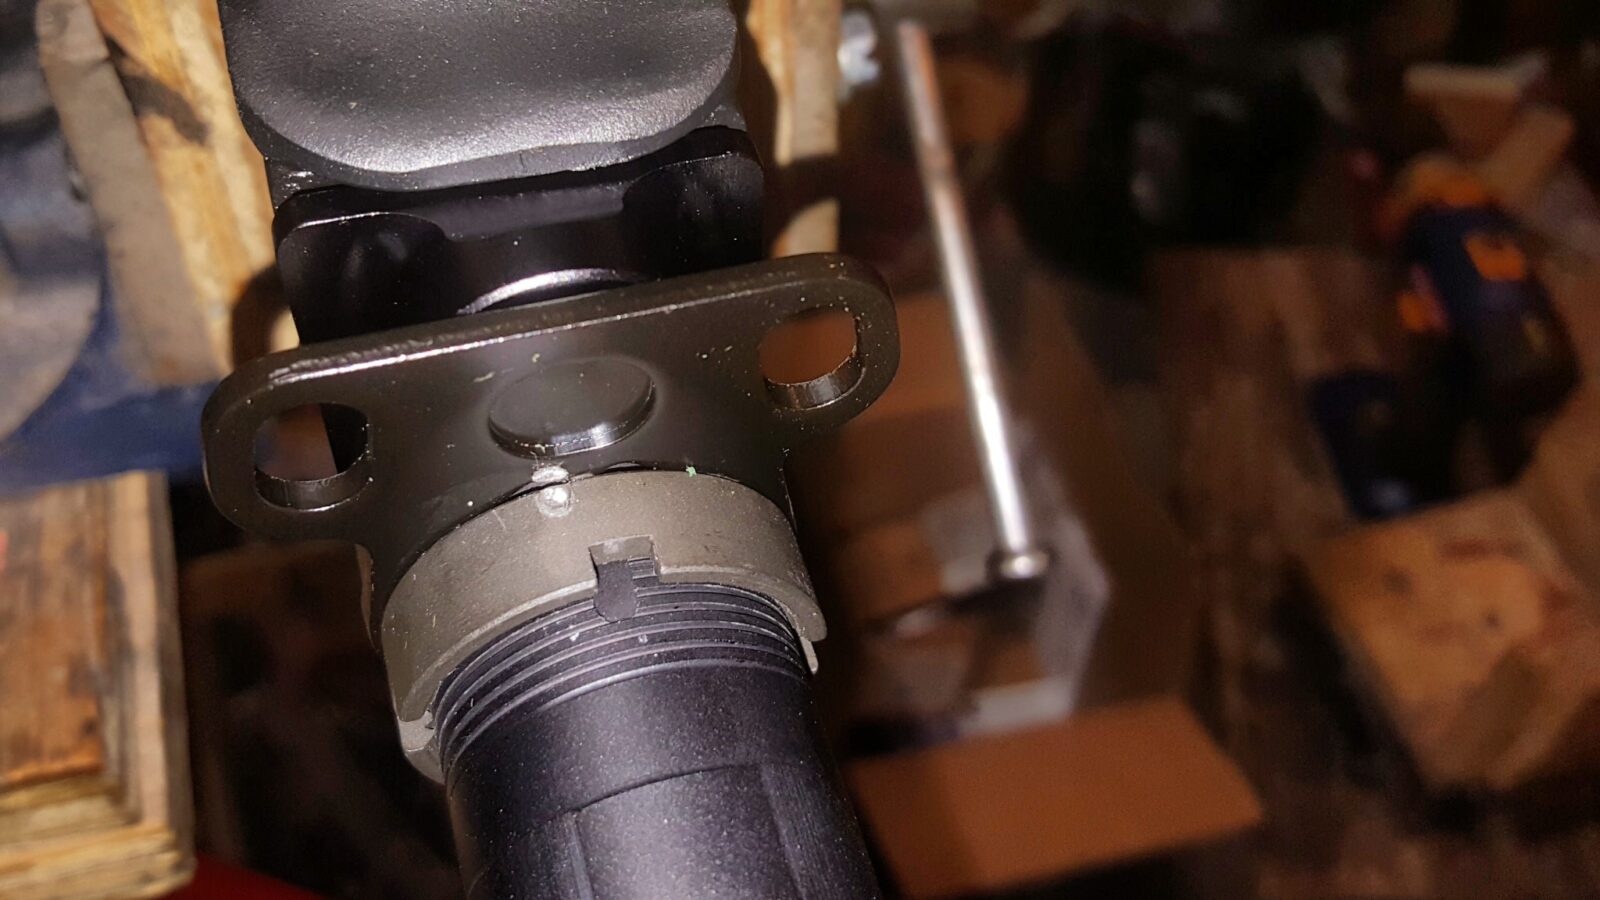
By now, the buffer tube with the mercury suppressor was cured enough to be safely installed. Basically, it is installed the same as on an AR but it is much heavier. Thread the castle nut all the way to the end of threads, install the end plate and then screw the tube into the Rifle Dynamics stock adapter. Note need to buy the end plate and the castle nut – they typically do not come with a buffer tube.
When you are almost out of space to screw the buffer tube because of the end plate riding in the groove, stop, push the end plate into the adapter and tighten the castle nut down using your favorite tool.
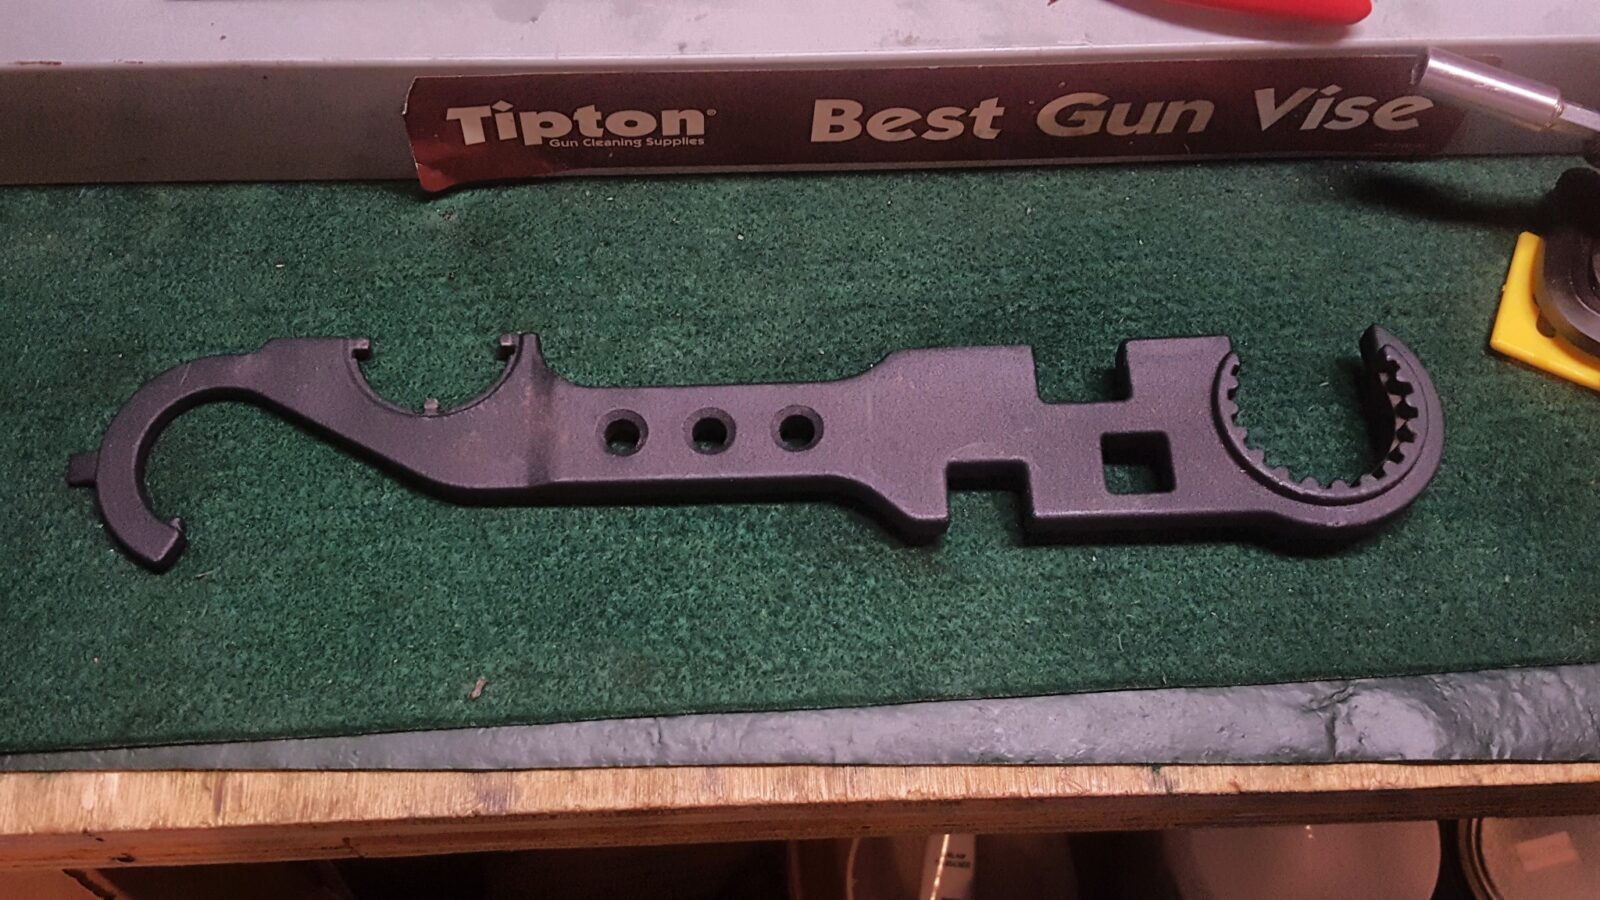
While I used the above pictured wrench, I’ve since switched to the Magpul wrench and swear by. It’s the best wrench I’ve found for stock work including castle nuts.
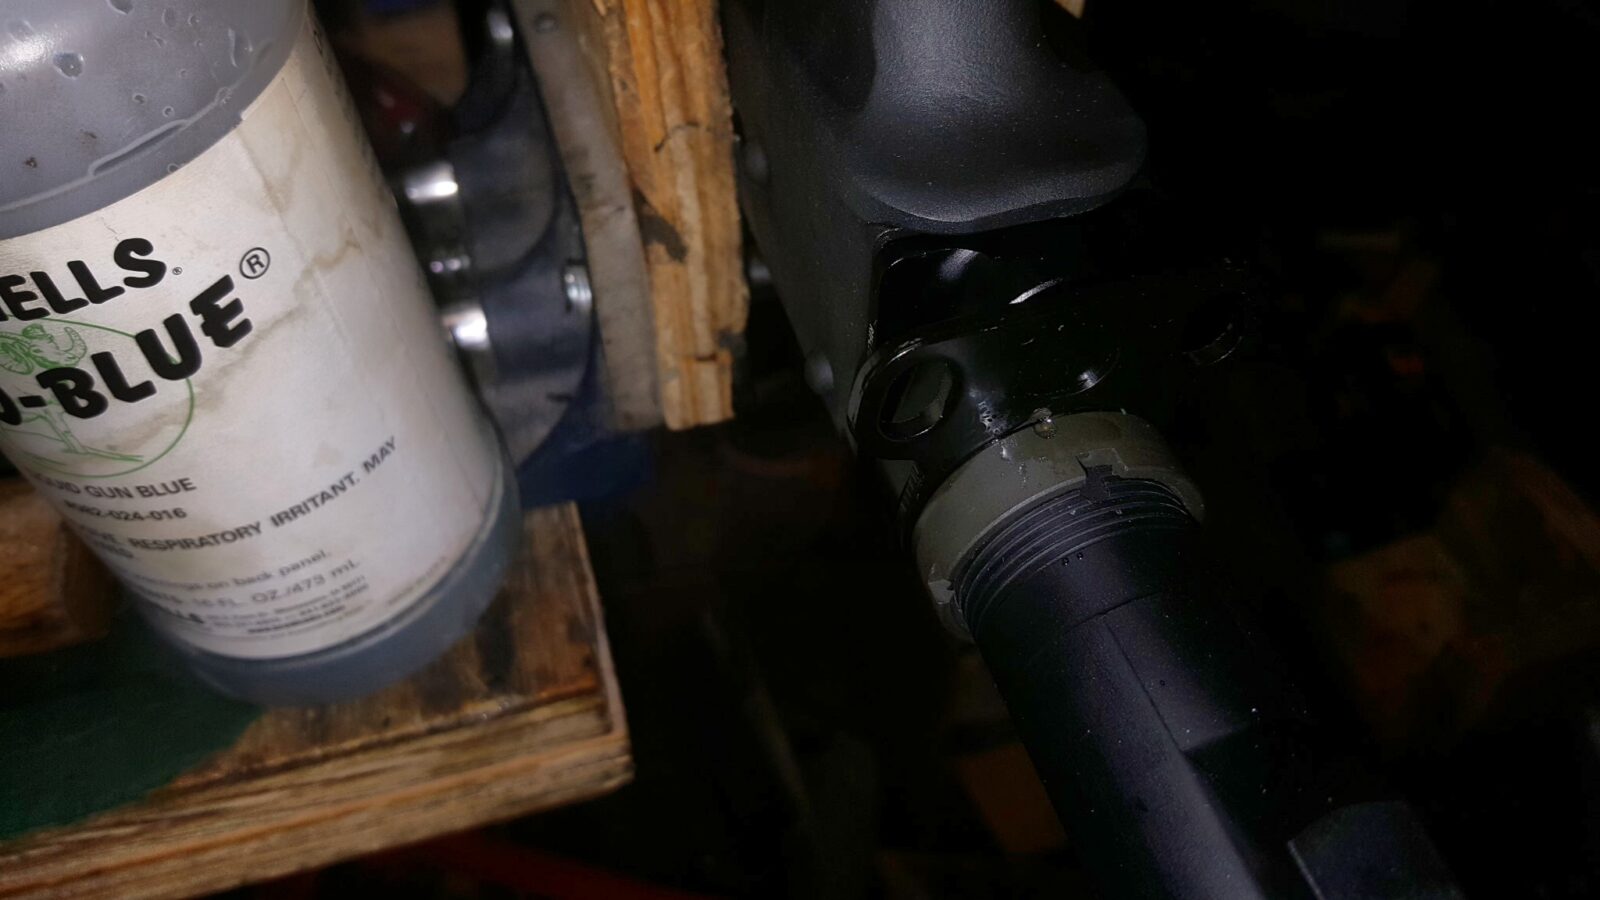
In the next photo you can see that I am using a end plate with sling loops plus you can see that I staked the castle nut. Because of the recoil of the 12 gauge, I created a small divot with a center punch – this is known as “staking”. It will mechanically lock the castle nut in place. I could have put Blue Loc-tite on the castle nut but I went old school.
I then used a cotton swab and some Brownells Oxpho-Blue to cold blue the bare metal to a black color and then wiped it down with WD-40.
Installing the Magpul ACS Stock with Limbsaver Pad
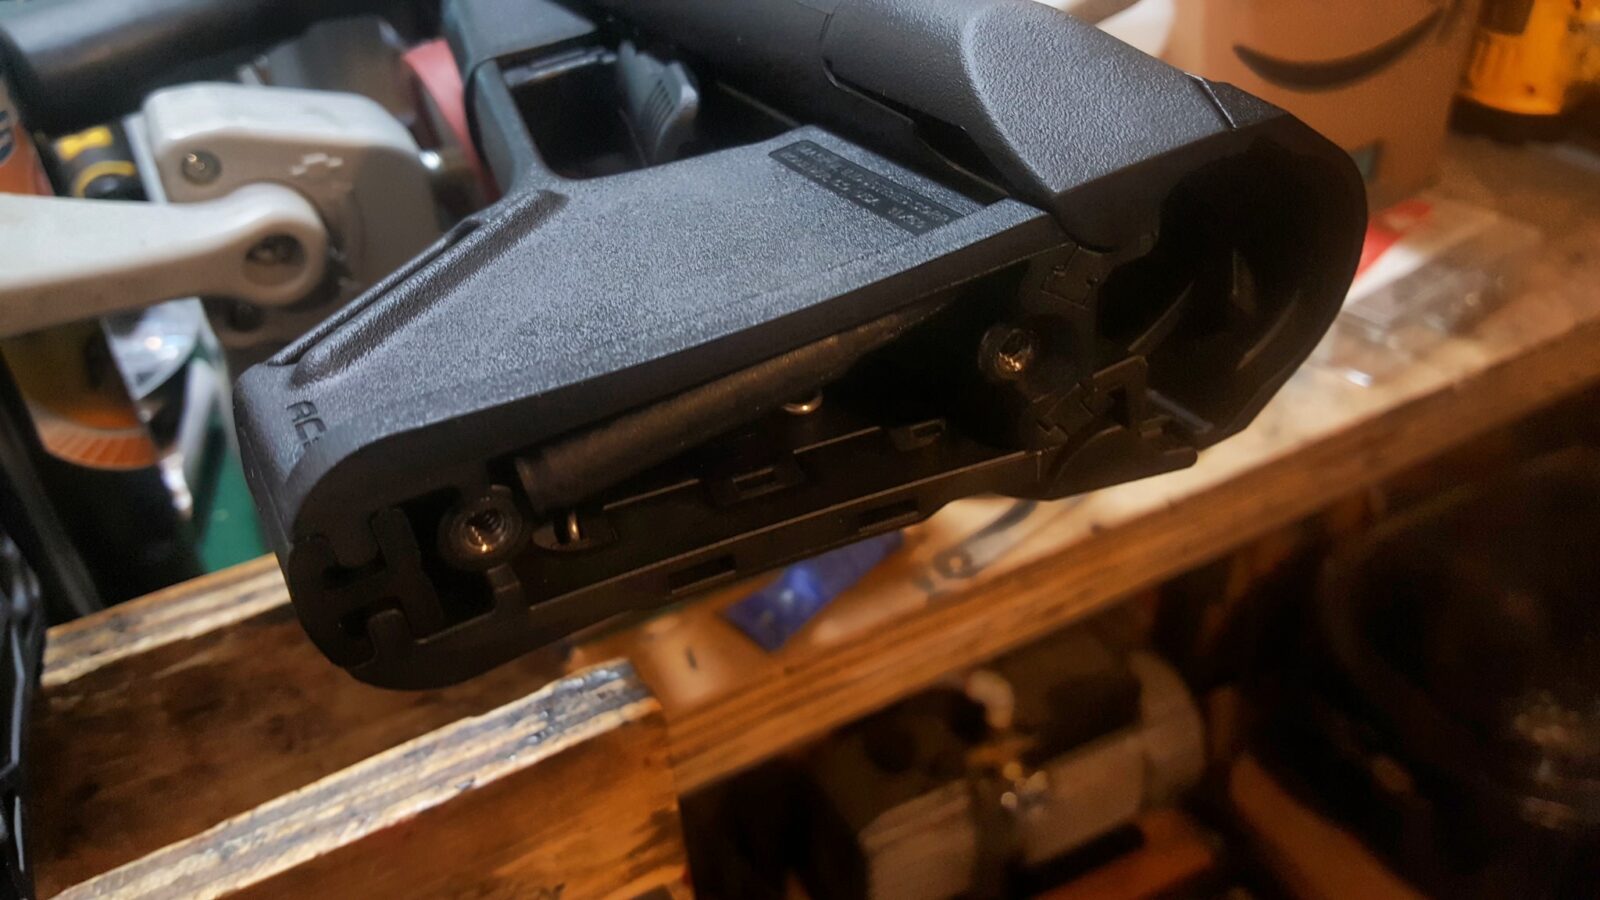
I like the Magpul ACS stocks. They are comfortable, have a locking lever to keep them from wobbling and have storage compartments you can either really use for storage or fill with epoxy and bird shot to further adjust the weight and balance of a rifle.
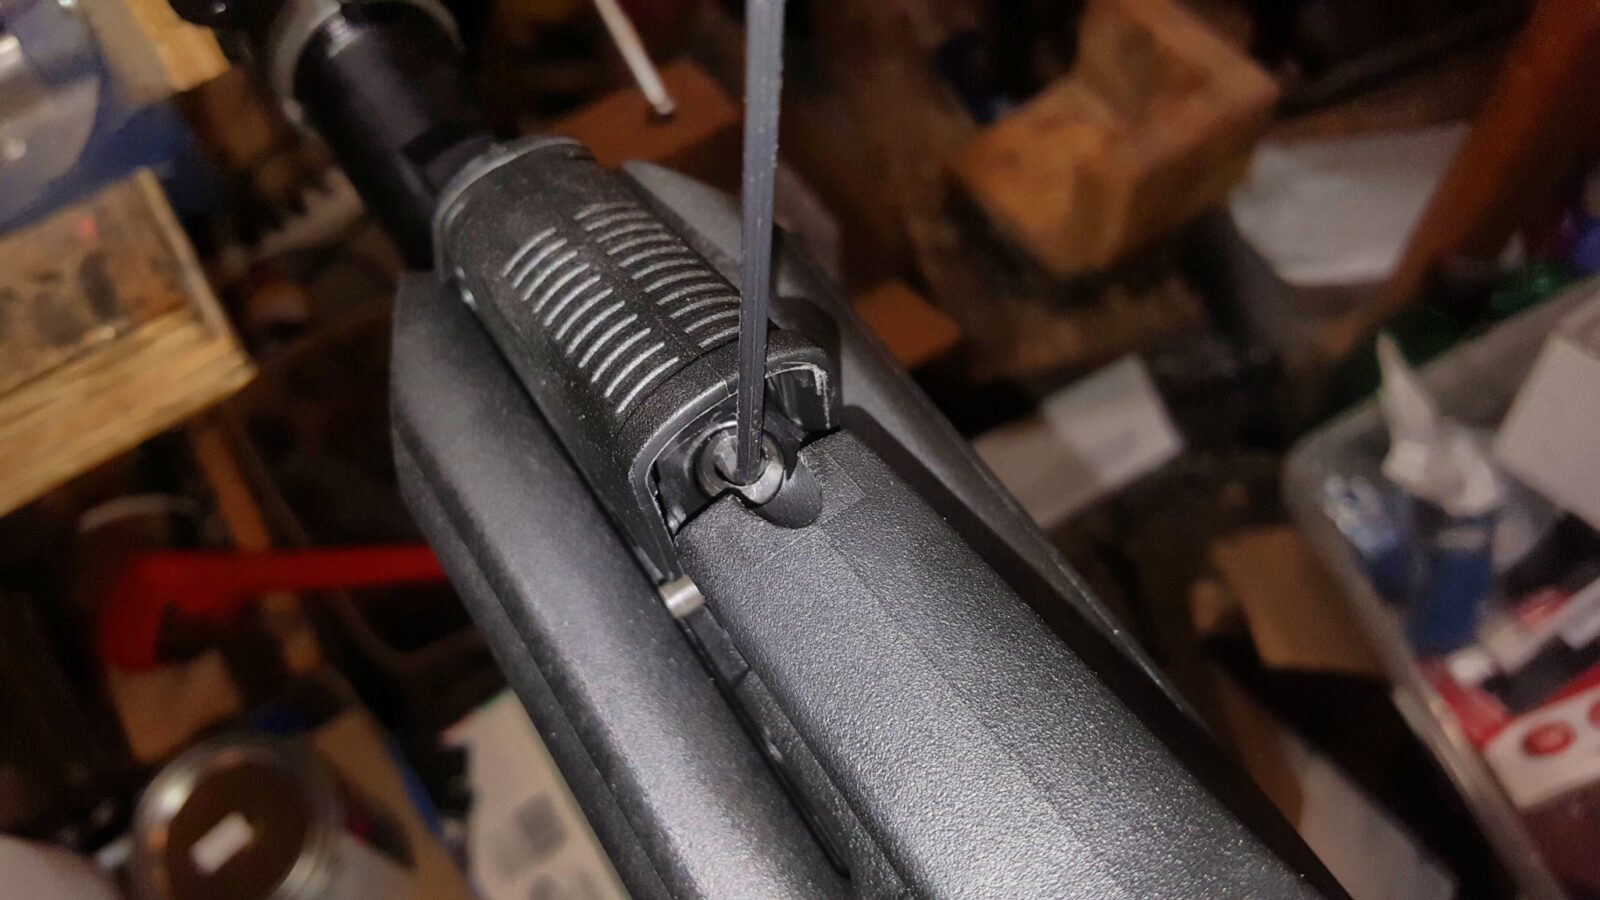
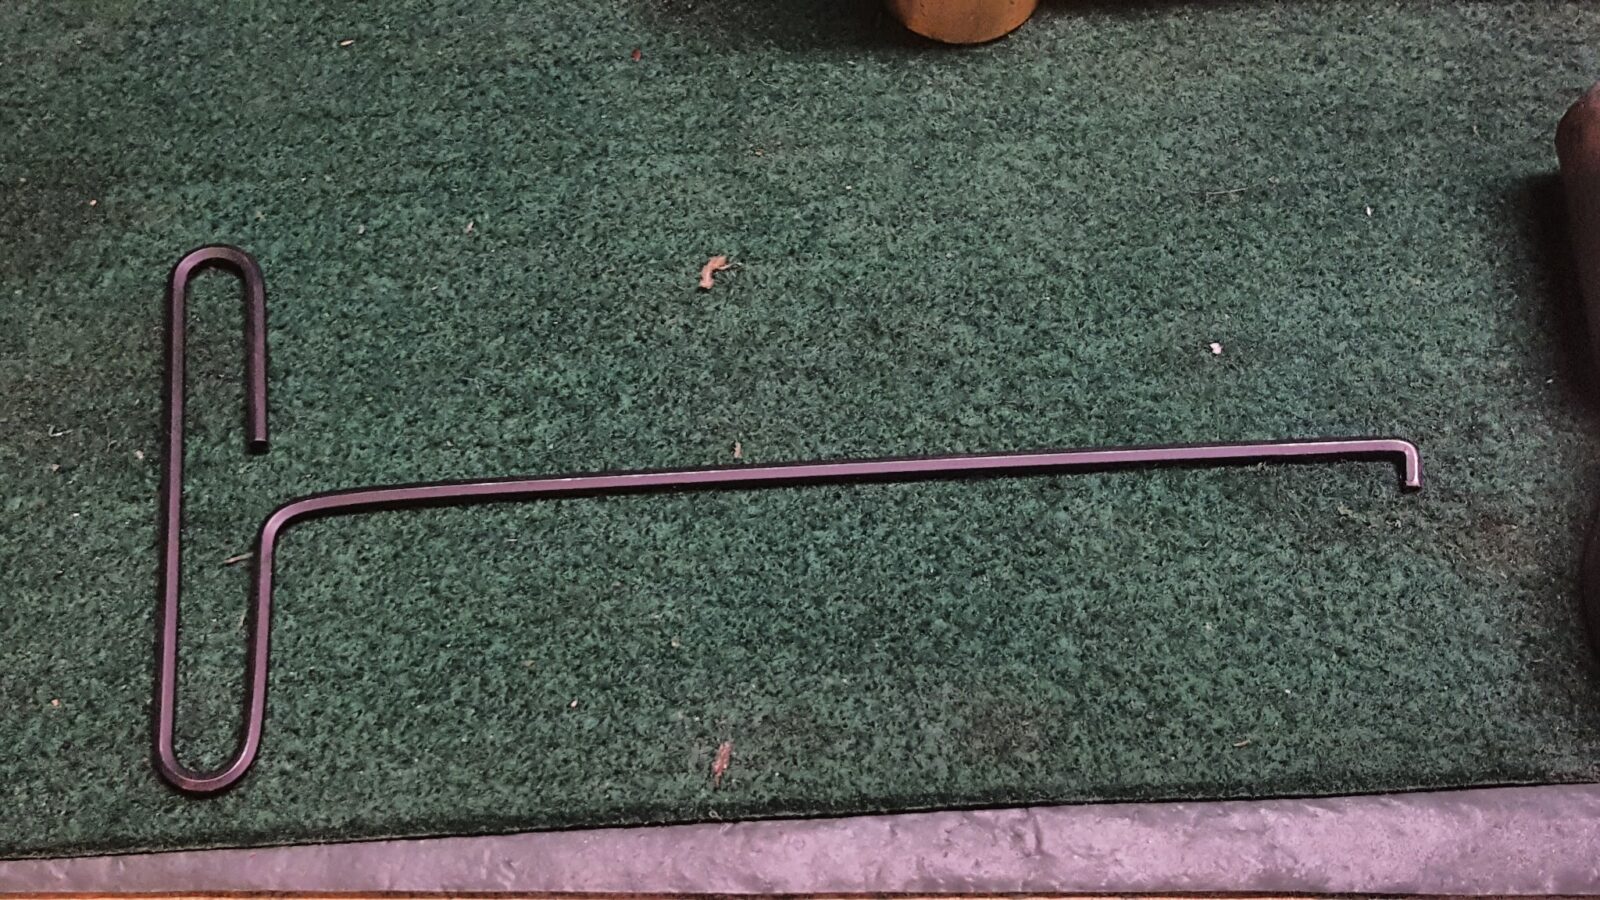
As luck would have it, I don’t have a photo of the stock before installation but will tell you that the one challenge is to lift the locking pin. Magpul gives you a dummy cartridge to help with this but I made a tool to hook the pin and lift easy as can be.
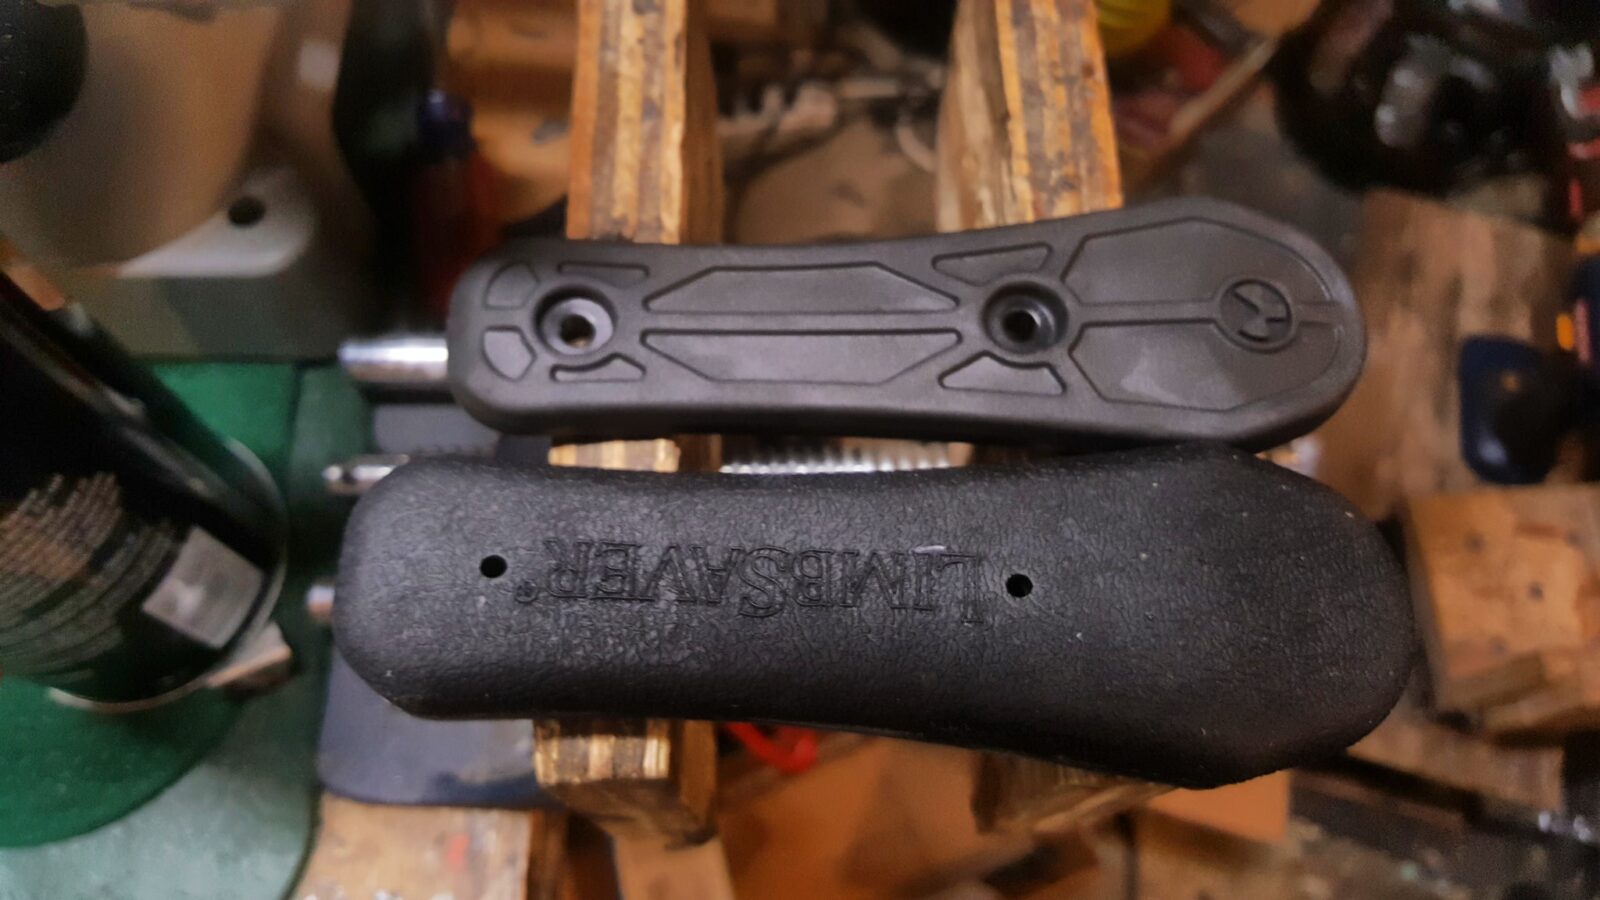
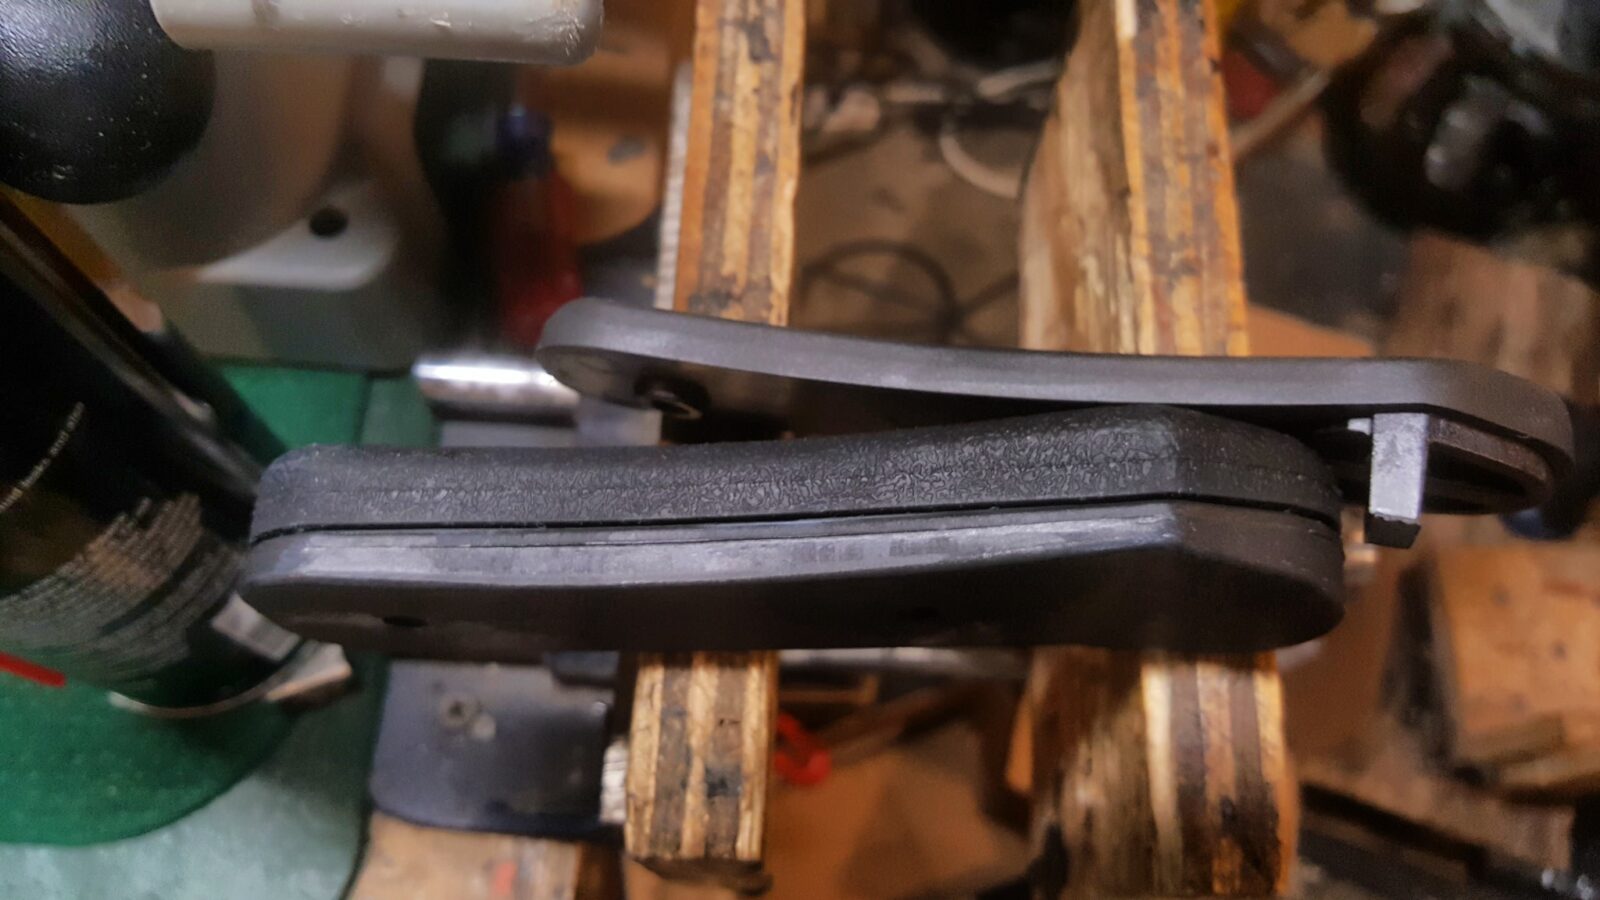
Now one thing that is nice with hard recoiling firearms is a decent recoil pad. I’ve long been a fan of Limbsaver pads and they make a model specific for the Magpul ACS, ACS-L, CTR, MOE, STR and UBR. It’s nice and thick and provides a lot of cushion especially compared to the original pad it replaces.
I purchased the Magpul ACS for Mil-Spec buffer tubes from Primary Arms and the recoil pad off Amazon.
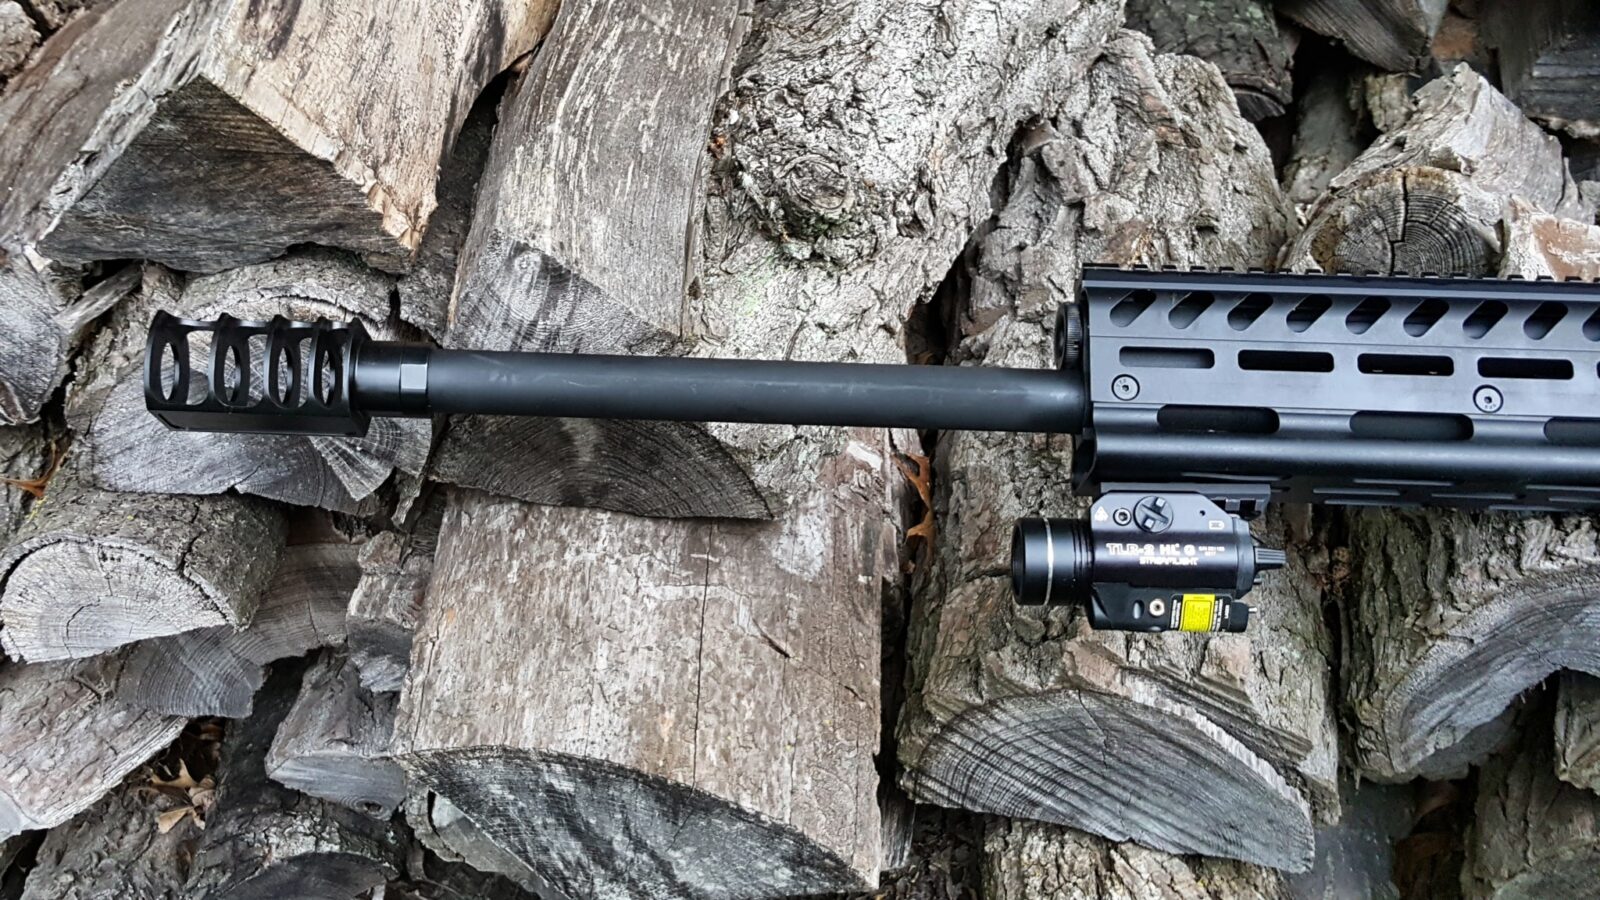
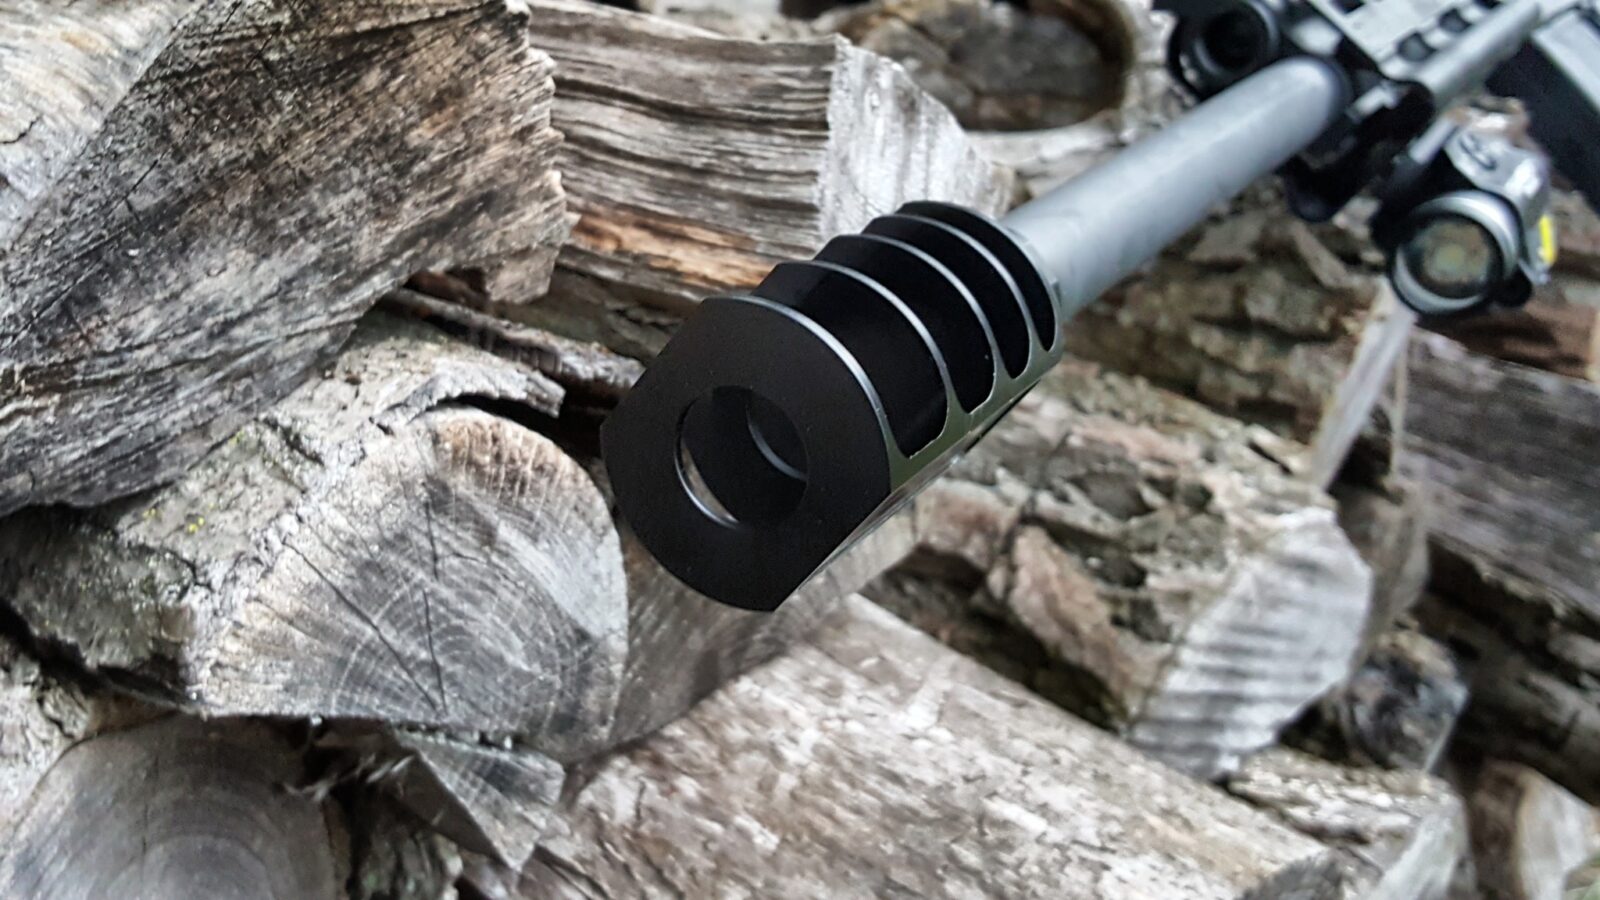
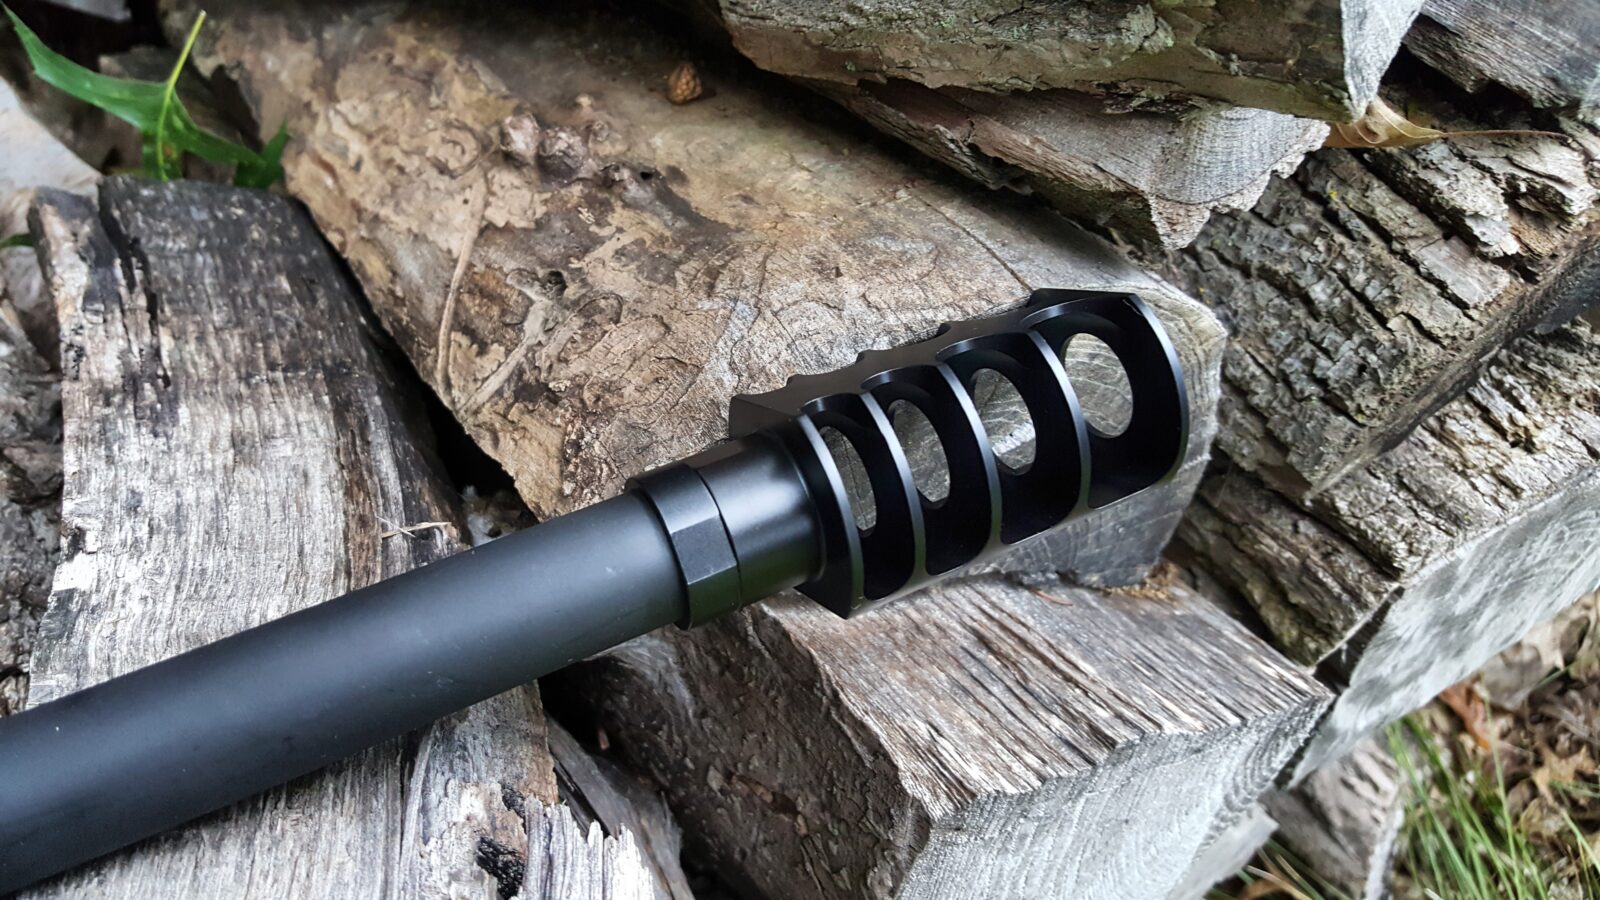
Installing the JMac RRD-4C 12 Brake
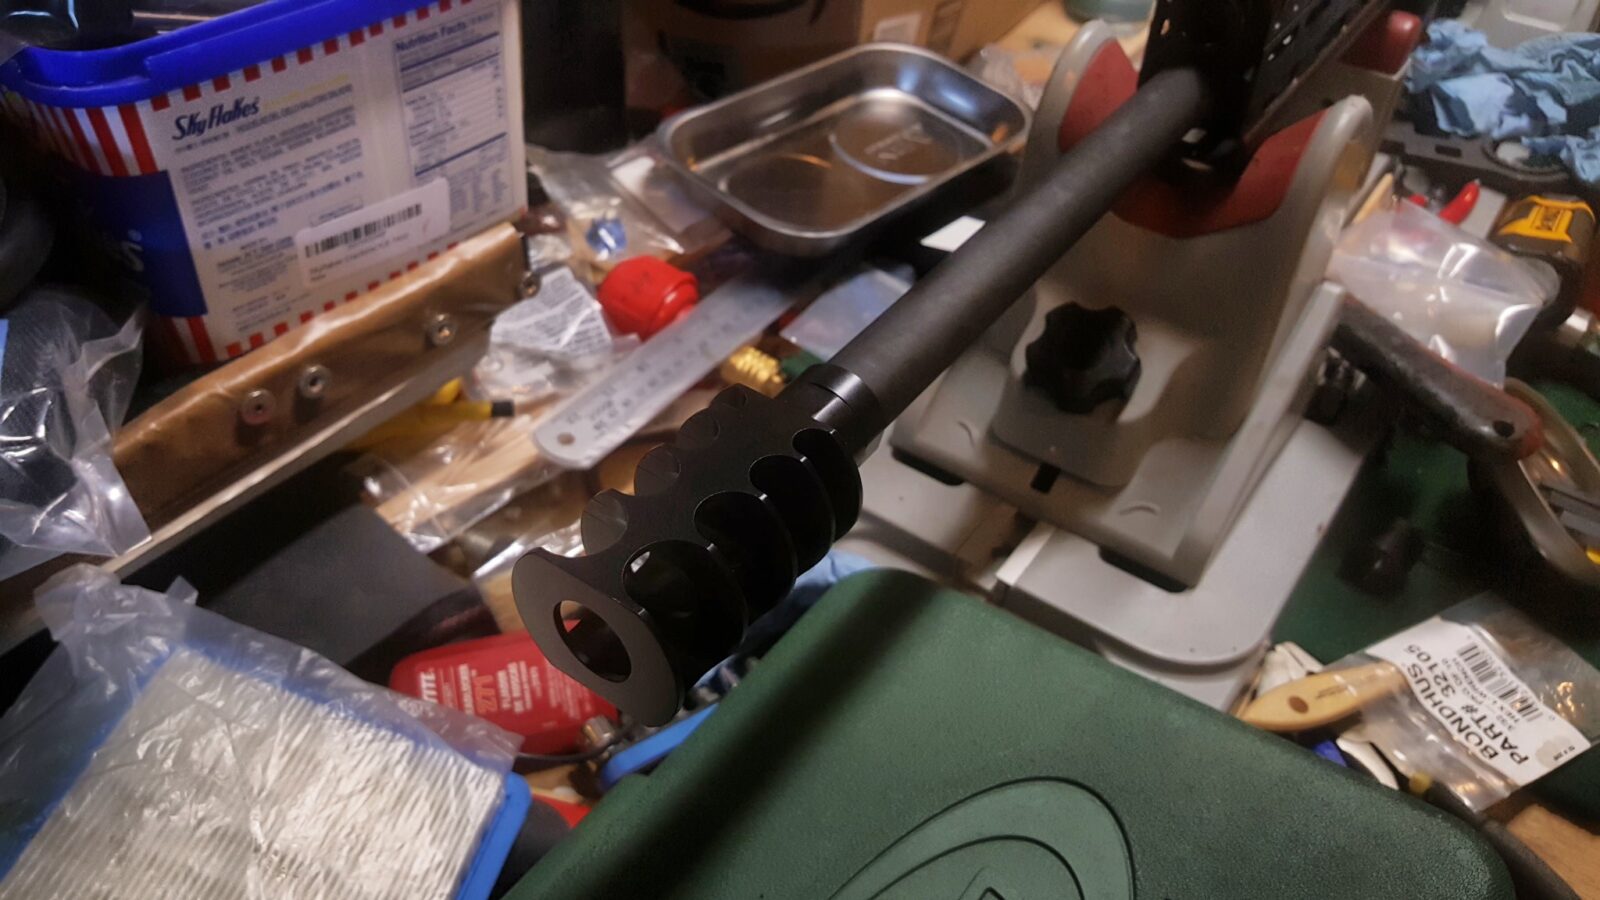
If you want to tame recoil, a good brake is essential. Justin McMillion and his company JMAC Customs make some great brakes so reaching out to him for a brake made perfect sense. He recommended their RRD-4C “12” brake.
The first thing I noticed was it’s size – it’s huge and badassed looking. Installation is a breeze. Unscrew the thread protector from the Lynx to expose its threads. Screw on the jam nut as far as you can and then thread on the brake as far as you can. Back it off enough that the brake is flat and the chambers are venting up as shown below. Then tighten the jam nut up against the back of the brake to lock it in place.
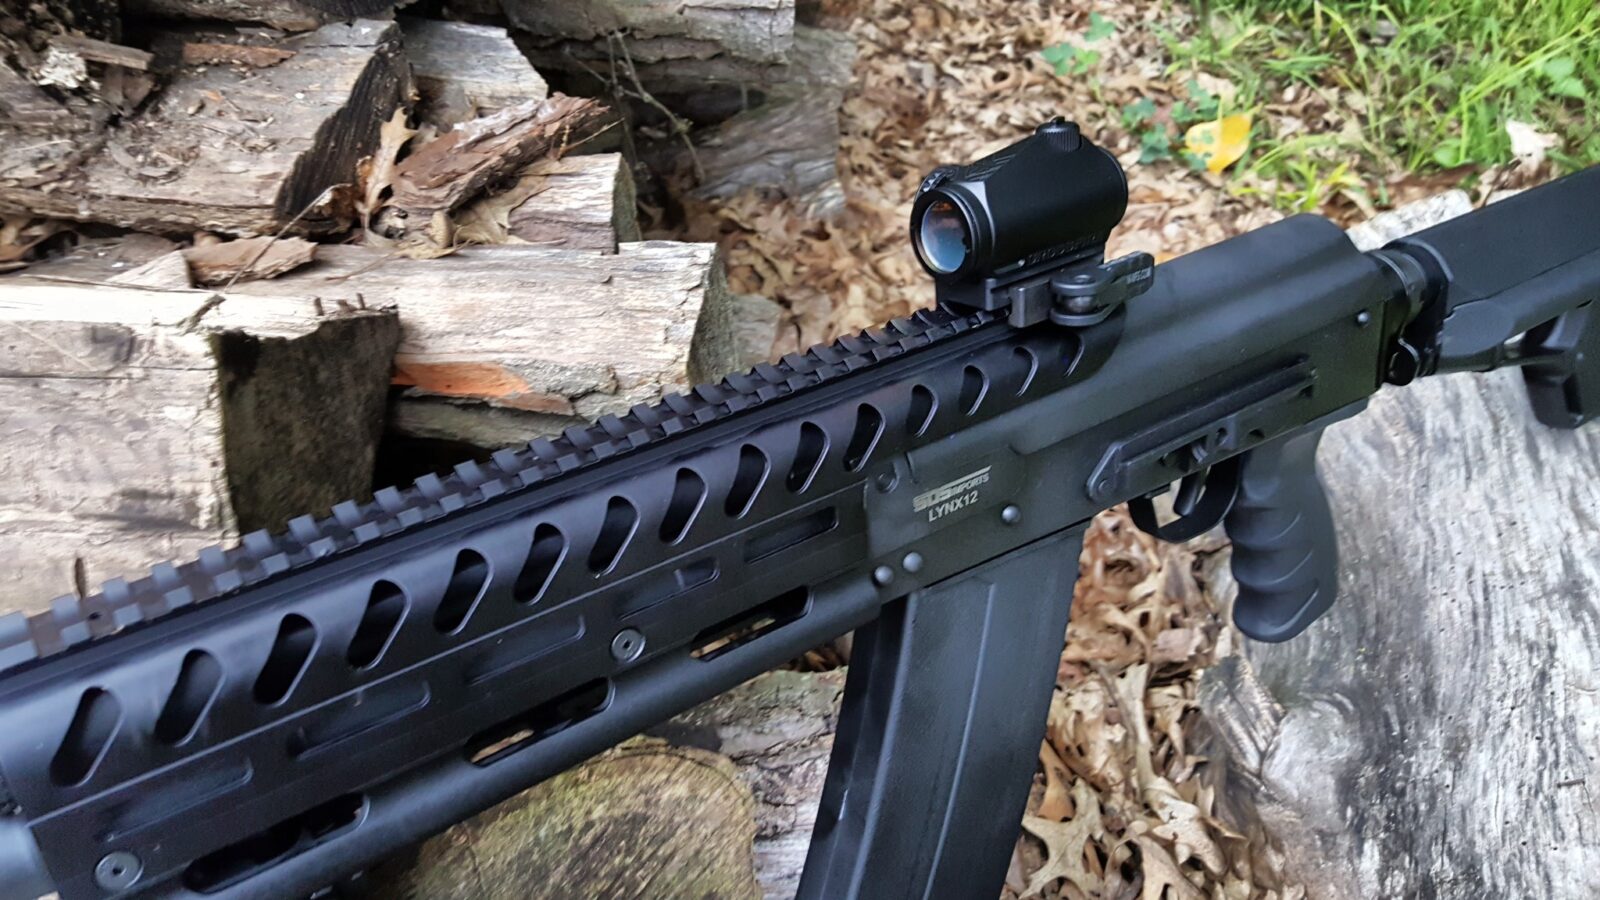
Installing the Crossfire Red Dot and American Defense Quick Release Lever
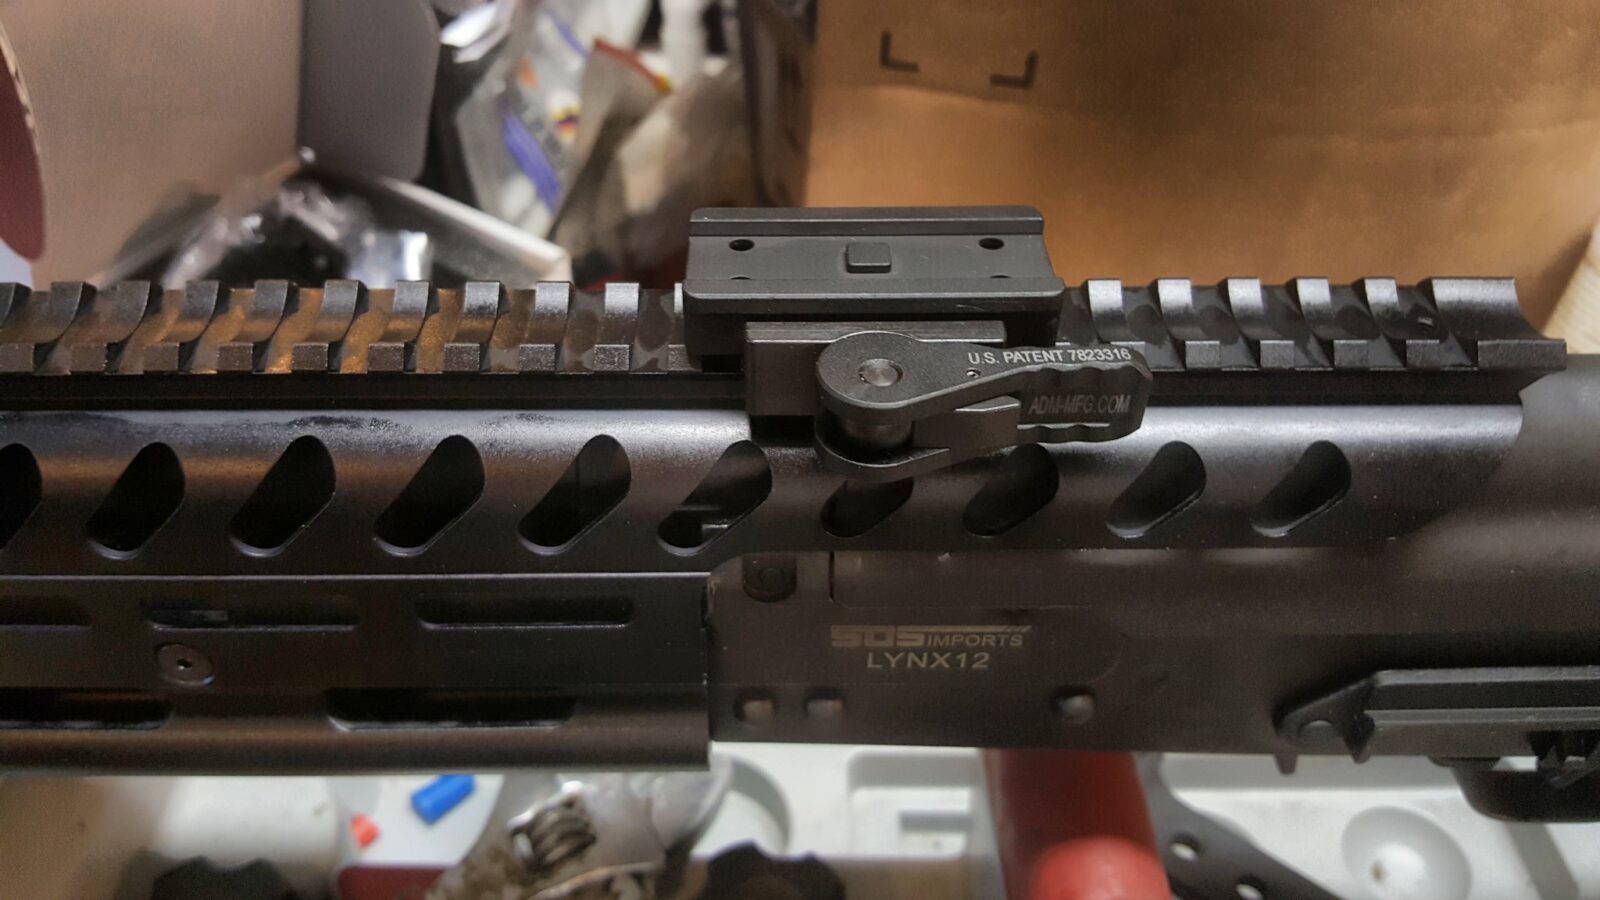
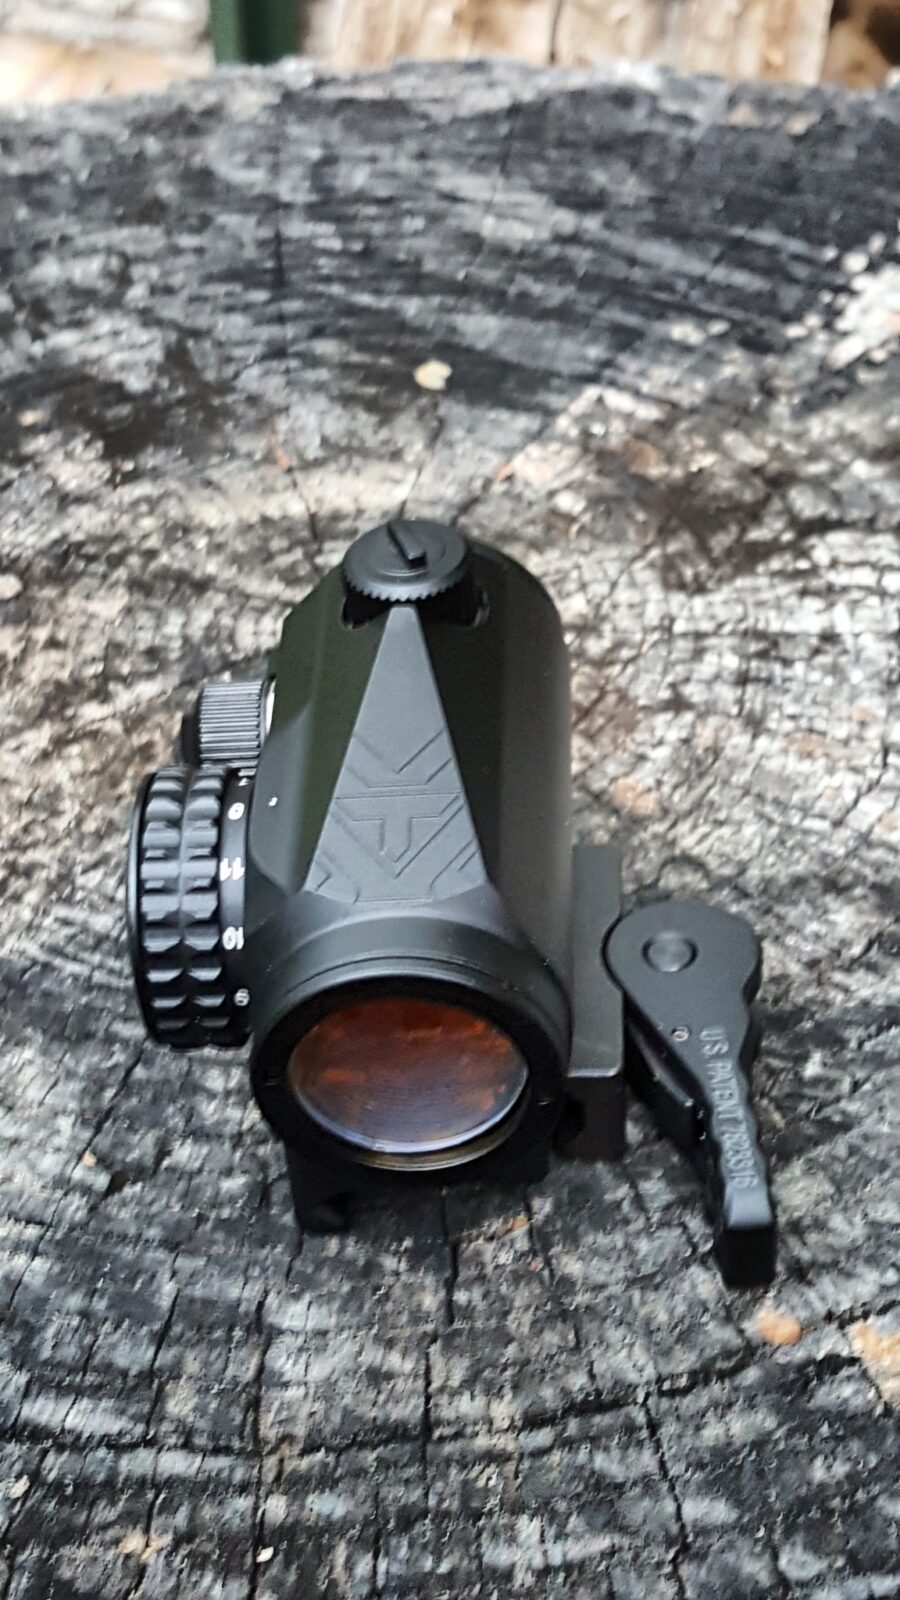
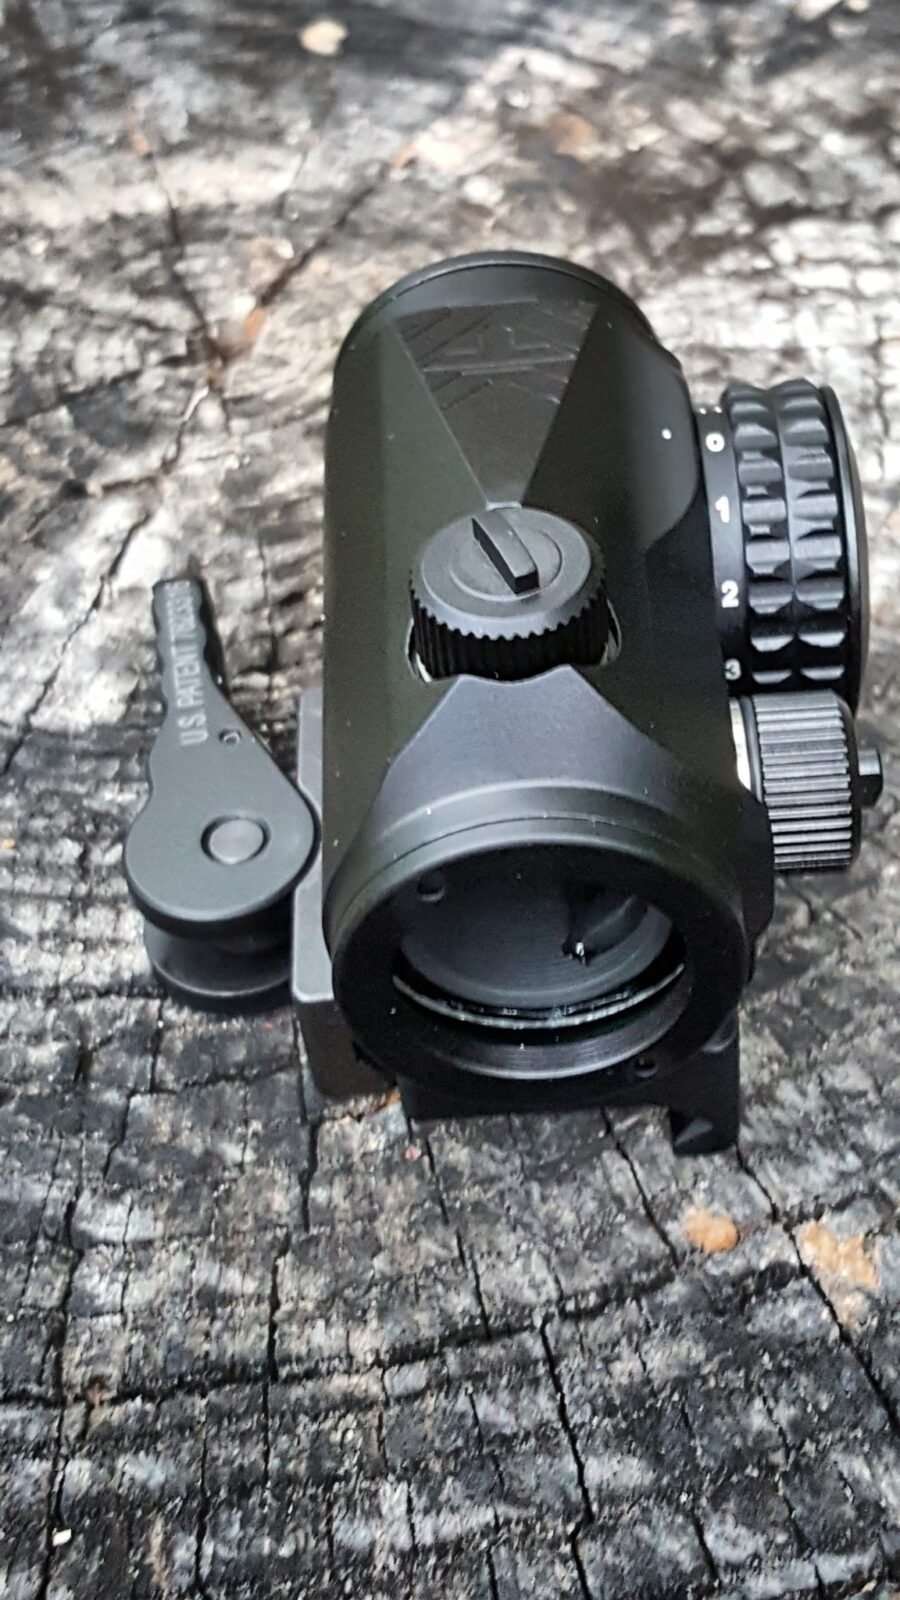
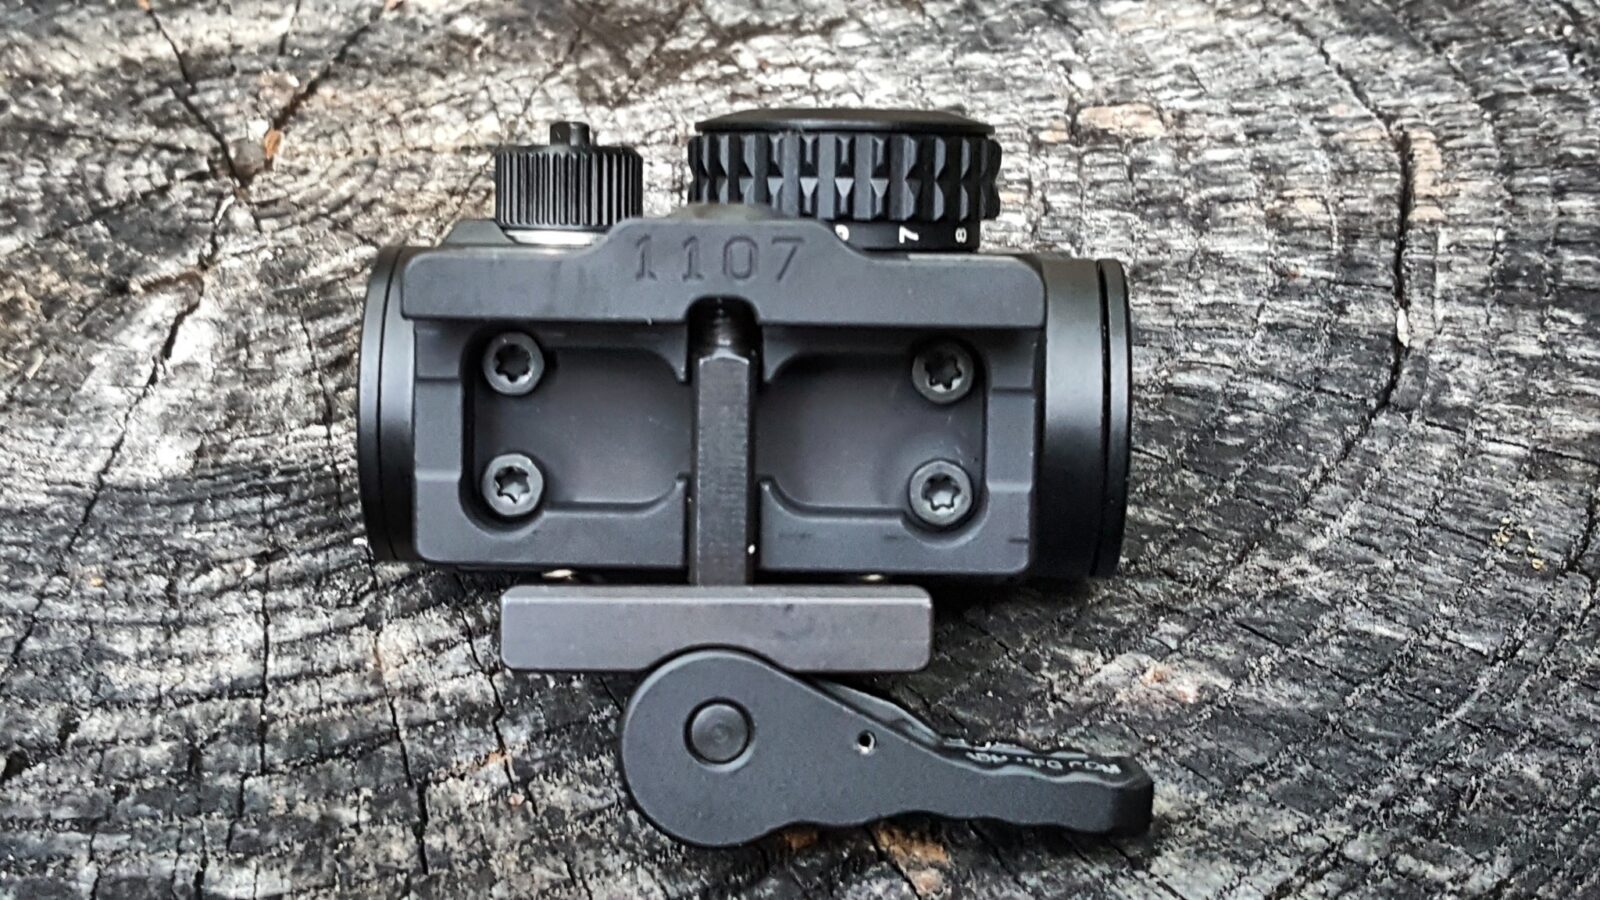
My go to red dot these days is the excellent Vortex Crossfire unit. It’s small and only has a 2 MOA dot. It comes configured for an AR but you can remove the tall base and use the supplied shorter one for a lower mount. Recently, I started using American Defense bases because they have a solid quick release lever so you can remove the red dot quickly. The base required is the AD-T1-L STD.
You just unscrew the four little screws on the bottom of the optic, apply Blue Loctite on the screws and attach it to the new base. Not hard at all! The results are totally worth it.
Caution about eBay: Watch out for cheap counterfeit products on eBay. I would recommend buying the optic and mount from a reputable dealer to make sure you are getting the real deal. The cheap knock offs just do not hold up.
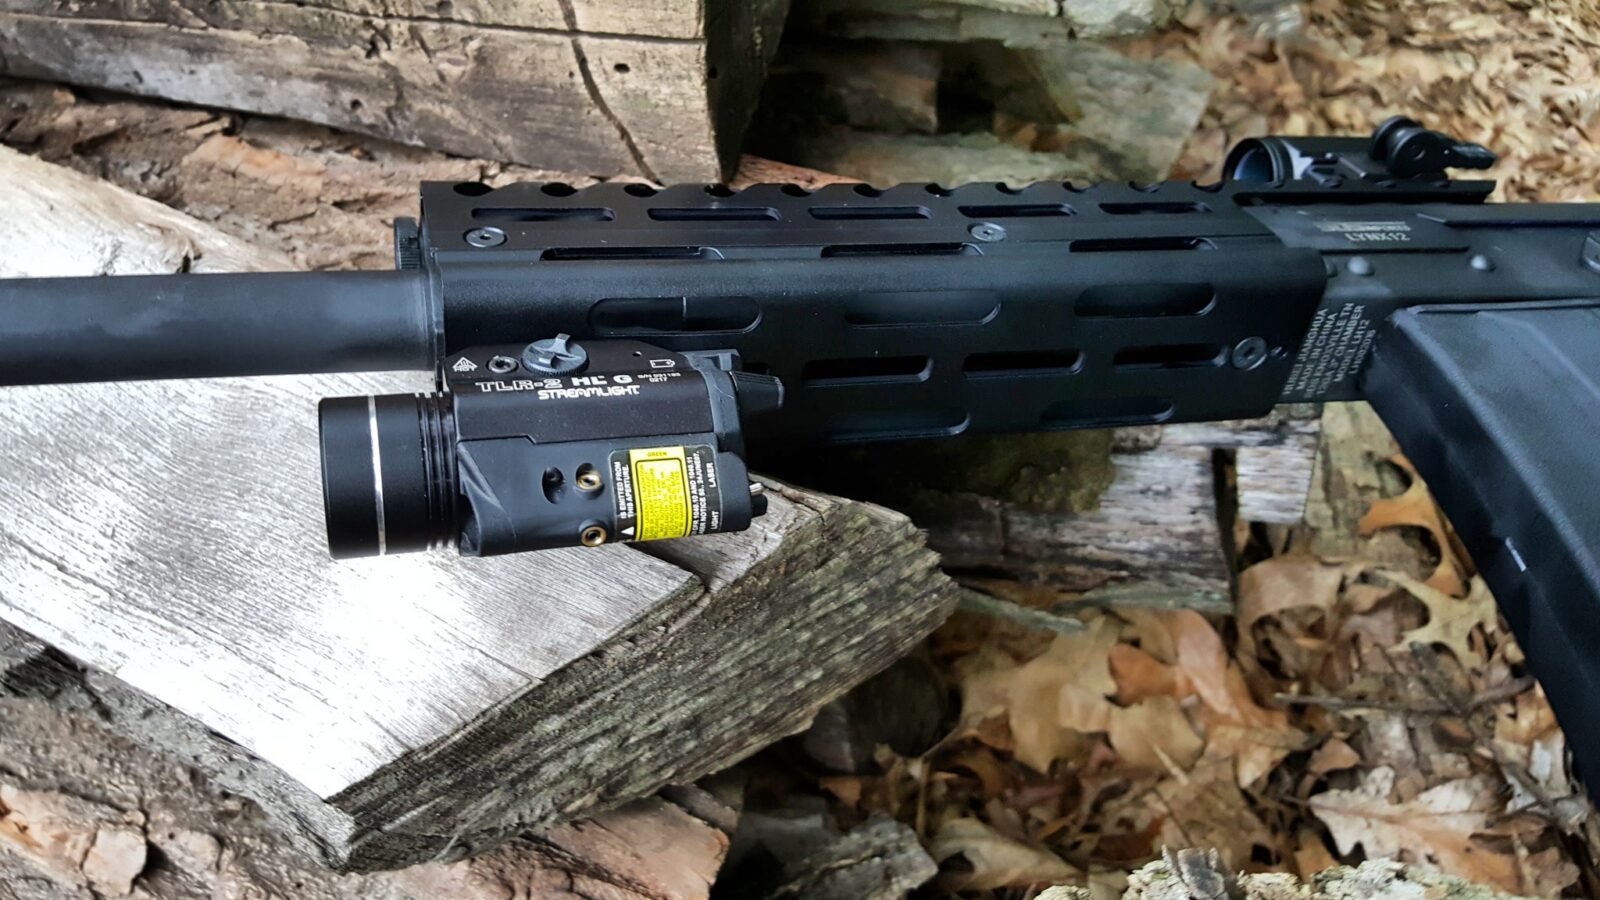
Streamlight TLR-2 HL G
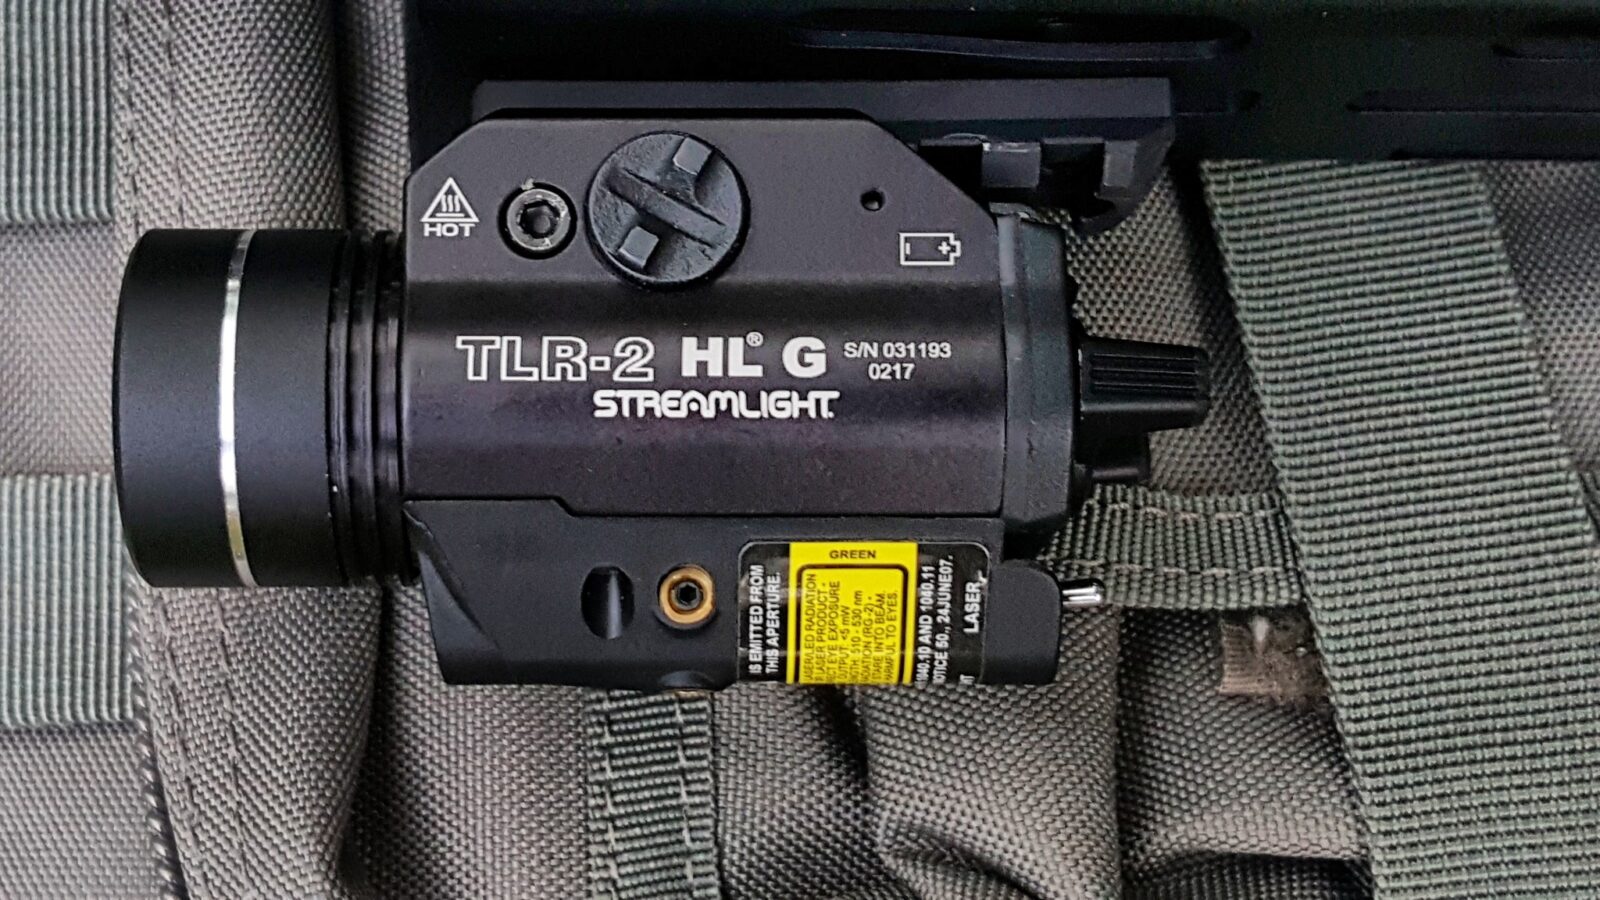
I installed a small 5 slot Magpul M-Lok aluminum rail section on the bottom front of the handguard to hold a Streamlight TLR-2 HL G 800 lumen light and green laser. I have found they hold up remarkably well. In this age of cheap Chinese products, I would recommend buying a light that will work when you need it most.
To mount it, follow the directions with the light to install the key for the Picatinny rail. It comes with several and then it just screws onto the mount with the thumbscrew,
Caution about eBay: Watch out for cheap counterfeit products on eBay. I would recommend buying the Streamlight from a reputable dealer to make sure you are getting the real deal. The cheap knock offs just do not hold up.
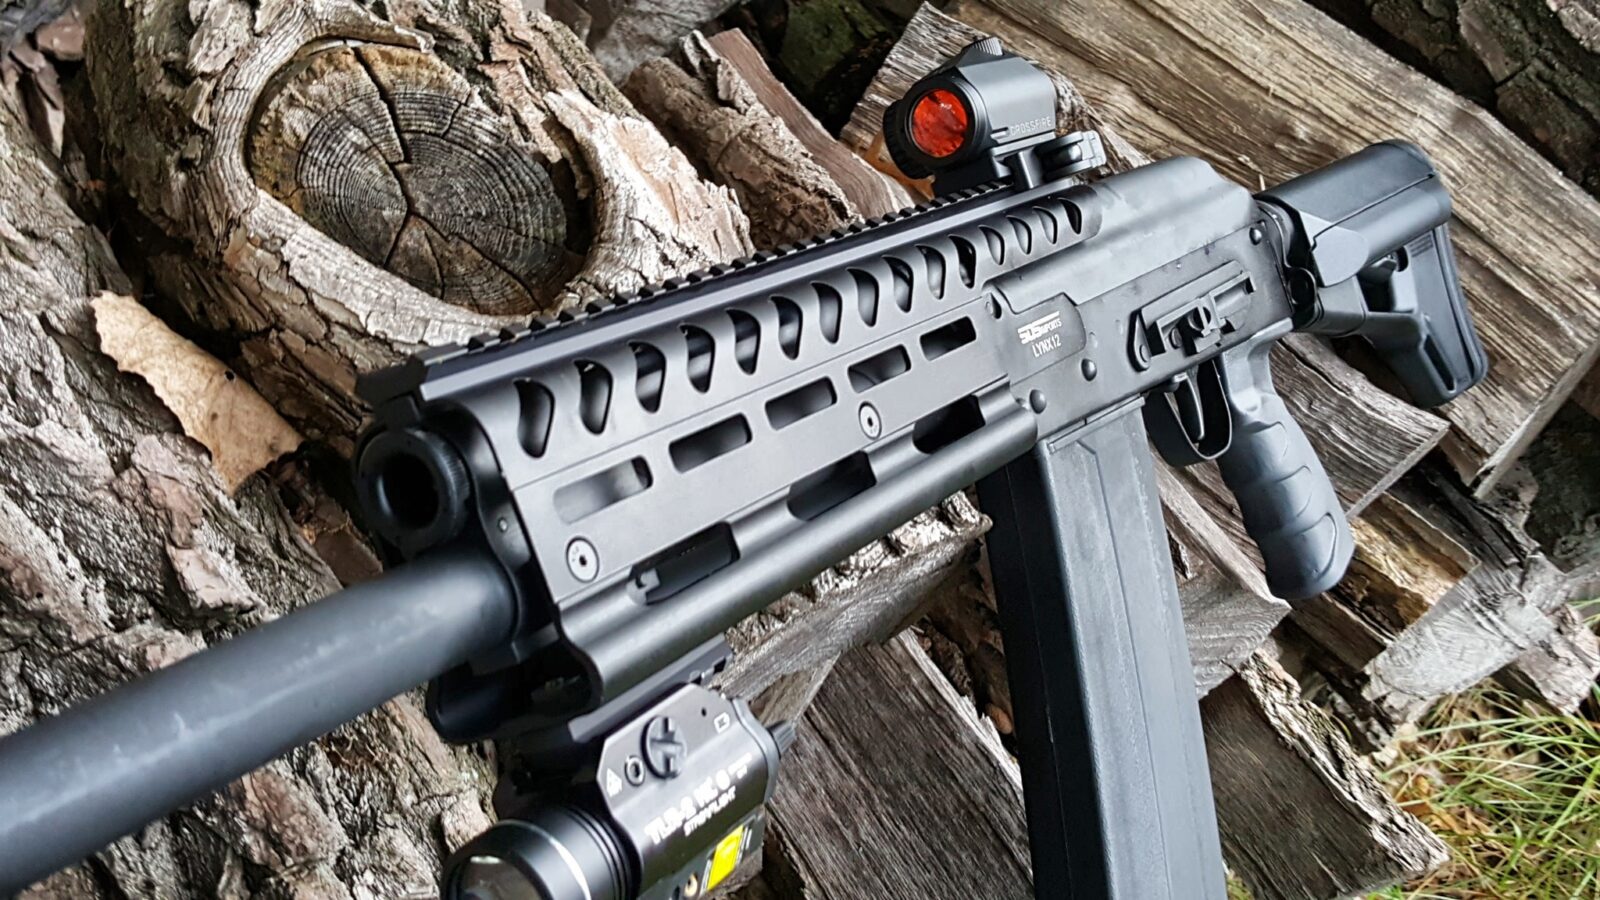
The End Result
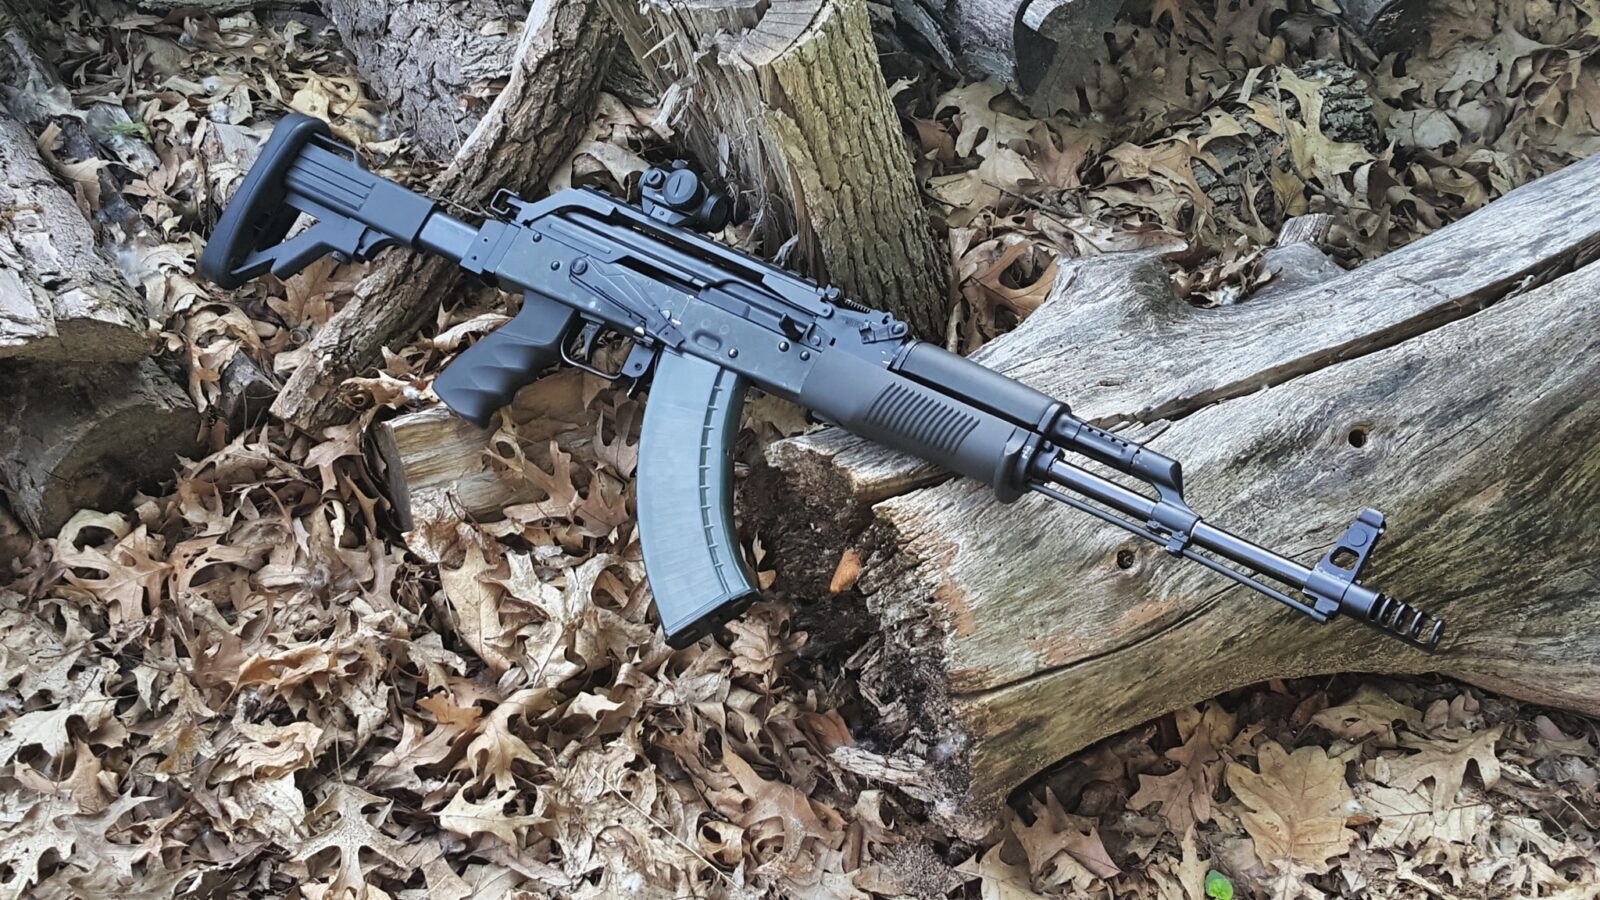
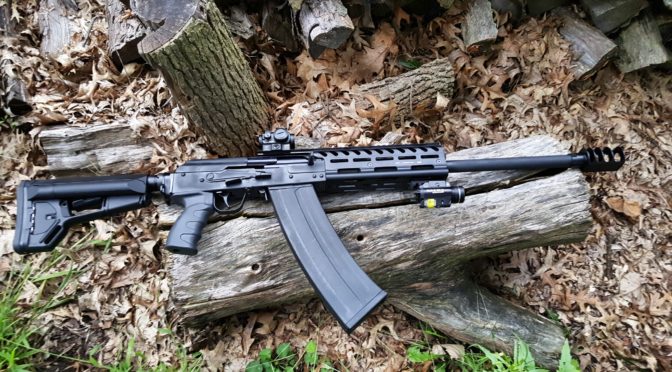
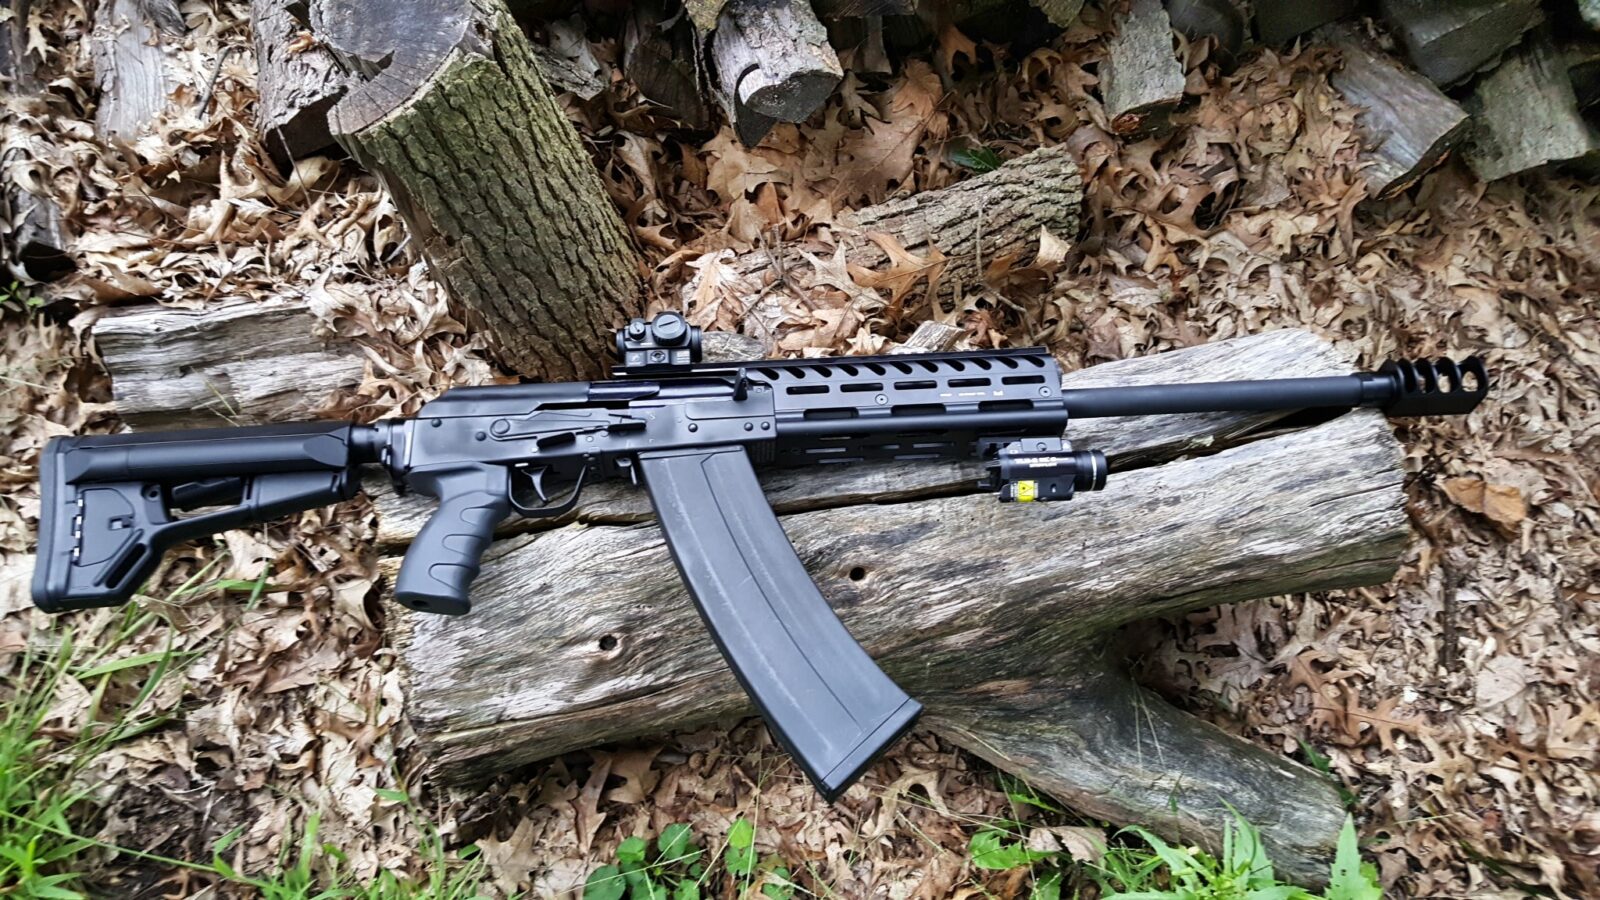
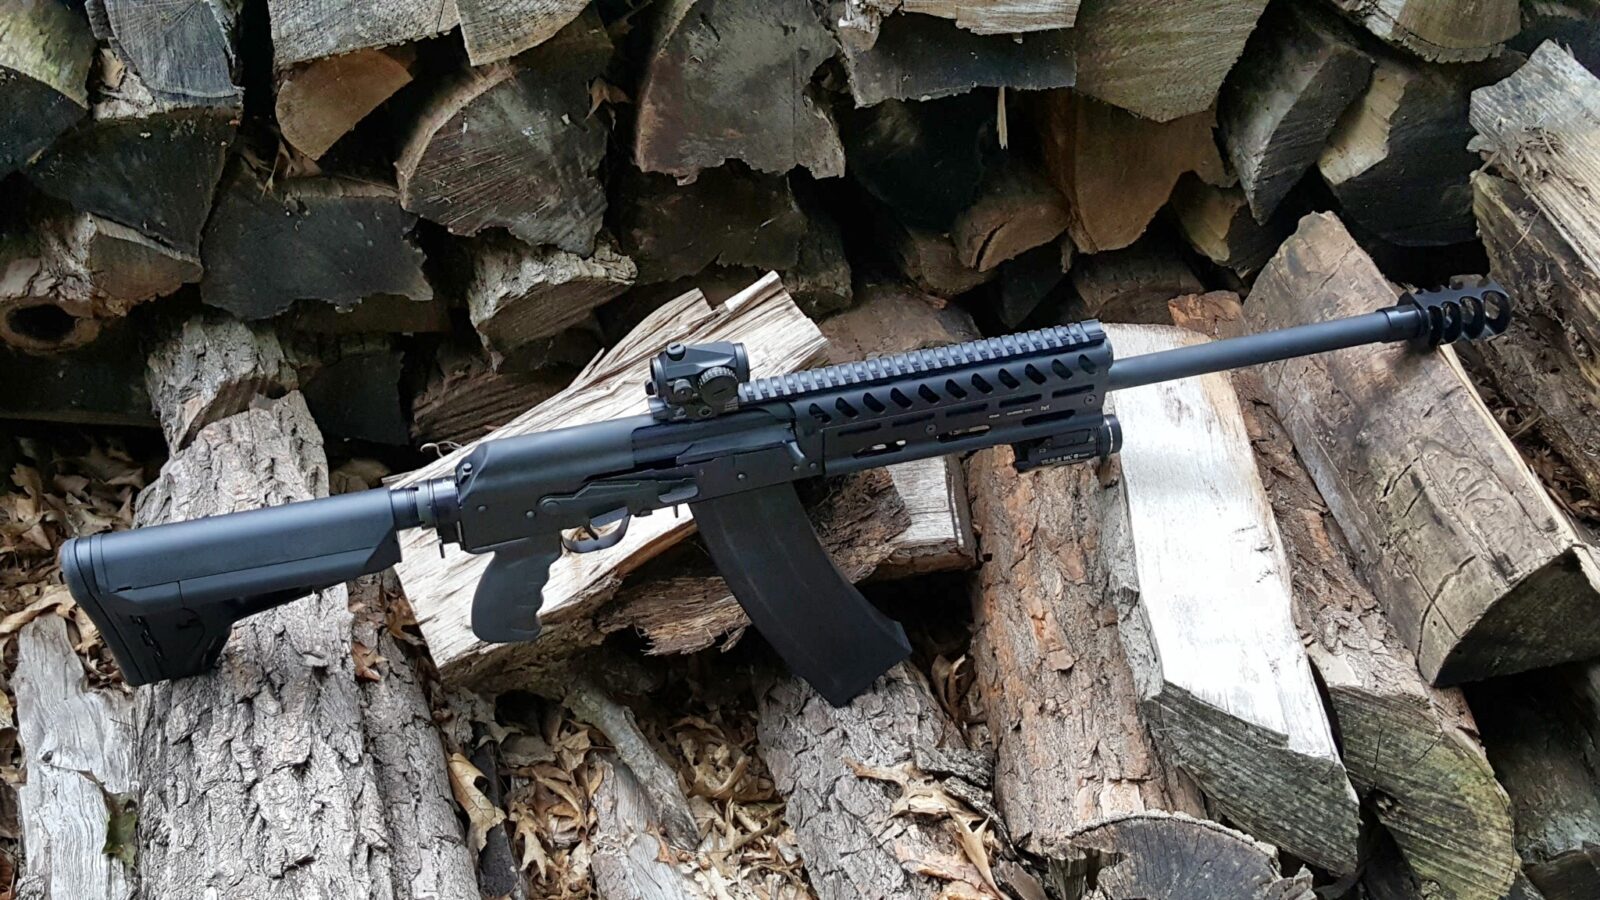
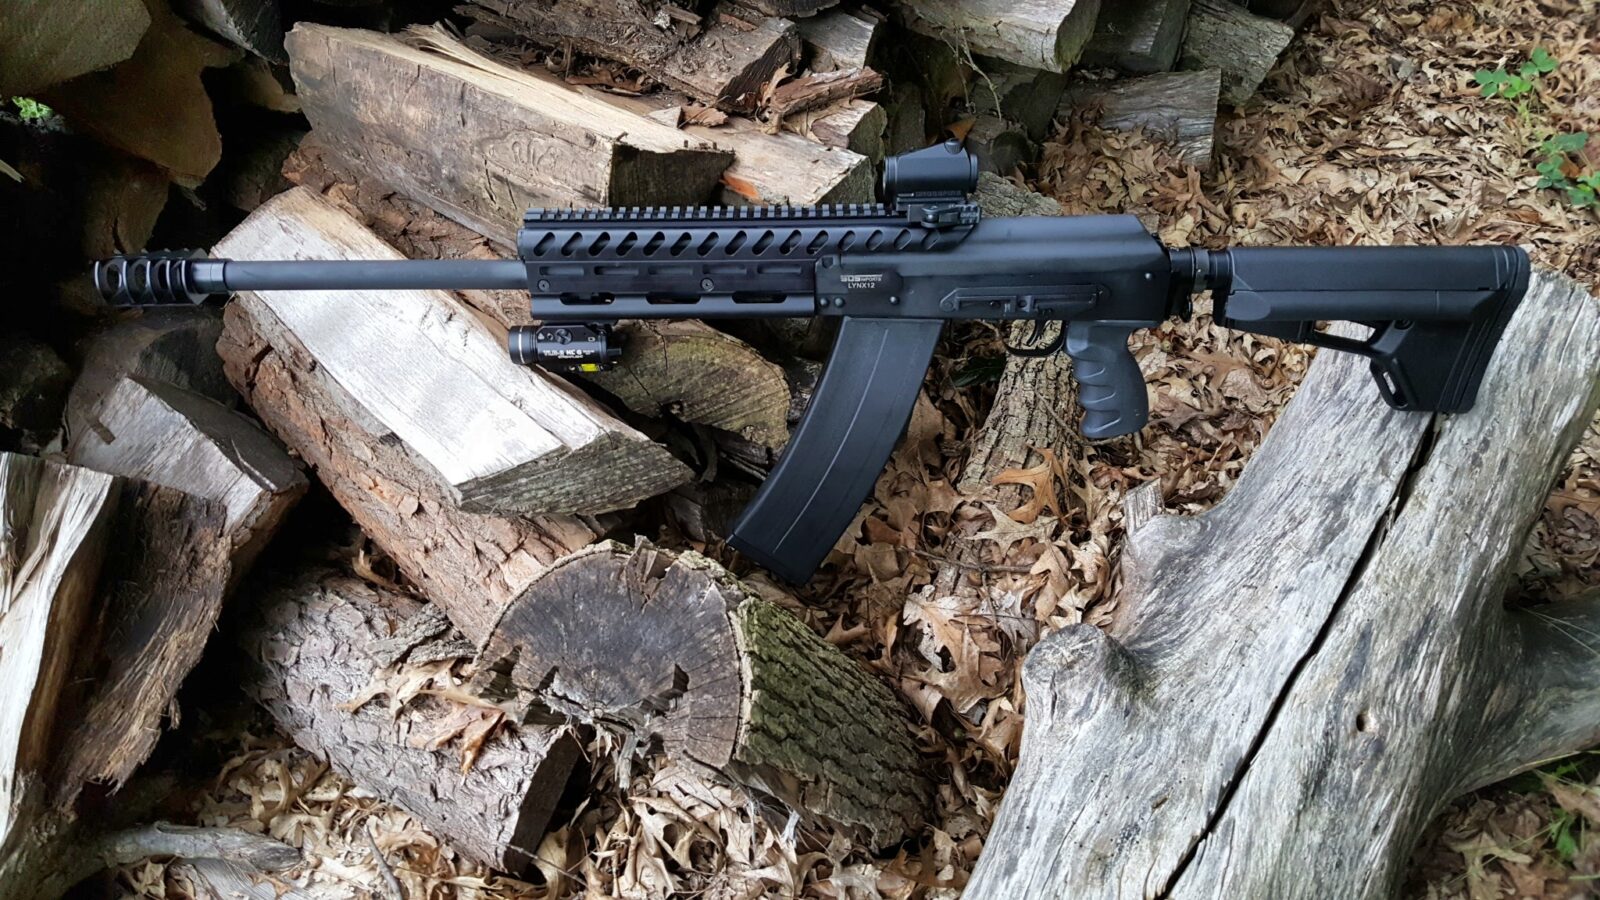
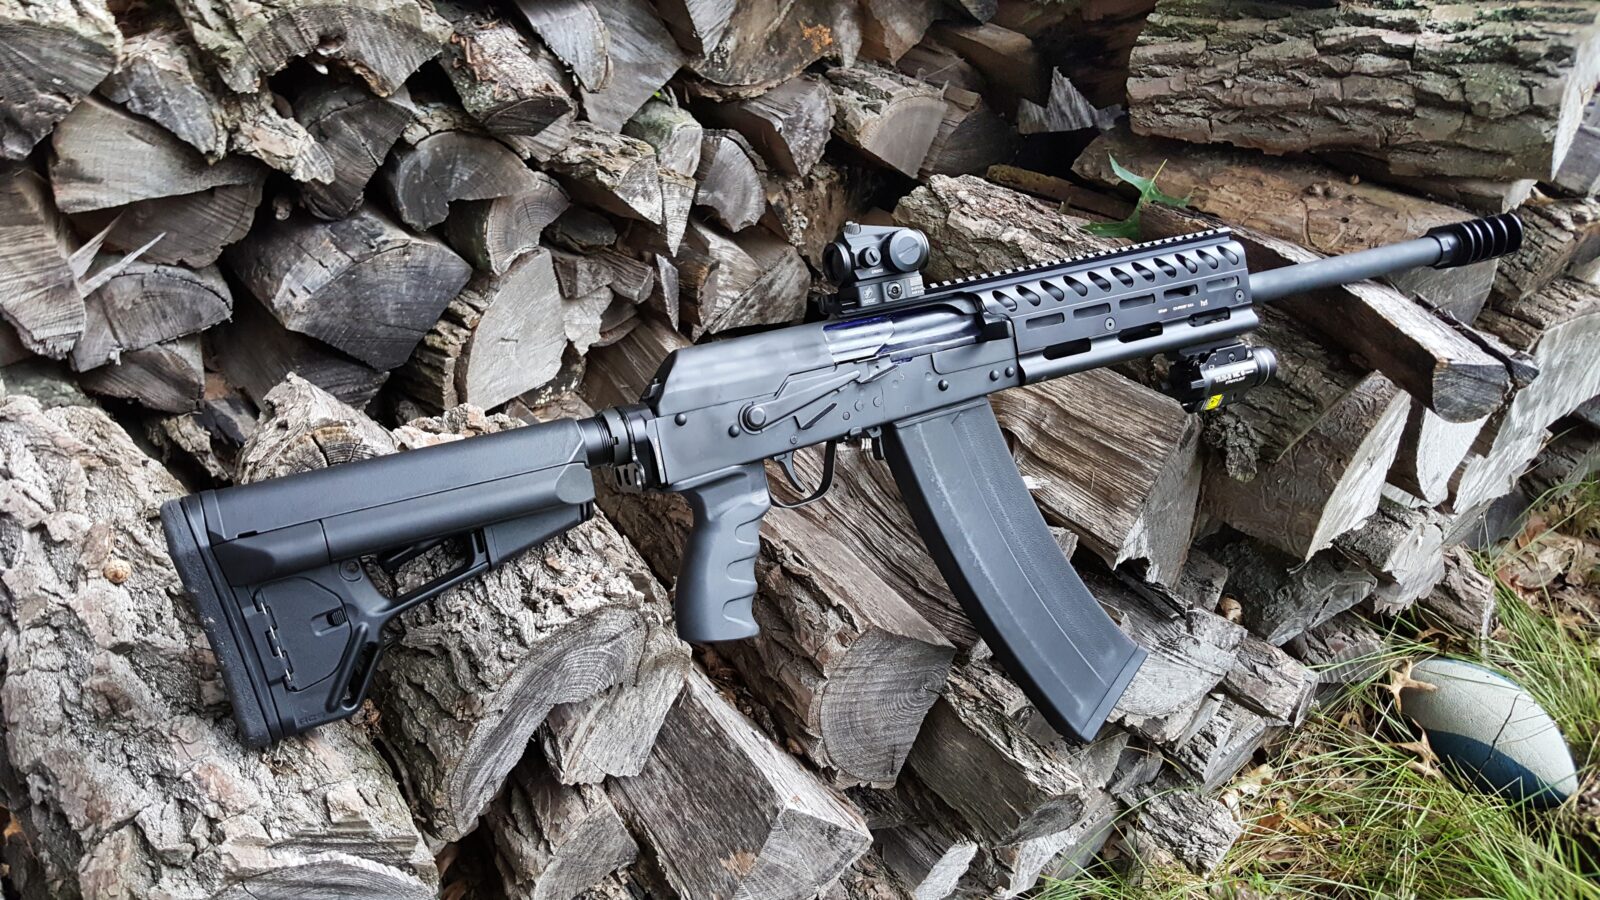
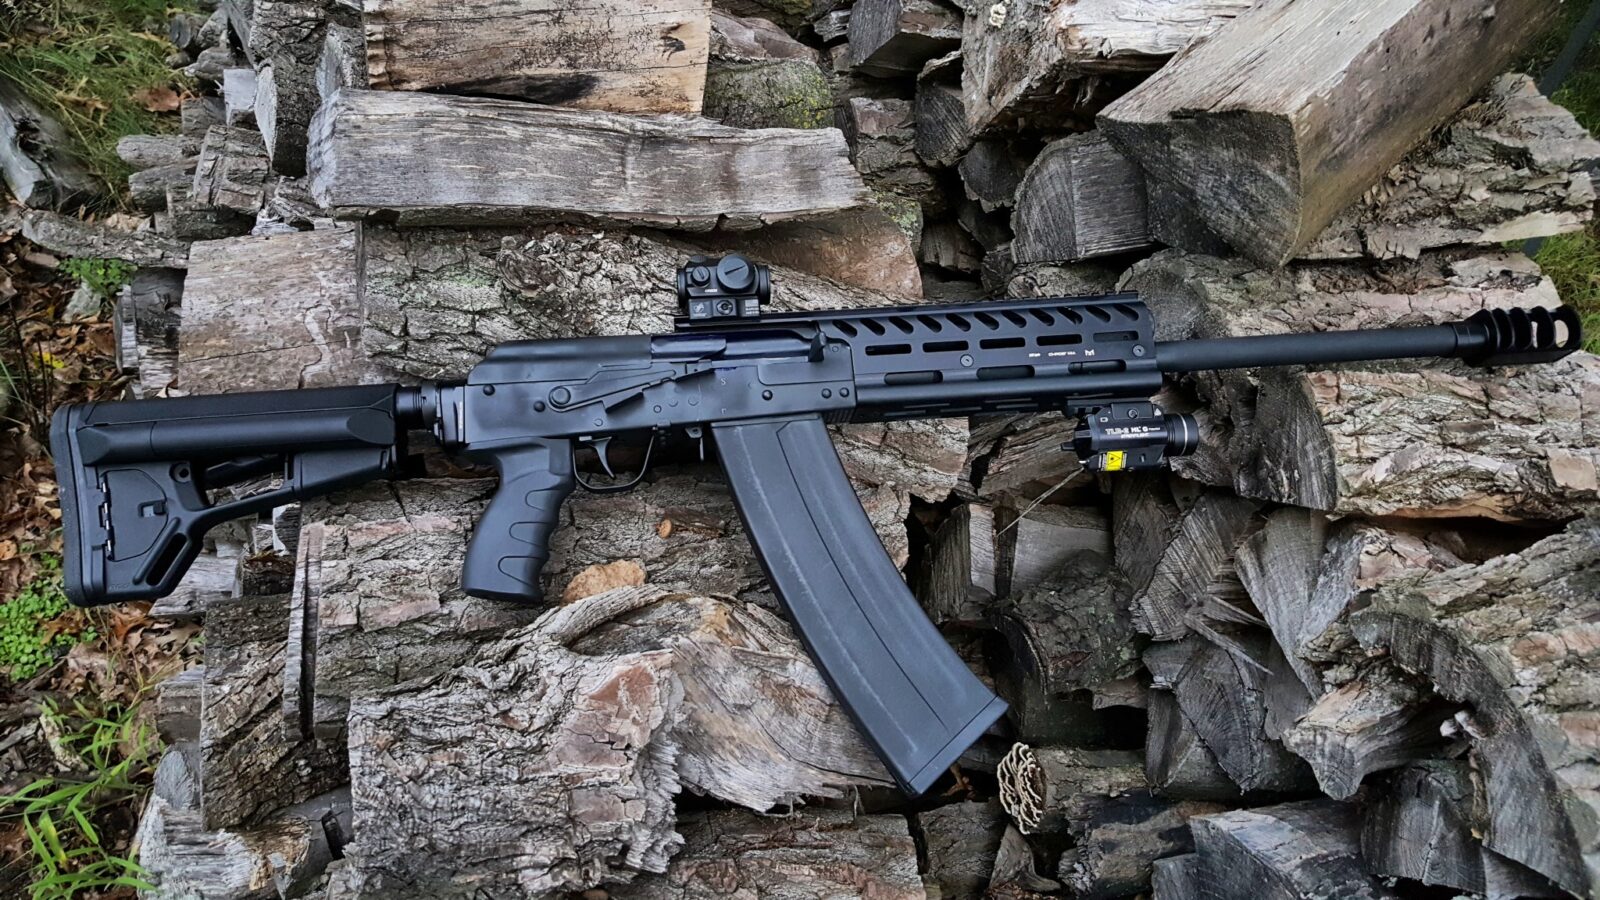
I am very happy with how it turned out. The balance is great and the red dot is located just right – when I bring the shotgun up – the dot is right where I need it. I definitely need to take it to the range and like how it turned out. By the way, the magazine you see is the new SDS 10 round unit.
I hope you enjoyed these blog posts. There will be more to come 🙂
Note, I have to buy all of my parts – nothing here was paid for by sponsors, etc. I do make a small amount if you click on an ad and buy something but that is it. You’re getting my real opinion on stuff.