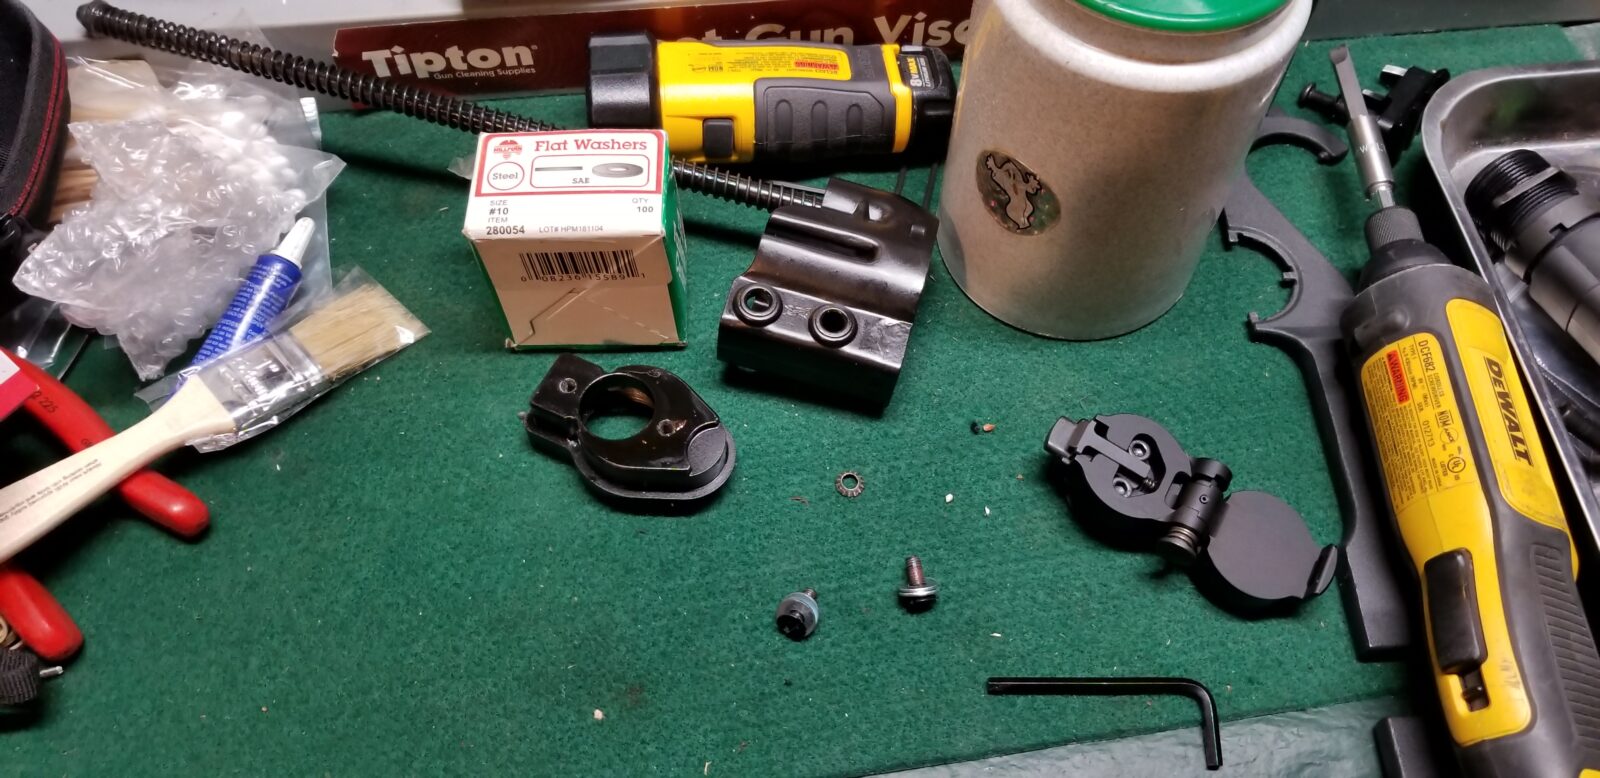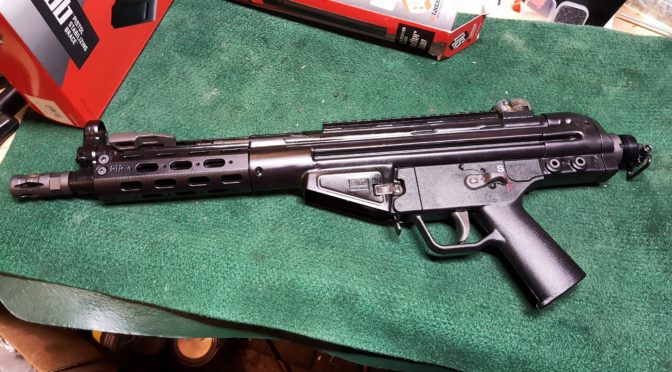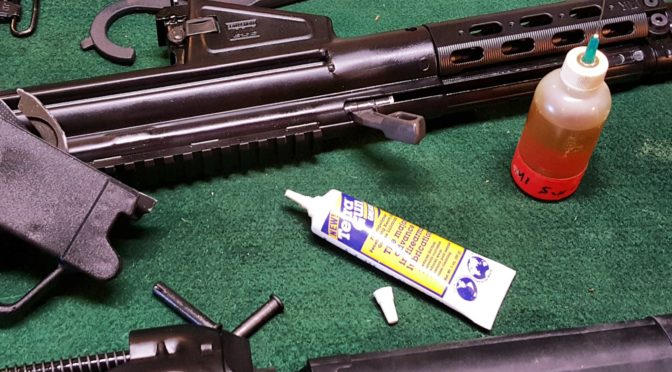
The last step in preparation for my first trip to the range was to clean and lubricate the PTR PDWR. One thing I learned with my for PTR was that proper lubrication makes a world of difference and I could tell in working the PDWR that it definitely need lubricating so here’s what I did.
Also, if you need any parts diagrams or more detailed questions, be sure to read the HK G3 Armorer’s Manual.
In general, you know you need to lubricate all moving parts of the firearm such as the trigger and bolt. So let’s start with the trigger.
Lubricating the Trigger Pack:
I employ a very old rule of thumb – If it slides, grease it. If it rotates, oil it. That simple rule has helped me take care of a ton of rifles and pistols over the years and can help you too. [Click here for more on lubricating a firearm in general]
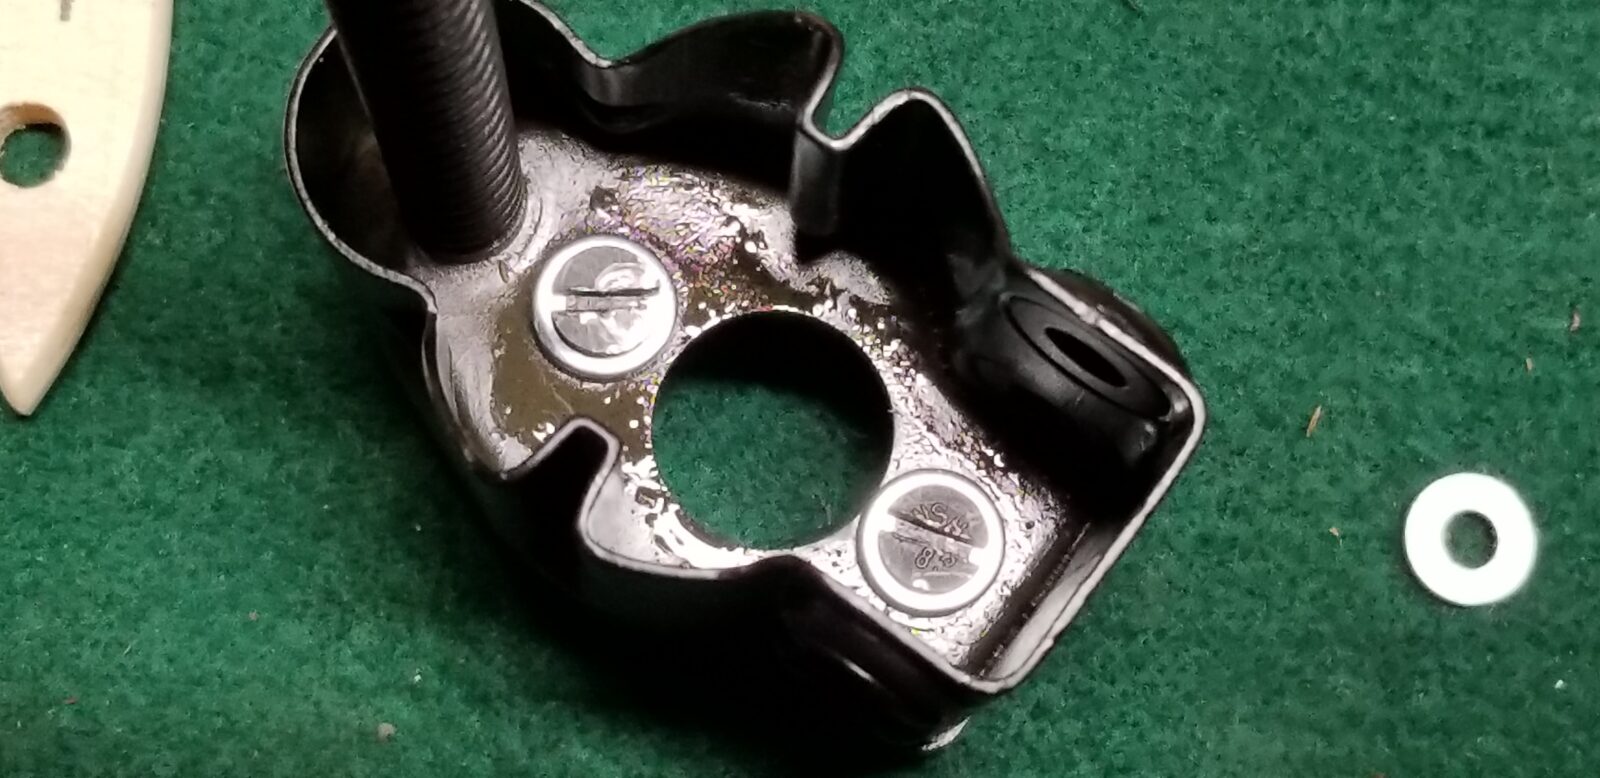
I used a small squeeze bottle filled with Mobil 1 Full Synthetic 5W-30 to reach in and lubricate all places where a part rotated on a pin. I then worked the various parts of the trigger pack to make sure the oil go to where it needed to go.I used Tetra Gun Grease to liberally coat the top of the hammer.

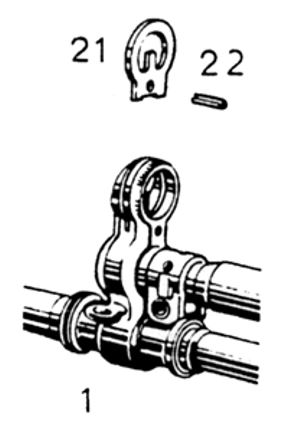
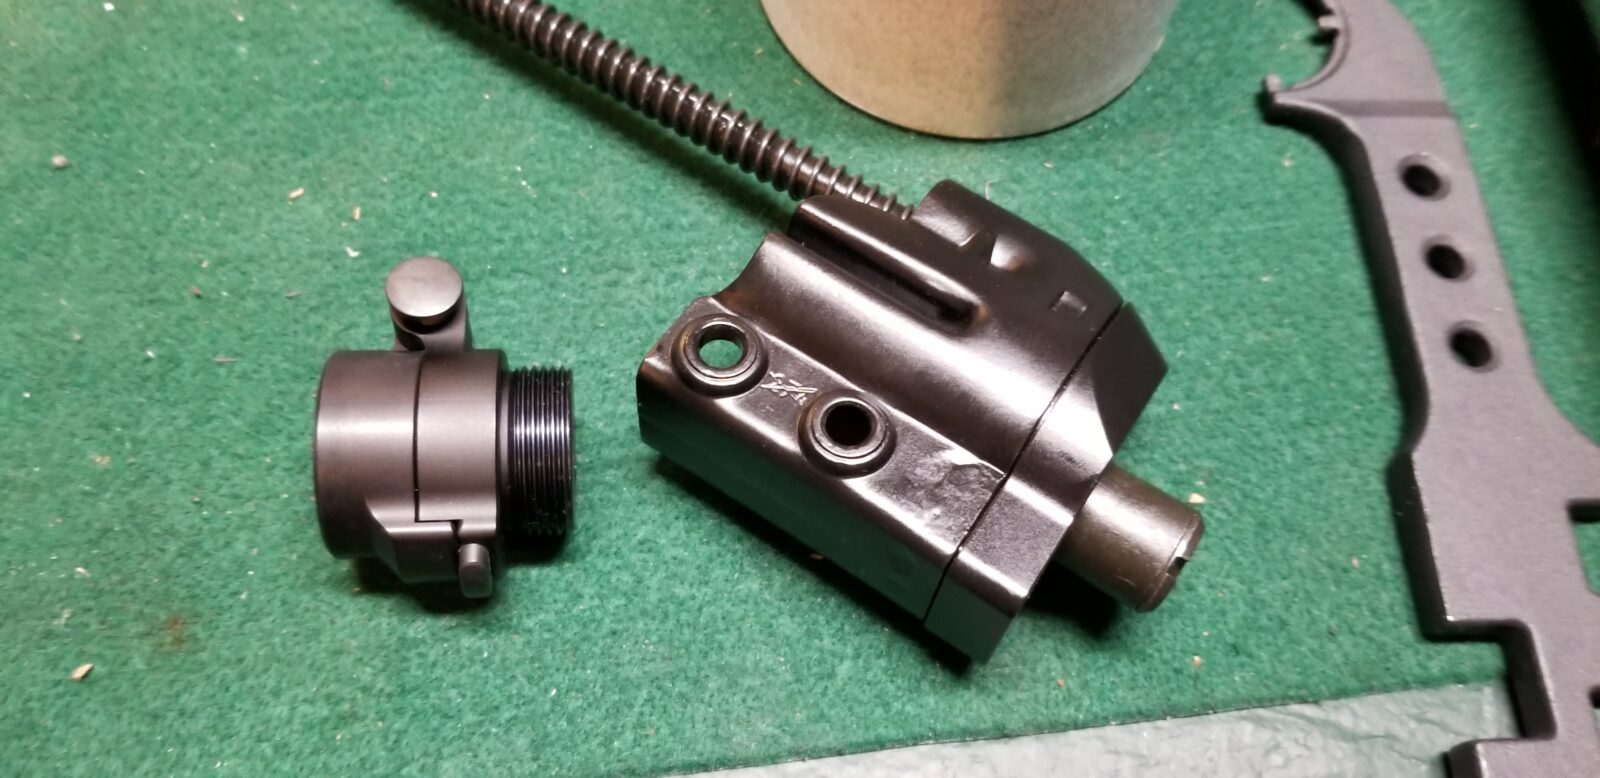
Lubricating the Bolt Assembly:
Now the HK bolt assembly is involved and the following is a diagram from the HK G3 Armorer’s Manual:

In short, I oiled all of the internals but did not fully disassemble the bolt. I put the assembly into a non-marring vise, twisted the bolt head off and then reached in with the squeeze bottle to lubricate the rollers, locking piece, firing pin, etc.

After that I applied a thin coat of Tetra Grease to the bolt carrier body and put more on the bottom and sides of the bolt where it would be making contact with the receiver and riding over the hammer.
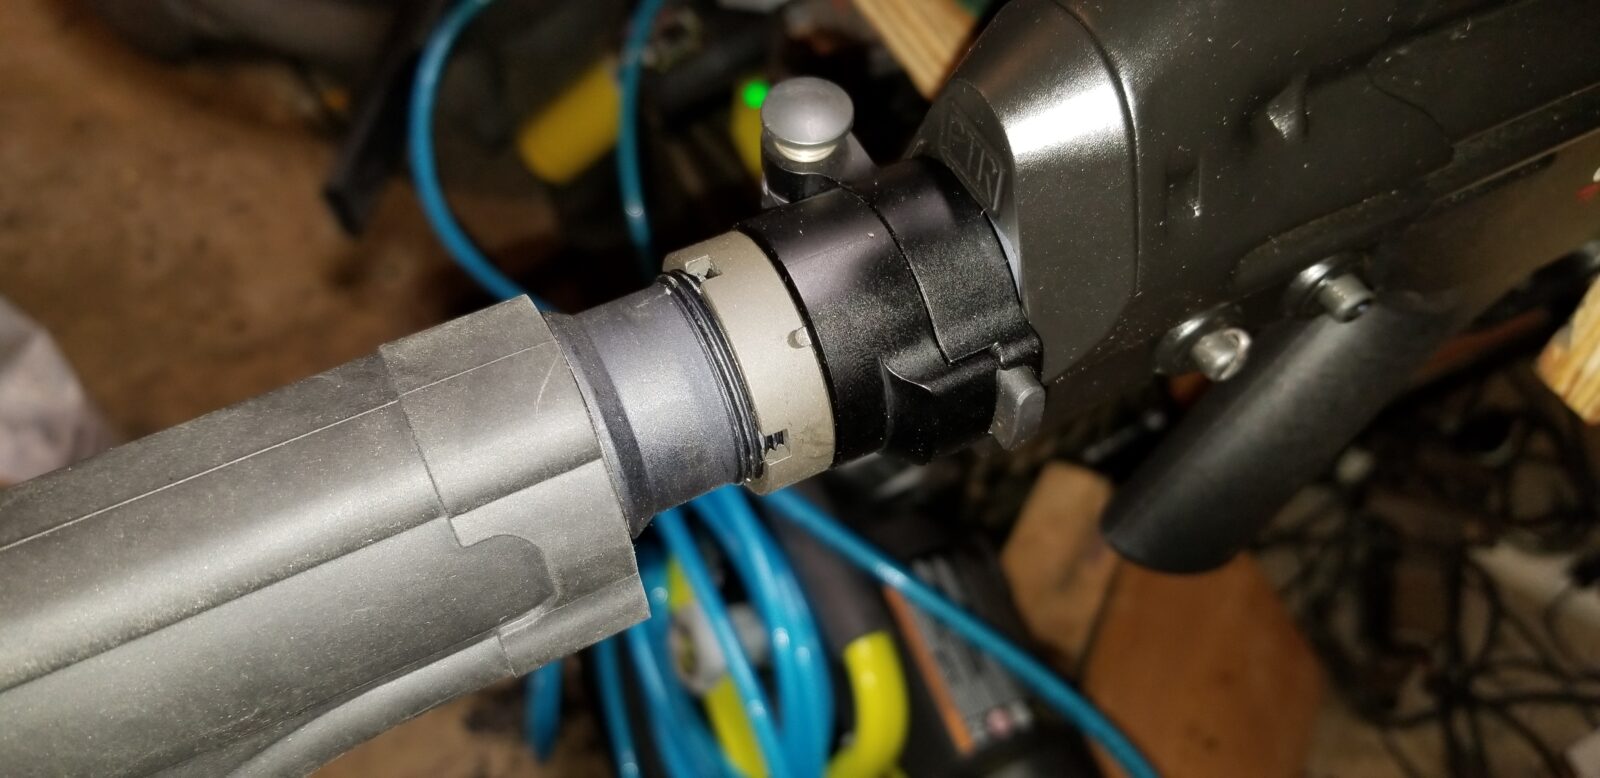
Cleaned the Barrel:
One thing I always do before heading to the range is to clean the barrel. If you look down in most, you will see varying levels of crud ranging from oil to dust to stuff left over from machining. In the case of the PDWR, the barrel looked pretty good but I still wanted to clean it.
Over the years I have tried all kinds of different approaches to cleaning barrels. The fast and easy one I use now on non-precision firearms that just need a touch up is a bore snake. These things are caliber specific and give you everything you need in an “all in one approach”. I spray CLP on the snake and down the barrel then I drop the weighted cord down the barrel and pull the snake on through. I repeat this until the bore is shiny bright.
Note, there are a ton of brands including cheap generic imports. I’ve used Hoppes and Sage & Braker brands with no problems at all.
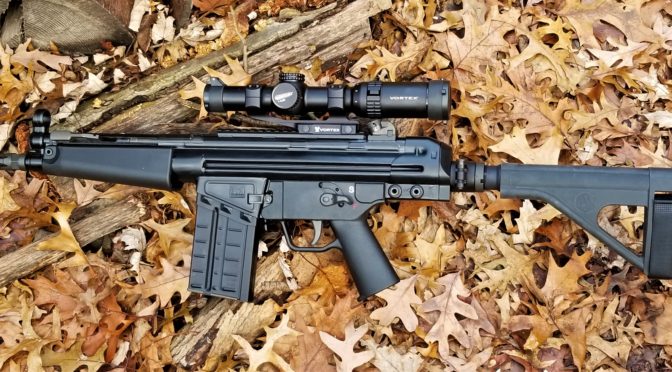
At this point the PDWR was ready for the range. The action felt and sounded good.
If you find this post useful, please share the link on Facebook, with your friends, etc. Your support is much appreciated and if you have any feedback, please email me at in**@*********ps.com. Please note that for links to other websites, I may be paid via an affiliate program such as Avantlink, Impact, Amazon and eBay.