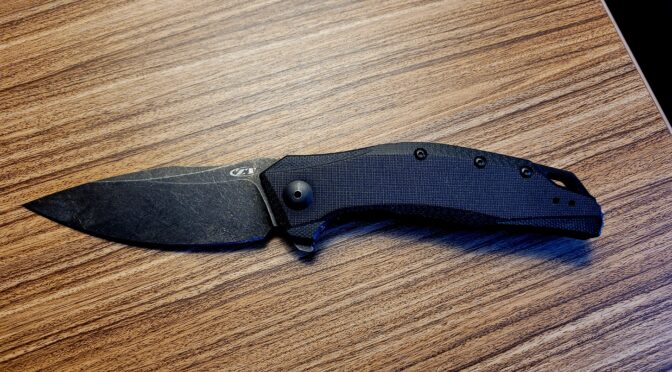
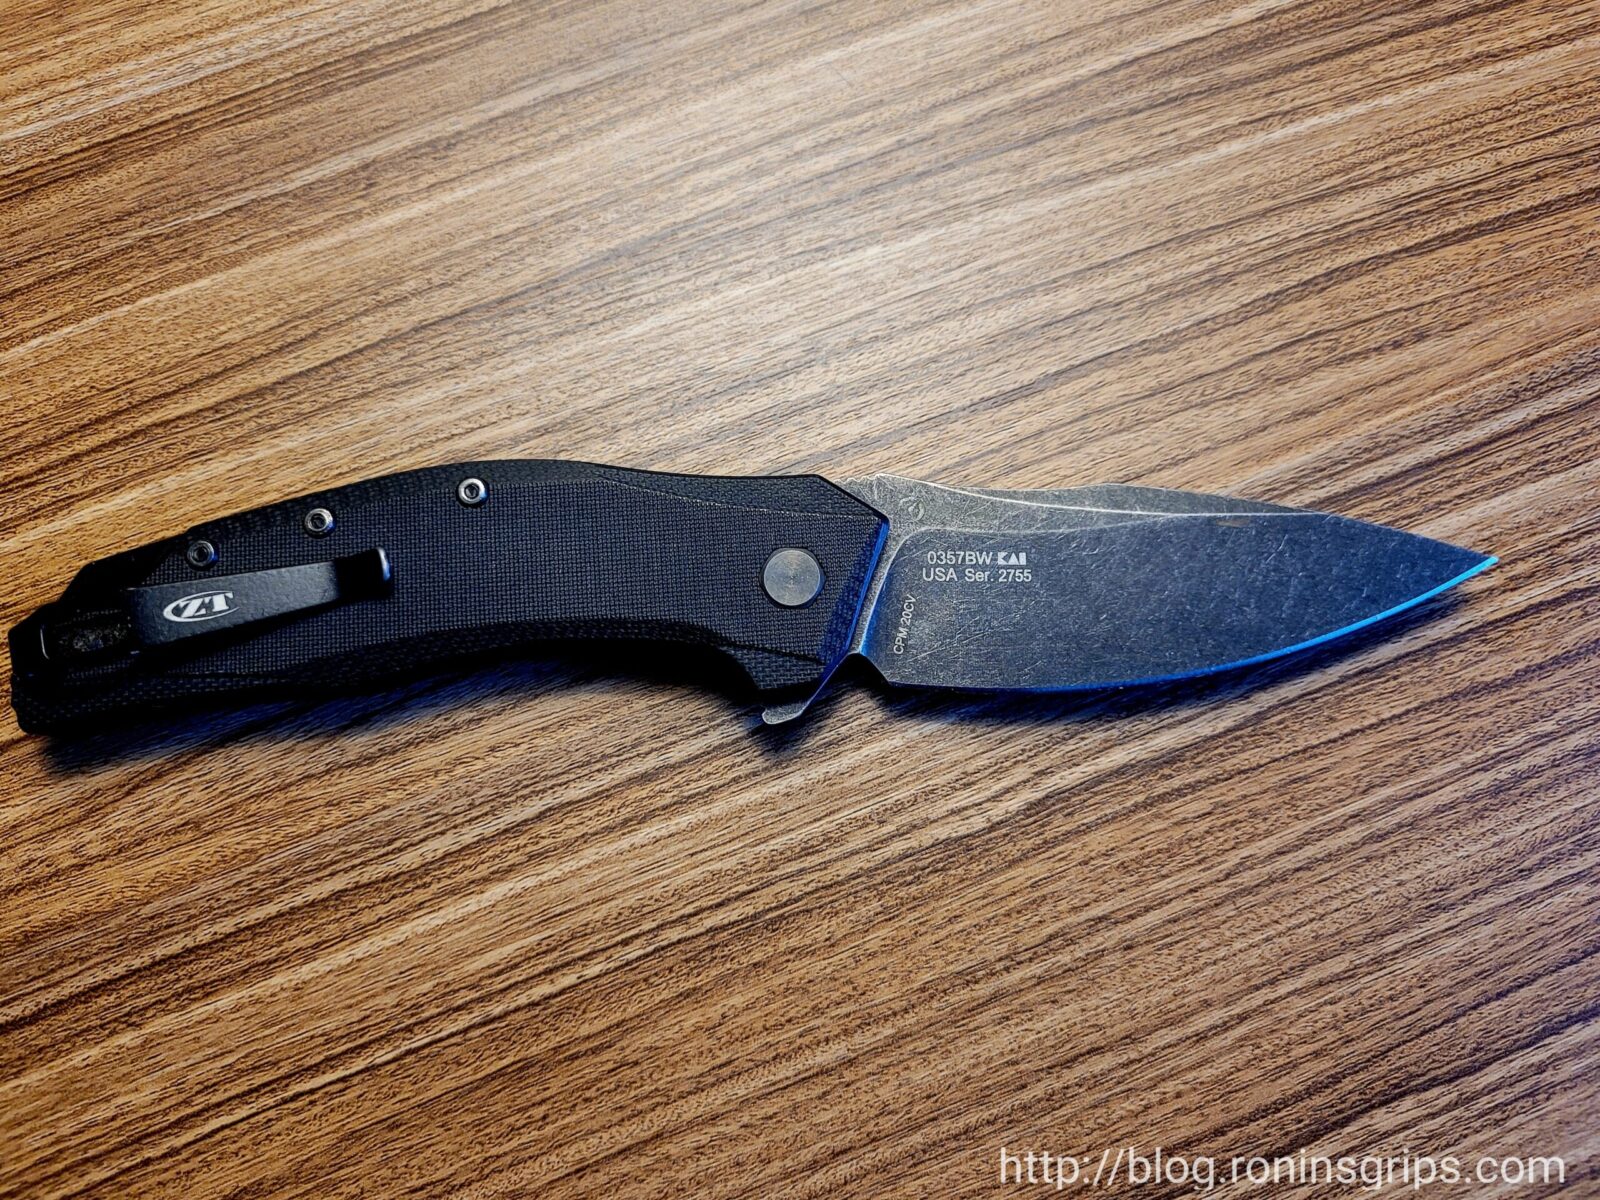
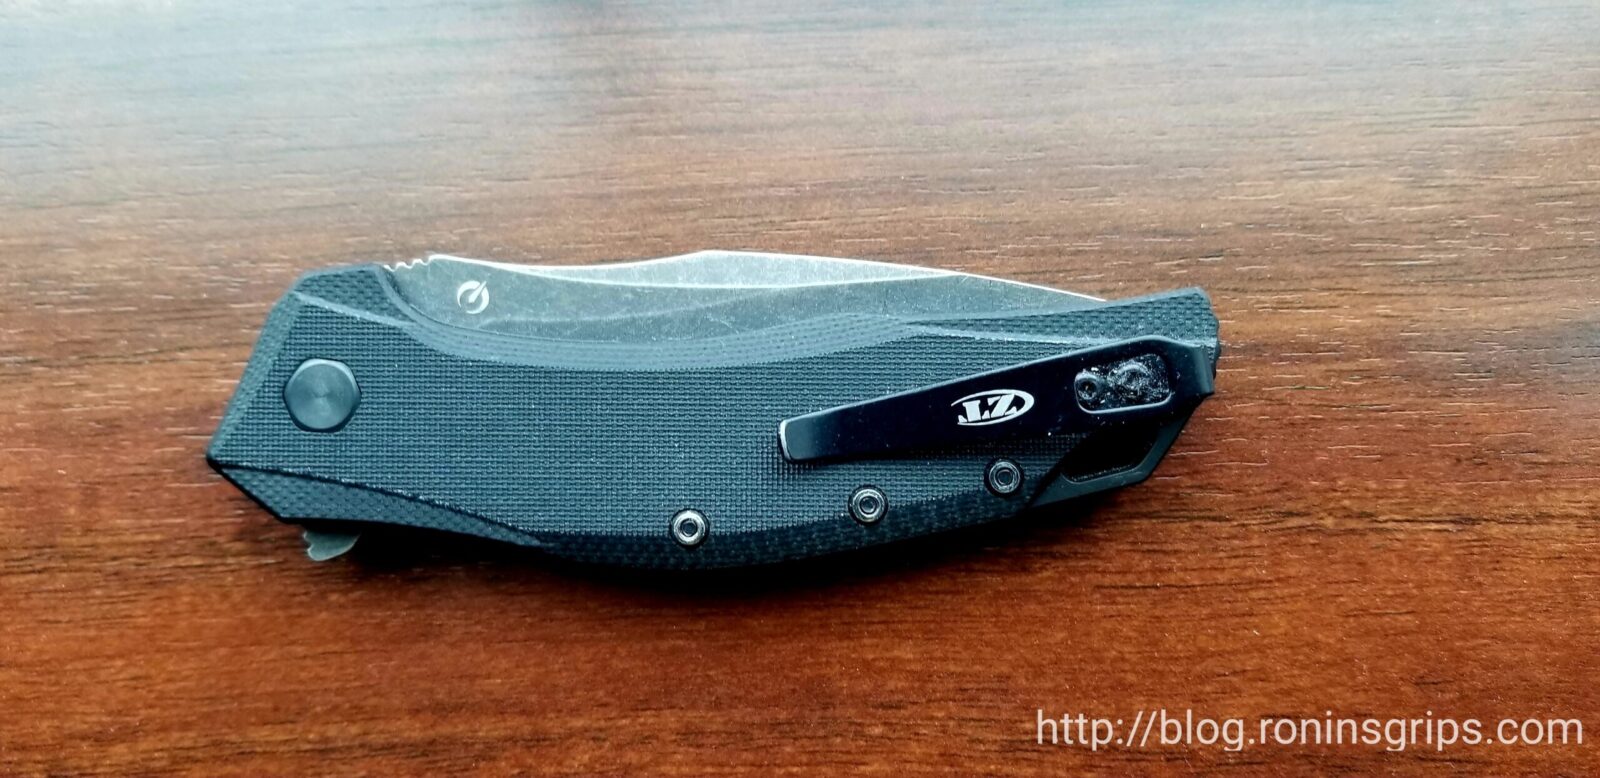
I have a collection of good pocket knives including some I will not lose sleep over if I lose one. On the good scale that I would hate to lose are a few Zero Tolerance, Hinderer and US made Kershaws (they and ZT are both owned by KAI). At any rate, when I look back on this past year and think about what folding knife did I carry the most and the answer would be the ZT 0357BW.
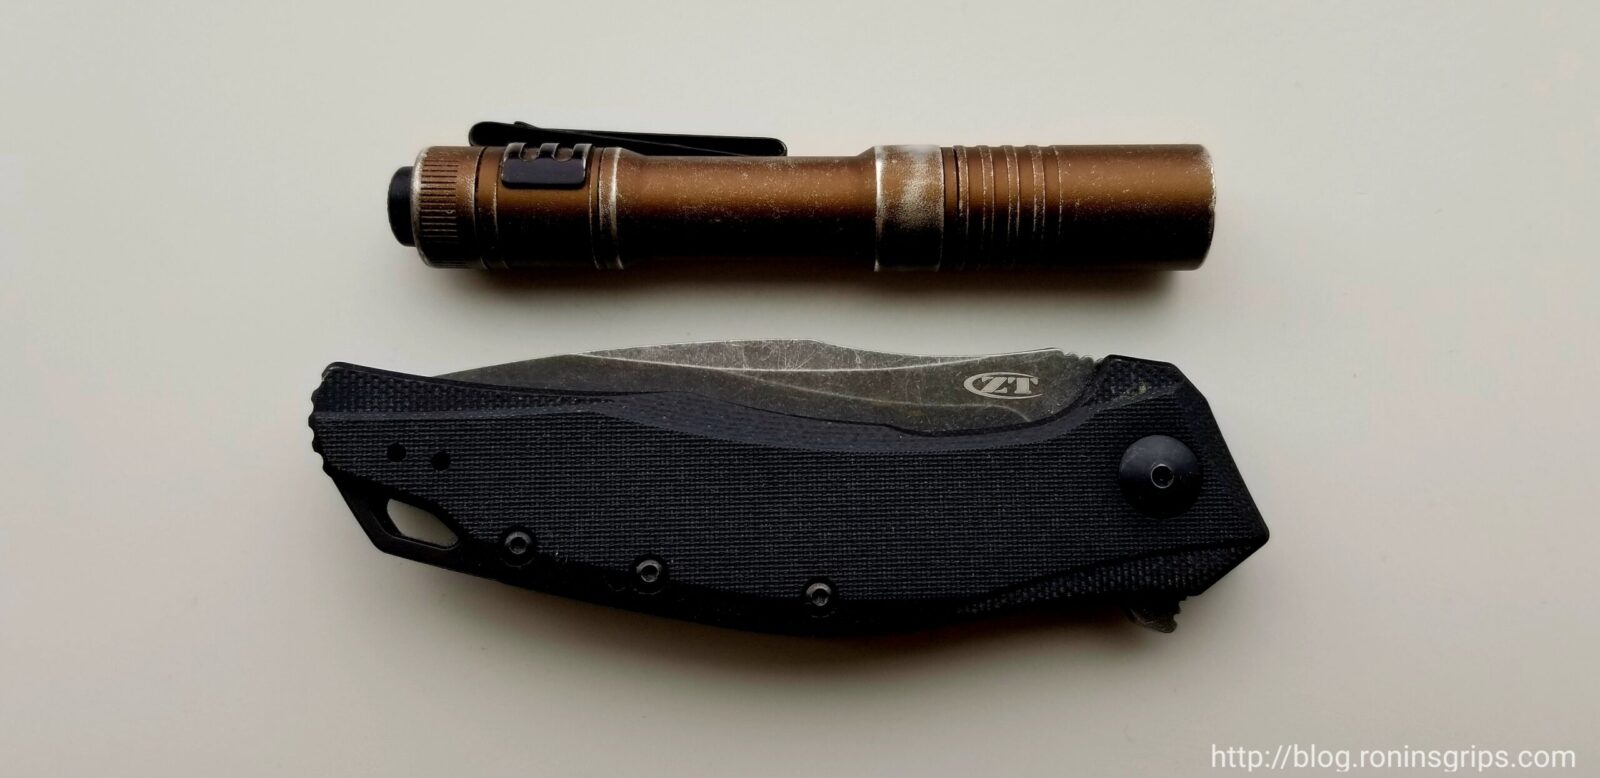
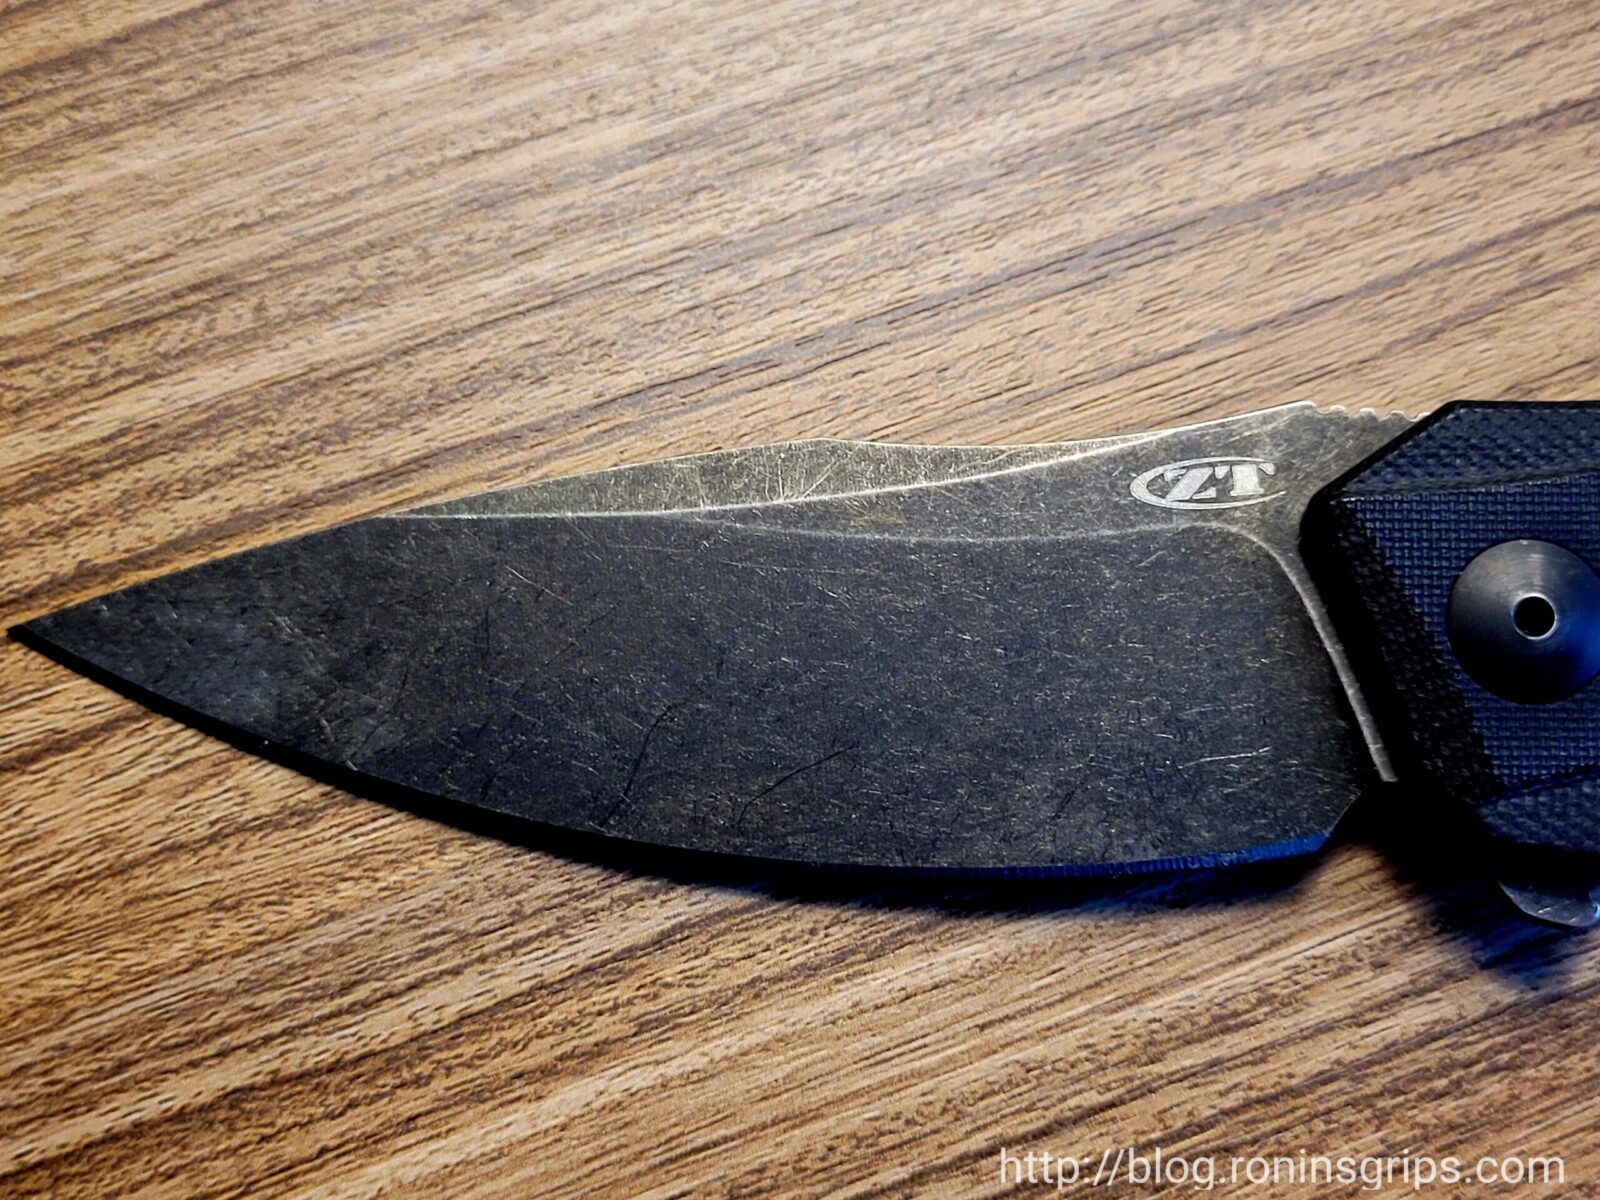
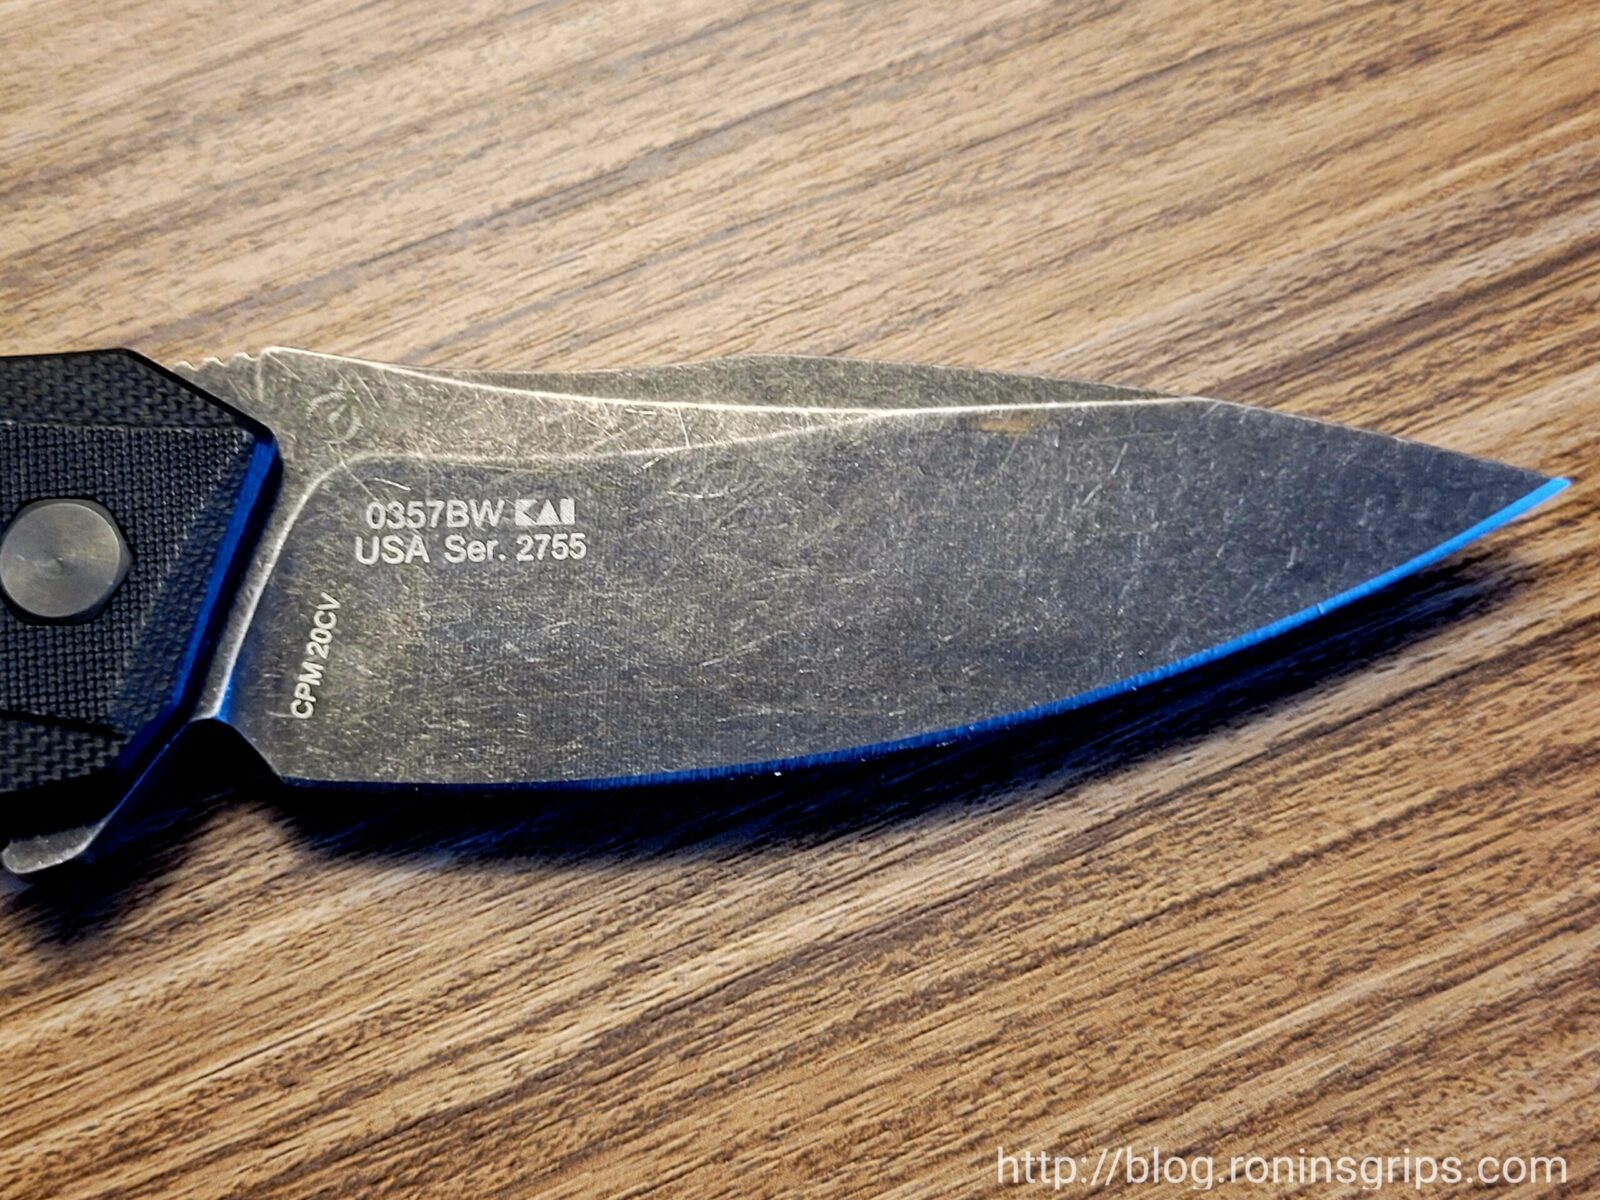
The ZT0357 was a 2020 model year release from Zero Tolerance and became popular right away due to its ergonomics and the CPM20CV steel. In regards to that alloy, it was designed by Crucible Industries to have excellet edge retention, corrosion resistance and toughness. By the way, those first two terms are self explanatory but toughness refers to a steel’s ability to absorb energy and deform without breaking/rupturing. My experience is that the 0357 holds an edge amazingly well based on my cutting open tubs of plastic, tape, boxes, and wire insulation.
Specifications
This is a very pocket friendly knife in terms of size, weight and shape plus the blade is amazing. Here are the details for you:
- Overall Length Open: 7.625″
- Overall Length Closed: 4.4″
- Weight: 4.3oz
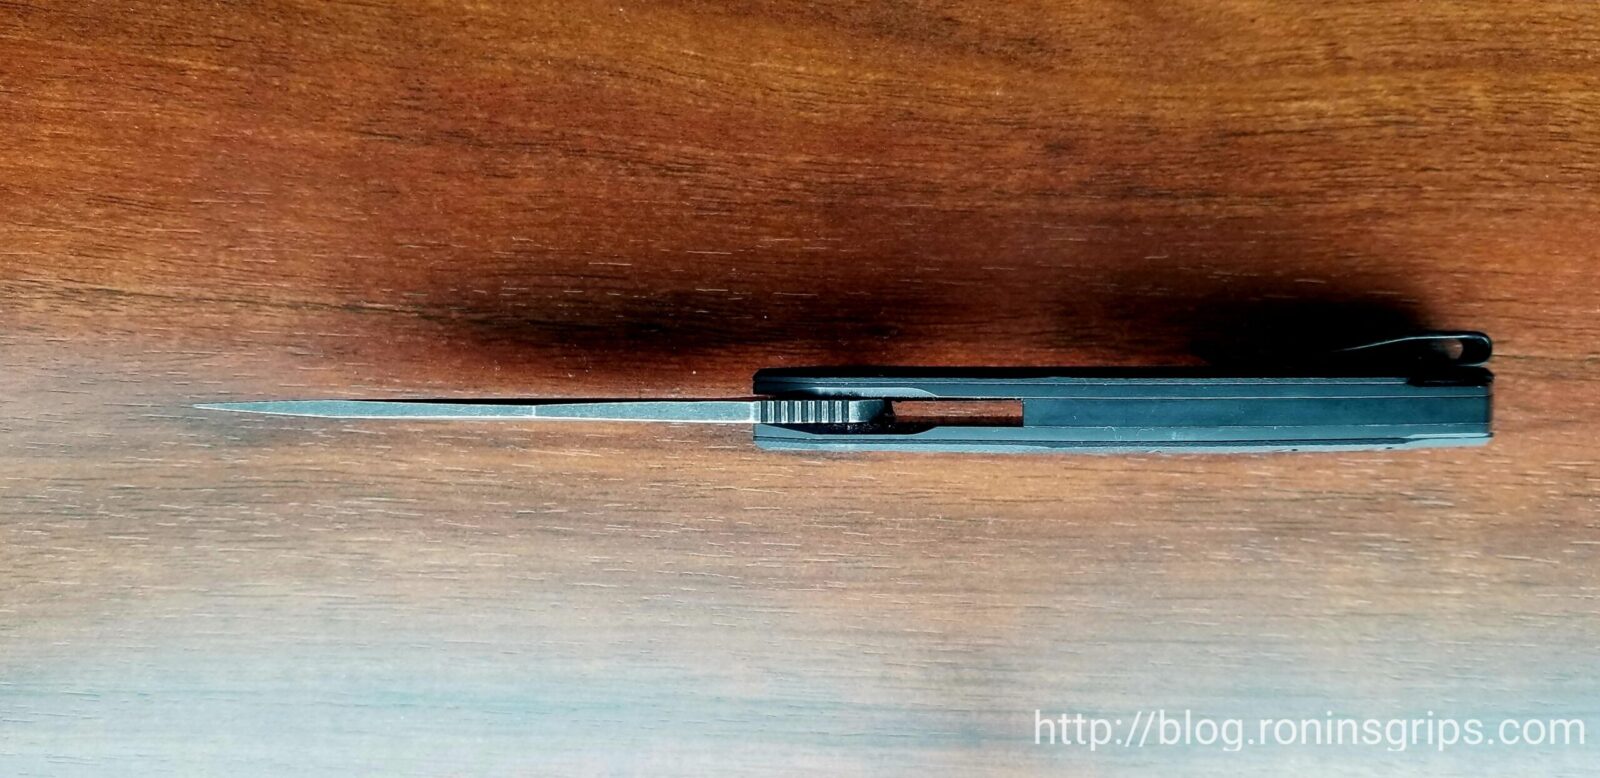
- Blade Length: 3.25″
- Blade Thickness: 0.121″
- Blade Style: Drop Point, no serrations
- Blade Alloy: CPM20CV
- Blade Hardness: 60-62
- Blade Grind: Flat
- Blade Finish: Black Wash (they also make a plain version)
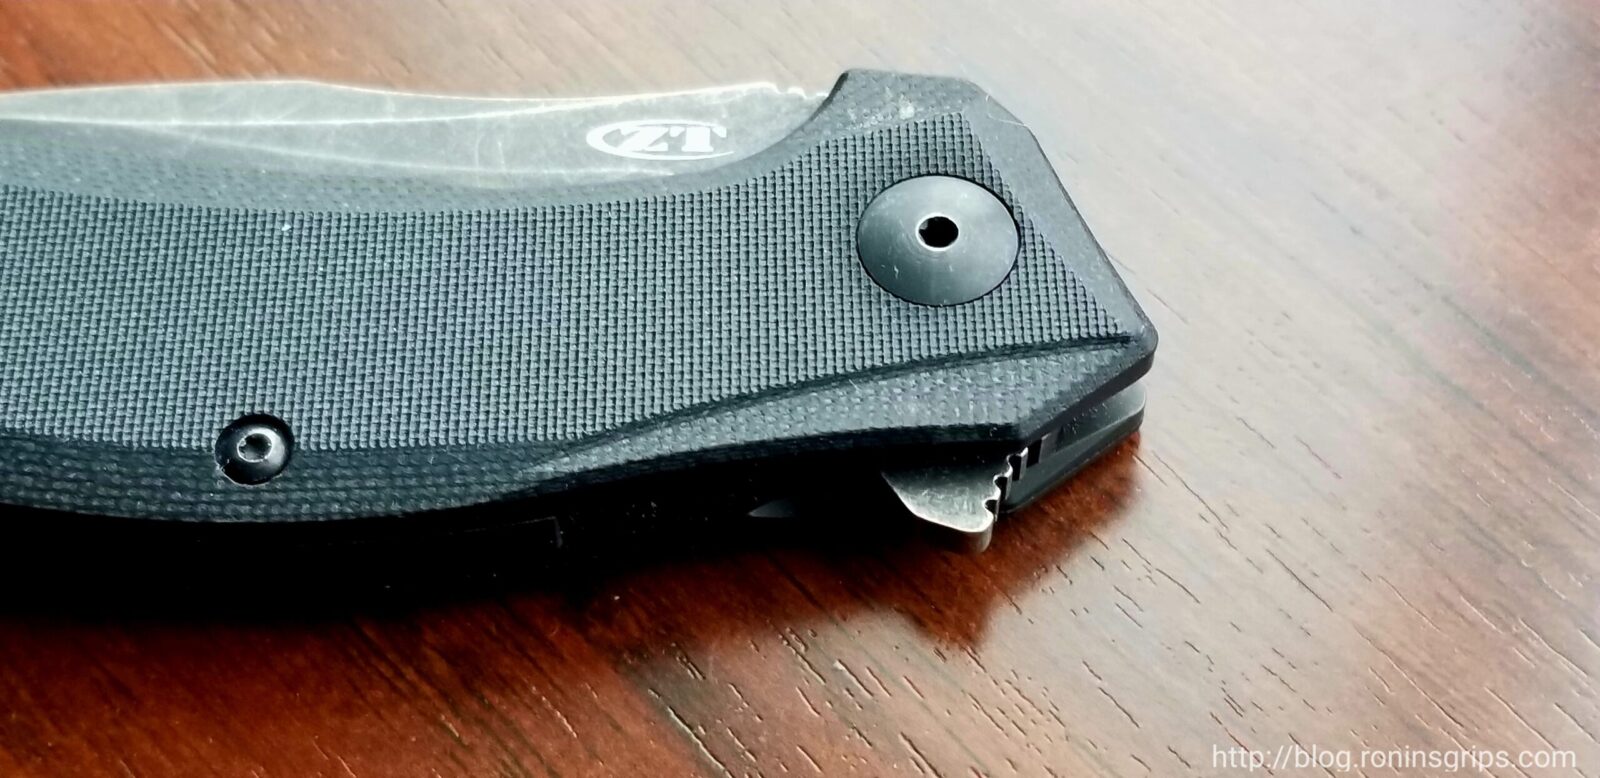
- Handle Material: G10
- Handle Color: Black
- Handle Thickness: 0.47″
- Action Type: “SpeedSafe” Assisted opening / flipper
- Lock Type: Liner Lock
- Country of Origin: Made in the USA – Tualatin, OR
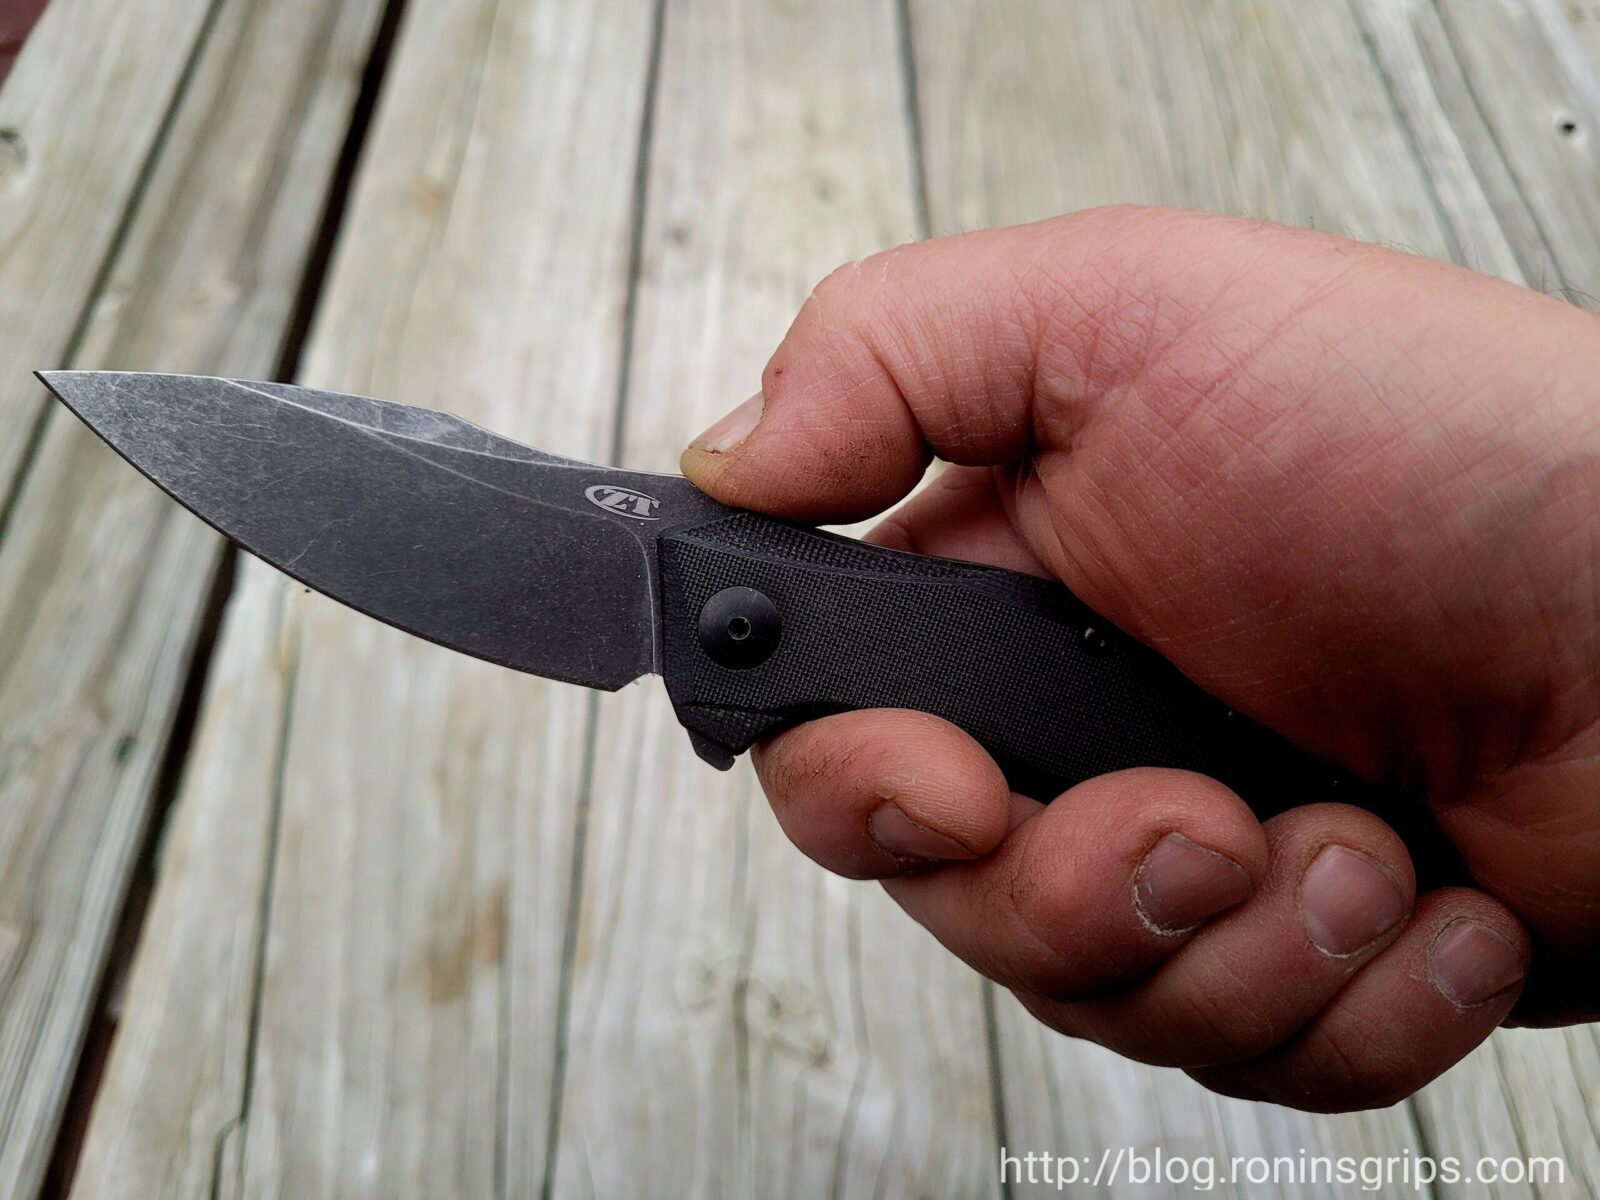
What you wind up with is a very eronomic knife with an amazing edge. Now I don’t try and use a knife for something it’s not like being a substitute for a big crowbar but I did use it real world and found it to be great – that’s why it kept winding up in my pocket.

Now, I do have one not-so-happy moment to share. We were headed down to the Smokies this past fall and somewhere between Michigan and Tenessee the knife fell out of my pocket. It could have been when I used to to cut open a package of CR2023 batteries for my van’s tire pressure sensors or even some time when I was getting gas … I don’t know but I hope it found a new owner who realizes that he found an excellent knife.
So, what did I do? I actually bought another I liked it so much and it is still what lands in my pocket the most in terms of seeing actual real world use.
Conclusion
The ZT 0357 series are great knives. My blackwash knifes – the first one I lost and the new one are great. I can carry it without feeling like I have an anchor in my pocket and the blade length is great. If you are looking for a new folder, I’d highly recommend it – Like I said, I went so far as to buy a second when I lost the first – that’s how much I like mine.
I hope this helps you out!
Note, I have to buy all of my parts – nothing here was paid for by sponsors, etc. I do make a small amount if you click on an ad and buy something but that is it. You’re getting my real opinion on stuff.
If you find this post useful, please share the link on Facebook, with your friends, etc. Your support is much appreciated and if you have any feedback, please email me at in**@*********ps.com. Please note that for links to other websites, we are only paid if there is an affiliate program such as Avantlink, Impact, Amazon and eBay and only if you purchase something.