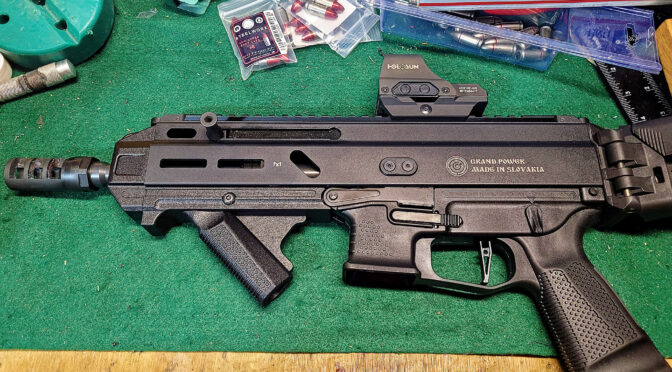
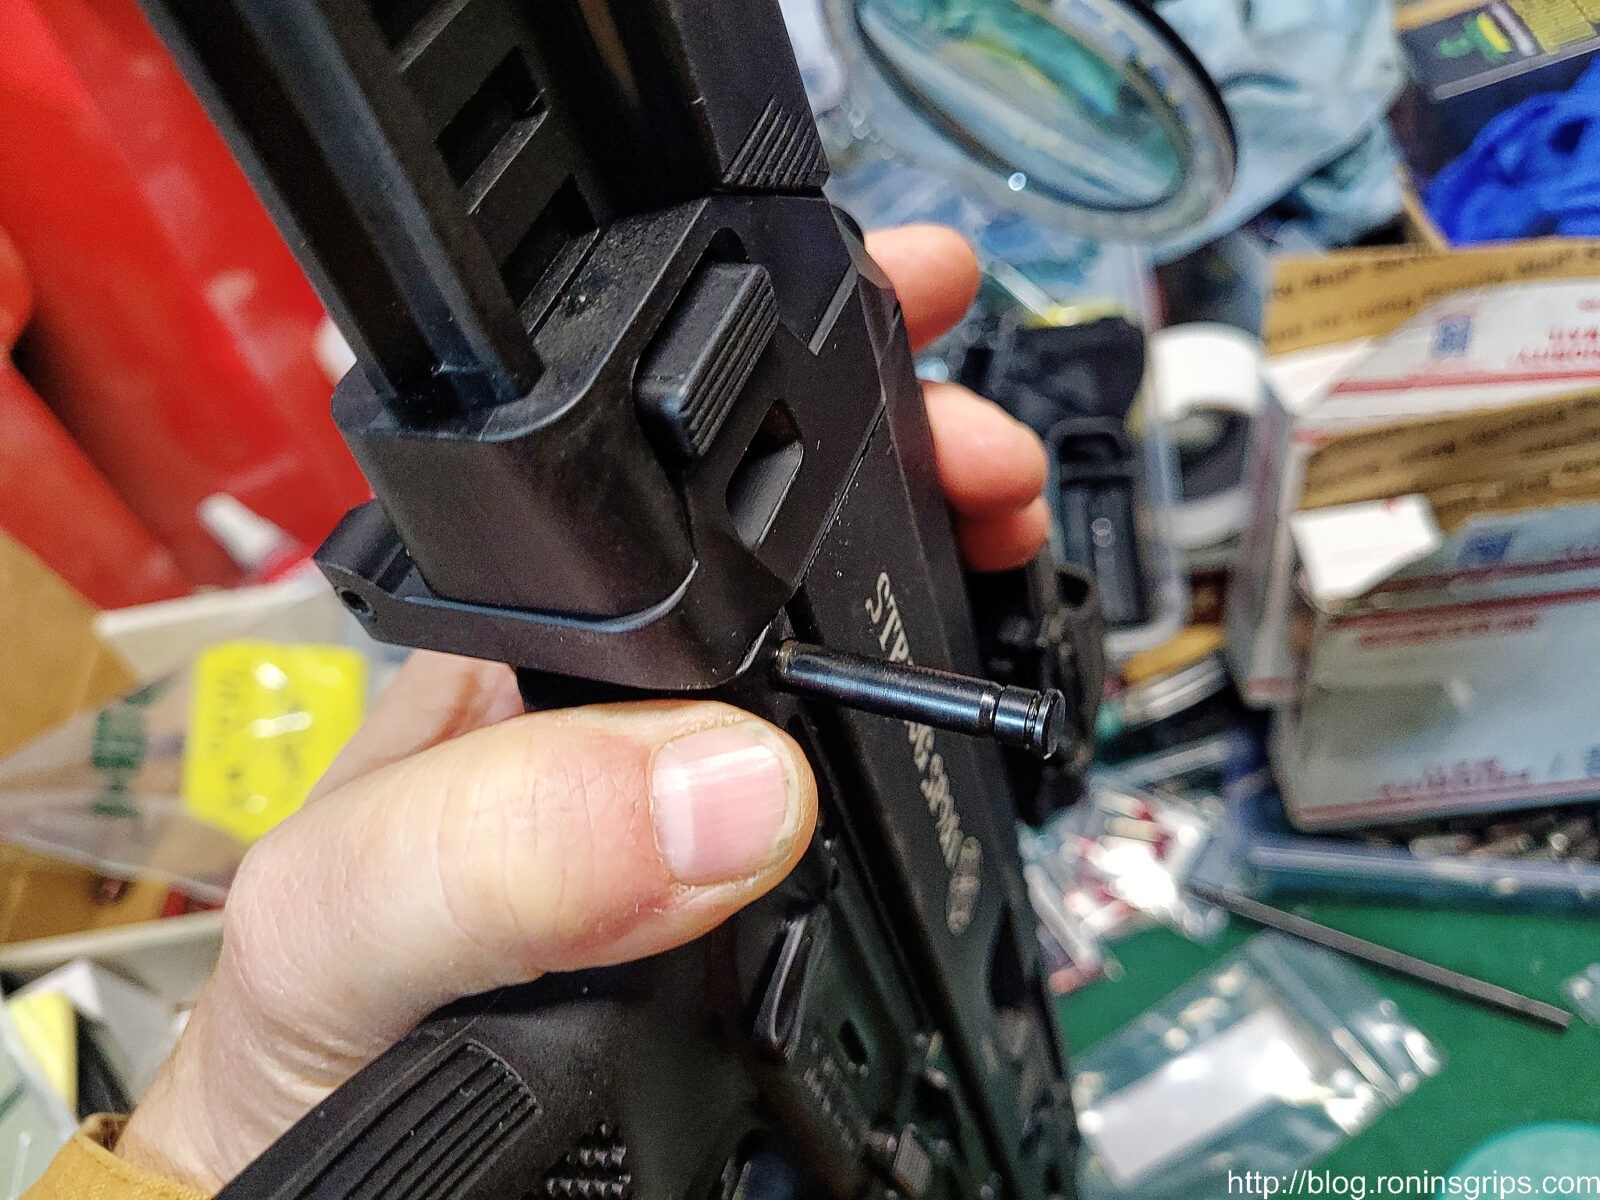
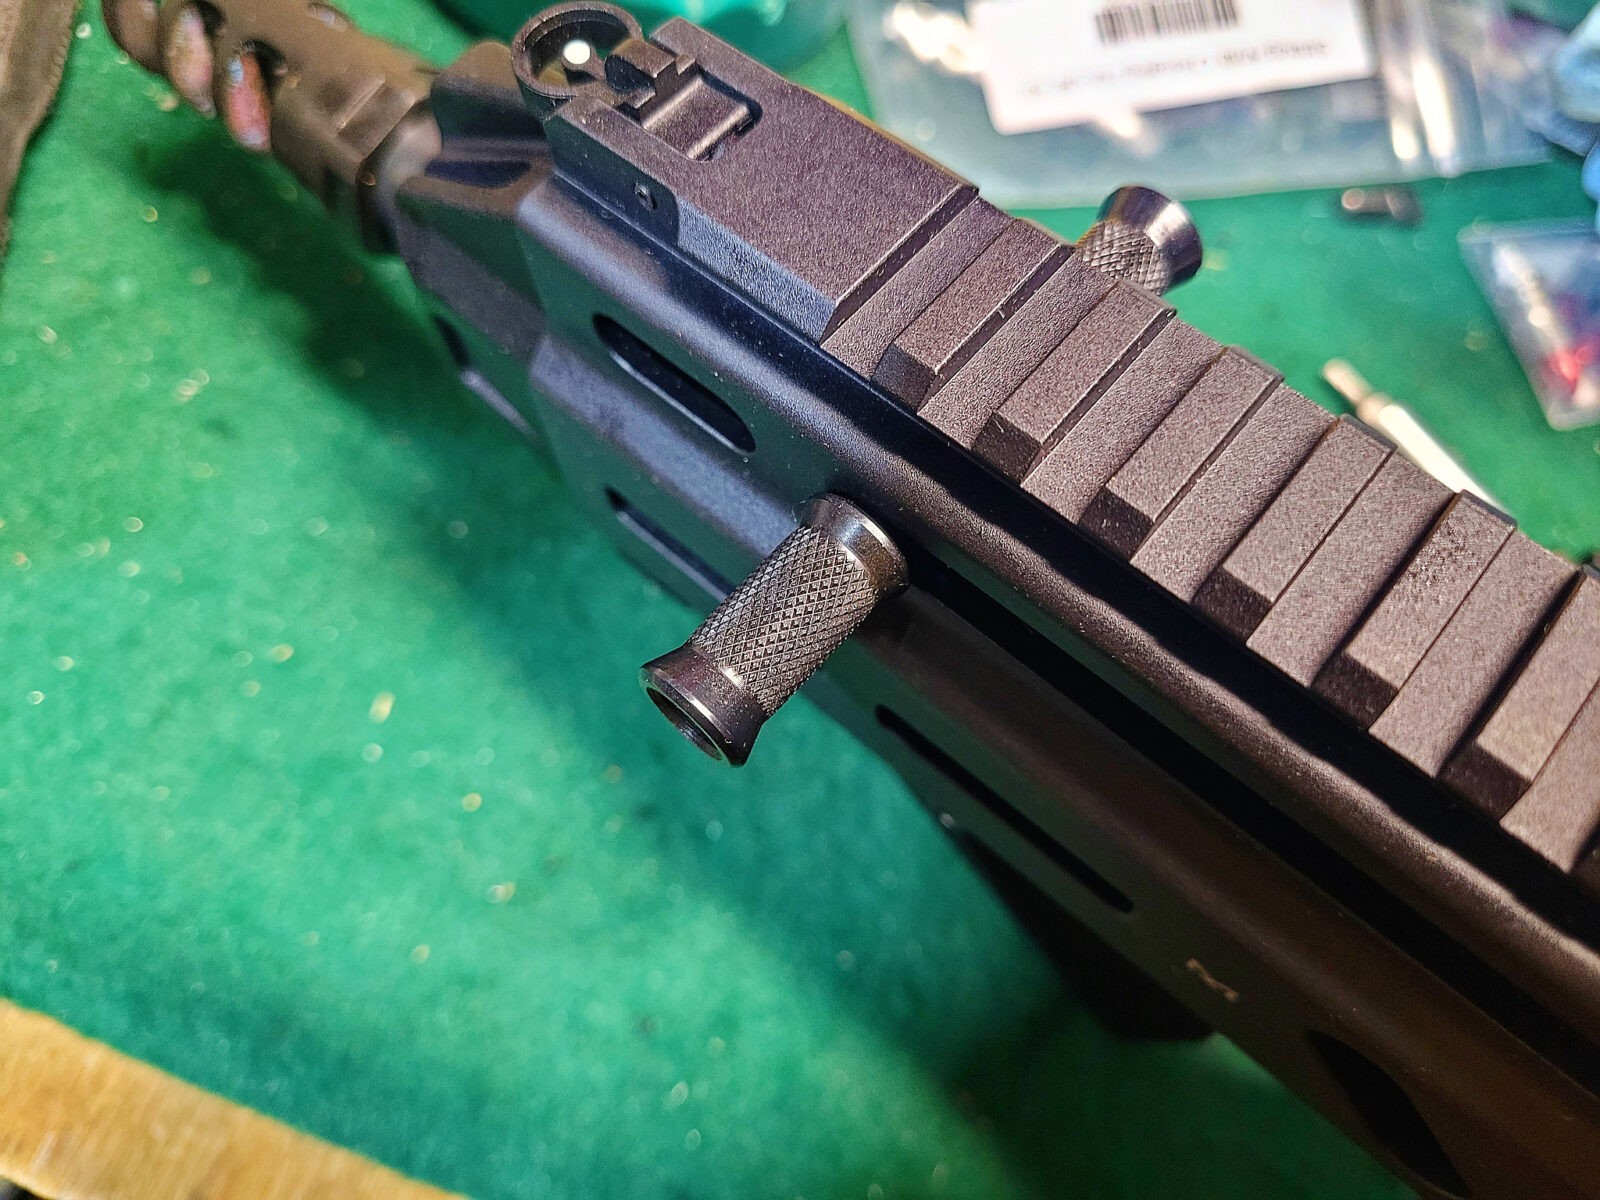
I’ve really enjoyed my Stribog SP9A1 but one of my small complaints is that the cocking handle is uncomfortable. When the Stribog was first released, it had a reciprocating charging handle – meaning it would go back and forth with the slide carrier. They listened to customer (fortunately) and introduced a non-reciprocating charging handle. Somewhere along the line, the made the charging handle it could be installed on either the left or right side depending on the shooter’s preference. Now here’s my gripe – the stock handle – it’s a knob really – has a fairly narrow diameter in the middle. It’s tapered from both ends to the middle so your finger finds the middle real fast for a positive grip but it’s just too small. I decided to look into options and fix it because I really liked the Stribog otherwise.
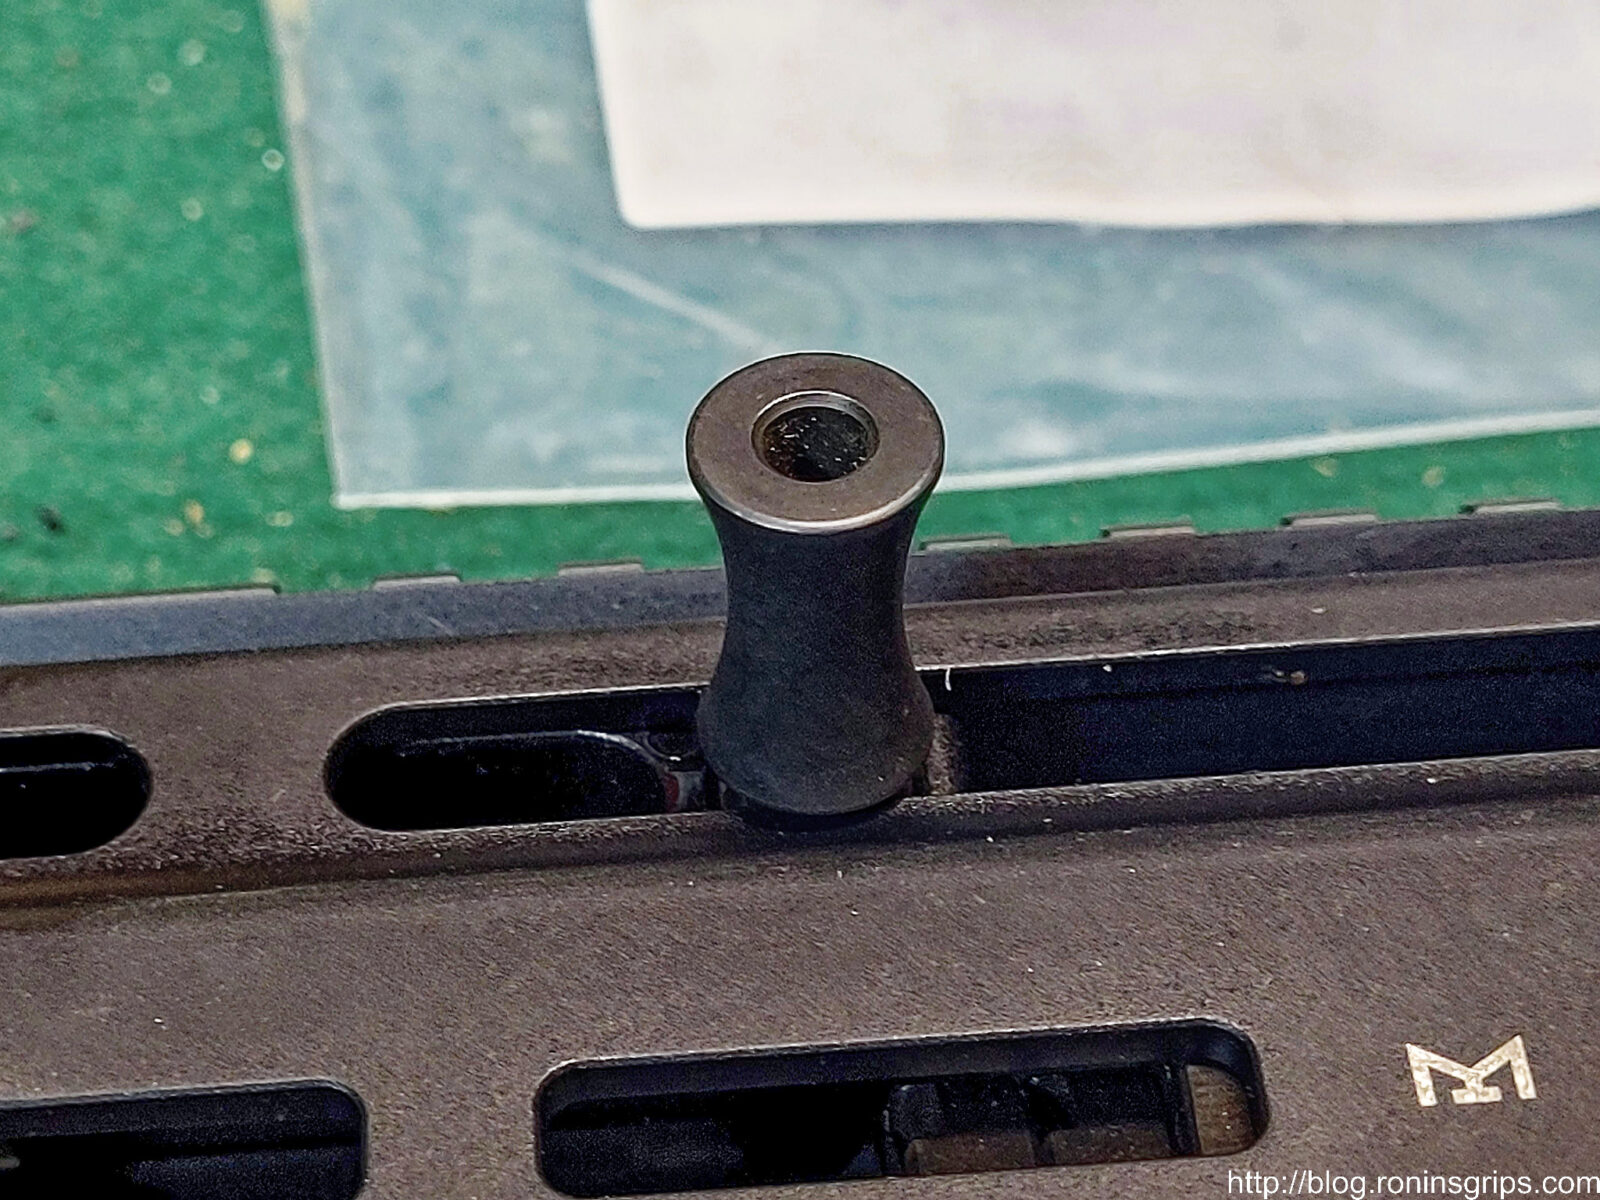
Thanks to a zoom lens, the charging handle/knob looks big in this photo but the middle narrow part is just a bit too small to be comfortable in my honest opinion – I just don’t care for the feeling.
HB Industries Ambi Charging Handle Kit
When I research parts, I tend to do some searching with Google plus I know certain websites that have products of the type I want – Global Ordnance is my first “go-to” site for Stribog accessories. Two options caught my eye – a folding charging handle that seemed a bit more than I wanted for some reason – or I could go with the HB Industries “Ambi Charging Handle Kit” and that was what I had in mind – a bigger knob to grab a hold of and it happened to come with a slightly smaller knob for the other side. All I really wanted was the bigger knob – having a backup knob on the other side was just a bit of a perk. Having started pistol caliber carbines (PCCs) with MP5s back in day, I actually prefer the left side charging handle as I am right handed and I never have to let go of the Stribog when racking the slide.
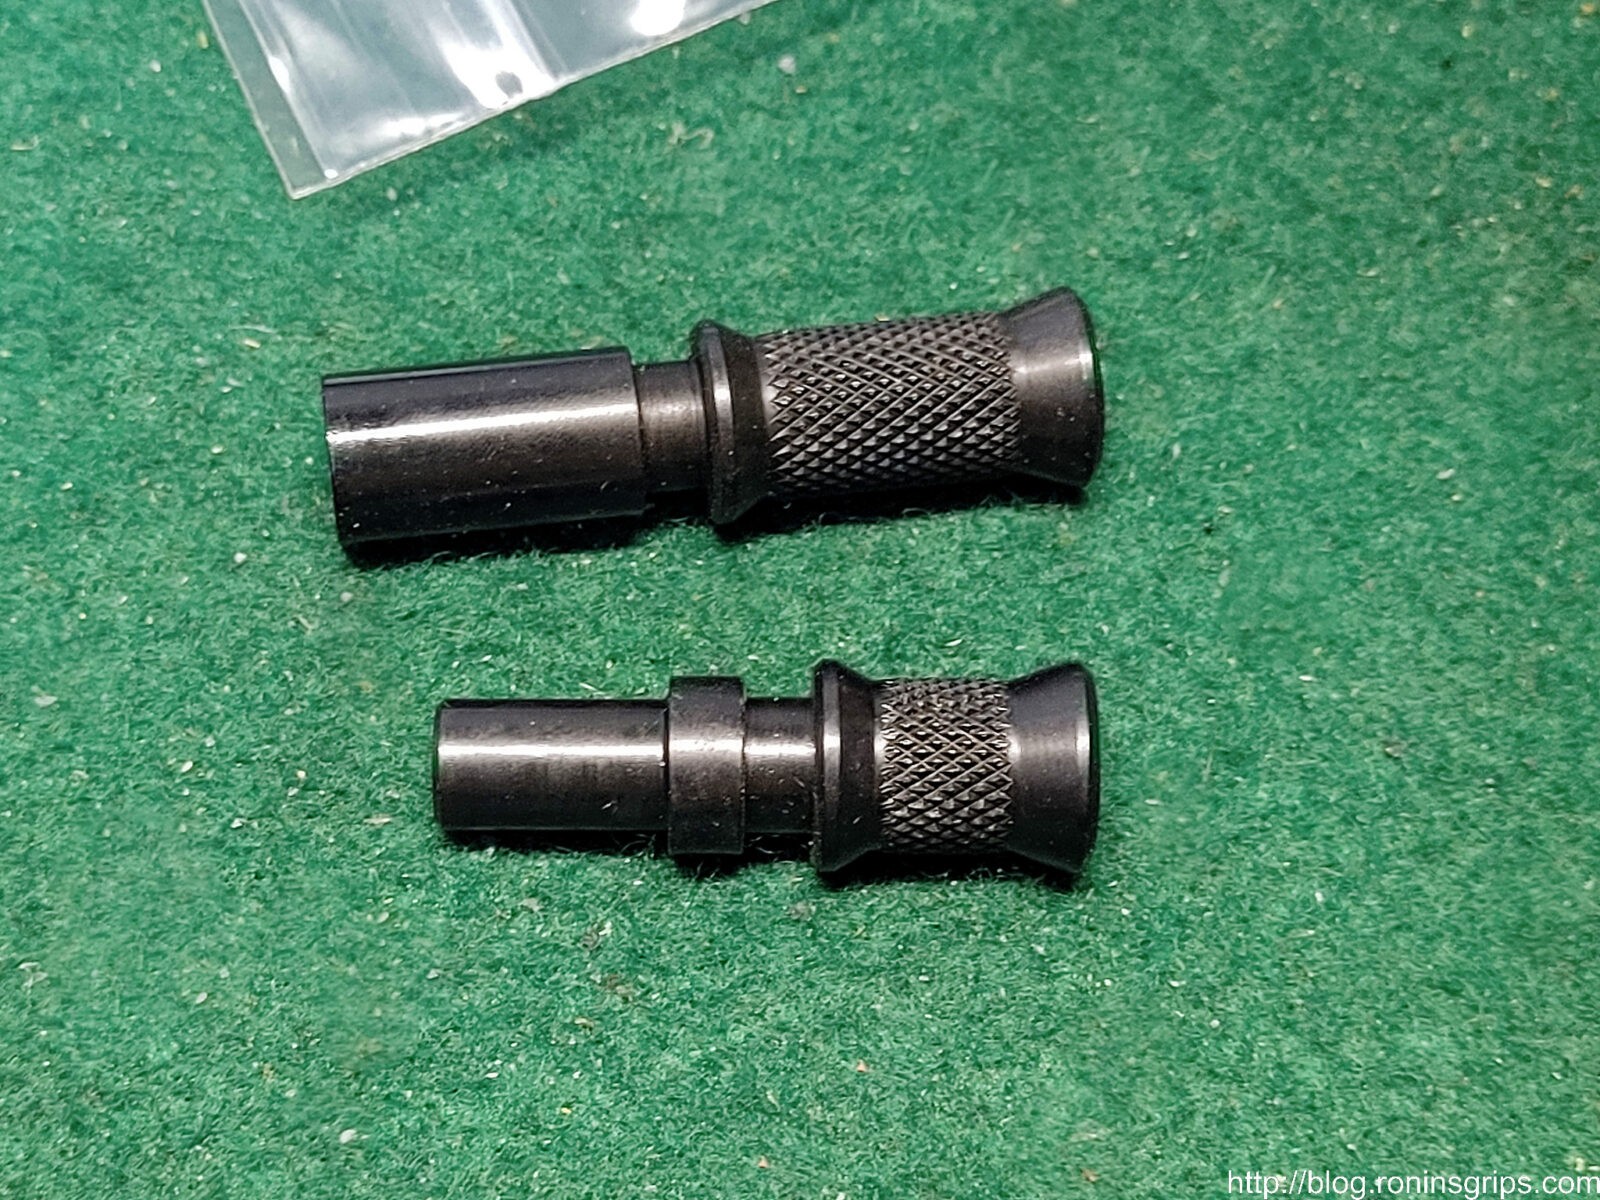
This is the HB Industries Ambi Charging Handle Kit. Notice how there is a larger 23mm knob and a smaller 16mm knob. You can decide how you want to use them. Notice the center is nice and wide and has knurling.
Installation
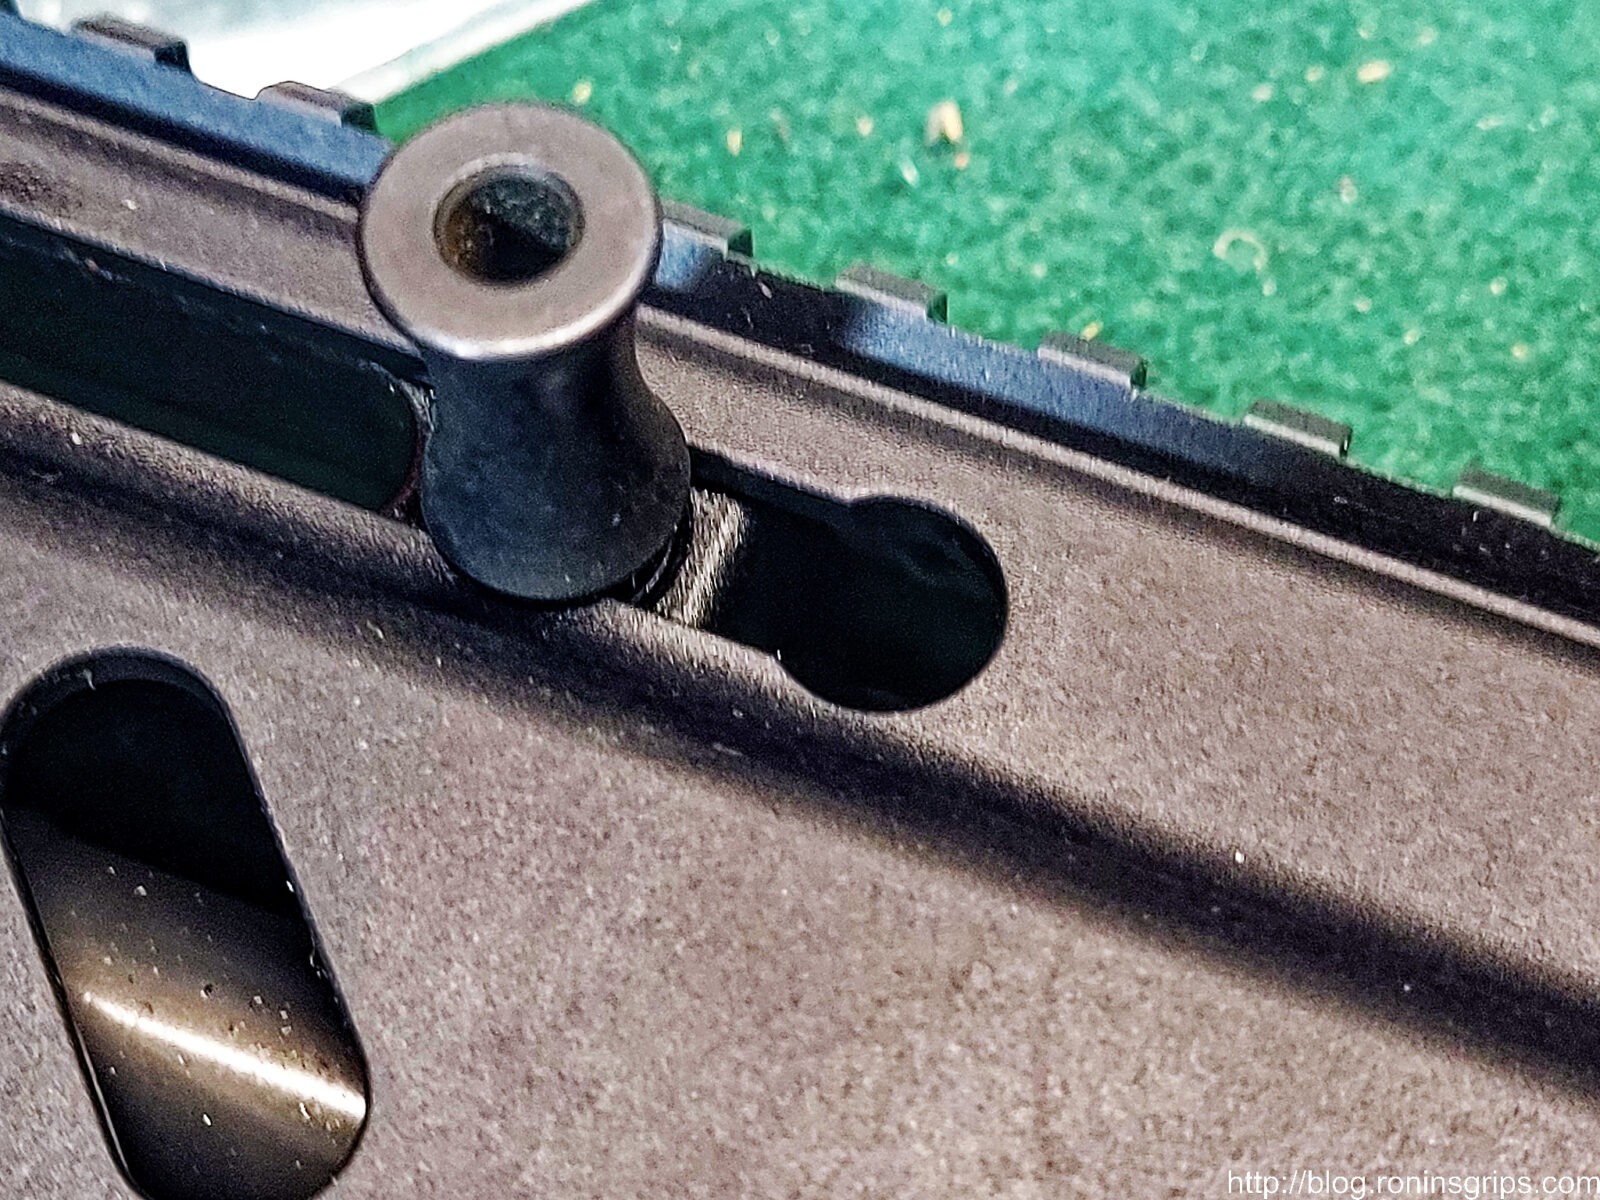
Basically, you remove the bolt group, slide the non-reciprocating charging handle block to where the big circular opening is and the pull the charging handle right out!
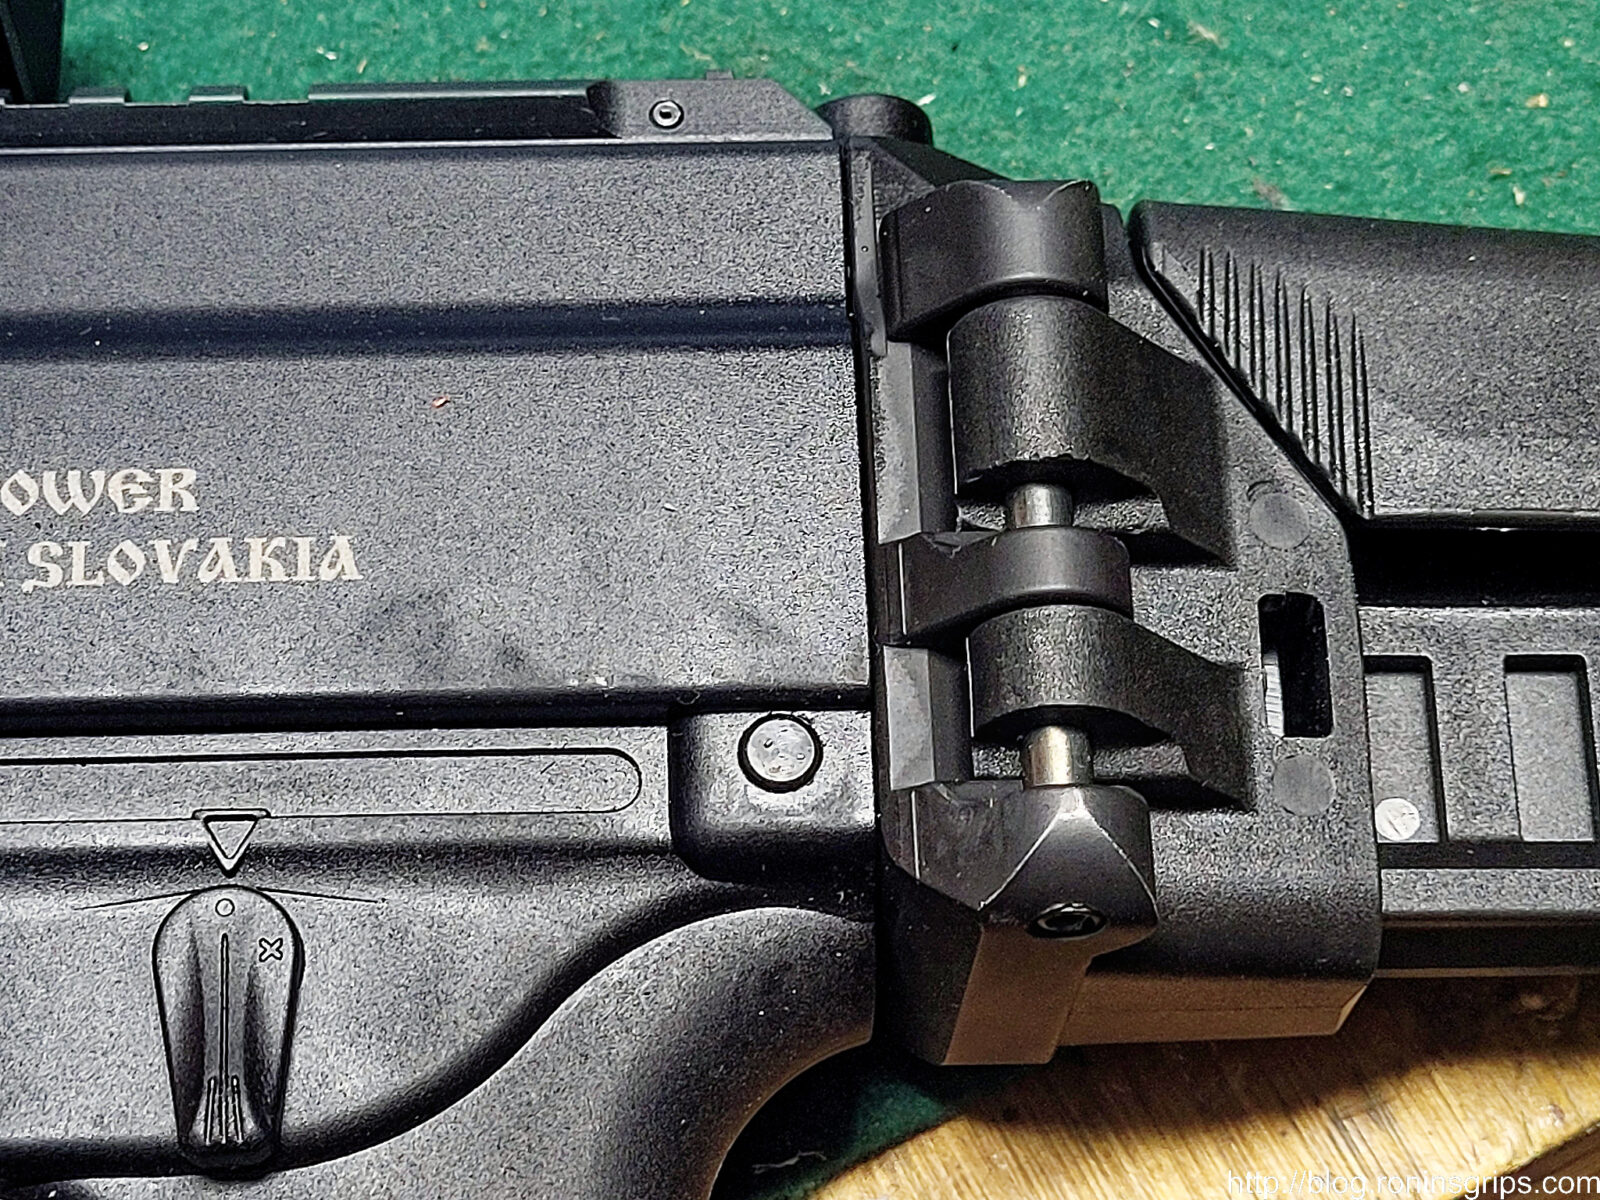
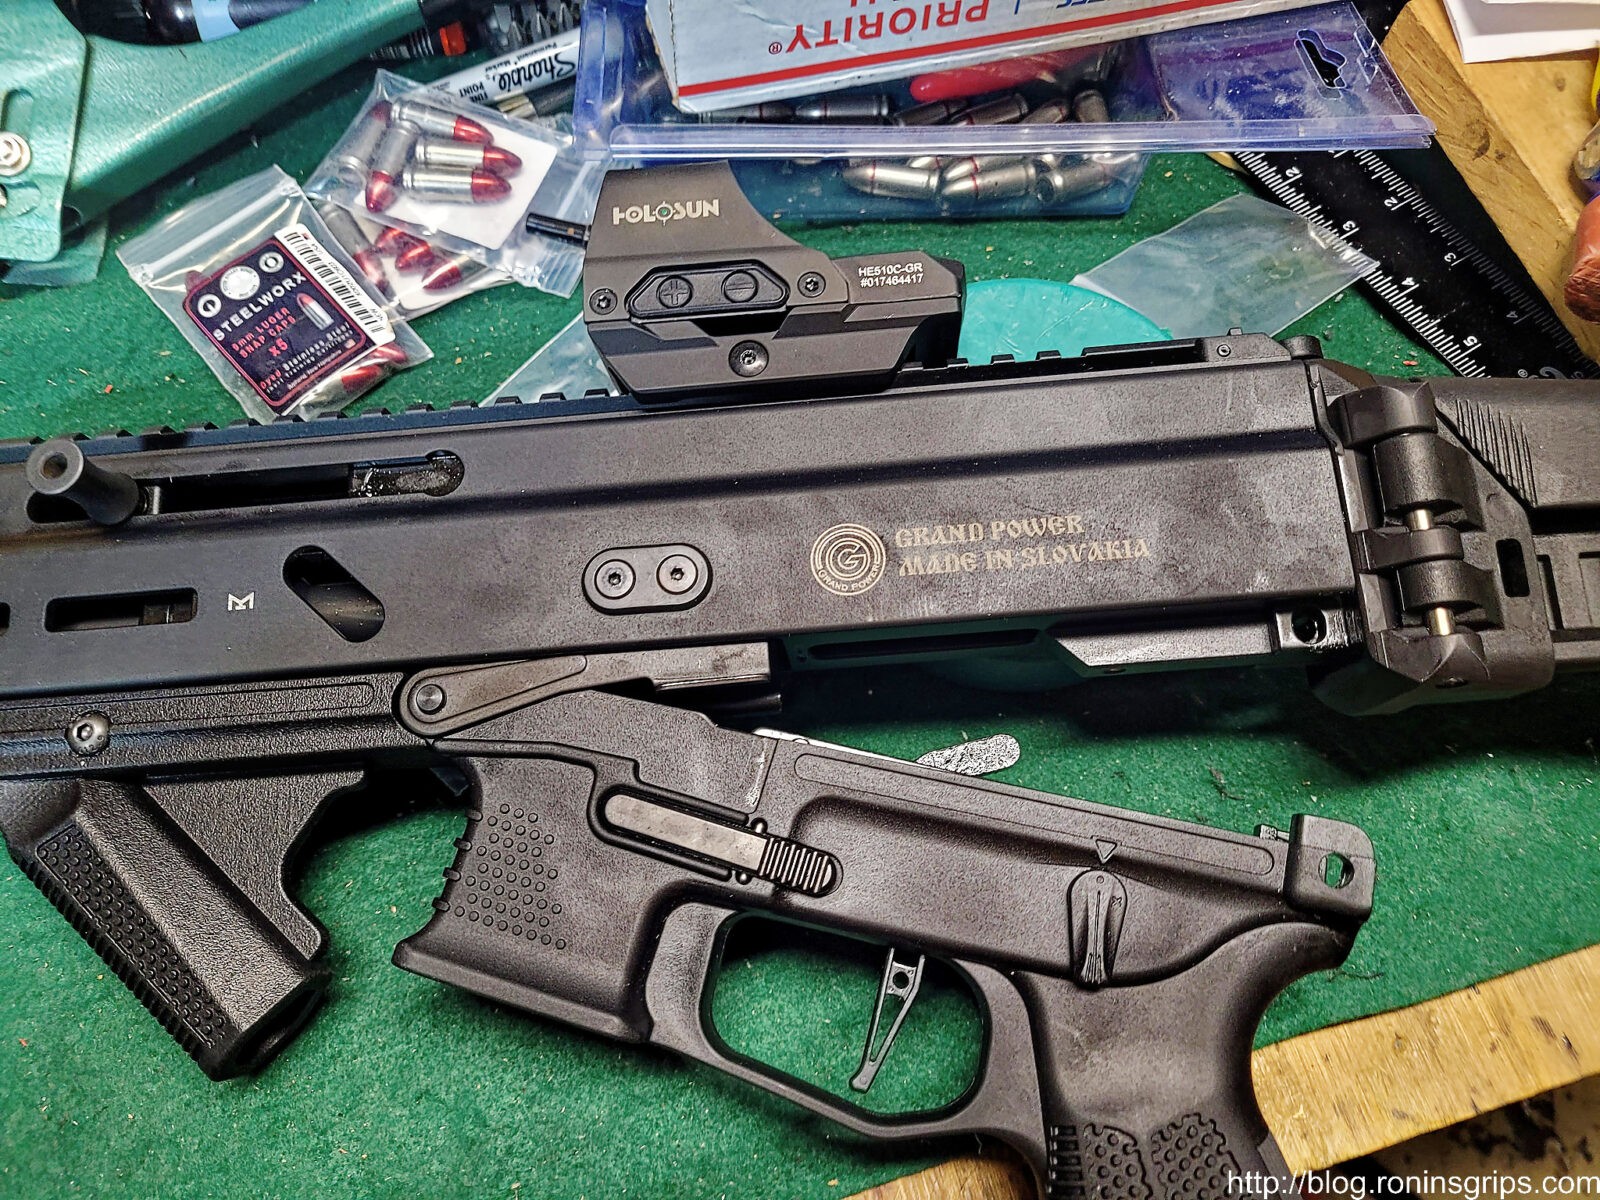
Push the lower takedown pin out of the way so you can remove the end cap, brace, stock or whatever you have back there. In my case, it’s an F5 modular brace that I think is fantastic.
That lower pin is captured so don’t try to drive out out. You will feel it stop on the other end and you can then pivot the lower portion out of the way.
So you swing the lower out the way so you can remove the end cap, brace or whatever. I tend to find I need to do a light downward tap on top of the brace and then it pulls straight back and out. The bolt carrier group then is pulled straight out the rear and set out of the way.
With the bolt carrier out of the way, you then slide the charging handle carrier all of the way to the rear where the big “O” is at because the narrower part of the channel is what actually retains the charging handle. It’s a nice tool-less design.
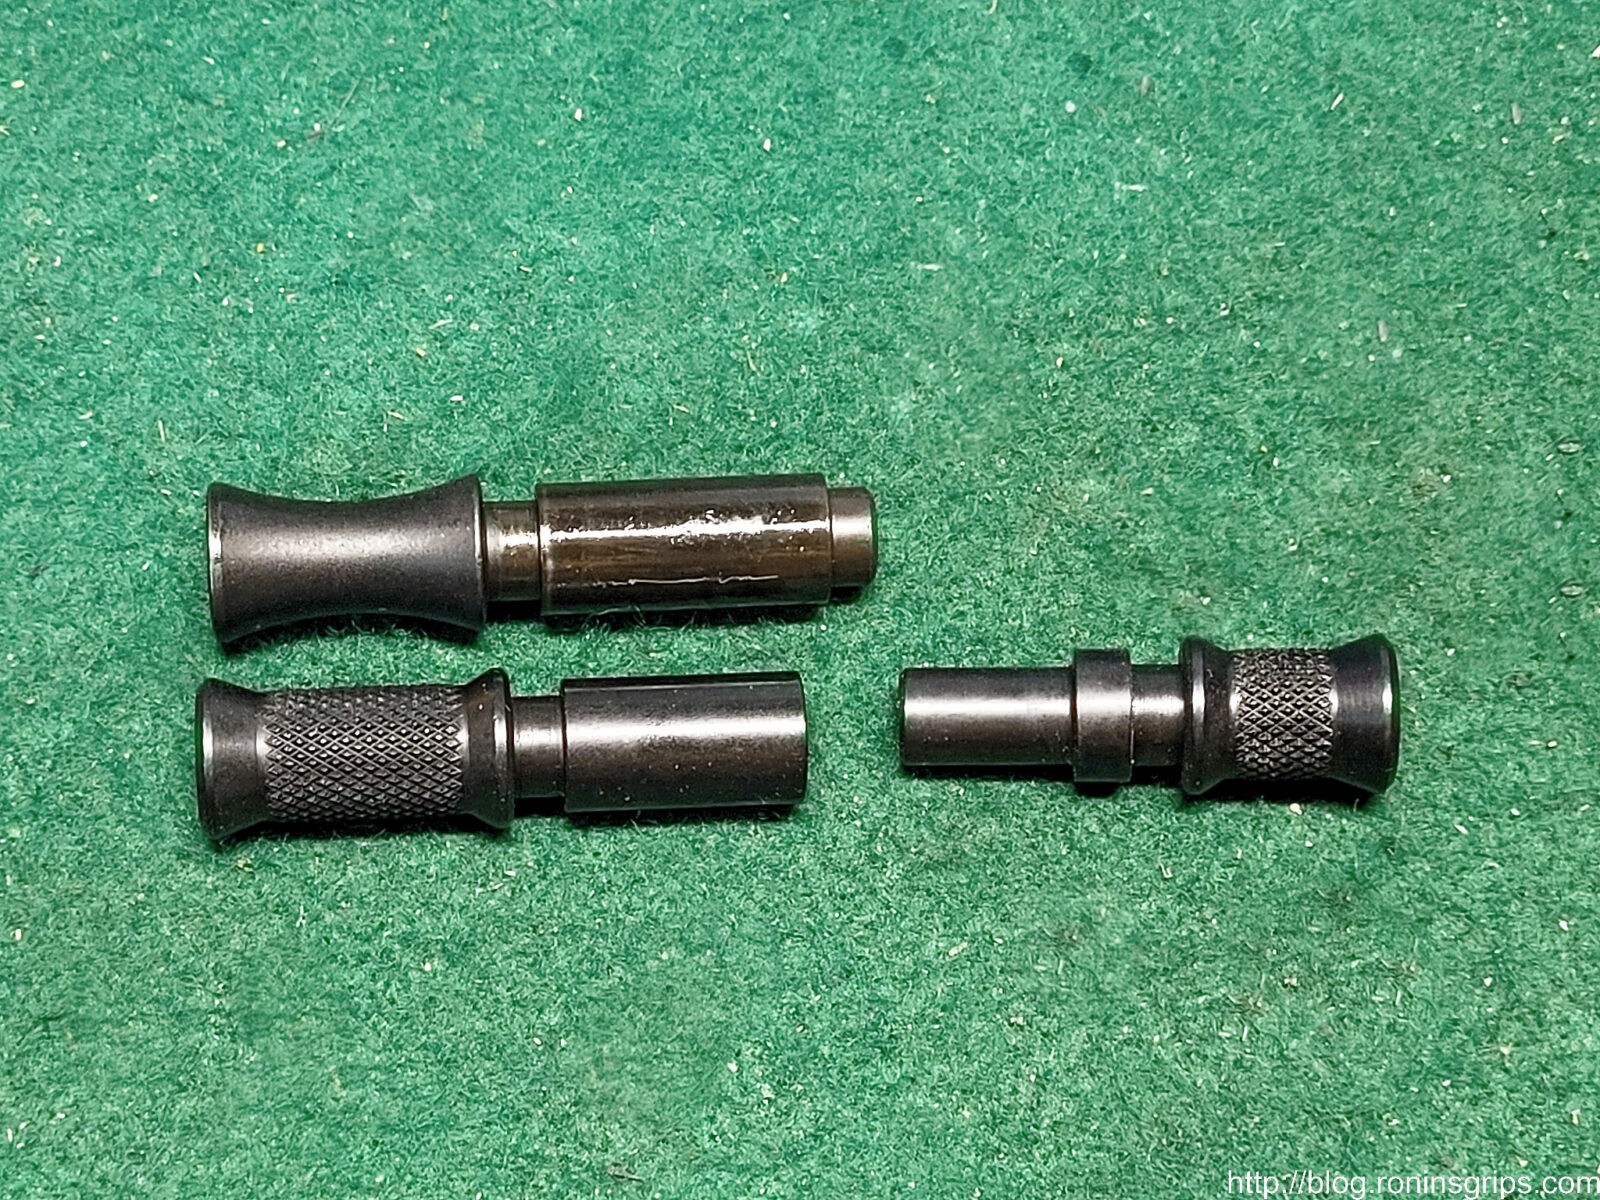
The charging handle is pulled out. See the groove in the charging handle’s pin portion? That is what goes back and forth in the channel. The inner and outer parts of the pin are too big and it effectively keeps the charging handle right where you want it. It’s also a good reason to put just a bit of oil on the body before you install a new pin or re-install the old one for that matter.
HB Industries did some elegant design work here – the original pin is at the top. Note how it is longer and needs to reach both sides of the channel but is only actually retained on the left because that is all that is needed. The HBI part has two halves – the larger one and the smaller one that sits inside the larger pin’s housing. They both have the grooves to ride in the charging handle channel and, both grooves serve to capture and hold each half in place in the channel. I love stuff like this – simple and does the job.
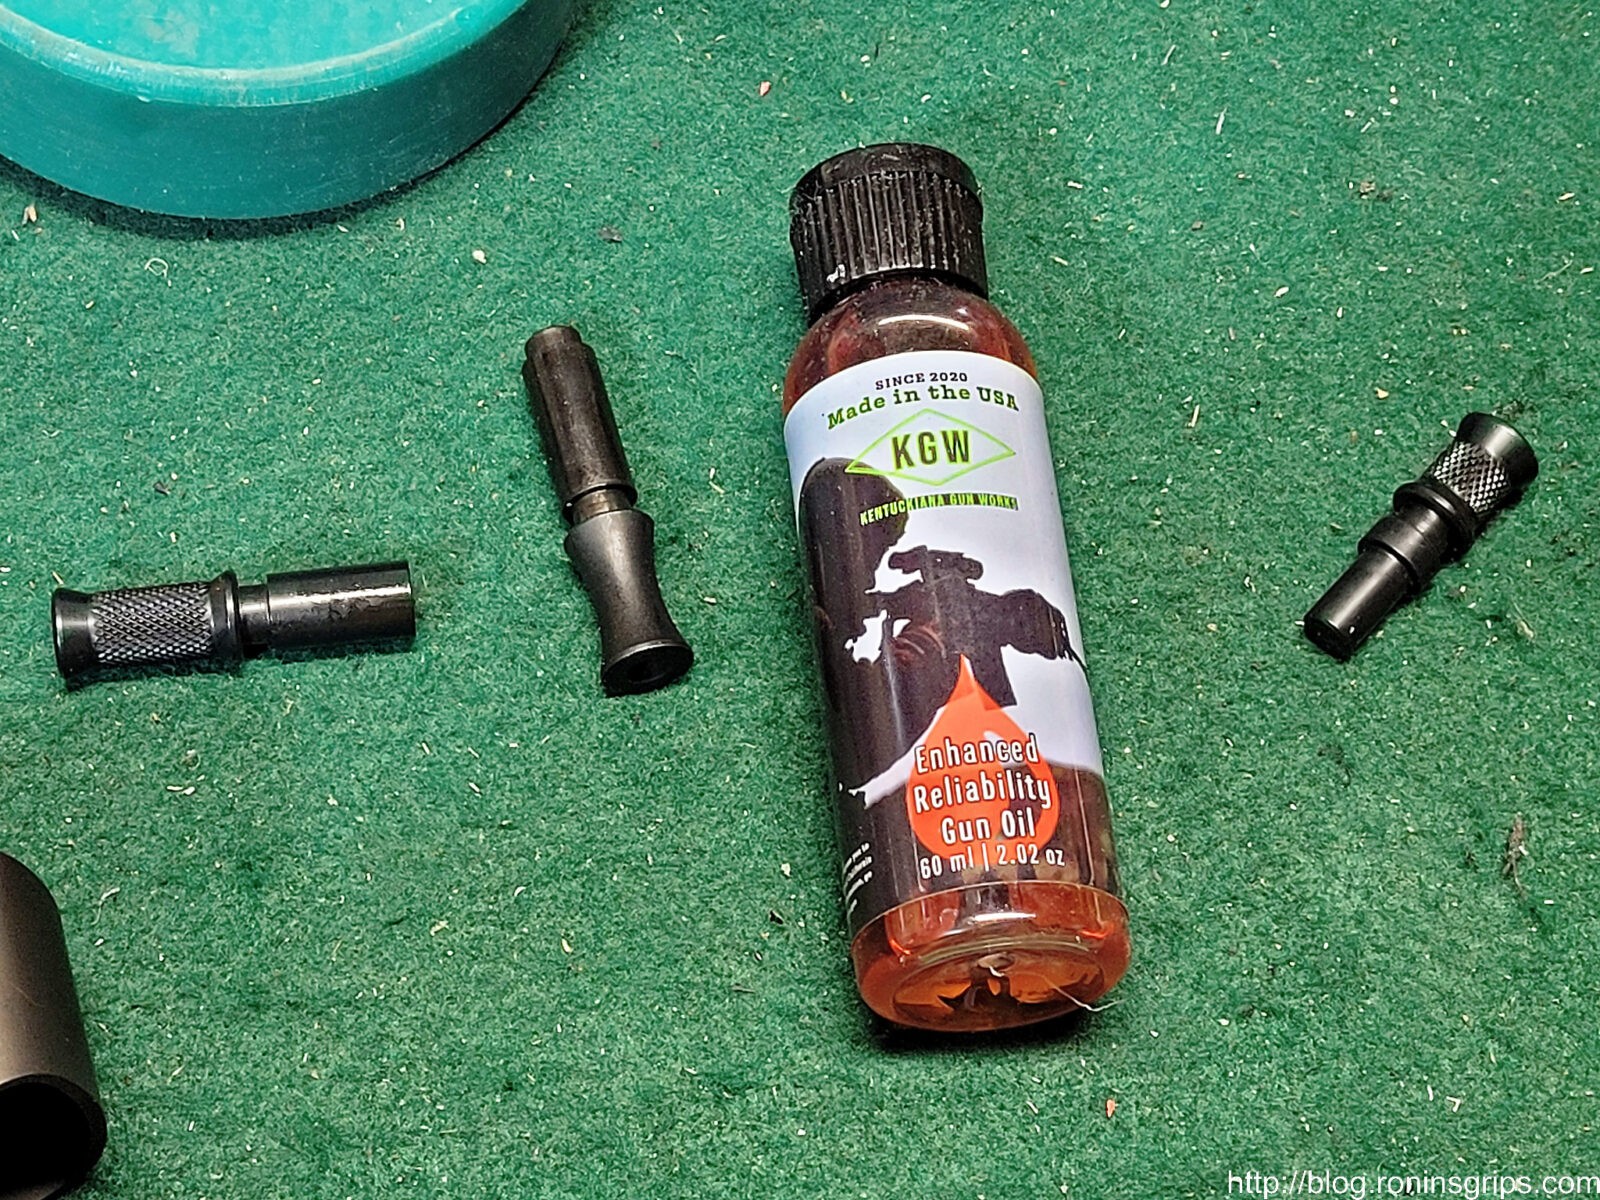
I started using Kentuckiana Gun Works Enhanced Reliability Gun Oil this year. I actually just had an issue that made me use it even more that I will do another post on. I used to use Super Lube quite a bit but when my shop was 32F and two of my RIA 9mm pistols that are in there all the time also were that cold, I went to do magazine work and the slides were sluggish. It would appear the Super Lube thickened up some at that temperature. I did not have the same problem with the KGW product — so I’m using KGW on all firearms going forward and have stopped SuperLube all together except for when I need a grease.
Once you install the two handles and slide them forward out of the way, the rest of the installation is the reverse – install the bolt carrier group, install the brace or whatever you have, swing the lower back up, push the pin back in and then test the weapon.
Summary
I really like the feel and am glad I made the change. If you are considering changing the handle, it’s very straight forward and I hope you found this post useful.
Note, I have to buy all of my parts – nothing here was paid for by sponsors, etc. I do make a small amount if you click on an ad and buy something but that is it. You’re getting my real opinion on stuff.