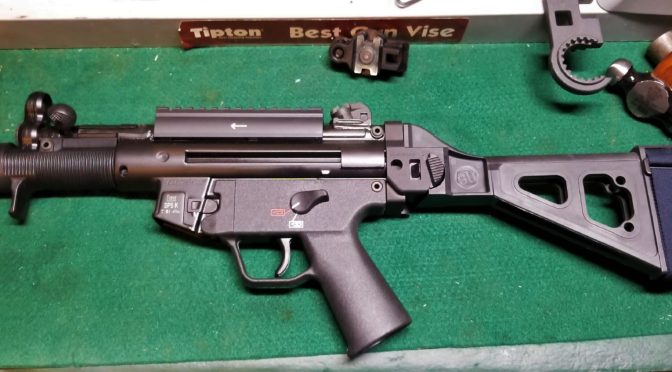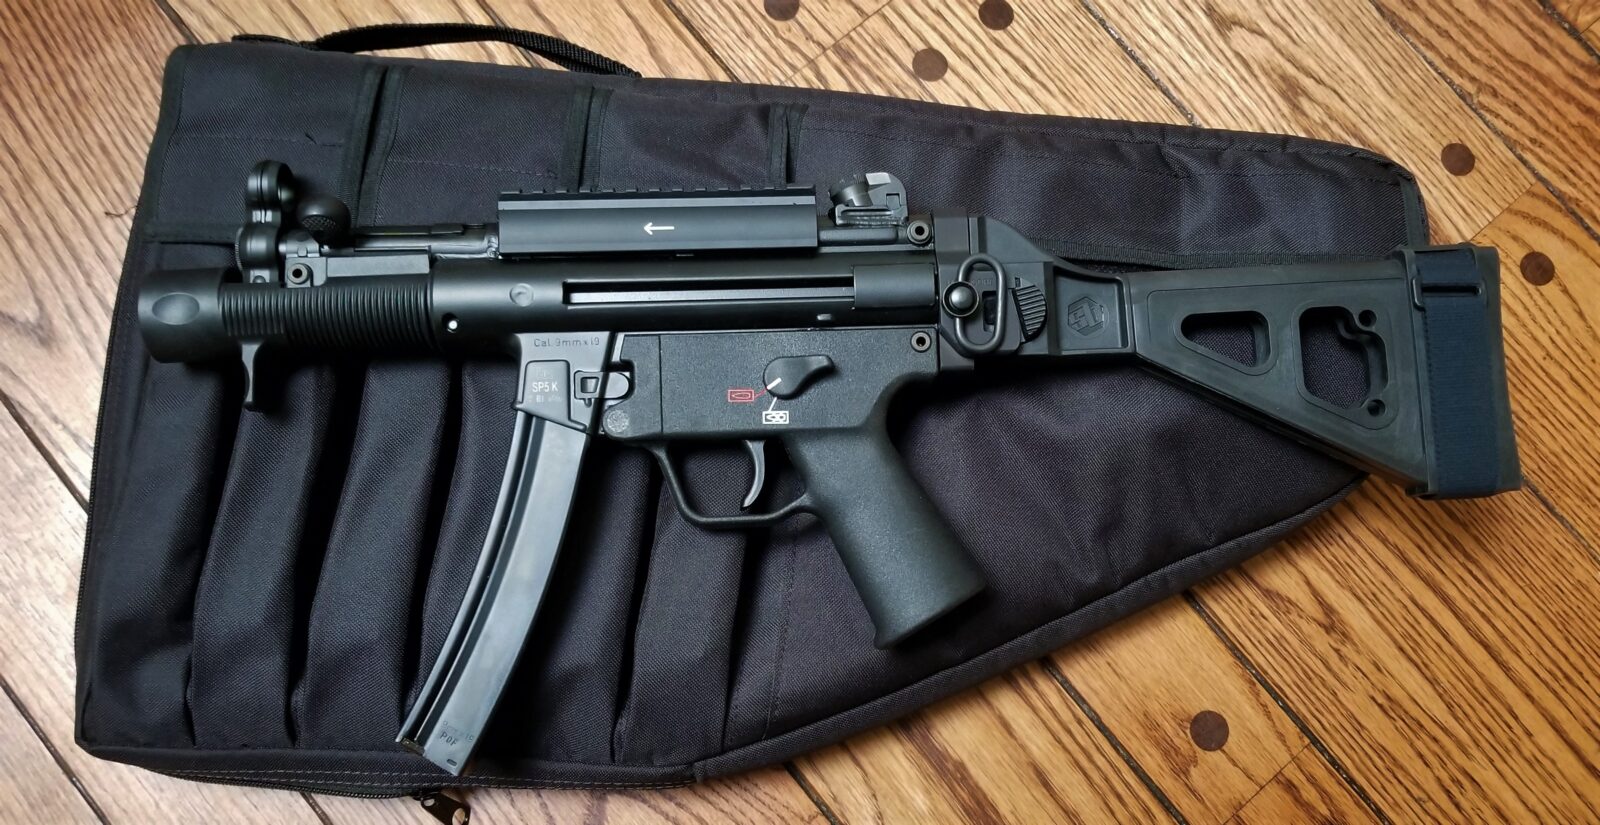
In past posts, I have written about buying the SP5K, selecting a brace and the forearm. Next up is the optic. It should come as no surprise that my go to brand is Vortex Optics.
I’m a creature of habit. Vortex products are solid and have a no-nonsense – “if it breaks we will fix it” – warranty. Vortex does not sponsor me so I have no reason to stick with them other than they deliver.
I knew right way this was going to be a close-in weapon with distances being typically 25 yards or less but maybe stretching out to 50 yards. It is hard to beat a red dot at those distances for rapid target acquisition. That narrowed my options down quite a bit.
A second big deal for me is to have a wide field of view but also a relatively small dot size. This combination rules out a lot of the micro dots that are out there as they are both tiny and have a 4 MOA dot size – that means the red dot will cover 4″ and 100 yards or about 2″ at 50. The micro dots are okay and I rather like them on pistols but I wanted something a tad finer on this more controllable and accurate weapon.
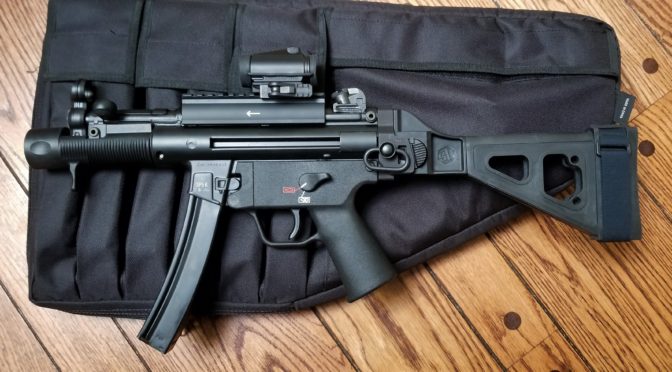
The Vortex Crossfire Red Dot
All paths lead me to the current Vortex Optics Crossfire red dot. It has a 2 MOA dot size, is only 2.5″ long and only weighs 5.2oz. It also has a battery life of 7,000 hours at an output setting of 5. Note the optic has 11 levels so when you have it turned up for bright light settings, you will drain the battery faster – always keep a spare battery in the case. I’ve had a couple of range sessions get messed up to do dead/dying batteries and no spares.
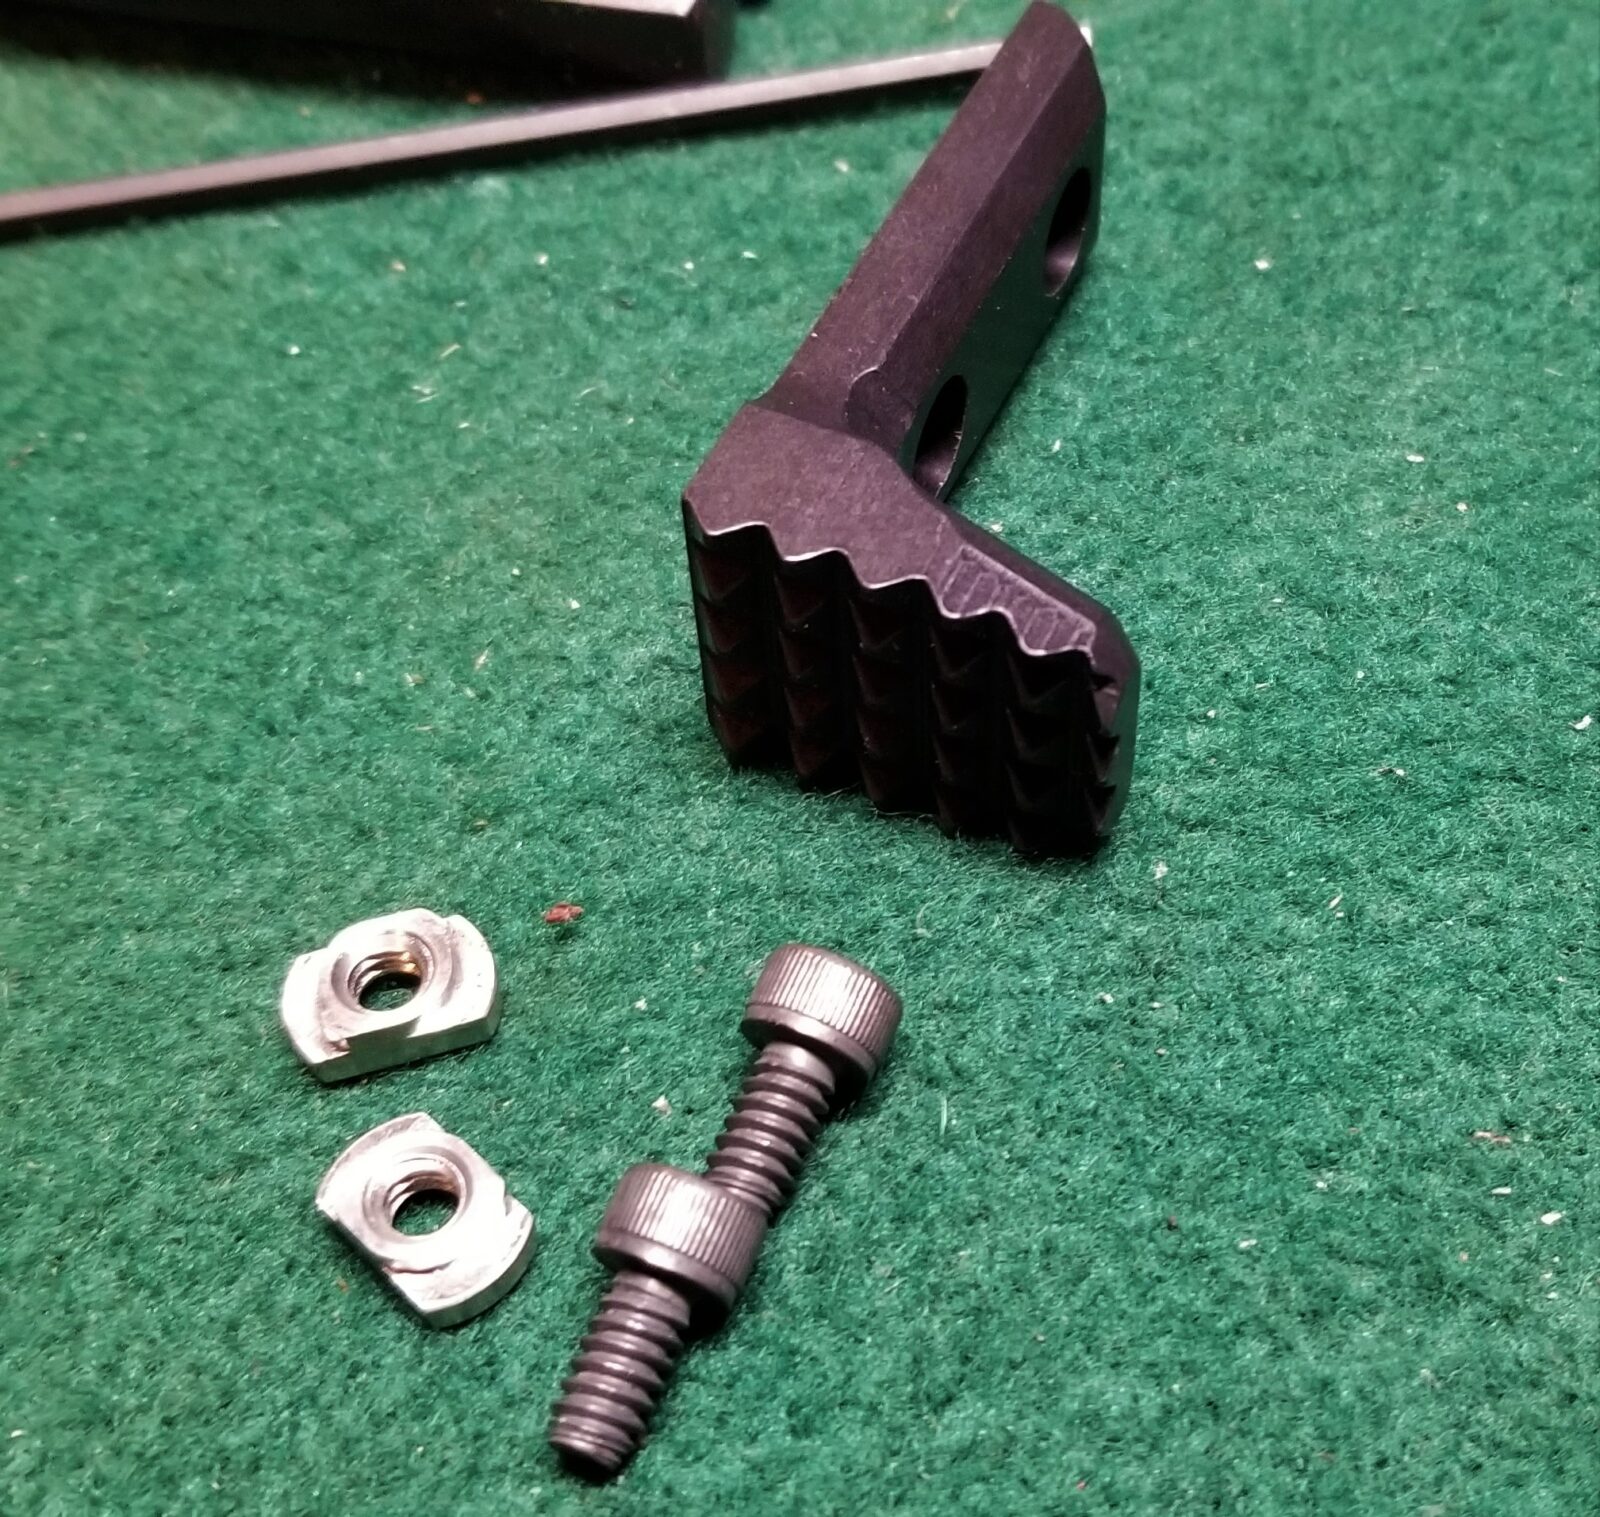
American Defense AD-T1-L STD Mount
The only shortcoming, if I can even call it that, with the Crossfire is its base. Vortex did their homework and include both a short base and base that can lower 1/3 co-witness with AR iron sights. The problem is that they are screwed onto the picatinny rail. If you need to get the optic off fast, that’s not going to happen as you will need a torx driver.
I do have good news – the Crossfire has the same base geometry as the Aimpoint T-1/H-1 optics. That’s the key right there – there are a lot of mounting options out there and after some digging, I have been using mounts from American Defense for over a year and they are rock solid.
By the way, make sure you get the right mount – American Defense makes there base for a variety of optics. I am using the AD-T1-L STD.
Assembling the Optic on the Mount
The good news is that this is really easy. Undo the four screws on the bottom of the Crossfire to remove the Vortex mount. Put the American Defense mount underneath it, add a bit of Blue Loc-Tite thread locker and reinstall the screws.


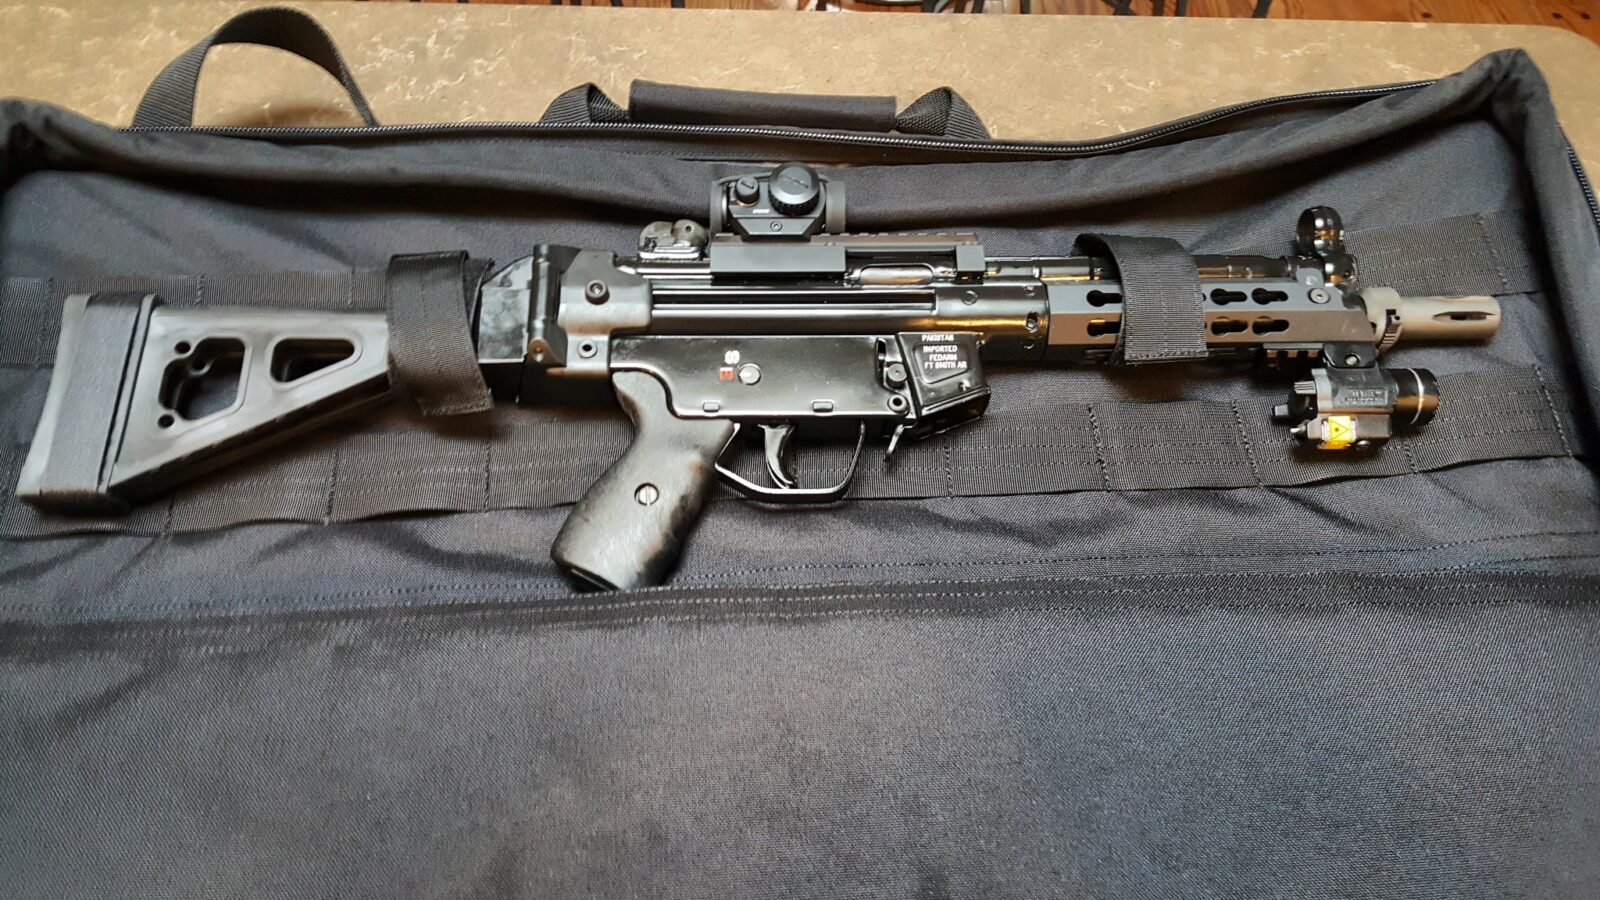
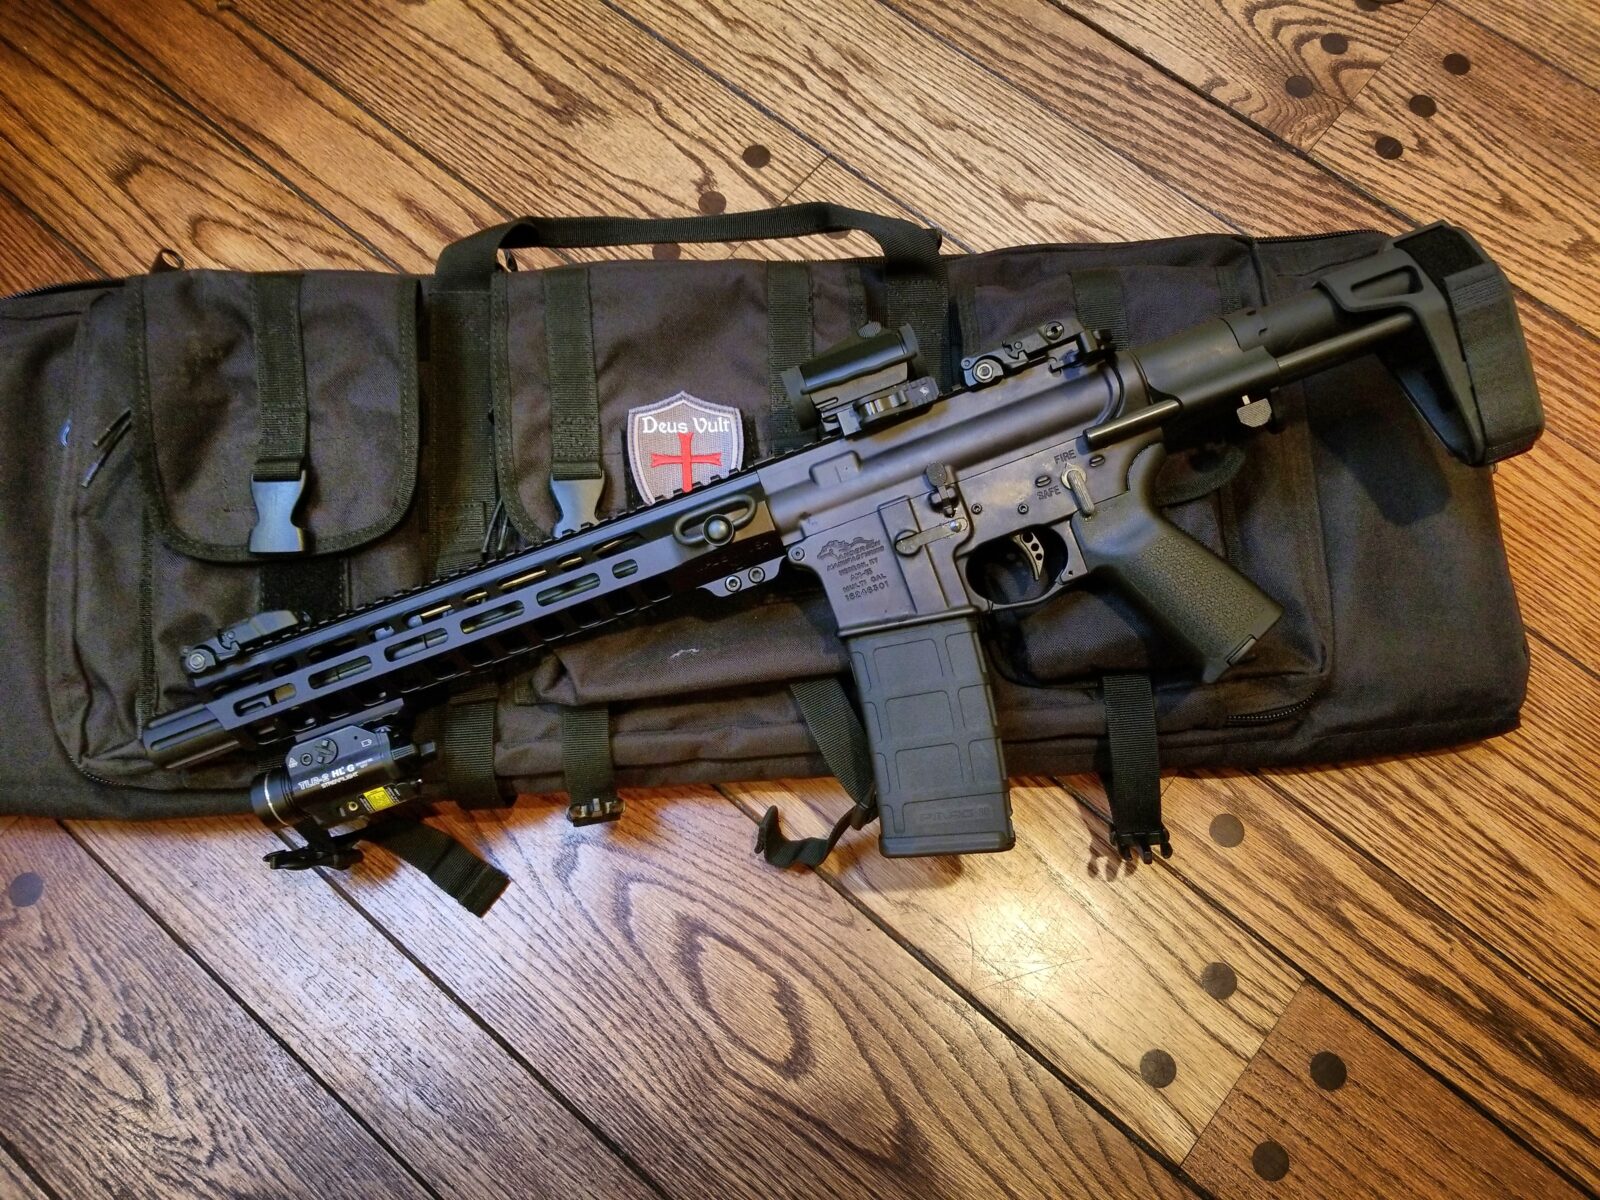
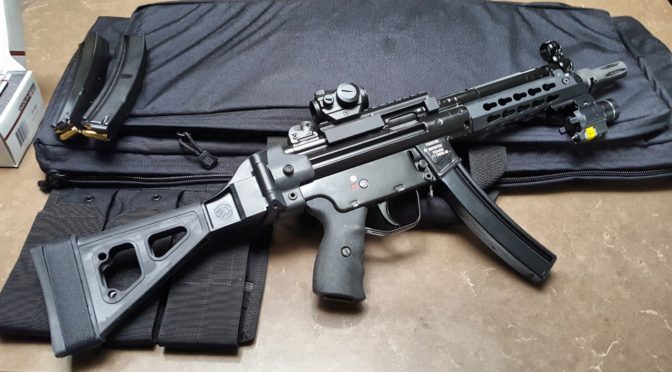
The Result
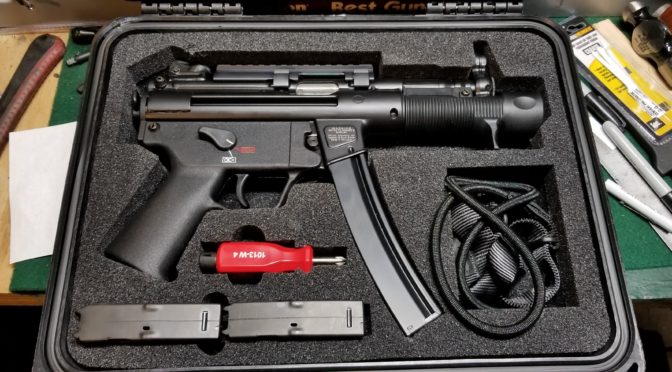
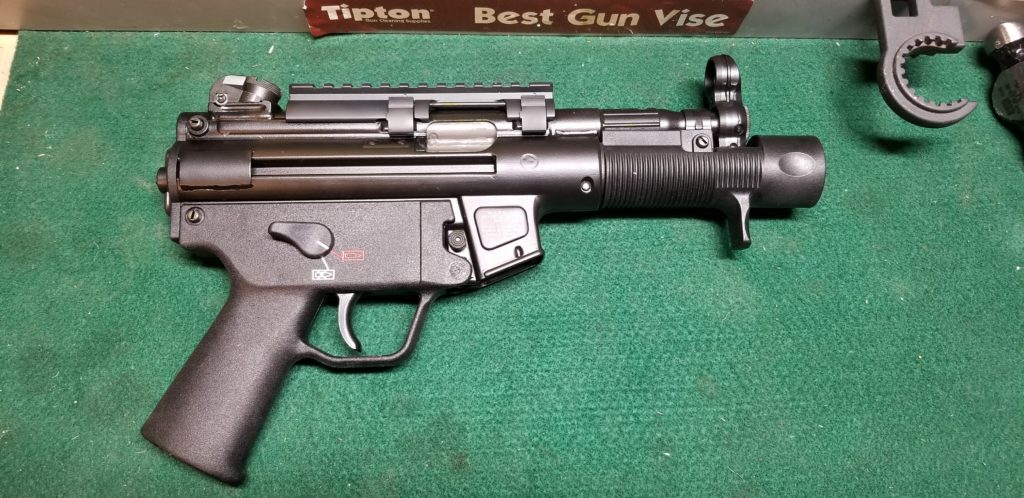
The result turned out really nice. The optic is just the right height that it is relatively close to the bore and I can get a good consistent cheek weld.


Please share the link on Facebook, Forums, with colleagues, etc. Your support is much appreciated and if you have any feedback, please email us in**@*********ps.com. If you’d like to request a report or order a reprint, please click here for the corresponding page to open in new tab.