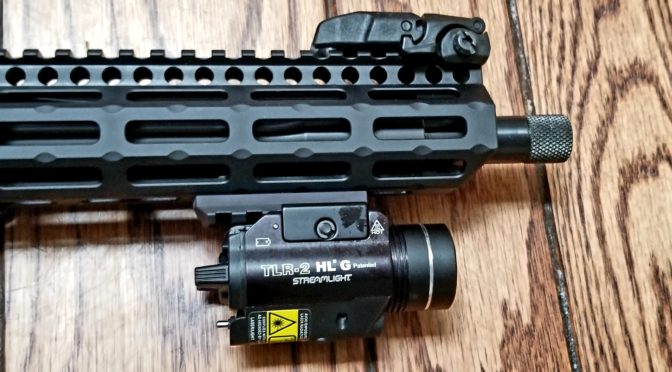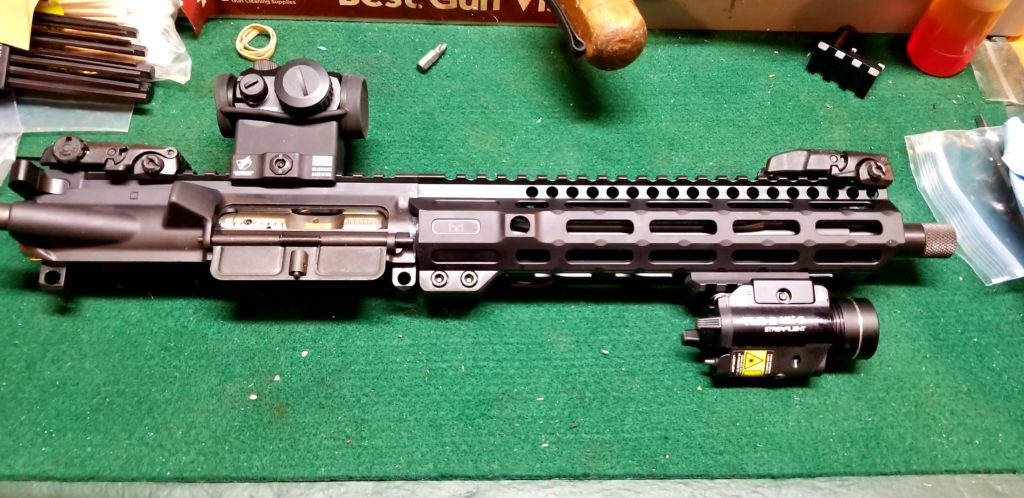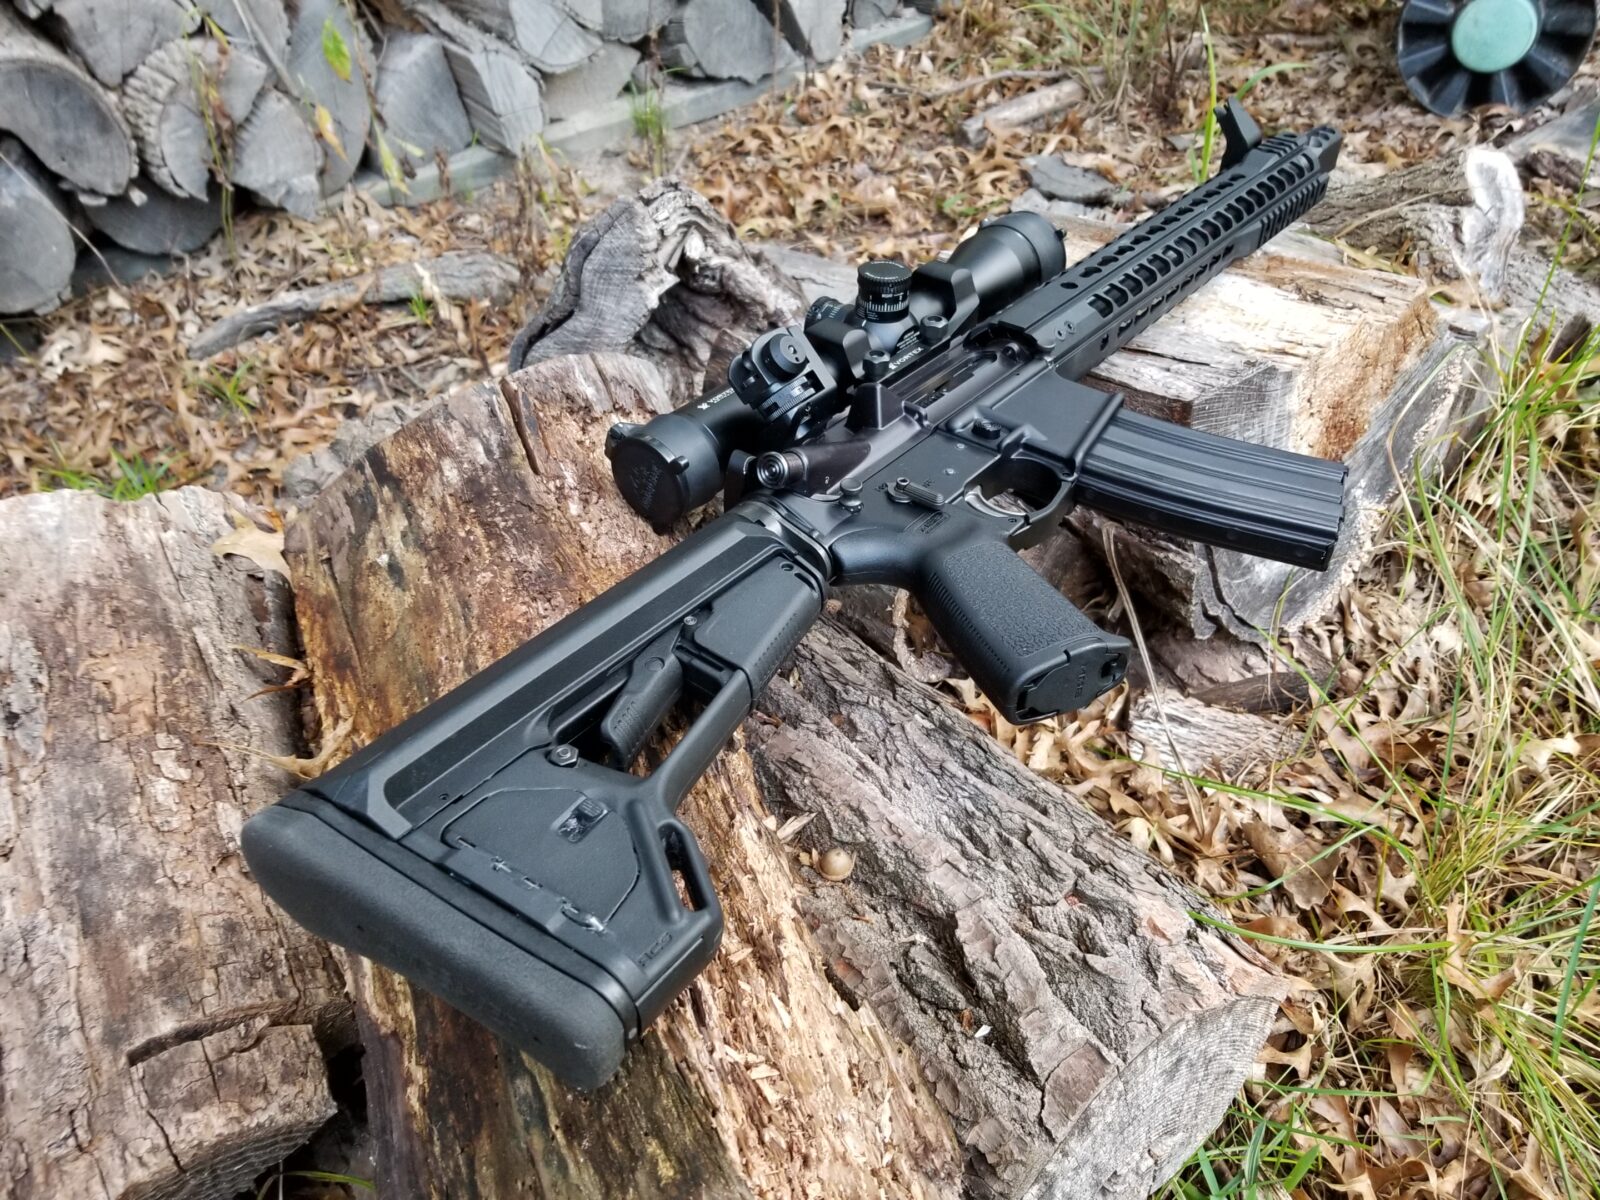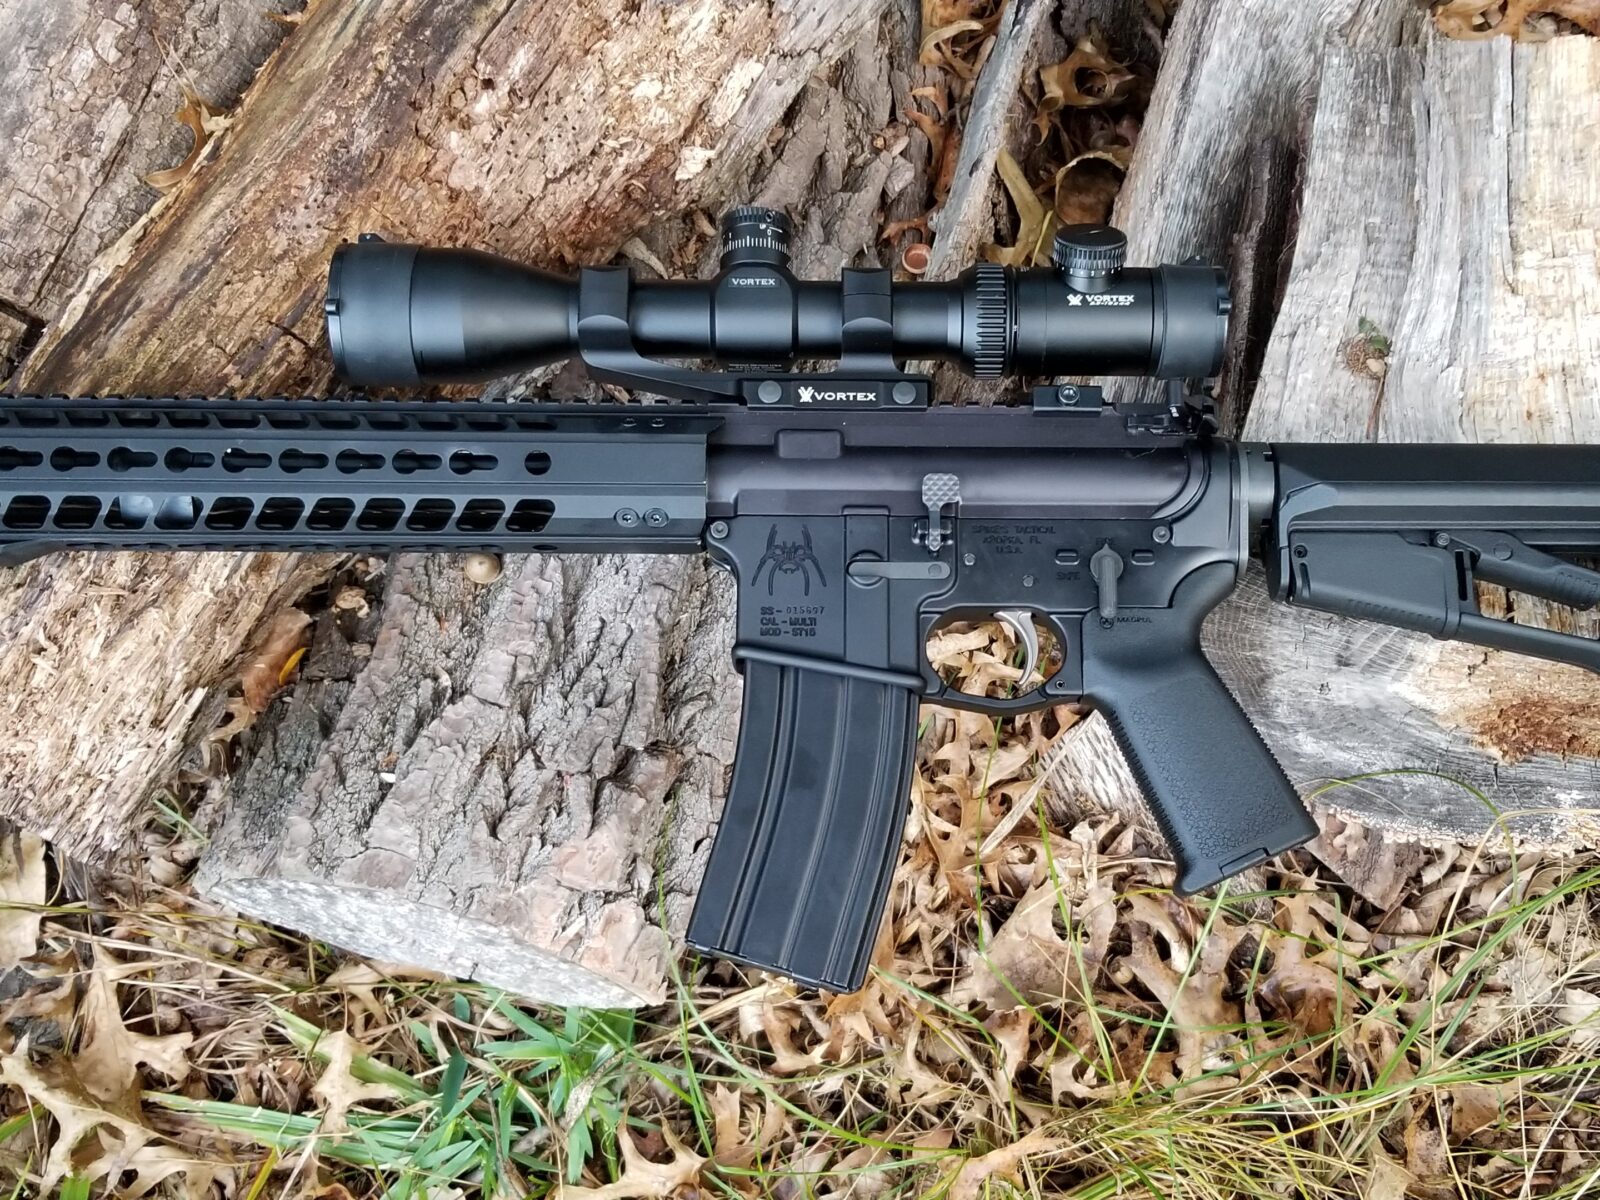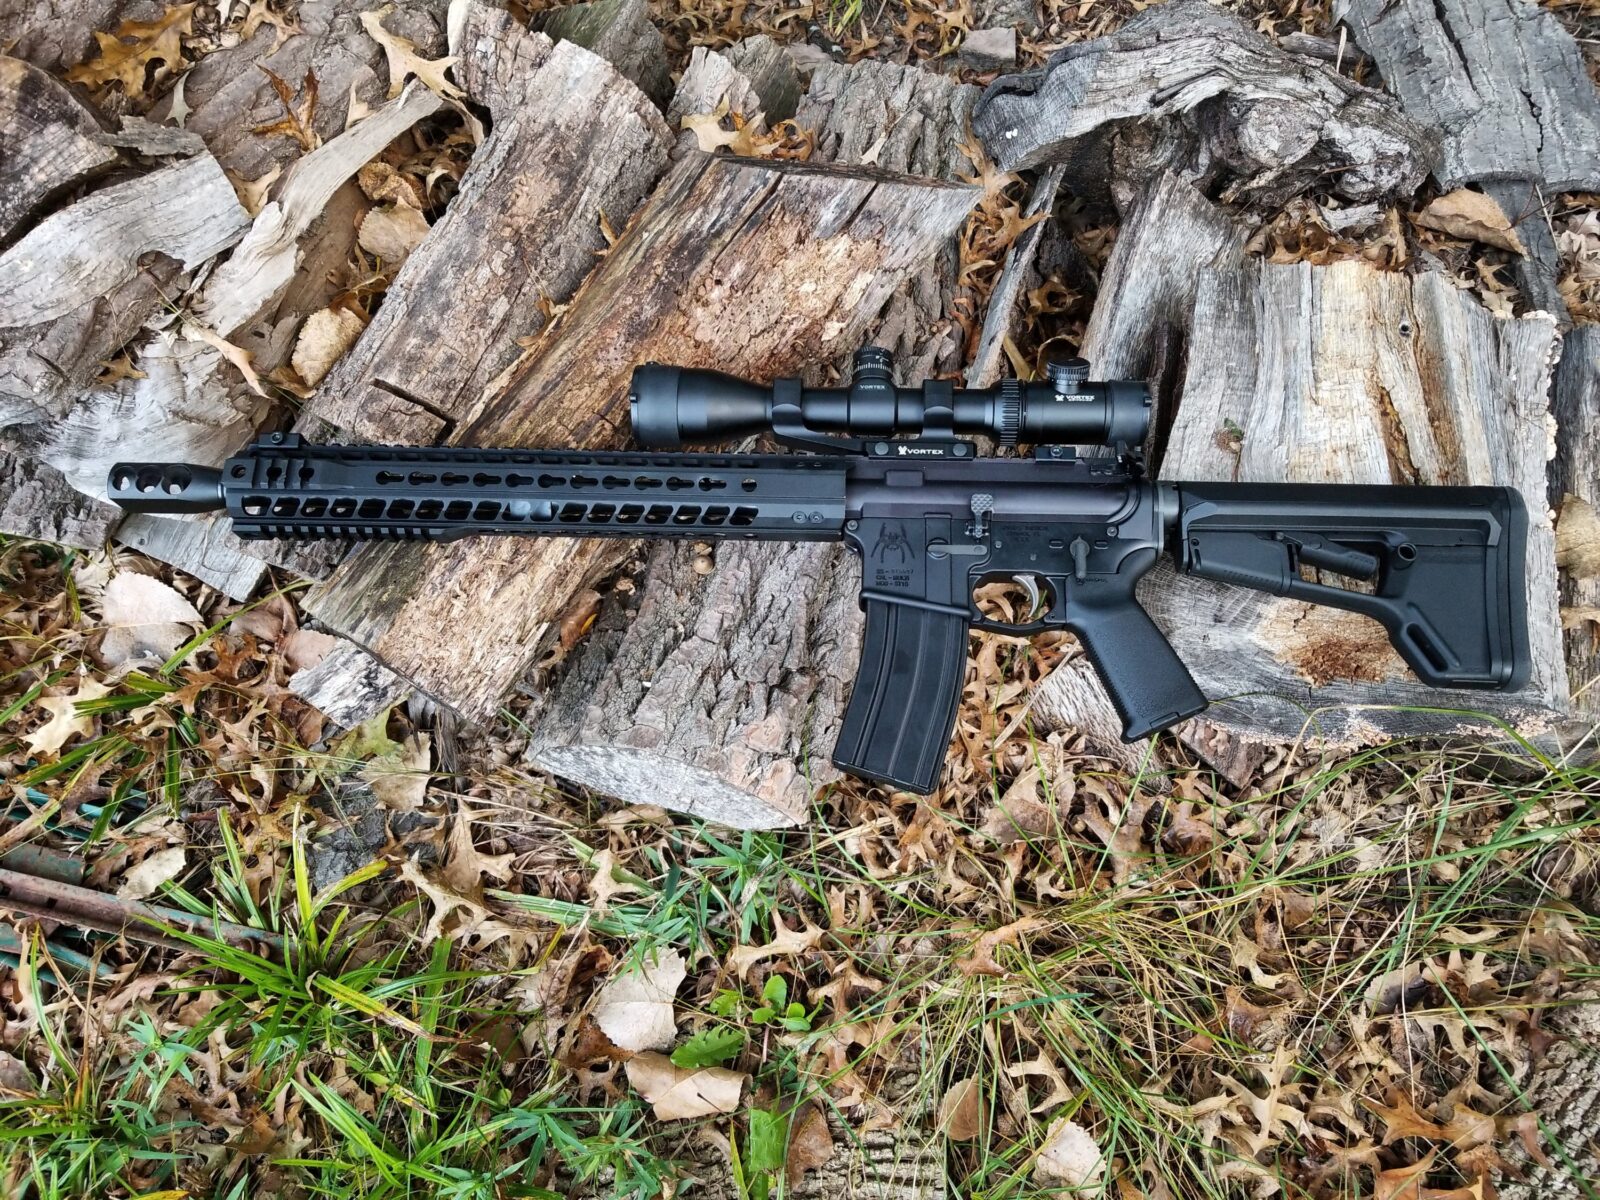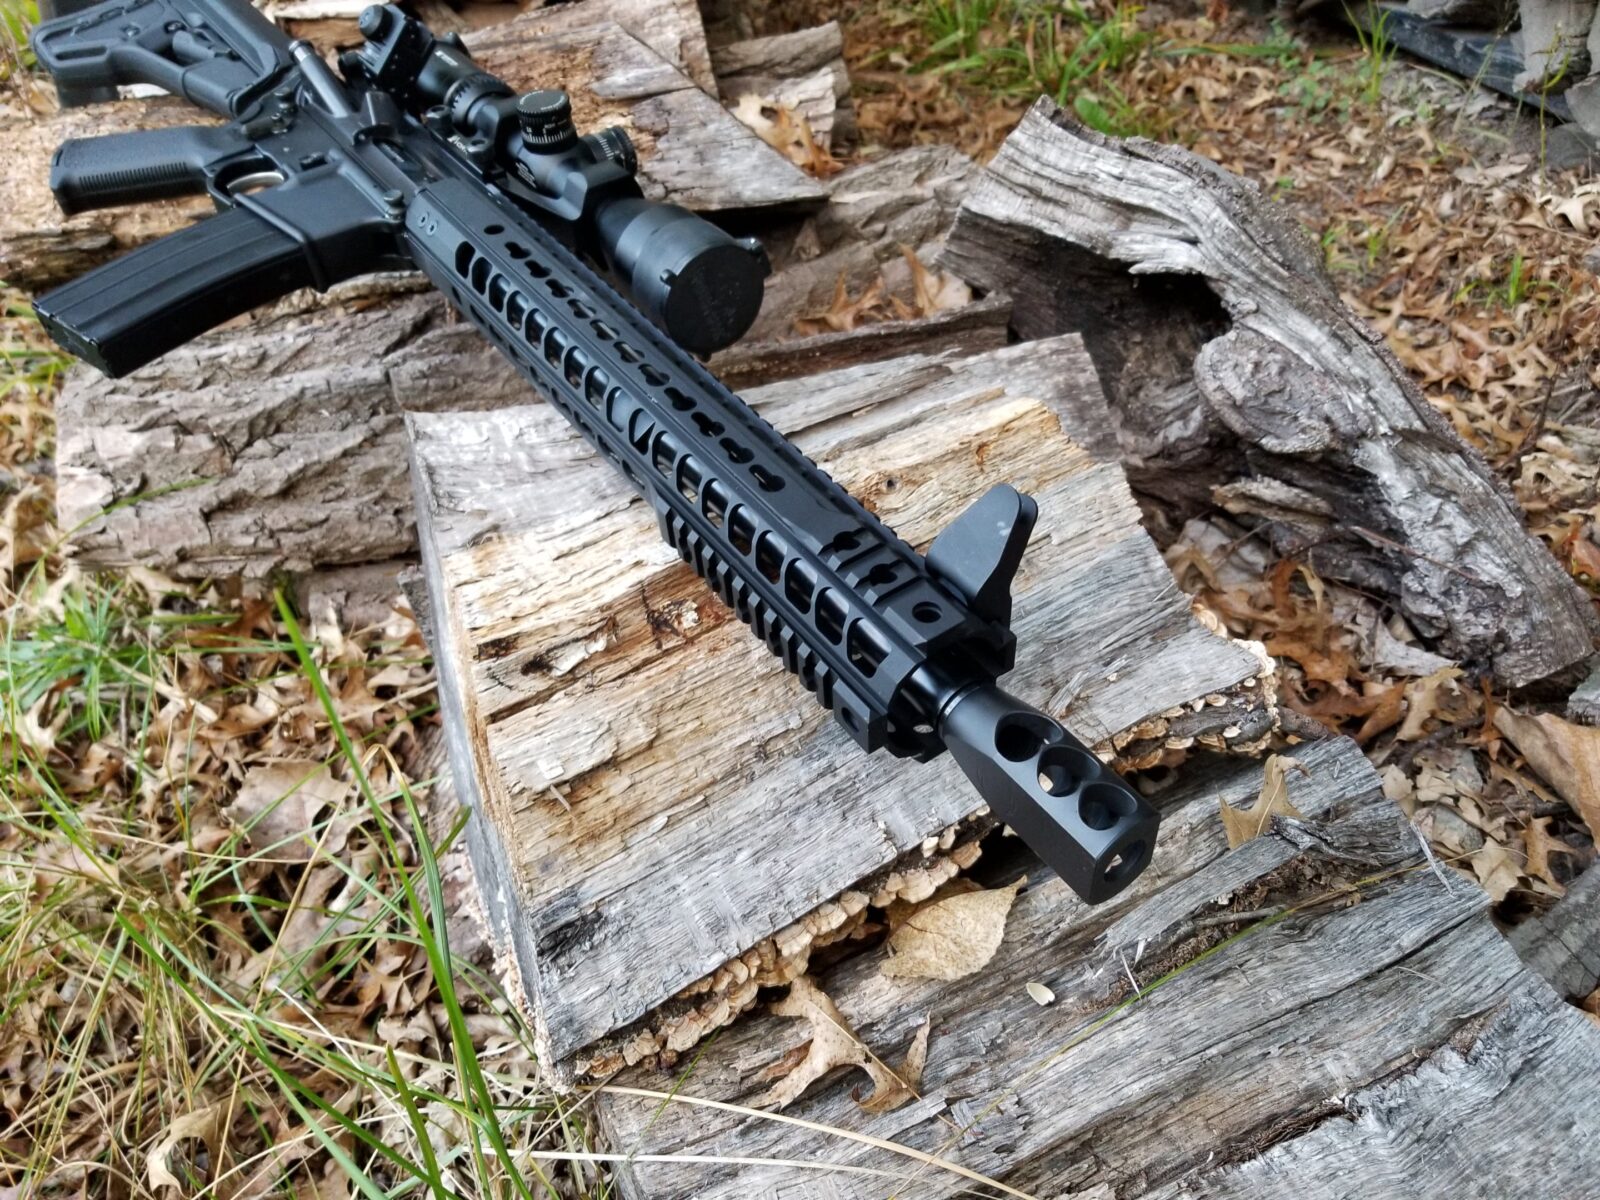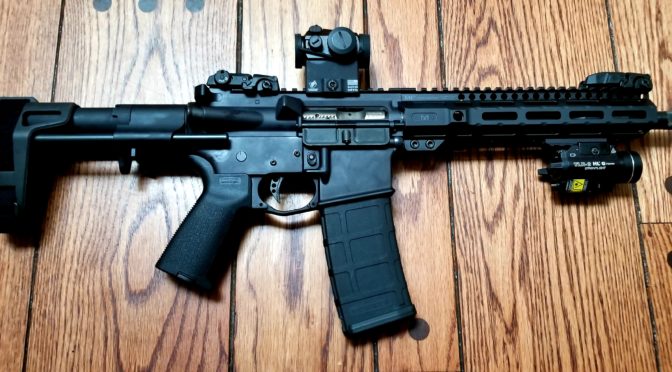
I recently was looking for a free floating handguard for a 10.5″ AR pistol build and happened upon the new Midwest Industries (MI) Combat rail series. The name made me think mall ninja but the design is interesting and they did a good job manufacturing the assembly.
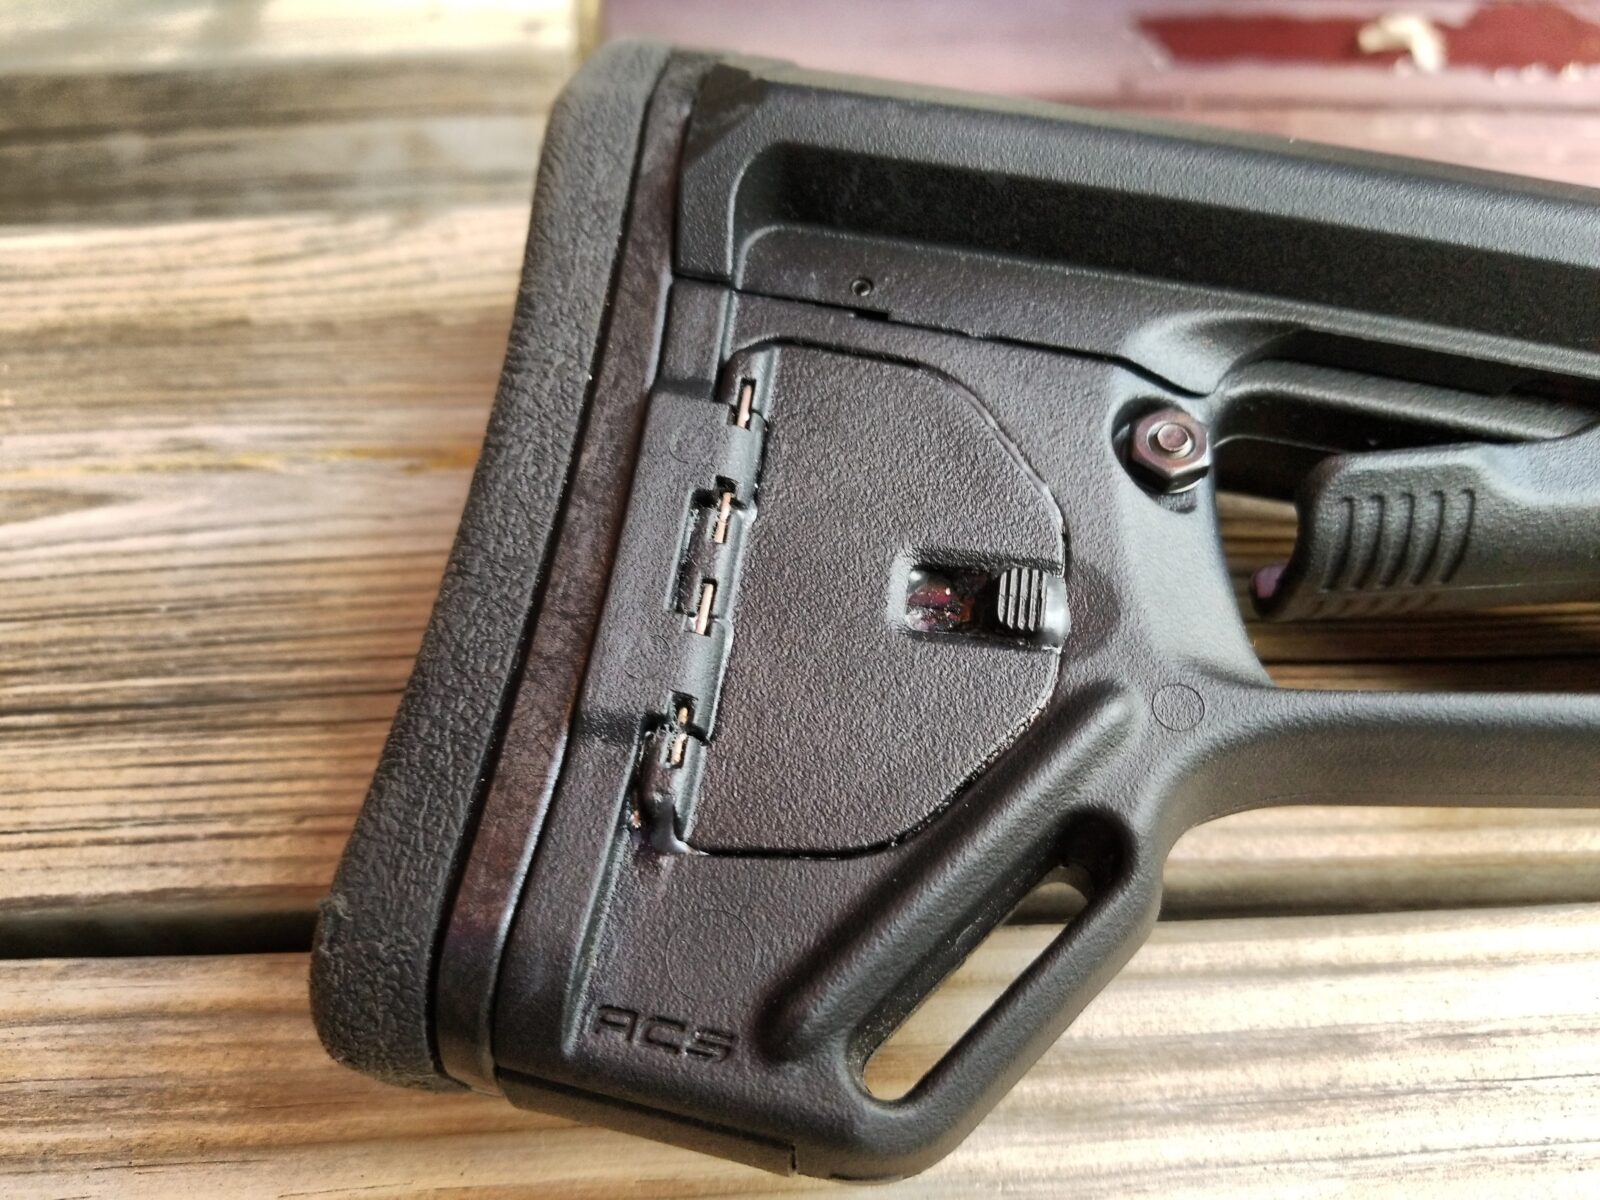
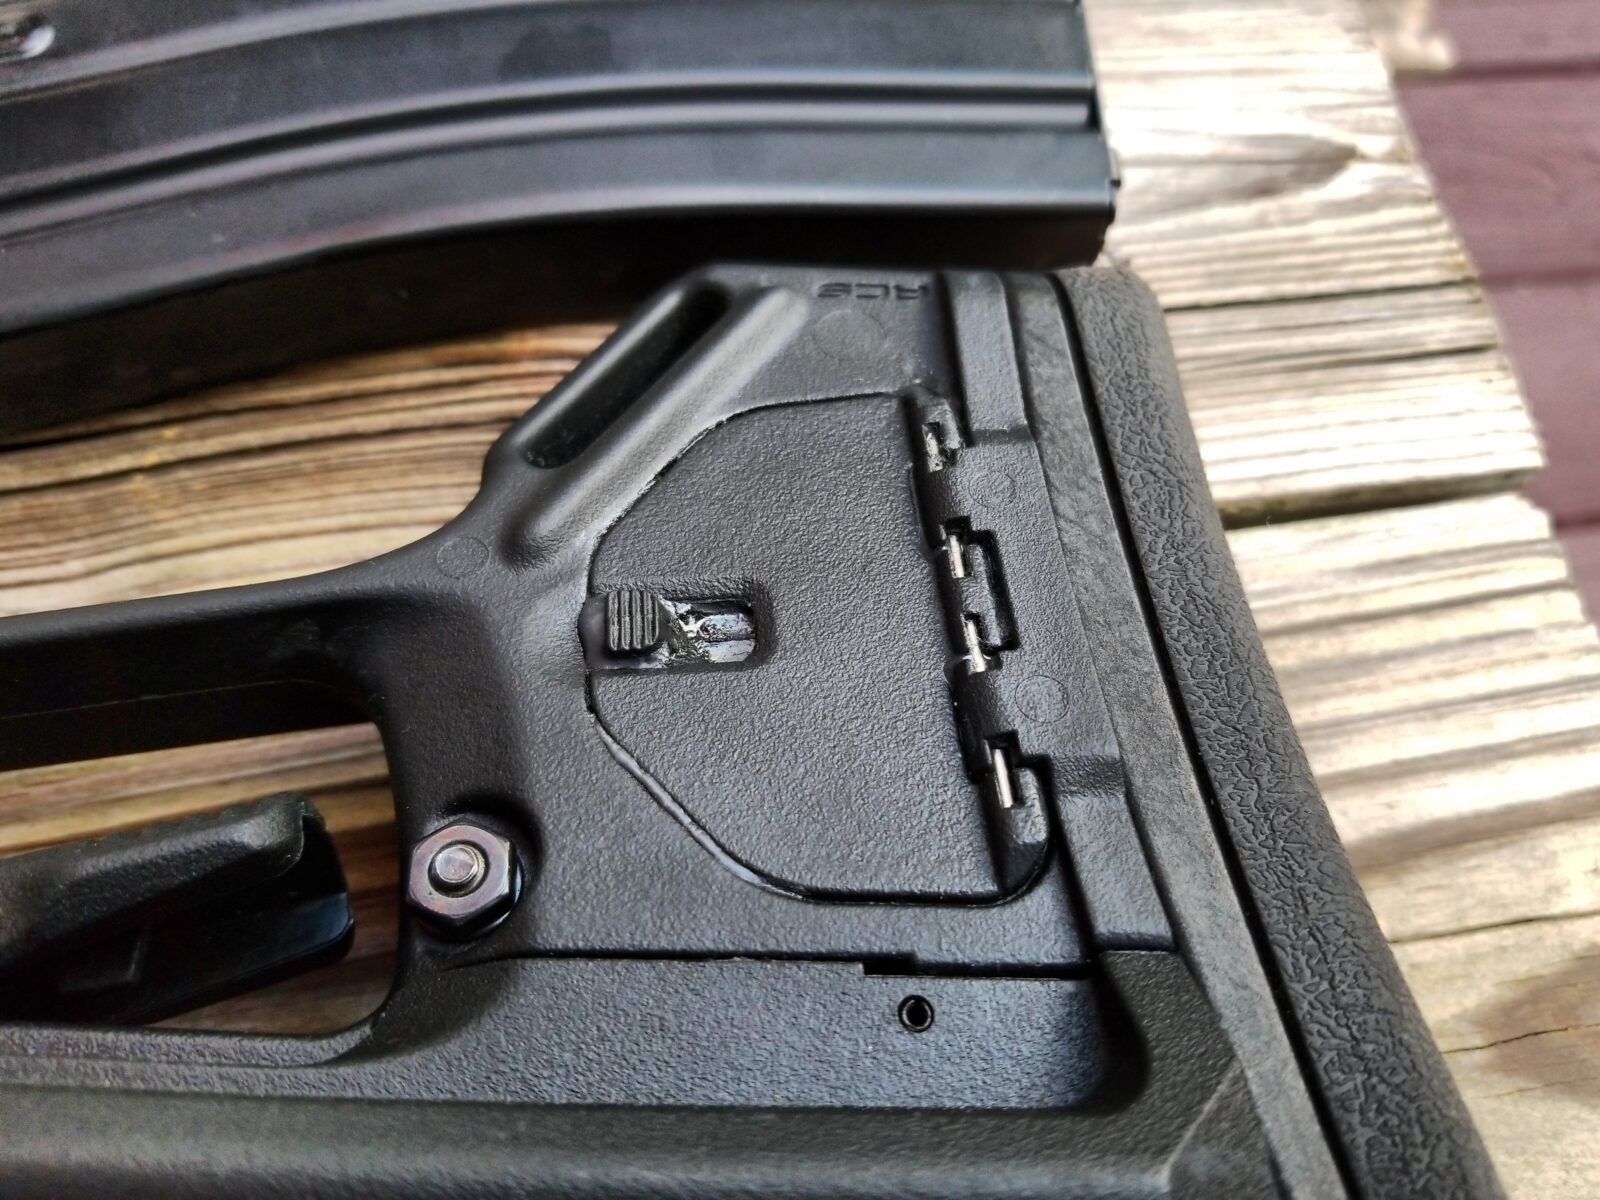
The 9.25″ M-LOK Combat rail looked good and three things caught my eye – the barrel nut was knurled, they had an innovative means of timing the handguard to the receiver, and it looked good. Yeah, looks do matter to me.

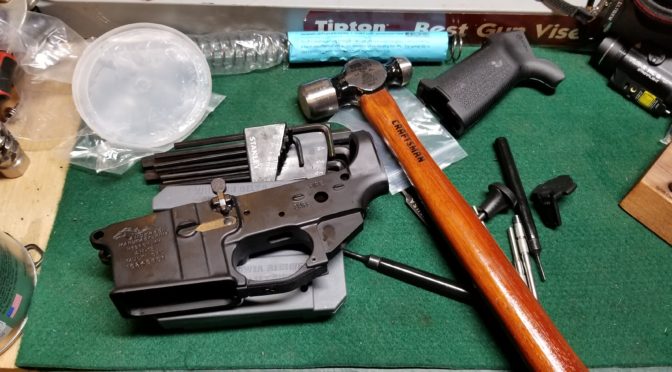
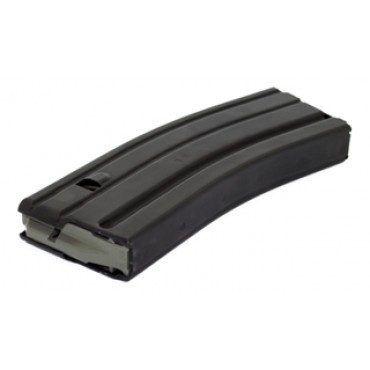
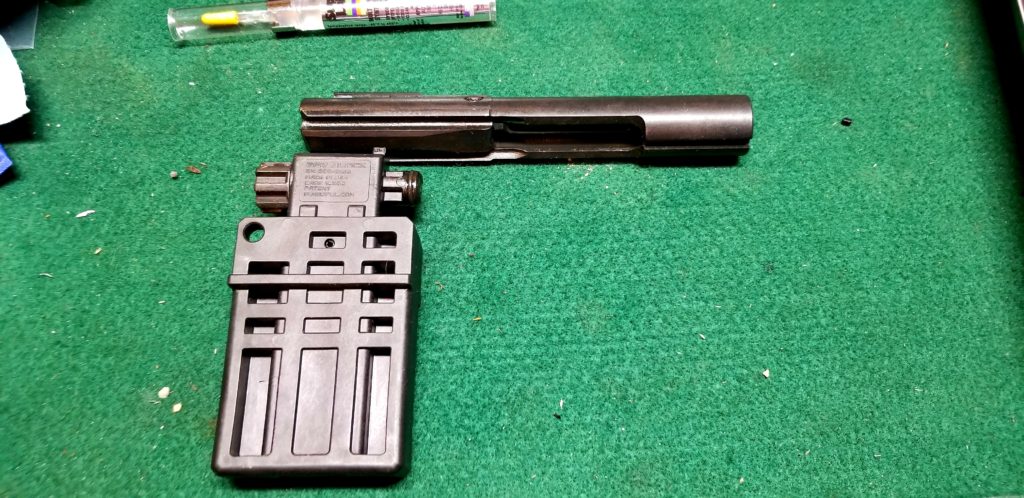
So,I availed on Holiday sales and ordered one from Optics Planet. The handguard arrives with everything inside. In other words, you need to unscrew the lower two clamping screws to then remove the barrel nut.


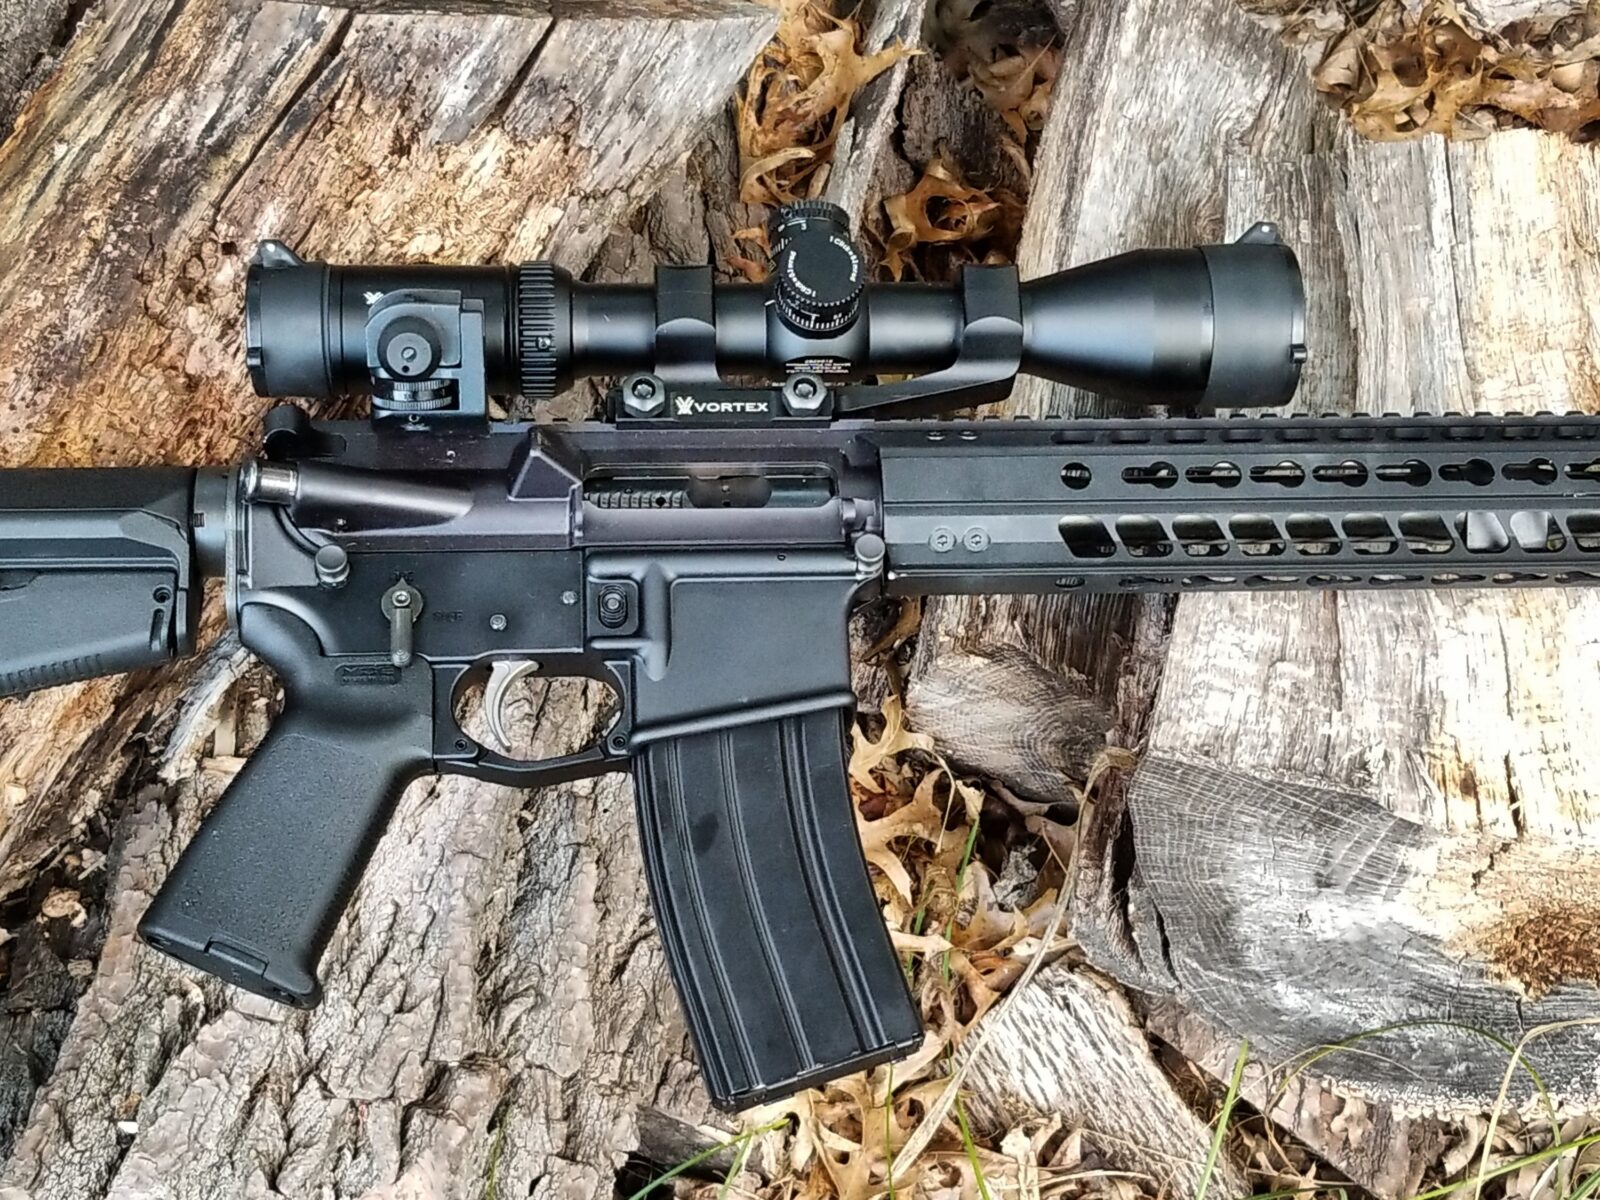
Now you may be wondering why I care about the design of the barrel nut. There are two reasons – first, the knurling creates a more anti-slip surface than a smooth surface would. Second, and perhaps more importantly, the groove that the key rides in allows the rail to align any way you need it to with the receiver without having to deal with shims and it inhibits the rail from sliding forward. Combine thee knurling, key and very generous tabs that position the rail on the receiver and this rail is very well retained. In other words, it isn’t going anywhere unlike many rails that shoot loose and all of a sudden you are holding the rail separate from the weapon because it slid off the barrel nut. That’s not going to happen with the Combat rail.
Installation Video From MI
MI took the time to assemble a short video for you to understand what is required to install the rail. It’s very straight forward.
My Installation Tips
To be honest, I read the paper instructions that came with the rail and realized it would really help to see what was needed so I watched the above video. I really do recommend you take just under 10 minutes to learn from them first hand. That’s tip #1 🙂
Tip #2 – I’d recommend you use a Magpul Barrel ExtensionVise Block – a “BEV Block”. You need to apply quite a bit of torque to remove the existing nut and 40 foot pounds to install the Combat barrel nut. Click here for a post that provides more details.
Note, the Giessele Reaction Rod works too but just costs more.
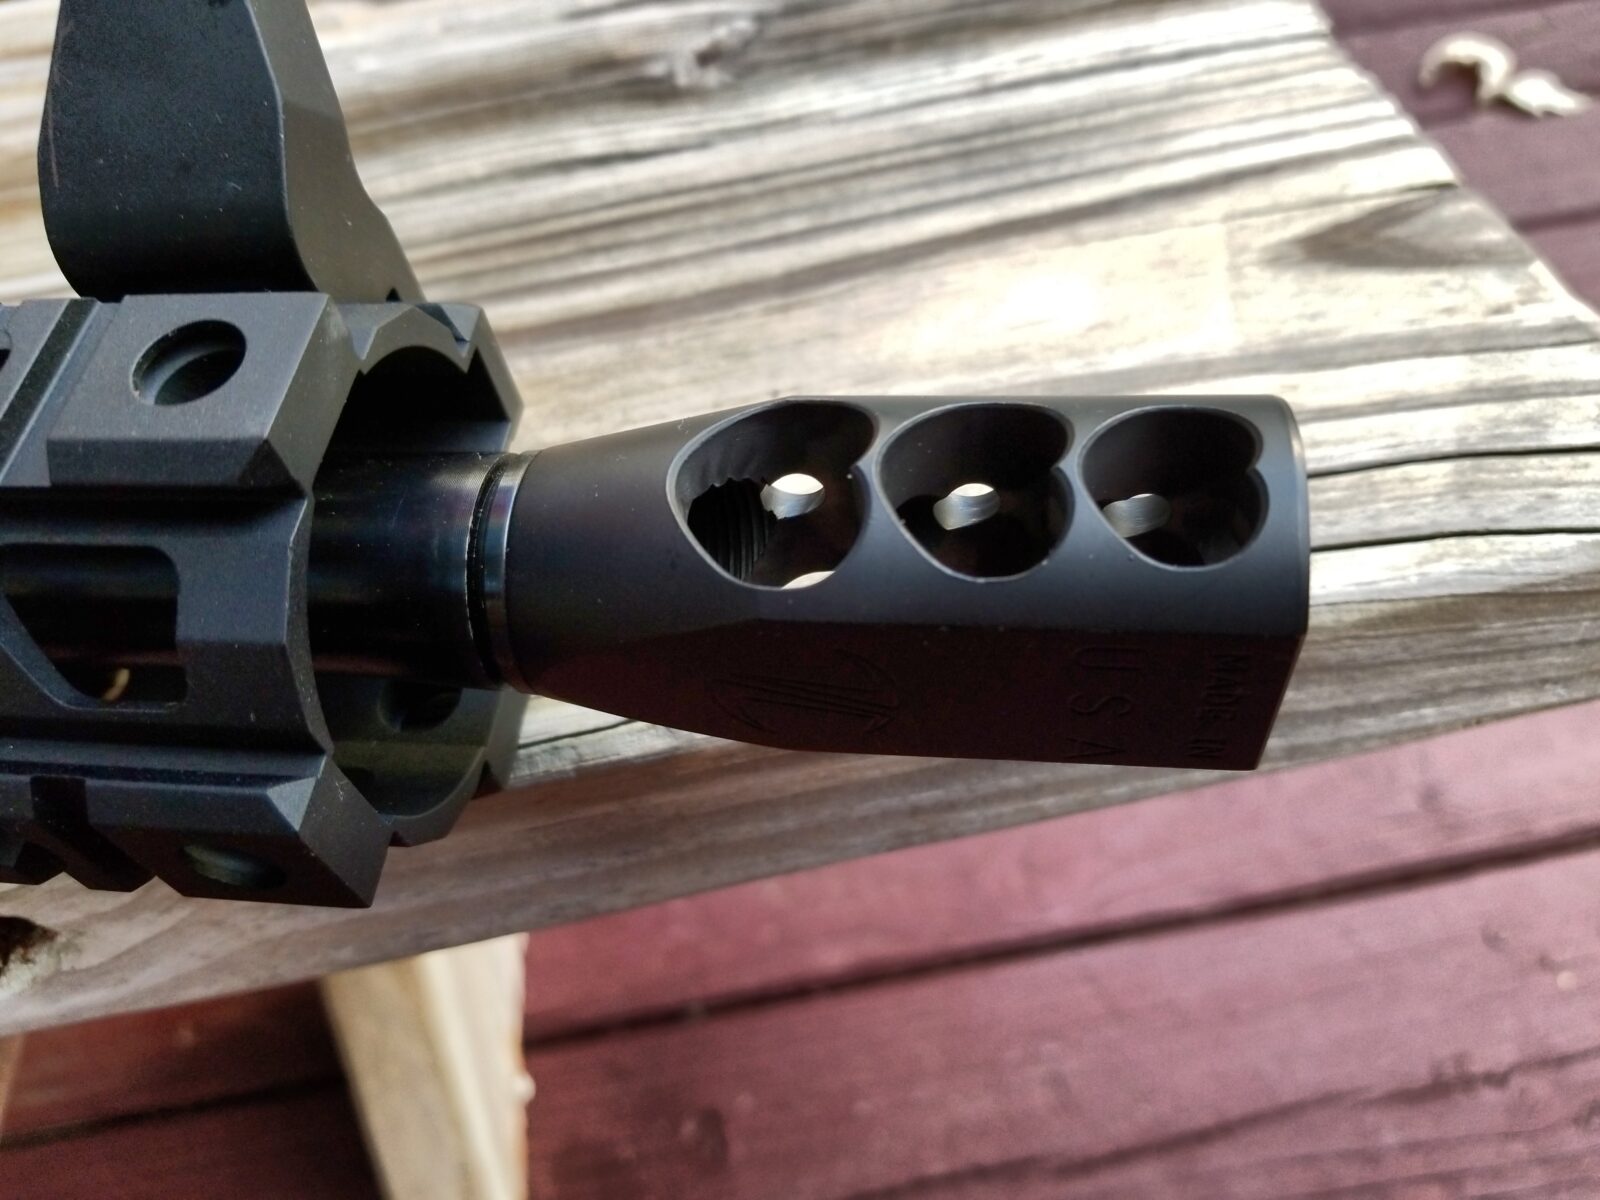
Tip #3 – When you remove the muzzle device and/or existing barrel nut, I’d recommend you use open end wrenches and NOT an adjustable wrench. Countless millions of nuts and muzzle devices have been marred or destroyed by adjustable wrench jaws giving too much and rounding corners.

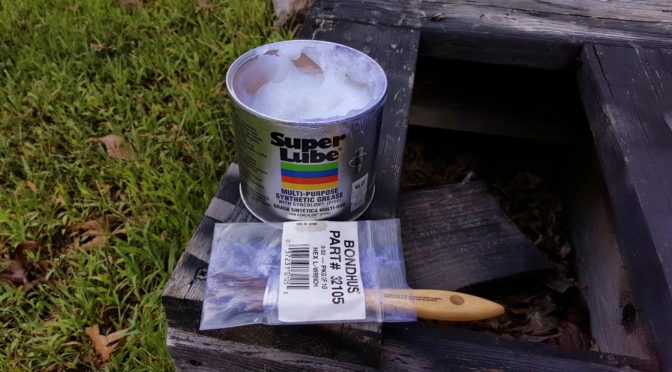
Tip #3 – do degrease the parts. You never know what was used during manufacturing or by a previous installer. For example, my PSA barrel nut was lubricated by some white colored grease. I have no idea what is was and used denatured alcohol to remove it from the receiver plus cleaned the new barrel nut.
Tip #4 – Do use Mil-Spec barrel nut grease. It is designed for the appplication and prevents the nut from sticking/corroding onto the upper receiver.
Tip #5 – Do use a torque wrench to install the handguard. I used to do “farmer tight” where you bring something up firm and call it even. The problem with that is either you apply too little torque and the nut loosens up or too much and you strip the threads. MI supplies the appropriate fitting for a 1/2″ torque wrench. The spec calls for 40 foot pounds so do it.

If you don’t have a 1/2″ torque wrench, there are good deals on them at Amazon. Just be sure to reset the scale to zero before you store it.
Tip #6 – for the same reason as the torque wrench, use a torque screw driver to install the gas tube (if it uses them and torque will be 25 inch pounds or there abouts) and the handguard’s Allen screws require 55 inch pounds.

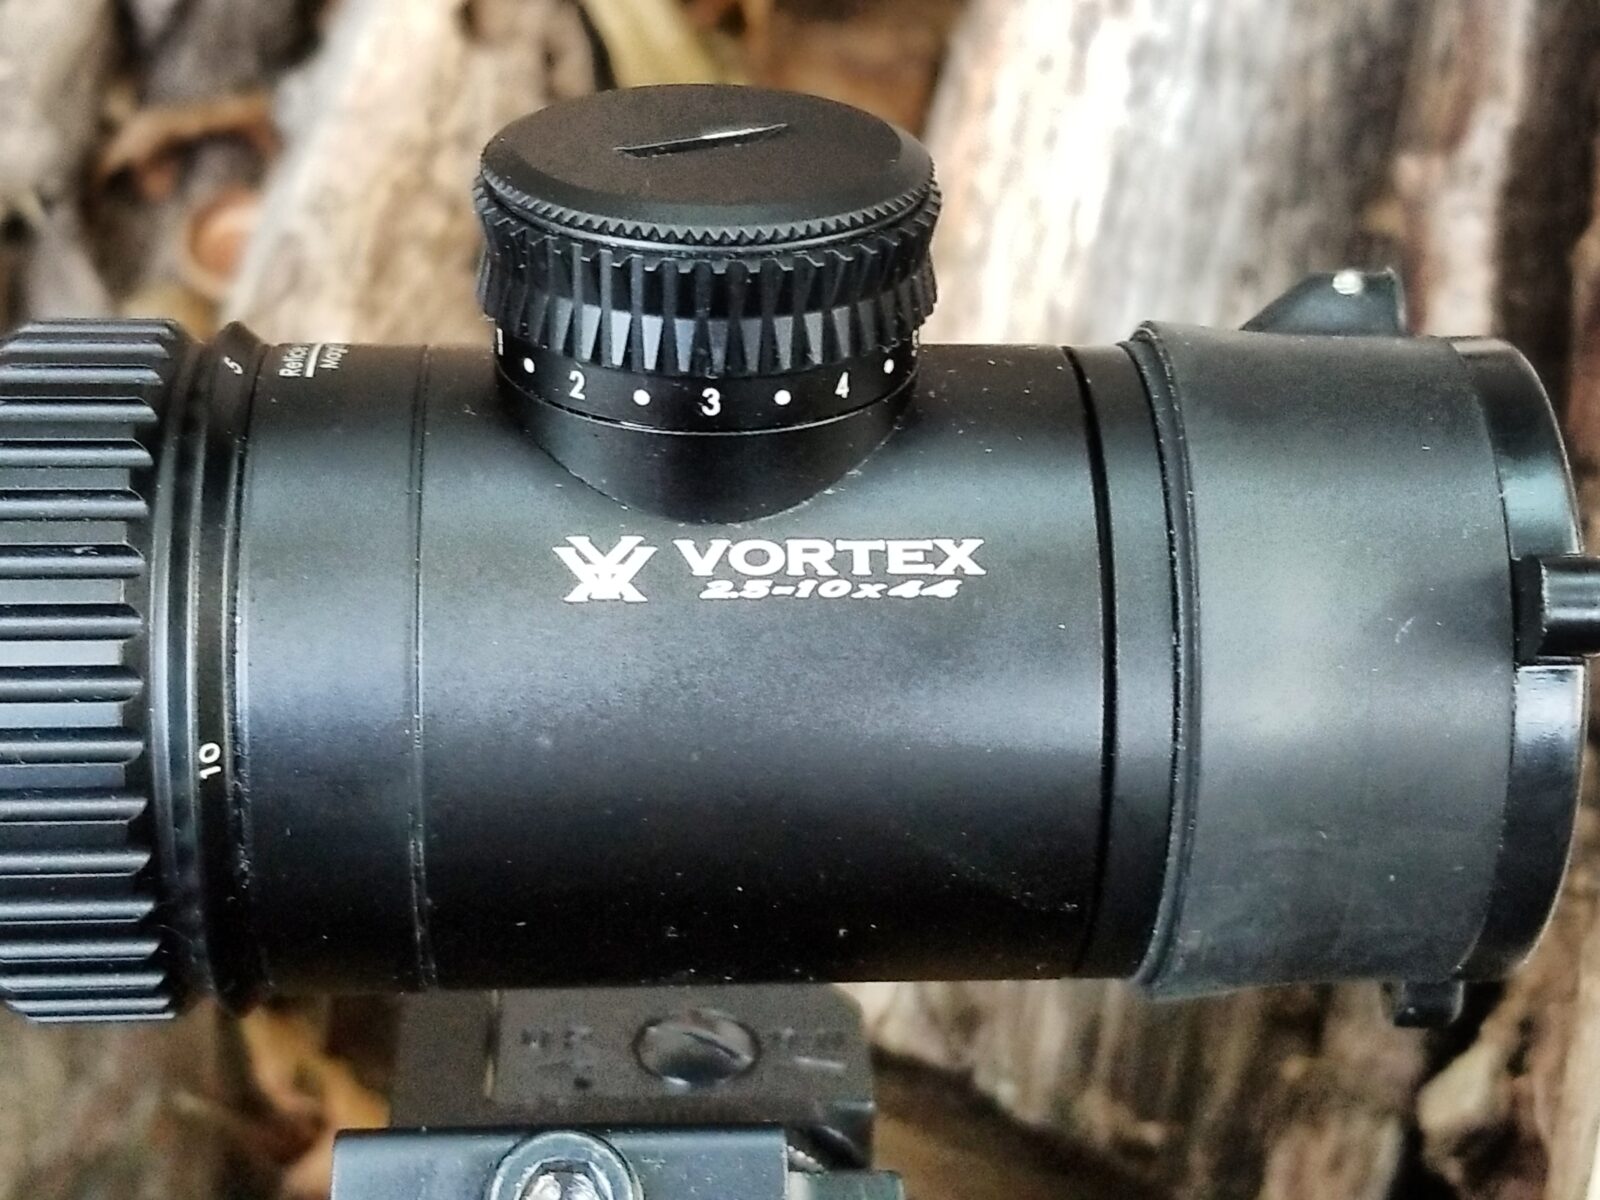
I use a Vortex torquing screw driver for optics. It only goes up to 50 inch pounds so I installed the handguard screws to 50 and not 55. There are other screwdrivers that go higher but that is what I had handy.
The Wheeler FAT torquing screw driver can go up to 65 inch pounds. I have one and it works – I just don’t keep it on my bench now that I have the Vortex.
In Summary
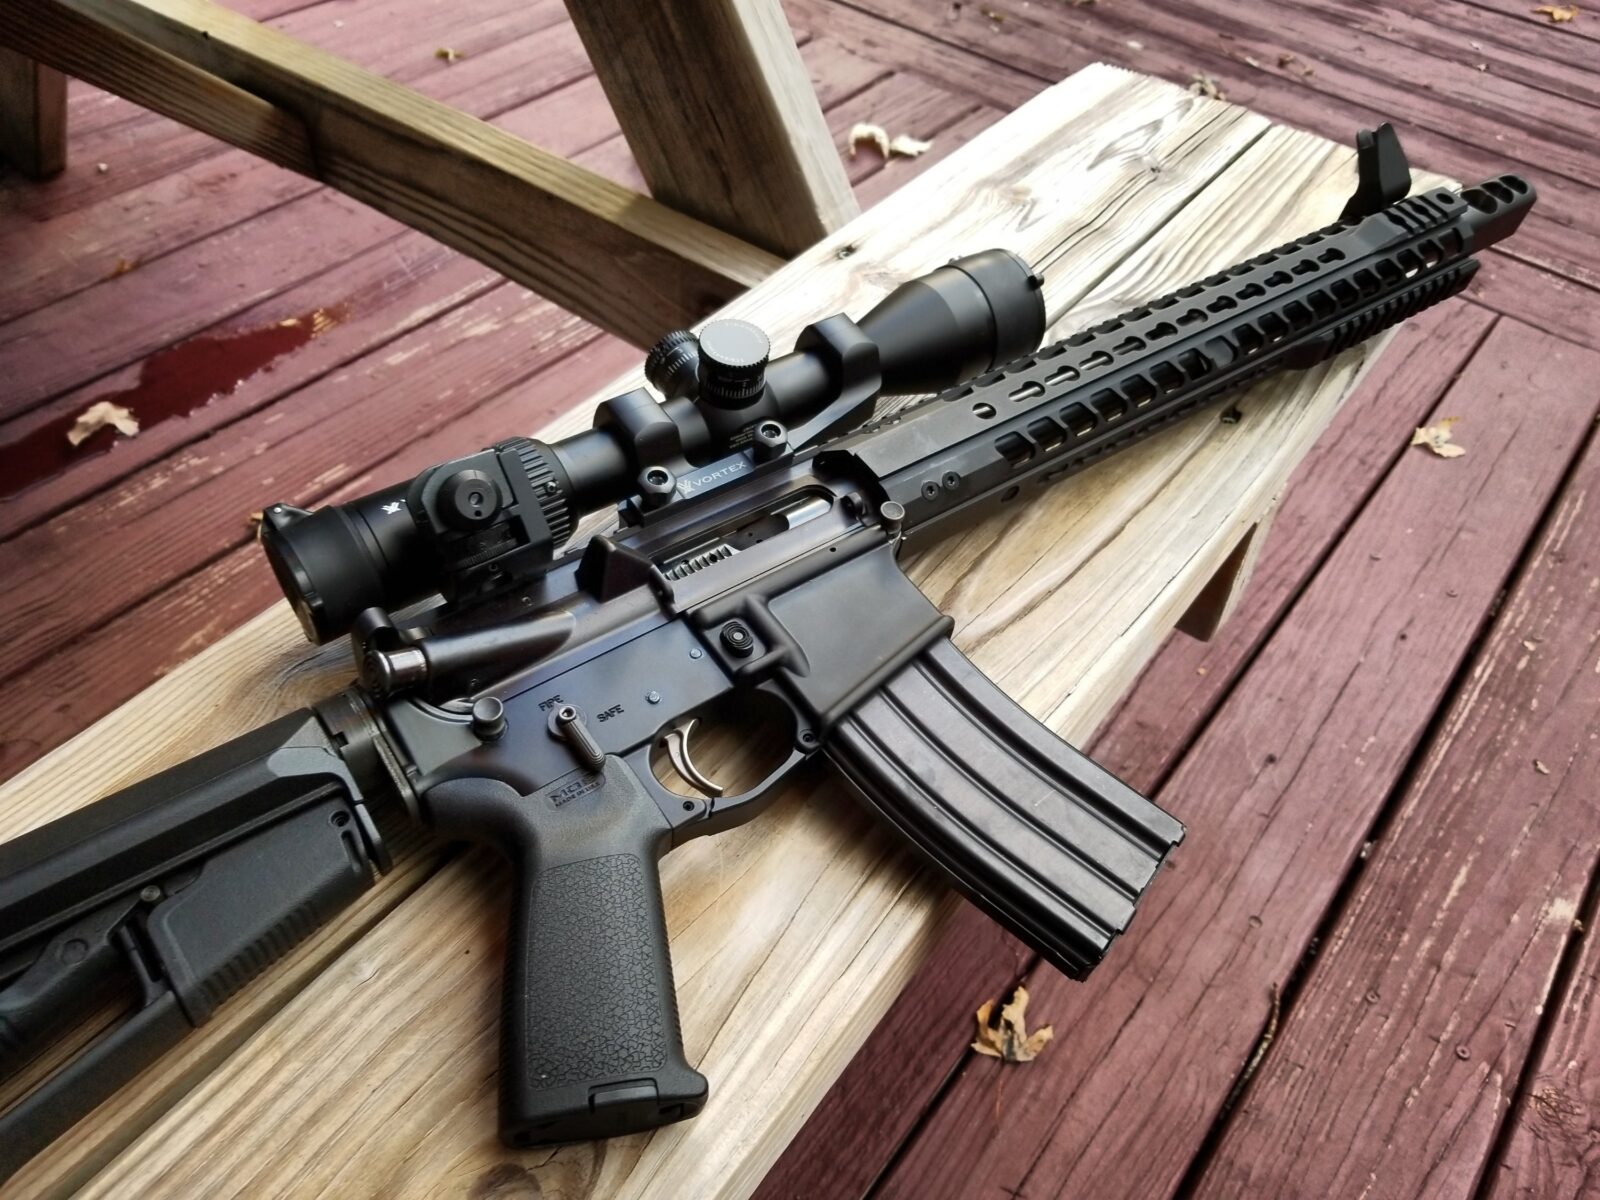
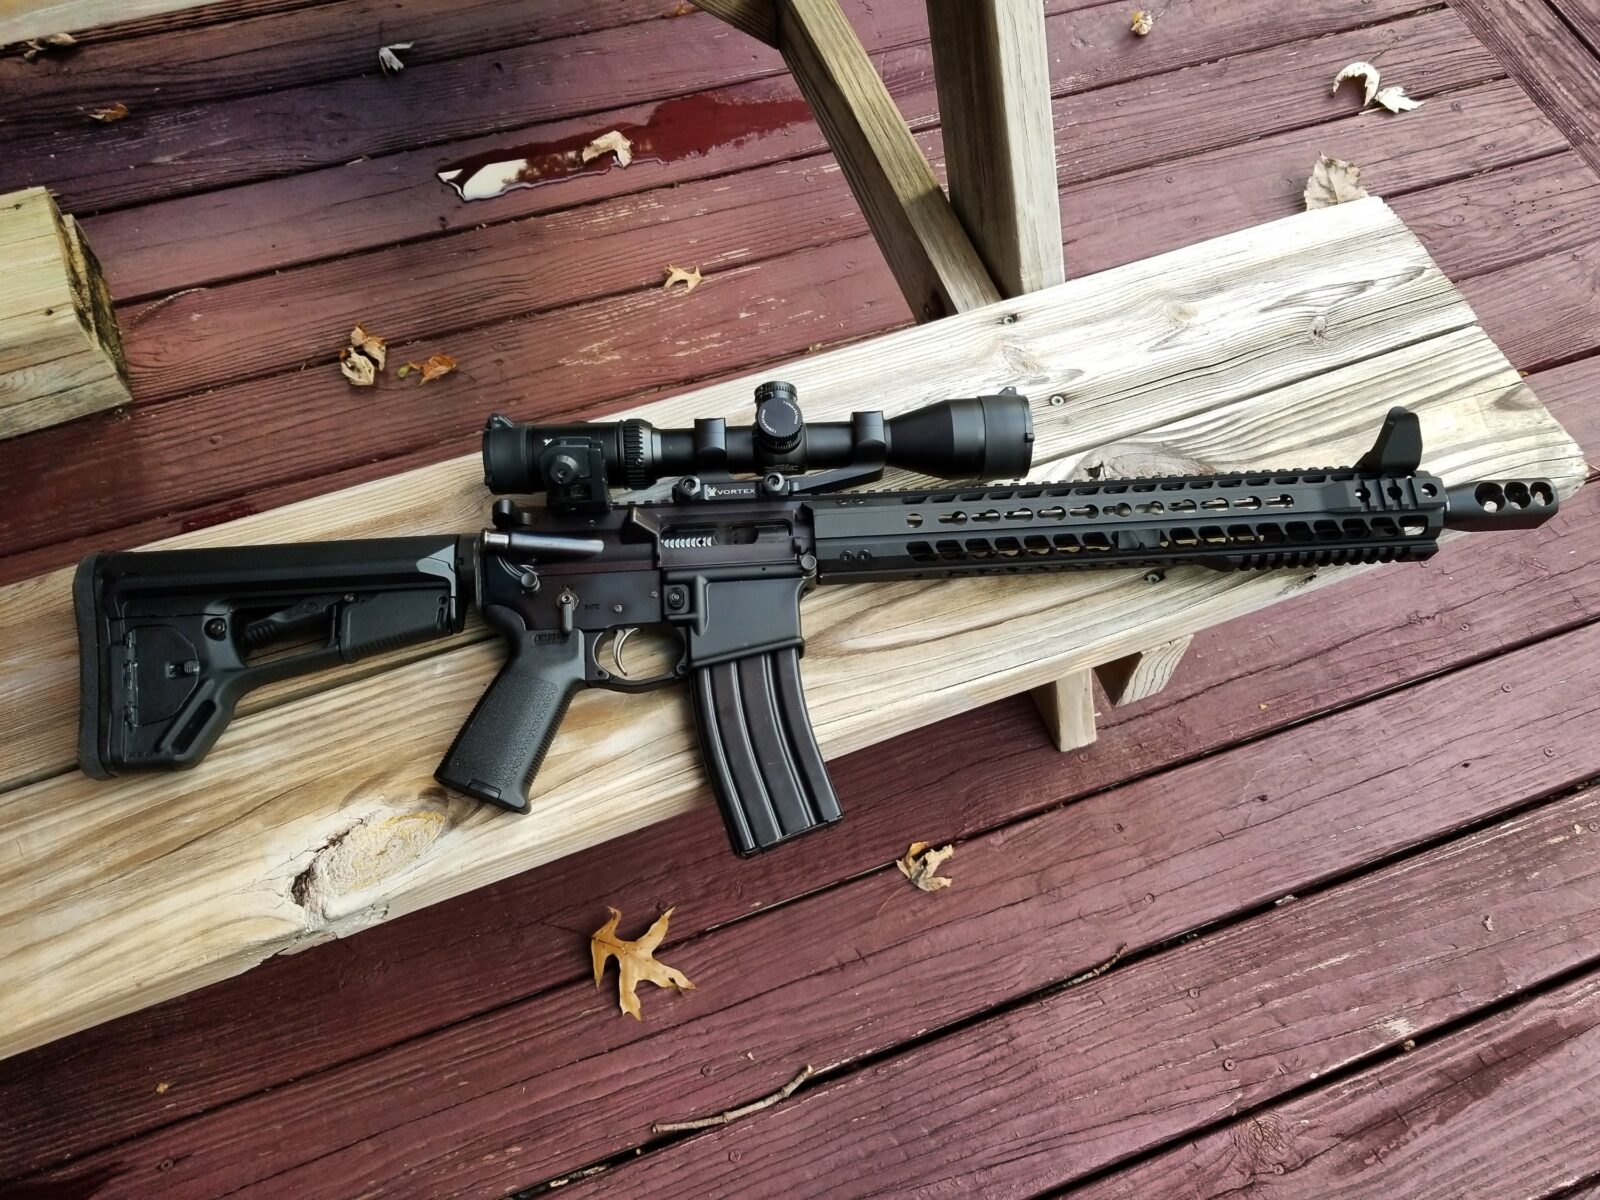
I’m very pleased. The rail is rock solid and looks great on my AR pistol.

Please share the link on Facebook, Forums, with colleagues, etc. Your support is much appreciated and if you have any feedback, please email us in**@*********ps.com. If you’d like to request a report or order a reprint, please click here for the corresponding page to open in new tab.